Bradley25mm
-
Posts
469 -
Joined
-
Last visited
-
Days Won
30
Content Type
Profiles
Forums
Events
Everything posted by Bradley25mm
-
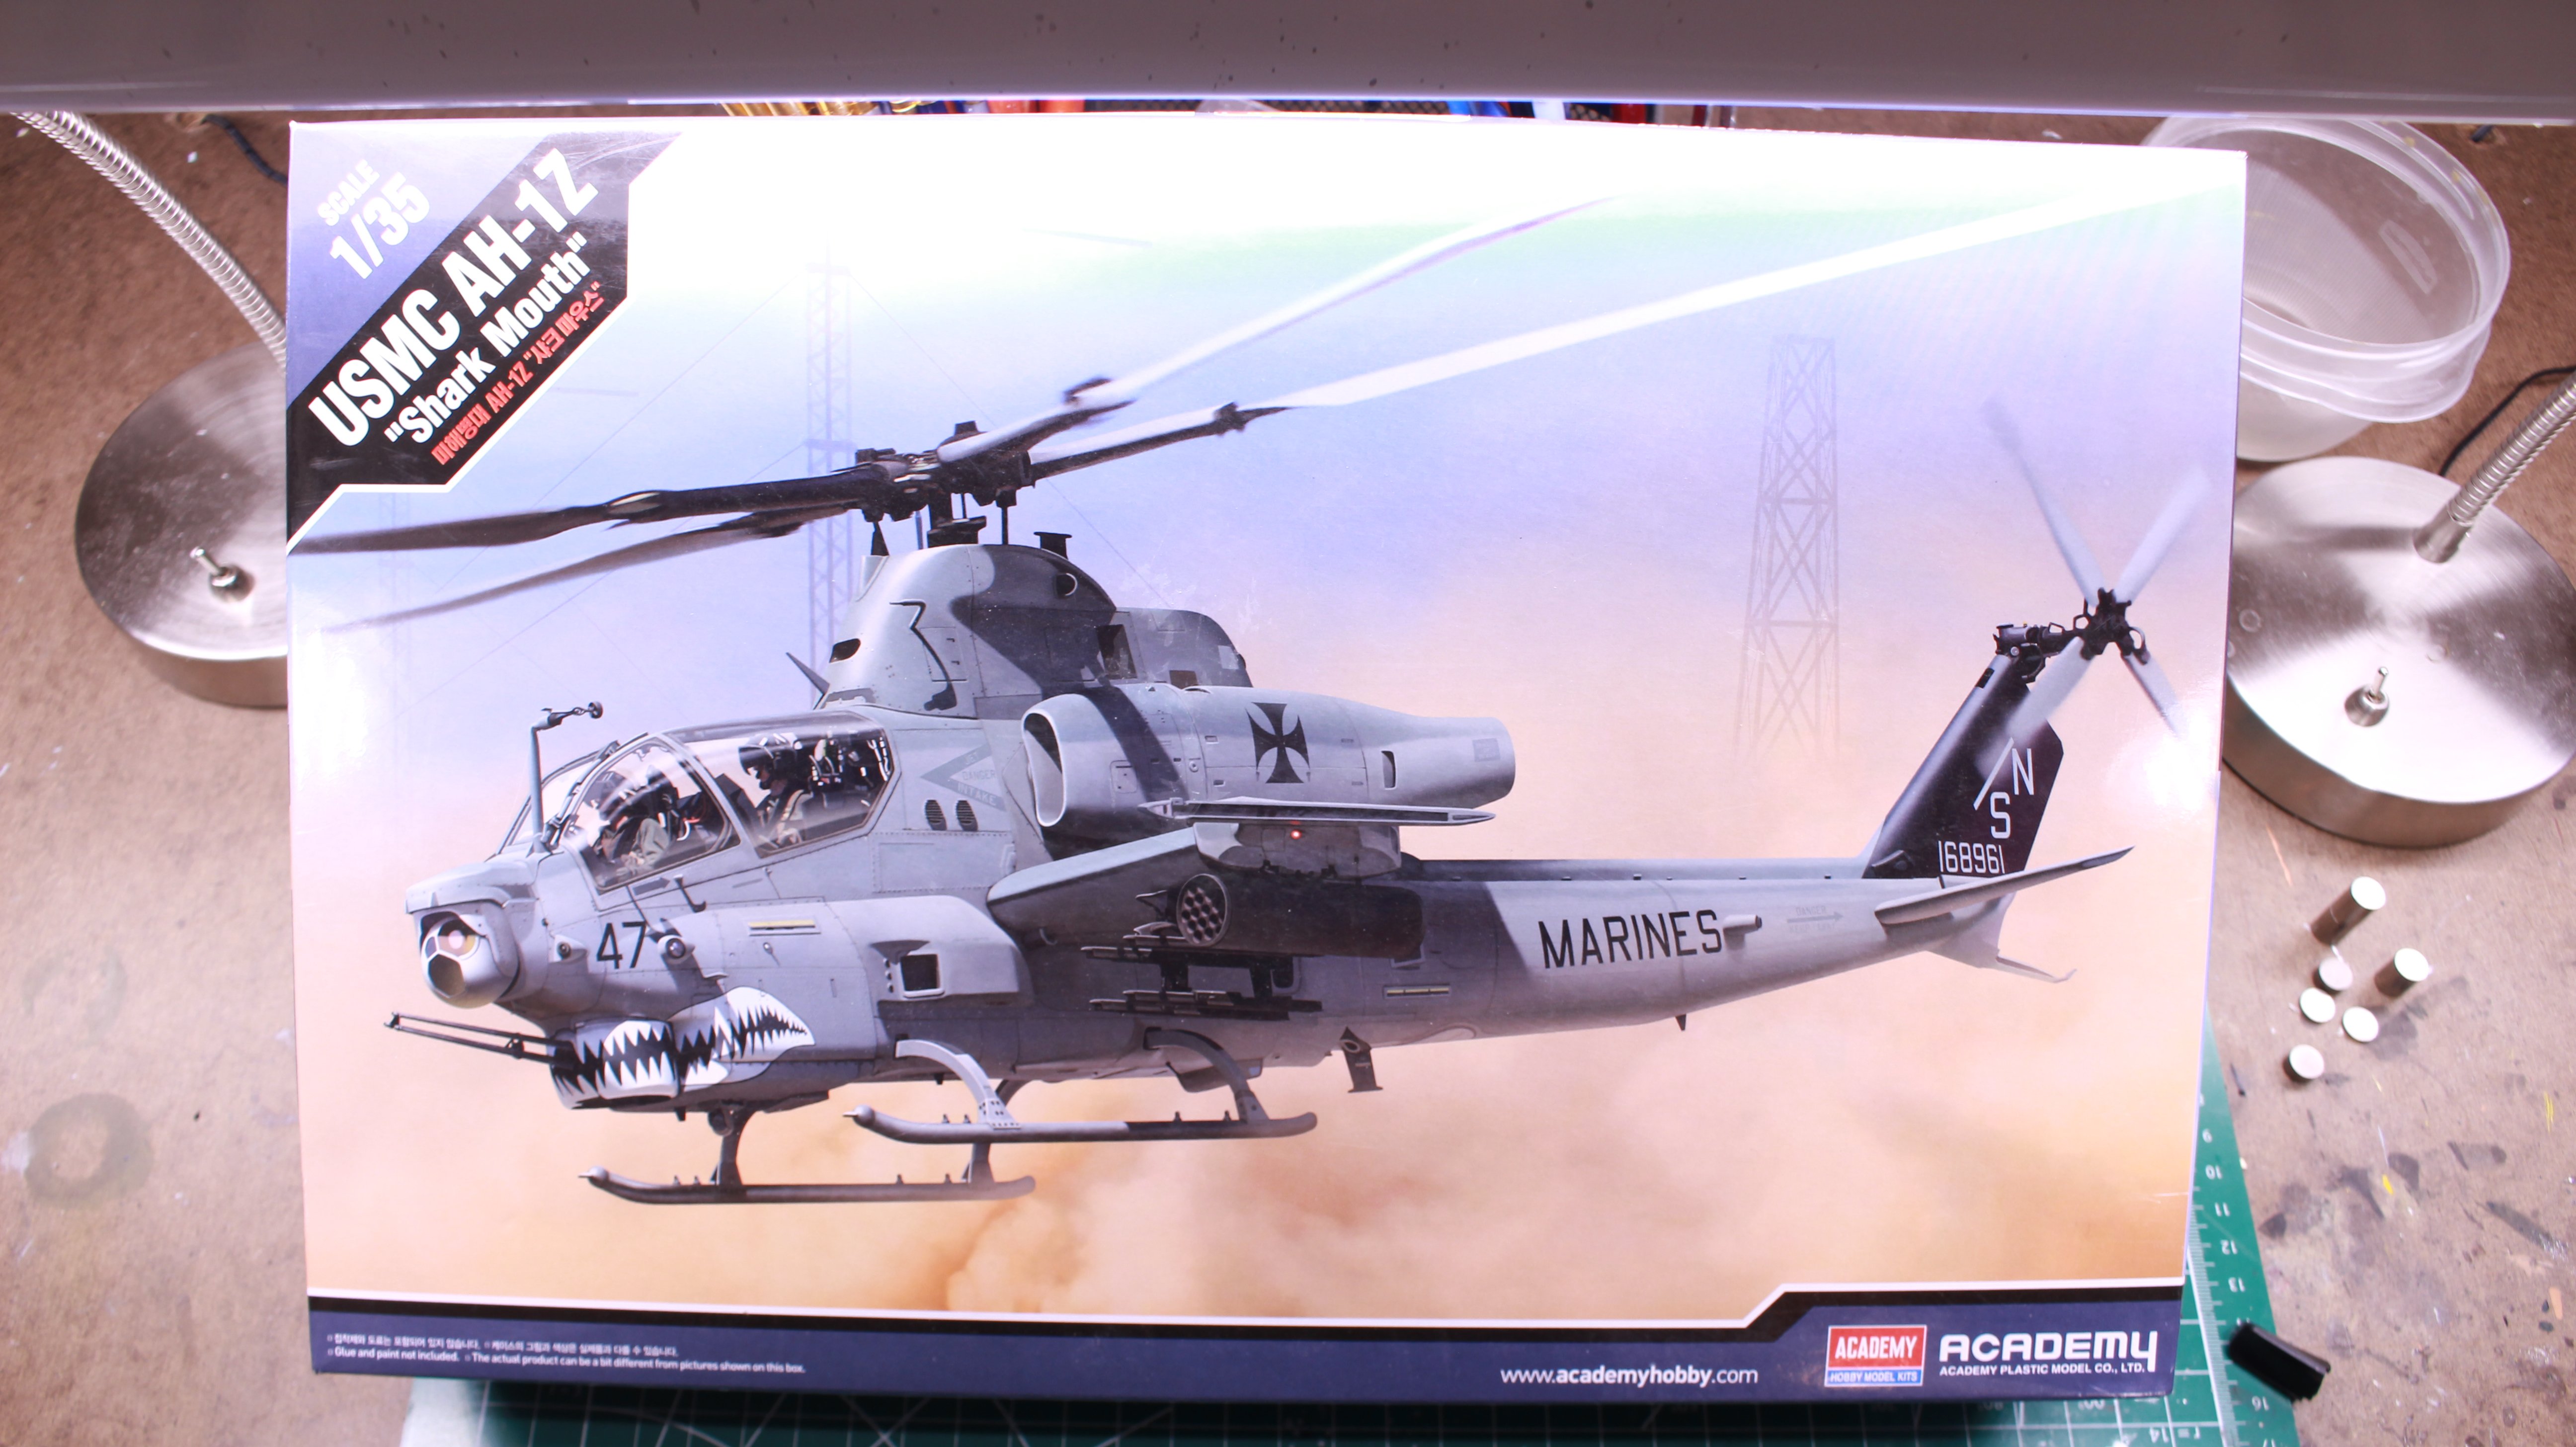
Gentlemen, If your a rotor head like me, you need to get this kit. I picked it up from my hobby store here last week. Academy did a great job putting this one together. My only issue is the lack of seatbelts. I’ll make some up from my spare parts cabinet. Academy has incorporated slide molding on several of the parts in the kit.( tail boom, weapons pylons). The surface detail is very good, and not over scaled. The fit of the parts is great. Decals are from Cartograf. I’ve already got a lot of the model built, (Thanks to slide molding). The hellfire missiles also come in one piece. The main rotor built quickly, but took a while to paint. The tailrotor, and 90 degree gear box have a lot of detail. I should be done with the model by Wednesday. I’ll start working on the display base Thursday. Regards Christopher.

-
David, The entire project is stunning. The effects on the inside of the exhaust was perfect. What catches my eye the most is your method of bundling all the wiring with blue painters tape. Regards Christopher
-
Dave, If this scheme interest you, Let me know. I already have the decal sheet. I’d be happy to send them to you. Christopher
-
Dave, There is a scheme that has alittle of everything you might be looking for. The P-51D goes by the name “Hurry Home Honey”. I hope this helps. I would try my best to stay away from the Dragon kit. It’s well, NOT good. Regards Christopher
-
Just curious Oliver, how much time do you have in this project so far? The level of detail and scratch building simply blows my mind. Your use of washes is top notch. What did you use to simulate the texture on the flight deck? Regards Christopher
-
Thanks again John.
-
Truly amazing work Oliver. I look forward to seeing more of this.
-
Thank you very much Gil. Regards Christopher
-
Amazing paint job John. This is one interesting build too. Regards Christopher
-
Thanks a lot John for that correction. That’s something that can be easily fixed. I want things to be as accurate as possible. Regards Christopher
-
Thanks very much for the kind comments Mark! I really appreciate it. Would love to make it to the Nationals . Looks like a fantastic time. How often do you try and attend? Regards Christopher
-
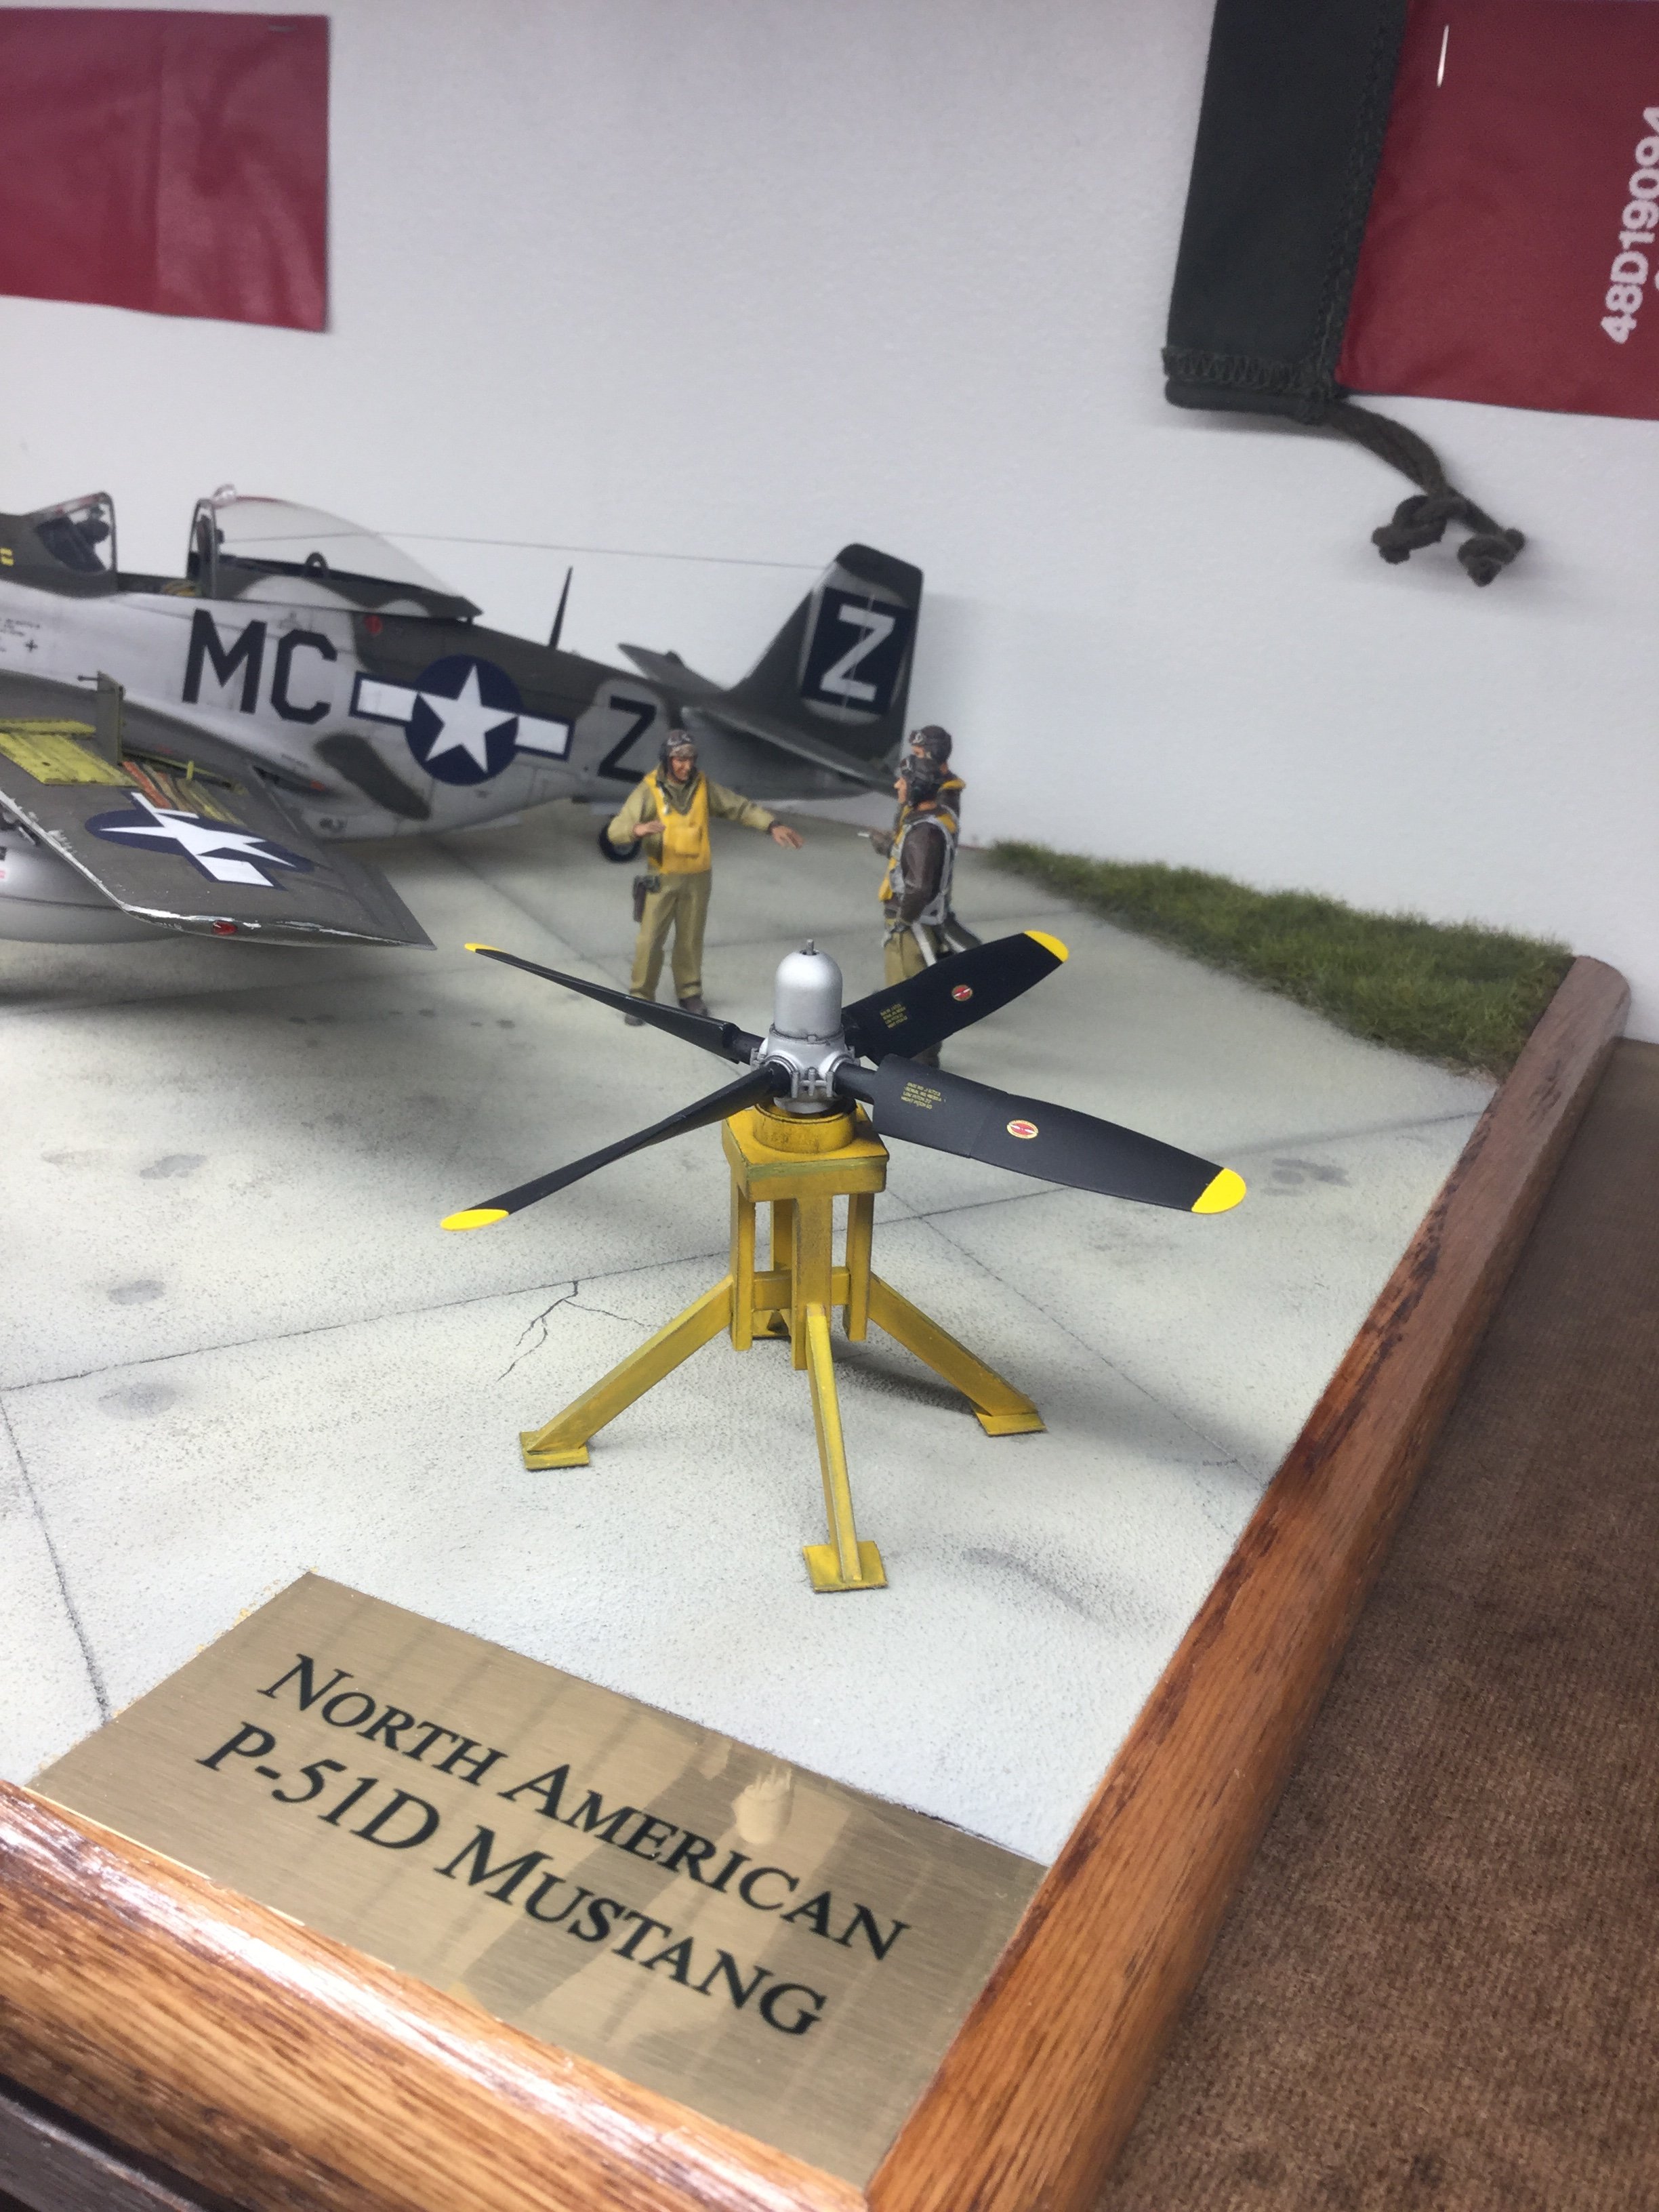
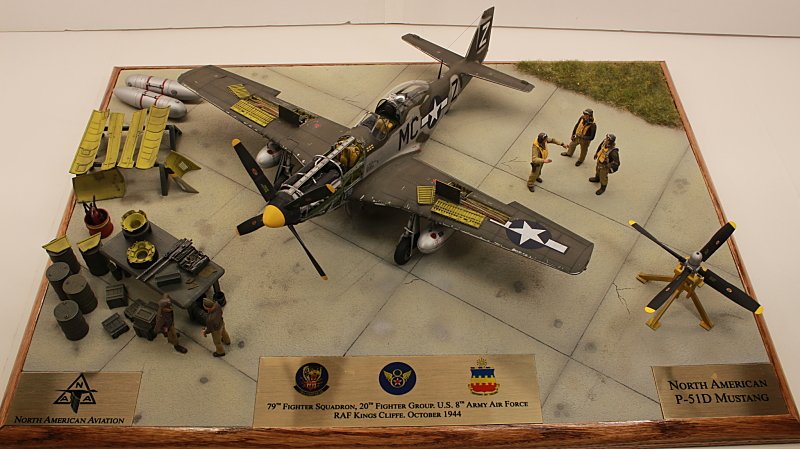
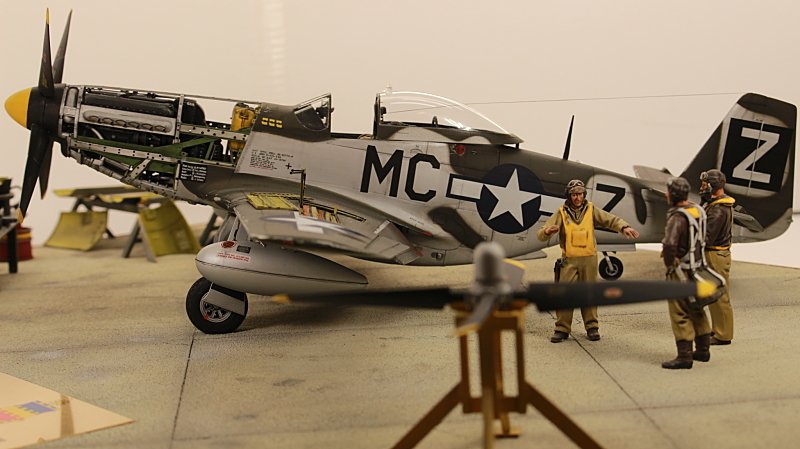
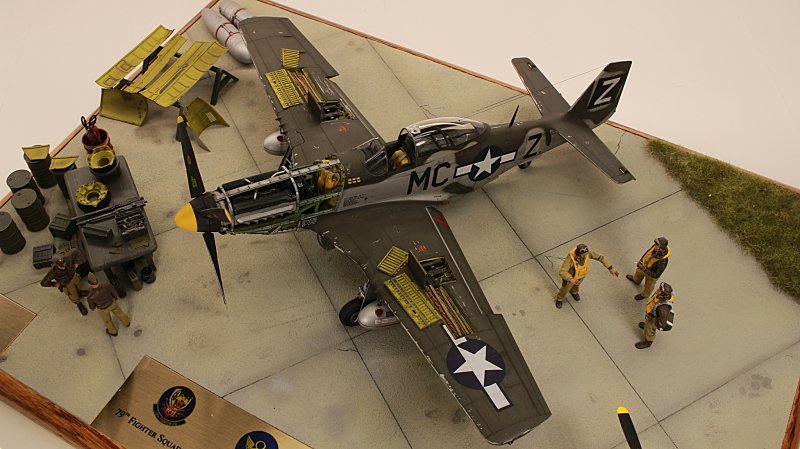
Finally finished. This by far, was the best kit I've EVER built. My hat goes off to all the folks at Tamiya for putting together a fantastic kit. The fit of all the parts was simply amazing. If you like Mustangs like I do, you need to go out and pick up this kit. Regards Christopher.
-
👍👍👍👍👍
-
I’ve never seen this aircraft before. Looks great. Your base is awesome. Regards Christopher
-
David, your attention to detail simply amazing. Fantastic work.
-
Holy cow! That’s a lot of building. When do you sleep? Good job on this one.
-
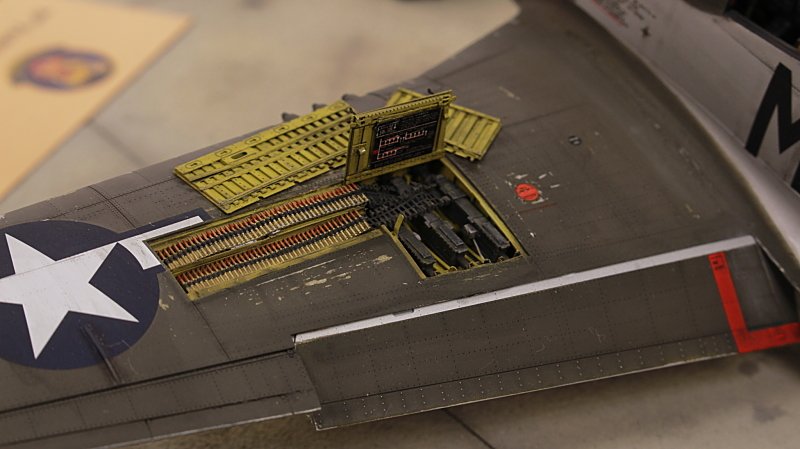
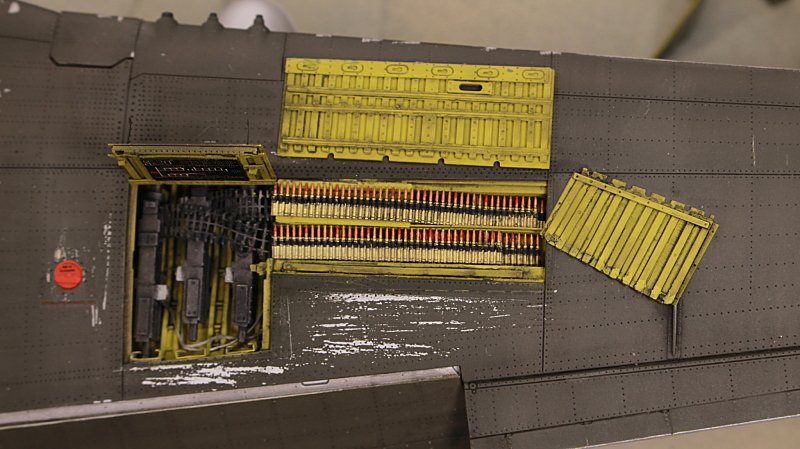
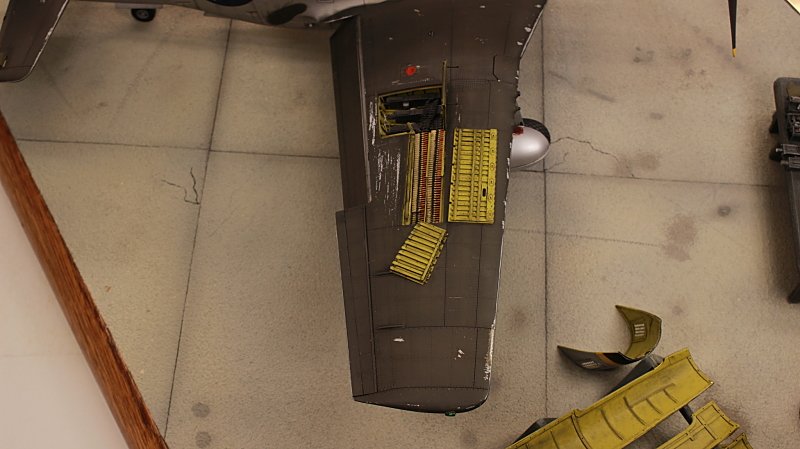
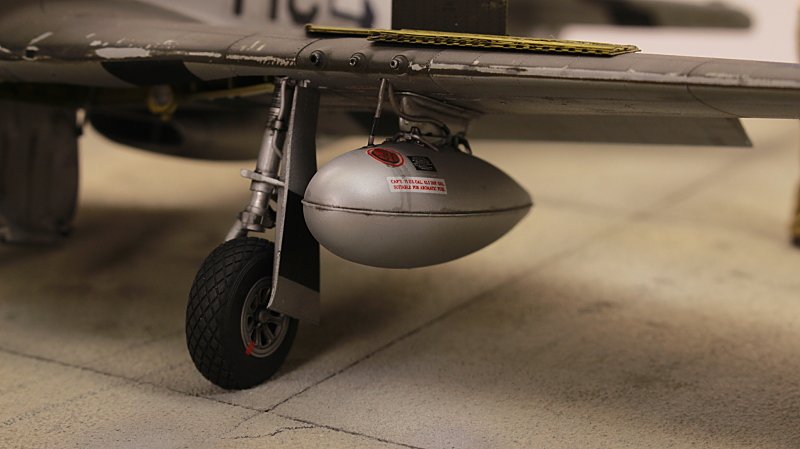
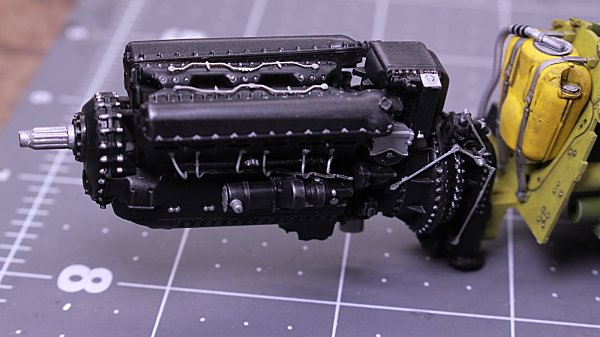
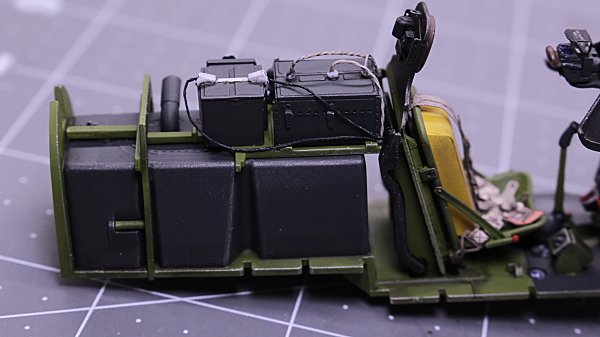
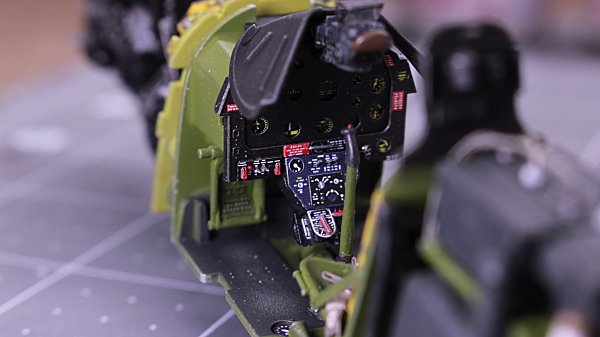
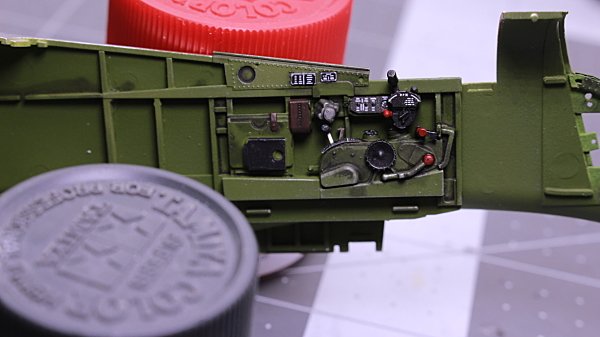
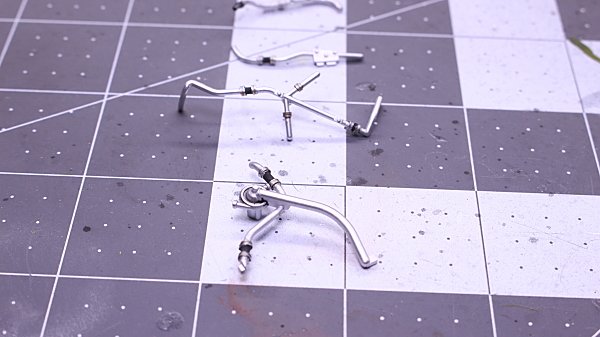
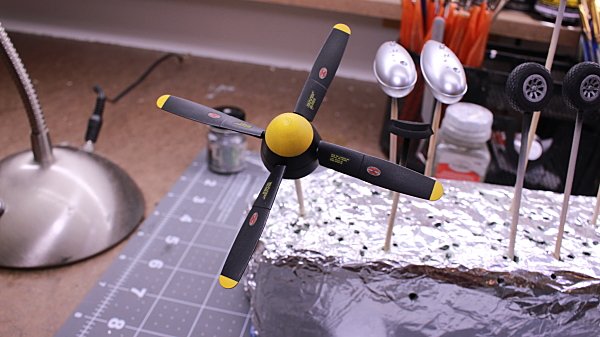
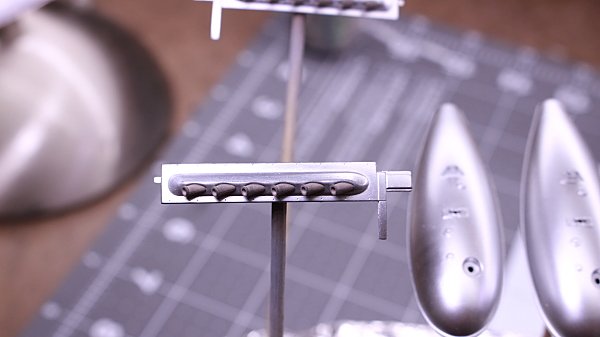
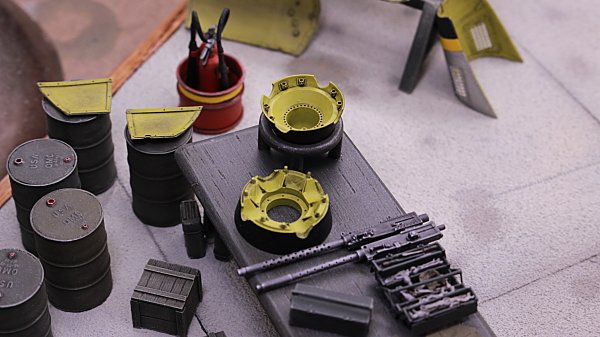
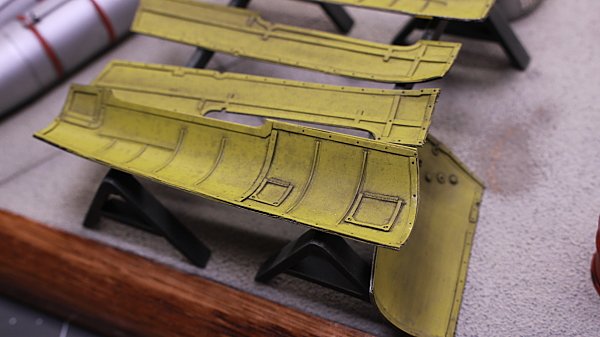
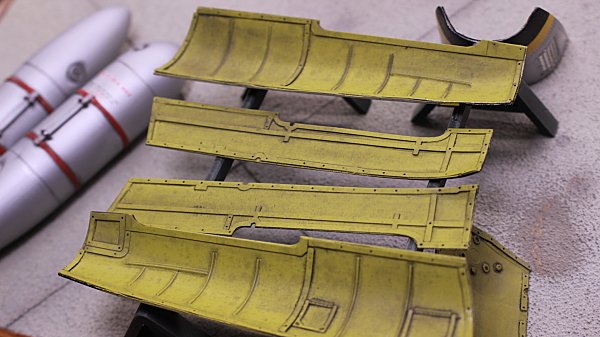
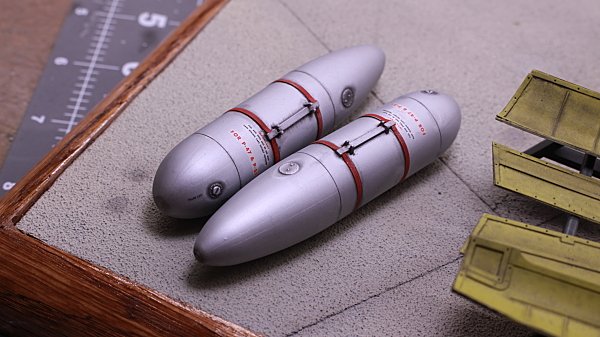
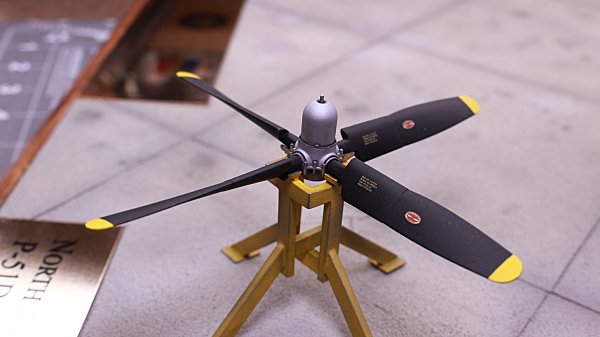
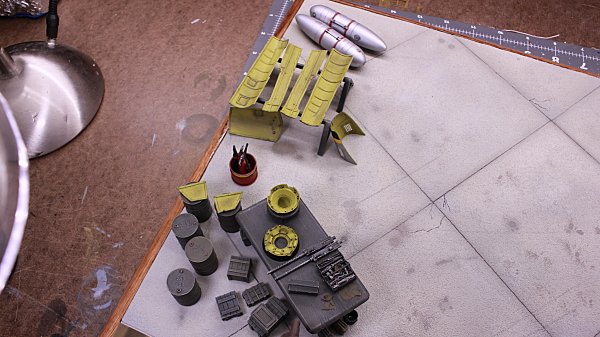
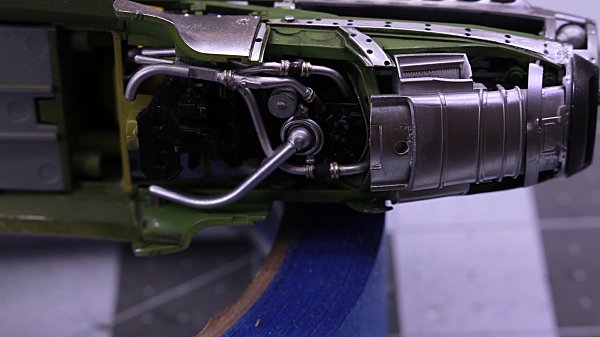
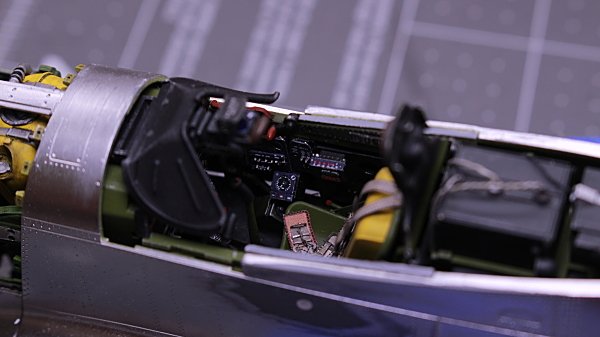
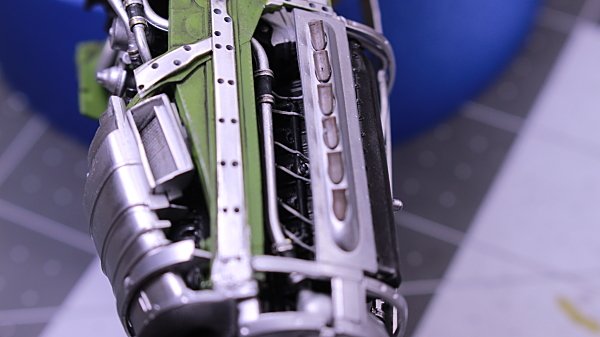
Took a small break from modeling. Back at it again. Finally finished adding the photo etch to the engine, and cockpit. I purchased 4 sets from Eduard. Engine, cockpit, seatbelts, and gun bays. I also purchased a set of resin tires, and propeller with spinner. The kit rubber tires had nasty seams down the middle. After cutting the engine panels apart, I added photo etch to the inside of each one. I took the paper fuel tanks that came with the kit, and added them to the display. I used Testor's Metalizer Lacquer to simulate metal . This stuff is fantastic. I used it a lot for the engine components. Spray it on, let it dry, then buff it out. I seal mine after buffing. This prevents getting silver finger tips. One of the guys in our local model club was commissioned by the pilots son to build this exact same kit.The son gave him a copy of his fathers flight logs, and a very descriptive book detailing every one of his father's mission during the war. Thanks Ted for letting me use this info while building this kit.
-
Funny
-
Fantastic looking birds Gil!
-
👍👍👍👍
-
Another awesome build David.
-
Outstanding build! Congrats.
-
Great start. Cockpit panel is awesome. 👍👍👍👍👍👍.
-
Great diorama! Congrats.
-
Thank you very much Mark!