Bradley25mm
-
Posts
481 -
Joined
-
Last visited
-
Days Won
33
1 Follower

Recent Profile Visitors
5,217 profile views


-
Thanks guys. As for the paint job, I took a mechanical pencil to draw the pattern for each color. In the middle of the pattern, I would put an initial for whatever color it was. Is that spray section all I did was go to the line and cover it up. Thanks for having a look.
-
Good evening all, I picked this one up at a swap meet, at a price I couldn’t pass up. Academy did a great job on the details of this kit. Tons of options. The weapons, and wheels are Reskit. Quinta Studios in the cockpit. My first time using MRP paints. They are great. Spray right out of the bottle. Airbrush between 15-17 psi does the trick. Clear coat with Tamiya clear. Wash was Tamiya ascent colors, black and brown.

-
That’s a real eye catcher. Not just the subject, but the paint job🤩
-
The metal skin looks great. It’s nice to see a model in old school markings.
-
Outstanding job Gil. Love all the add ons!
-
Always knocking those builds out. Congratulations Mark.
-
Don’t be hard on yourself. The looks ok. If I try something like that for the first time, I practice on a piece of white plastic sheet. You’ll get better with experience. Chris
-
That’s a lot of detail in those bays. Nice paint work.
-
Really nice build Gil. The paint job looks great.
-
Col. (ret) Arnie Franklin is one of the featured aviators at Aviation Heritage Park and Museum. He did two tours in Vietnam. His first tour was flying the OV-10 as a FAC over the ho Chi Minh Trail. His second tour was flying the F-111. Aardvark dropping bombs. A modeler has already built the F-111 that he flew in Operation El Dorado Canyon. The OV-10 I built has the tail number he flew the day he got his DFC. The mission was 5 1/2 hours. The plane made it through the war and was sent back to the states. It was purchased by CalFire as an observation aircraft. While awaiting restoration, it was destroyed as a result of hurricane Andrew. (A hanger door fell from its mounting, and severed both of the tail booms. The kit was a challenge to build. From the wings, to the canopy. Thanks for having a look.
-
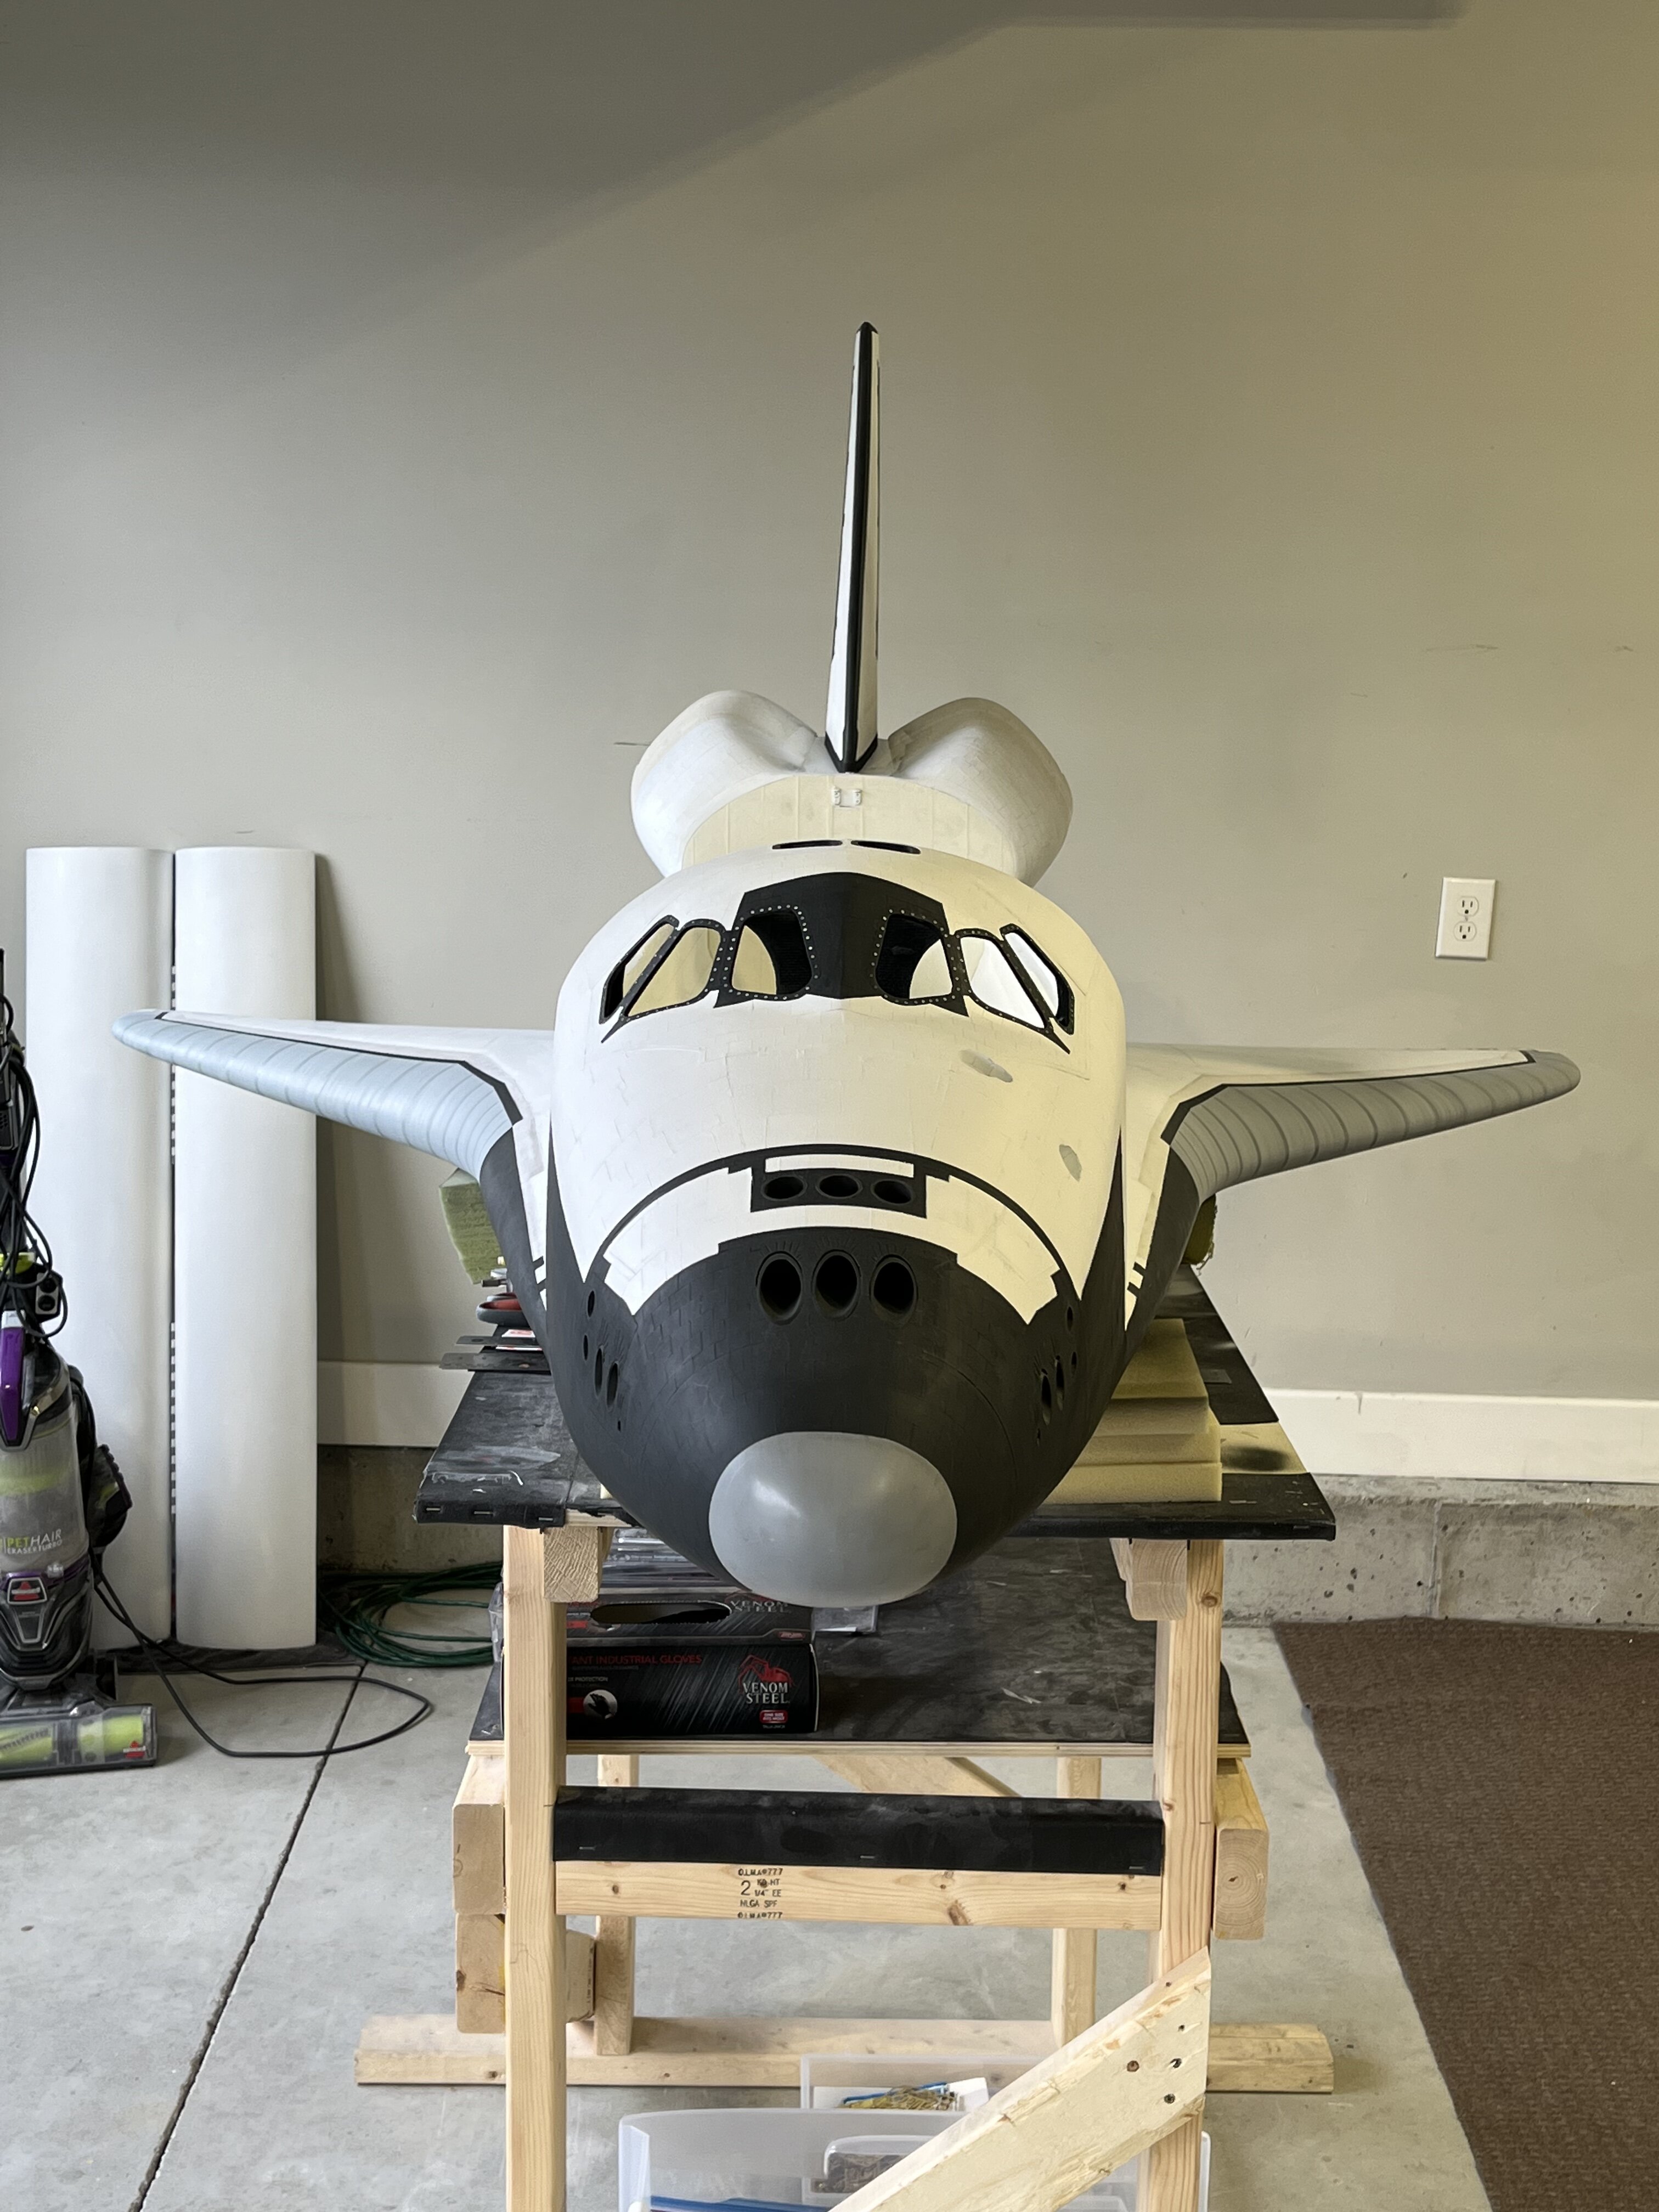
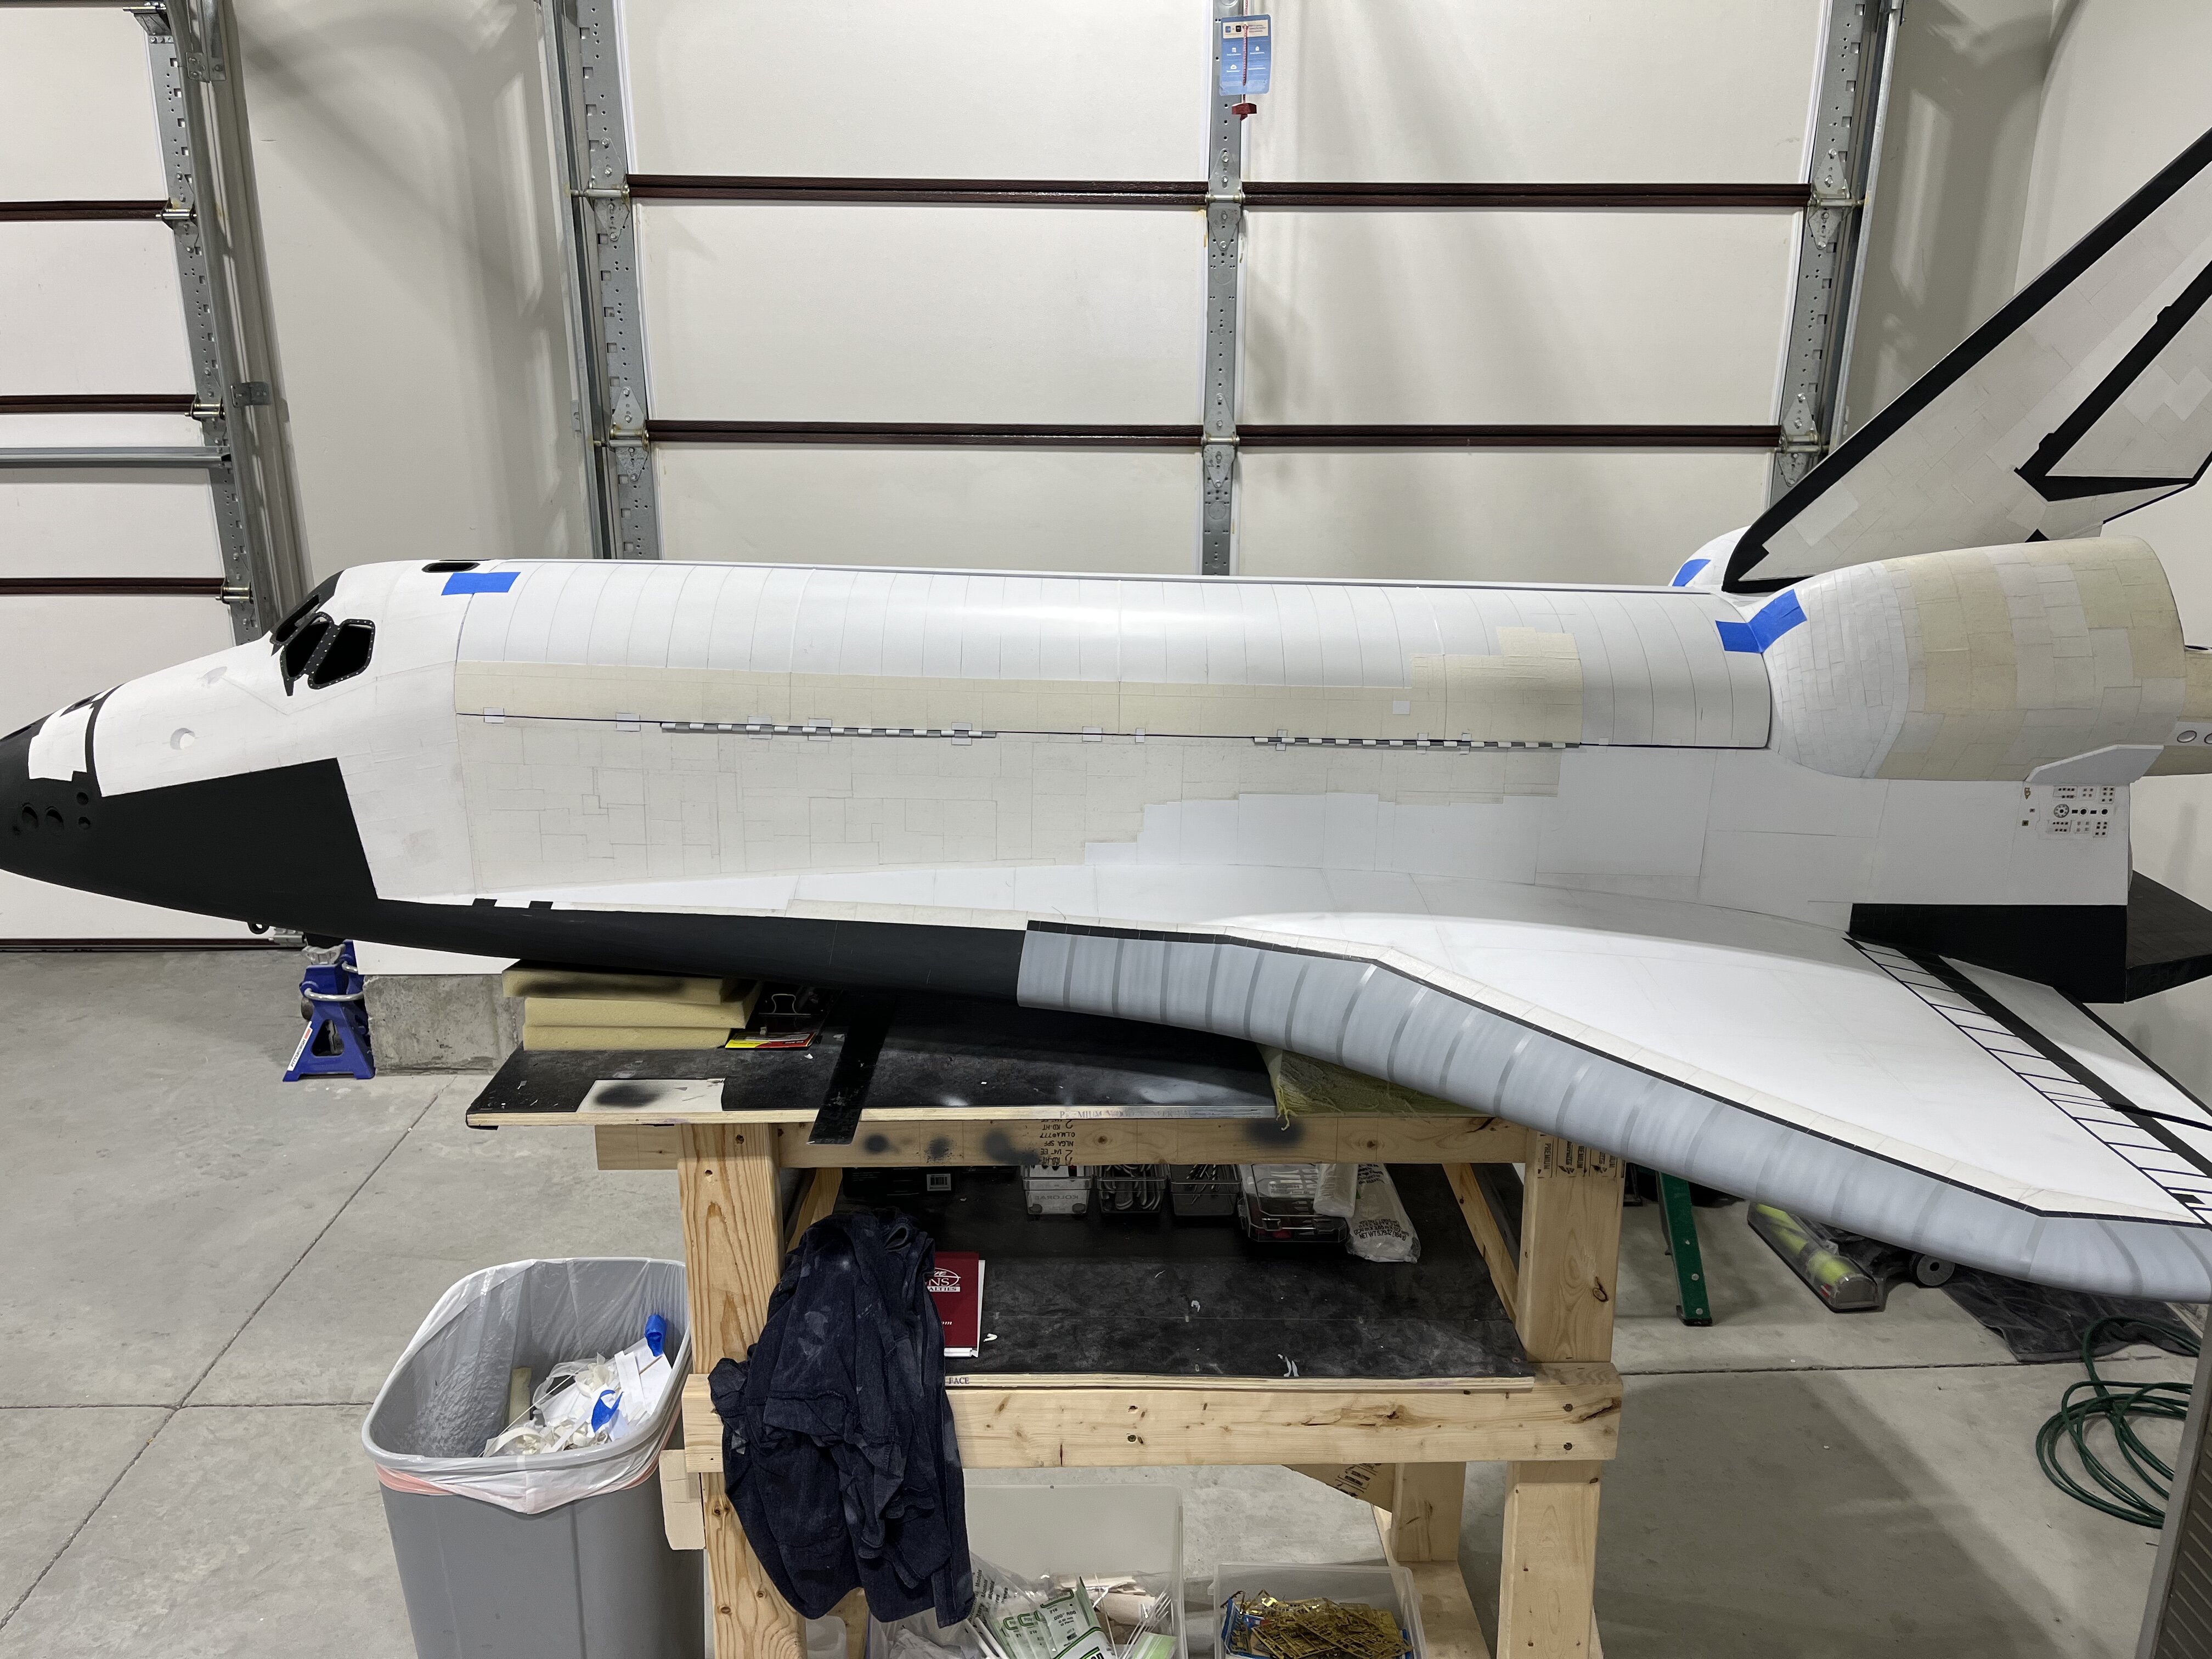
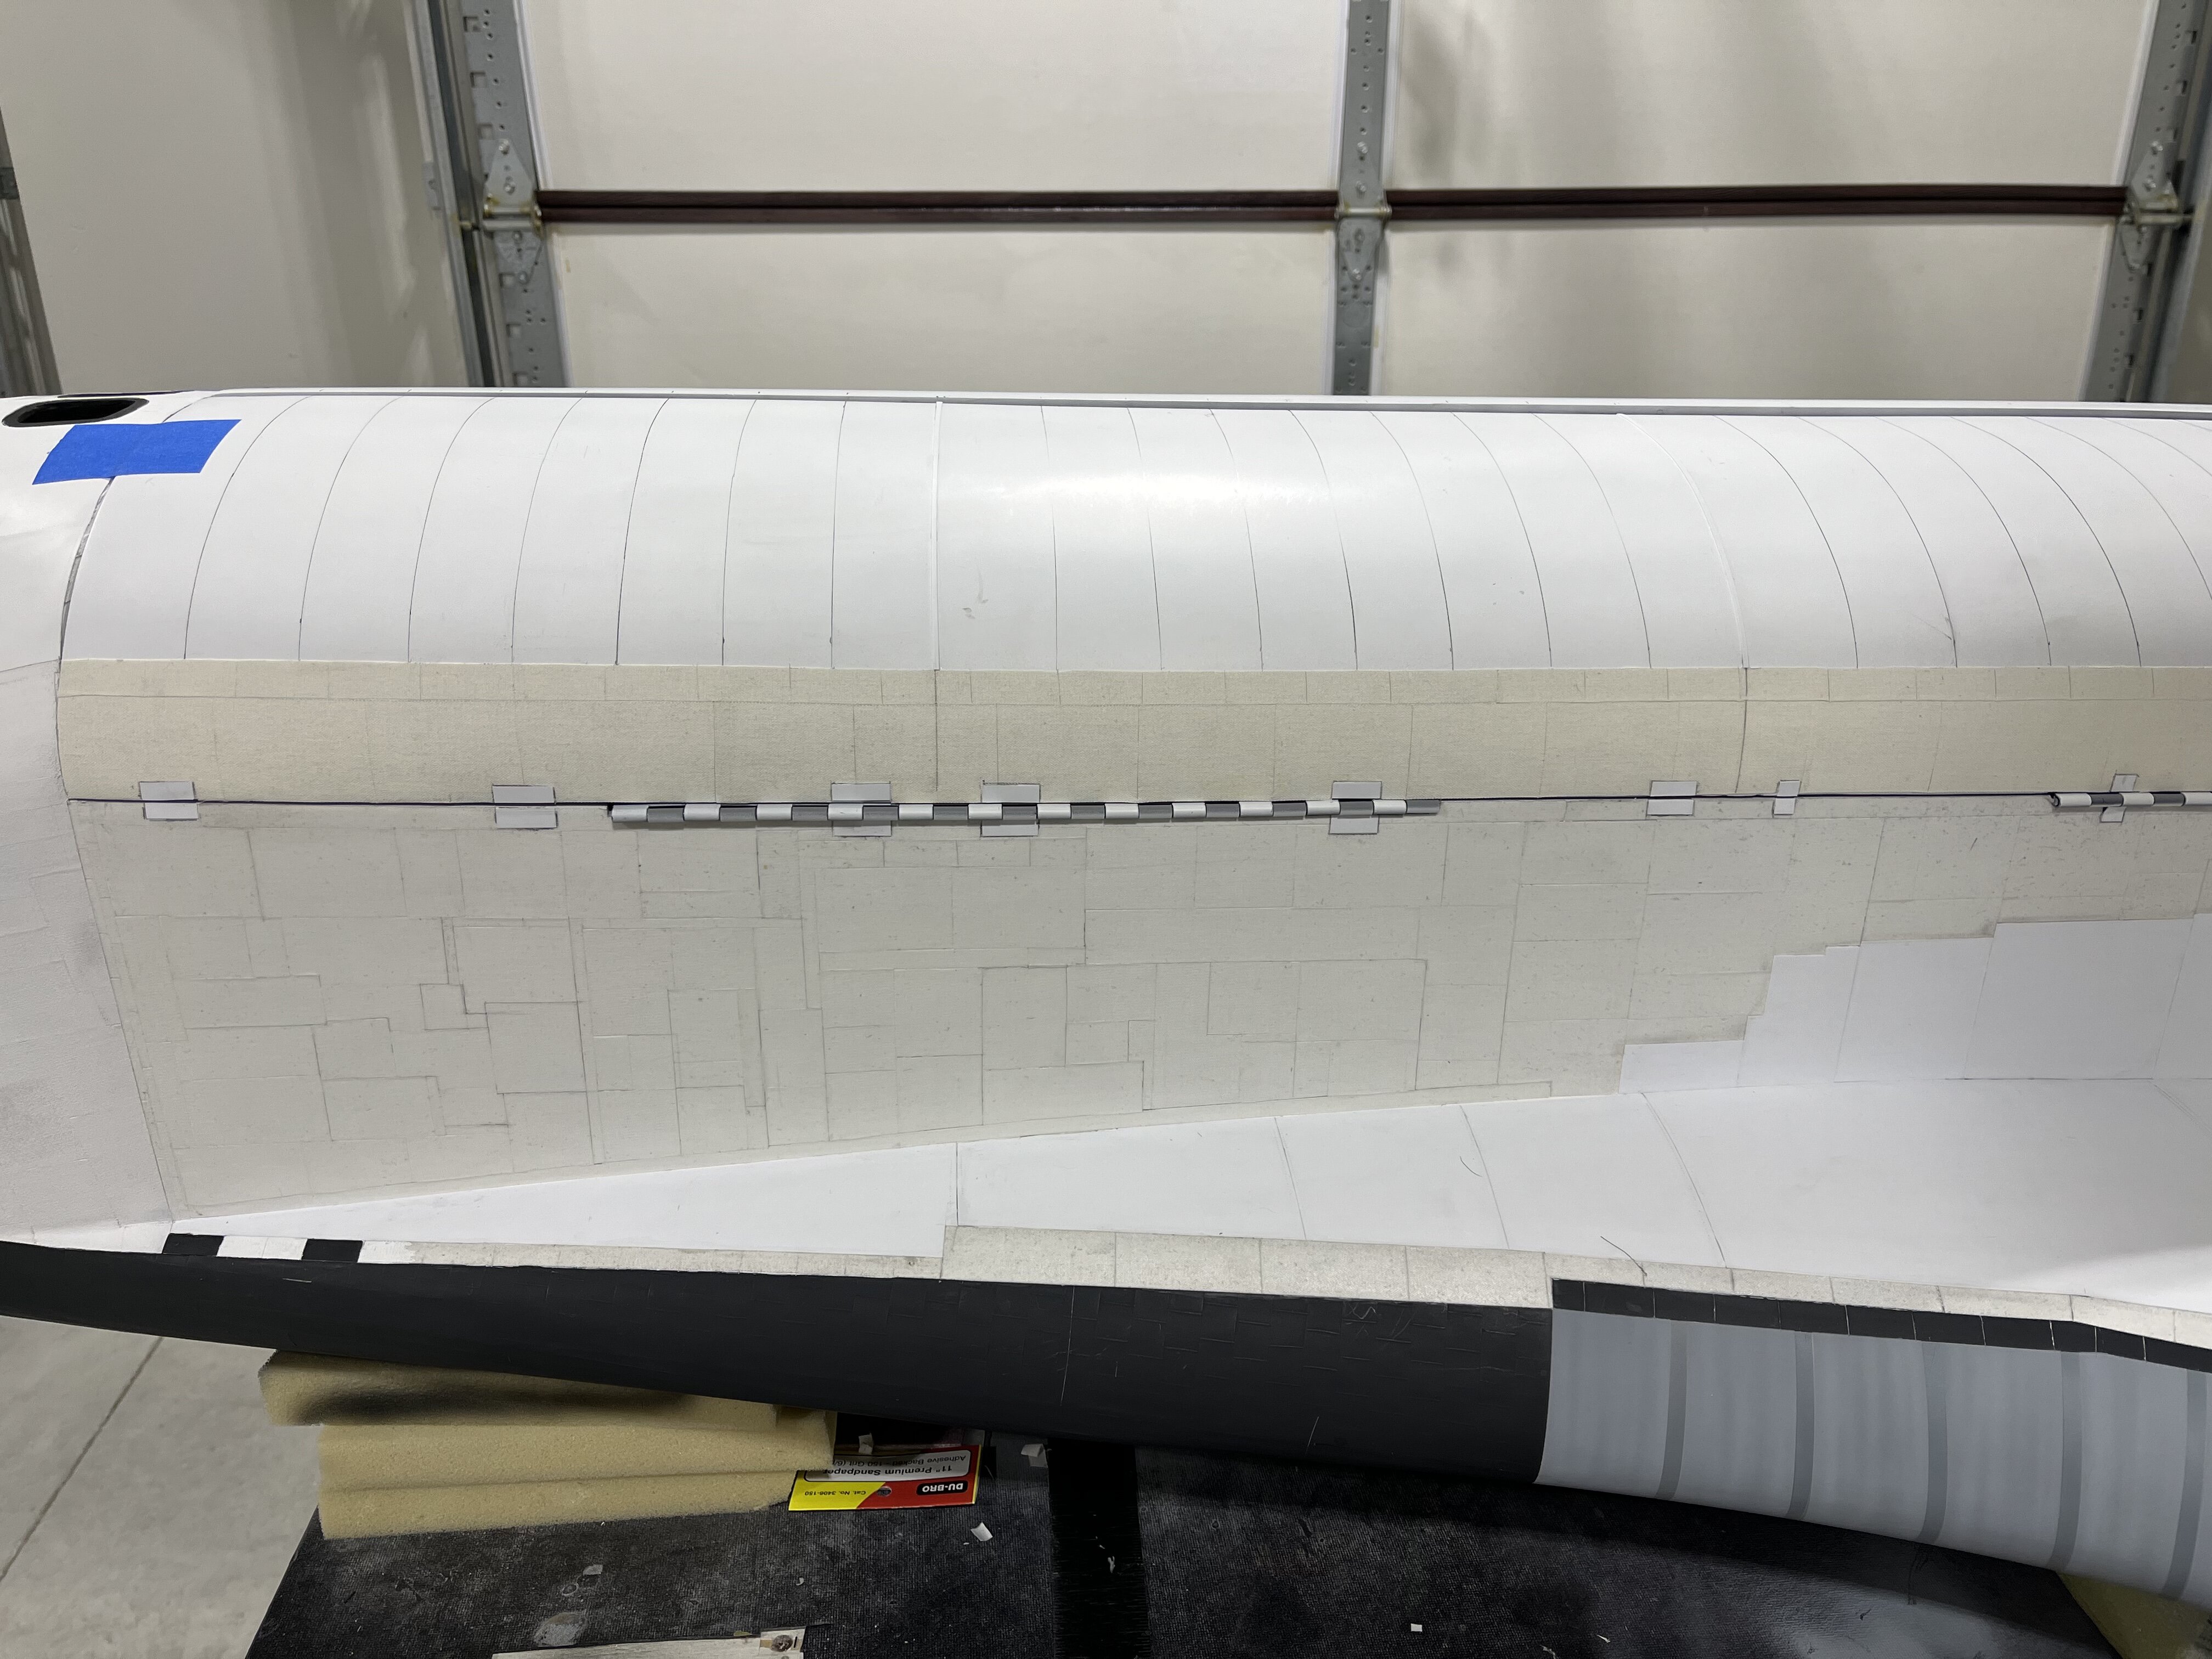
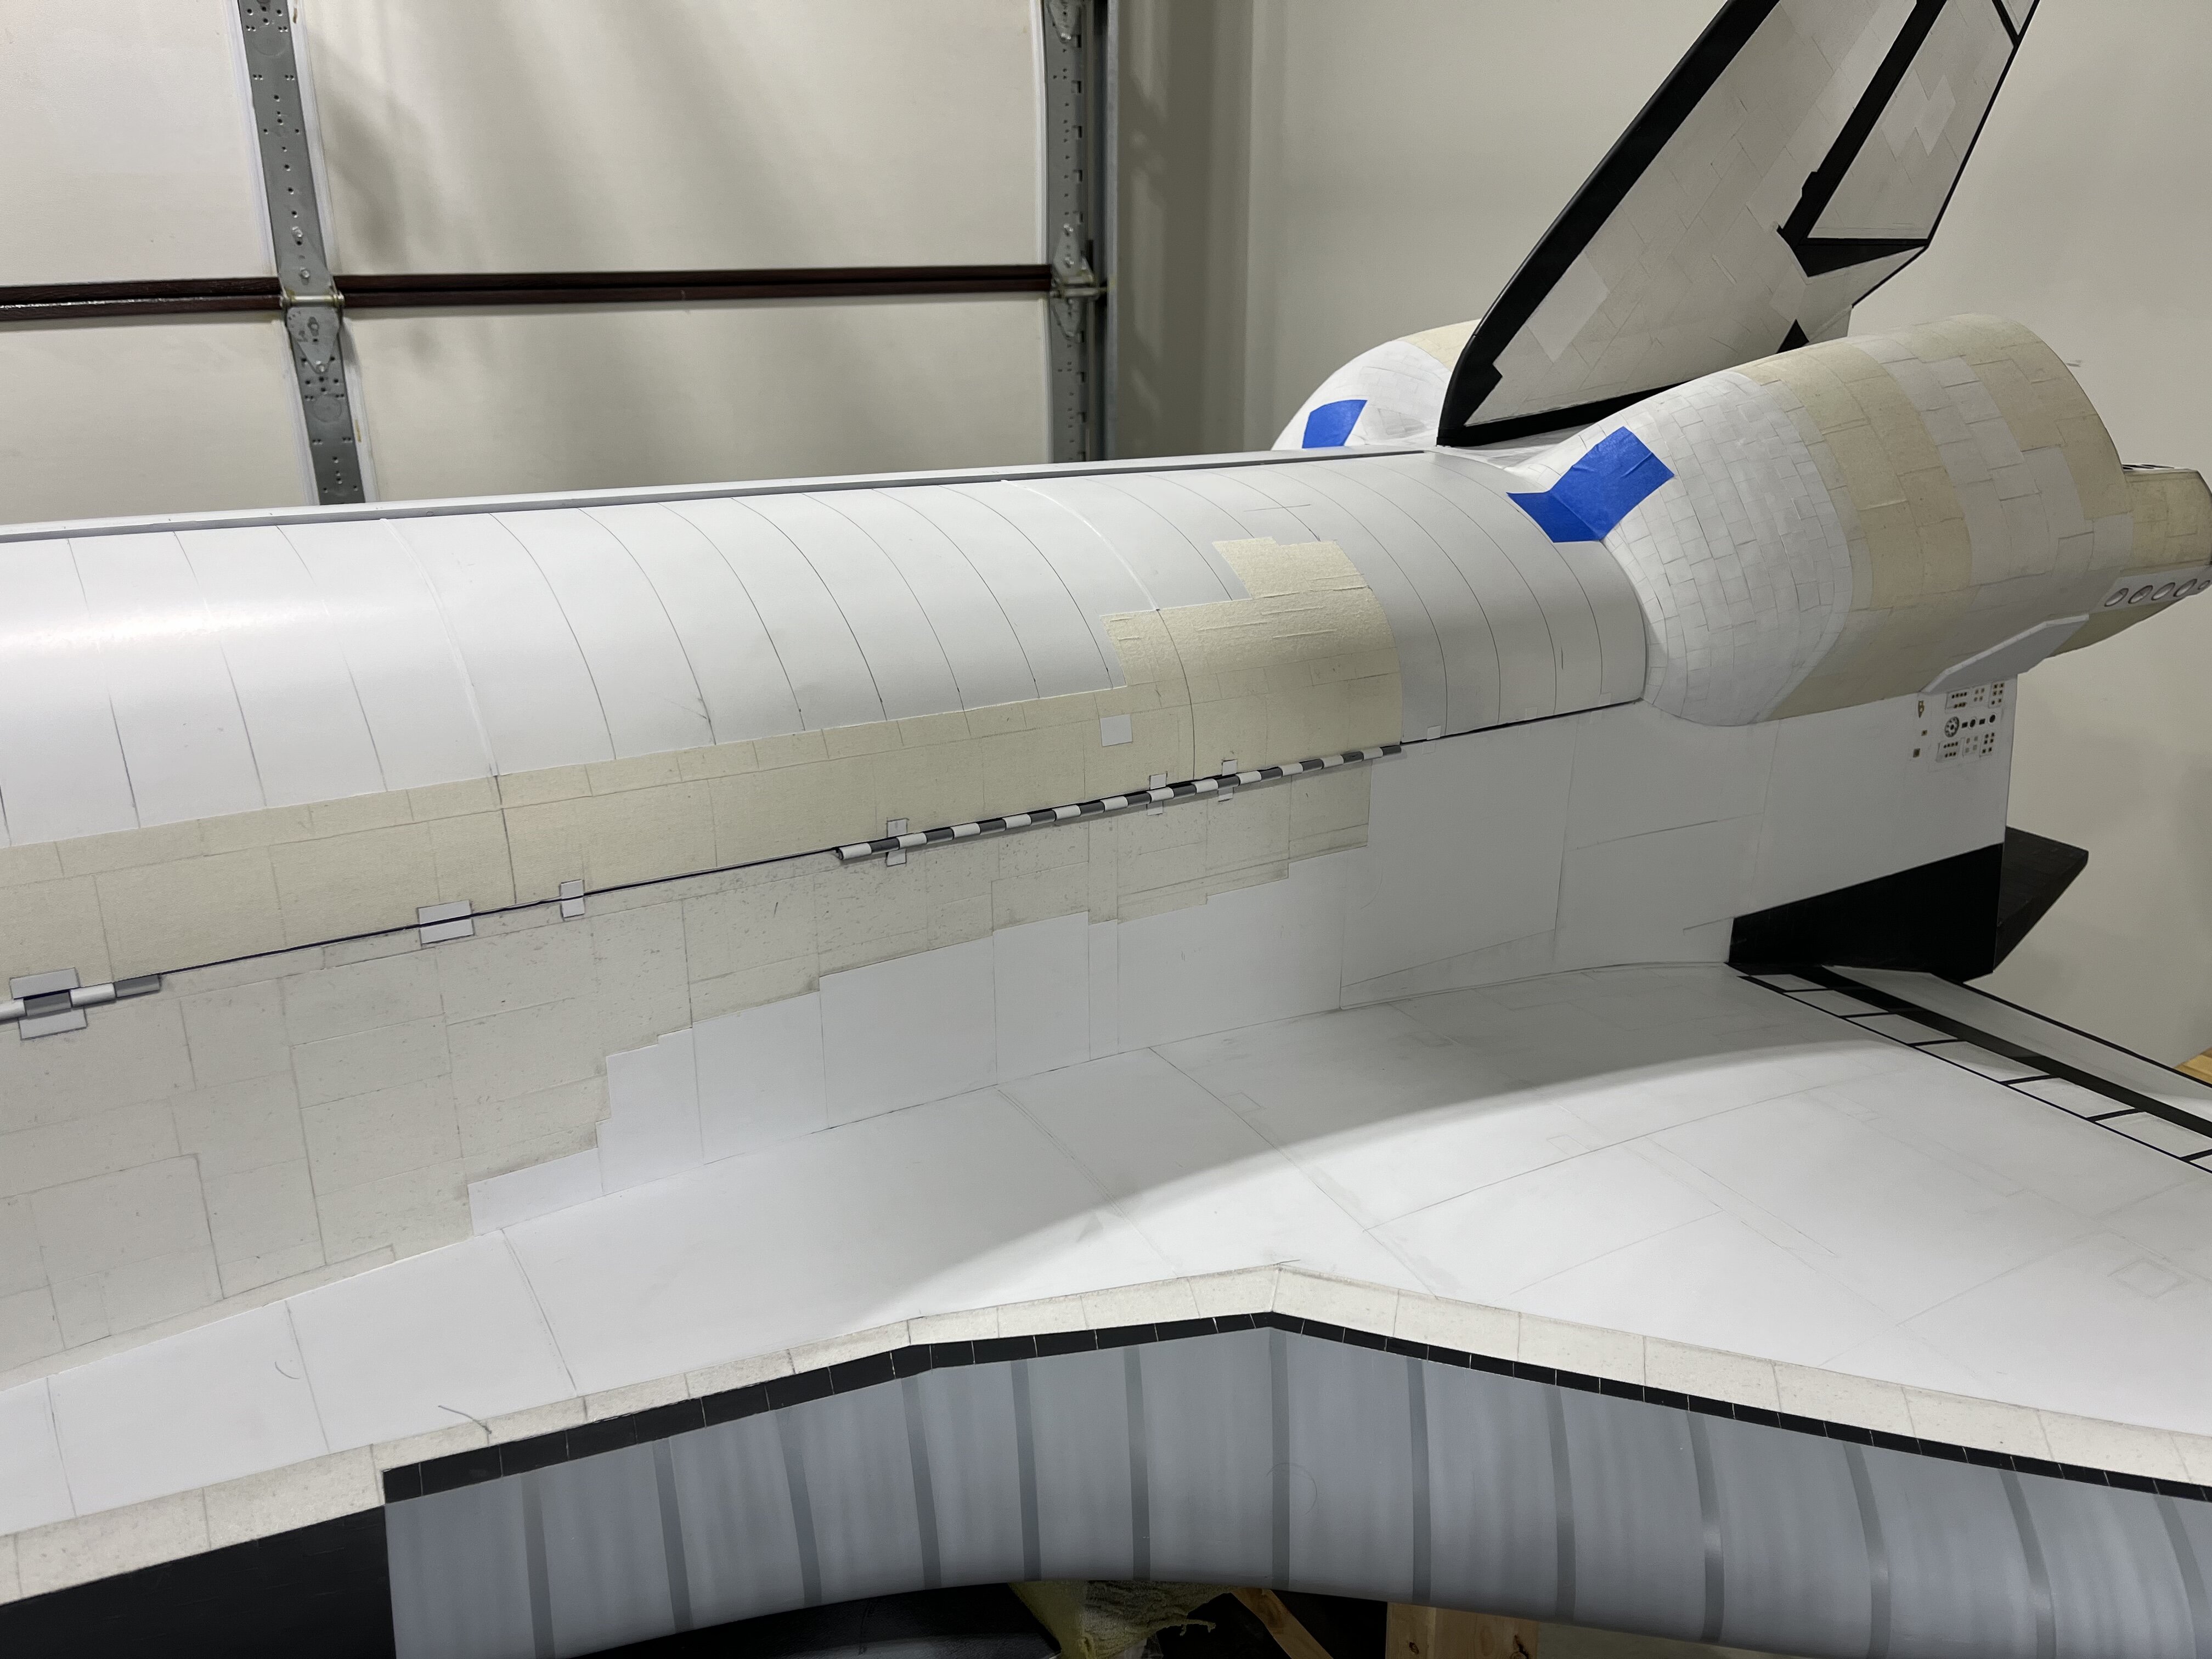
1/15th scale Space Shuttle Atlantis
Bradley25mm replied to Bradley25mm's topic in Space, Sci-Fi & Fantasy
Thank you Dick. This was a once and a lifetime opportunity to work on a piece of NASA history. Thanks for having a look. -
1/15th scale Space Shuttle Atlantis
Bradley25mm replied to Bradley25mm's topic in Space, Sci-Fi & Fantasy
Mission accomplished! 611 hours. Thanks for having a look. Meeting Col. Wilcutt was the highlight of my year.
-
That is gorgeous.
-
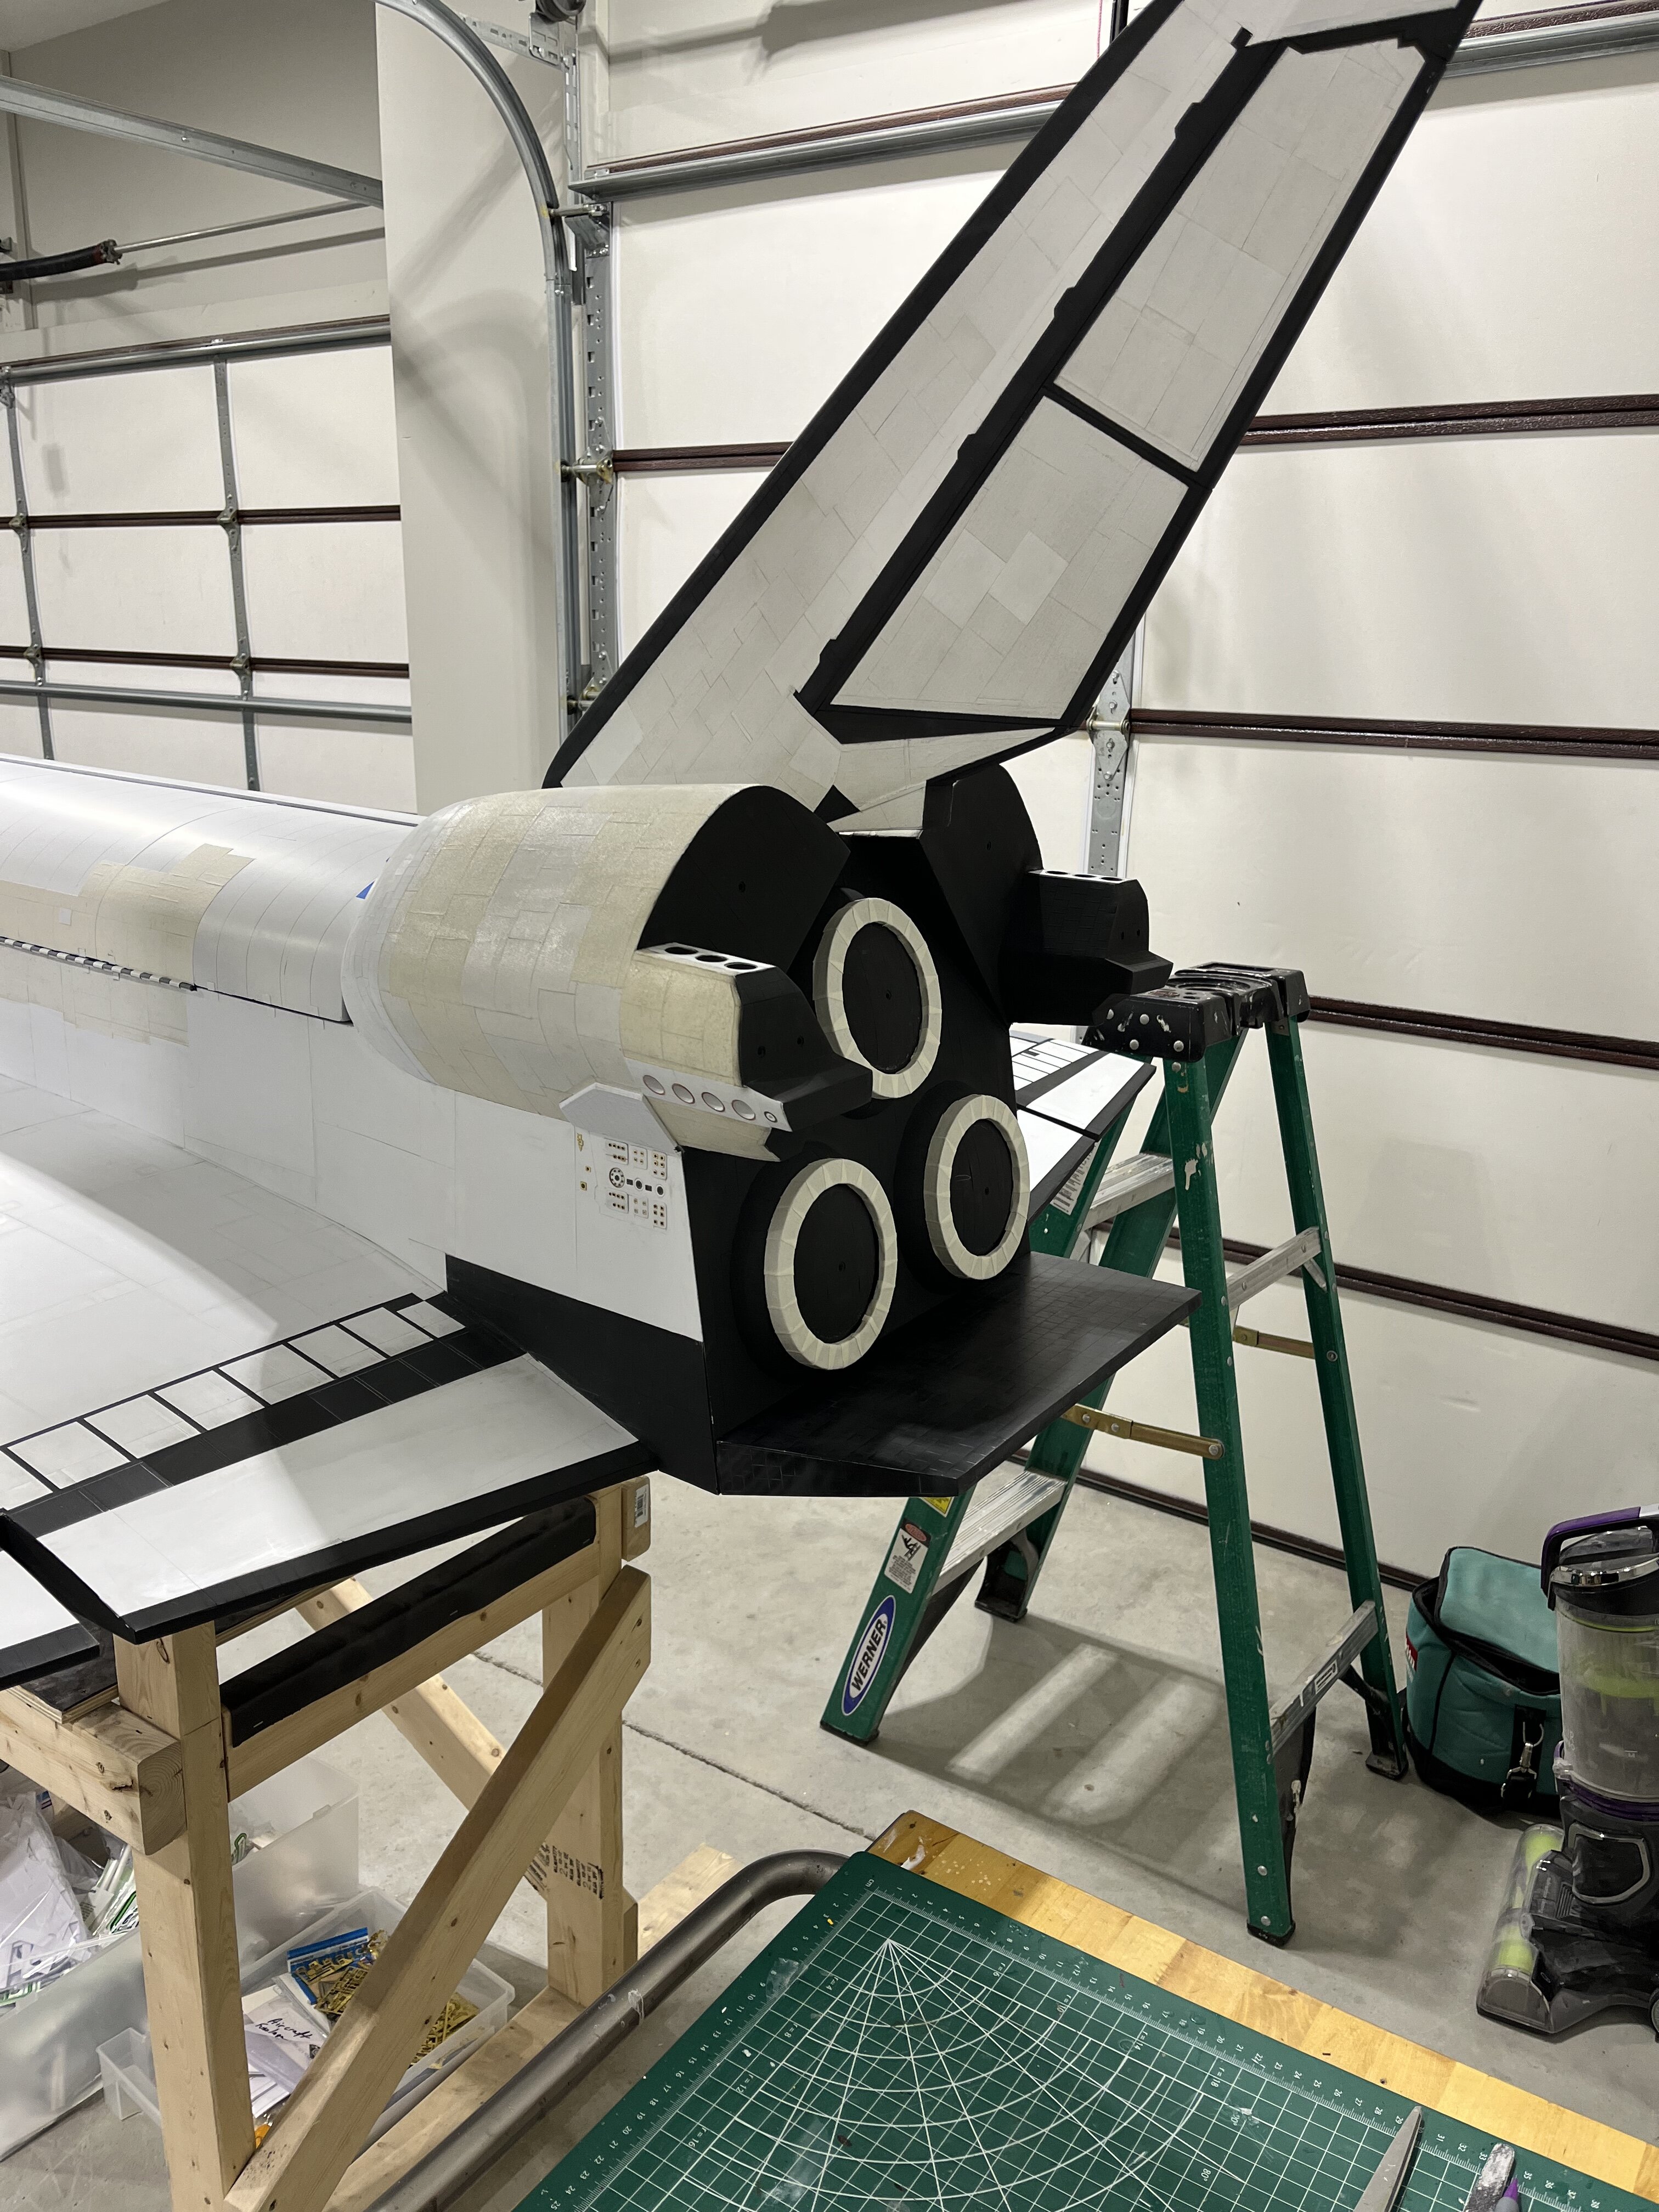
1/15th scale Space Shuttle Atlantis
Bradley25mm replied to Bradley25mm's topic in Space, Sci-Fi & Fantasy
Getting ready to paint. The vertical stabilizer and beaver tail have been permanently attached. Currently working on the payload bay doors. Thanks for having a look
-
You sir, have some impeccable scratch building skills. Thanks for sharing. Chris