Bradley25mm
-
Posts
469 -
Joined
-
Last visited
-
Days Won
30
Content Type
Profiles
Forums
Events
Everything posted by Bradley25mm
-
Love the Eduard photo etch. Looks Great! Did you apply a light wash to the cockpit walls? Chris
-
That’s a great start Greg! How hard was the construction of the intakes? Chris
-
Looking forward to pics of your build. F-18 is my favorite fighter. chris
-
Congrats Dave on another phenomenal build. By the way, if I ever had bourbon on my work bench, I’d never get anything done. 🤪 Chris
-
Great finish Oliver. It’s a stunner for sure! I really admire your figure work. Chris
-
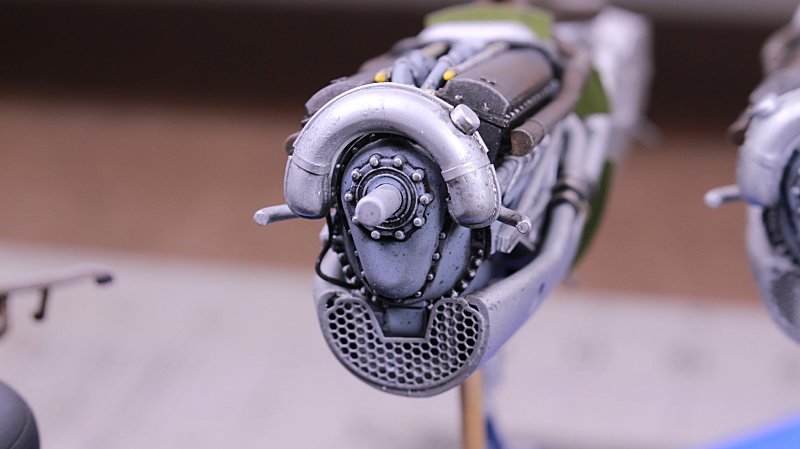
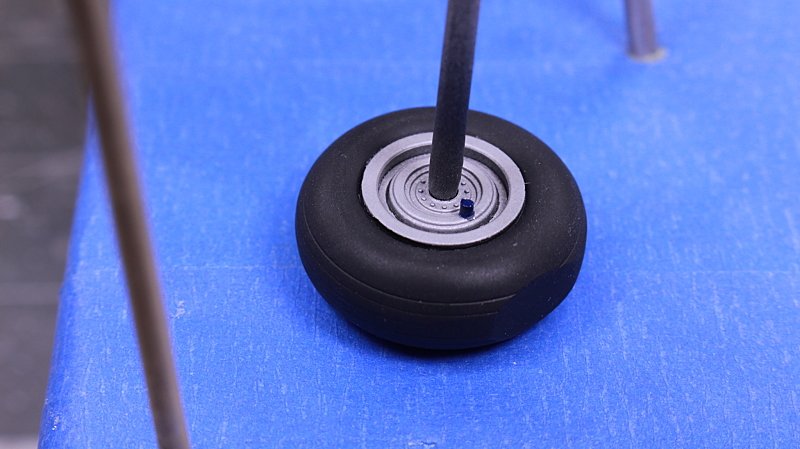
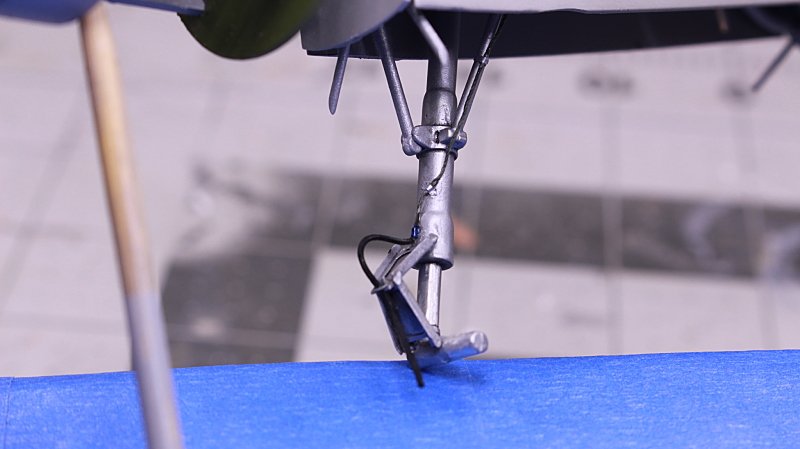
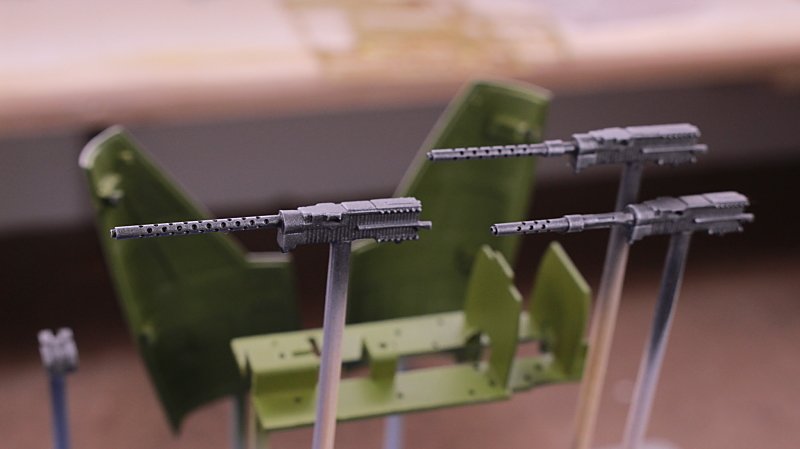
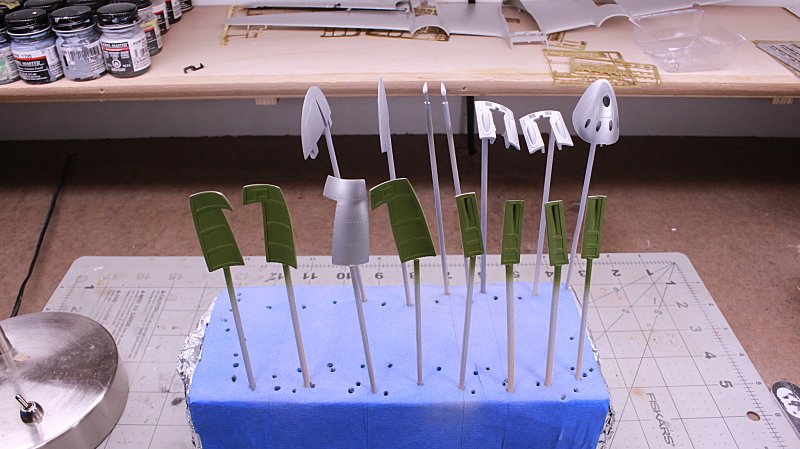
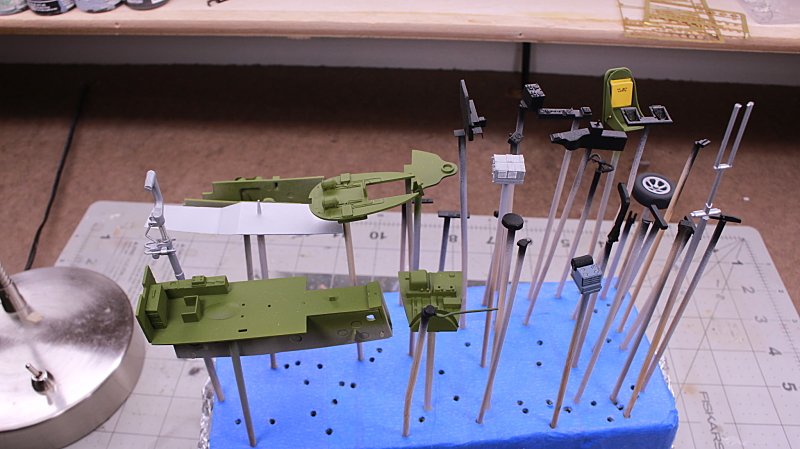
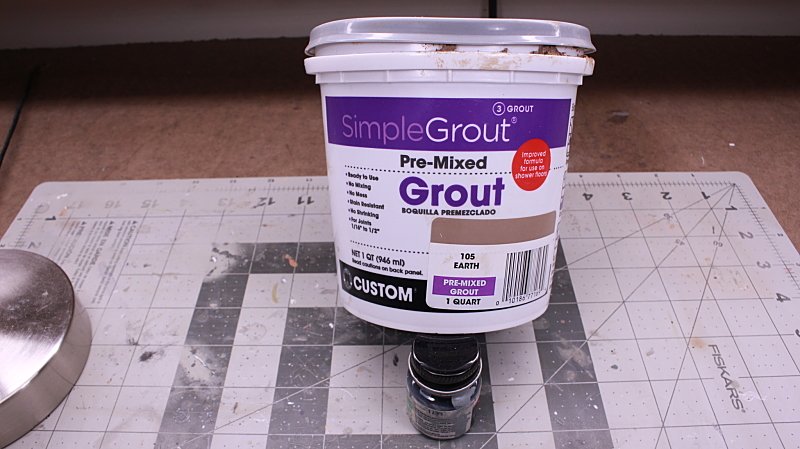
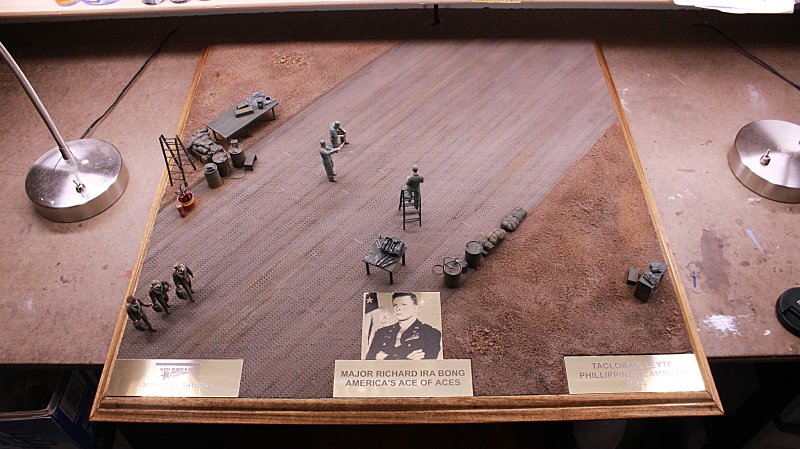
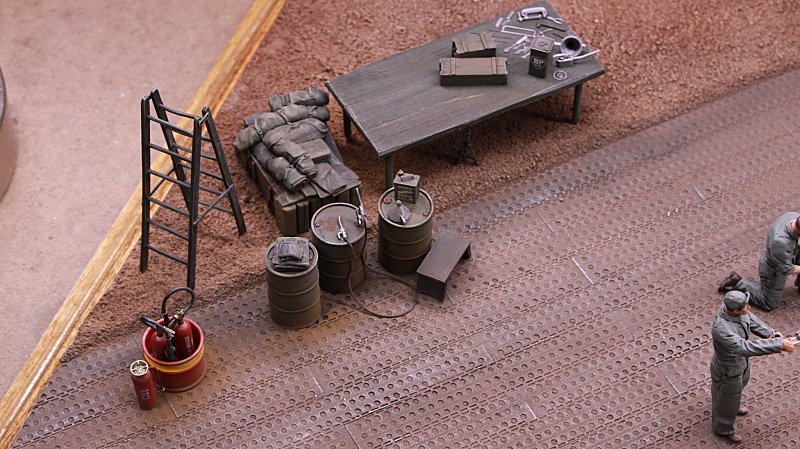
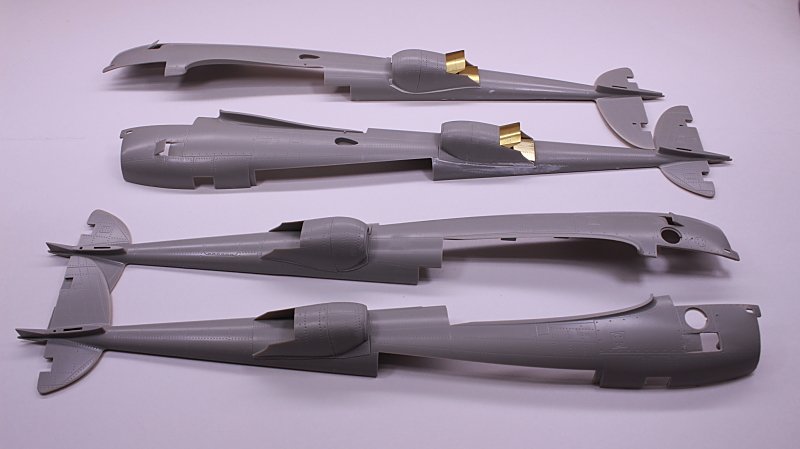
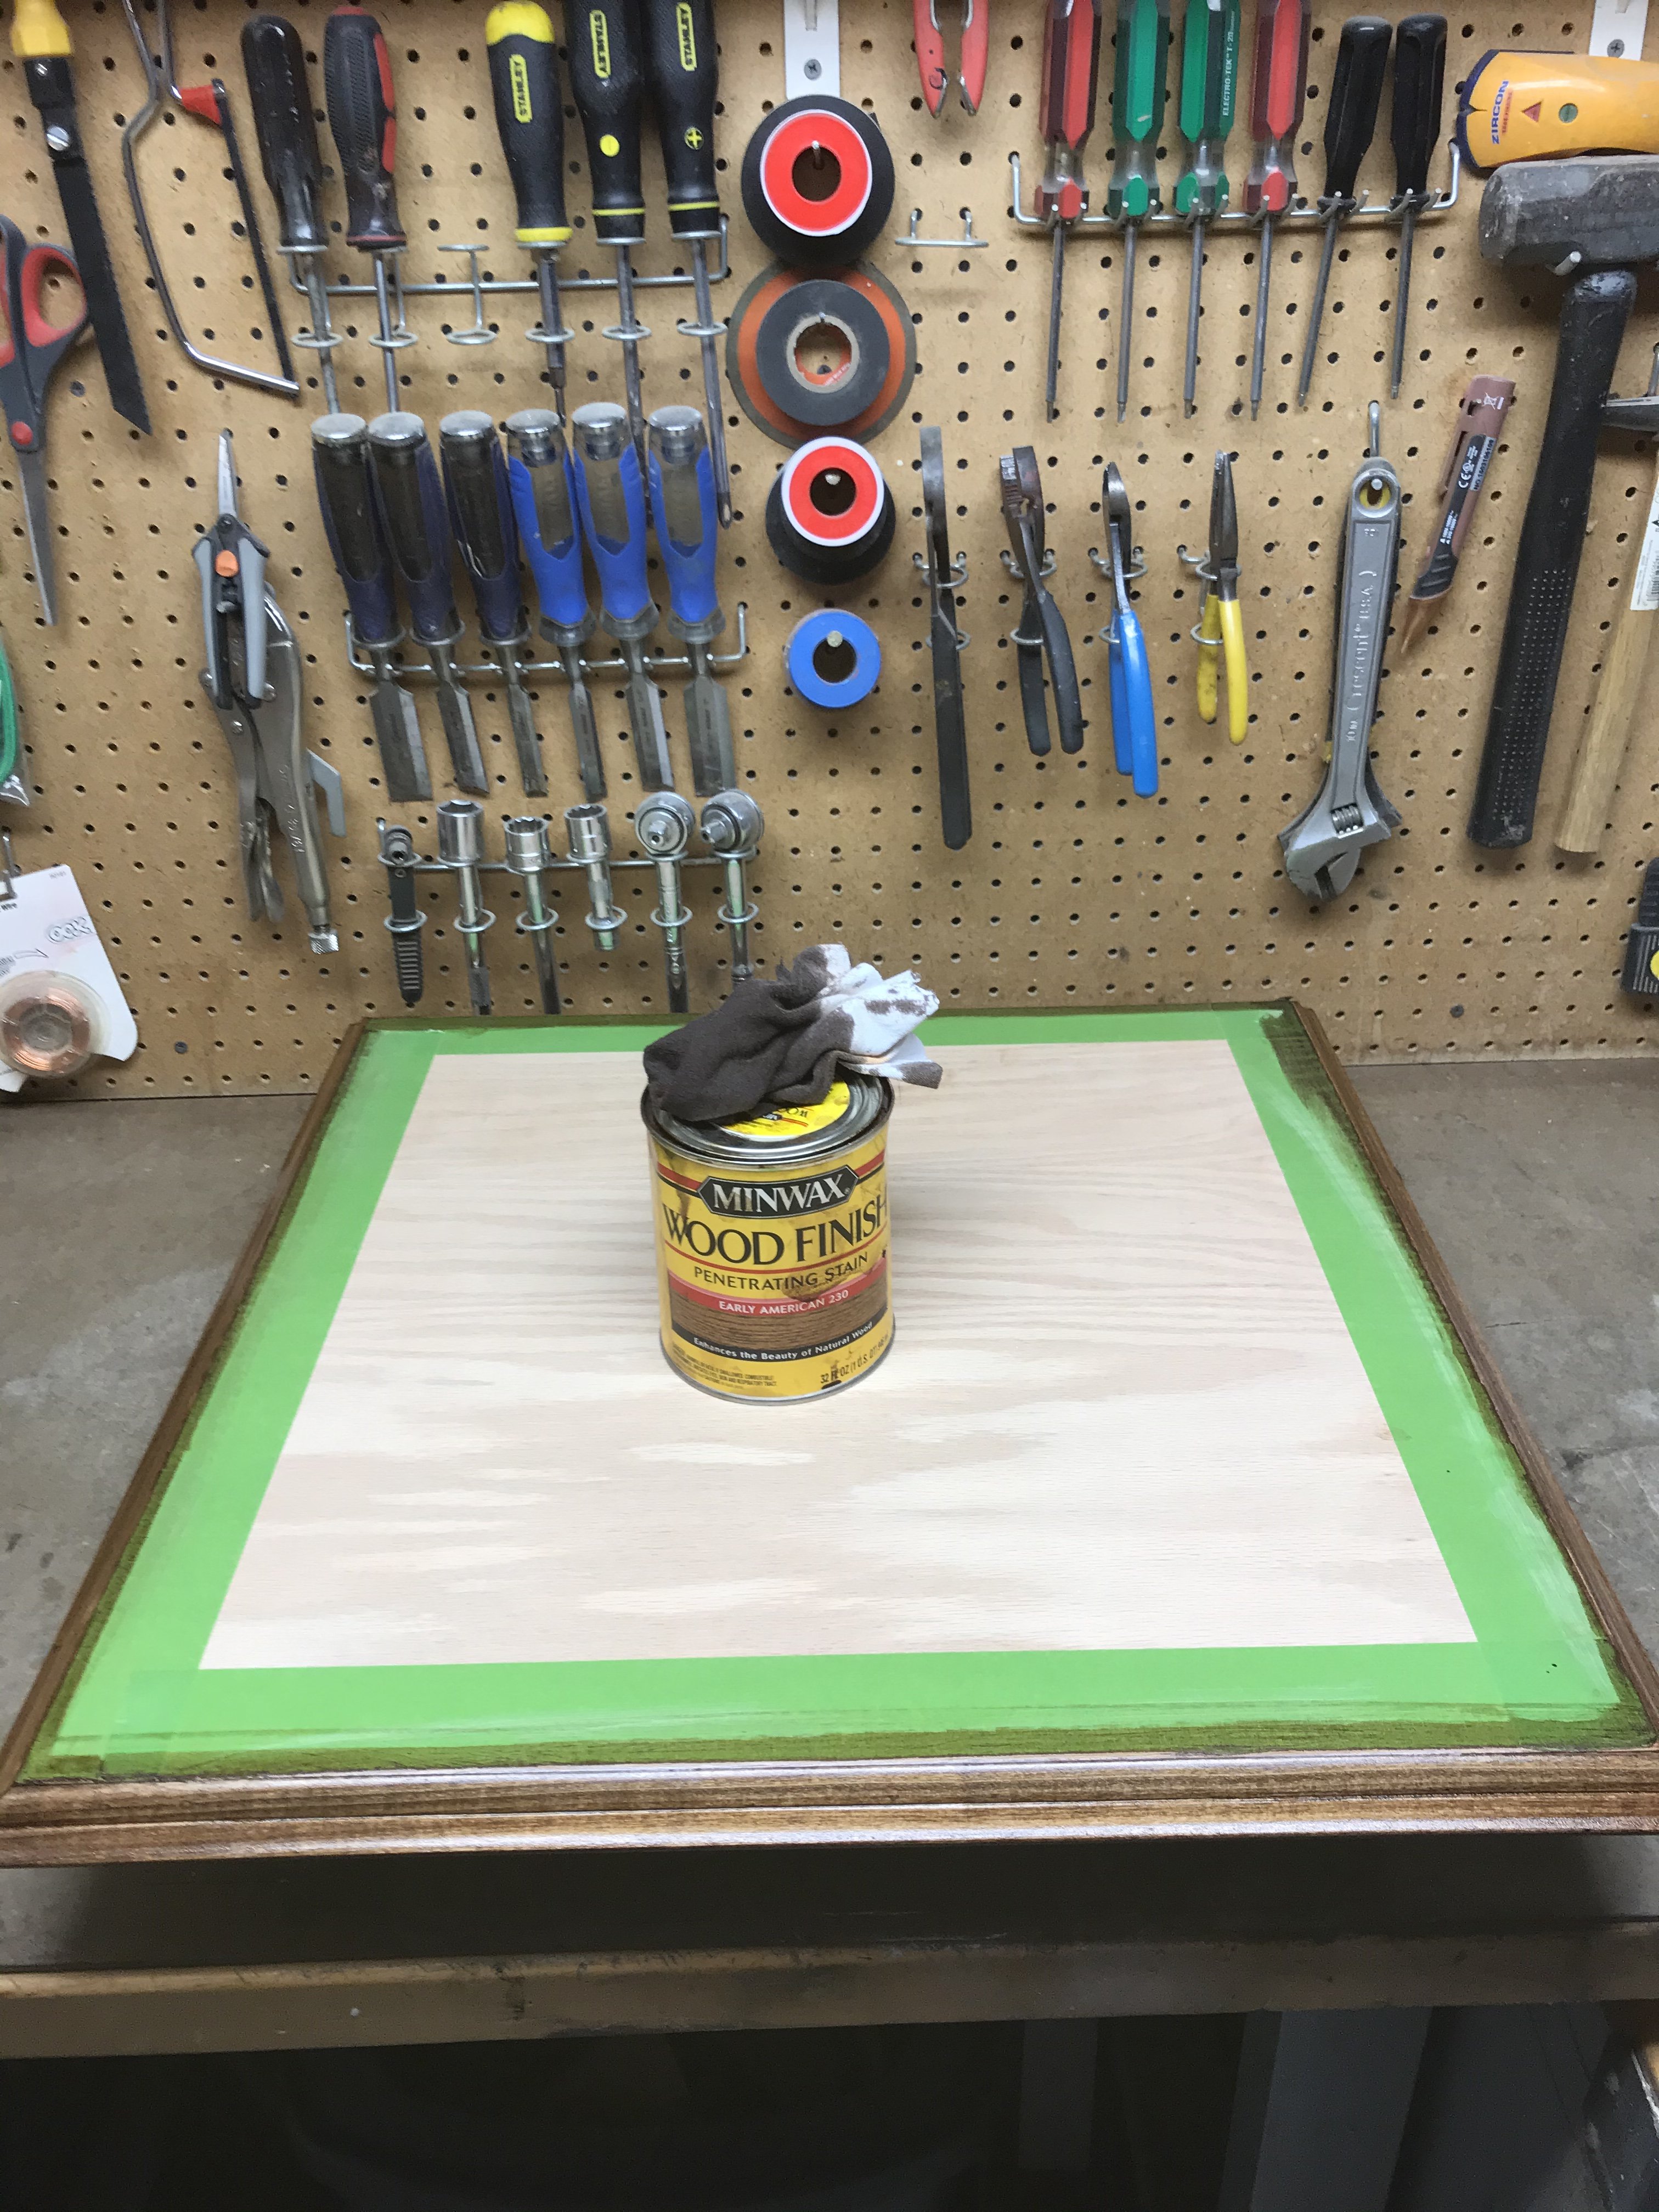
All that's left to do now, is dirty everything up, and put it together. It always amazes me that Trumpeter will provide a detailed engine, but no way to show it. I detailed the entire thing even though some of the detail will be hidden. To simulate rubber hoses and clamps, I used electrical tape, and photo etch scrap. Since I'll be showing these, I had to scratch build the header tanks that sit on top of the reduction gearboxes. I went thru my model stash to find the thickest piece of sprue I could, heated it, and used a large razor knife handle as a jig. I dressed them up with spare parts from my photo etch stash. The "seam" that goes around the tank, is heated sprue that was stretched out. Added hydraulic lines/hoses to the landing gear. I'm using Tamiya Bare-Metal silver for the main color. After a small "mishap" with the base, I finally finished it. I used pre-mixed sanded grout, as the ground work. First thing I did was put tape where the decorative plates would go. I applied it directly to the wood with a small spatula. After every thing was smoothed out, I stippled the surface with a large paint brush. I added sifted kitty litter to a few spots while the grout was still wet. Last thing to do was carefully remove the tape while the grout was still wet. It was painted with several shades of Tamiya brown. A heavy wash of artist oils (burnt umber) thinned with mineral spirits was applied to the ground work only. After the wash dried, I dry brushed it with Naples yellow hue artist oil. Chris

-
Thanks Gil, for the very detailed reply. Chris
-
The finish is amazing! Just curious, how long did it take you to prep, and paint the fuselage colors? What was your final grit of sanding medium you used to prep it before you shot on the Alclad ? The painted Yellow and black stripes really make it all pop. Chris
-
I’ve always had a hard time replicating rust. I was at the hobby store last week and saw this on the shelf, and decided to give it a try. It’s amazing. When I painted the base, and the turbo chargers, I shot it through my airbrush with no thinning. All you have to do is turn up the pressure a little. After everything was dry, I dry brushed everything with silver. When I prepped the parts, all I did was prime them with Tamiya primer. This is absolutely the easiest stuff to use. Give it a try if you haven’t already. Regards Chris
-
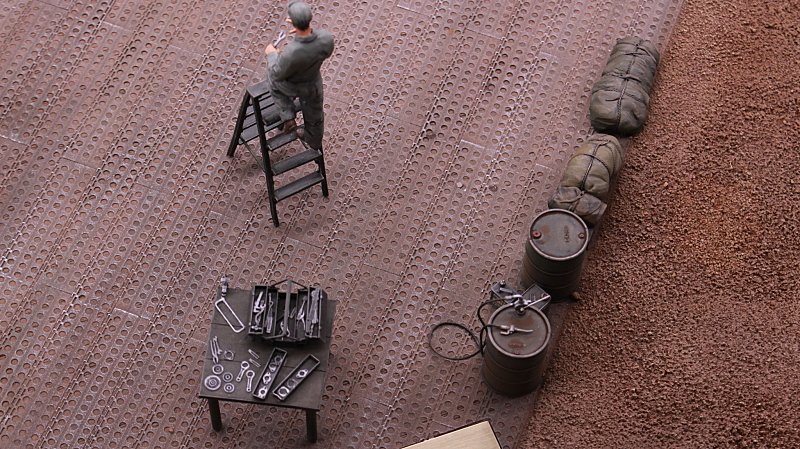
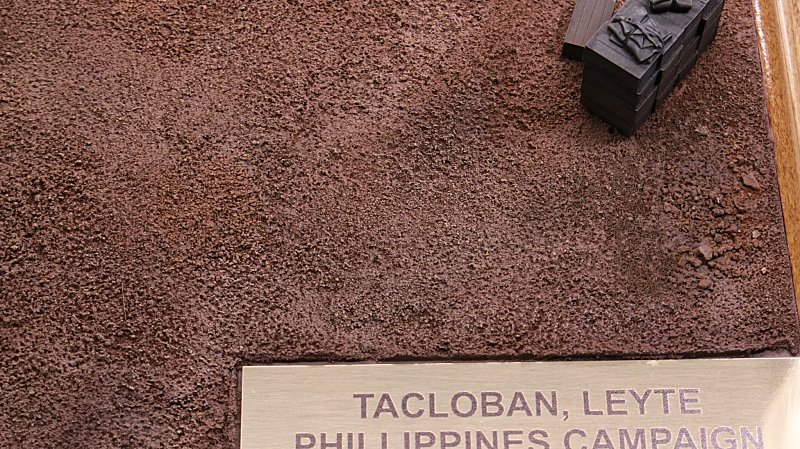
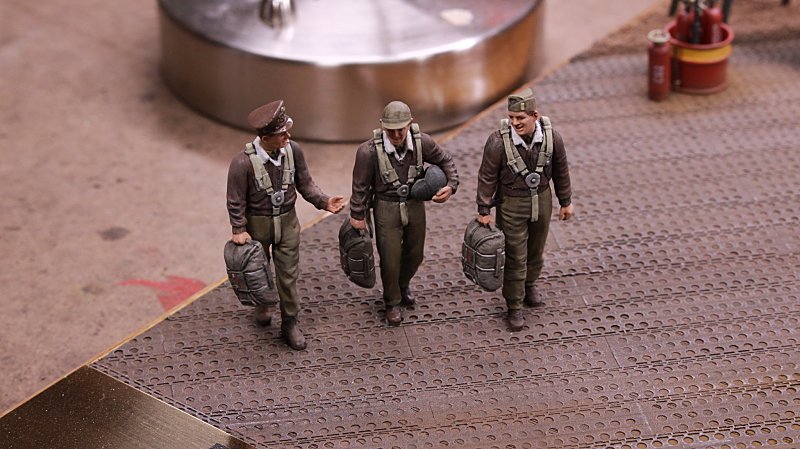
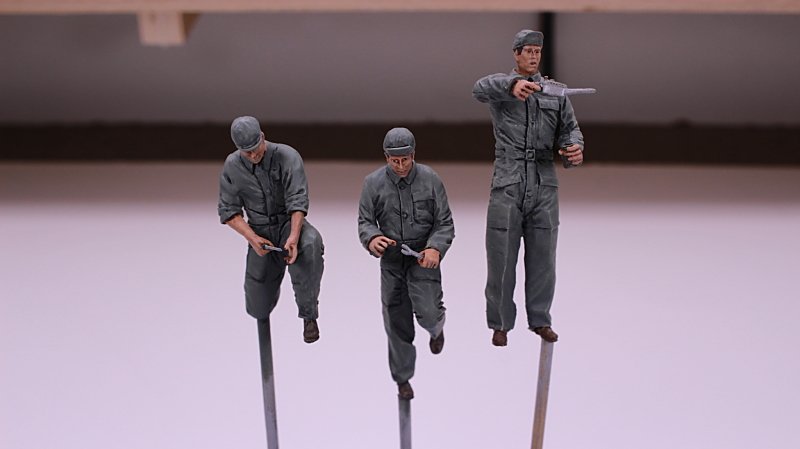
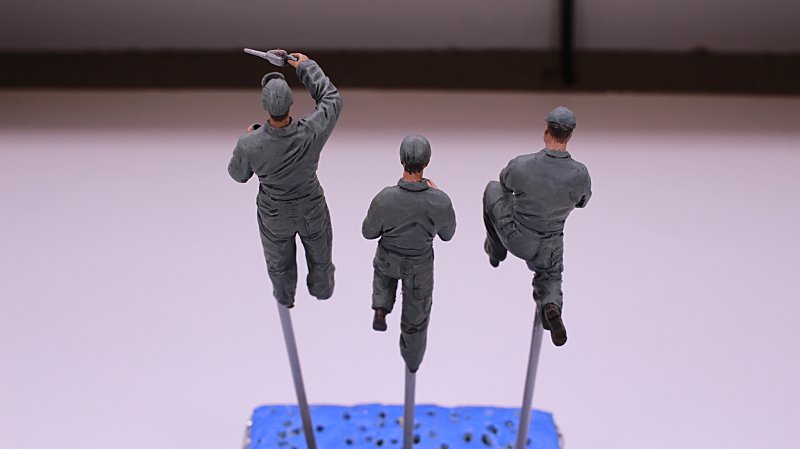
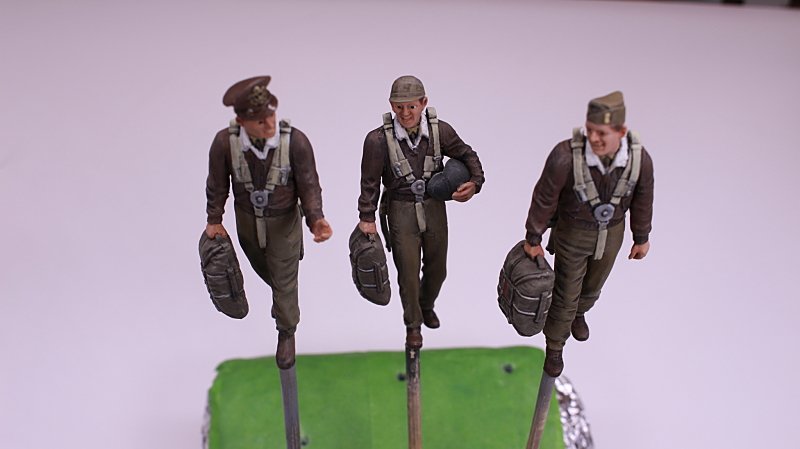
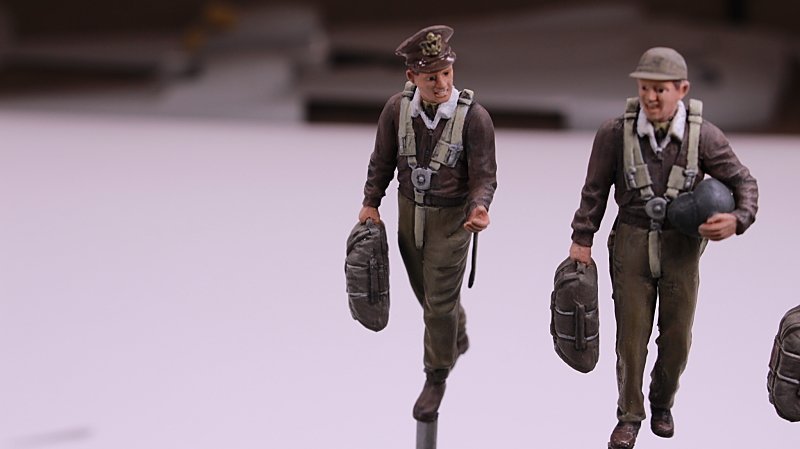
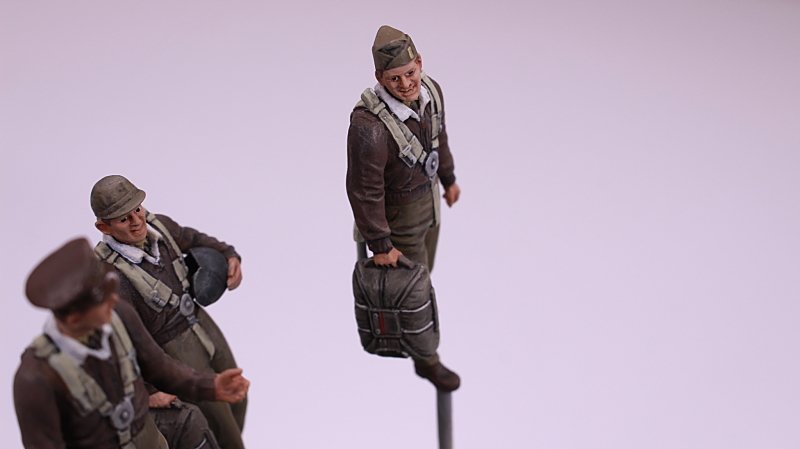
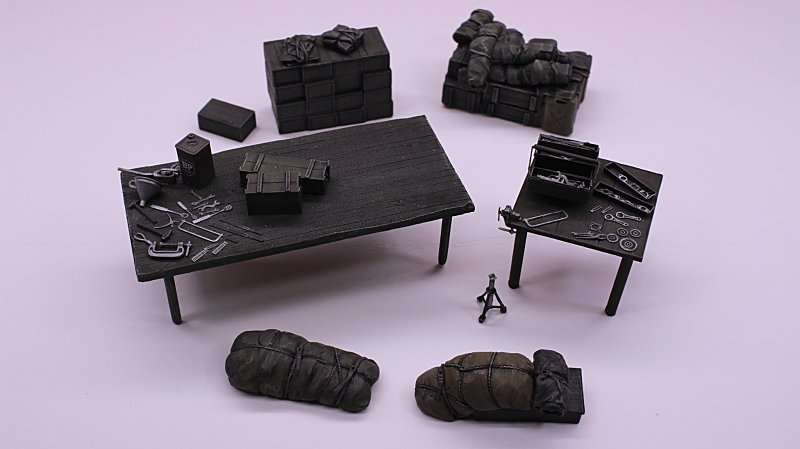
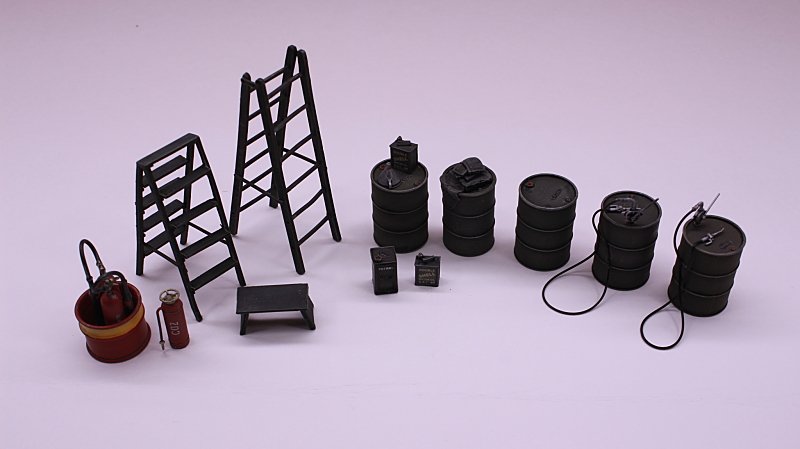
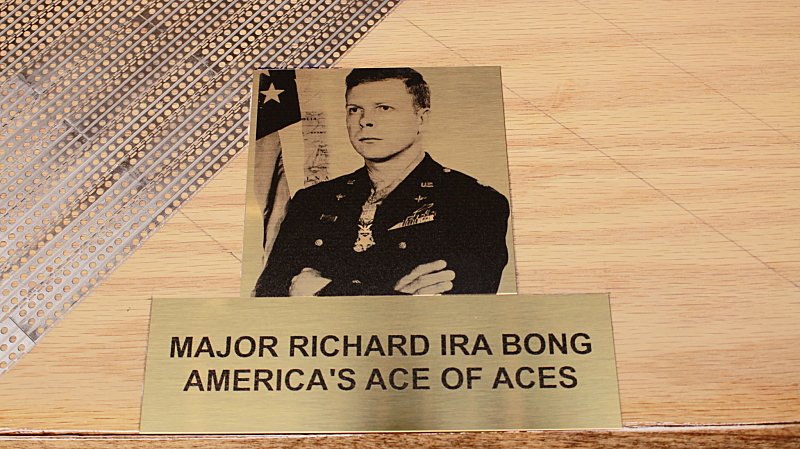
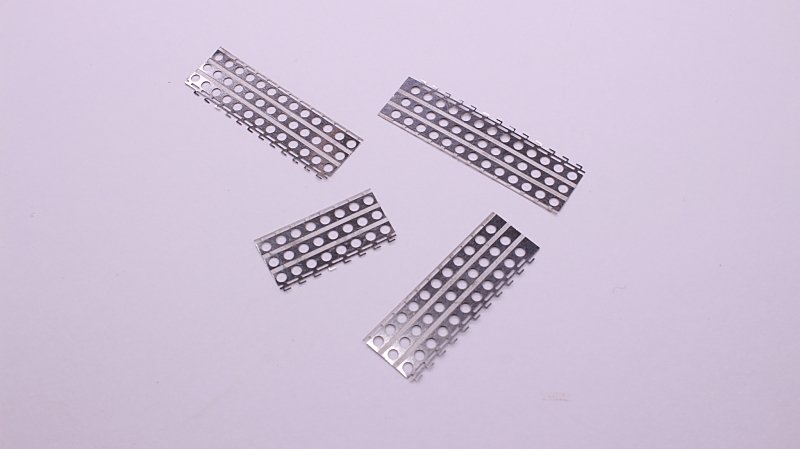
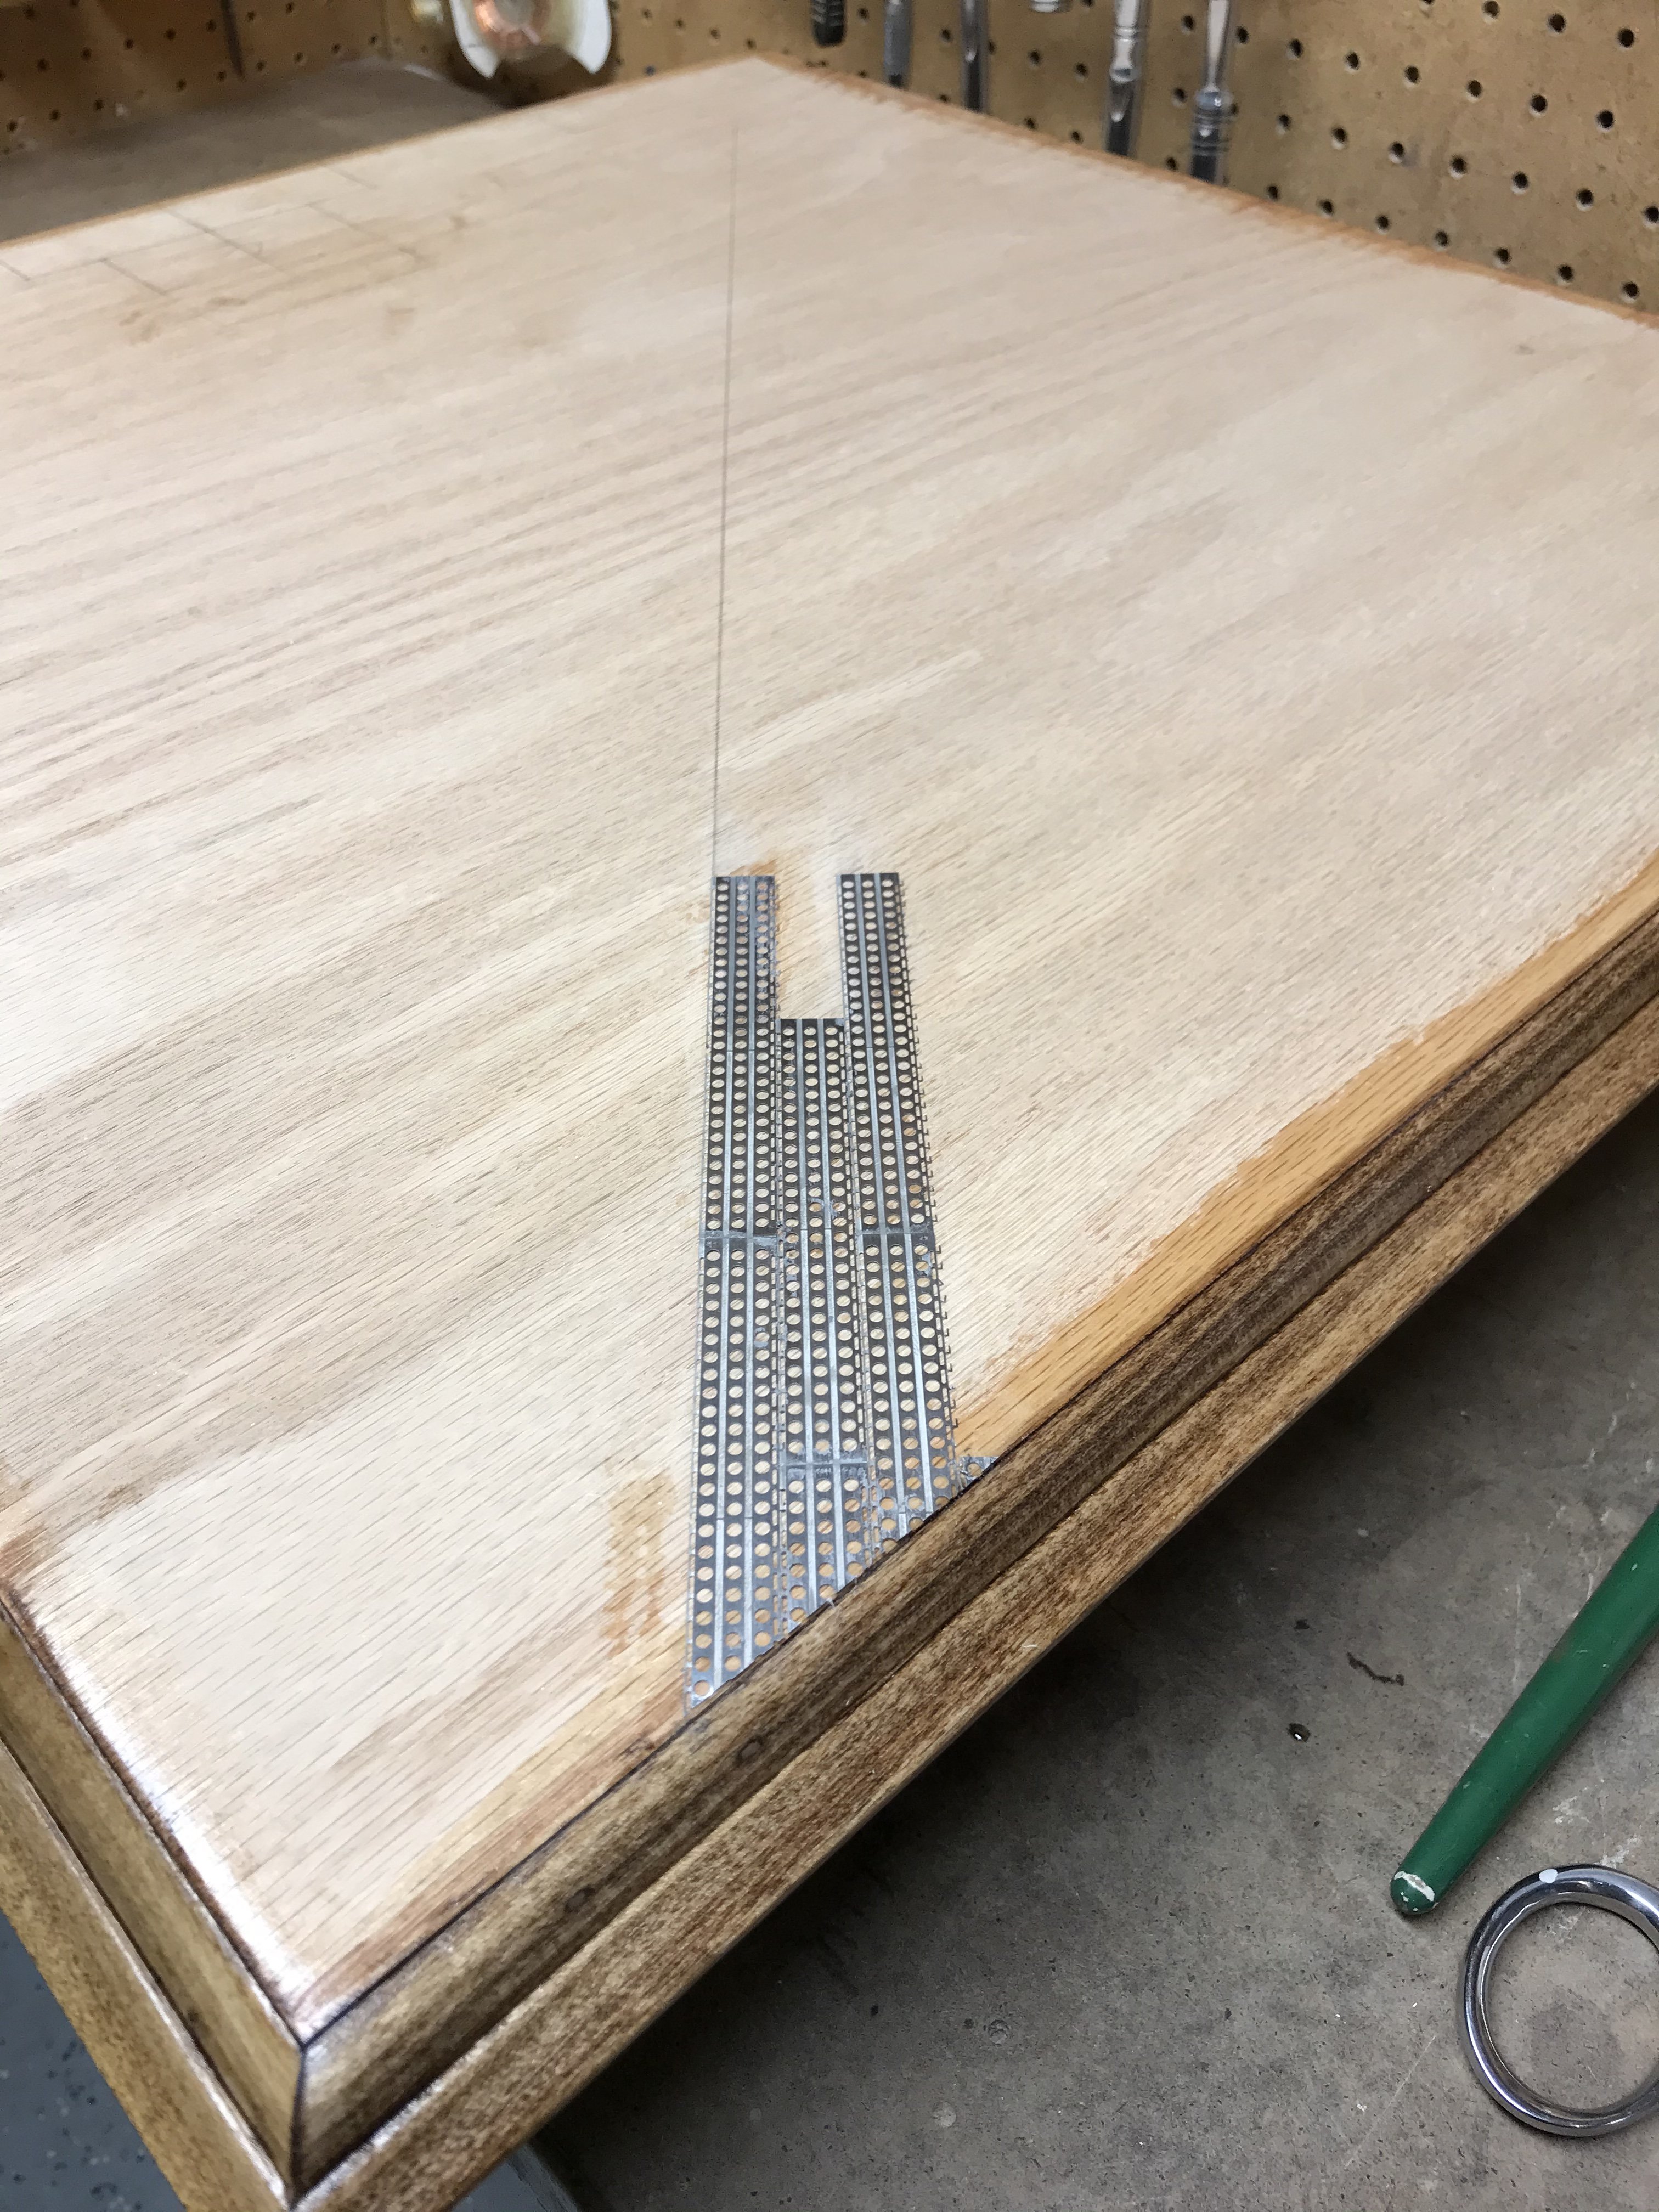
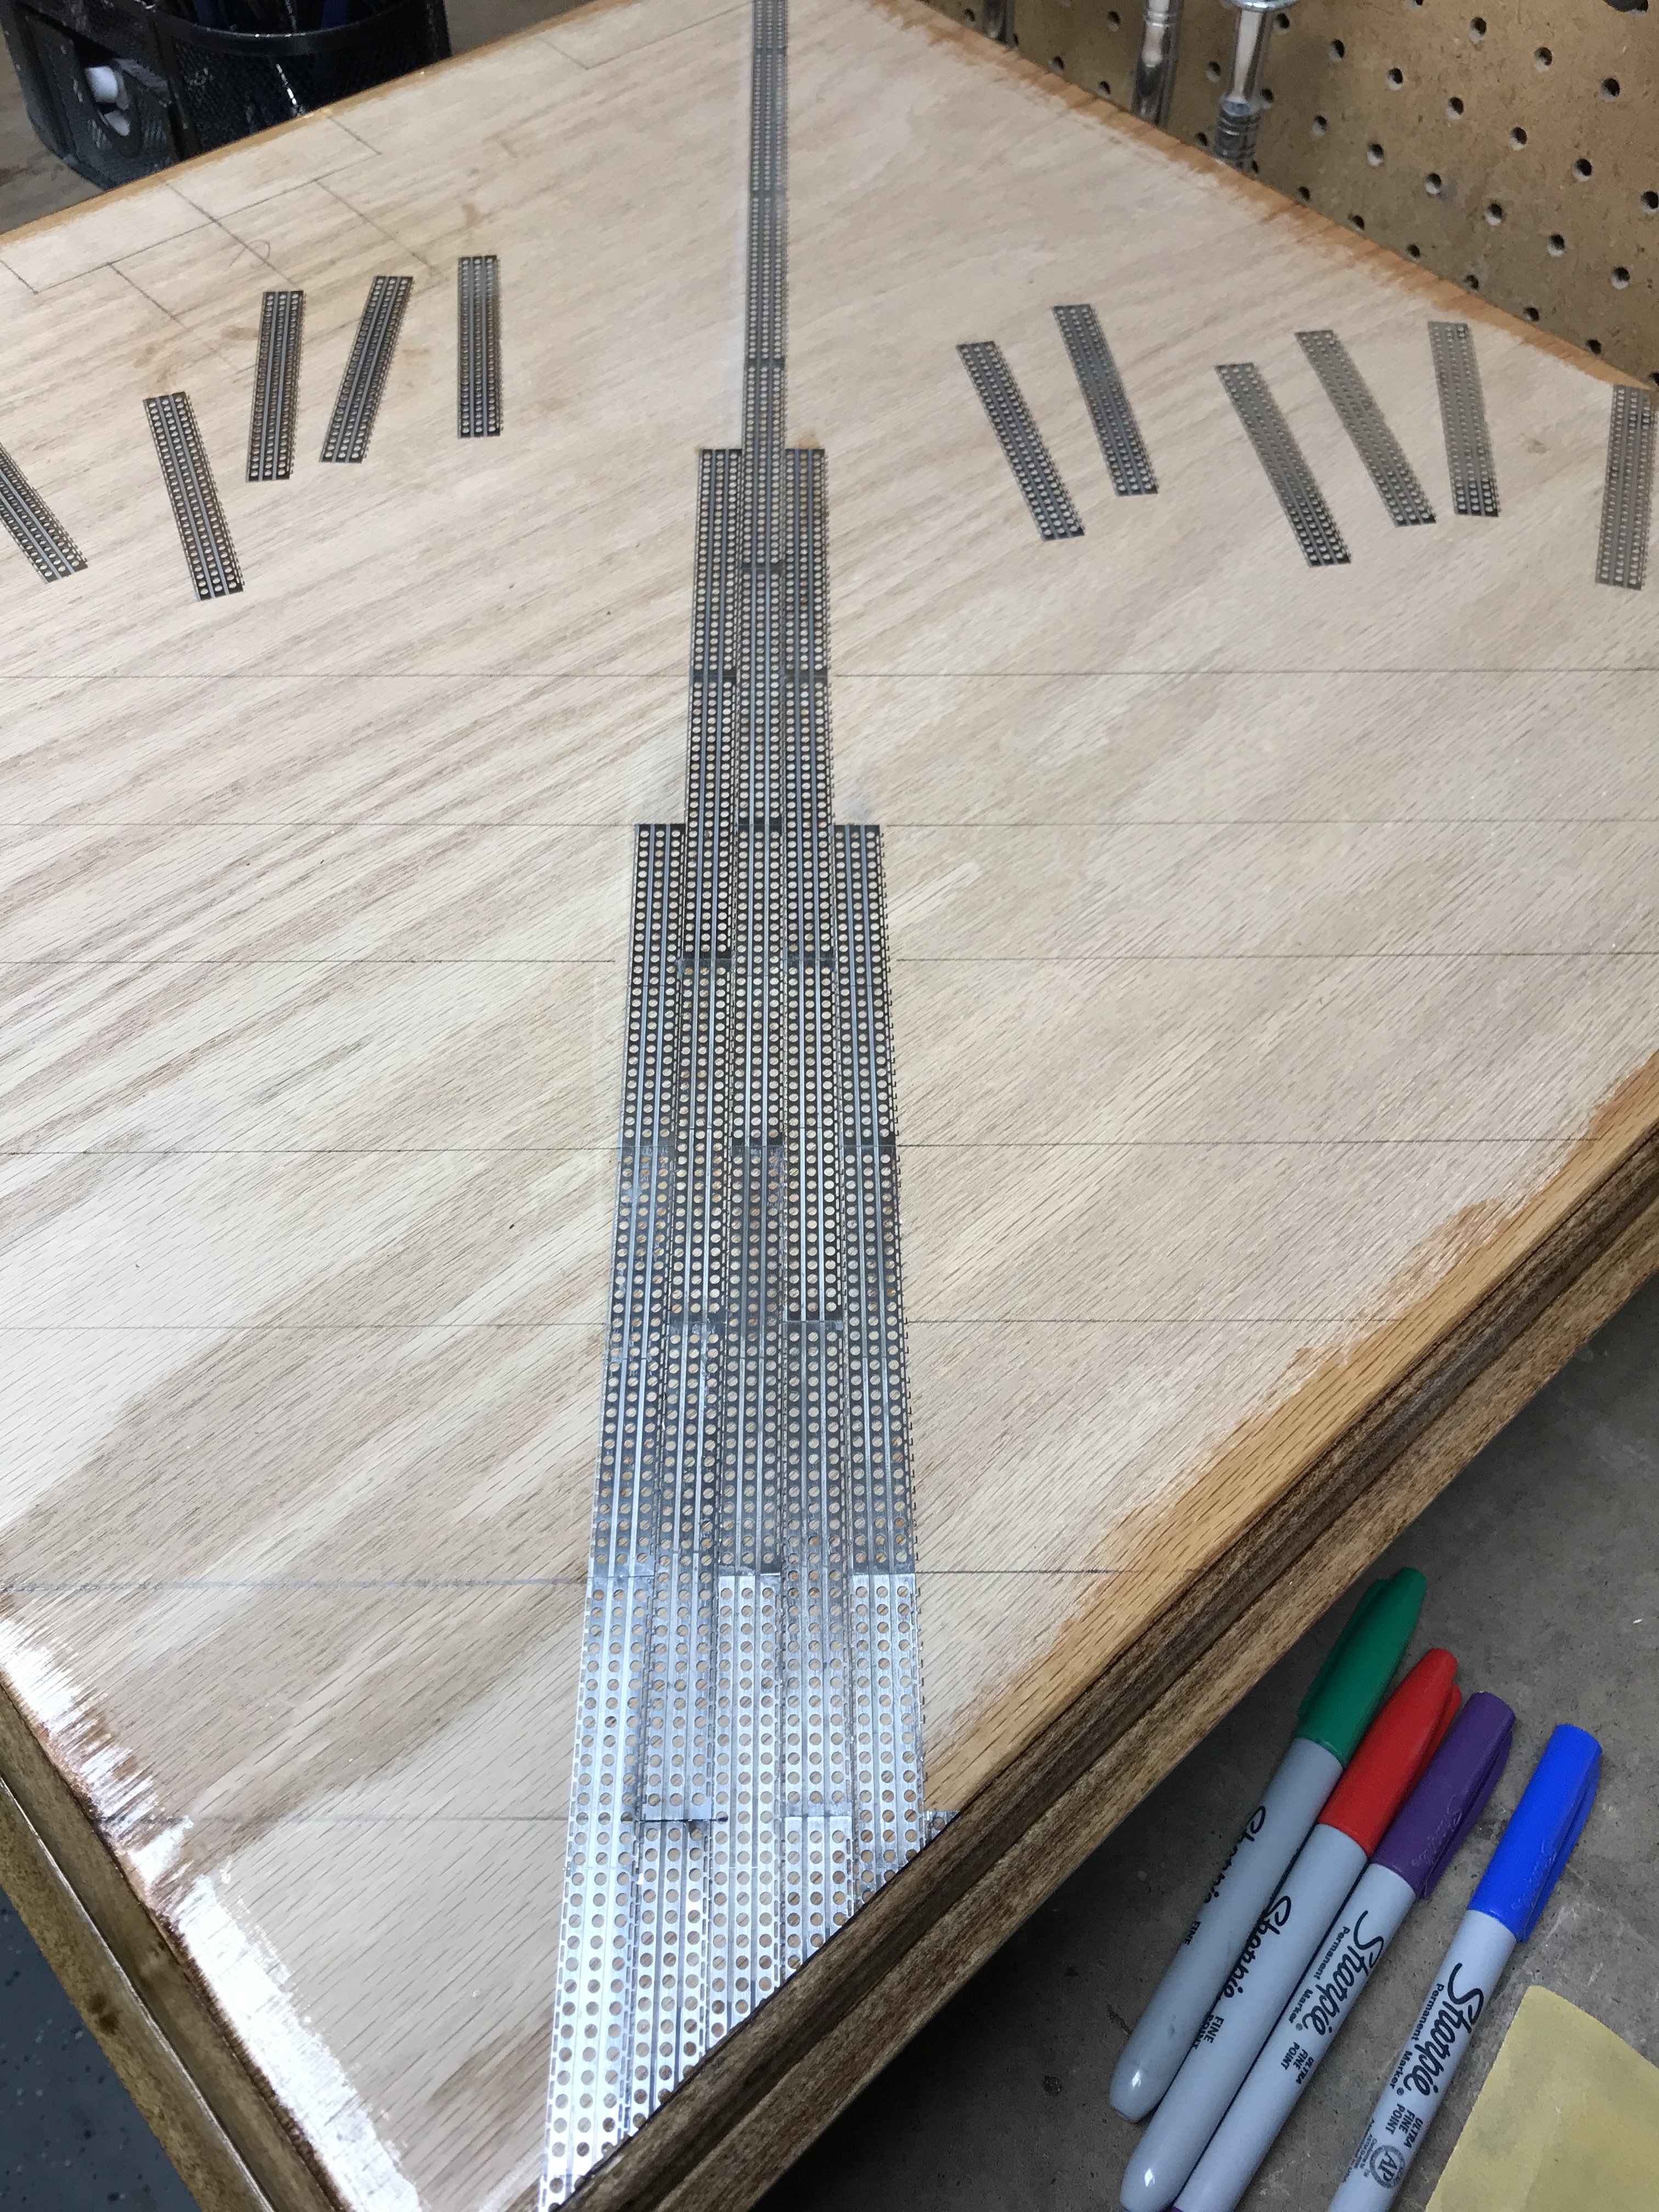
I applied the final coat of polyurethane on the trim of the base. I normally only apply 1 coat. This trim has 3 coats, sanded between coats. I've laid all the photo etch Marston Matting that I have on hand. I'm waiting for the last 4 sets to come from Tom's Modelworks. The pieces are pretty delicate when you handle them. The hooks are easily bent if you bump them. I used tweezers every chance I could to reduce damage. The instructions state that you should leave them on the frets until your ready to apply them. It cut easily with scissors. The base is furniture grade plywood. I final sanded it with 220 grit sandpaper. I wiped down the plywood with a damp cloth of Mineral Spirits to get all the fine sawdust up, before gluing the photo etch down. I used Loctite super glue to attach them. I used several photos of the actual runway as a reference. The most important task is to make sure the joints are staggered when you start out. Although I used a reference line to start the runs, its not perfectly straight. Actual photos looking down the runway show that it pretty wavy. Once the surface was leveled and compacted, the pieces were put down one at a time. Each piece was about 66 lbs. Each piece measures 10ft long x 15in. wide. Once I get all the pieces laid, I'm going to apply a thin coat of sanded grout on both sides to simulate dirt. I'm going to use kitty liter to simulate small rocks on each side, The figures are a mix of Black Dog, and ICM. The tools are from MiniArt. The ladders and small table are from Black dog. The large table was scratch built from balsa wood The ammo crates, and tarps are from Value Gear. The kit itself comes with a lot of photo etch parts. I did purchase several Eduard kits to improve the interior, exterior, and gun bay. The plaques from the Trophy shop turned out great, I thought. Chris
-
Ron, You make those old kit look fantastic. Great finish! Chris
-
Looking great! Keep those pics coming. Ejection seat👌👍. Chris
-
Excellent finish my friend. Chris.
-
Most impressive build. Love the diorama. Chris
-
Finally got around to starting the base. I purchased Martson Matting from Tom’s Model works. I’m not going to do the entire base, but a good portion of it. I’m going to use sanded grout on the side to simulate dirt. The decorative brass plates are being made at the Trophy shop.
-
I’ve never seen this aircraft before. Probably one of the coolest kits I’ve seen. Amazing job, as always. Your attention to detail blows my mind on all of your builds. The different shades of green on the wings really stands out Chris
-
That’s A LOT of work Gil. For as rough as it looked when you started, it turned out amazing. Absolutely love the paint scheme. Chris
-
She’s a big one
-
Thanks a lot Gil. Means a lot coming from you. Chris
-
Thank you Wayne Chris
-
Impressive build my friend!!!👍👍👍 Chris
-
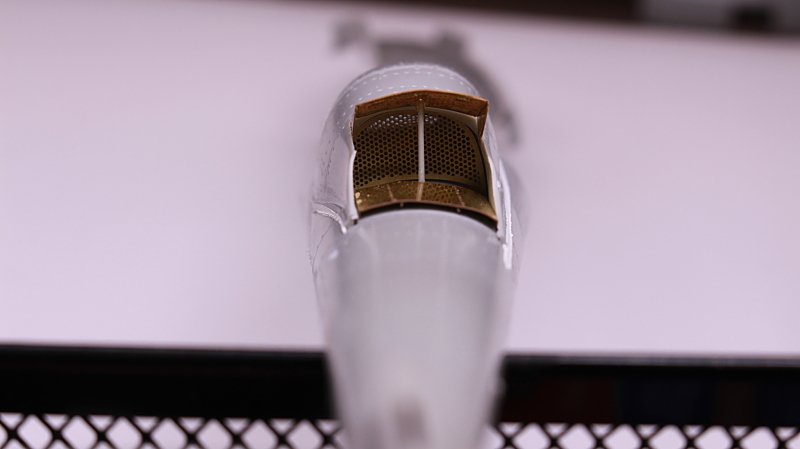
Another fantastic build. All that PE really makes everything stand out, especially on the 30mm cannon. The cockpit and optics on the front sensor ball are simply amazing. I’ve seen a lot of modelers try to replicate the look on the optics. You’ve absolutely nailed it. Regards Christopher
-
Stunning build Chris. 👍👍👍👍👍 Regards Christopher
-
Keep knocking em out Duke. Nice Build. Regards Christopher
-
Very interesting build, and well executed. The rigging makes the model “Pop”Thanks for posting. Regards Christopher