Bradley25mm
-
Posts
469 -
Joined
-
Last visited
-
Days Won
30
Content Type
Profiles
Forums
Events
Everything posted by Bradley25mm
-
Looks great to me Ed. A very interesting subject, I might add. Your photography is top notch. Keep em coming.
-
Very nice builds Ed. Love the various shades of silver used. Congrats. Christopher.
-
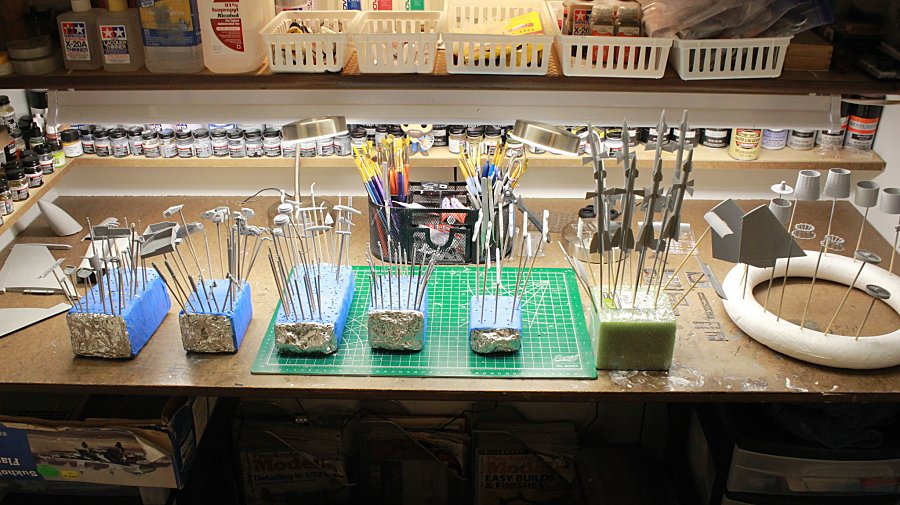
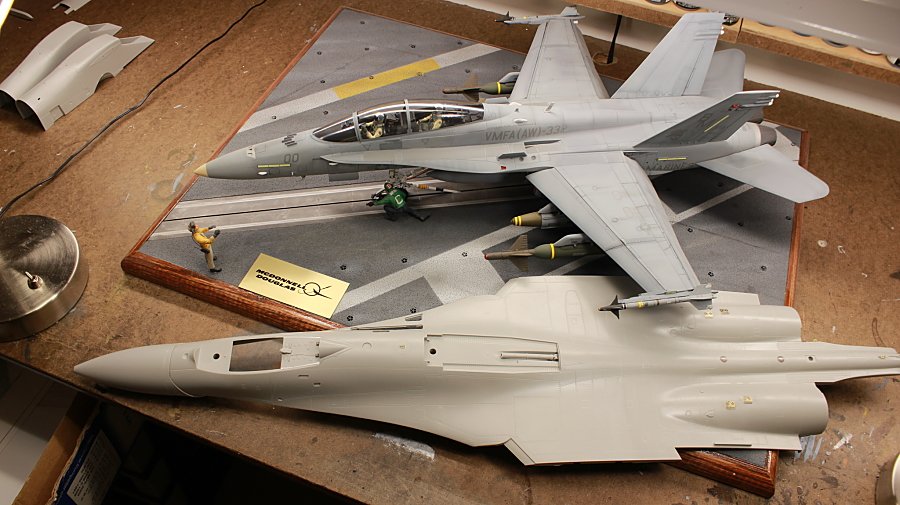
Back at it again. All the parts have been removed from the sprues, filled, sanded, and primed. The weapons took the longest to get ready. Trumpeter did a good job of not making the fins to thick on the missiles. I used several different sets of photo etch from Eduard. Interior, and exterior. She's a big one, for sure. The Hornet is 1/32nd scale. I keep on saying that I won't get another big kit, yet here I am again. The kit came with a choice of either plastic, or white metal landing gear. Due to the size and weight of the kit, I chose to use the white metal gear. The base for this one is going to be pretty small. Regards Christopher

-
Thanks Gil.
-
All, Was curious if anyone out there has built this kit? If so, did you encounter any fit issues with the wings to the fuselage? I just started it. It’s MASSIVE. Thanks in advance. Christopher
-
The master at work!. Great job as always. Regards Christopher
-
Love the build Ron. Paint scheme is my favorite. The rigging lines kick the entire build up a notch. Congrats! Regards Christopher.
-
Thanks for posting this Gil. I really like the look of this model. You did an awesome job on it. I’d love to try and build it, but not sure if I would want to deal with all the issues. Congrats!
-
Thank you Mark.
-
Thank you Mark. I really appreciate that.
-
Thank you Sir. “Scouts Out”
-
Thanks Gil, and Bill. Much appreciated. Chris
-
Simply amazing work. I've seen a lot of great models before. This one ranks right up there with the very best, as far as I'm concerned. Again, your attention to detail blows my mind. Just curious, is this build for your collection, or a client? Regards Christopher
-
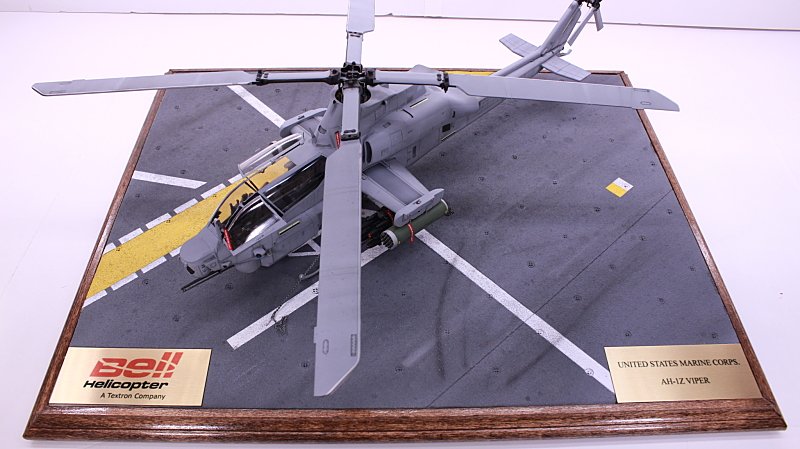
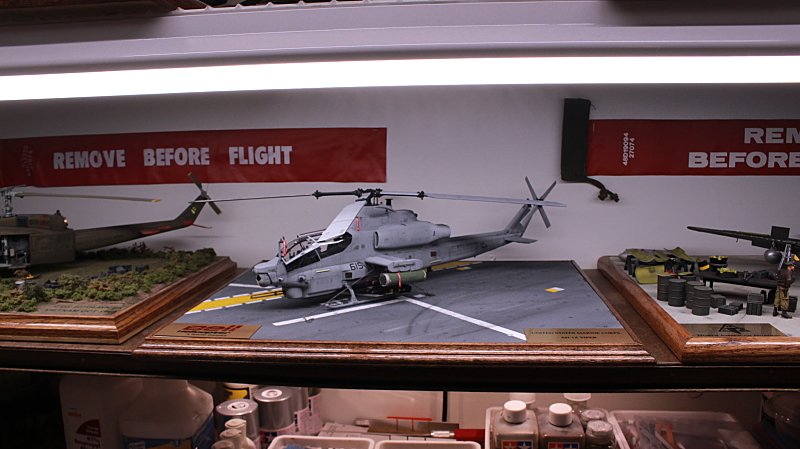
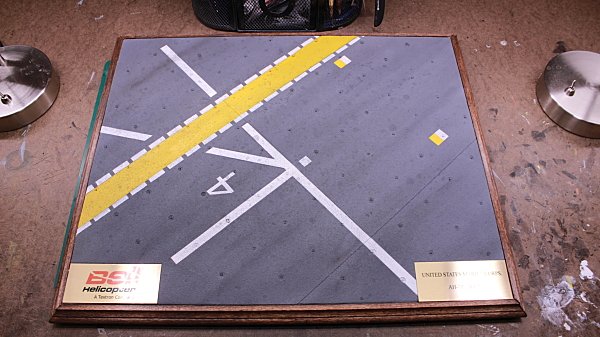
Finally completed the base. I'm happy with it. This was a really fun build. Academy consistently put out great kits. This one, by far, has been their best. Regards Christopher
-
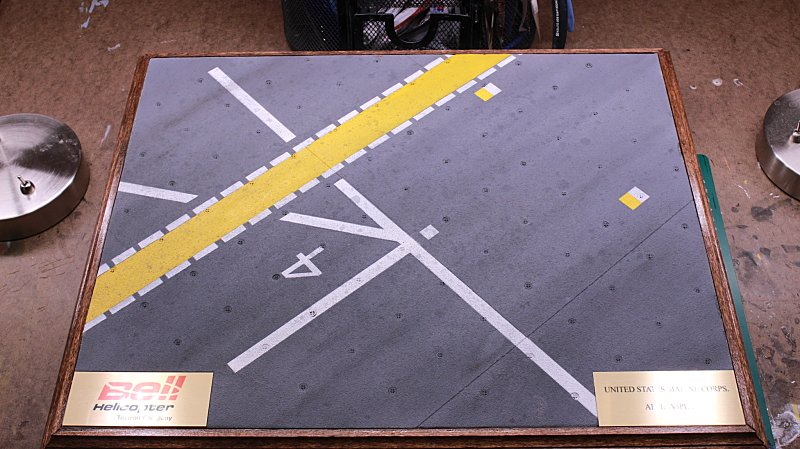
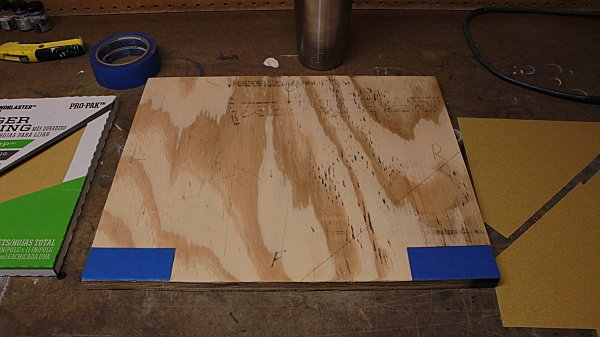
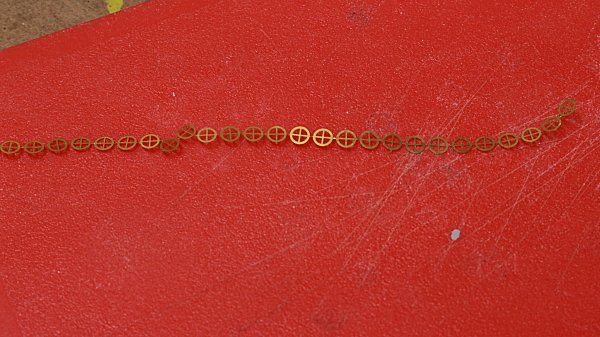
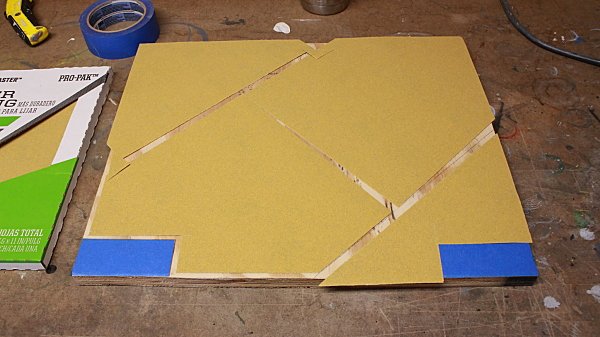
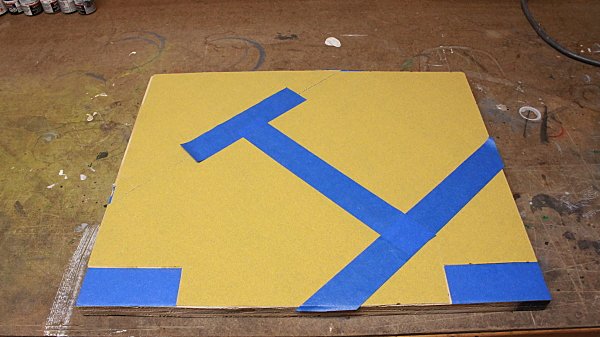
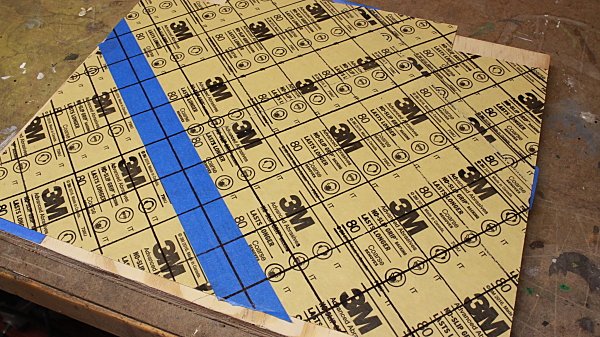
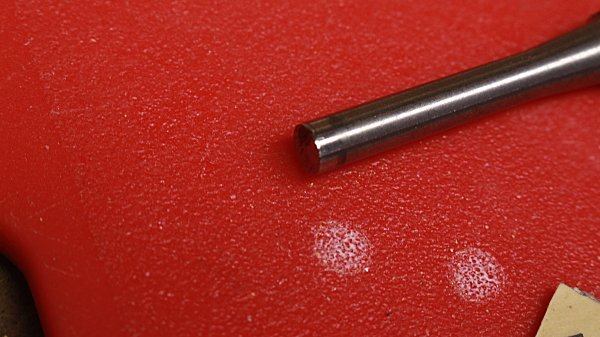
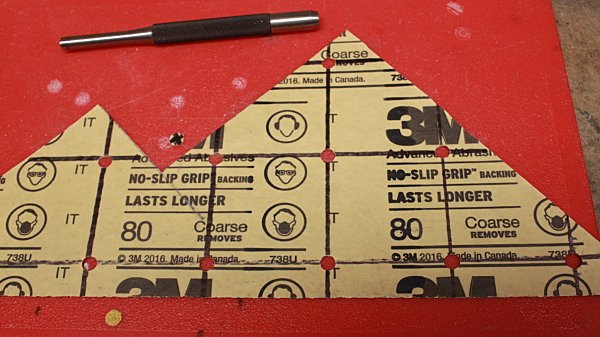
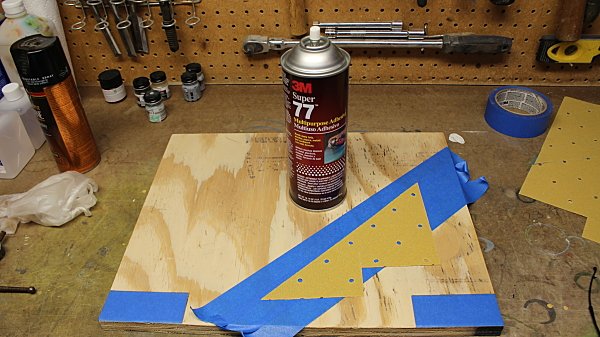
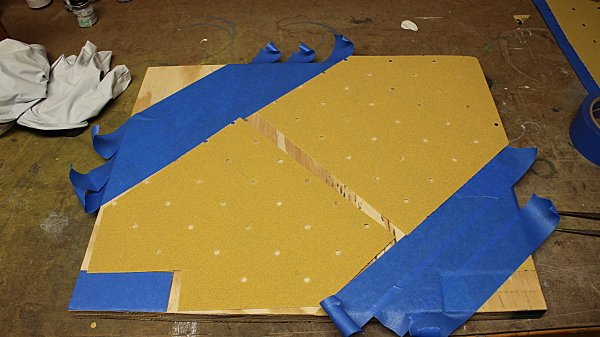
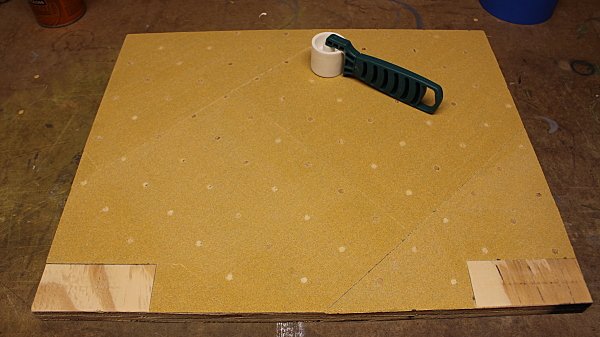
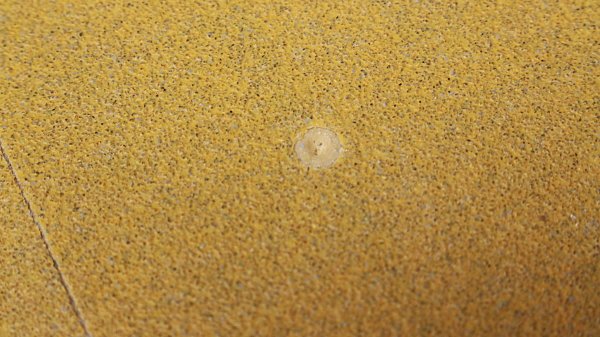
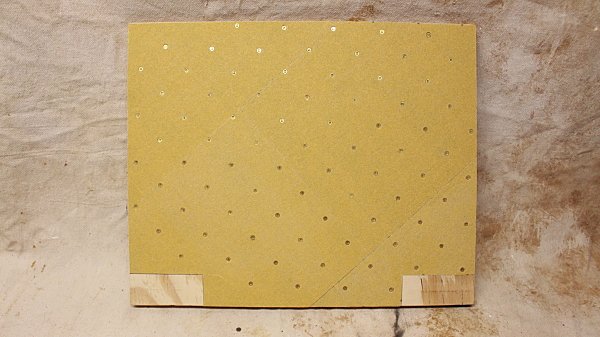
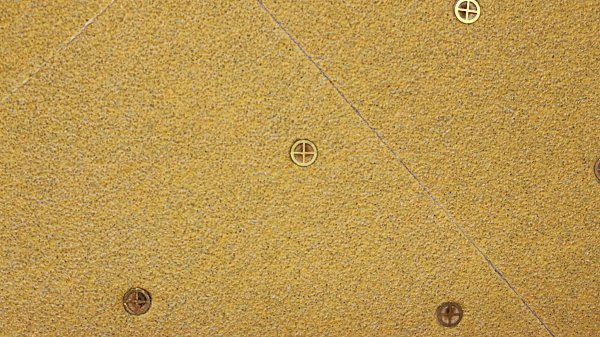
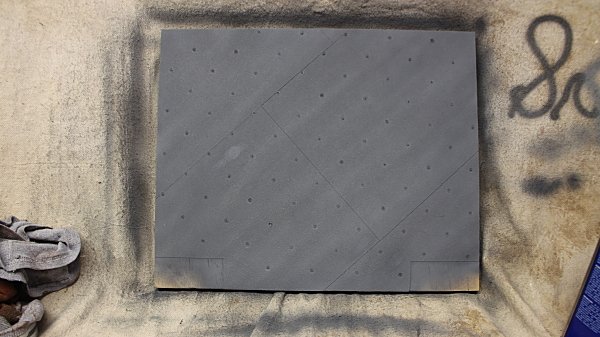
All, I wanted to pass this along to the group. I recently completed the Academy 1/35th scale AH-1Z Viper. I like to make my own bases. I can make them any size I need. Just about all the supplies that you need, can be purchased at any home improvement store. The brass tiedowns are from Tom's Modelworks. The tools that I use are to build these are : Portable Table saw, Miter saw, Brad nailer, and air compressor. If you do not have these tools, no problem. Trophy shops carry blank bases that are already finished, and with a decorative edge. They also come in different sizes. Here is my supply list; 3/4" plywood, sandpaper, (The scale of the model will determine the grit that you will use. I use the following as a guide: 1/32nd, 1/35th scale: 80 grit. 1/48th scale: 100 grit. 1/72nd, 1/144th scale: 220 grit.) Blue painters tape, Contact Adhesive, Steel ruler, Magic marker, punch drive set, old cutting board, wall paper seam roller, decorative trim, wood stain, finish putty, and gloss polyurethane. Step 1. Determine the size of the base. For me, I like the base to be just a little bit bigger than the model. Step 2. Cut the sandpaper to fit the base. I like to pose my models on their bases at a 45 degree angle. When I lay my sandpaper out, I stagger all my seams. After all the pieces are cut, I take blue painters tape and tape the top pieces together. I carefully turn the sandpaper over to expose the back side. I take a steel ruler, and black magic marker to establish a grid system. Where the lines intersect, is where I need to punch a hole for the tie downs. Step 3. Punch holes for your tie downs. I use a drive pin punch set to make the holes in the sandpaper. The edge of the punch is very sharp. The cutting board protects the end of the punch to keep it sharp.Place the "old" cutting board under the sandpaper, place the end of the punch over the intersecting lines, take a large hammer ( 22 oz. framing hammer, or small sledge hammer), and squarely strike the end of the punch. Step 4. Attach the sandpaper to the base. Sand the base with 80 grit sandpaper, and tack out with mineral spirits. This helps with better adhesion. Let the mineral spirits dry for about 10 mins before you start. I use contact adhesive on both the wood, AND the sandpaper. I do a section at a time. I tape off the surrounding areas to keep the adhesive where I want it. After I spray both, I let them tack up for a few minutes. Once the pieces are on, I roll them with a wall paper seam roller. Step 5. Dimple the wood for the tie downs. This adds depth for the hole. Because the wood is soft, you need to be careful not to strike the punch to hard. ( the hole will be to deep). Step 6. Attach the Tie Downs. Attach with super glue. Step 7. Paint the base. I use Testors, and Tamiya paints on the sandpaper. Both work great. Step 8 Add the decorative trim edge to the plywood. Stain trim, then coat with gloss polyurethane. After everything dries, I attach the model with super glue on the tires, or skids. Regards Christopher
-
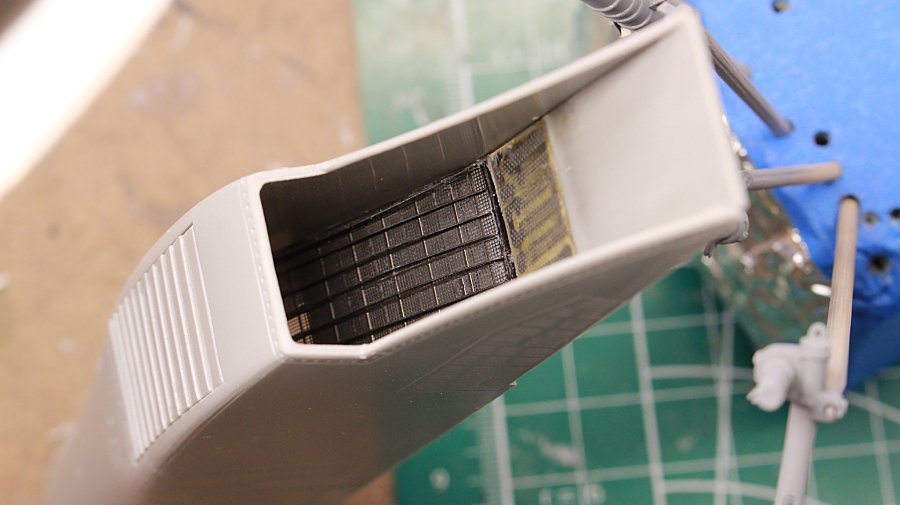
That it one sharp looking build Gil. I like to different shades of silver. Were the intakes difficult to build? You did an amazing job on them. They look like they were challenging to build. Regards Christopher
-
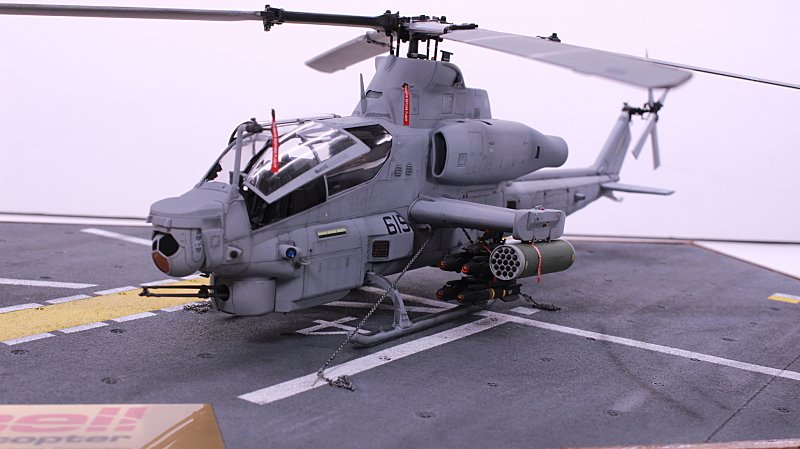
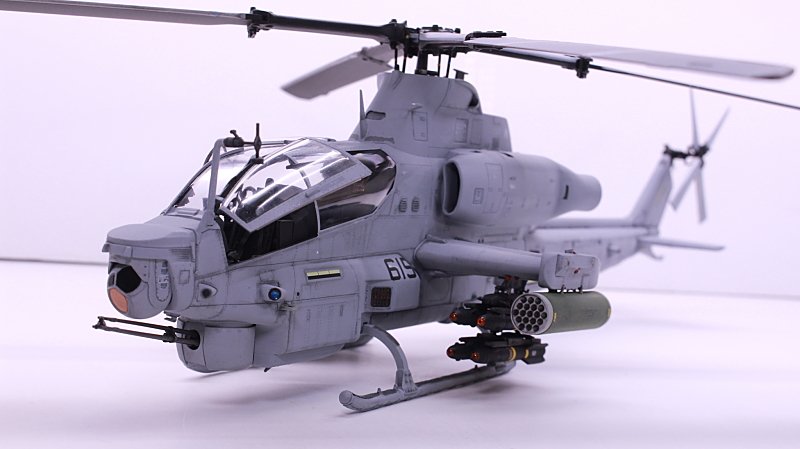
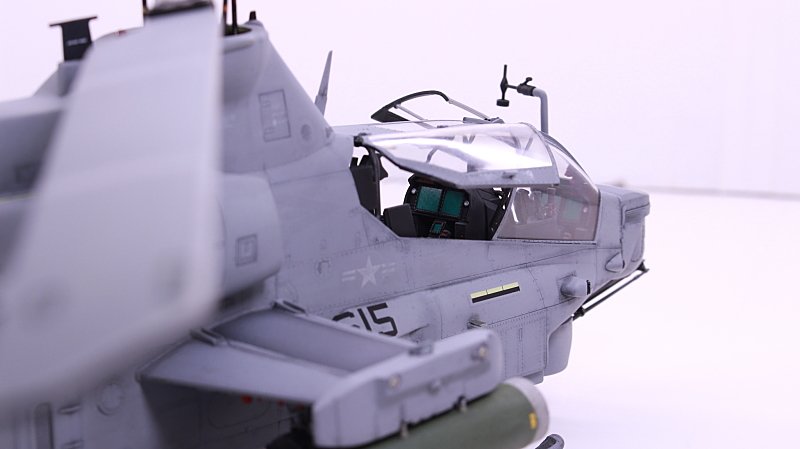
The helicopter is just about finished. I have to add some pastel chalk streaks, and REMOVE BEFORE FLIGHT tags. I've started on the base todays
-
Thank you guys. She’s coming right along. Had to take an unexpected break from the build. Hope to finish her soon. Christopher
-
Really cool subject Ora. Great build. Thank you for posting it Regards Christopher
-
William, Awesome build. Love this scheme. What did you use on the front strut to simulate the silver colors? Thanks Christopher
-
Thanks a lot Mark. Have you considered the Kitty Hawk 1/48th scale kit? Adding it to your collection. You would do an awesome job on it. Regards Christopher
-
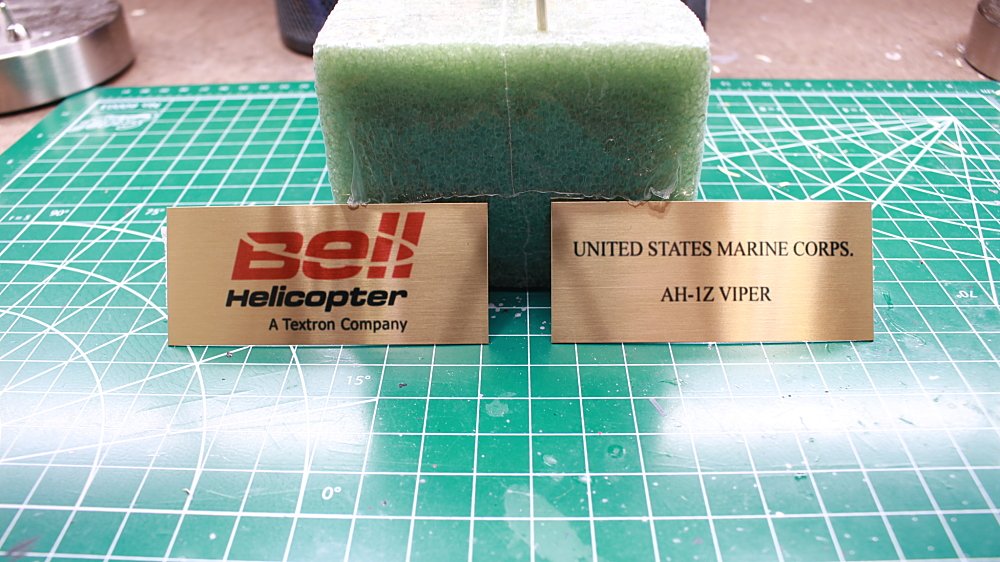
Picked up the plates for the base from the trophy shop today.
-
-
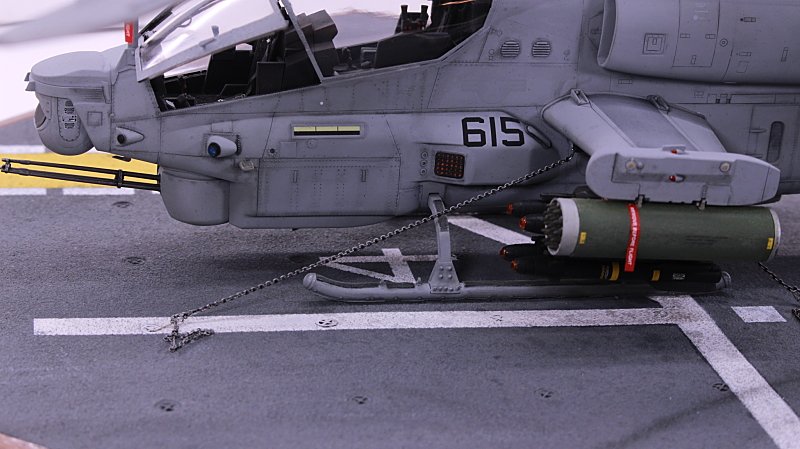
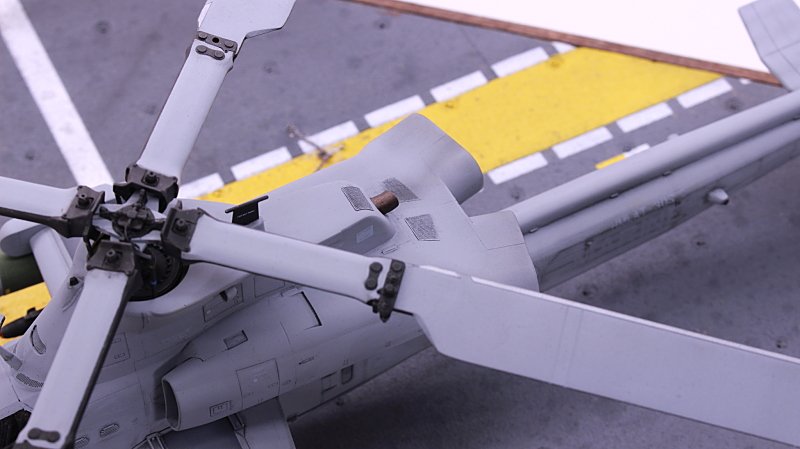
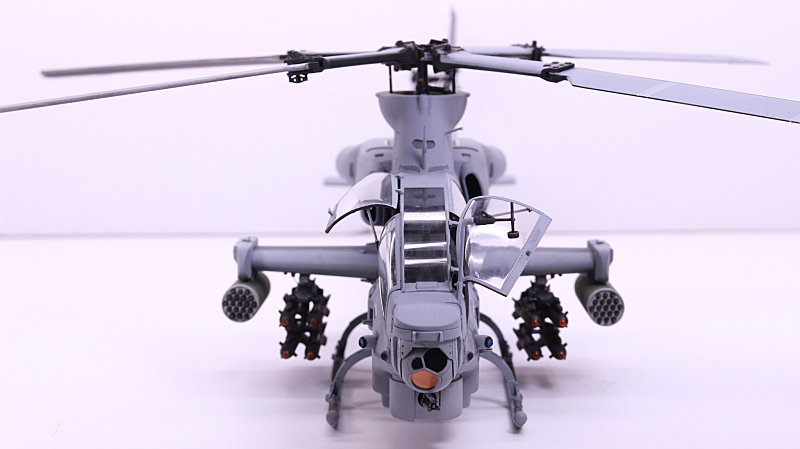
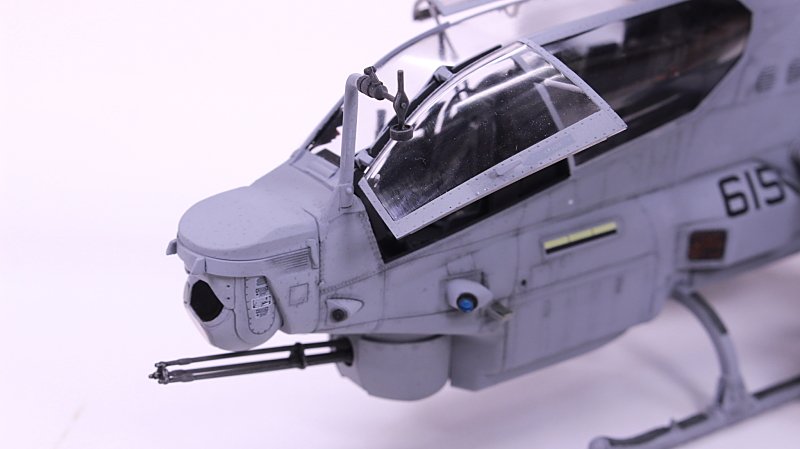
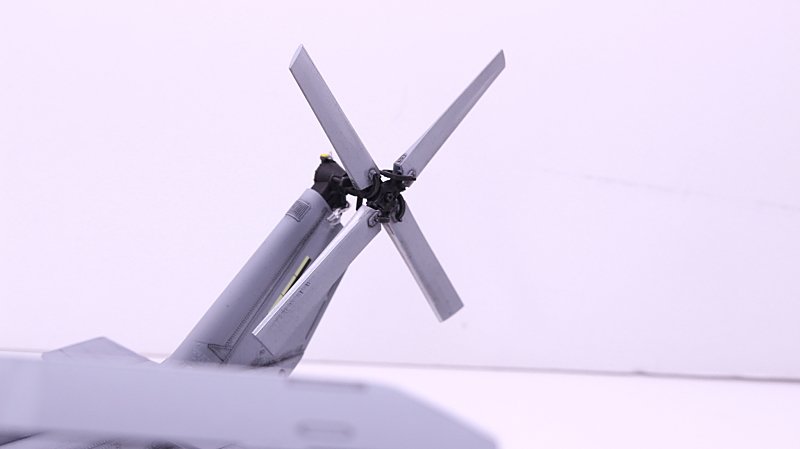
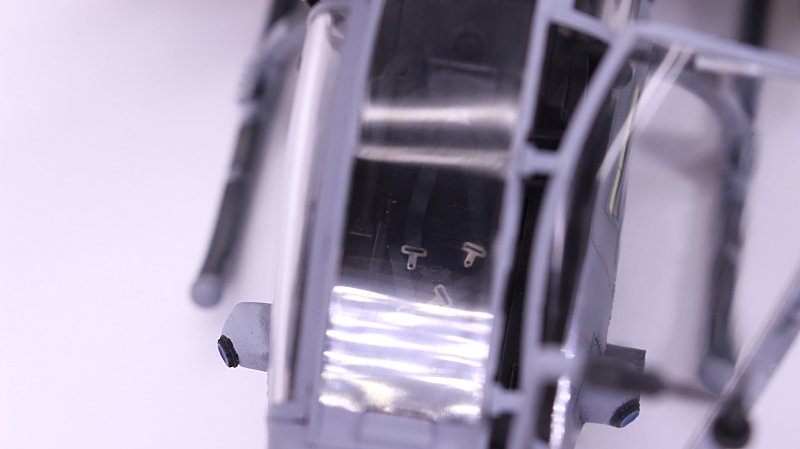
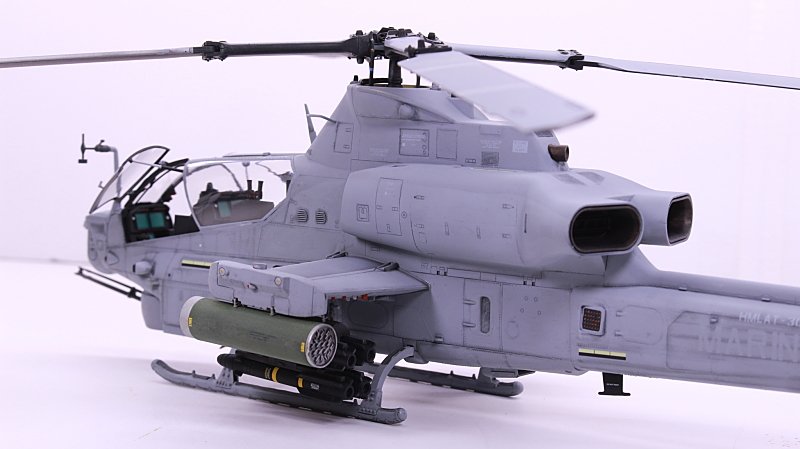
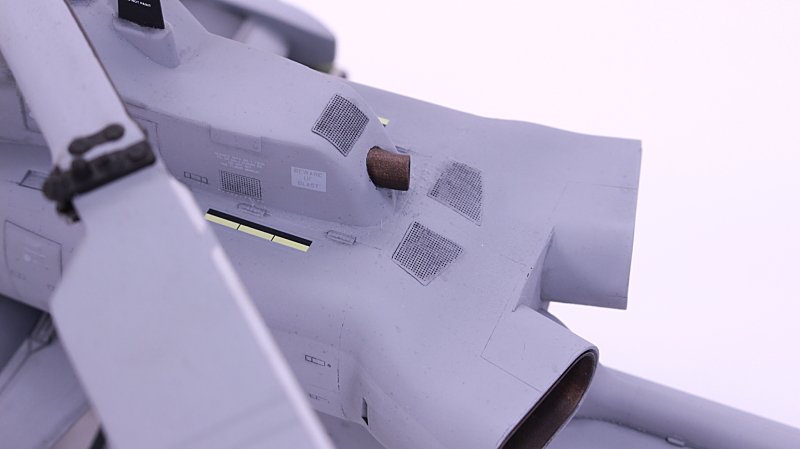
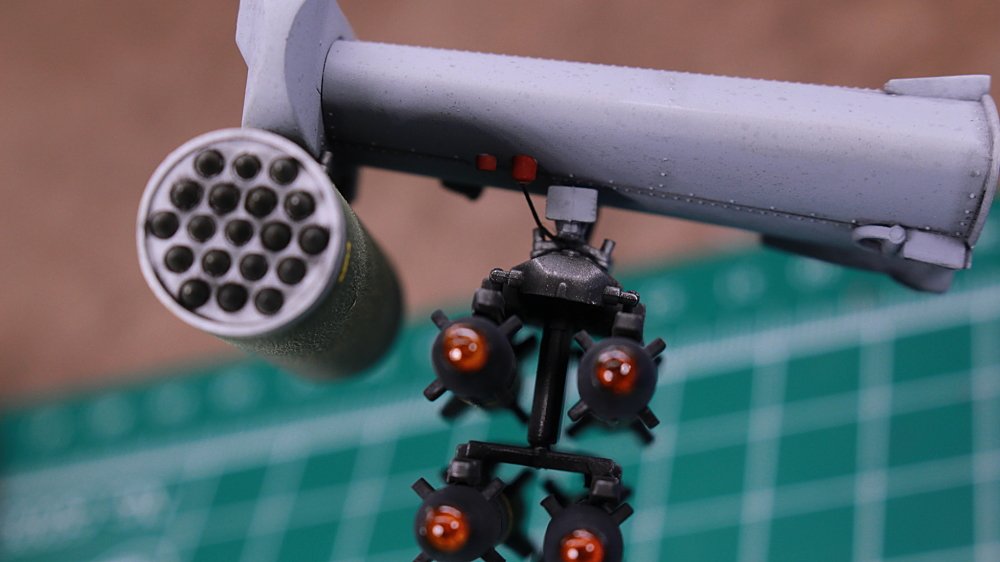
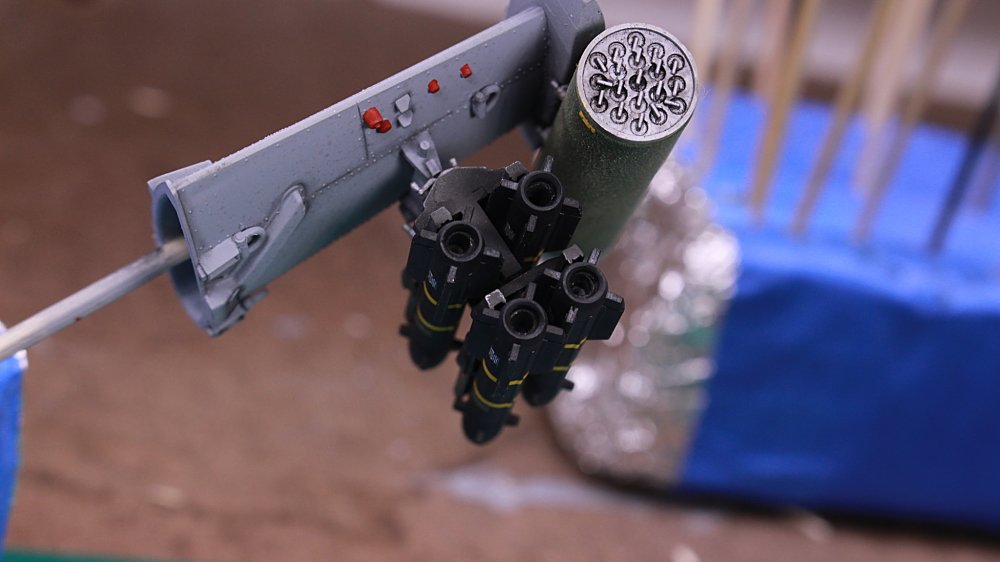
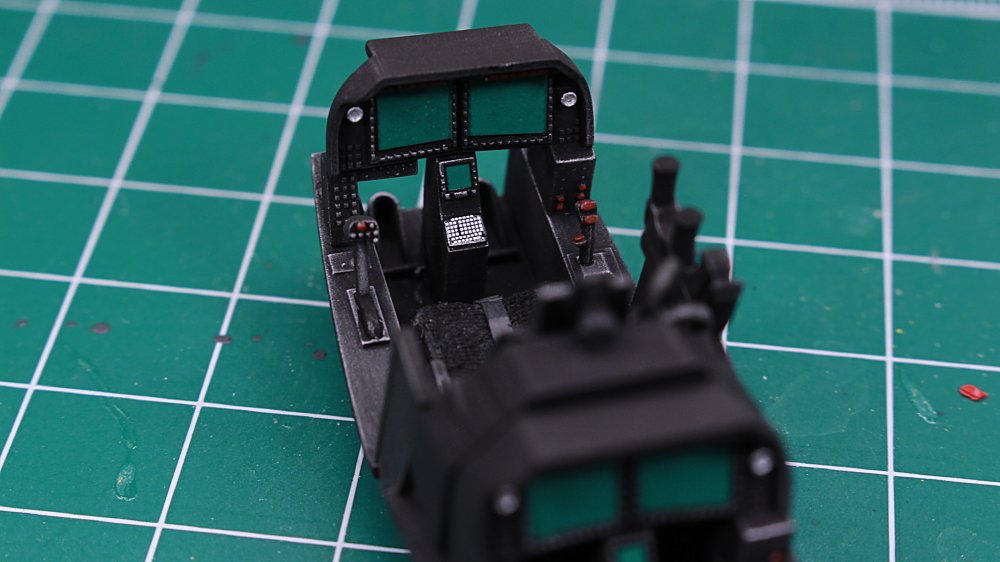
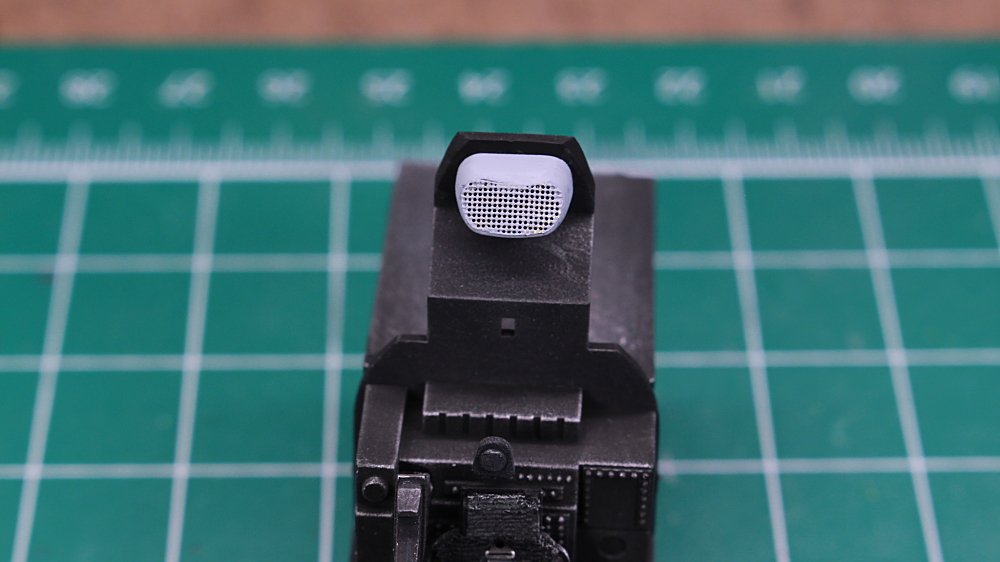
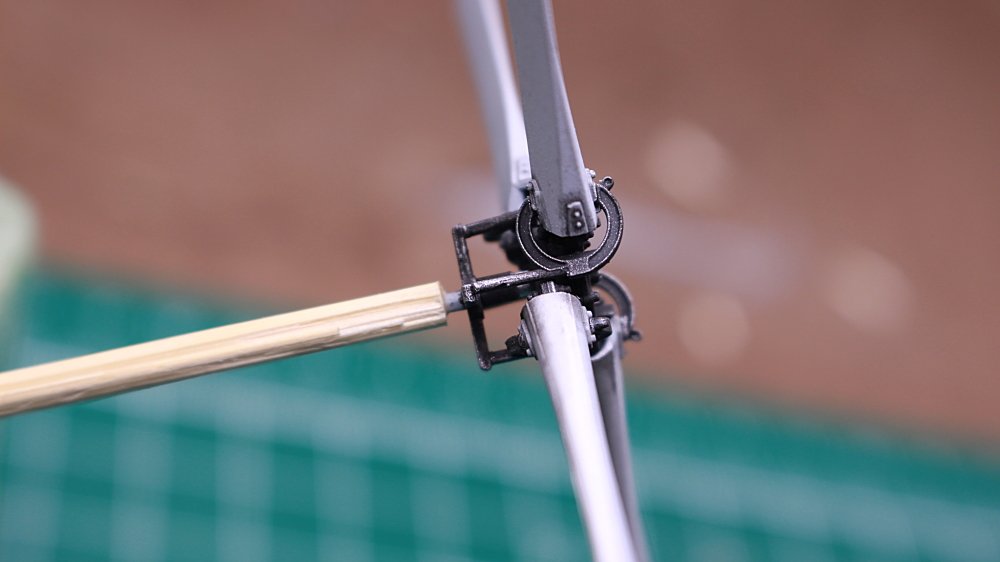
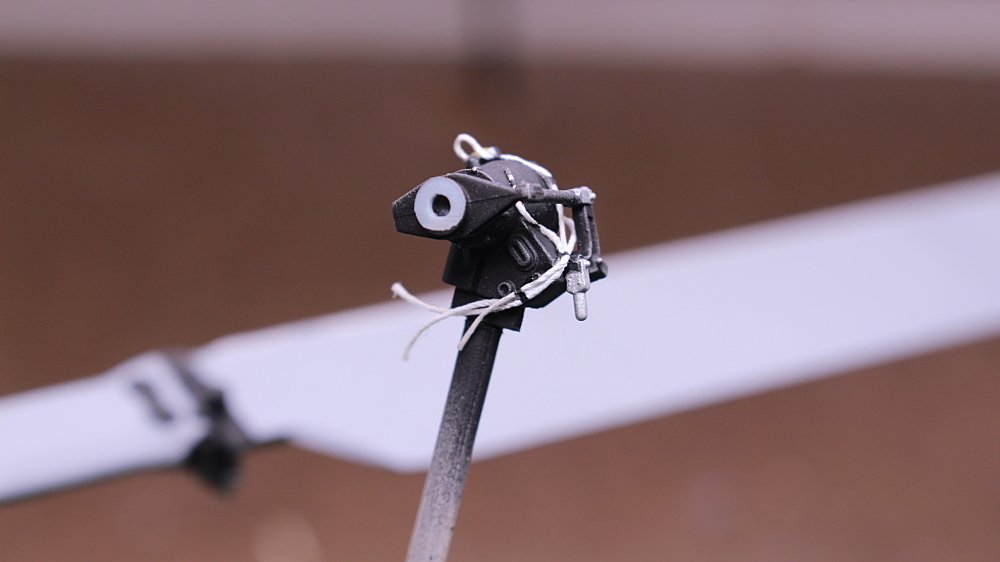
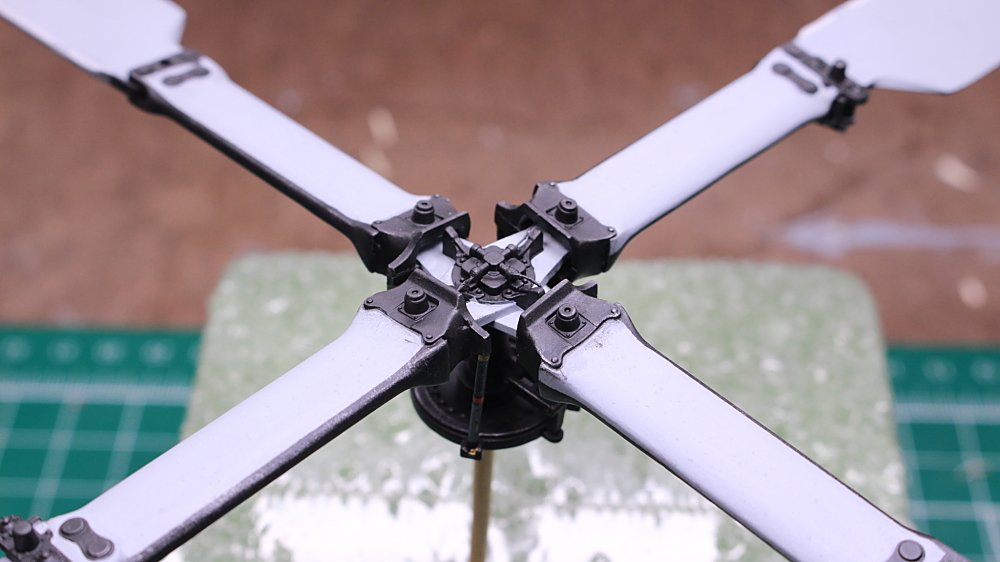
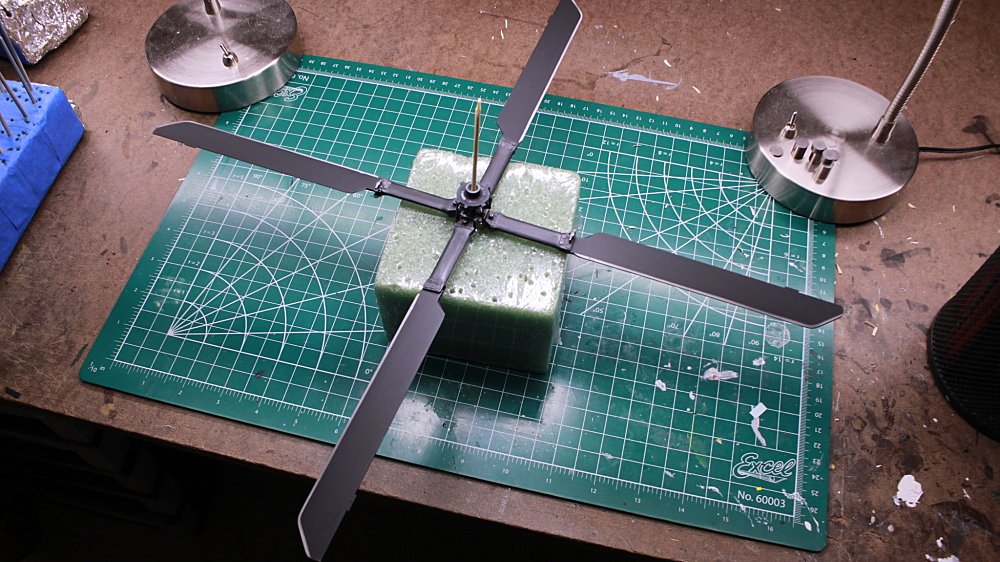
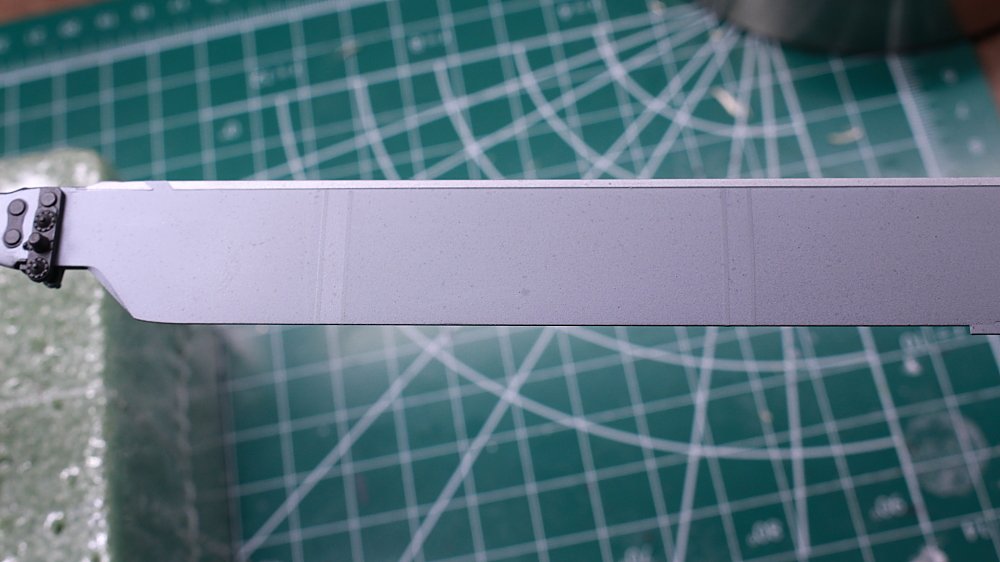
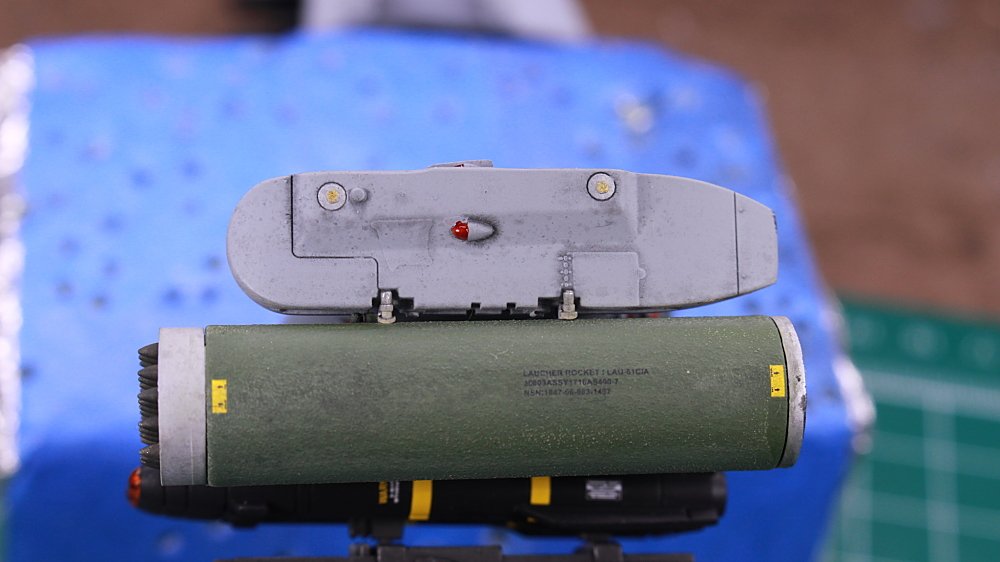
Coming along nicely. The fit of the parts have been fantastic so far. All of the main components are painted and assembled. The tail rotor and main rotor head are well detailed. The main rotor blades have a little pitch molded into them. I changed out the pitch control tubes that attach to the swashplate with larger ones. I used white thread for the wiring on the 90 degree gearbox. I used Testor Fabric spray paint to simulate the texture on the 2.75" rocket pods.
-
Gil, I chose to do a more subdued scheme.