Bradley25mm
-
Posts
469 -
Joined
-
Last visited
-
Days Won
30
Content Type
Profiles
Forums
Events
Everything posted by Bradley25mm
-
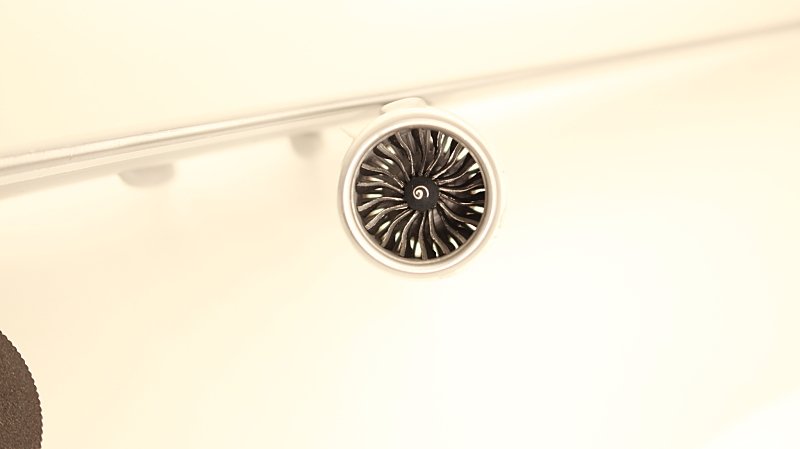
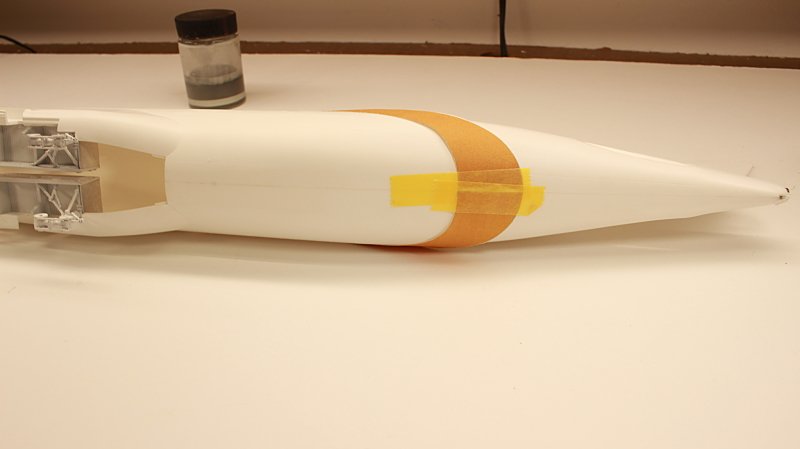
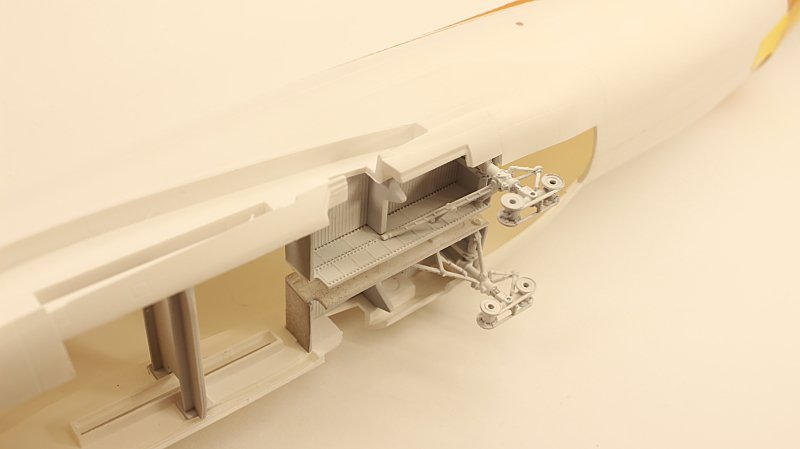
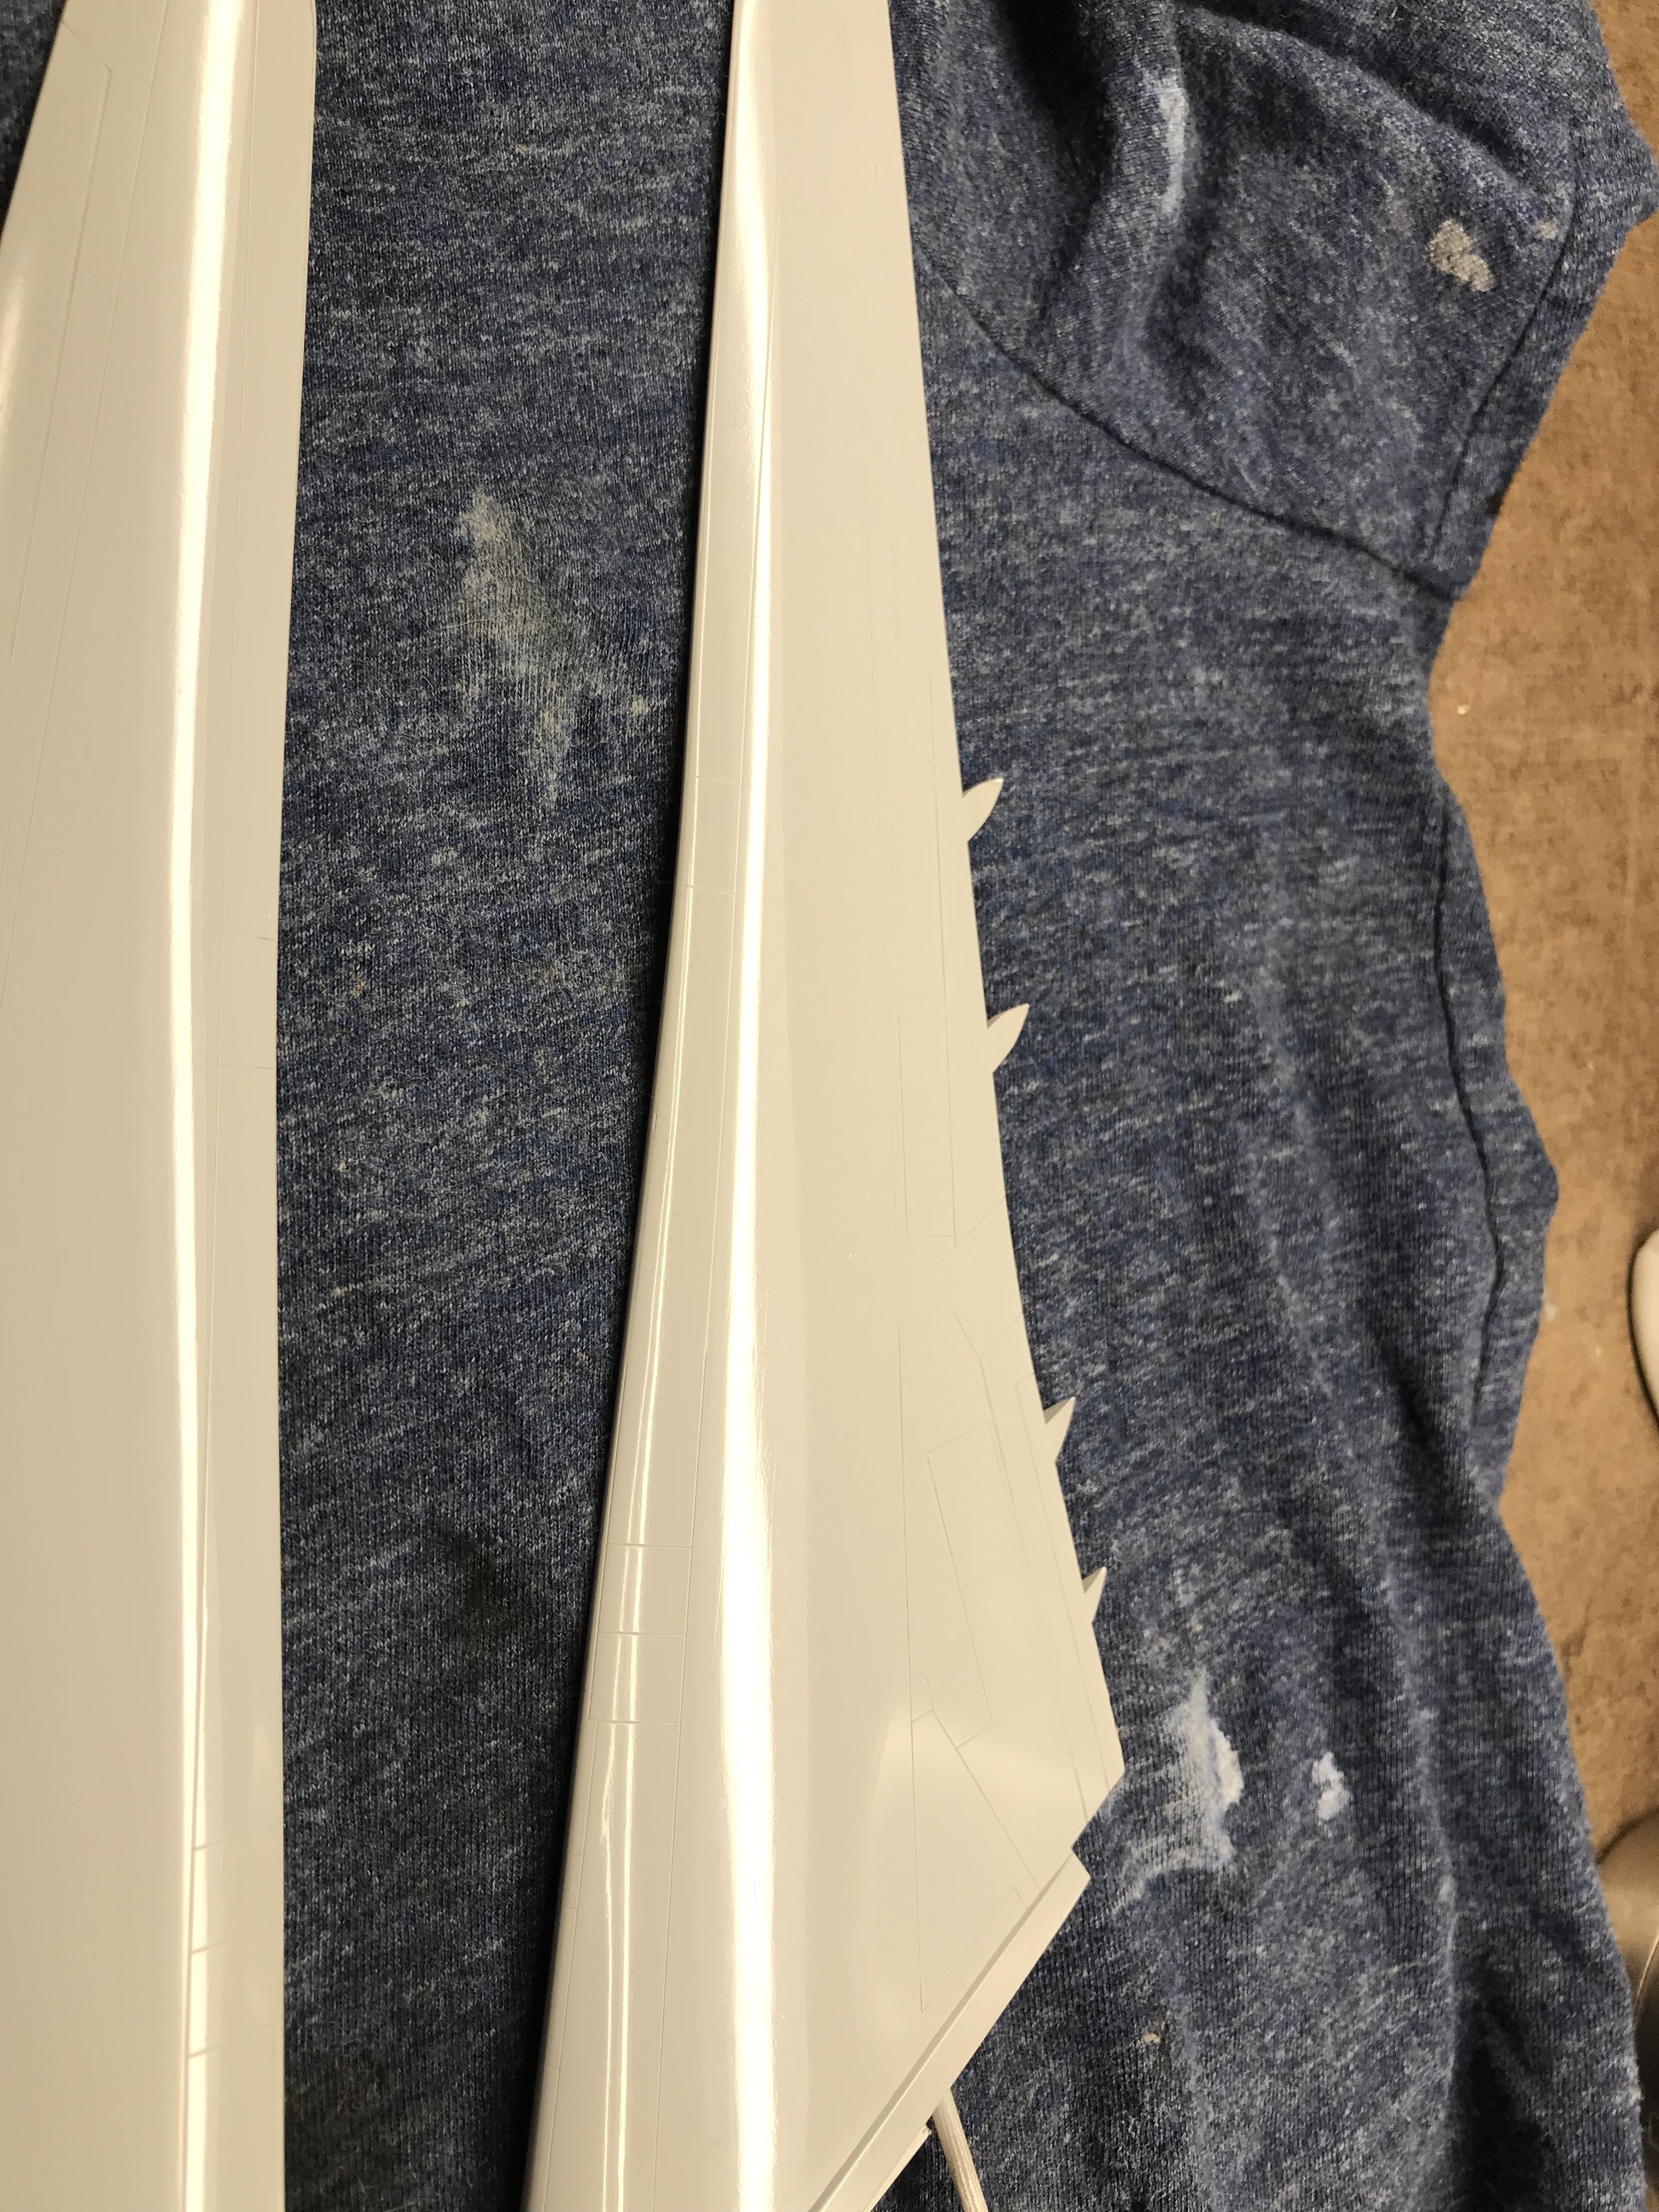
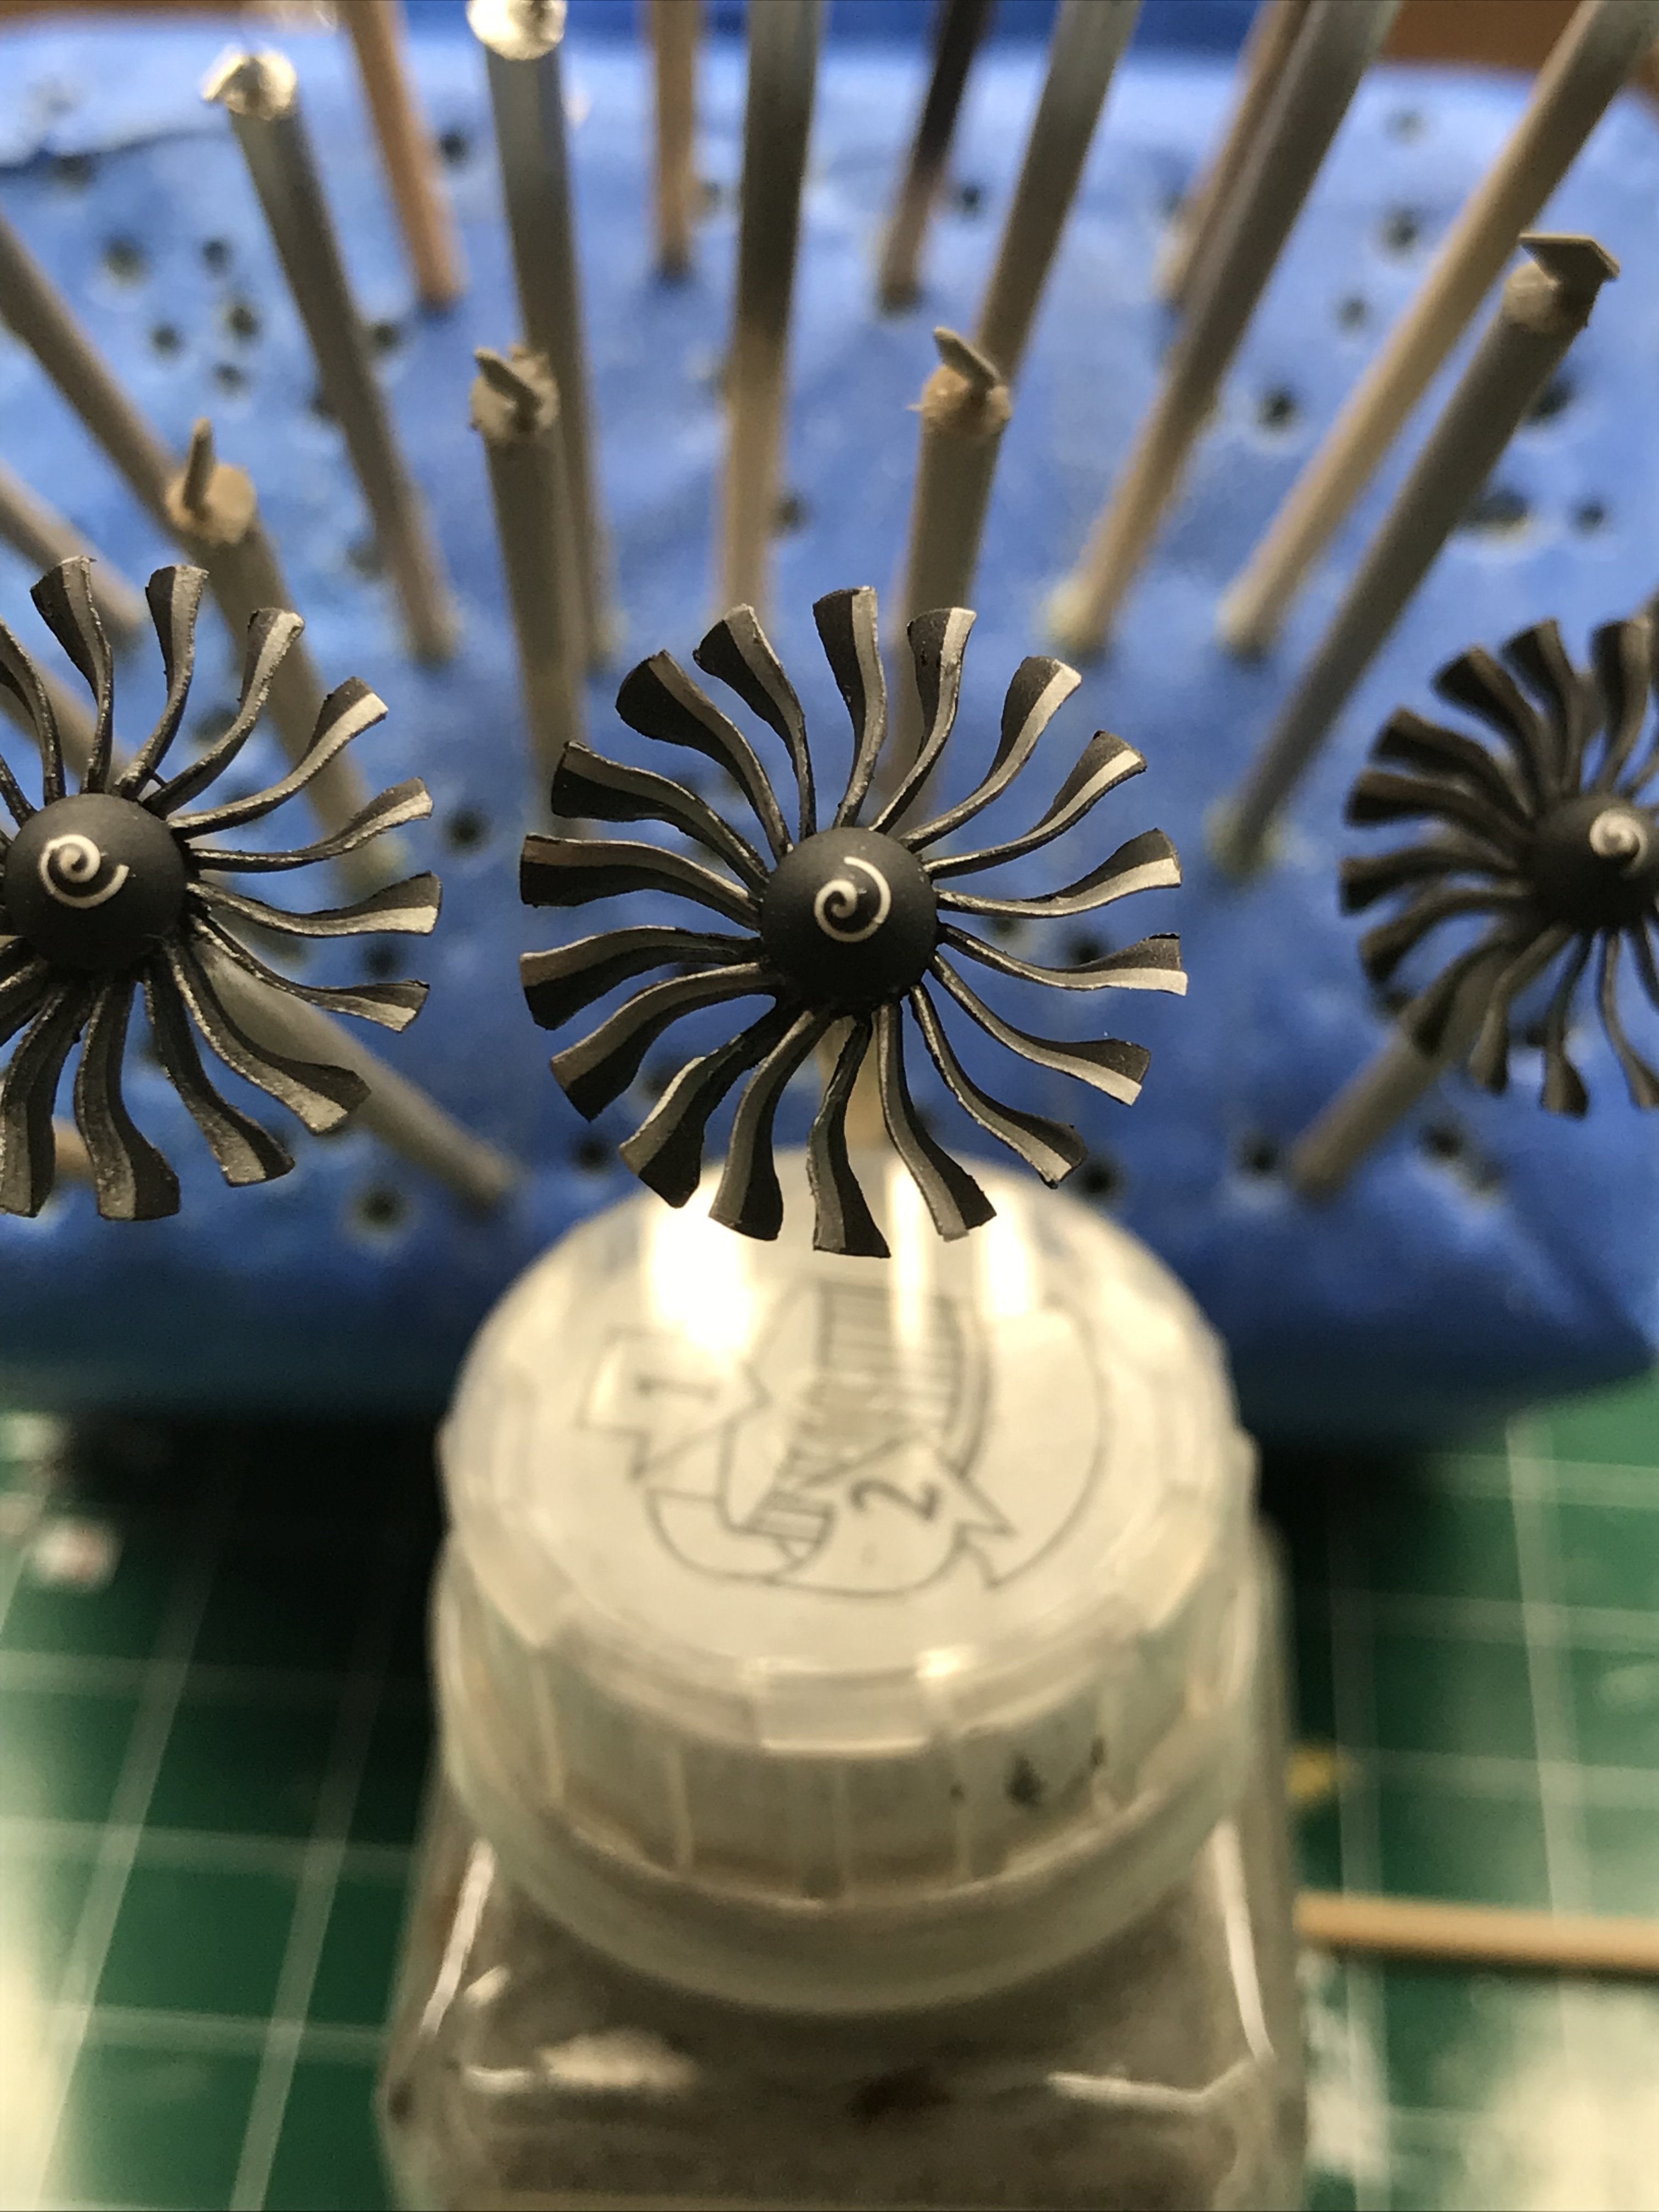
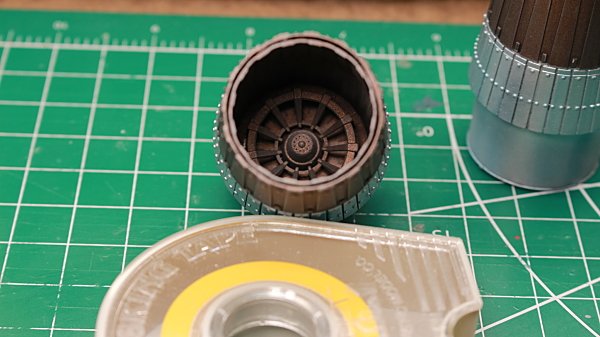
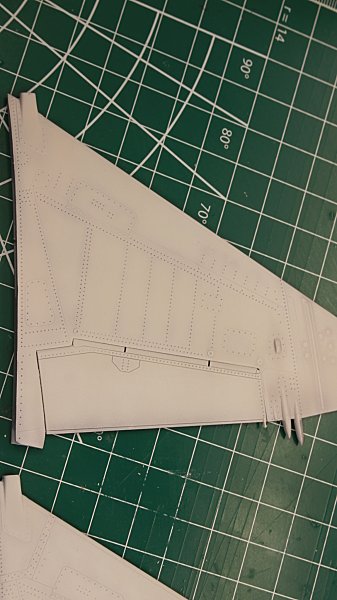
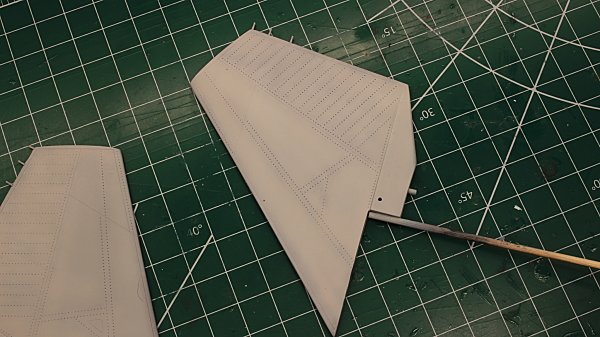
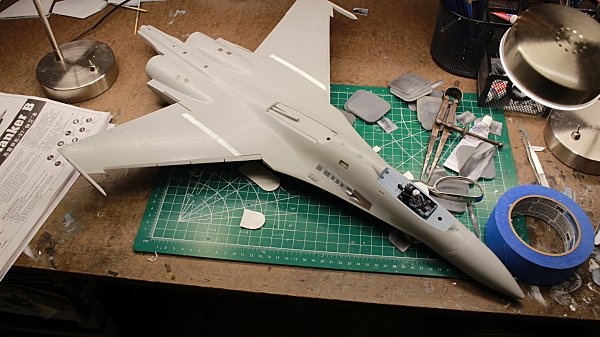
Thanks Mark. Still experimenting with it. One thing that I have found out , is that if you press to hard, WITHOUT wearing gloves, you will leave a light fingerprint that cannot be wiped off. . Once it sat for a while, I re polished the area and it went away. Gloves only, from now one. The clever design team at Revell/Germany designed all the parts with some tight tolerances. Because of this, neither the wings or elevators will need any putty, once attached to the fuselage. I've cleaned the paint off each wing root, and will mask off each attachment point on the fuselage. The landing gear, and bays, have been painted with flat white verses gloss that I painted the engine nacelles with. After looking at several photos on the internet, close up shots almost look like its painted a very light gray. To figure out the paint scheme on the fuselage, I made a color copy of the yellow stripe. After some re-adjustments with tape, I was able to nail down where the white and brown will meet. The elevators were painted with Metalizer Lacquer from Testors. Non-buffing aluminum, buffing titanium, and Gray pewter from Krylon. The engine construction was pretty straight forward. The only issue that I ran into, was attaching the vortex generators to the outside of the engine nacelle. The fit was not great. I used a round file to adjust the inside profile of each one. They now lay flat with no gaps. Regards Christopher

-
Thank you Ron.
-
Looking really good Oliver. Can’t wait to see it finished. Keep up the great work Regards Christopher
-
I seemed to have “misplaced” my membership card. Who do I contact for a new one? Regards Christopher
-
👍👍👍👍👍
-
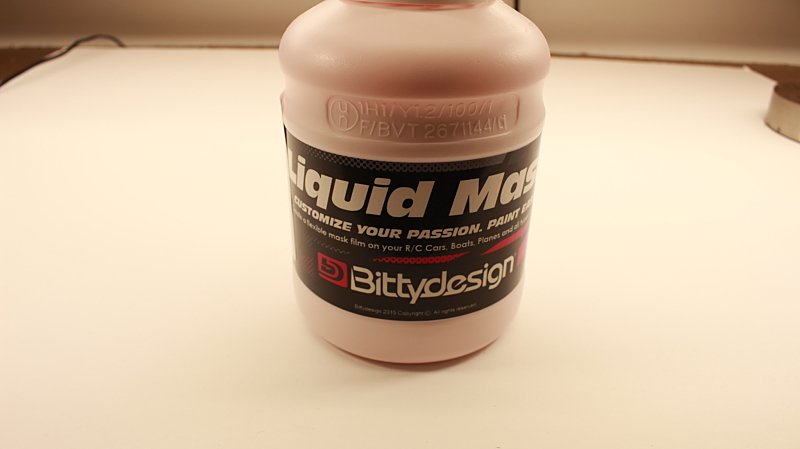
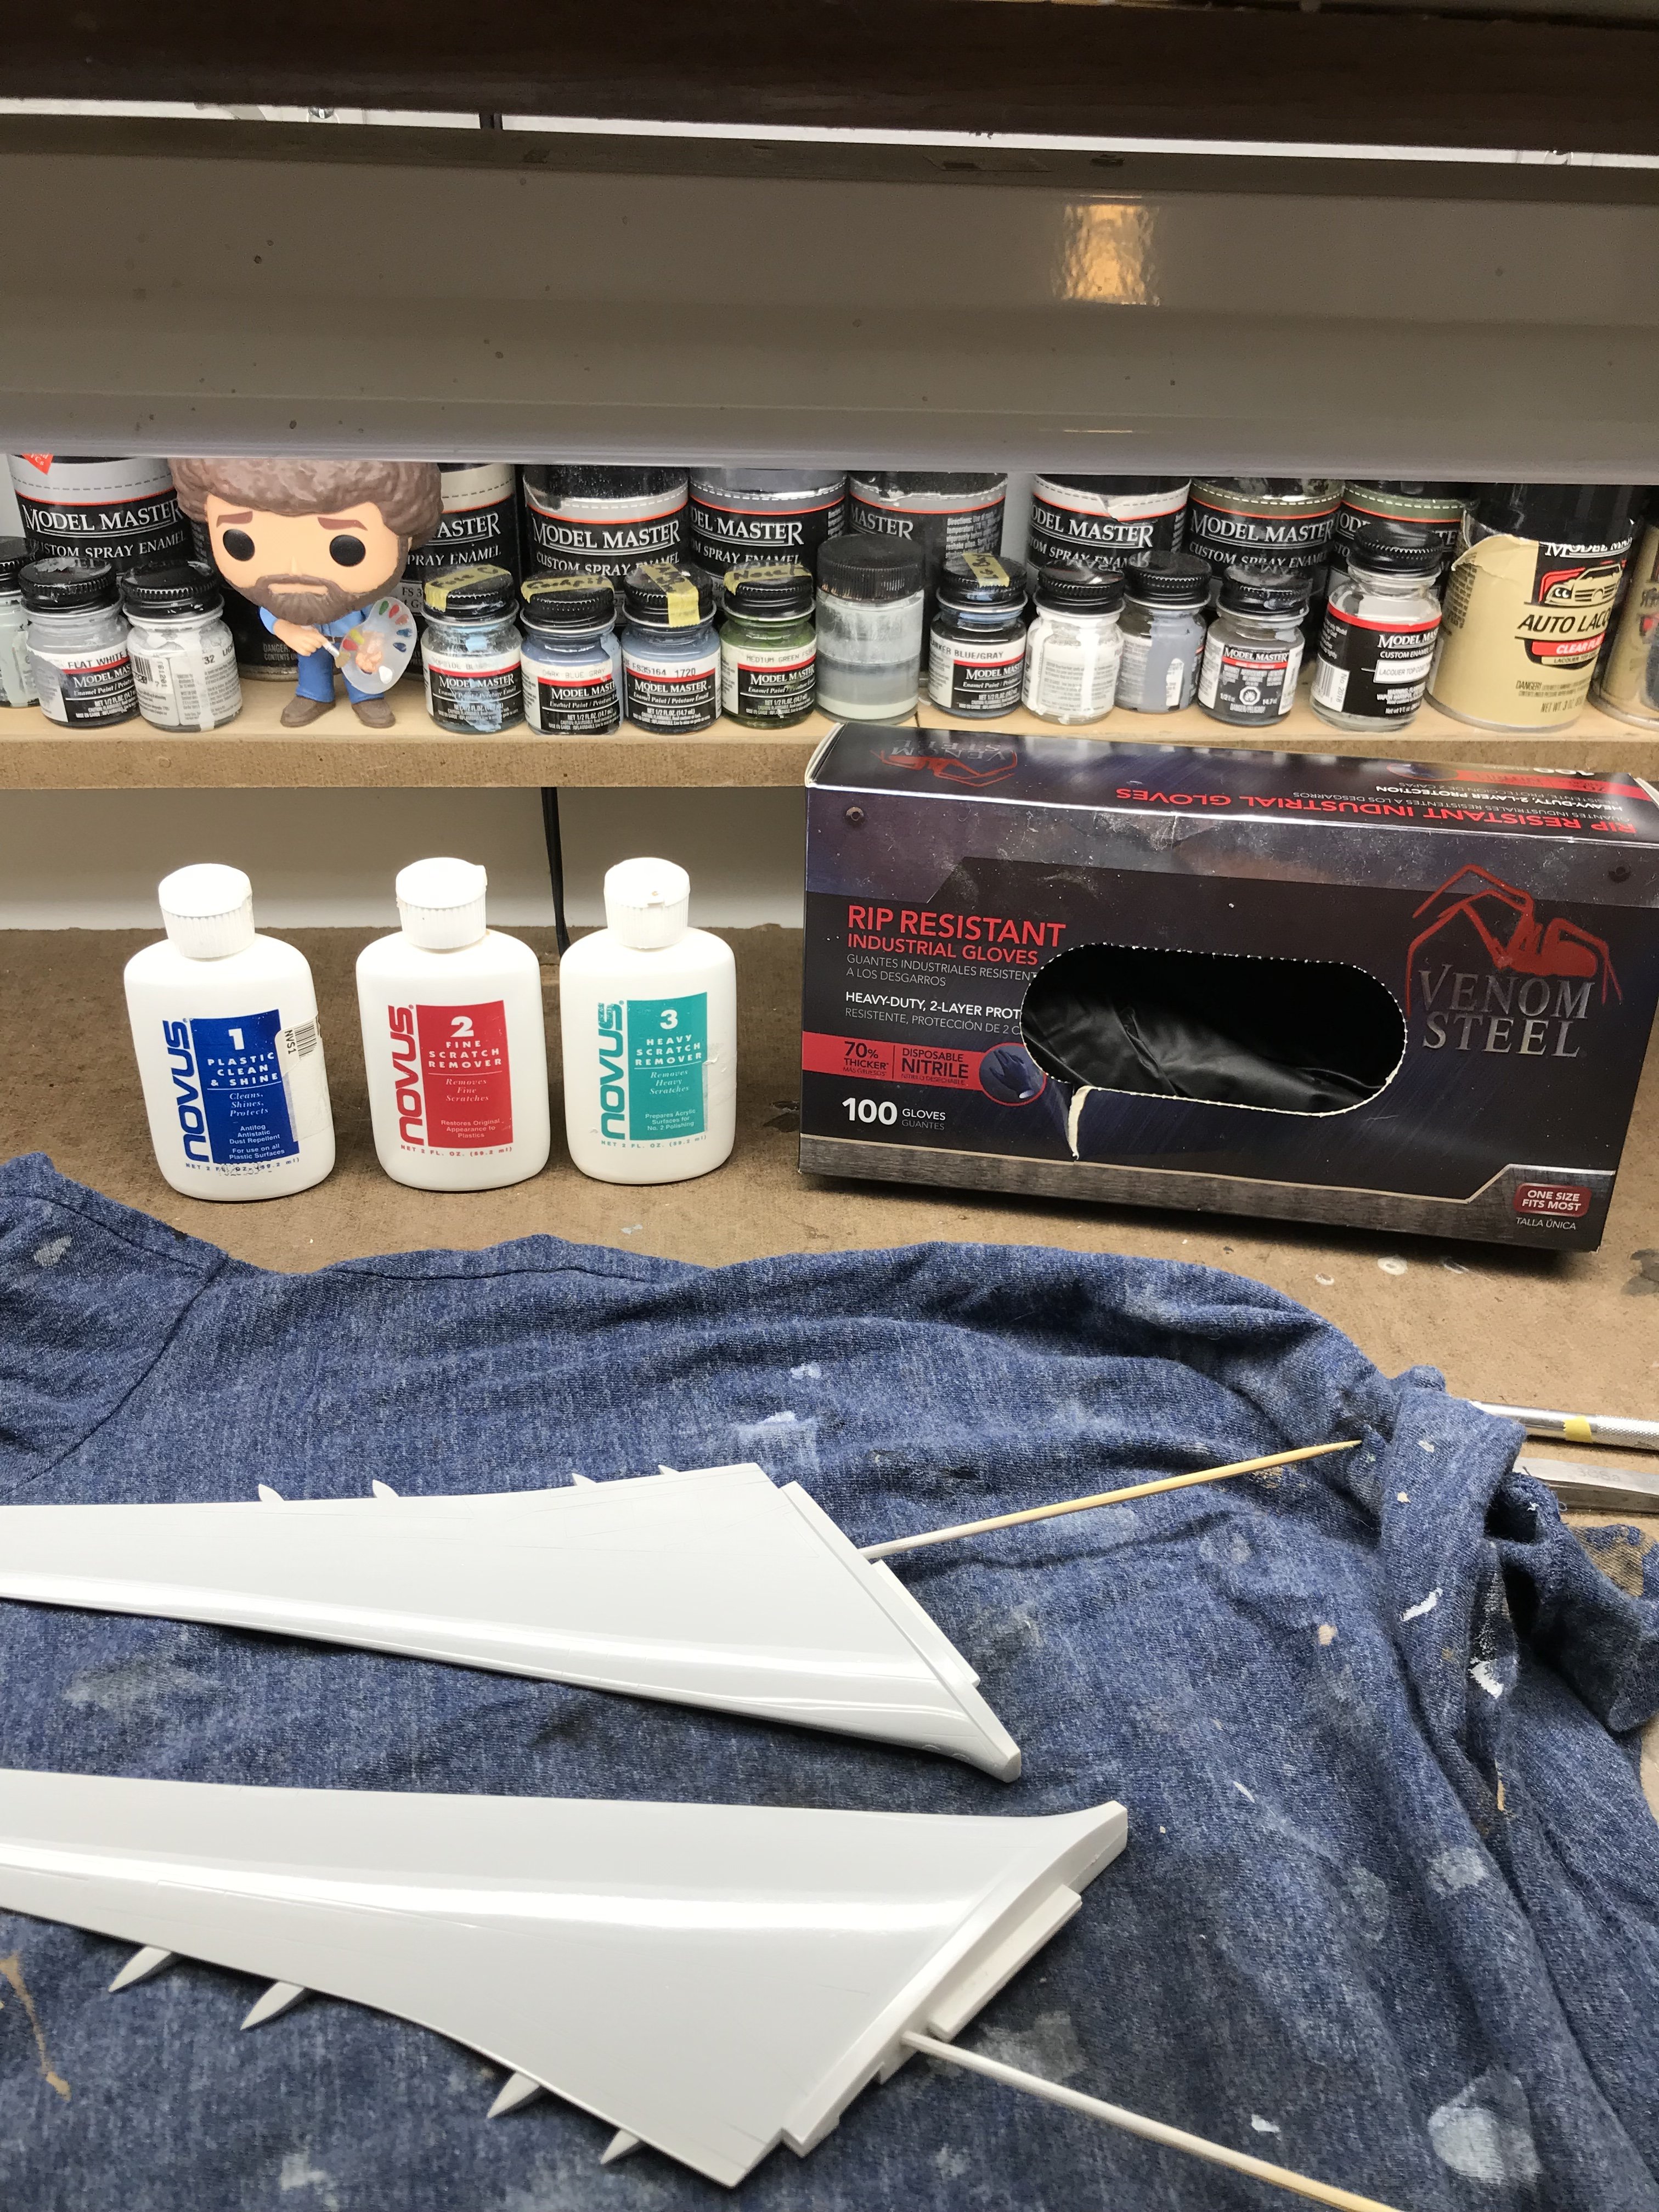
Thanks again Mark. I wanted to pass this along to the group if anyone was interested in it. Experimenting with Novus polishing kit. 1. Painted with the above paint. 2. Waited around 36 hours to handle. 3. Began polishing with # 2 Fine Scratch Remover while wearing nitrile gloves. Apply with a soft cotton cloth. When applying # 2, apply using a back and forth motion, not circular. As with any buffing process, it will generate heat. As Gil stated above, the heat can reactivate the paint if you’re not careful. I’ll let the wings sit for a day or two before I paint the leading edge silver. Regards Christopher.
-
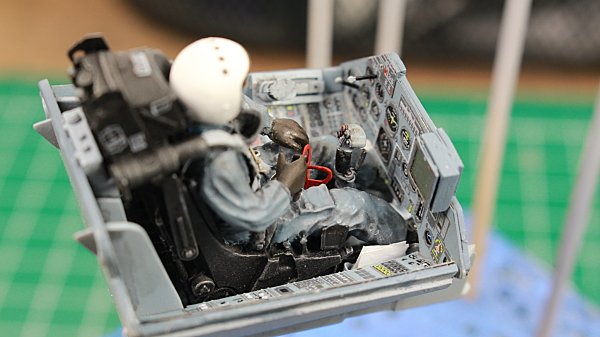
Fantastic start. The instrument panel really pops. Looking forward to seeing more pics of your work. Regards Christopher
-
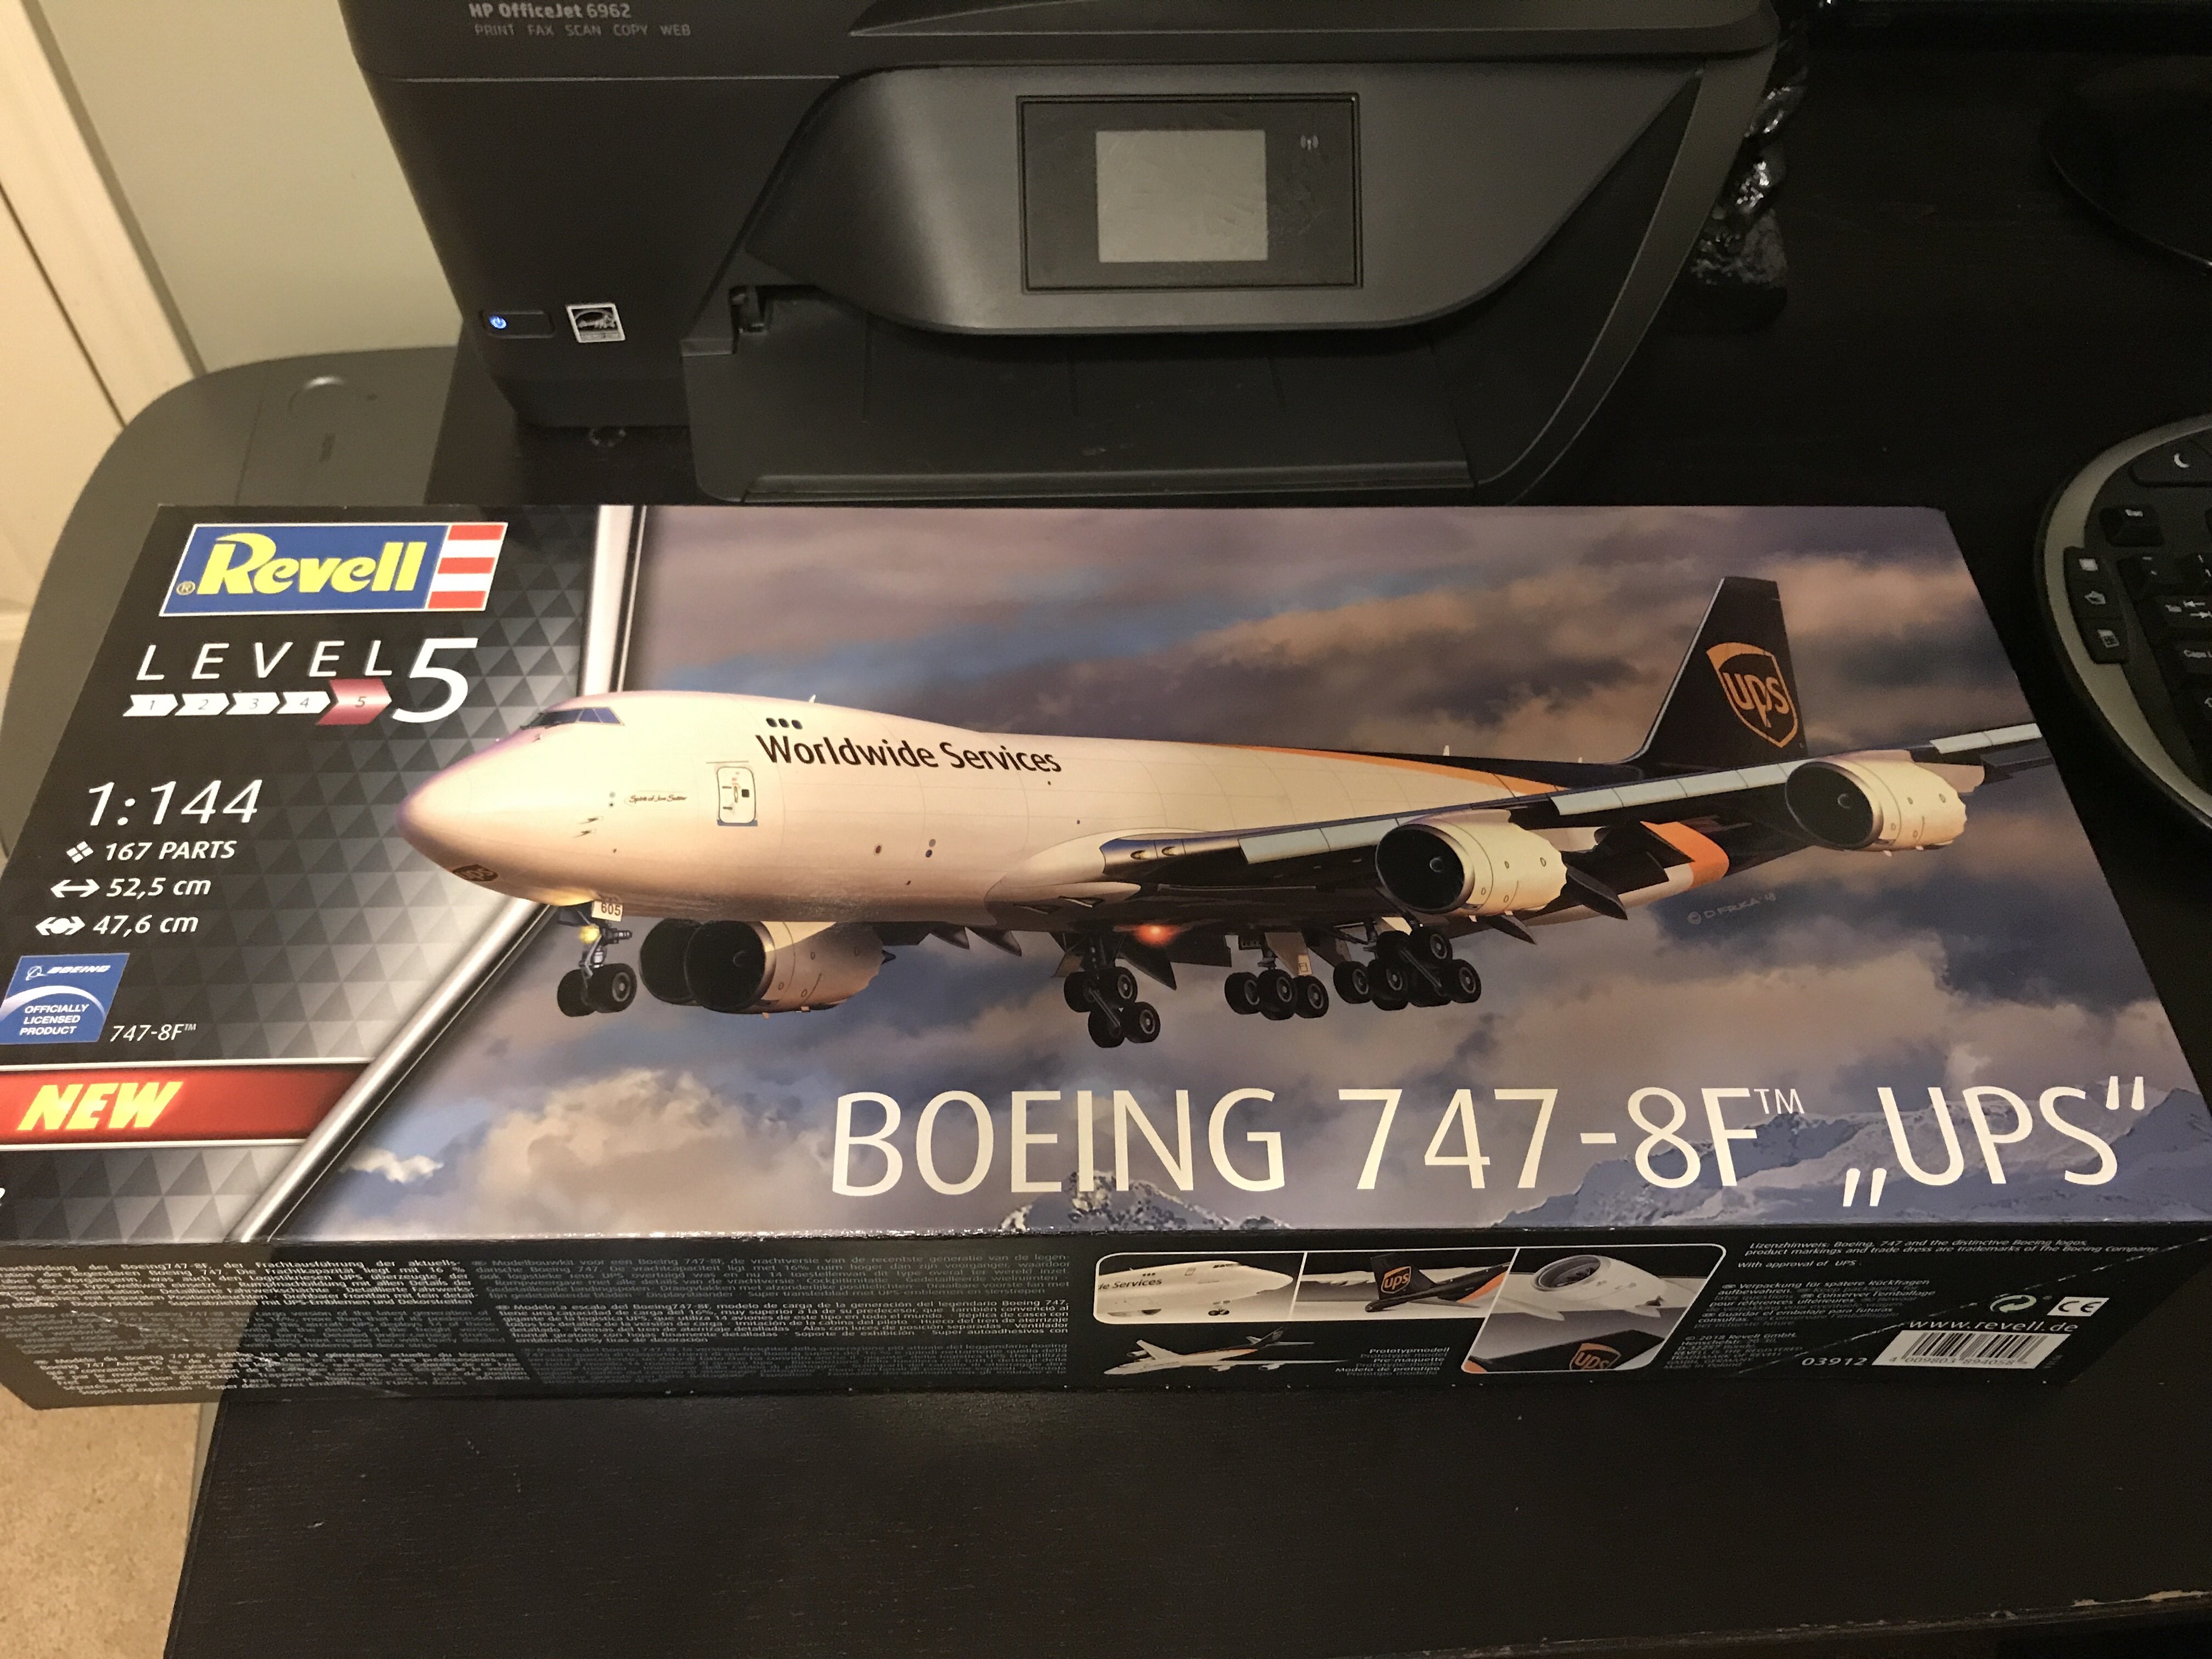
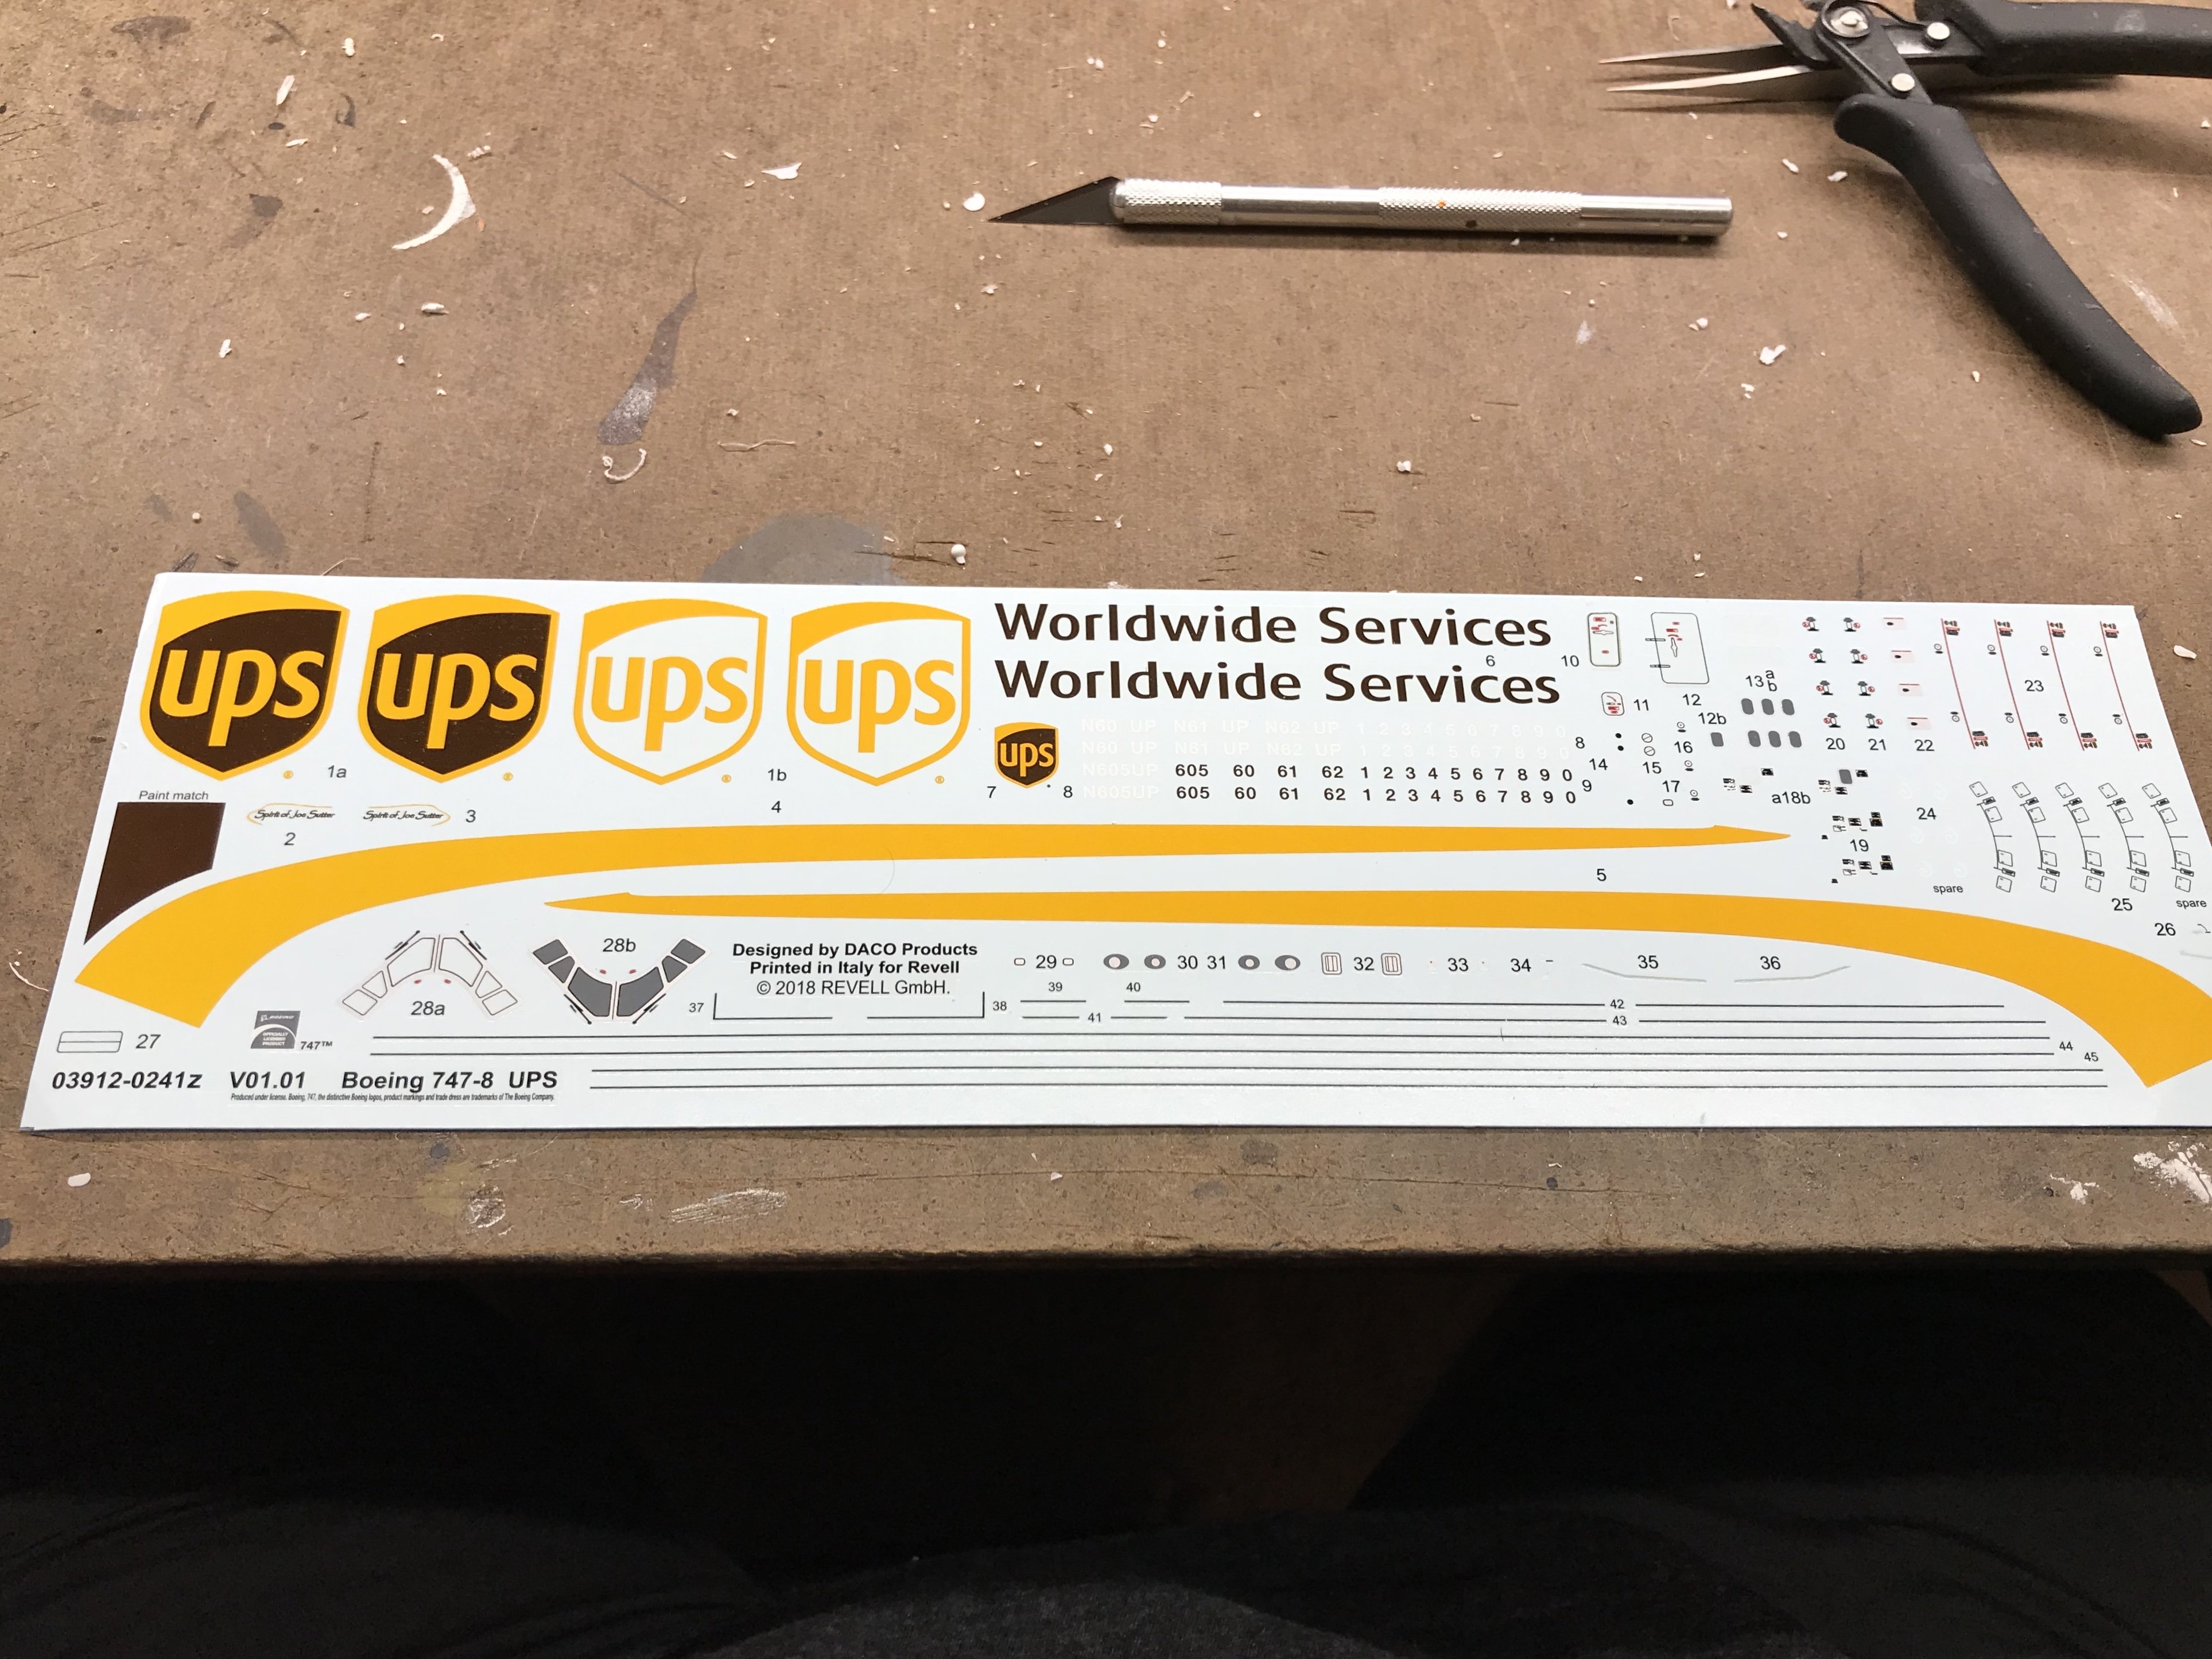
Gil, thanks for the pep talk.I appreciate and respect your feedback. It’s all about having fun. Mark, I’m taking a similar route, to yours. Enamel paint from Lowe’s. It’s safe for plastic. White for the main body, pewter gray for the wings and elevators, and coffee bean for their signature “UPS Brown”. I’ve already primed everything with Tamiya Fine White Primer. I’ll decant them, and shoot them thru my airbrush. Not sure if I’m going to use the clear gloss from the spray can, “decanted”or the Pledge Revive It Floor gloss. The engines are done. All that’s left is to put the cowling around each one of them. As for the leading edge of each fan blade, I used silver decals that were cut into small strips. Solvaset was used to help snug them down. I’m pretty fortunate that UPS WorldPort is just 15 minutes from my house. I can watch them day and night from my front porch. They pass right in front of my house on “Final” coming out of the south. It’s a sight to see. Flaps fully extended, and the landing gear down. The 747’s are low and slow coming in. At night, it’s even more impressive. As far as the eye can see to the south, a line of landing lights in almost a perfect line. Starting around 11pm, a UPS plane will land every minute. Over a hundred every night. Good times indeed. Regards Christopher
-
Simply outstanding work. Congrats. Regards Christopher
-
👍👍👍👍👍👍.. Thanks Gil. I’m pretty nervous about this.
-
Gentlemen, One last question. How long should I let the Gloss White paint cure before I handle the parts? Temp in my house is 69° Humidity level is 59%. Thanks again Christopher
-
Thanks Gil for the very detailed reply.
-
Thank you Nicholas, and Michael.
-
Gentlemen, I rarely build anything that is shiny. I’m starting a Boeing 747–8F. Can anyone recommend a good white paint that I can use. I’ll be shooting it through my airbrush. Any replies are much appreciated . Christopher
-
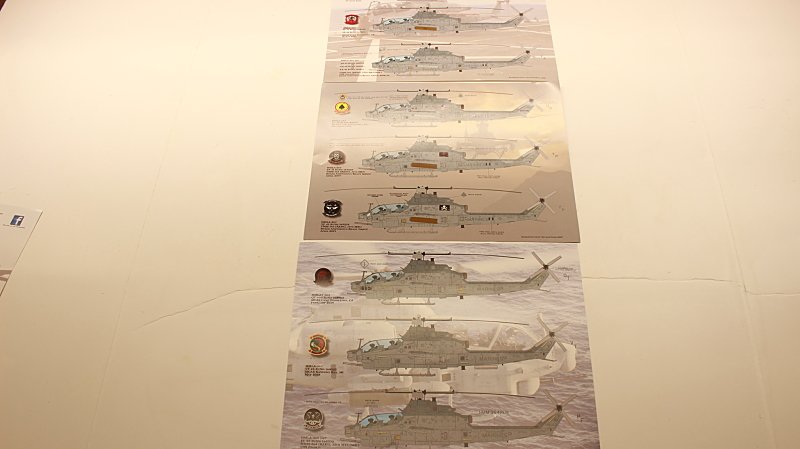
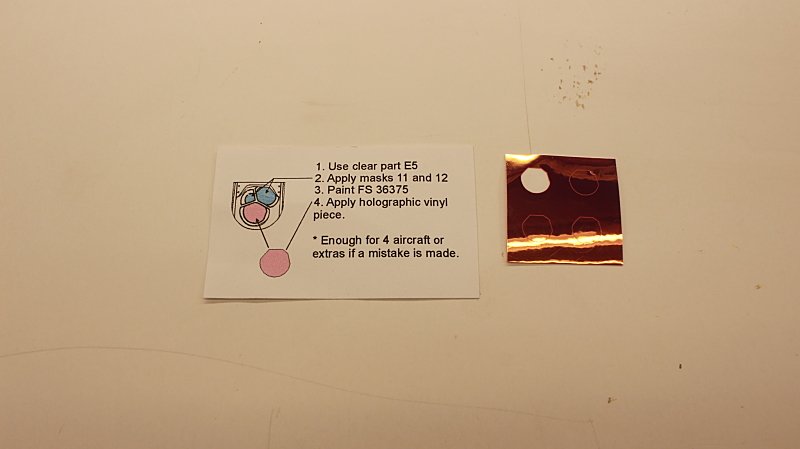
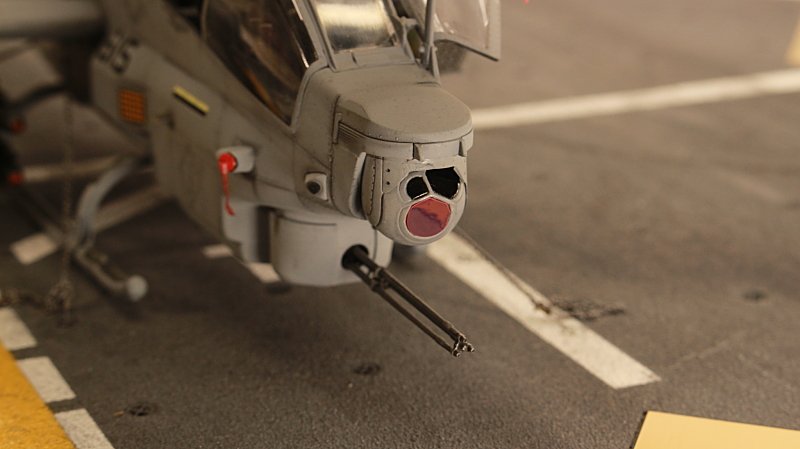
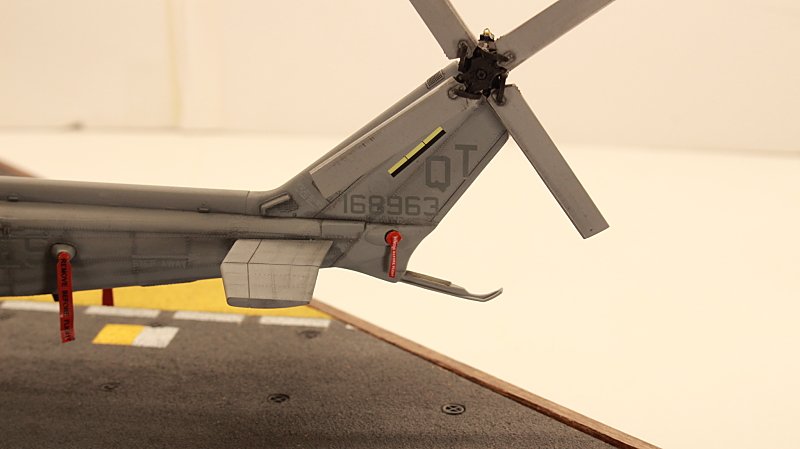
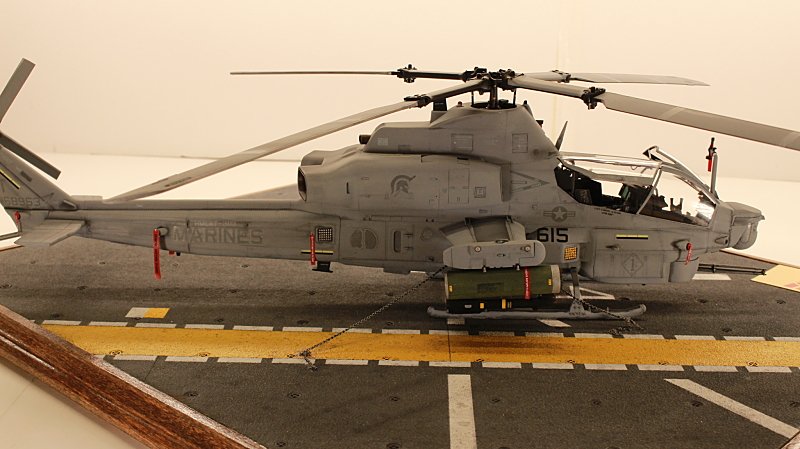
Gentlemen, (Ladies) I just wanted to pass this along to anyone interested in building this kit. I still use enamels when painting my builds. Testor Model Master, to be exact. After referring to the paint chart recommended by Academy, I went to my local hobby store to pick up the colors. The paints went on great, as always. The problem was that the kit supplied decals were almost invisible when I applied them. After a shot of Dull Coat, they faded even more. Practically nonexistent. I want to say that Academy provides really good decals in their kits. I've never had any issues before with them. (And I've built A LOT of them).I just think that they missed the mark on this ONE kit. I purchased the below decal sheet yesterday. They are made by Flying Leathernecks Decals. These are the best decals I've used in a very long time. They even include a very realistic vinyl sticker for the front sensor ball above the gun. I've always had a hard time replicating the color. This company has nailed it. I hope this helps someone incase they are still using Testor Model Master Paints Regards Christopher
-
As always, your attention to detail, makes your builds above all others in my book.
-
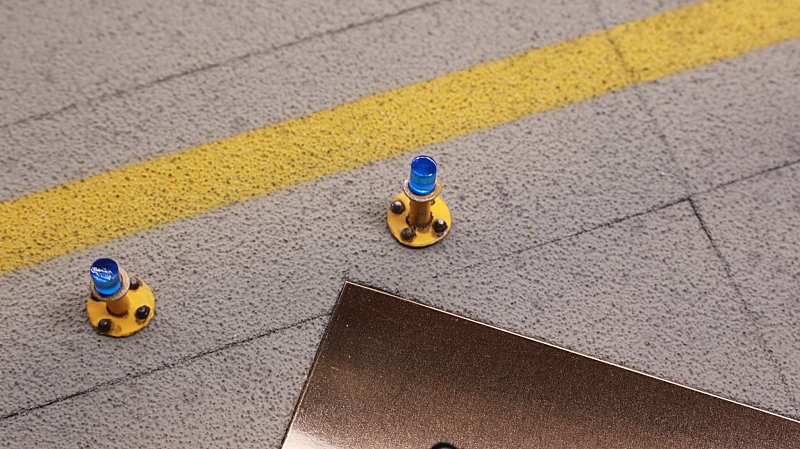
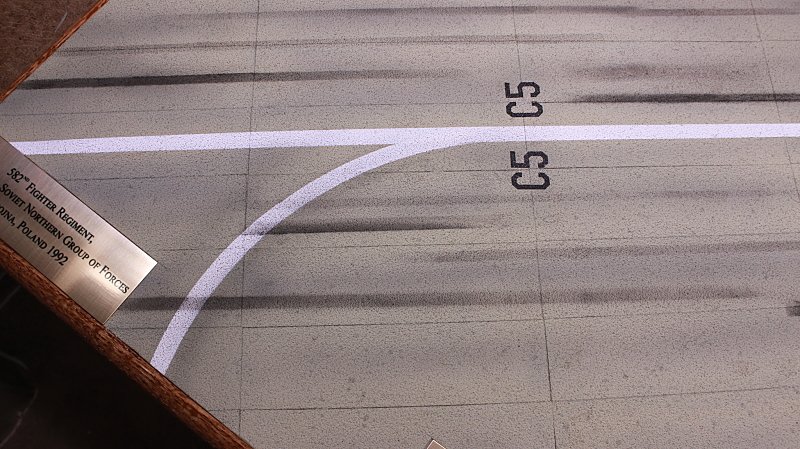
Thanks Bill. I lightly hand traced the pattern with a pencil, then used poster putty as a mask. Thanks again Mark. The decals were a combination of kit, and aftermarket. Took some time to apply them. Completed the base this morning. I made taxi light from my scrap box. The static grass is from a company in Germany. I used masking tape and pastel chalks to simulate tire marks on the taxi way. She's a big one. The base measures 22 3/4 by 26 3/4. Good times indeed. Regards Christopher
-
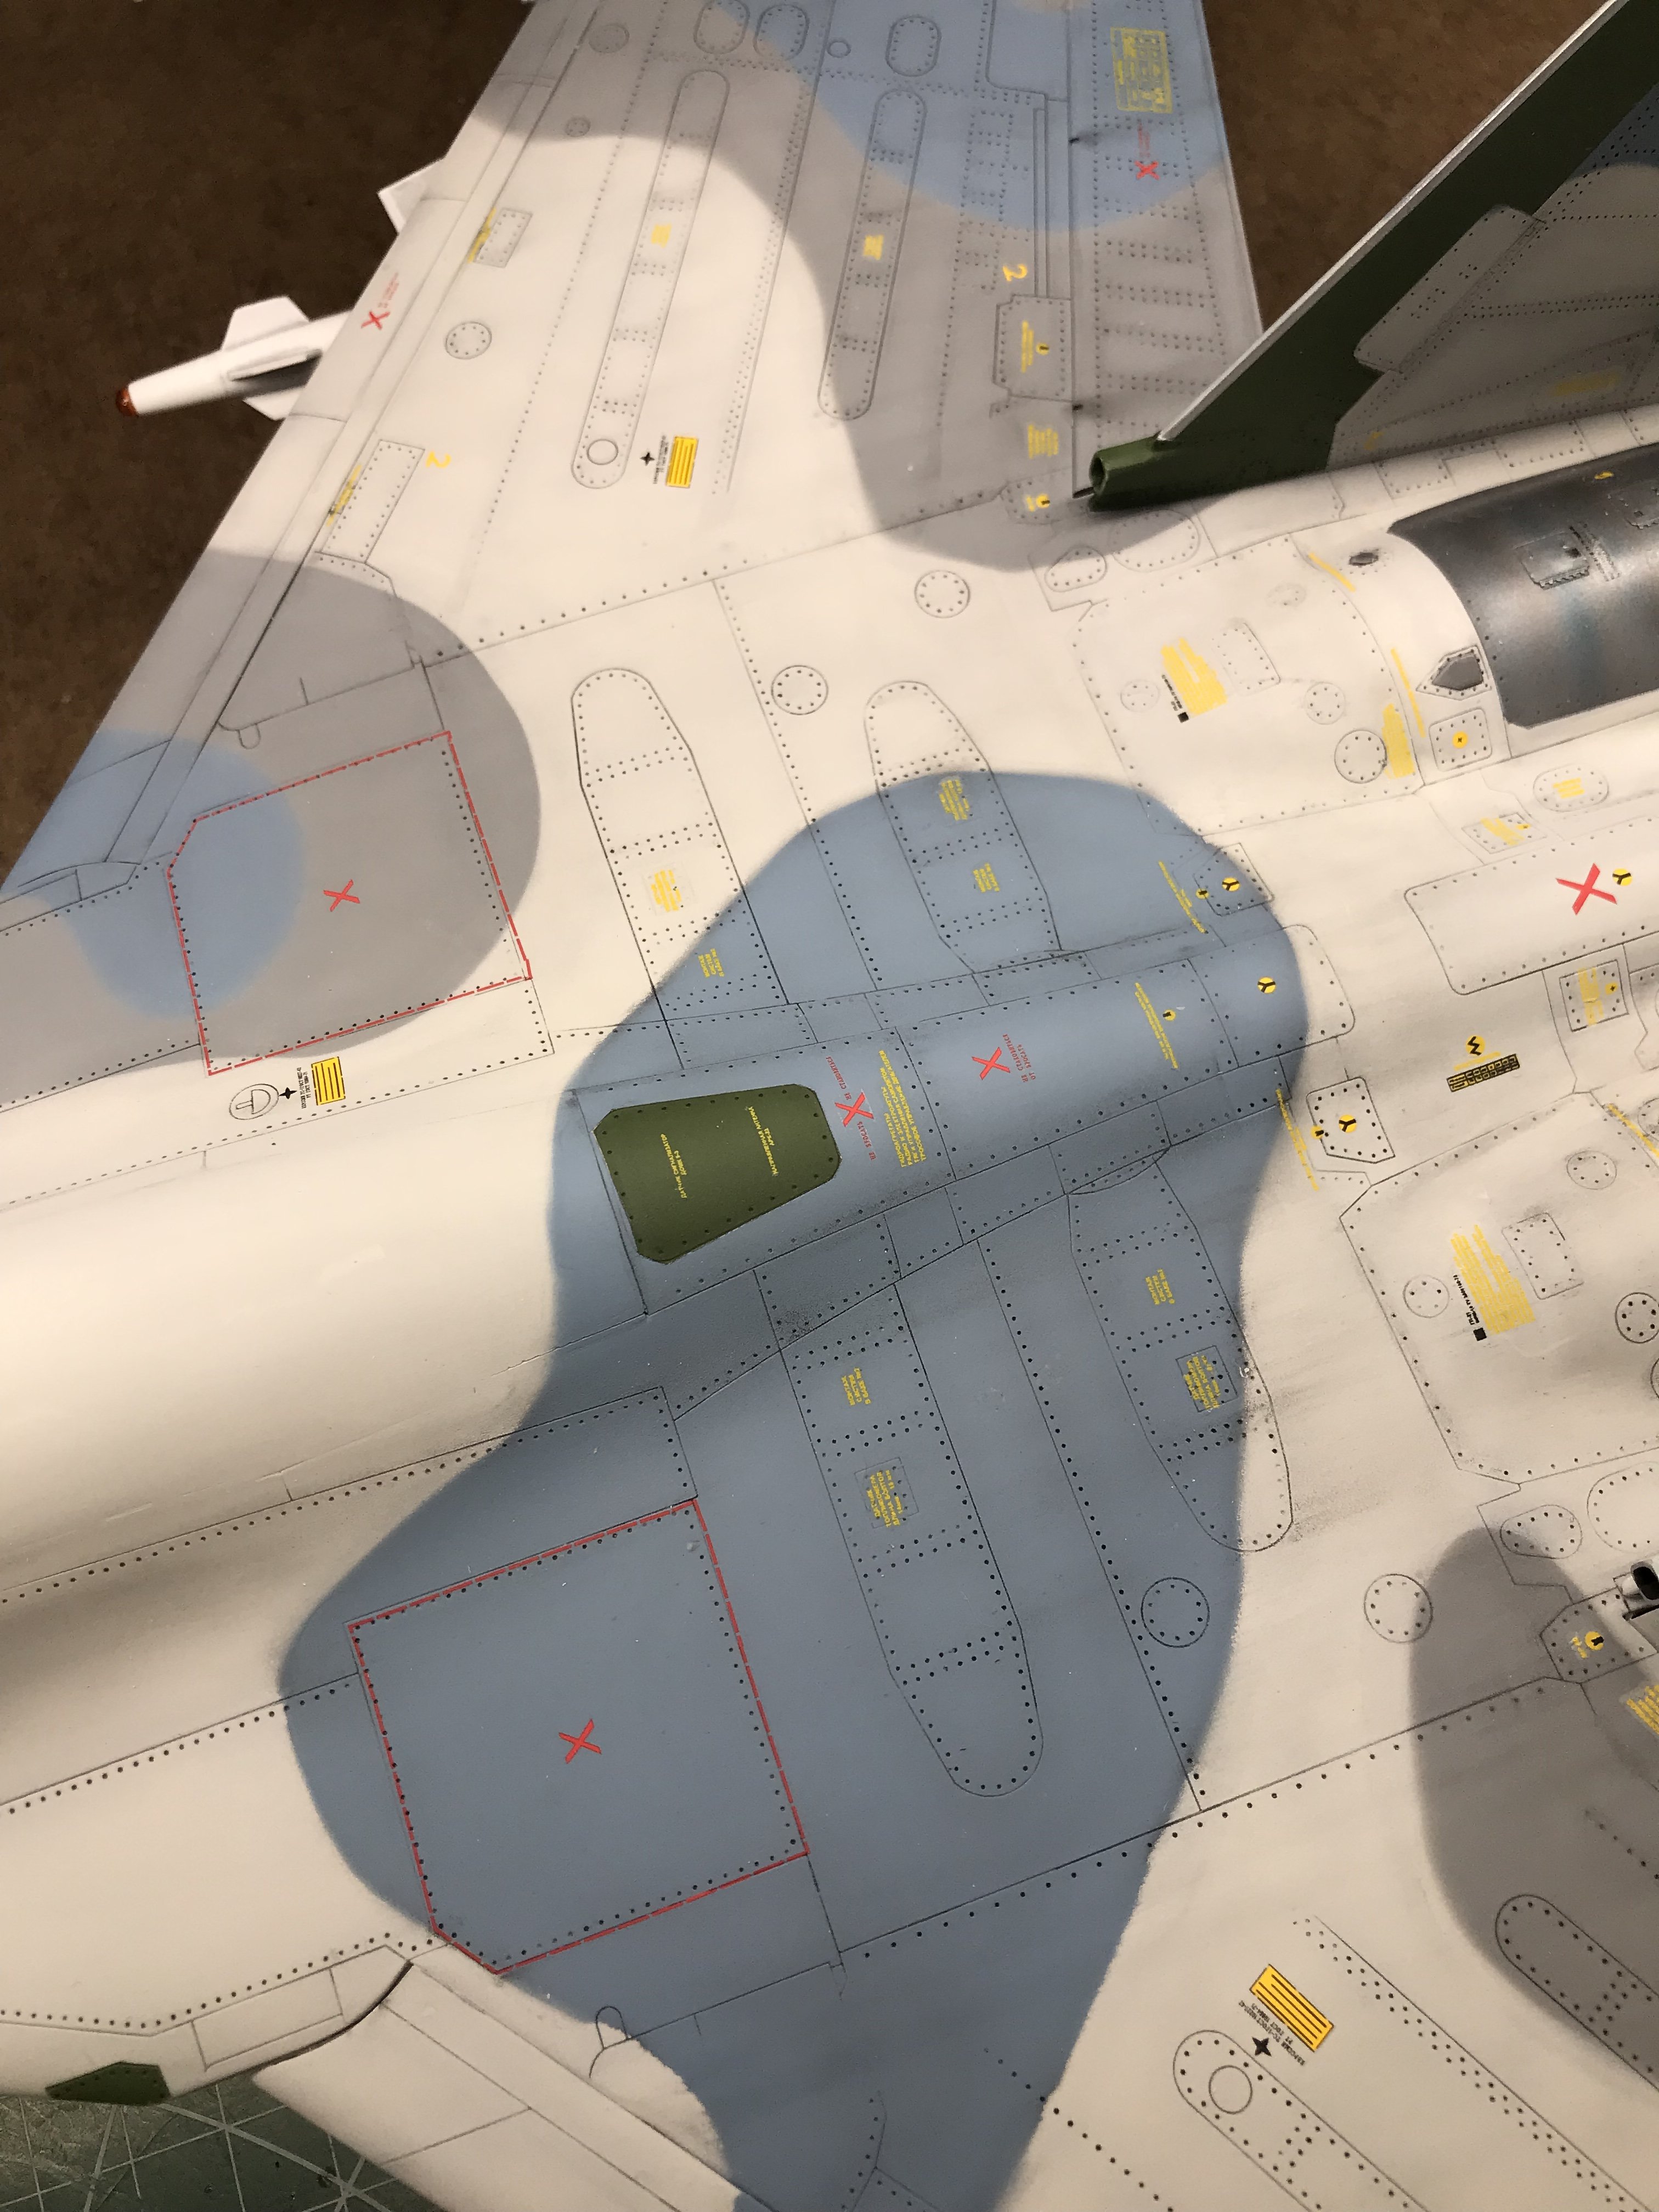
Decals on and have started the weathering.
-
Thanks a lot Mark.
-
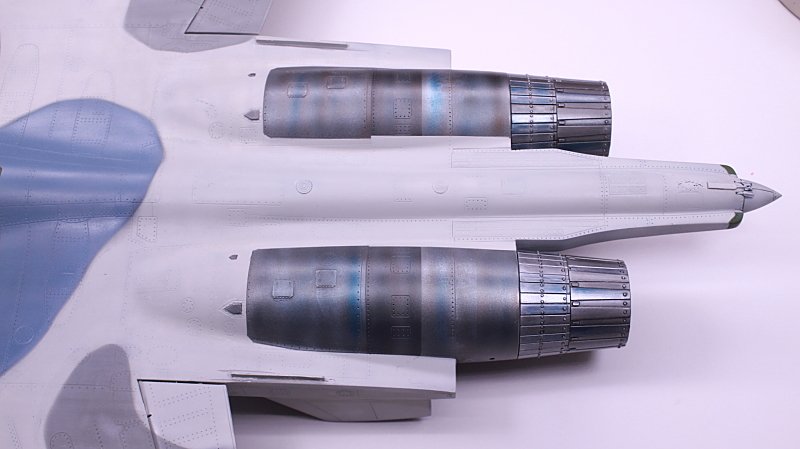
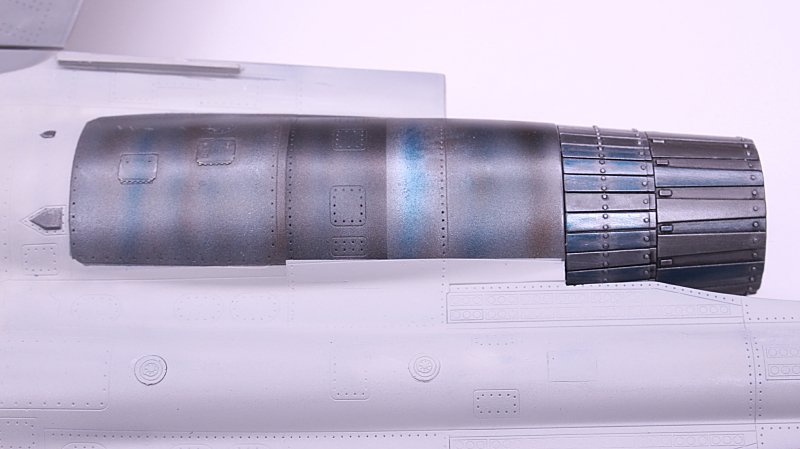
Well, I'm finally in the homestretch. Everything is ready for decals, then a pin wash of artist oils thinned with mineral spirits. I was not happy with the exhaust nozzles. Again, I got in a rush, and did not look at any photos before I started. I stripped them down to bare plastic and started over. I used Testor's metalizer lacquer on the nozzles, and engine panels on the rear of the fuselage. Buffing, and non-buffing. 5 different colors. These are for airbrushing only. No need to thin them. Easy to work with. The heat marks are Tamiya clear blue thinned down. No fit issues at all on the rudders. After a little sanding, they fit perfect. No need for putty either. I should be able to start on the base this weekend. Regards Christopher
-
Another great start for a true masterpiece. Regards Christopher
-
Holy smokes Batman! That is one gorgeous model Bill. The finish is flawless. Regards Christopher
-
Fantastic looking model as always Gil. Love the paint scheme.
-
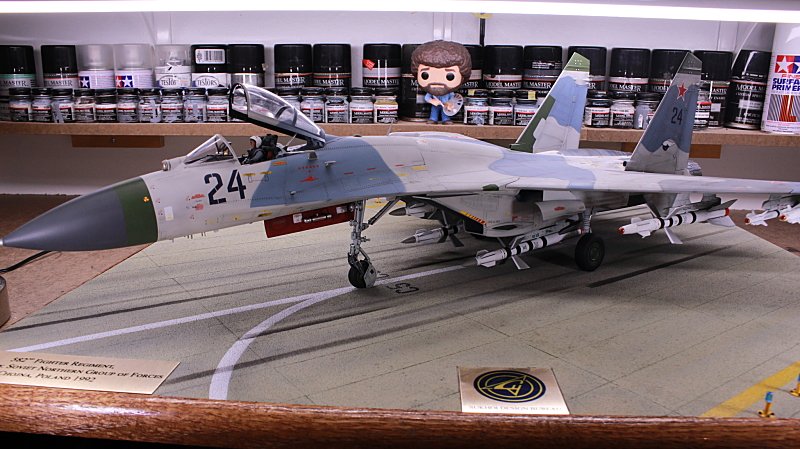
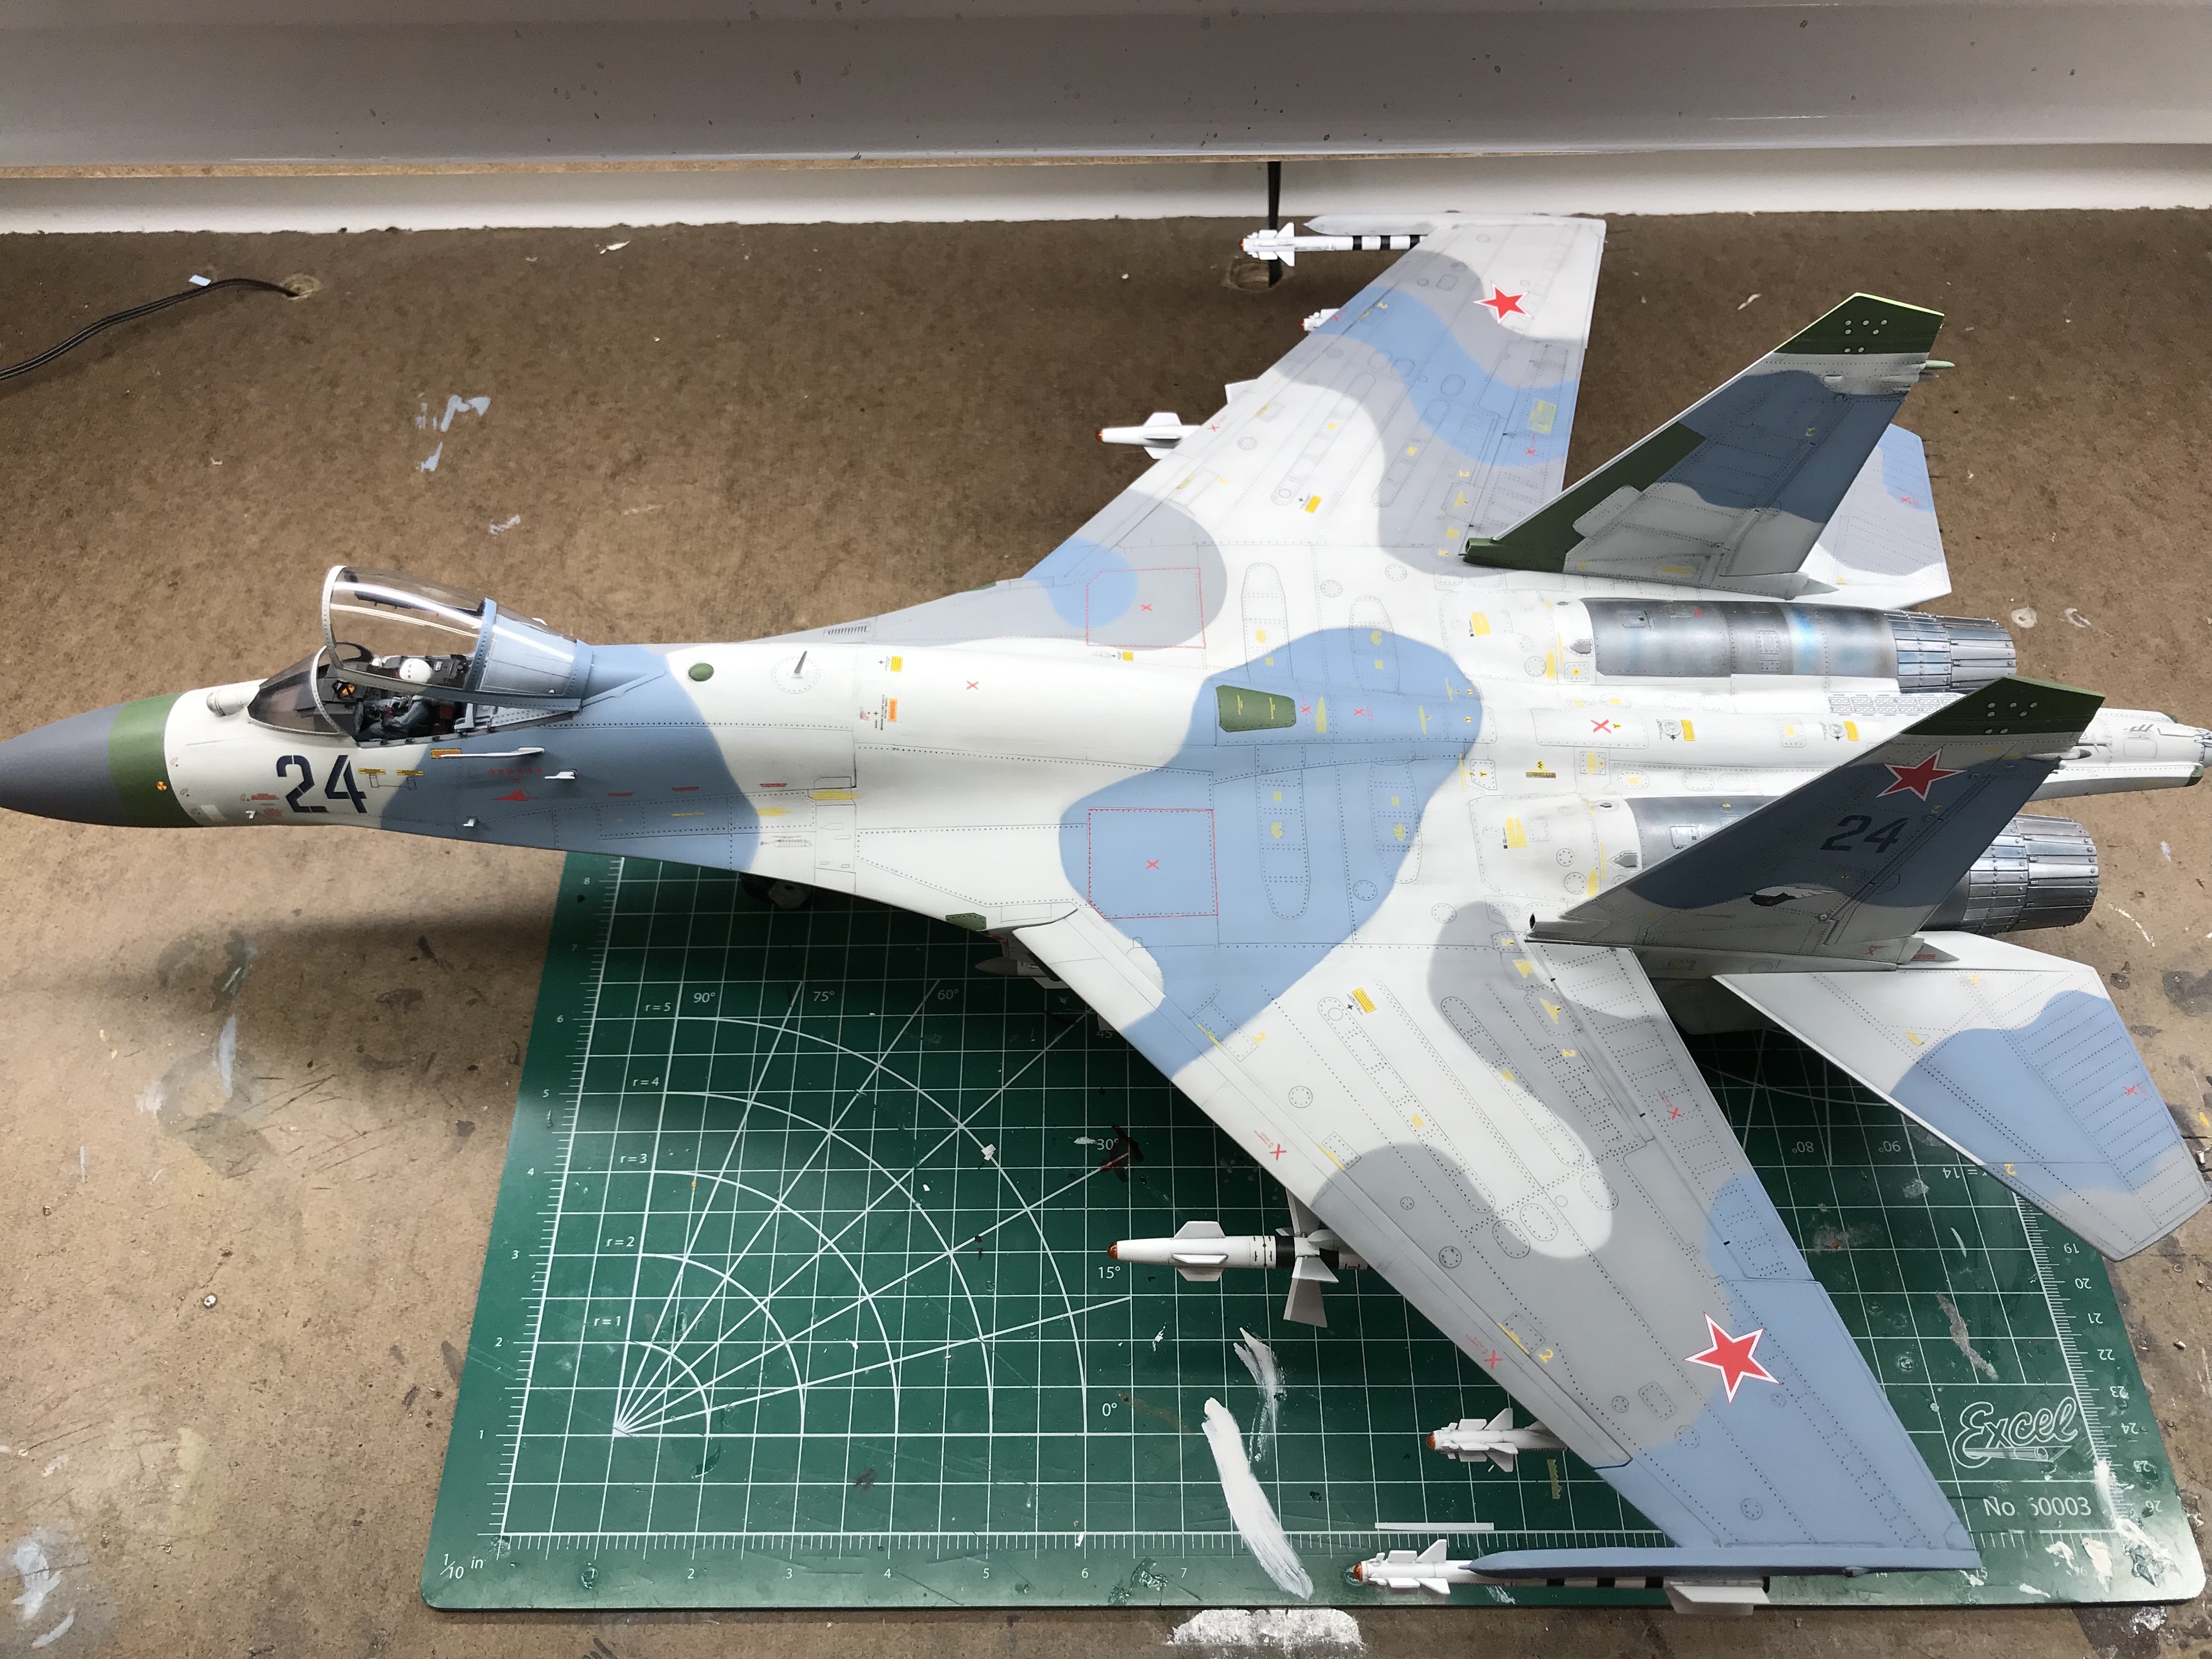
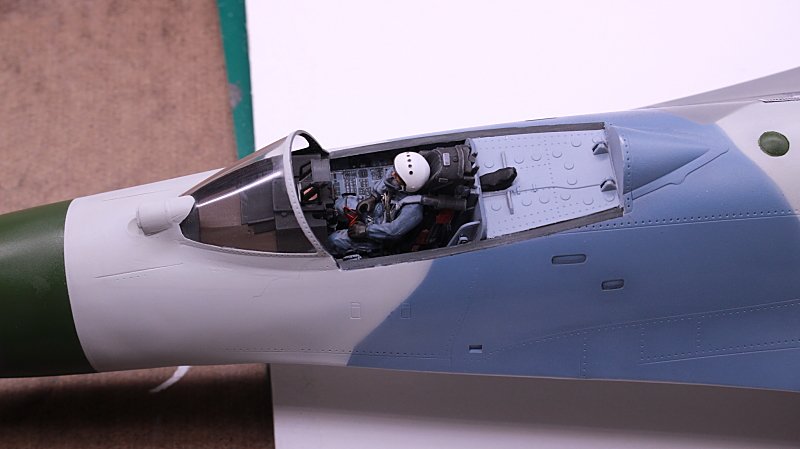
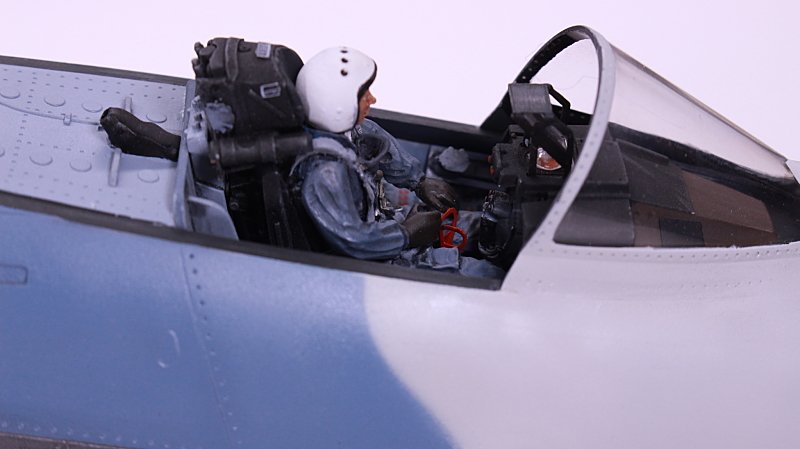
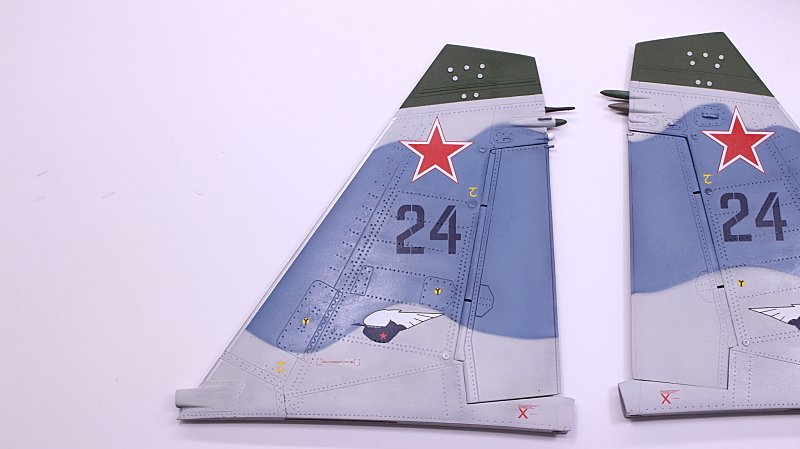
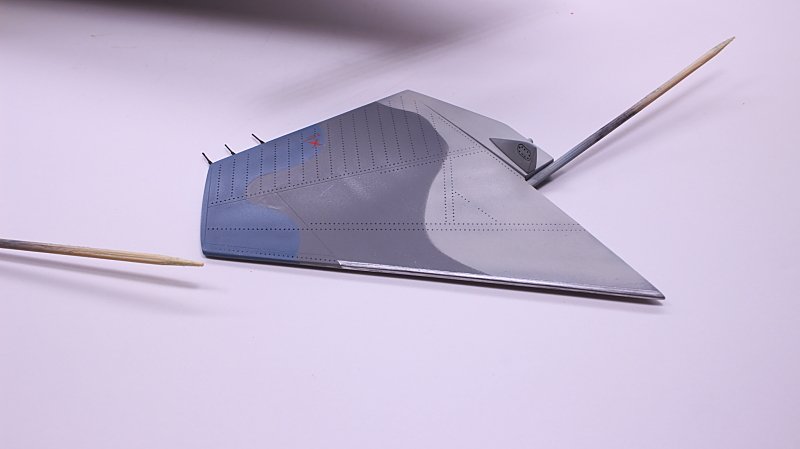
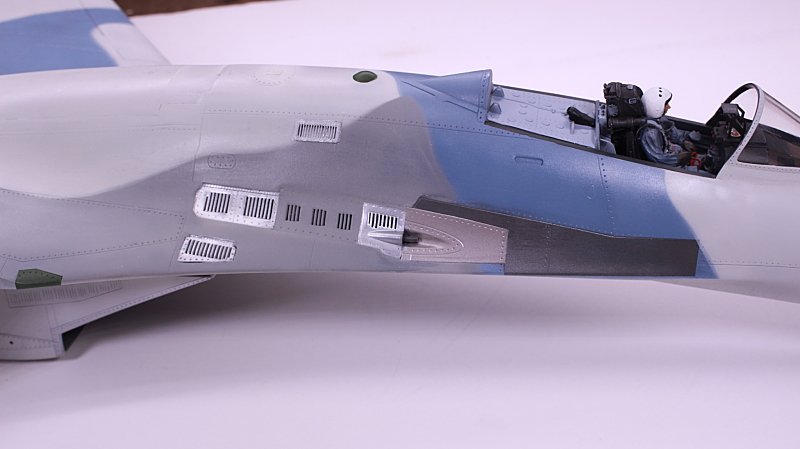
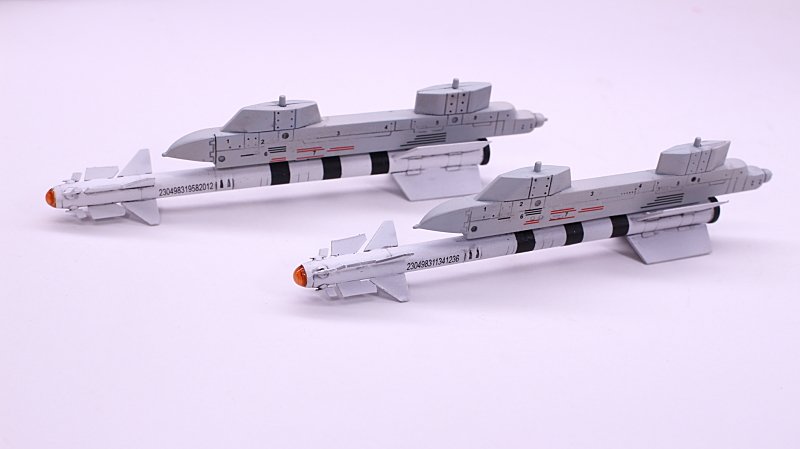
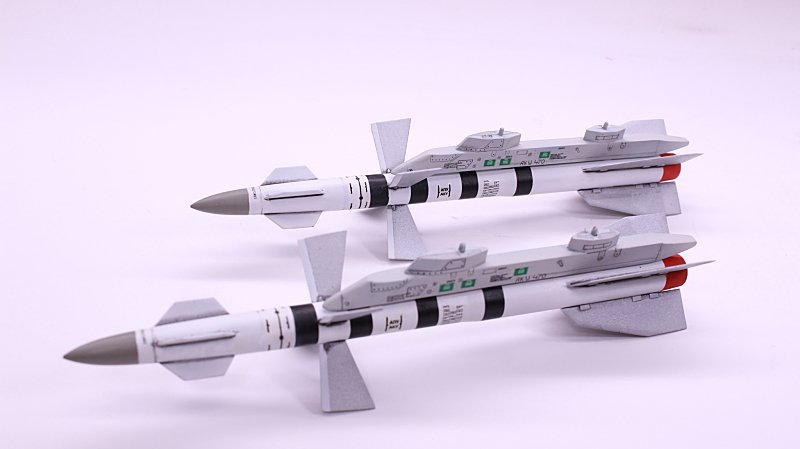
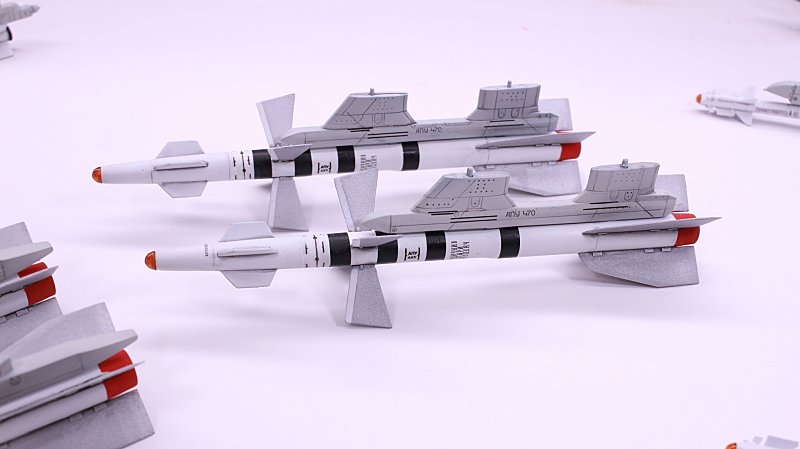
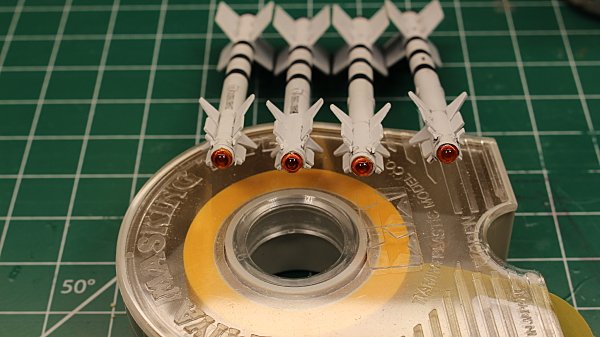
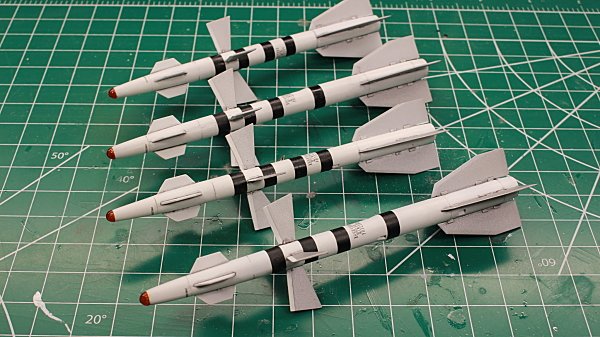
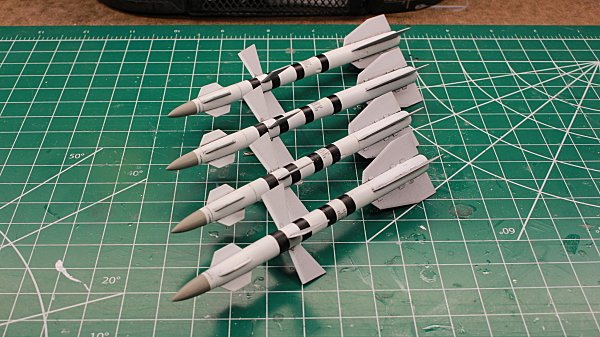
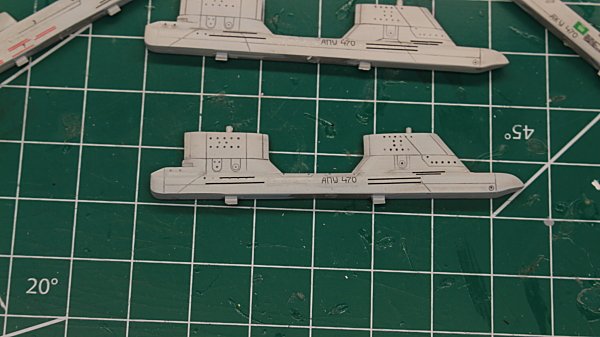
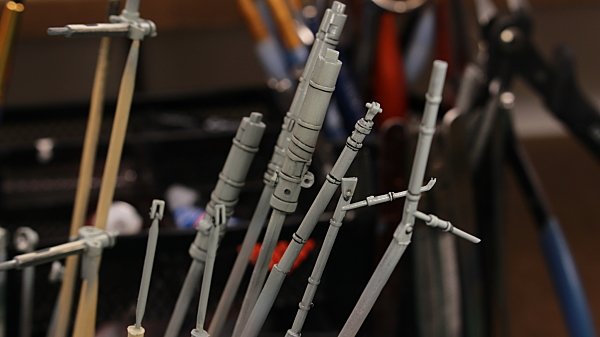
Thanks Bill. All the sub assemblies have been completed. The missiles took quite a long time to paint and apply decals. I got this kit at a swap meet from a vendor. After a closer inspection of the kit, I noticed that it had been subjected to a lot of moisture. There was actually a light film of mold on top of the decal sheet. With a damp rag, it wiped right off. The staples were rusted on the instructions. The decals were a challenge. I experimented with pre-shading on the rudders, and elevators. I did something pretty stupid. I assembled the wings with the leading edge slates installed , WITHOUT looking at the instructions first. When it came time to attach the wings to the fuselage, they would not fit. After using a few #11 blades to carefully remove the slates and some sandpaper, the problem was fixed. I'll never do that again. Regards Christopher
-
Thank you Oliver.