Bradley25mm
-
Posts
469 -
Joined
-
Last visited
-
Days Won
30
Content Type
Profiles
Forums
Events
Everything posted by Bradley25mm
-
Really like this one. Great job on the airbrushing. Chris
-
Very nice work! Great paint work. Chris
-
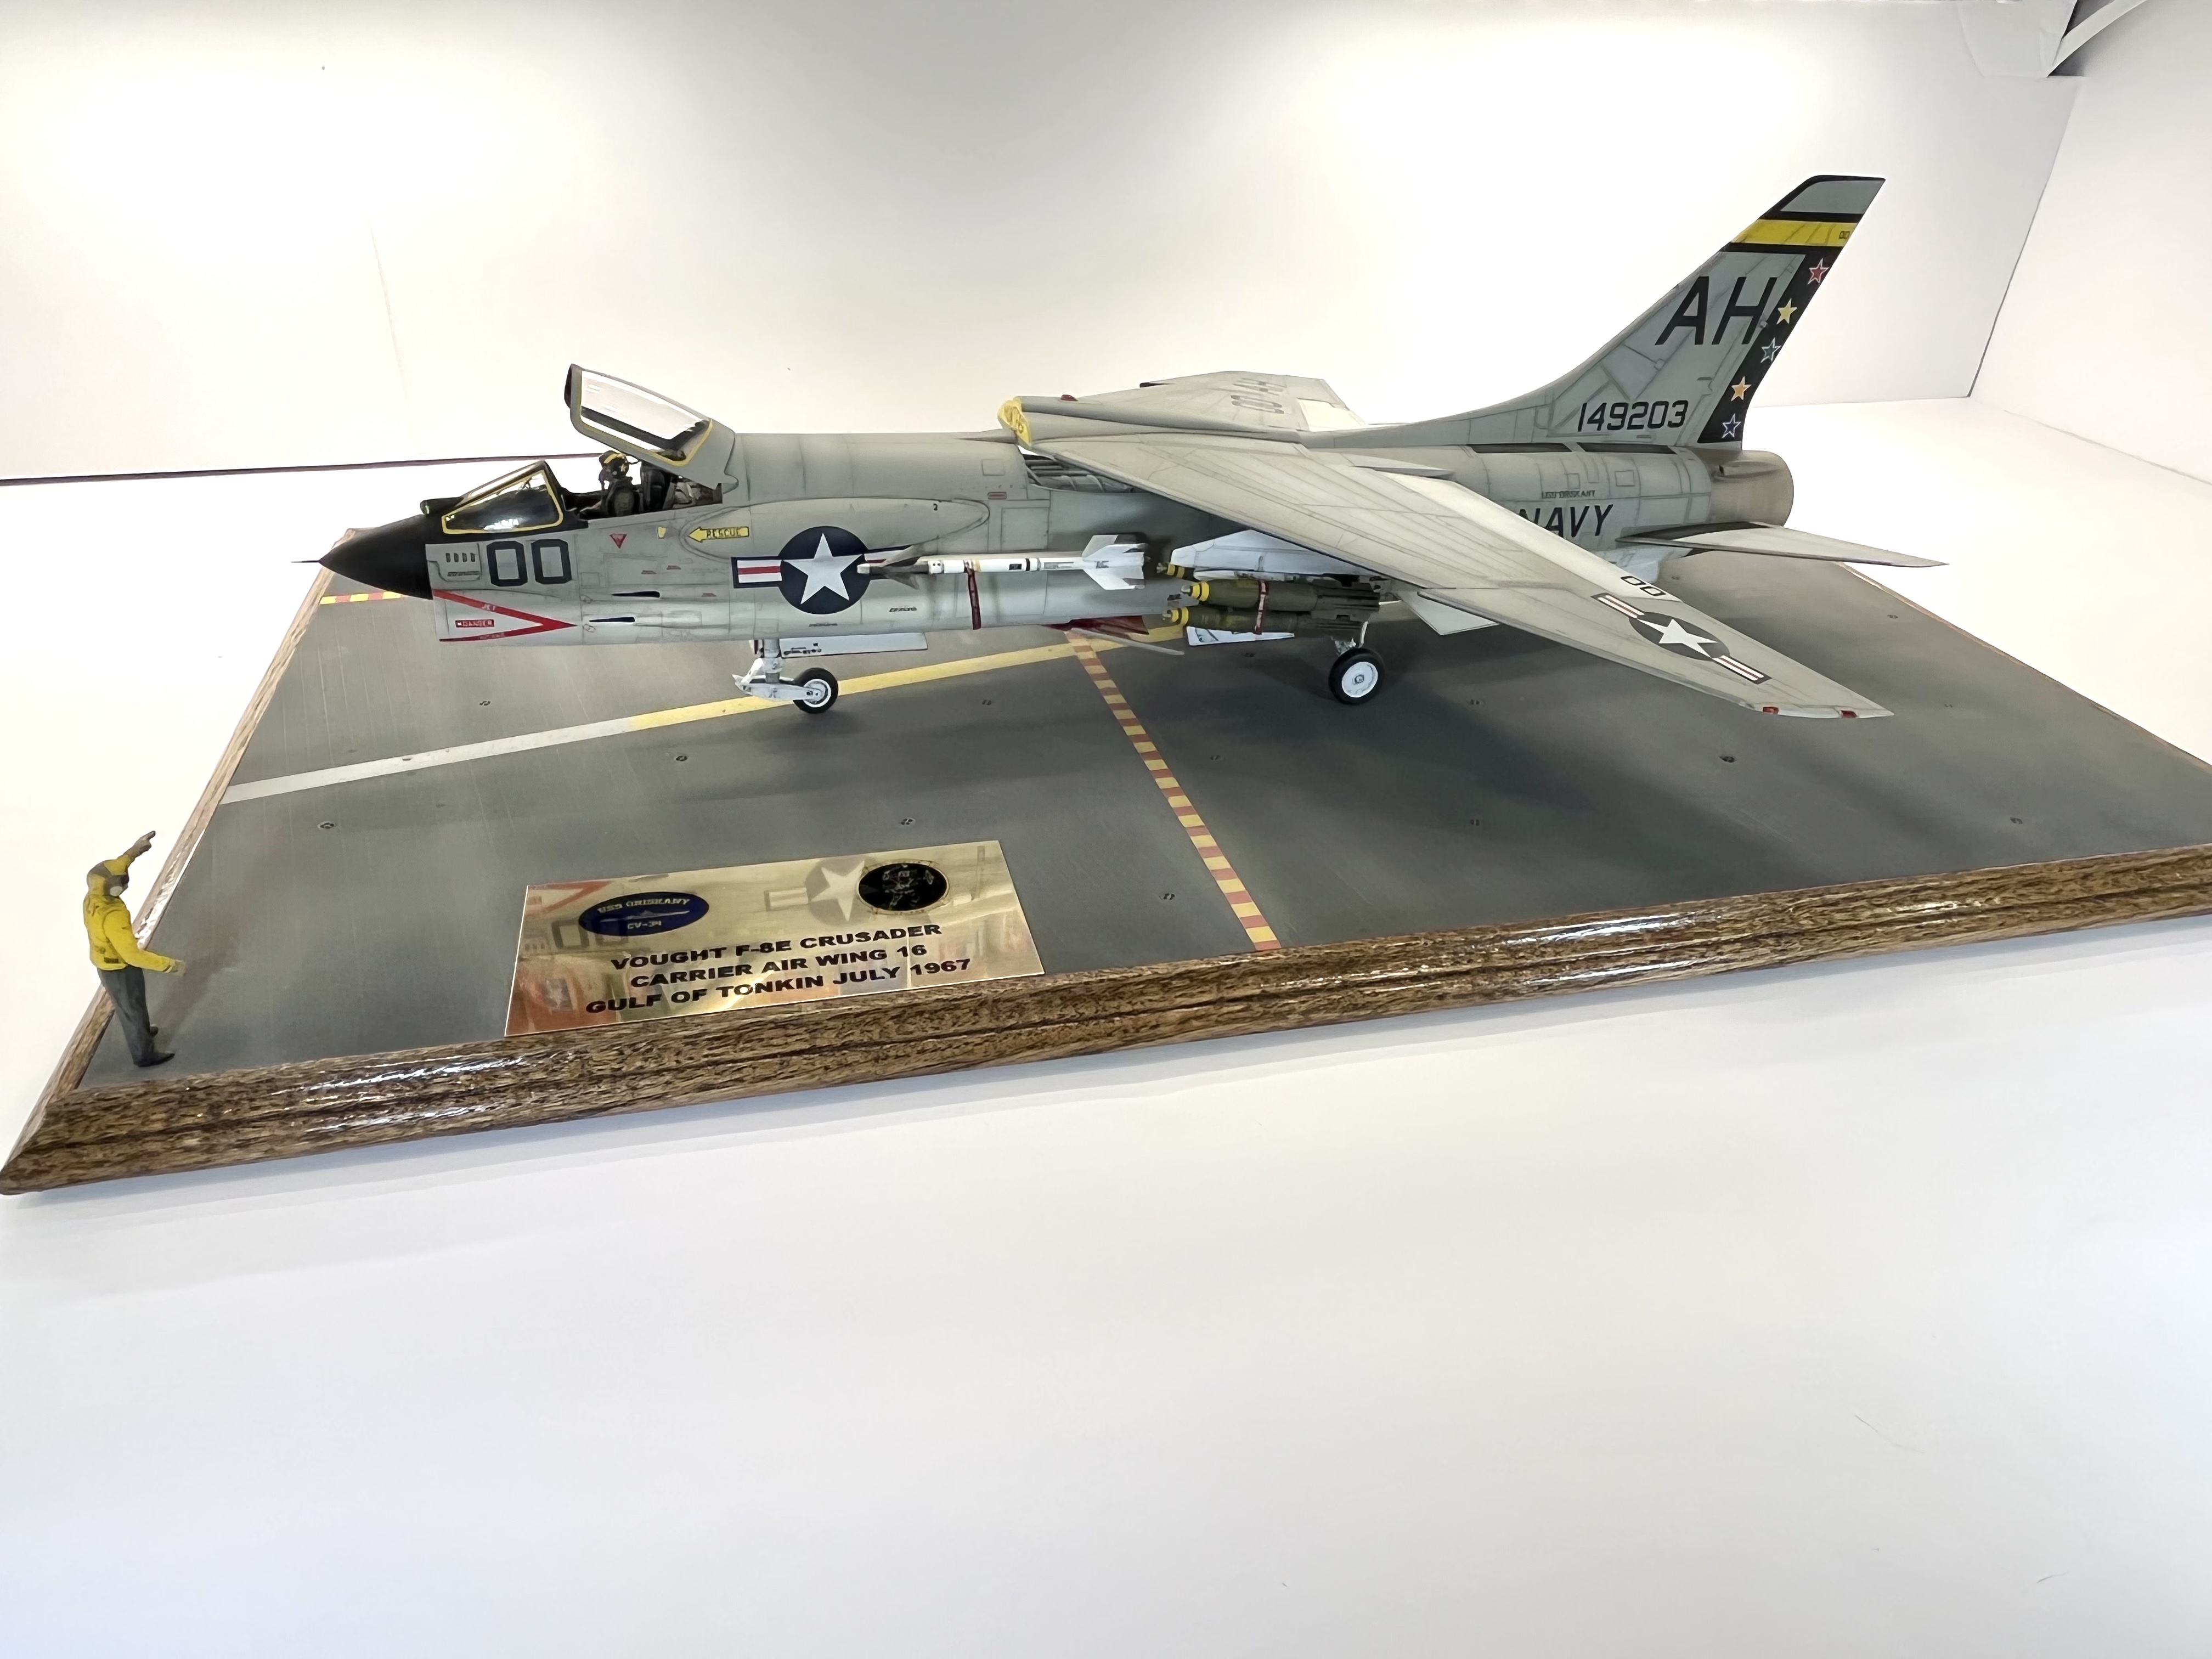
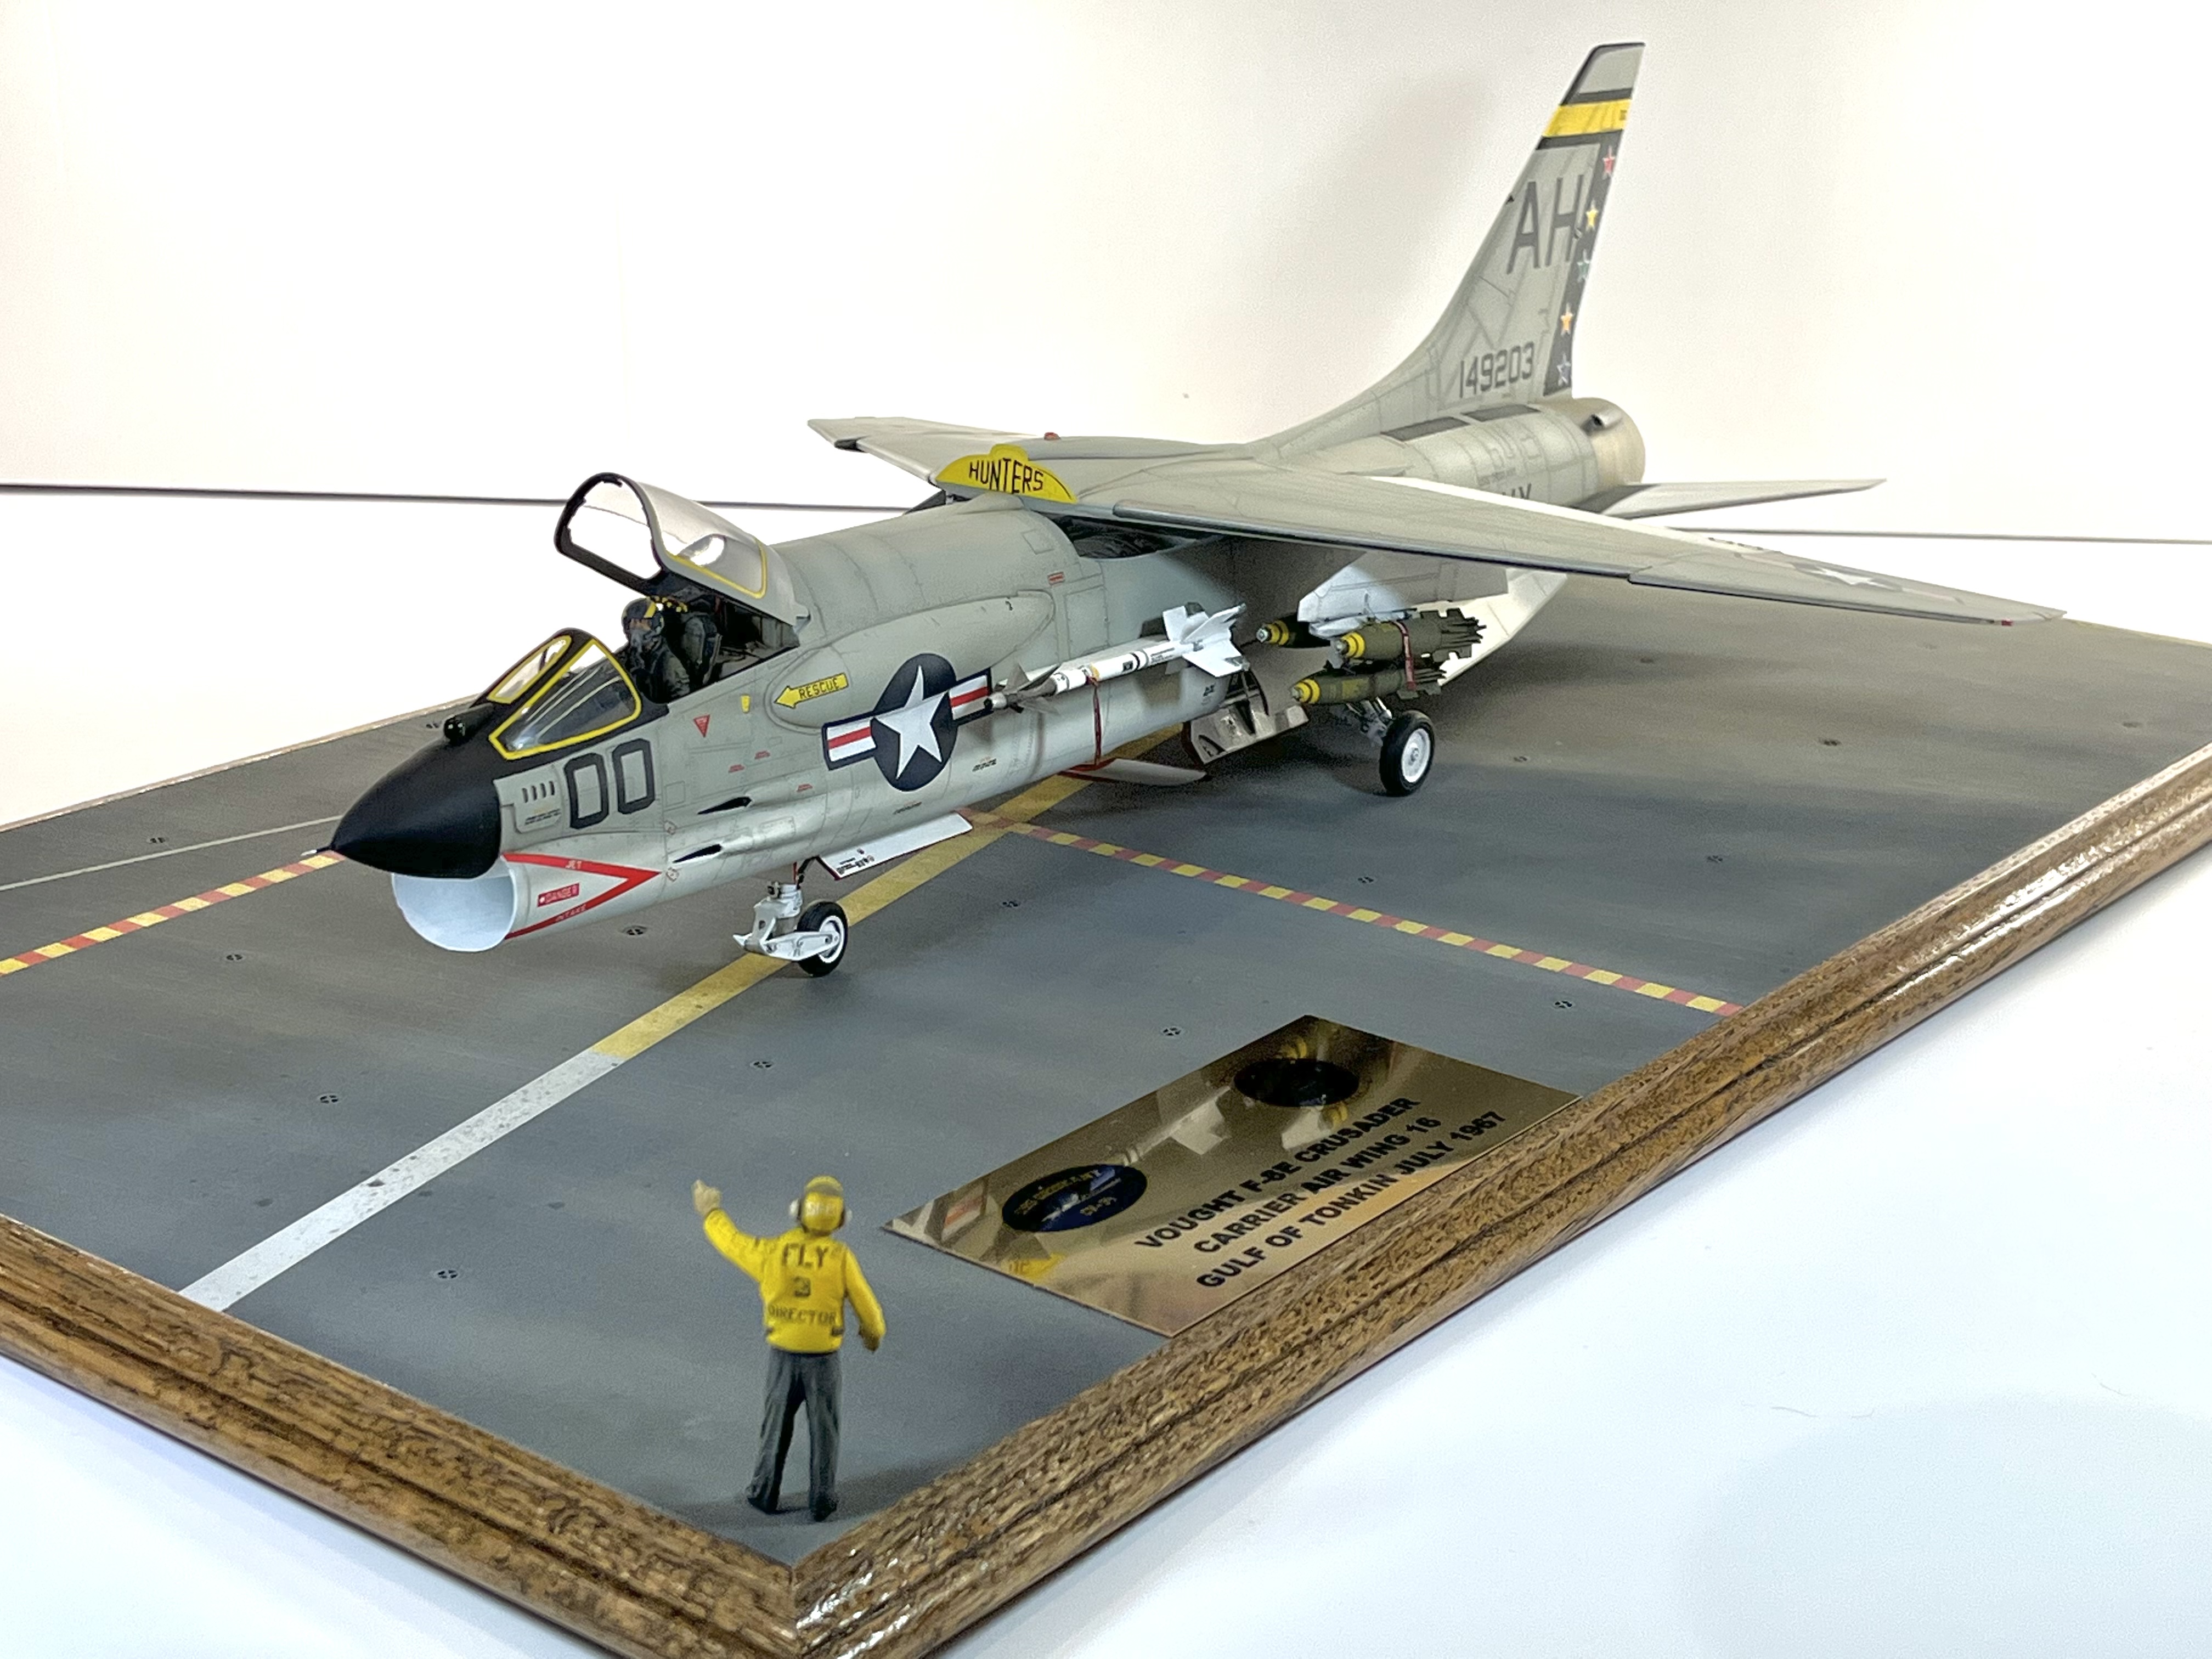
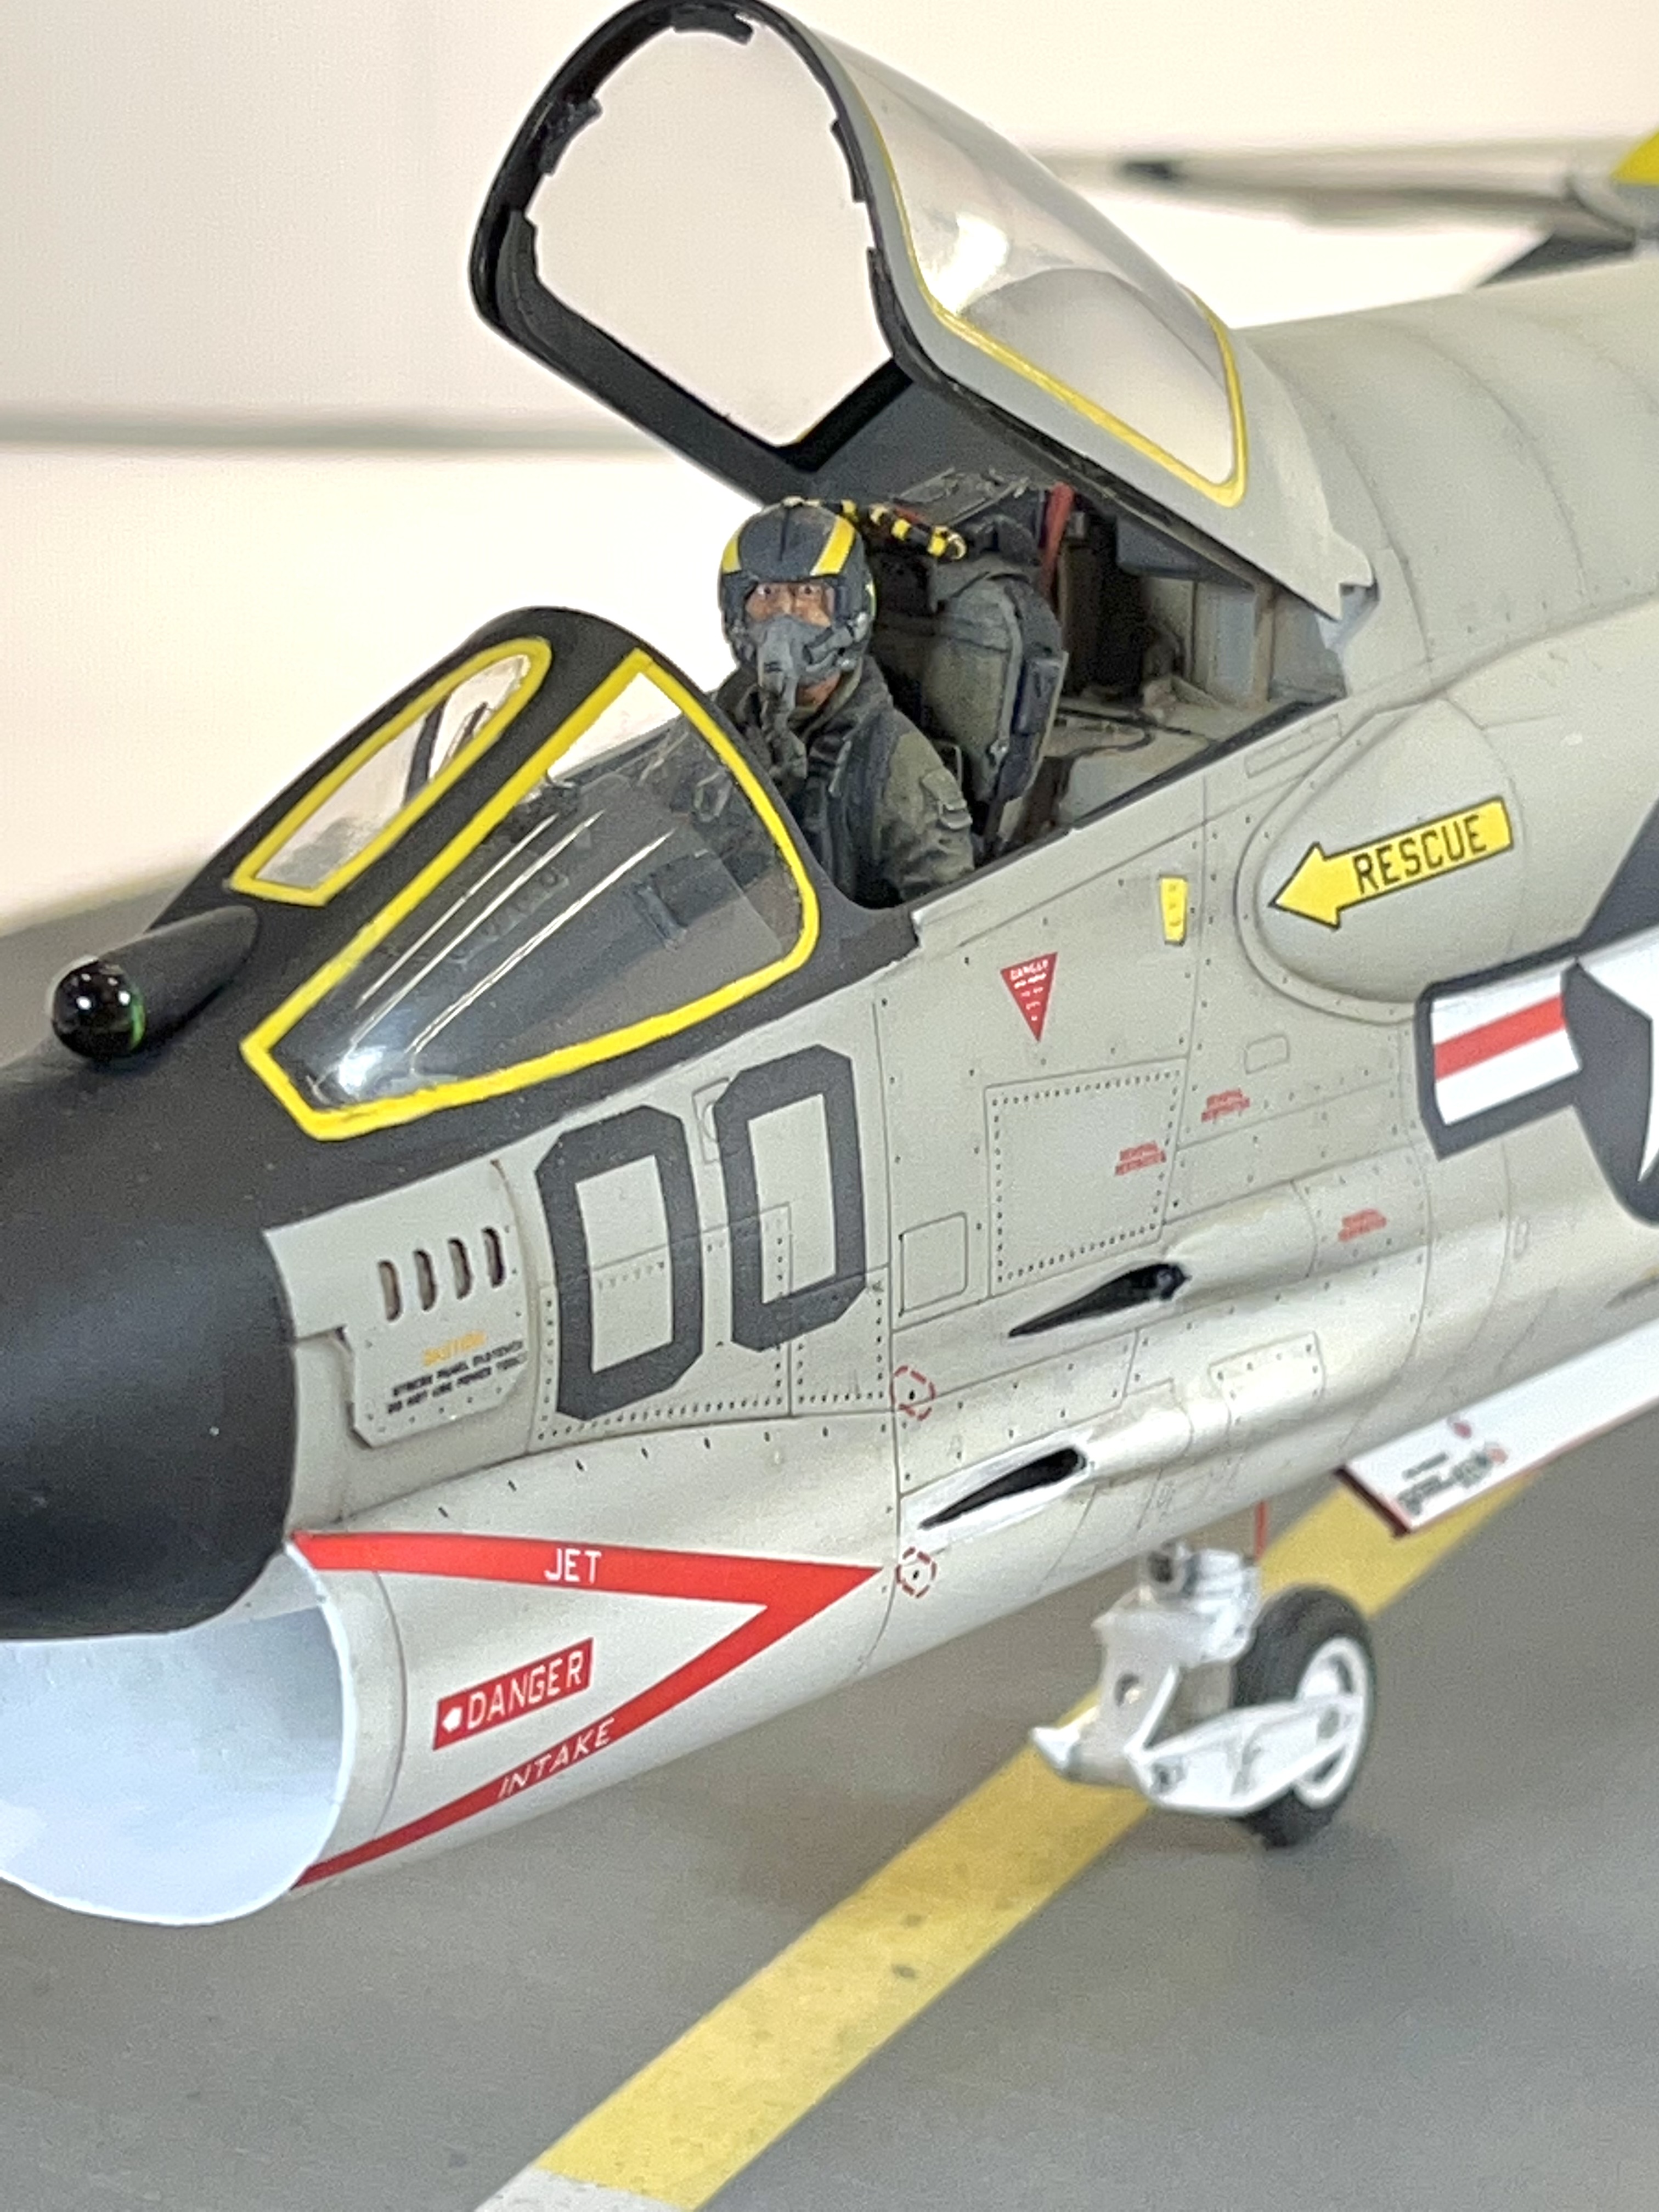
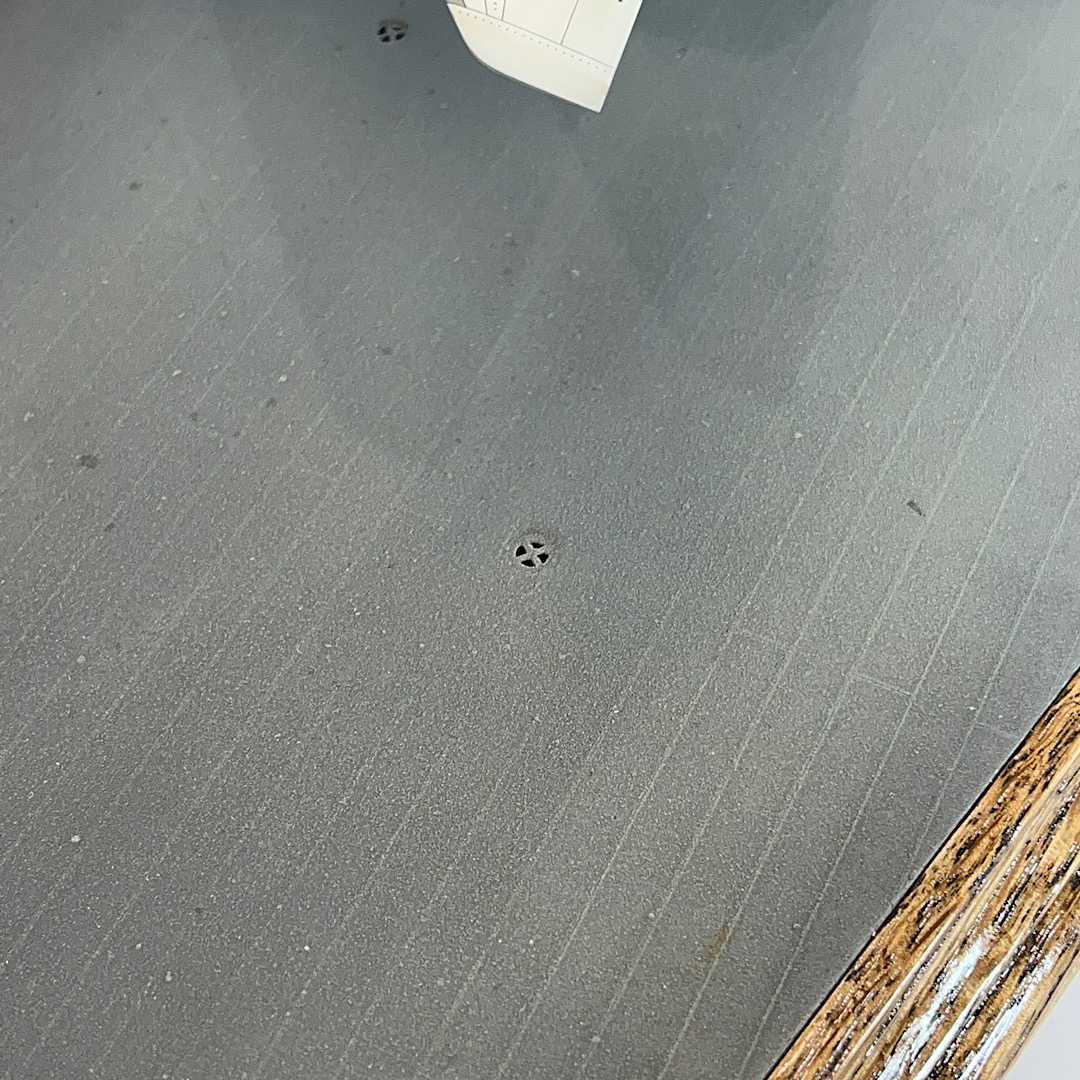
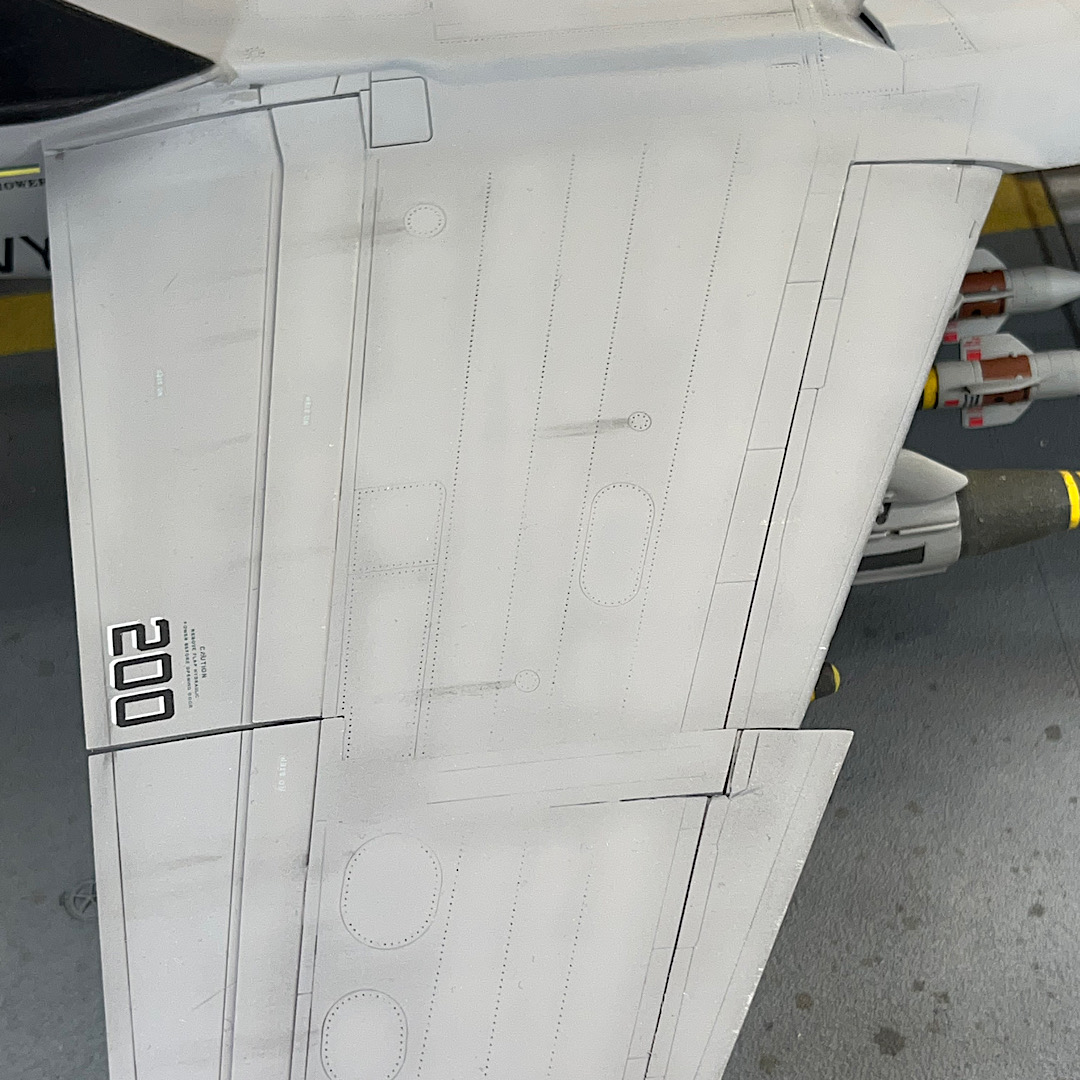
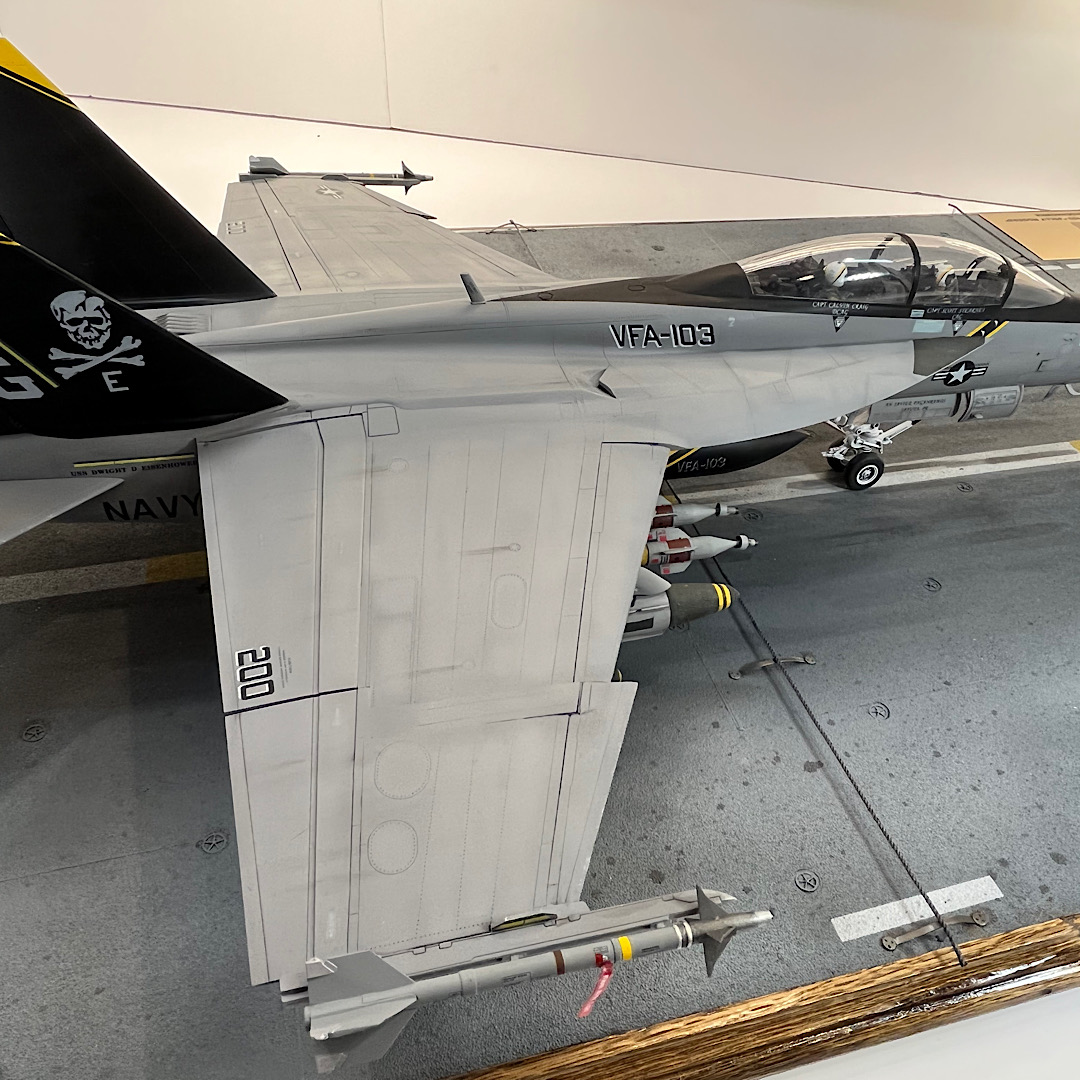
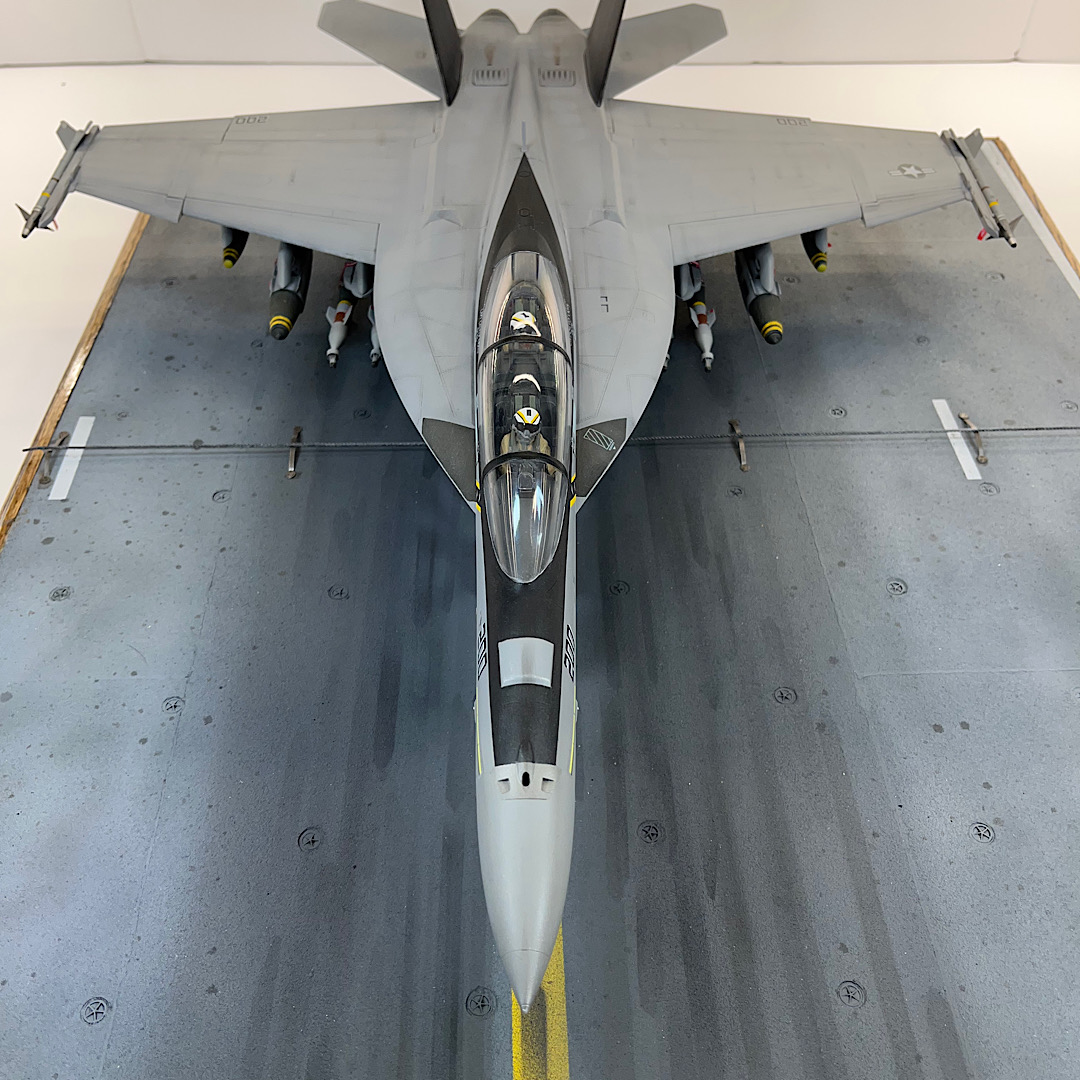
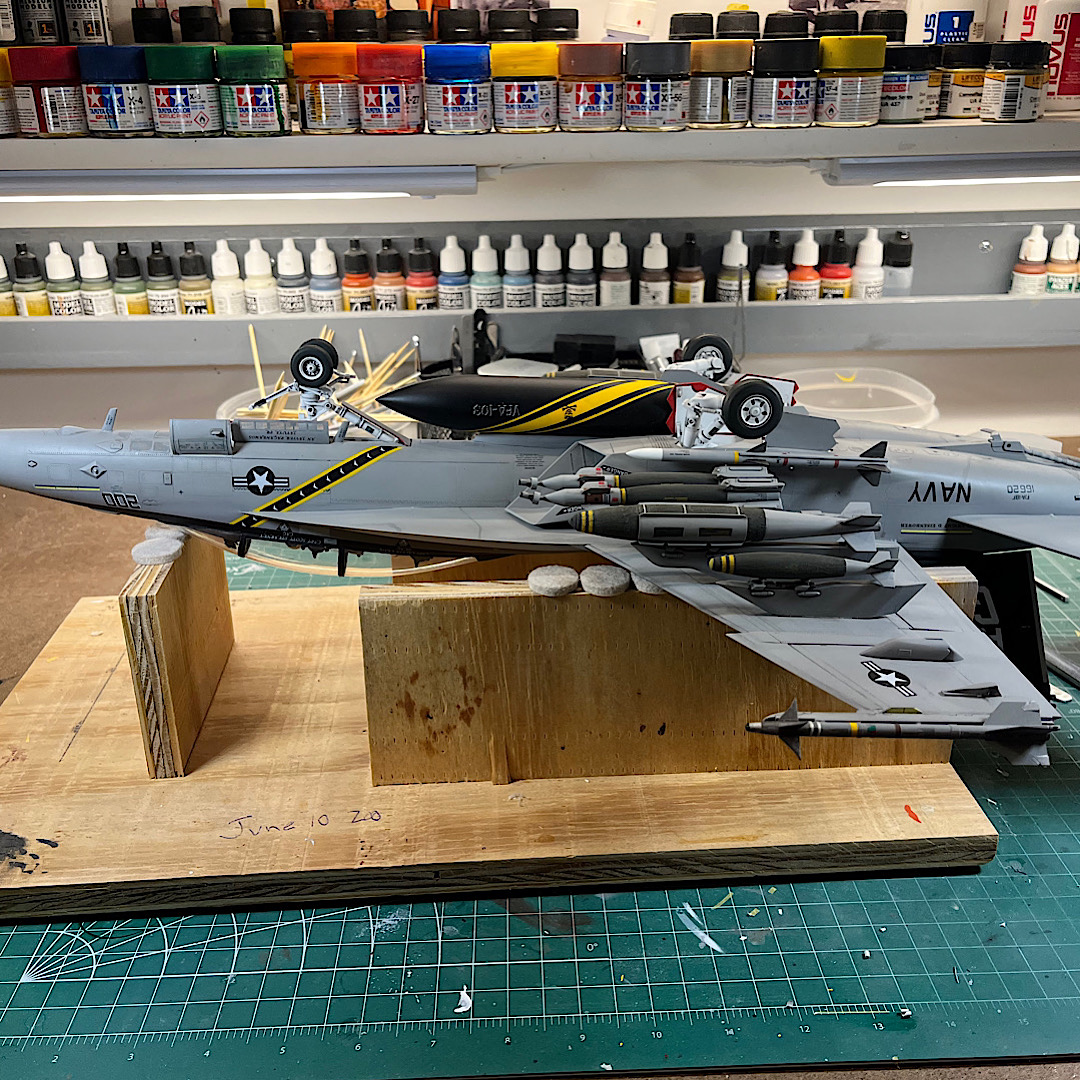
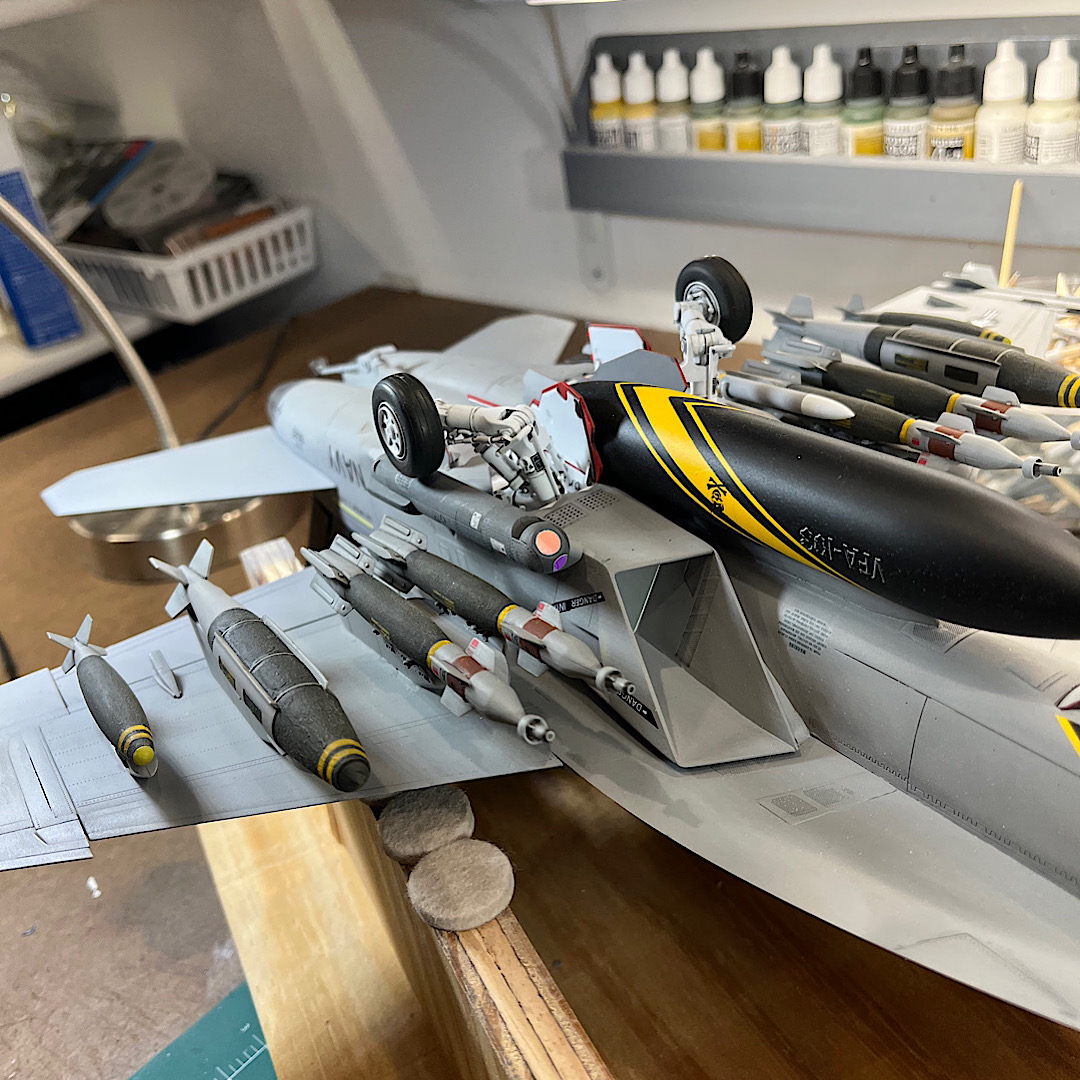
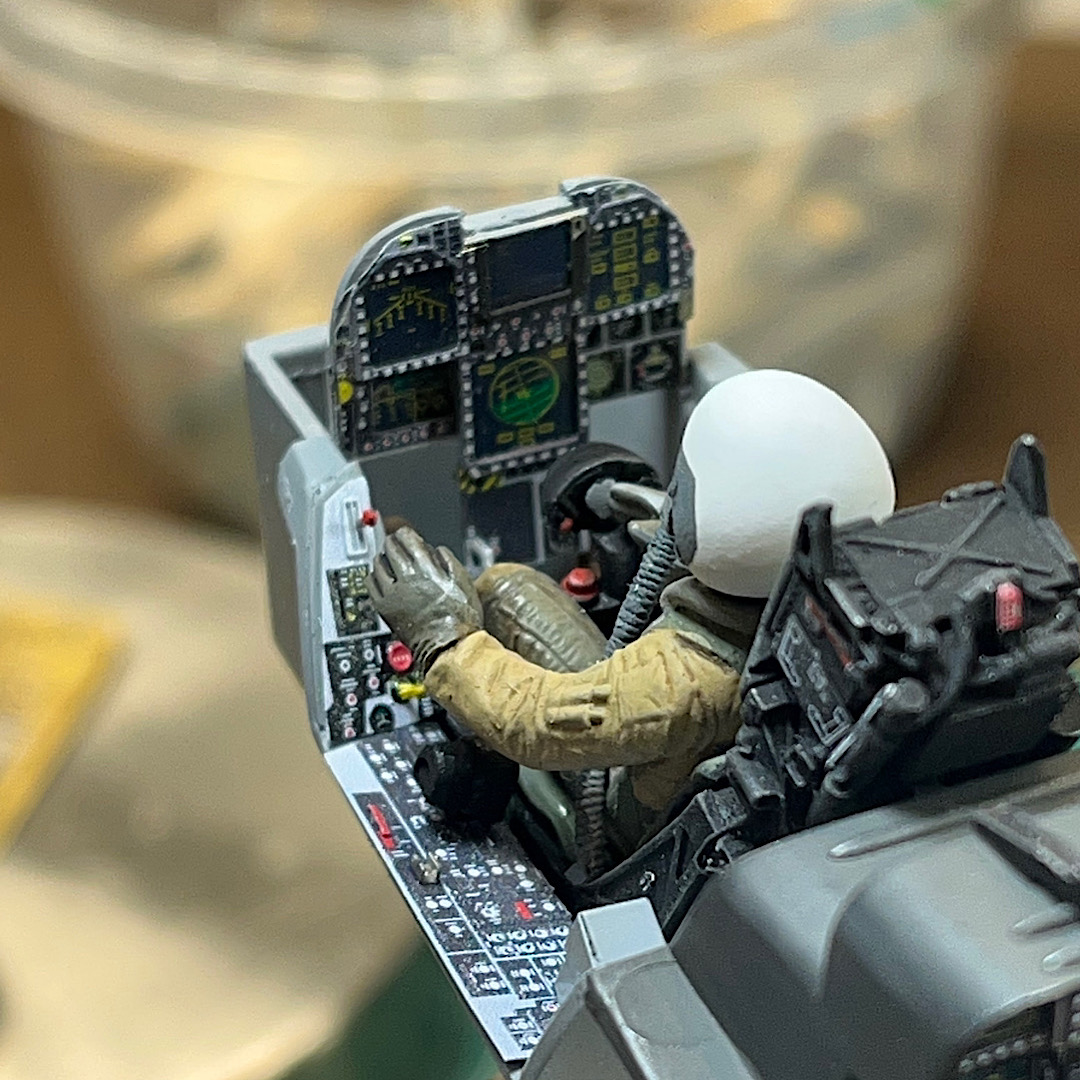
After getting some other projects out of the way, I decided to finally tackle this one. The kit itself went together very well without any issues. I was pleasantly surprised to see how detailed the gear bays were. I added Aires cockpit ,Reskit wheels, PJ Productions resin pilot, and SAC metal landing gear. Everything was pre/post shaded using Tamiya Acrylics. I took a different approach to the base. I normally use sandpaper to simulate the surface. Because the original decking was constructed of planks, and later covered with a non slip surface, I used plastic sheet with strips cut into it so that you could see the planks through the new surface. Any feedback is much appreciated. Cheers Chris

-
1/48 ICM C-18S “Magic by Moonlight” Air show Aircraft – with lights!
Bradley25mm replied to Wolfman63's topic in Builds
SWEET!!! Fantastic job as always David. Thanks for posting. Chris -
Two very nice builds Mark. Love me some egg beaters!! Chris
-
Outstanding job Gil. Love the metal work around the engine nozzles. The speed brakes look awesome deployed. Thanks for sharing
-
“You tell ‘em I’m comin, and I’m bringing Hell with me”. Awesome figure. The eyes are extremely convincing😳. Chris
-
Dragon M48A1 Elvis Tank, Patton Project Pt.III ***FINISHED***
Bradley25mm replied to Stikpusher's topic in Armor
Very nice diorama. The tank and figure turned out great. I’m going to have to try the black primer before my top coat. Thanks for posting. Chris -
I agree with you 100% Chris
-
Another fantastic build John. You’ve got some serious painting skills my friend. Look forward to seeing more of your work. Chris
-
Wow, can’t wait to see the finished model. Looks great already. Chris
-
Thank you John! Chris
-
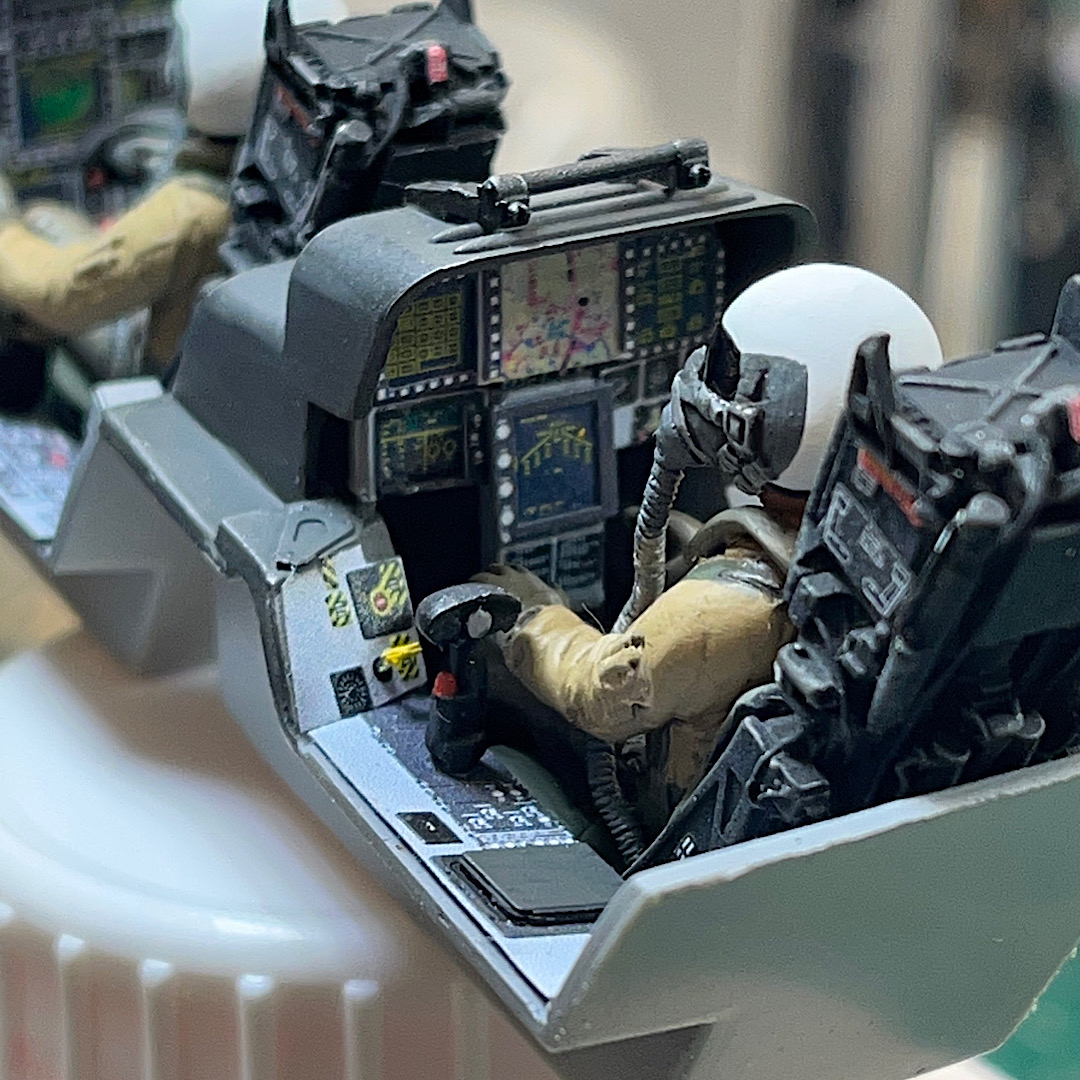
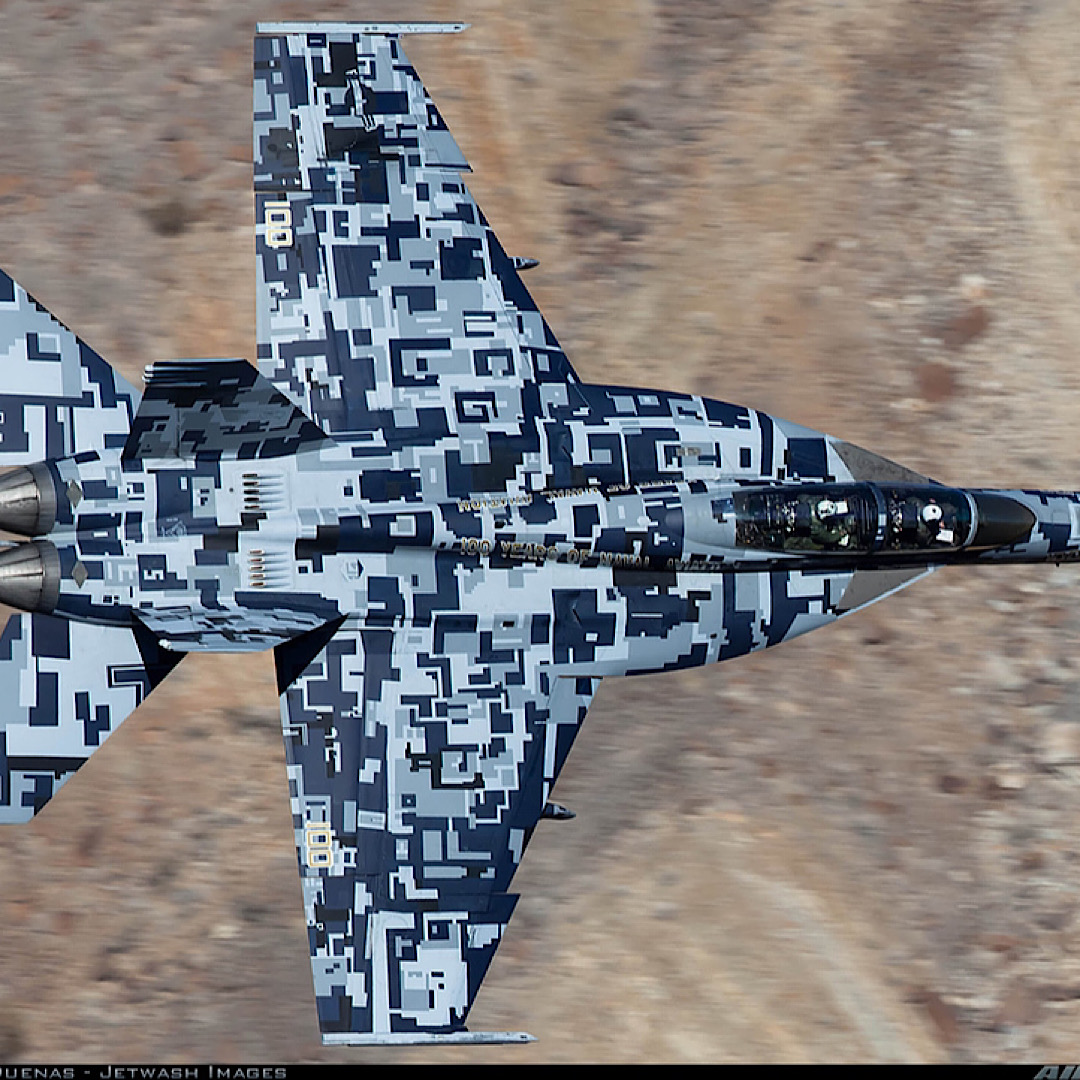
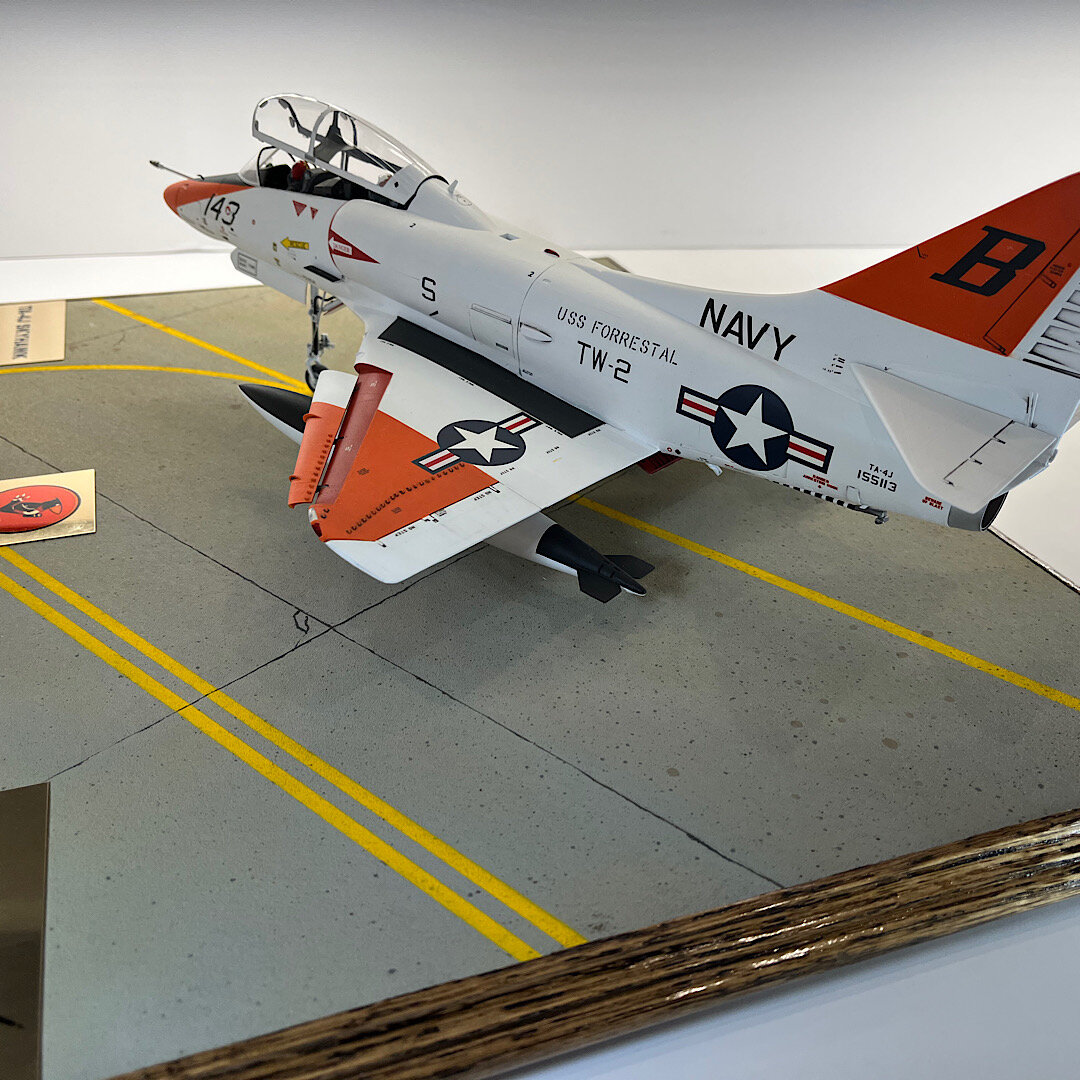
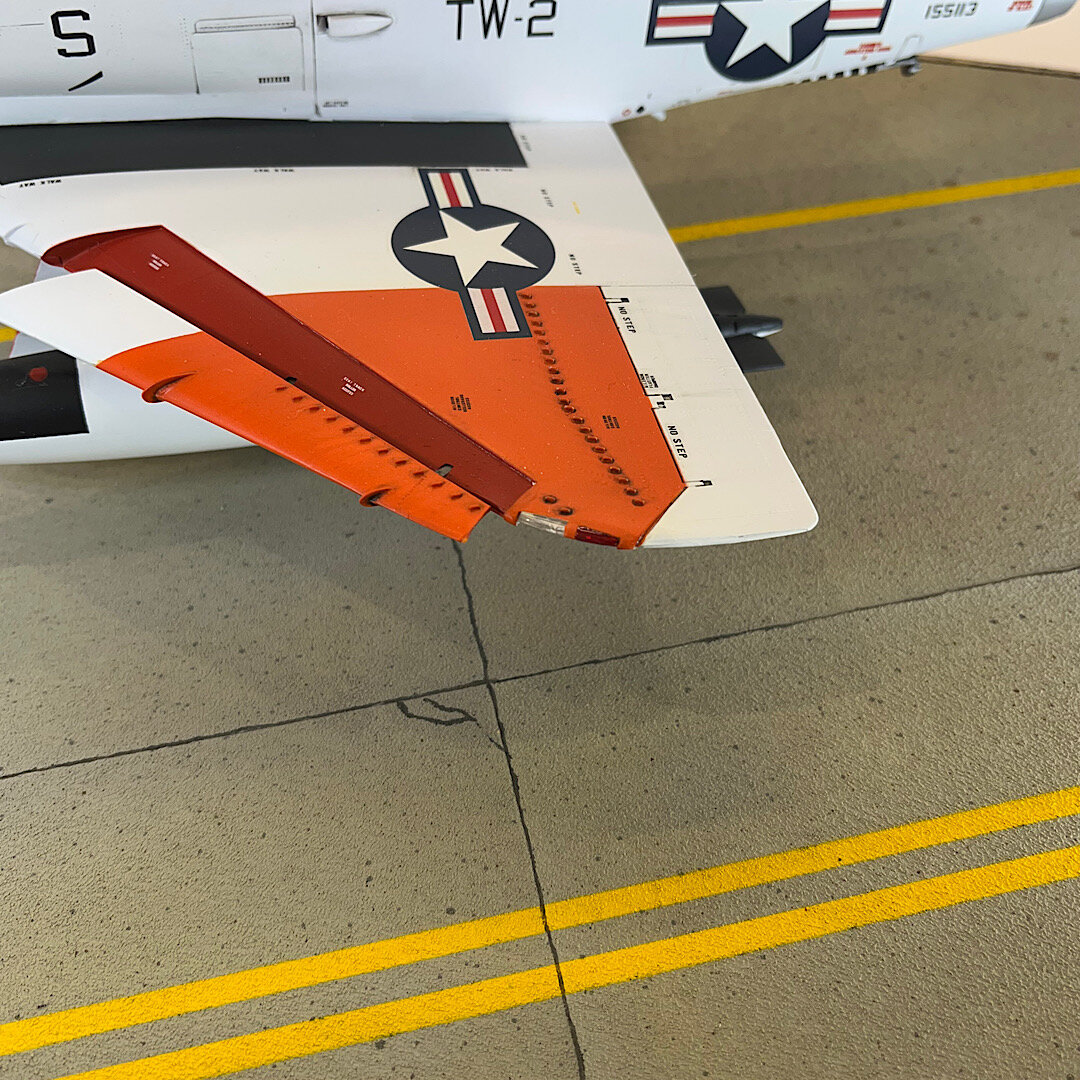
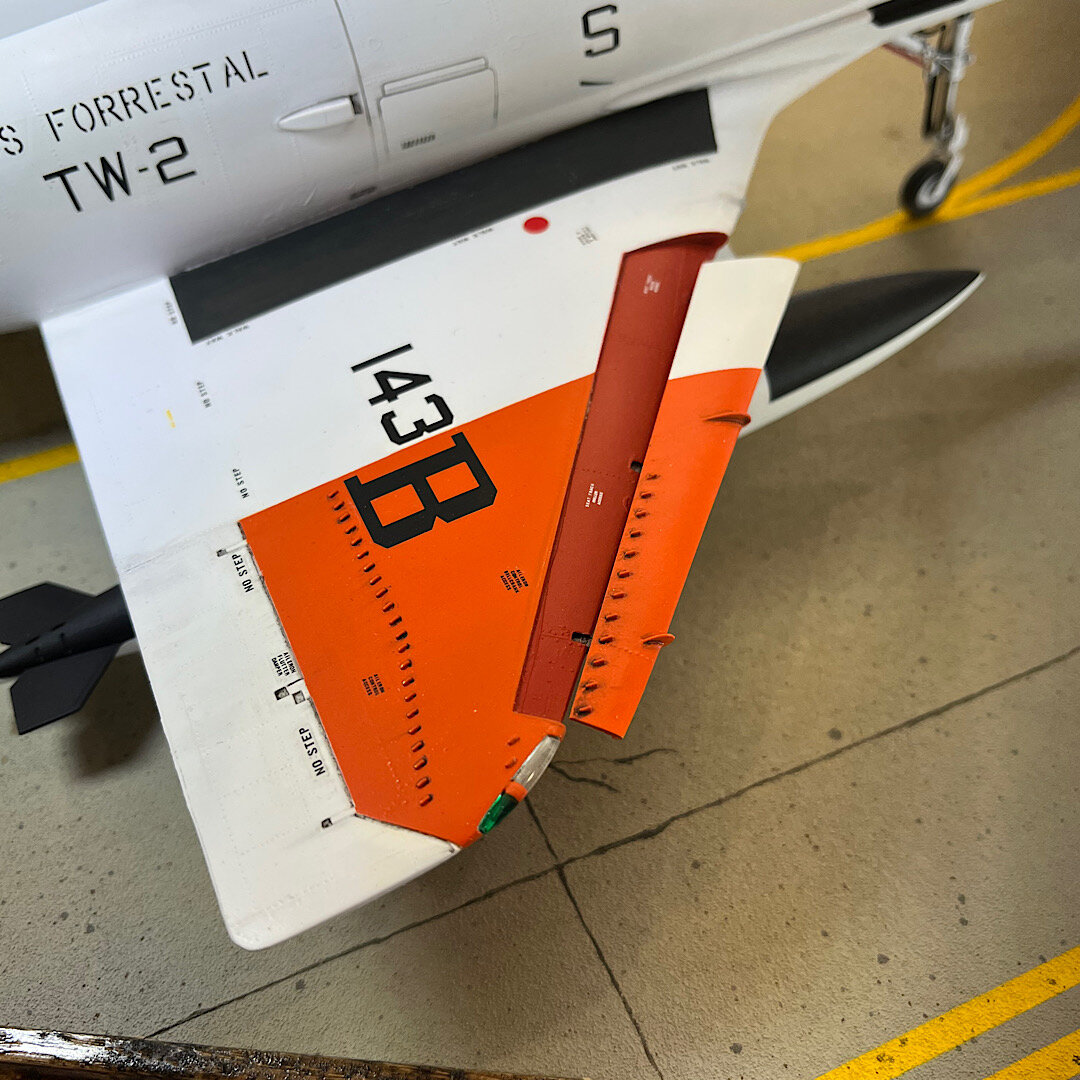
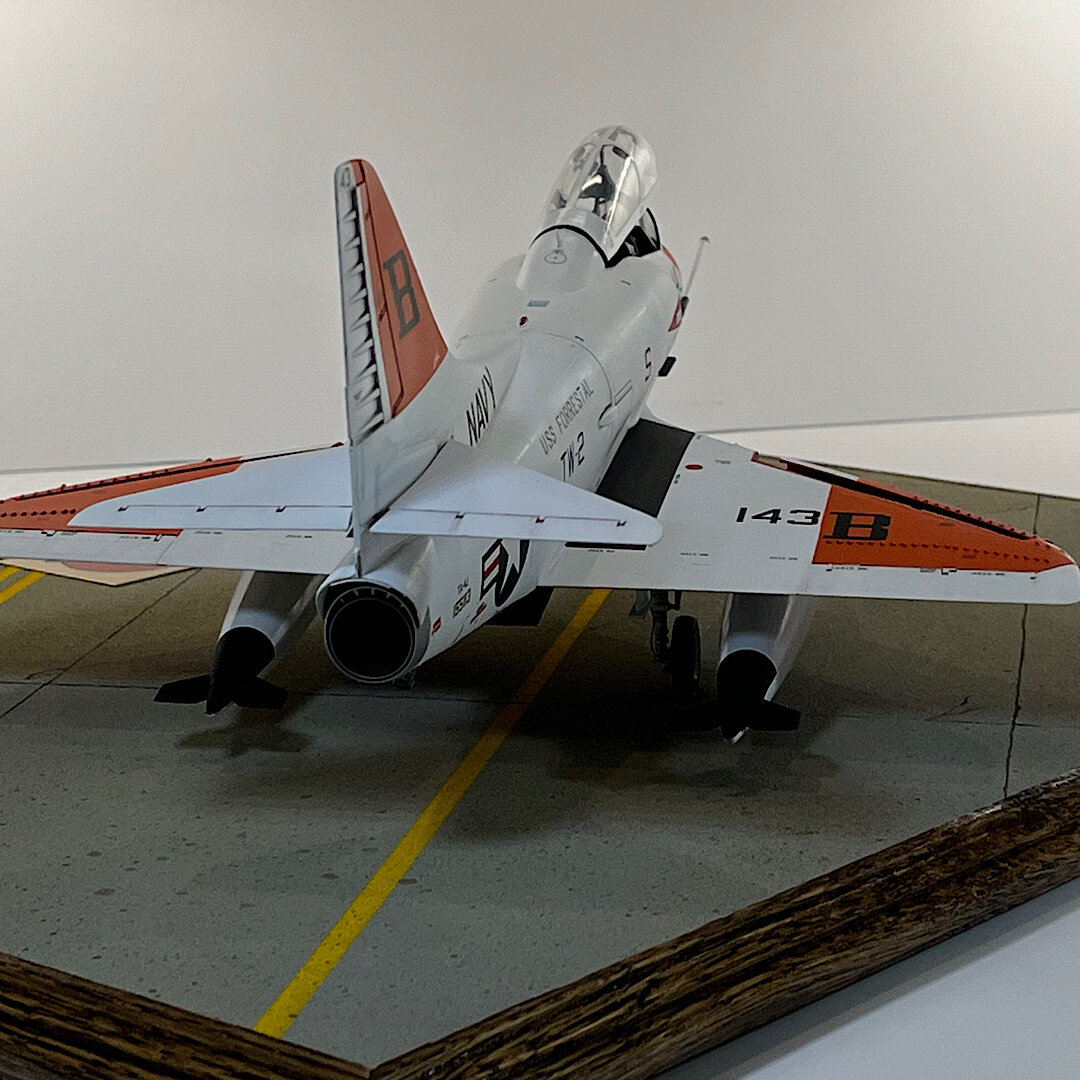
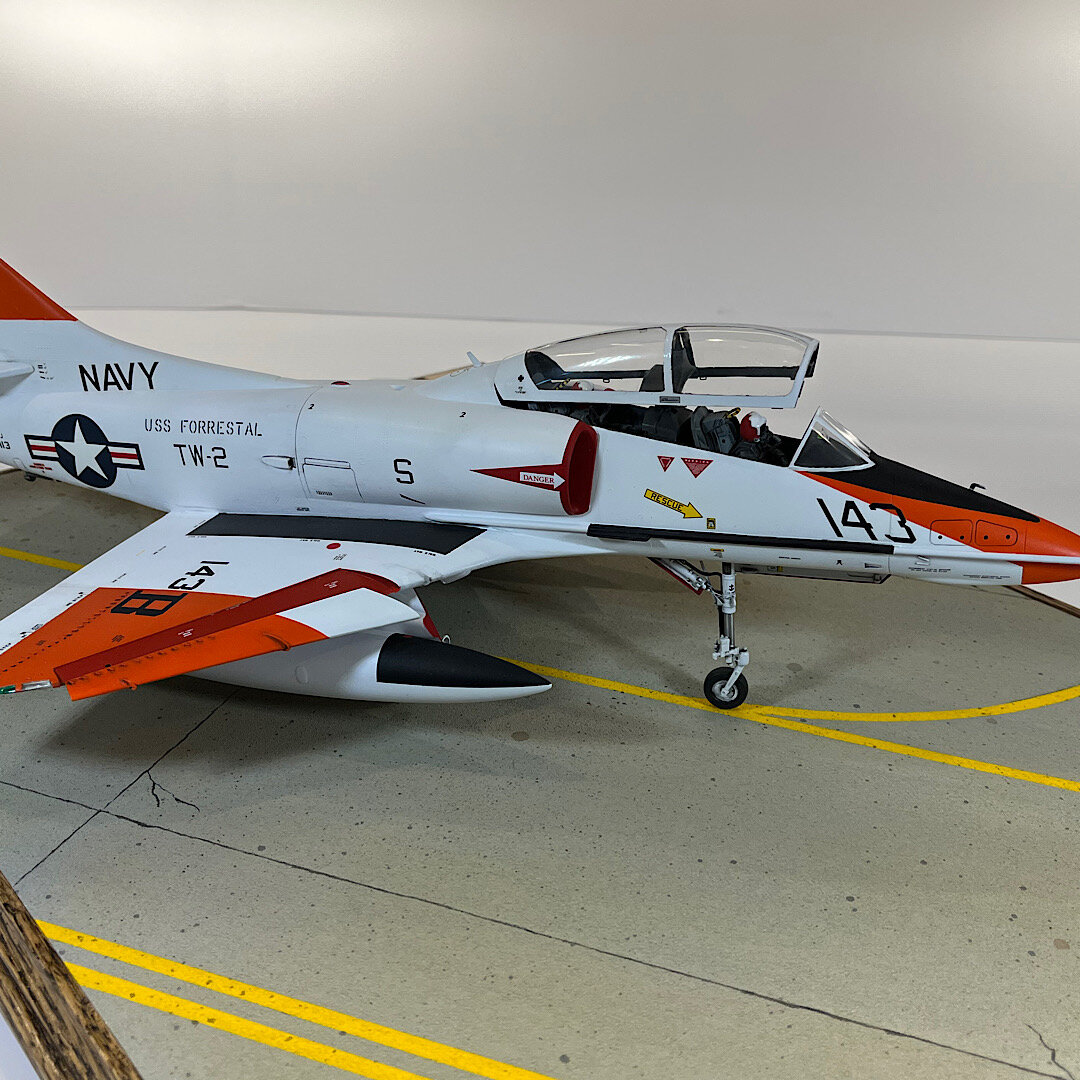
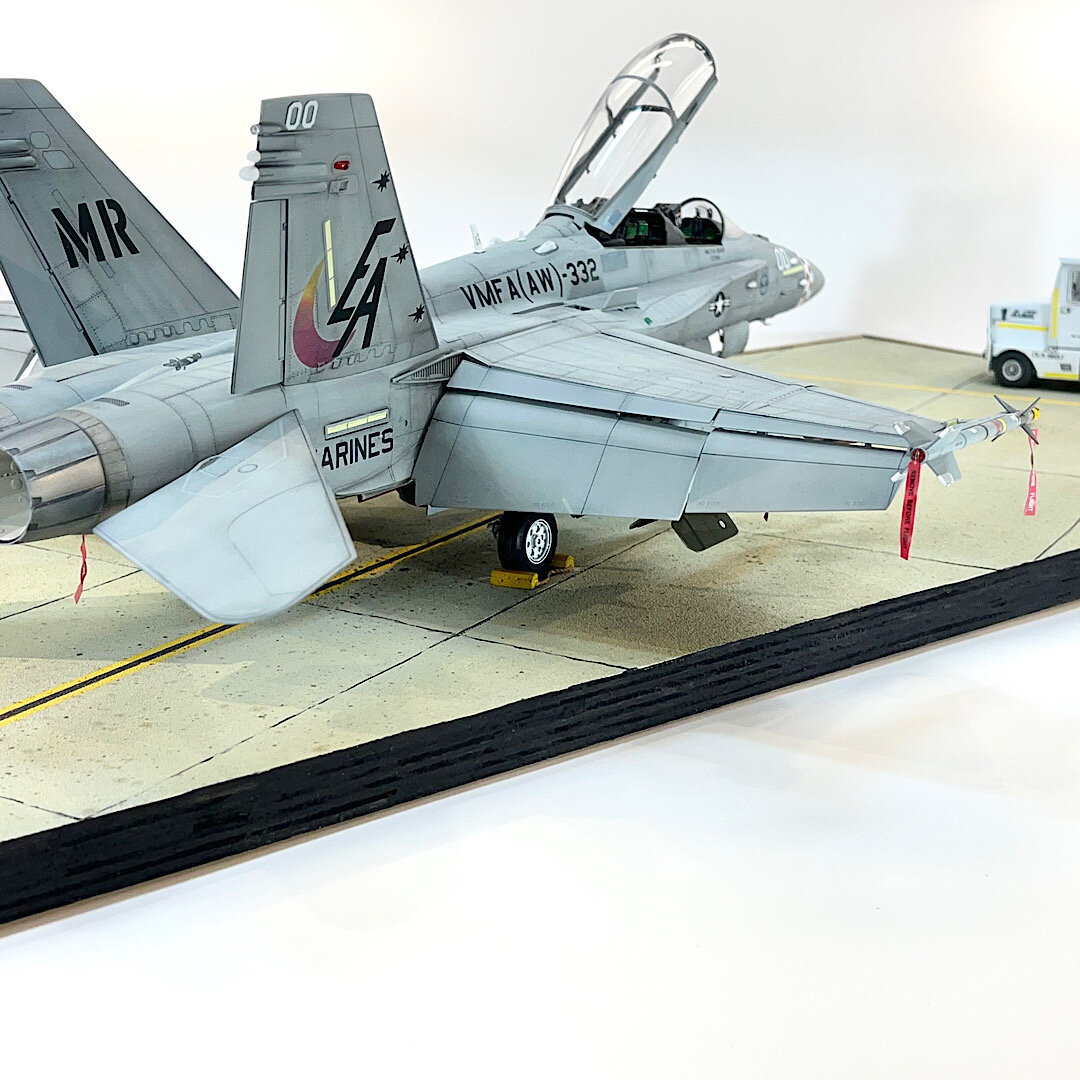
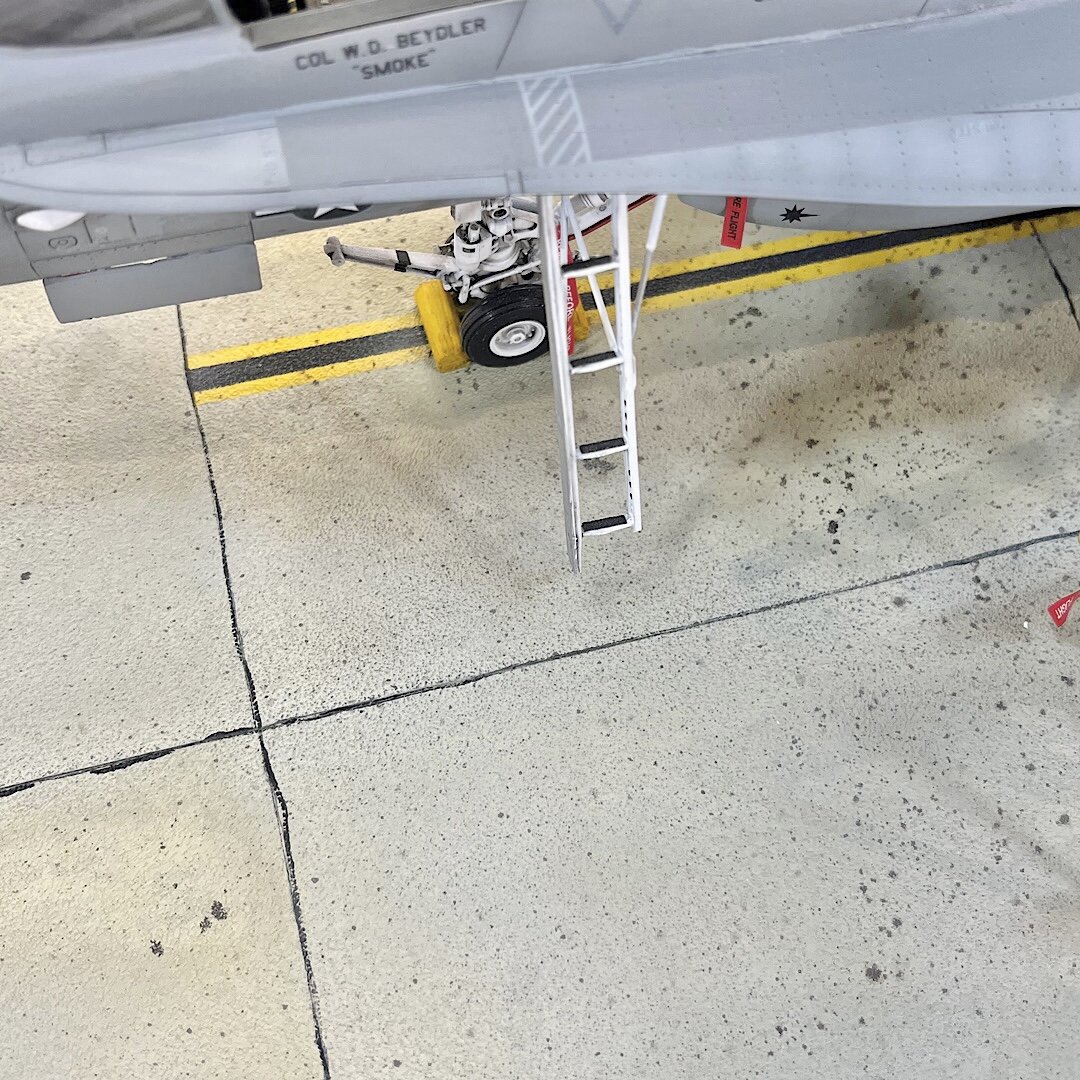
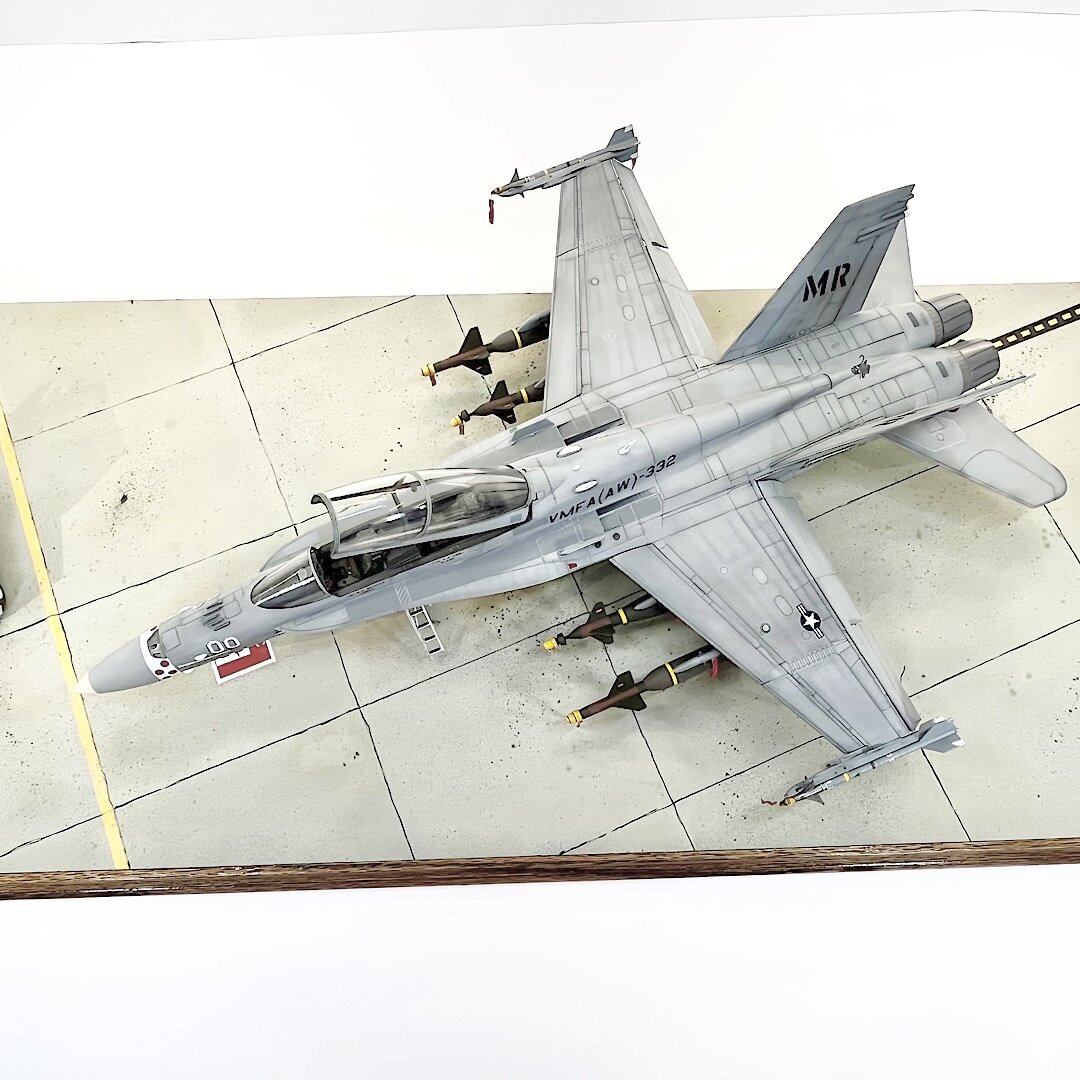
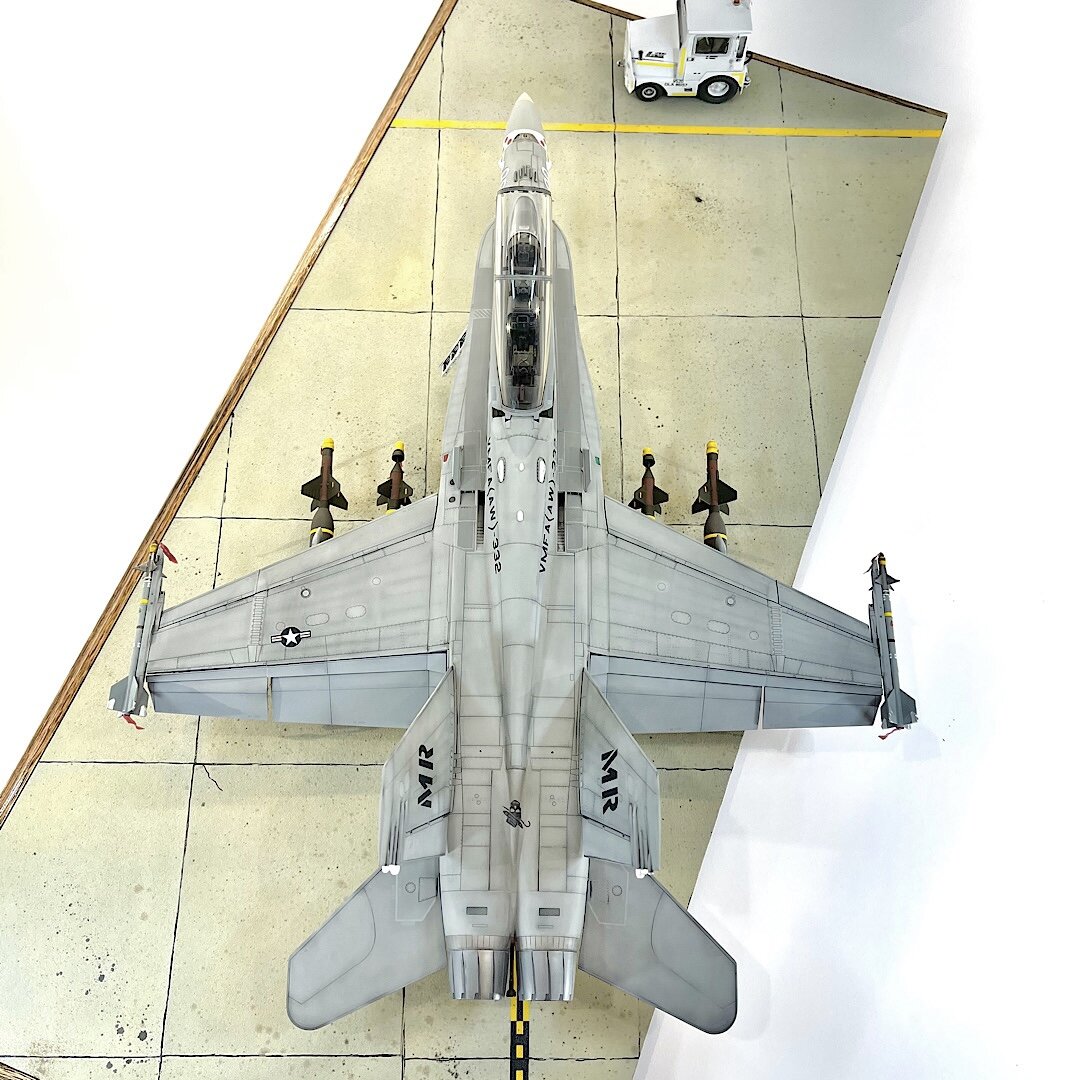
My good friend in Ohio “The Mongoose “ and I, have decided to have a little head to head competition. We bought these from Scale Reproductions here in Louisville.The only aftermarket I’ve added are ejection seats, and the Big Ed PE set. Without giving too much away, he is going to do the Digital Camouflage Scheme. He’s a master, as far as I’m concerned, when it comes to putting paint down. With the painting, and his building skills, I just may be up against it. Below is my completed diorama. Any feedback would be much appreciated. Chris
-
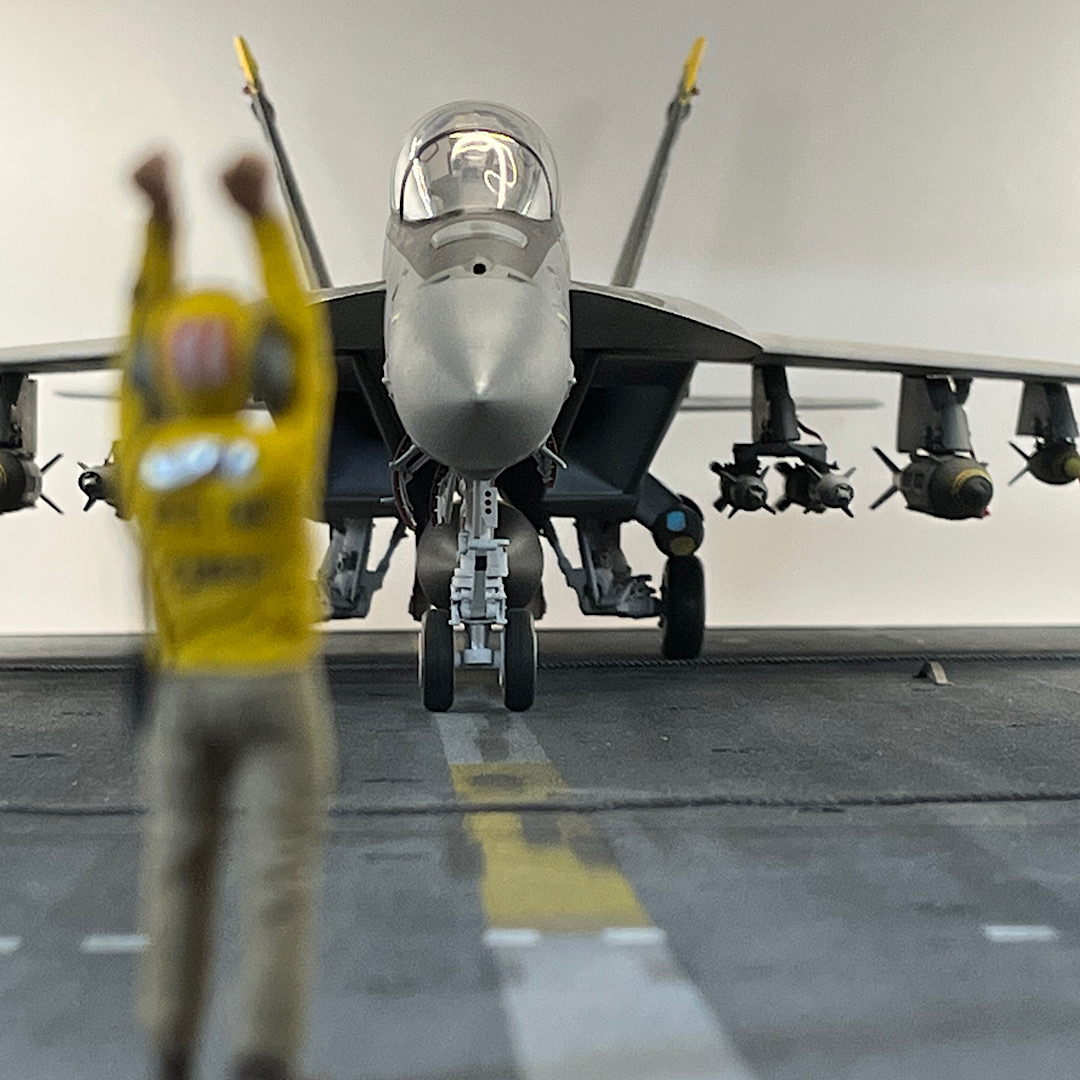
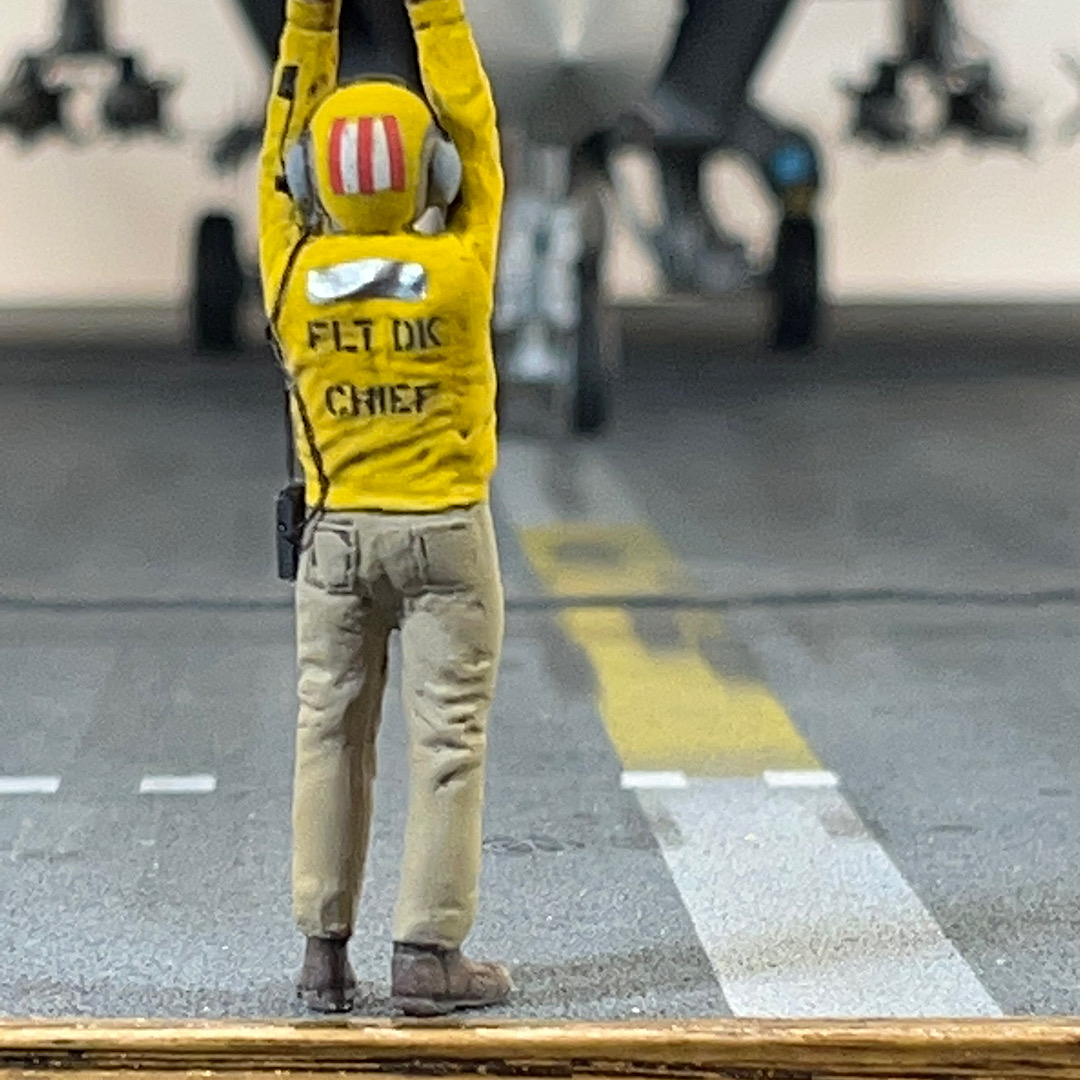
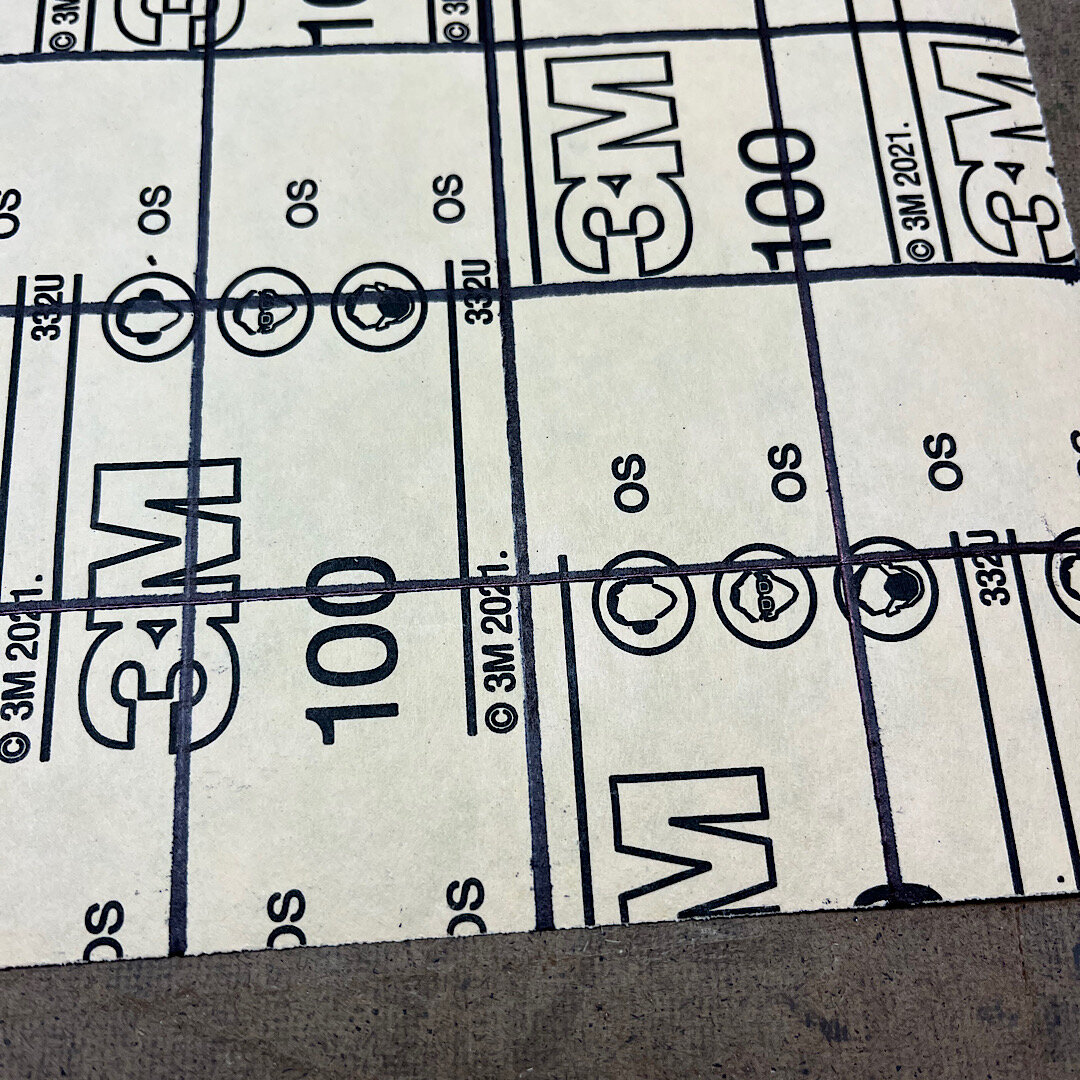
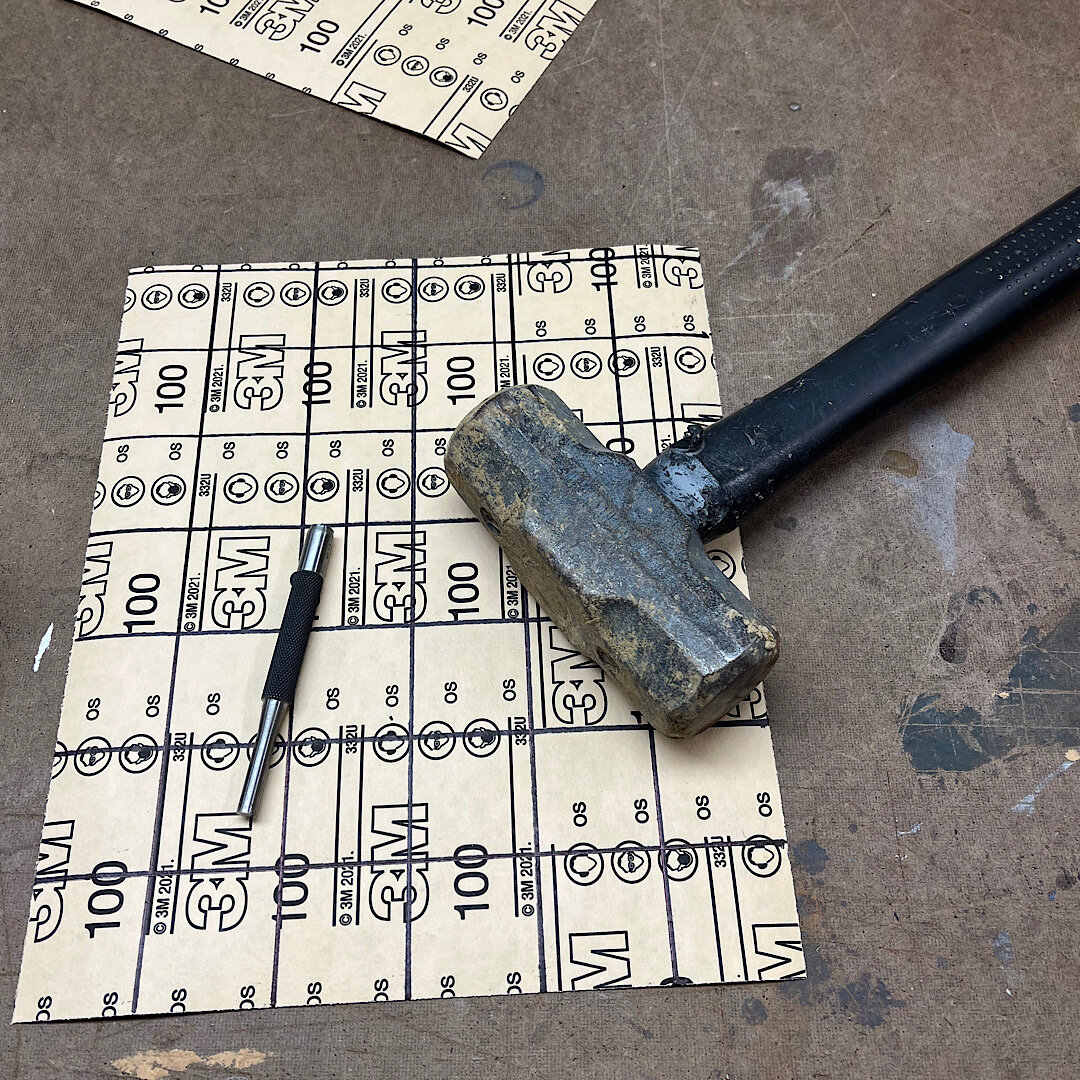
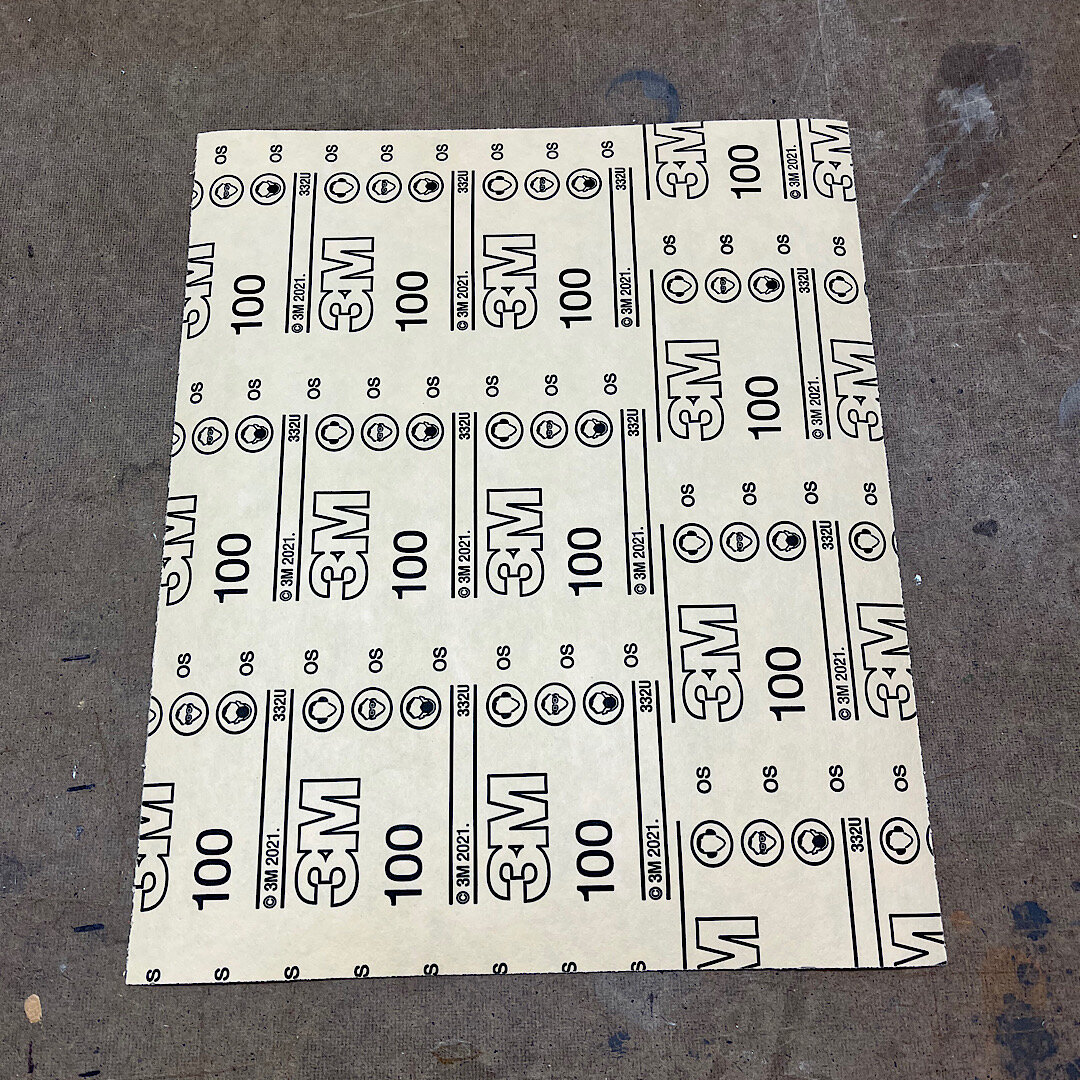
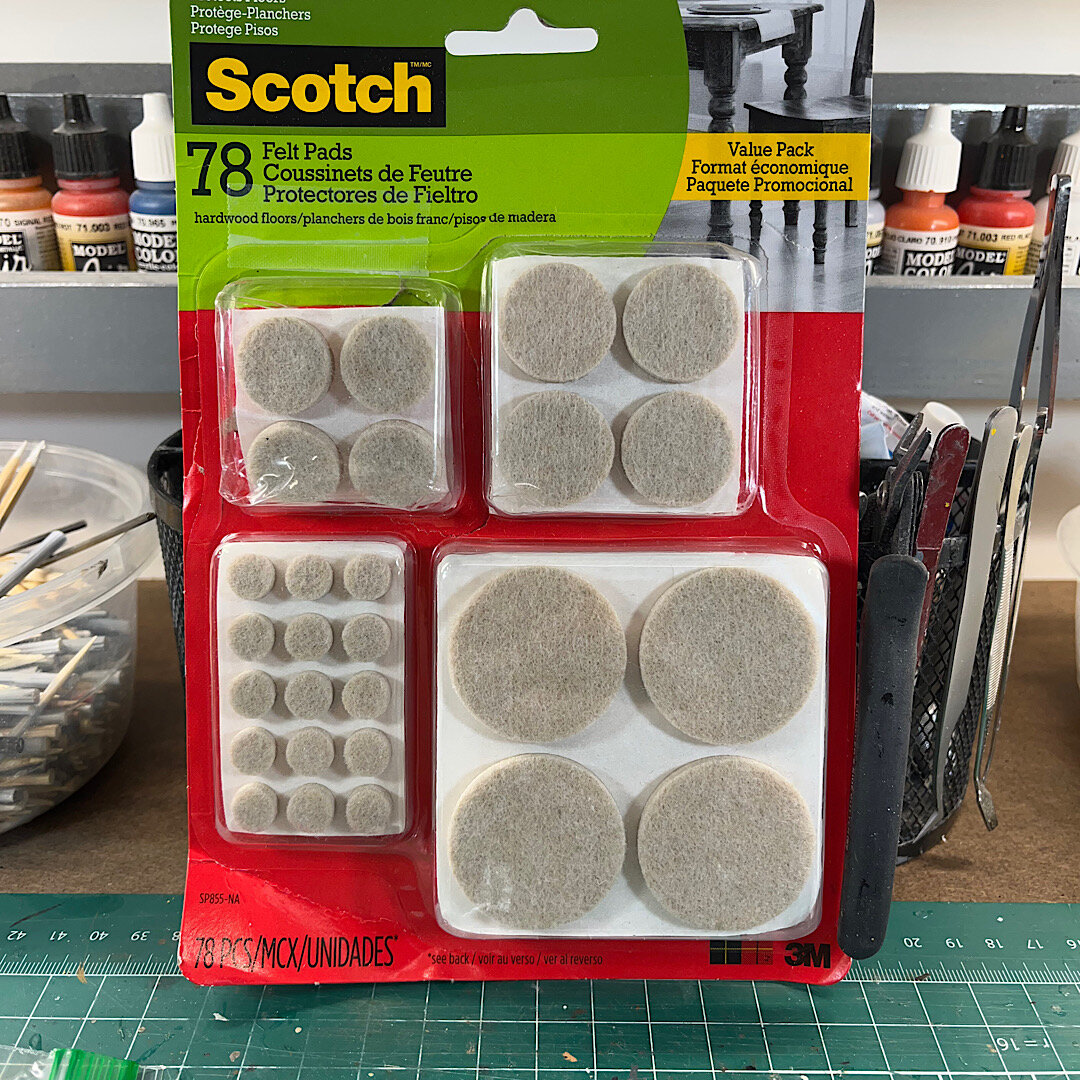
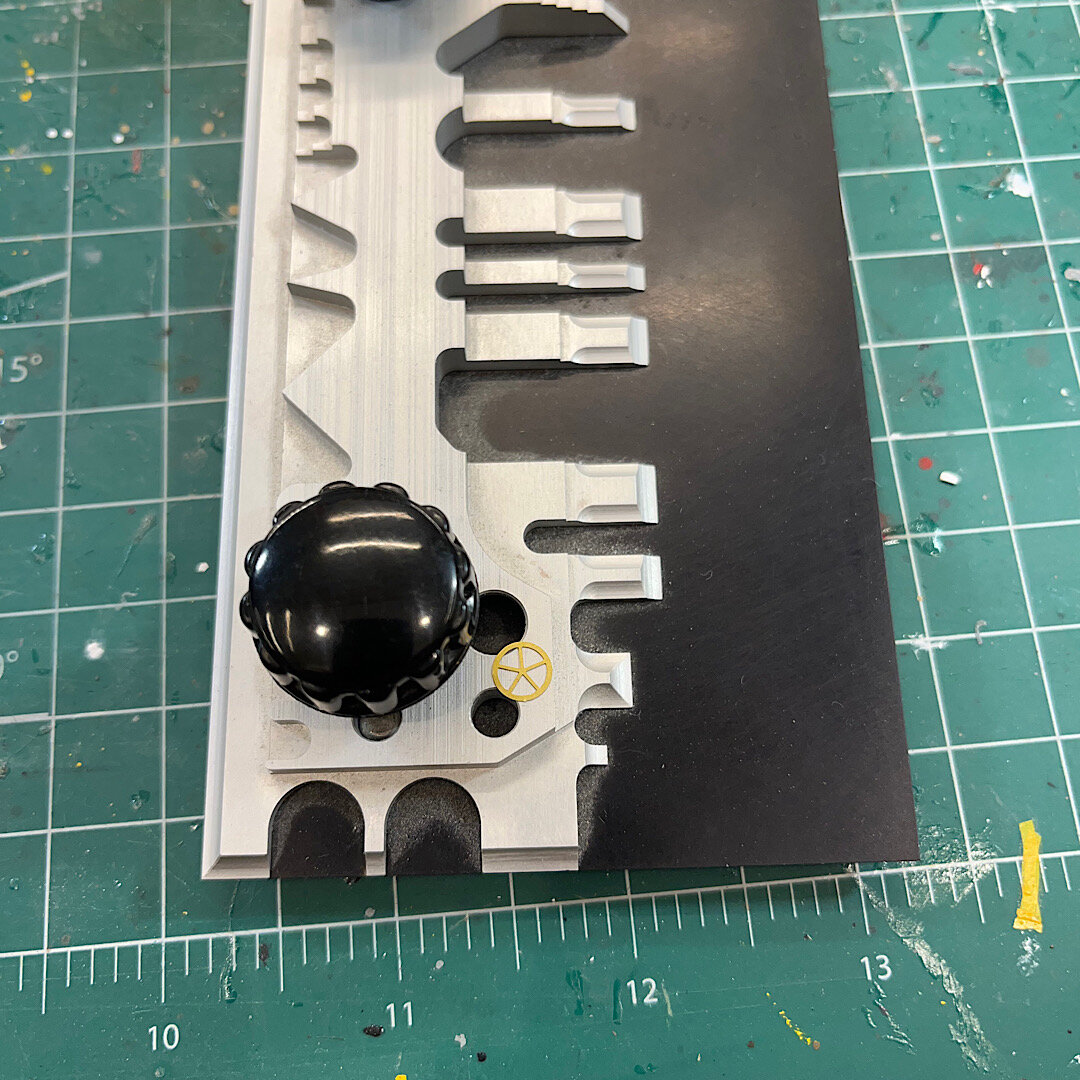
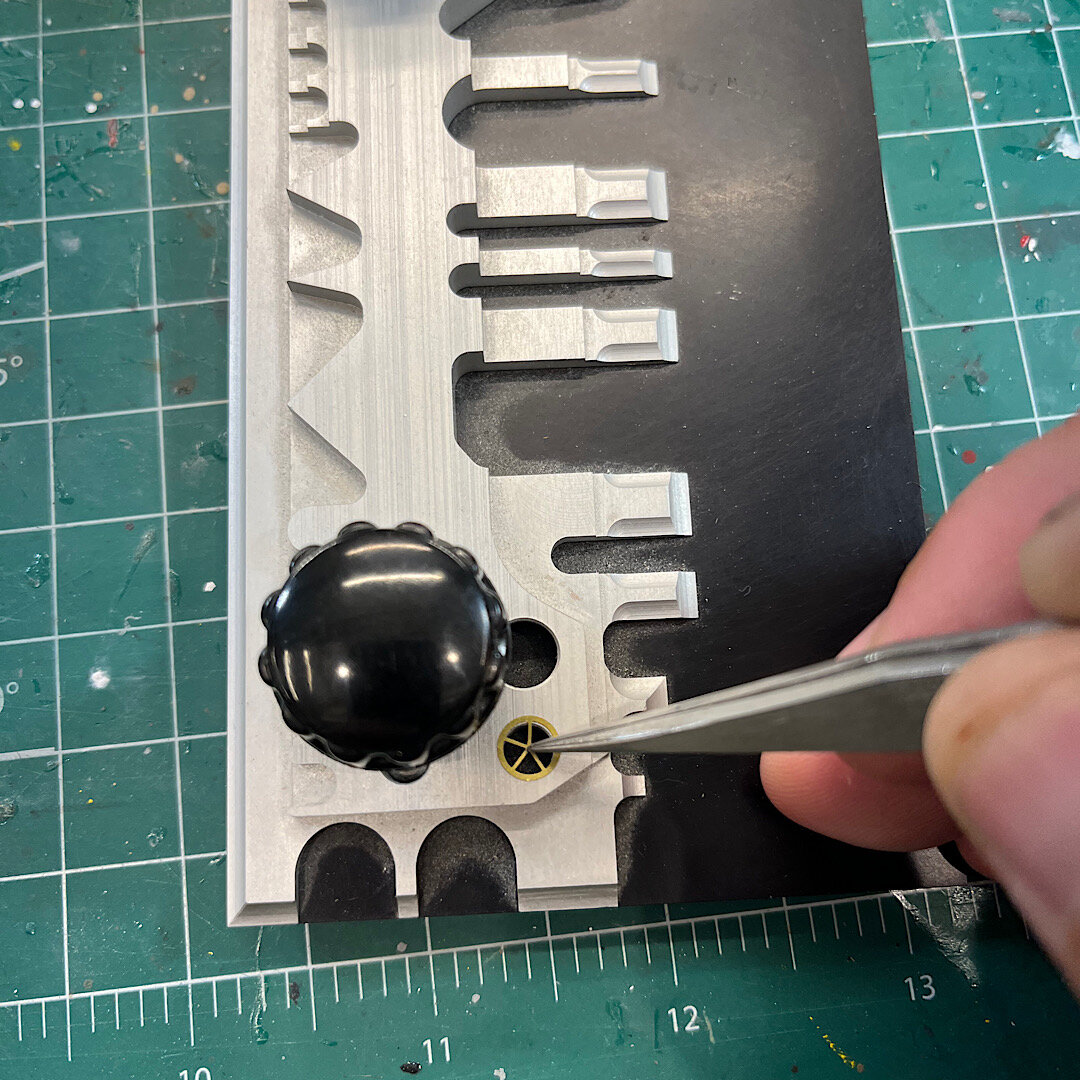
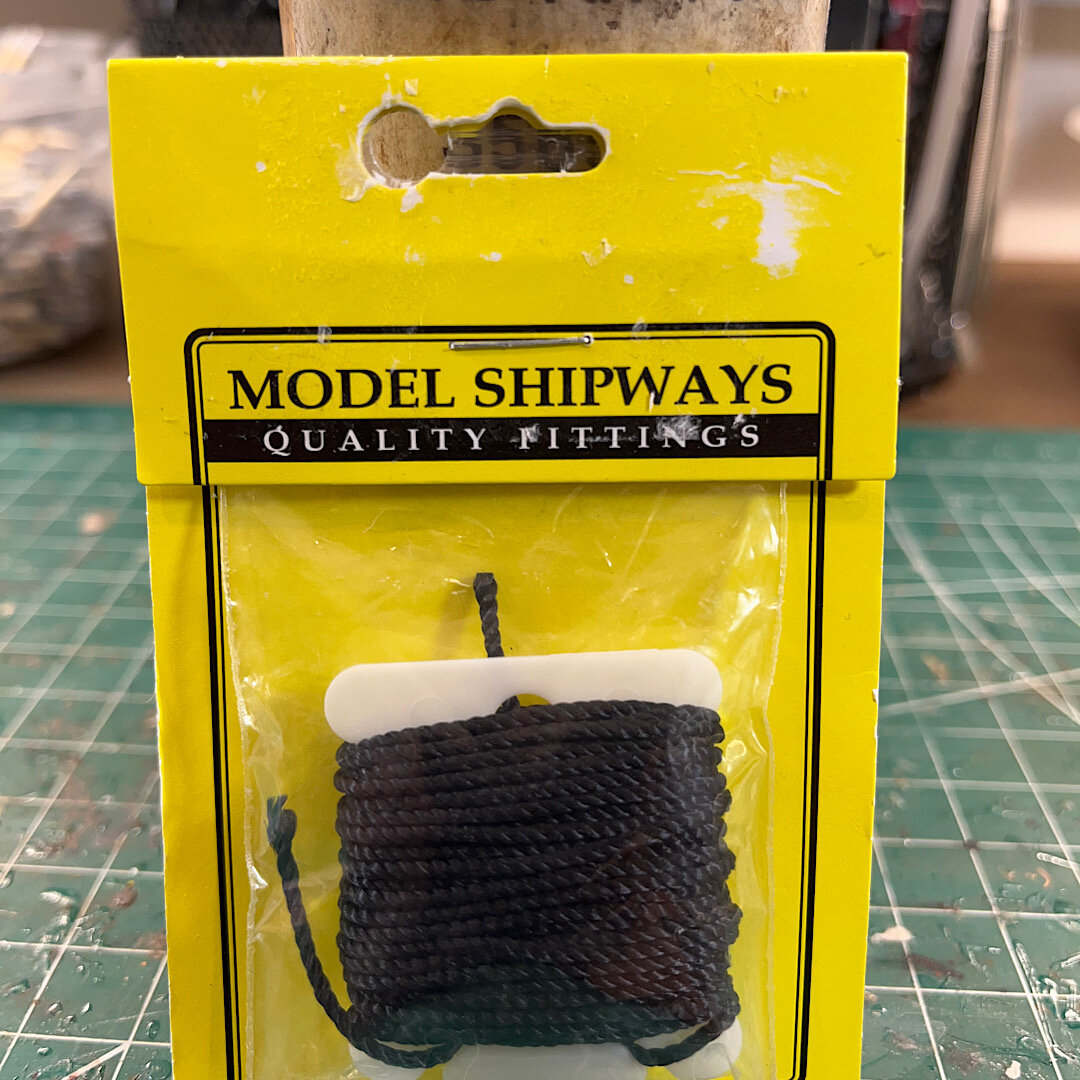
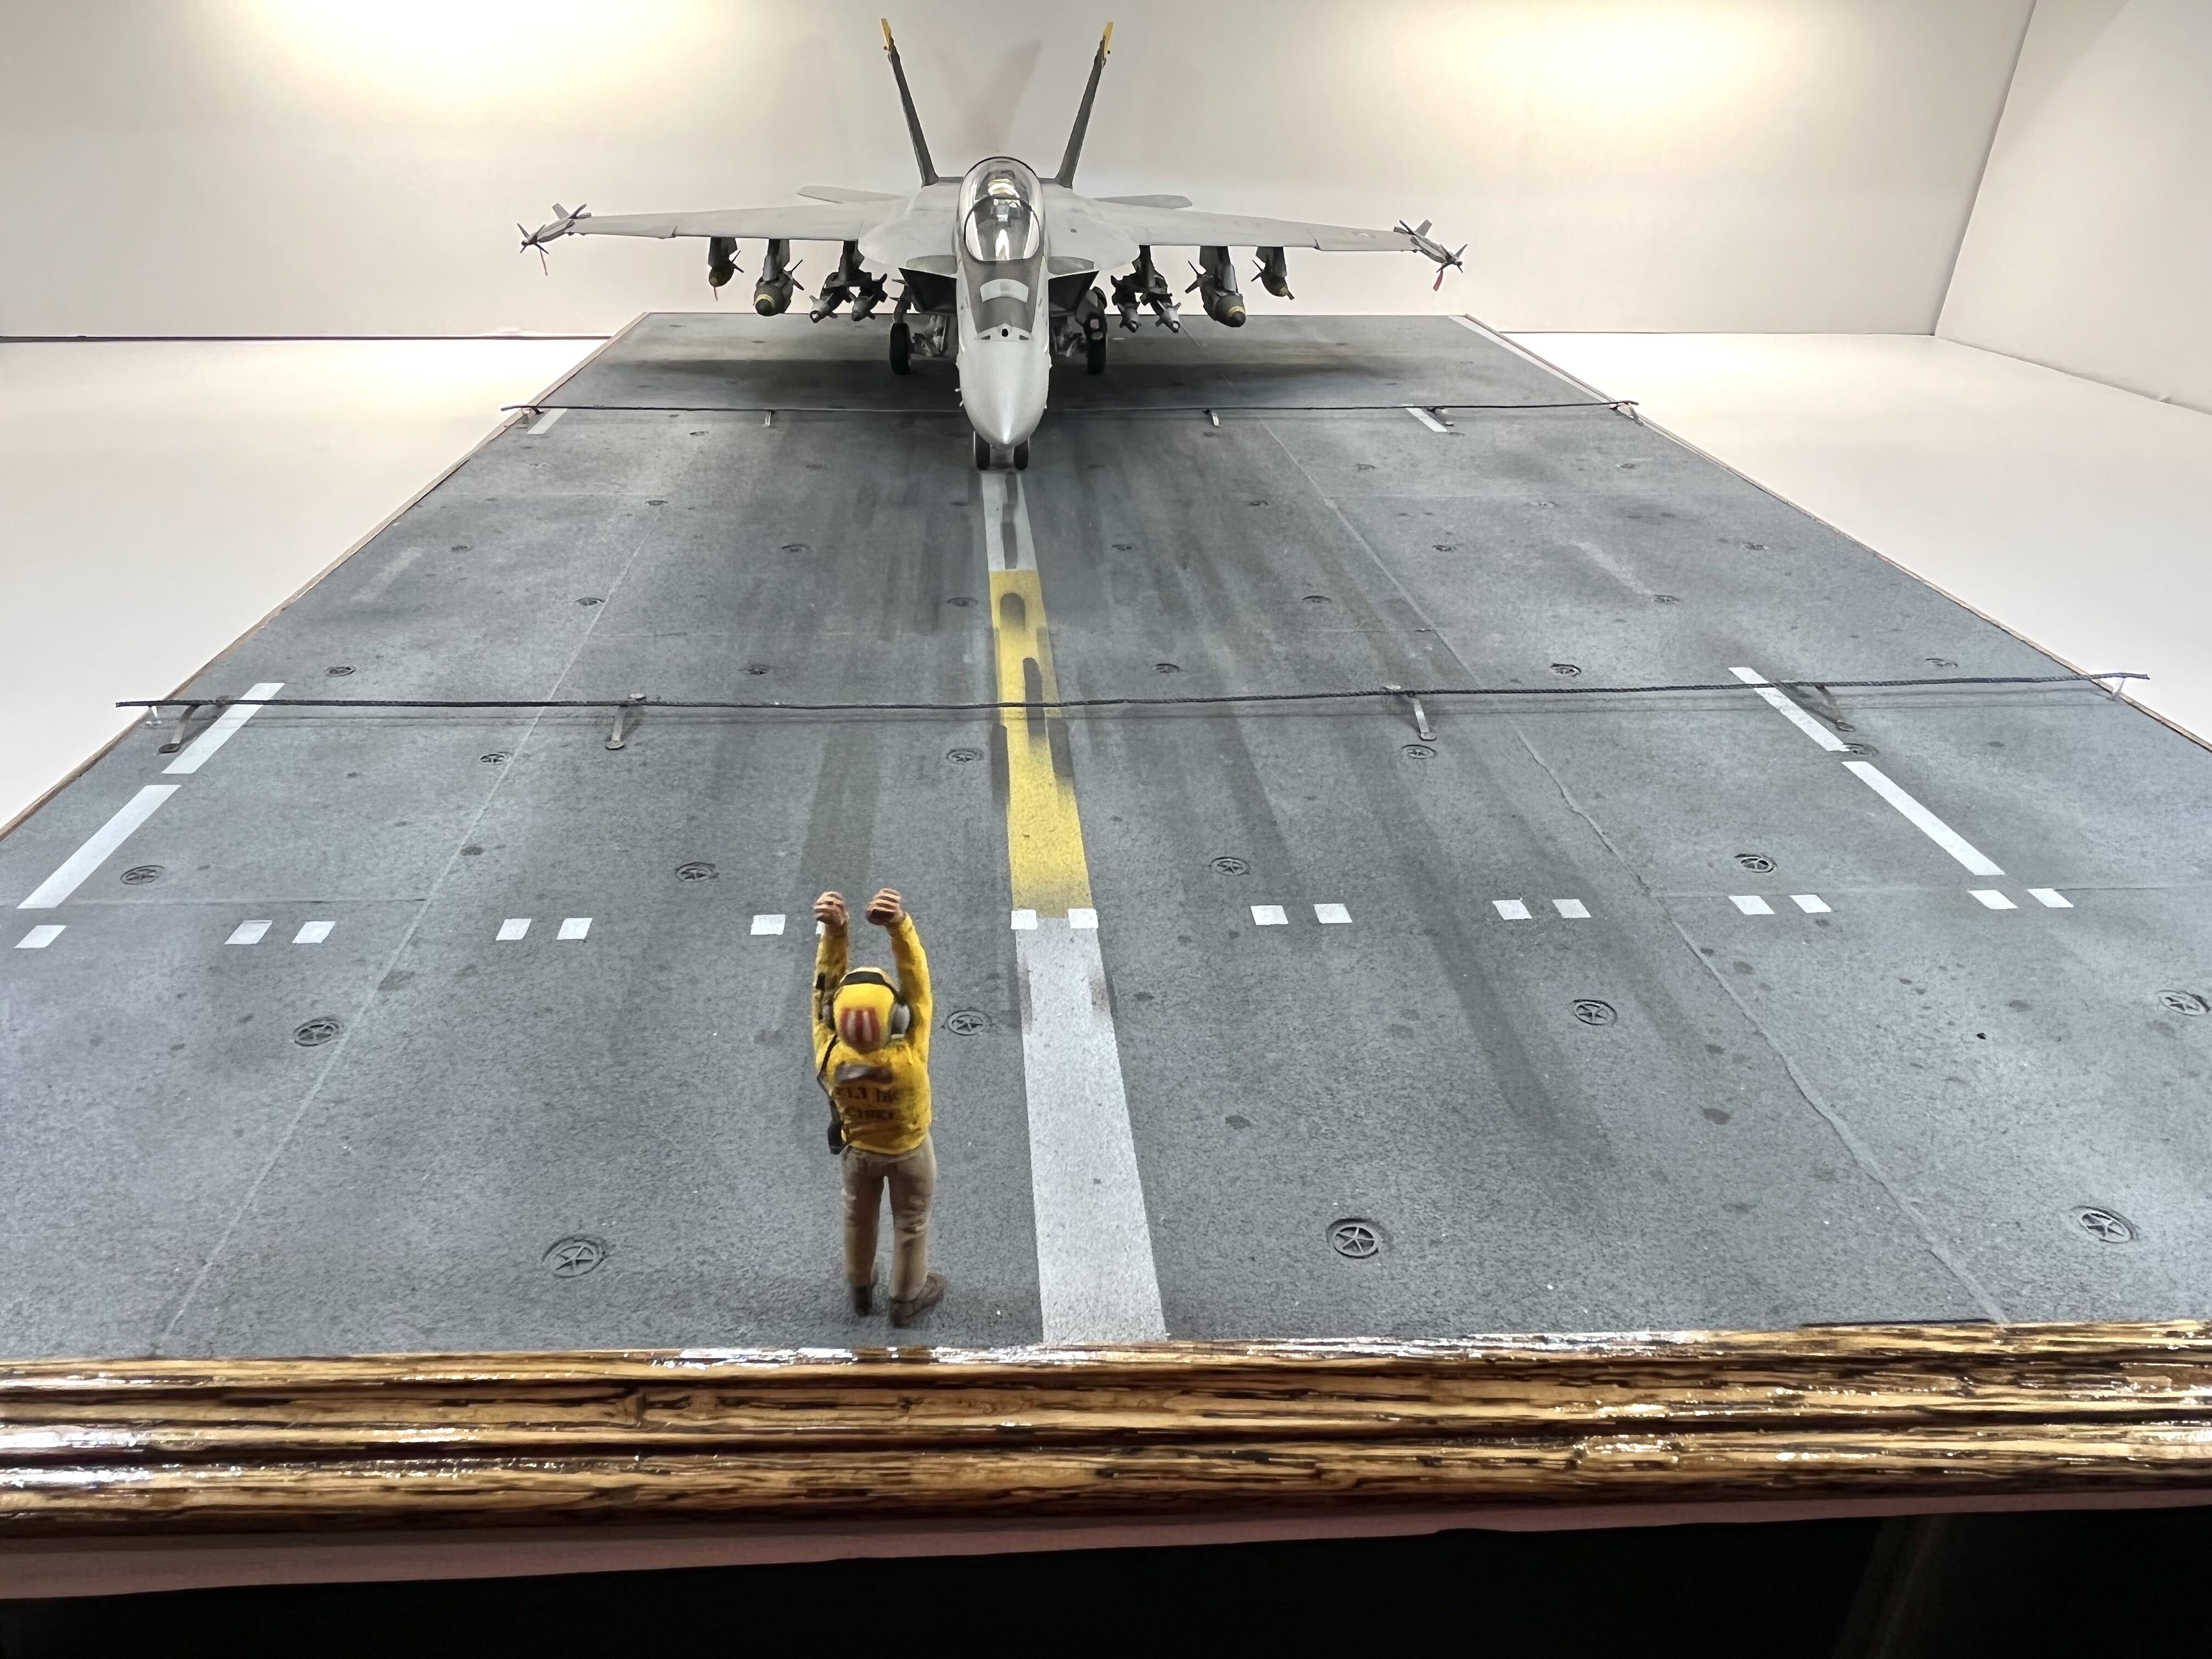
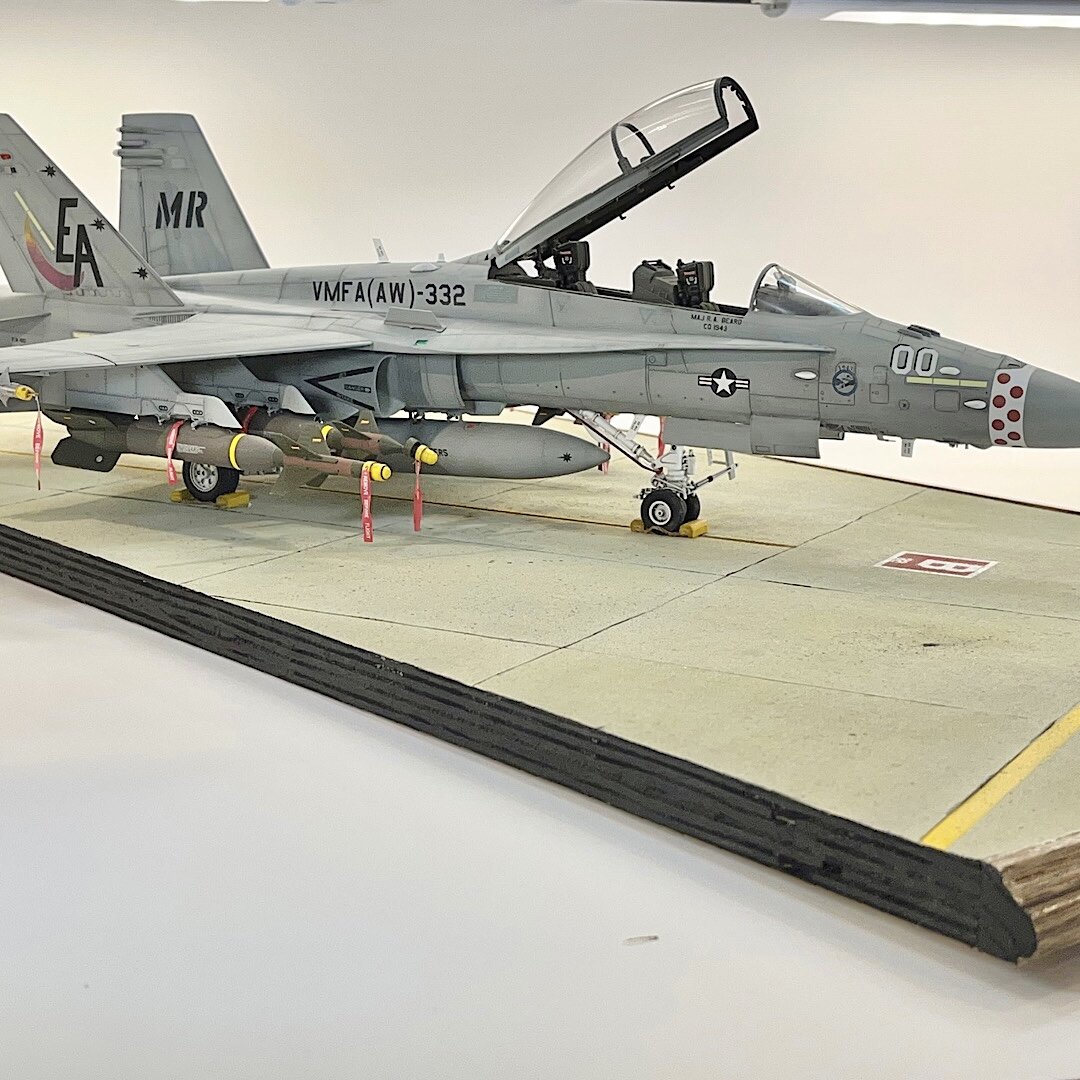
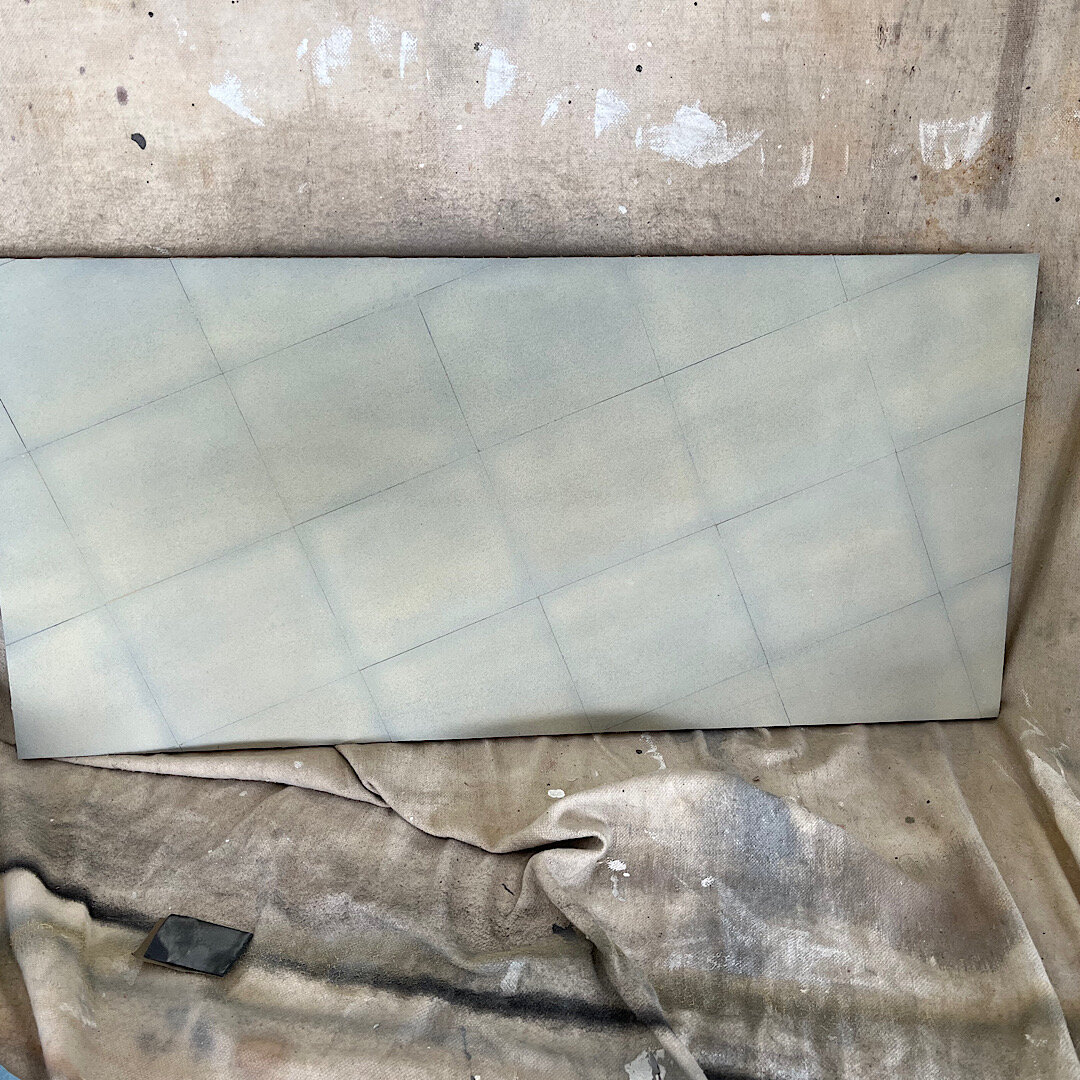
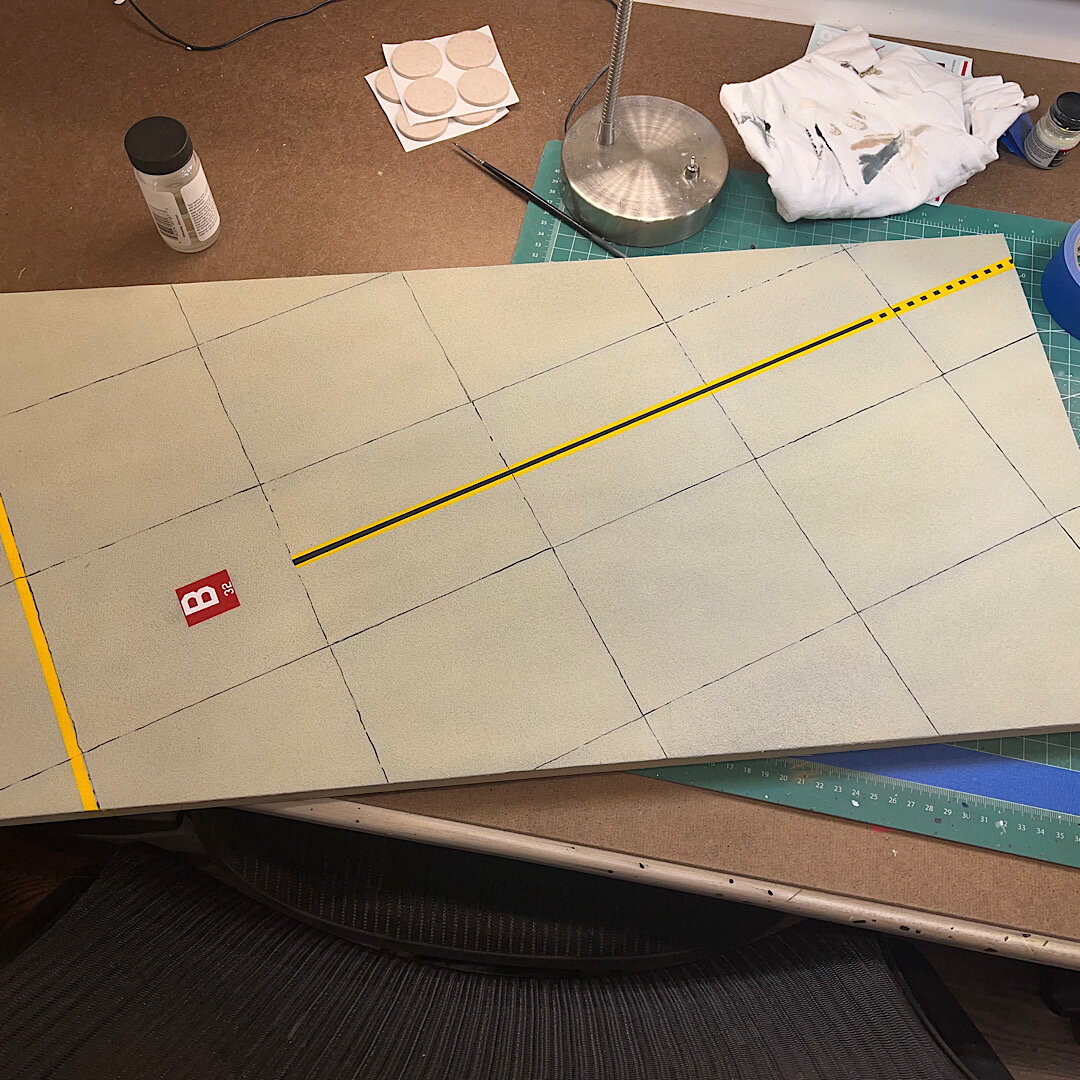
I’ve built a couple of these in the past. They are relatively cheap, and easy to build. You can buy most of the material from any home improvement store. I use Lowe’s (they offer a military discount with an I.D.). The scene that my diorama depicts is a fully armed F-18 taxing towards a catapult for launch, with the aid of a plane director. Aircraft routinely taxi over the arrestor cables to get to the catapults. SUPPLIES: These are the following item that you need. 1. 2’x4’ 3/4” CDX plywood. The going price for a 2’ x 4’ sheet right now is around $34 dollars. . I build large bases. I can usually cut two bases out of one piece . You can build several small diorama bases out of a 2‘ x 4‘ sheet. 2. 3M 100 grit sandpaper pack. (Paint section)This is the easiest way to simulate the nonskid surface. (Ground based runways, Taxiways as well)3. Loctite contact adhesive. (Paint section) (To glue the sand paper to the plywood. 4. 3/4” high oak trim. (For a finished edge on the plywood) 5. Wood stain for the oak trim. ( paint section). They sell very small cans. Polyurethane clear coat (optional) 6. Miter box and miter saw. To cut the oak trim. (Tool world section). 7. Trim nails to attach the oak trim to the edge. (Hardware section). 8. Wood glue. (To spread on the edge of the plywood before you nail the oak trim to it, paint section) 9. Nail set. To counter sink the trim nail heads just below the surface. (Tool World section). 10 Felt pads. Put these on the bottom of the plywood so that it can be easily slid, or picked up.(Hardware section) These are the following model supplies that you will need; 1. Tom’s Model Works aircraft tie downs. They come in different scales. 2. Paint to airbrush the lines on. Either enamels, or acrylics. 3. Tape to paint the lines. 4. Some type of string to simulate the cable. I used Model Shipways. 5. Scrap photo etch. (To simulate the leaf springs that keep the wire suspended above the deck). CONSTRUCTION: 1. Choose the size of your base, cut to size. A good manual hand saw can be used, with good results. Make sure to draw the outline of the base on the plywood using a pencil and ruler. Make sure everything is square. 2. Prep the sandpaper to glue on to the plywood. Take a piece of sandpaper, and turn it, print side up. Take a ruler and draw intersecting lines. Where the lines intersect, is where you will punch a hole in the sandpaper so that you can glue the tie down in the center of the hole. 3. Glue the sandpaper to the plywood once all of the holes have been punched. It’s a good idea to take a ruler and draw a starting line on the plywood to line each piece of sandpaper up. Take painters tape and mask off the surrounding area of the plywood that you do not want to get contact adhesive on. Spray both the plywood and sandpaper with adhesive and wait 3-5 minutes. Line up the edge of the sandpaper on the line that you’ve drawn on the plywood. Press the sandpaper firmly down on the plywood. When all of the sandpaper has been attached, take superglue and glue each tie down in the center of each punched hole. 4. Airbrush various shades of gray to get the desired base color. 5. Once dry, measure and tape off the lines you wish to put on. 6. Add oil and grease stains once everything is painted and dry. 7. Stain and attach oak trim to the edge of the plywood. If anyone is interested in building one of these, and you have questions, feel free to message me. I’d be glad to help.
-
Thank you Gentlemen for the comments! Chris
-
All I’ve seen the review on this kit from IPMS. Has anyone else built this kit, and what issues did you have during the build? Many thanks!!. Chris
-
The Duke Finishes Two More Aircraft in April
Bradley25mm replied to Mark Deliduka's topic in Aircraft
Most impressive, indeed. Really like the Cheyenne. Chris -
She is a Beauty!!. I love the finish. Chris
-
Wow Gil, that’s one sharp looking Mustang, and in six days. Always loved the B model. Chris
-
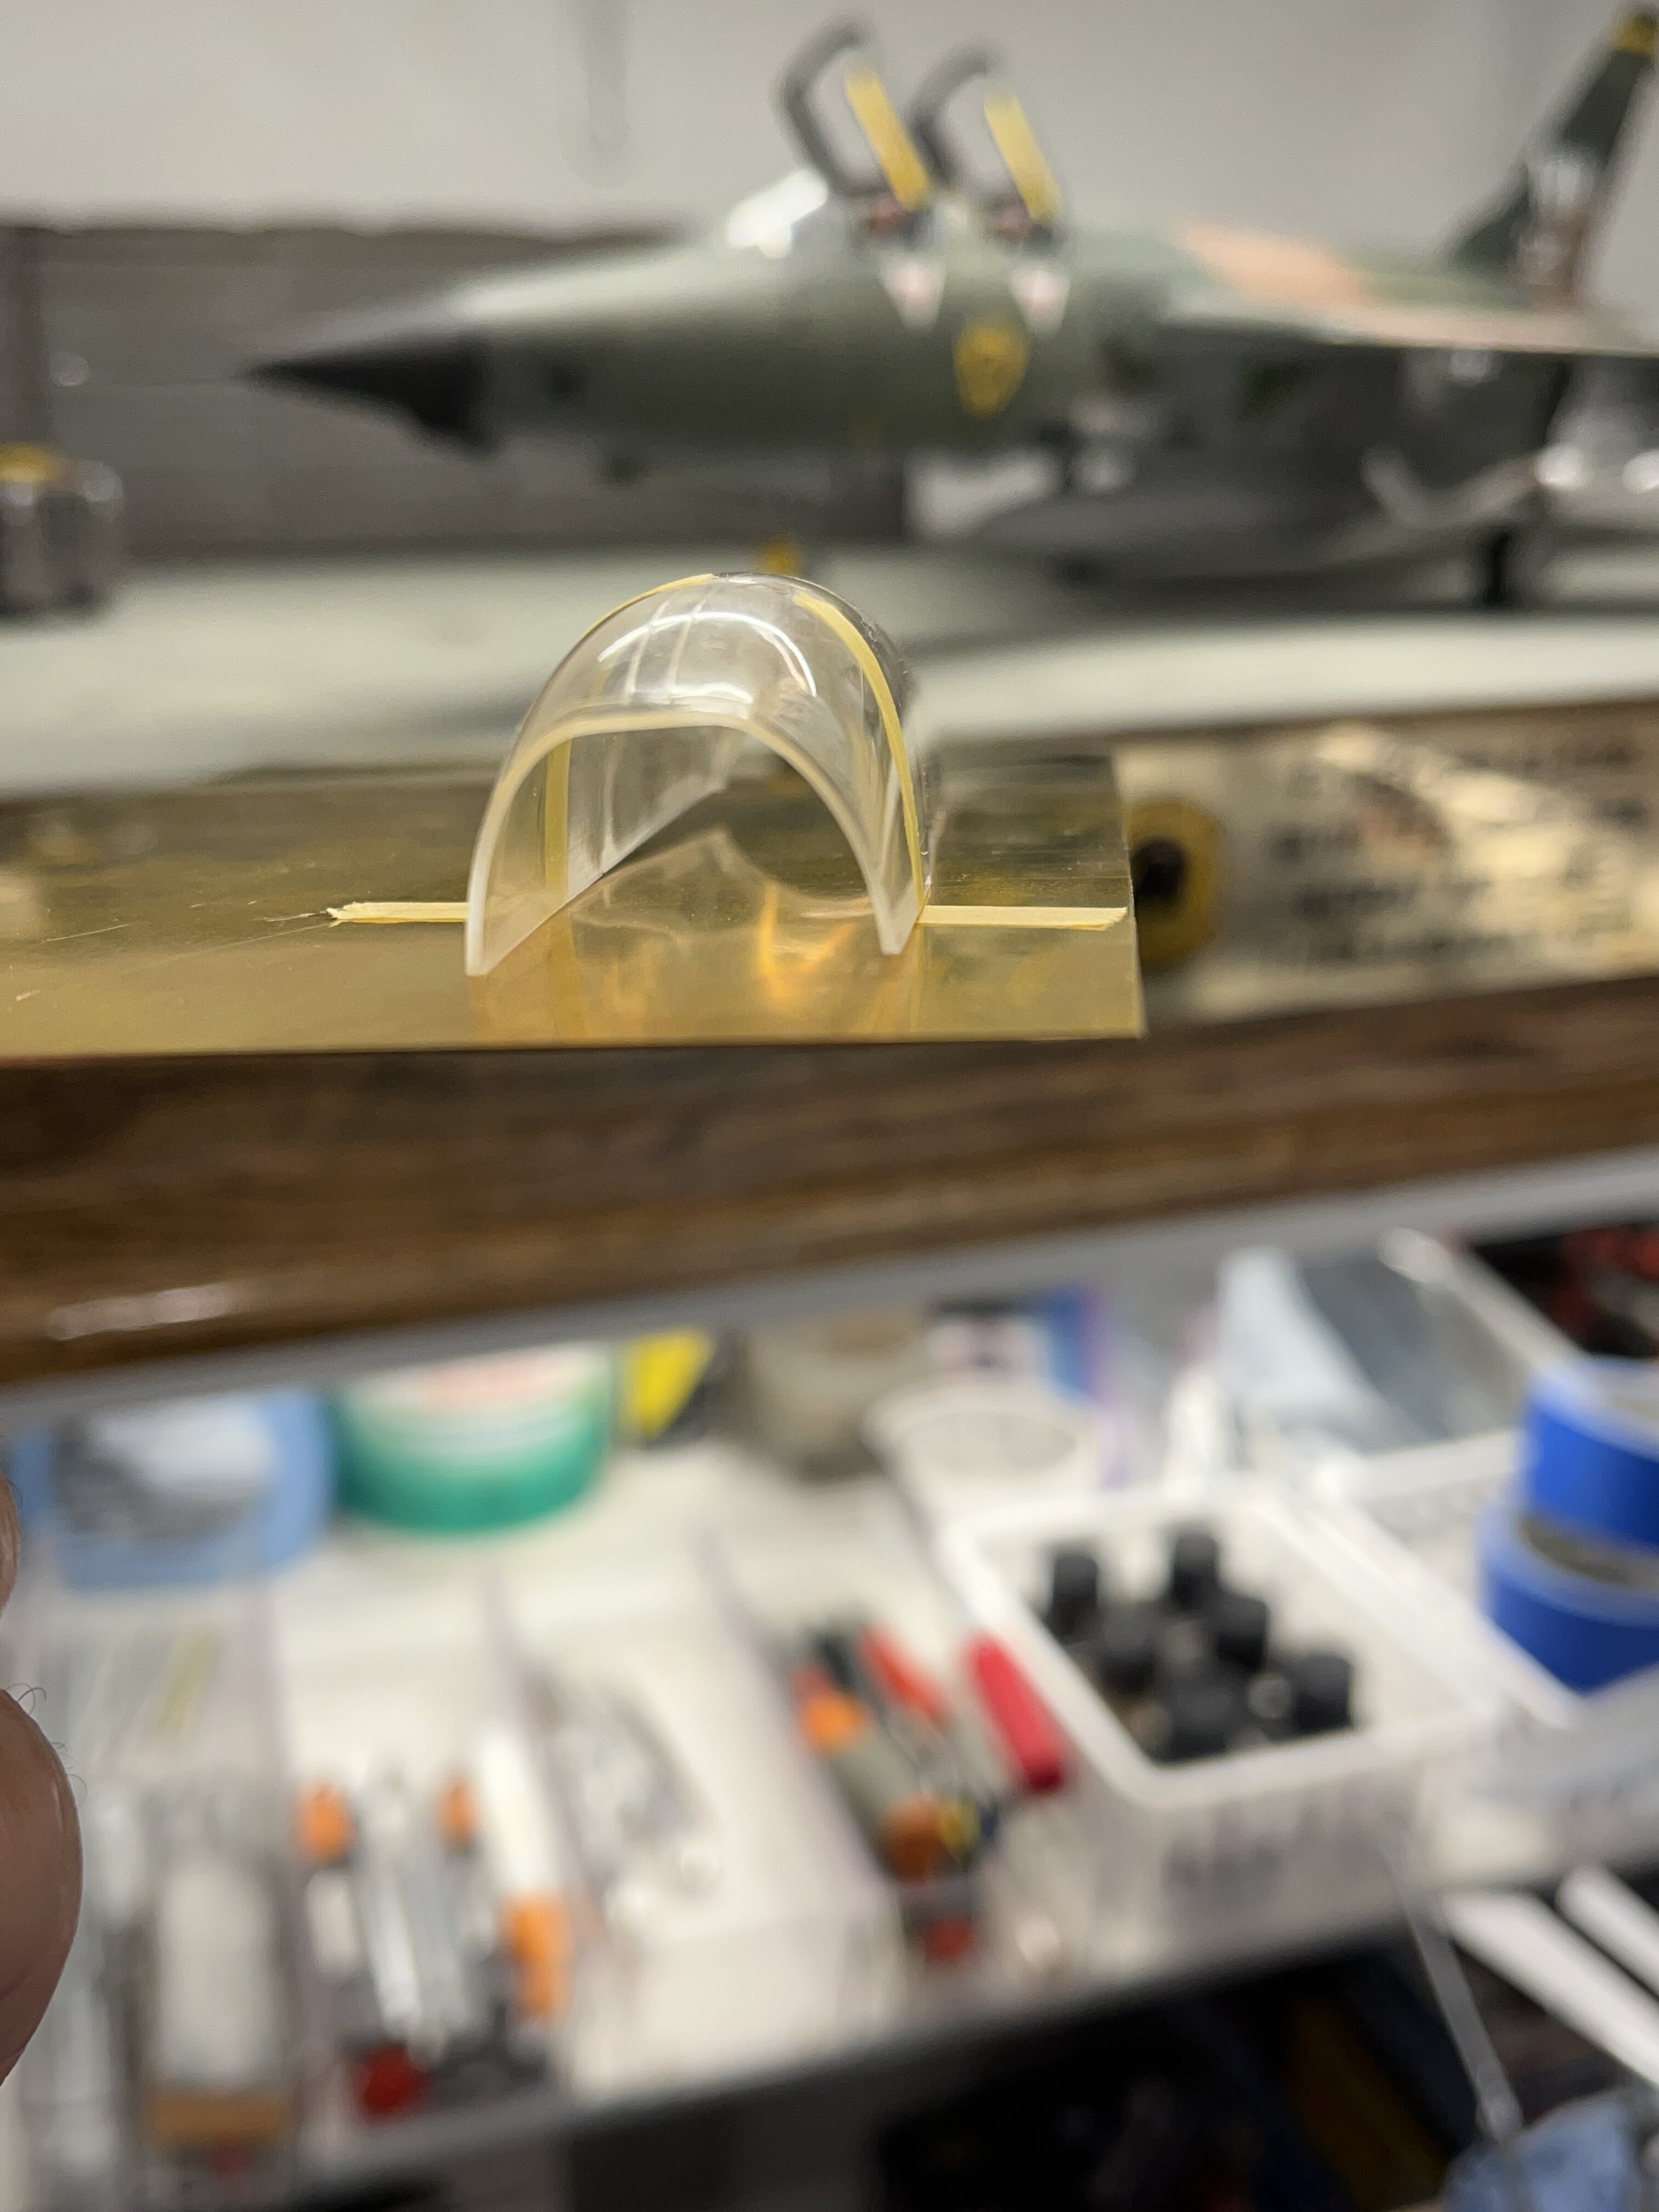
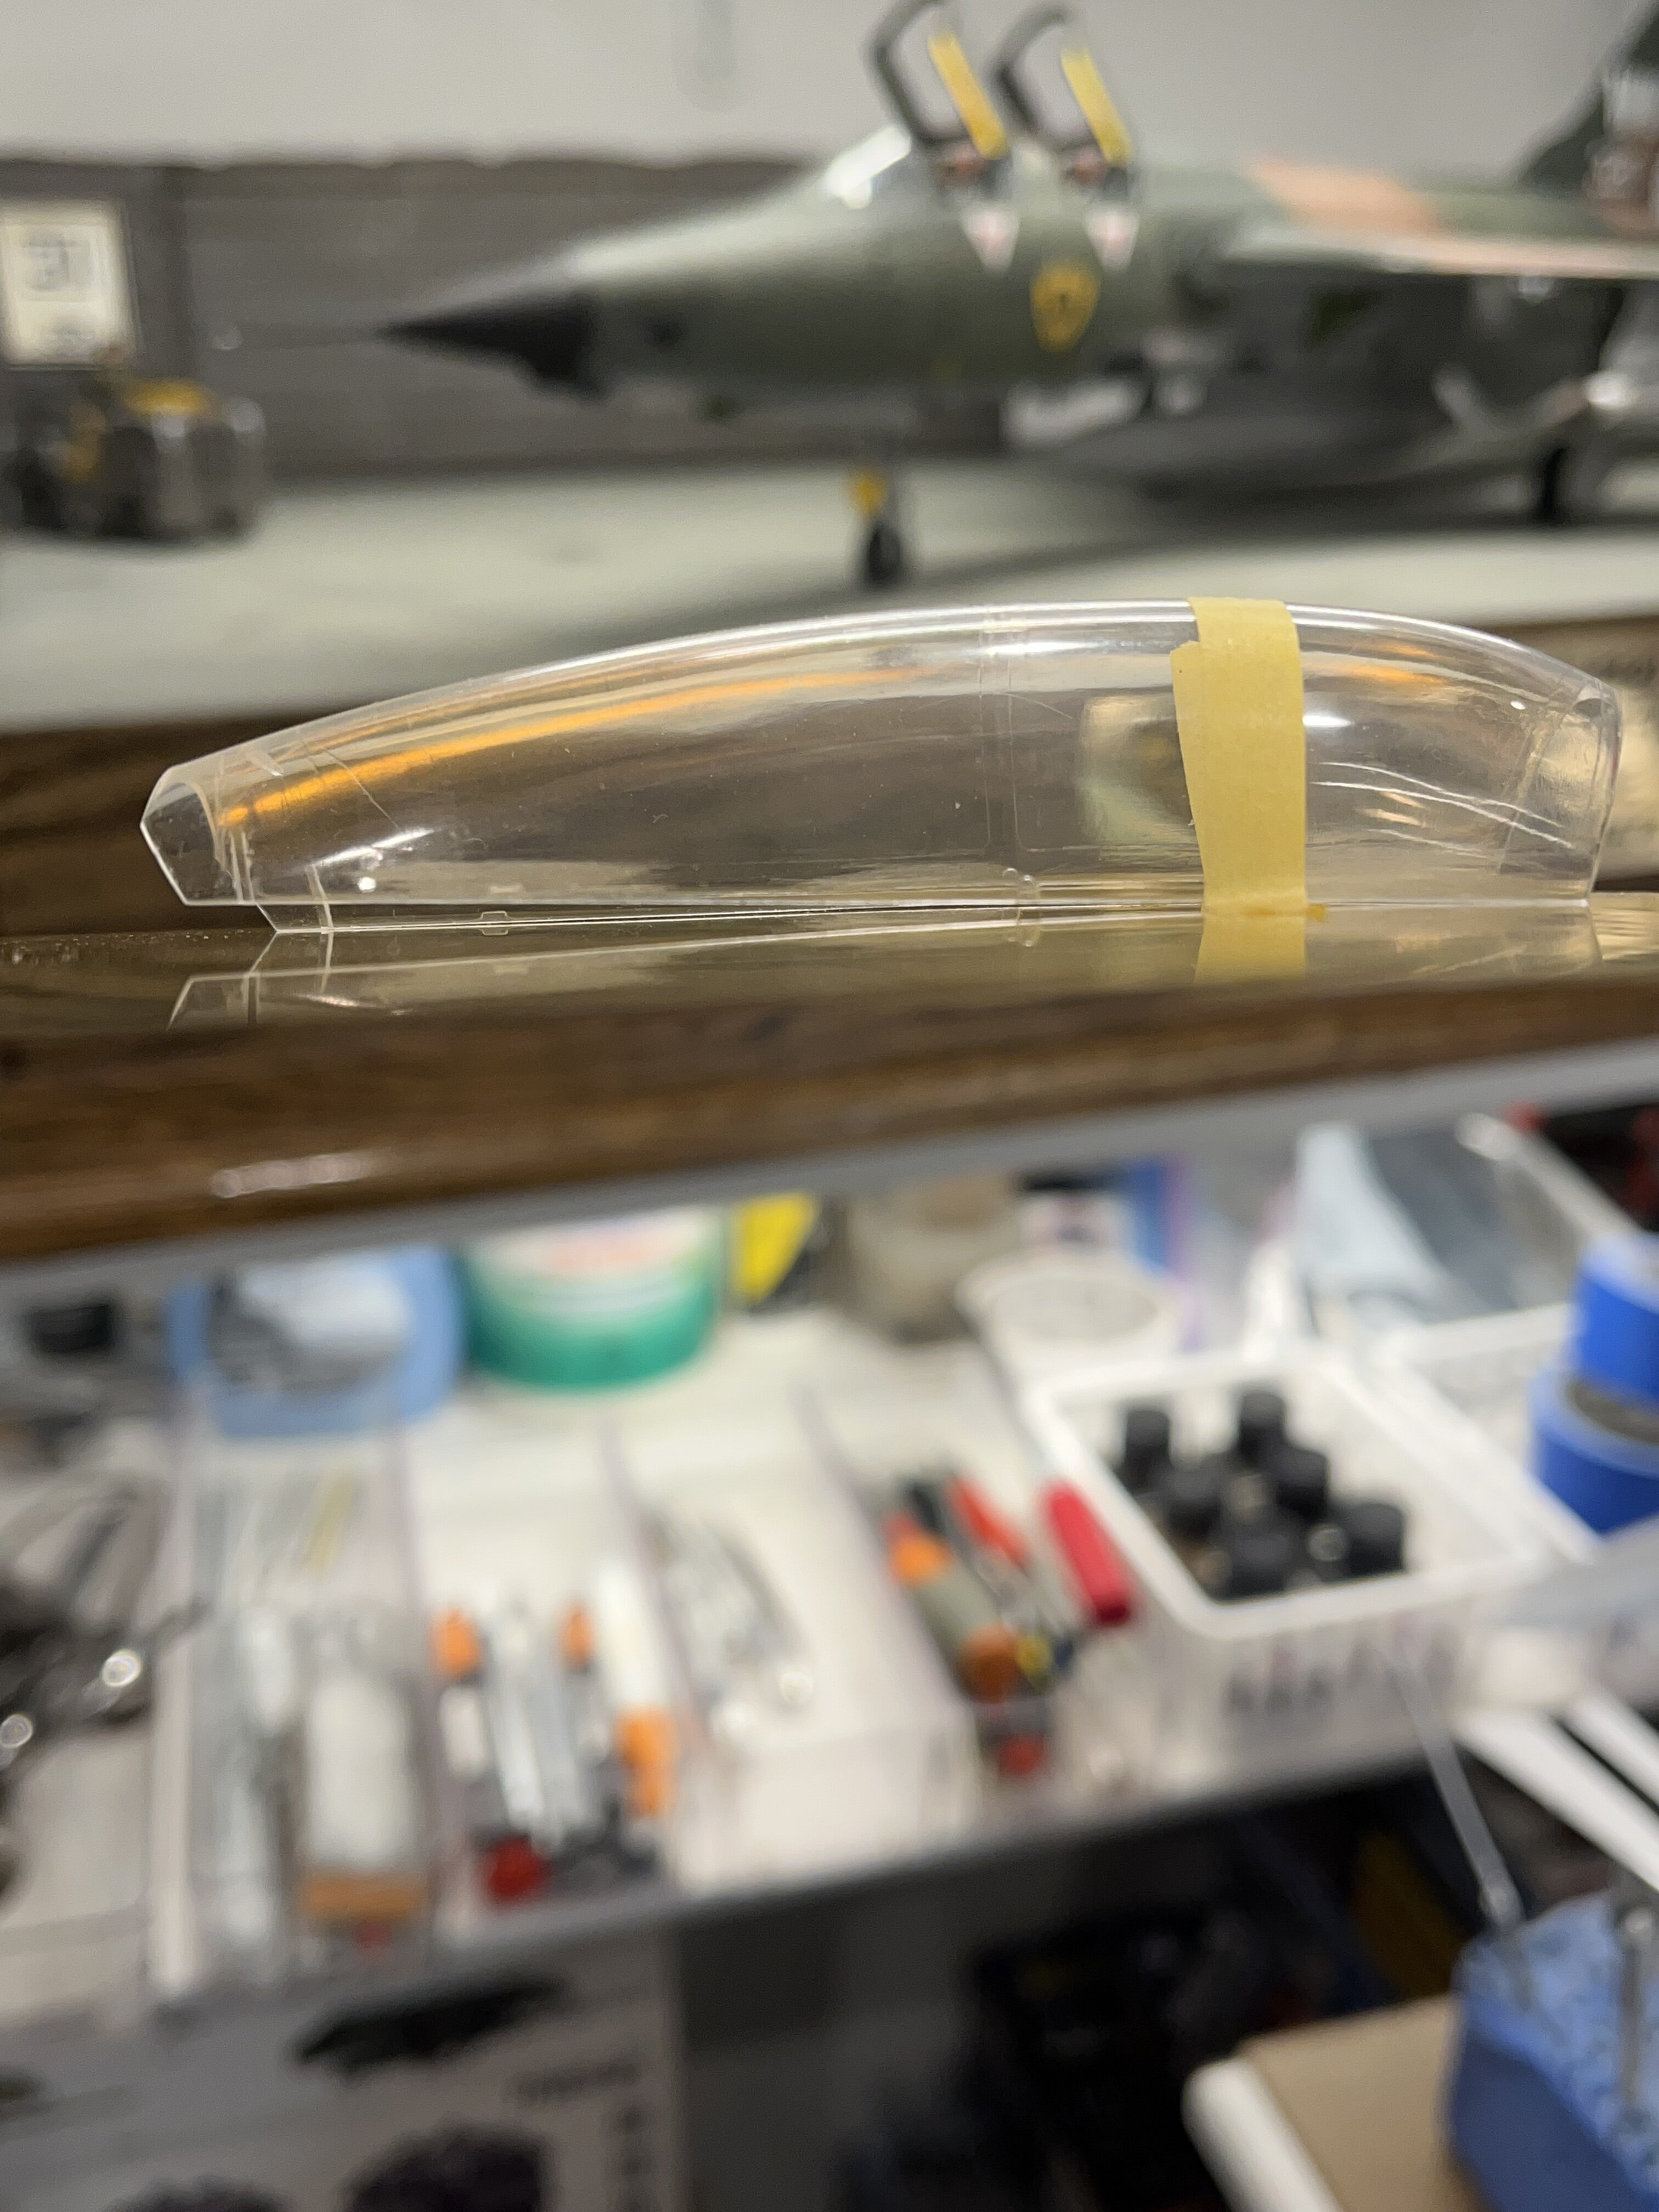
A pretty old kit. The only small issue I had was the rear portion of the canopy was warped. Was somewhat apprehensive about trying to fix it . Because of this, I left the canopy cracked to get some airflow. Kit landing gear was replaced with Scale Conversion metal gear. The decals are from Zotz. Chris
-
Thanks so much James. Never thought of that. I’ll try it tomorrow and let you know how it turned out. Chris
-
All, I’m in a bit of a pickle. I have a canopy from an old MiniArt kit. The front of the canopy is fine, but the back is horrible. The only way to get it to lay flat is to tape it down to a flat surface. Any ideas on how to fix this, without finding an old one? Thanks in advance Chris
-
I’ve only been a judge one time at our local invitational. (Figures). If I saw a plane with the worn, chipped effect that was convincing, I wouldn’t disqualify it for that. That’s accuracy. Isn’t that what we modelers strive for? Every judge has one area that they are set in stone on. (Crisp/clean paint lines) Nothing wrong with that, but I would rather reward the modeler for a historic presentation rather than Disqualify them. That’s just my two cents. Chris.
-
1/48 Trumpeter C-47 converted to the R4D-5 “Tropical Tilly”
Bradley25mm replied to Wolfman63's topic in Builds
Great presentation. The finish turned out great!!. Chris -
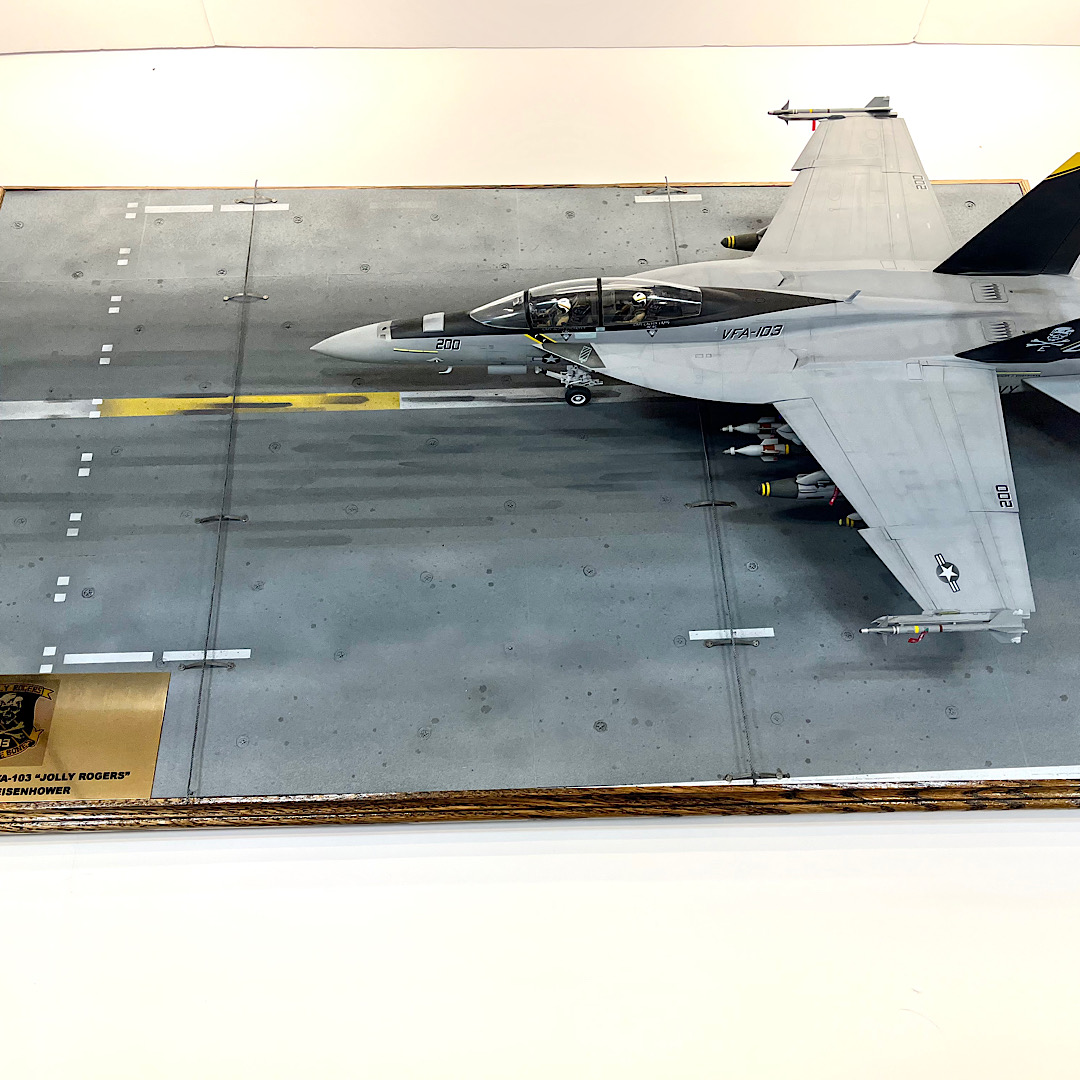
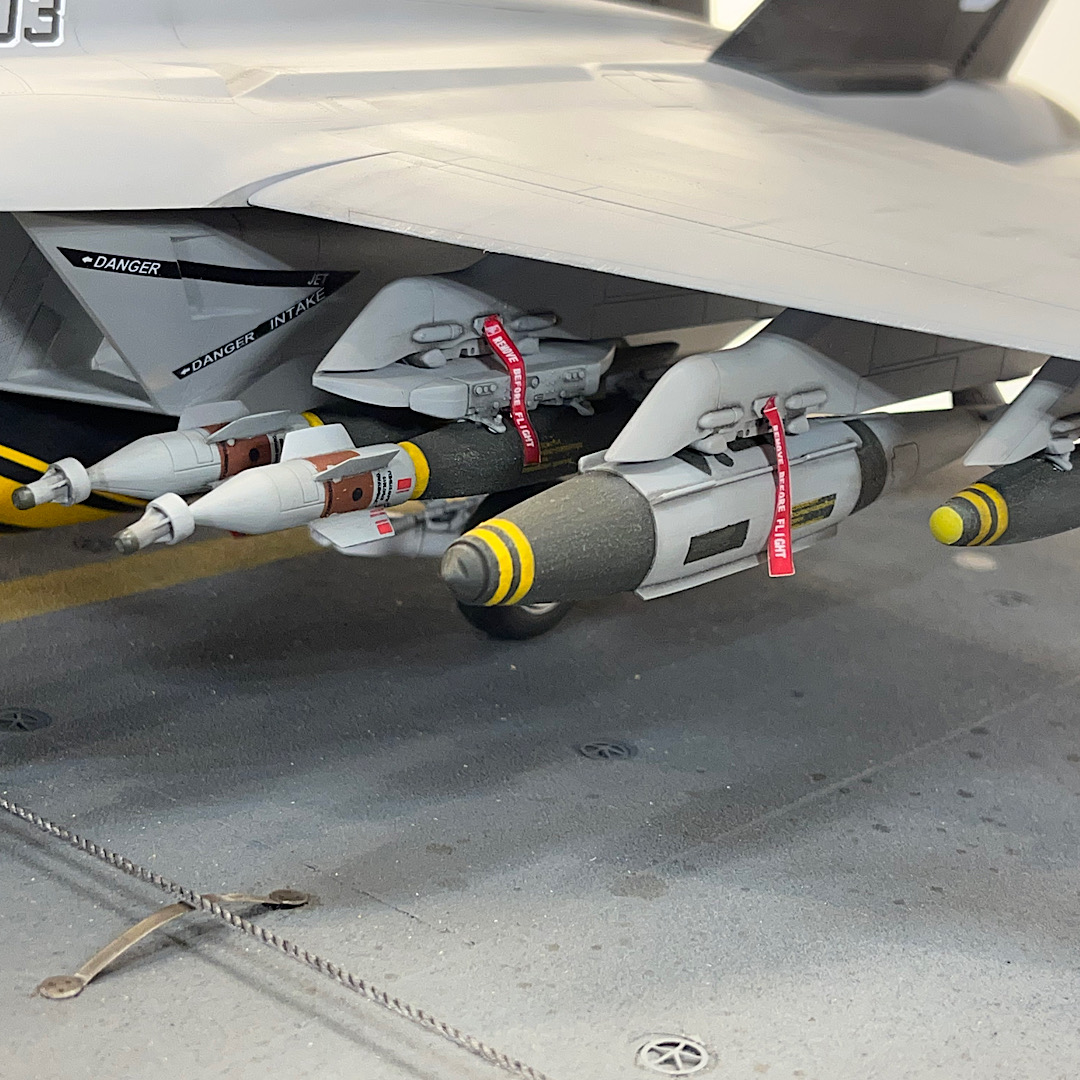
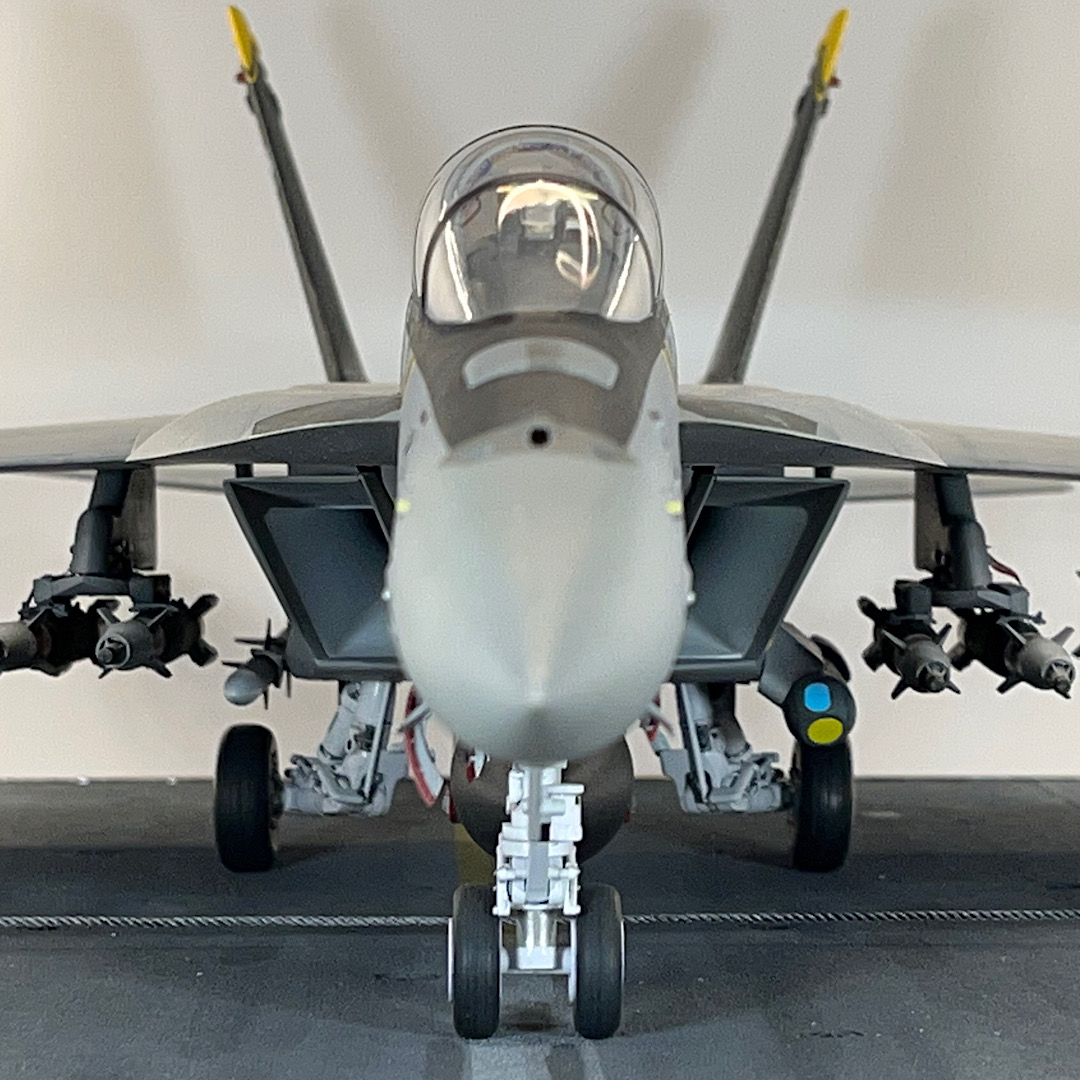
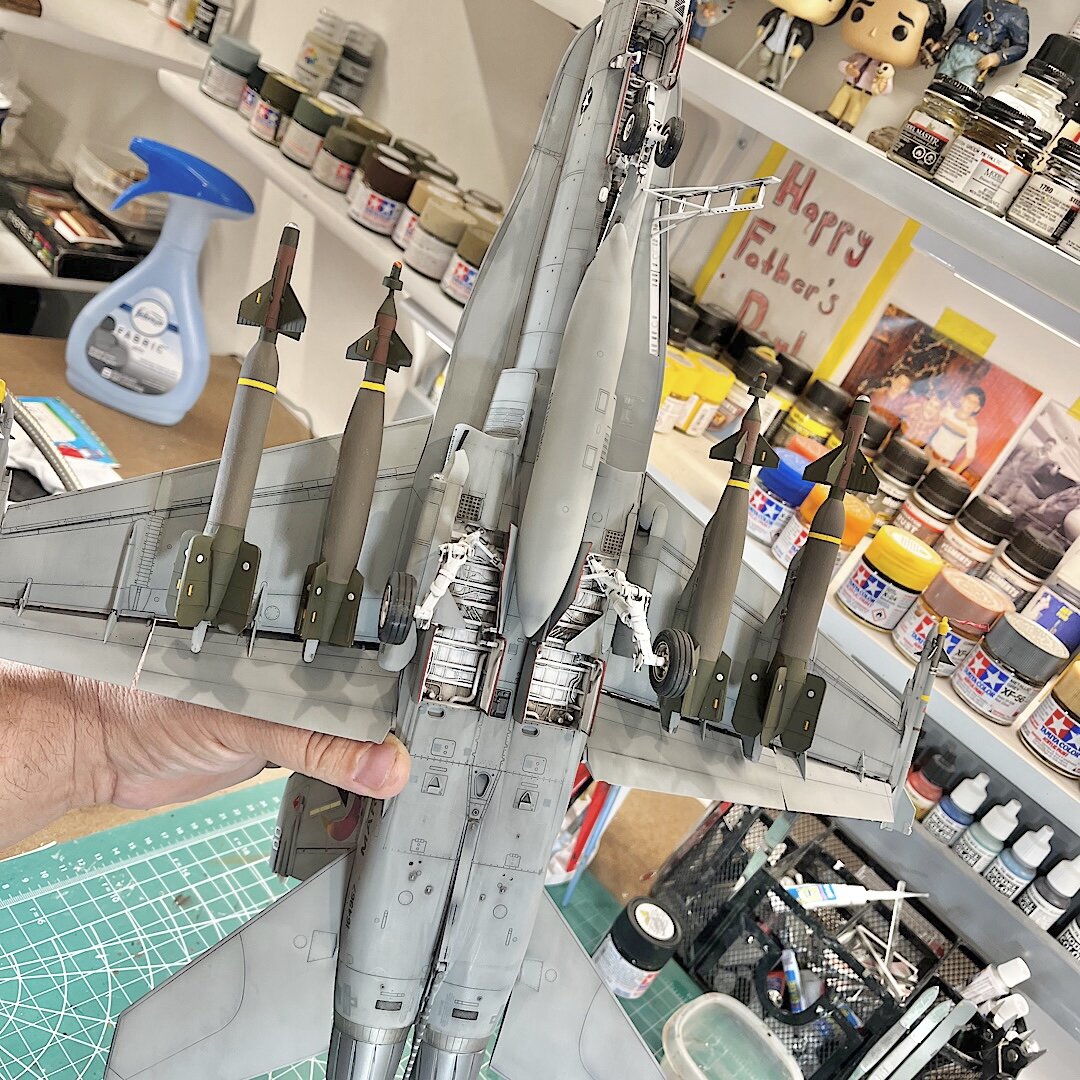
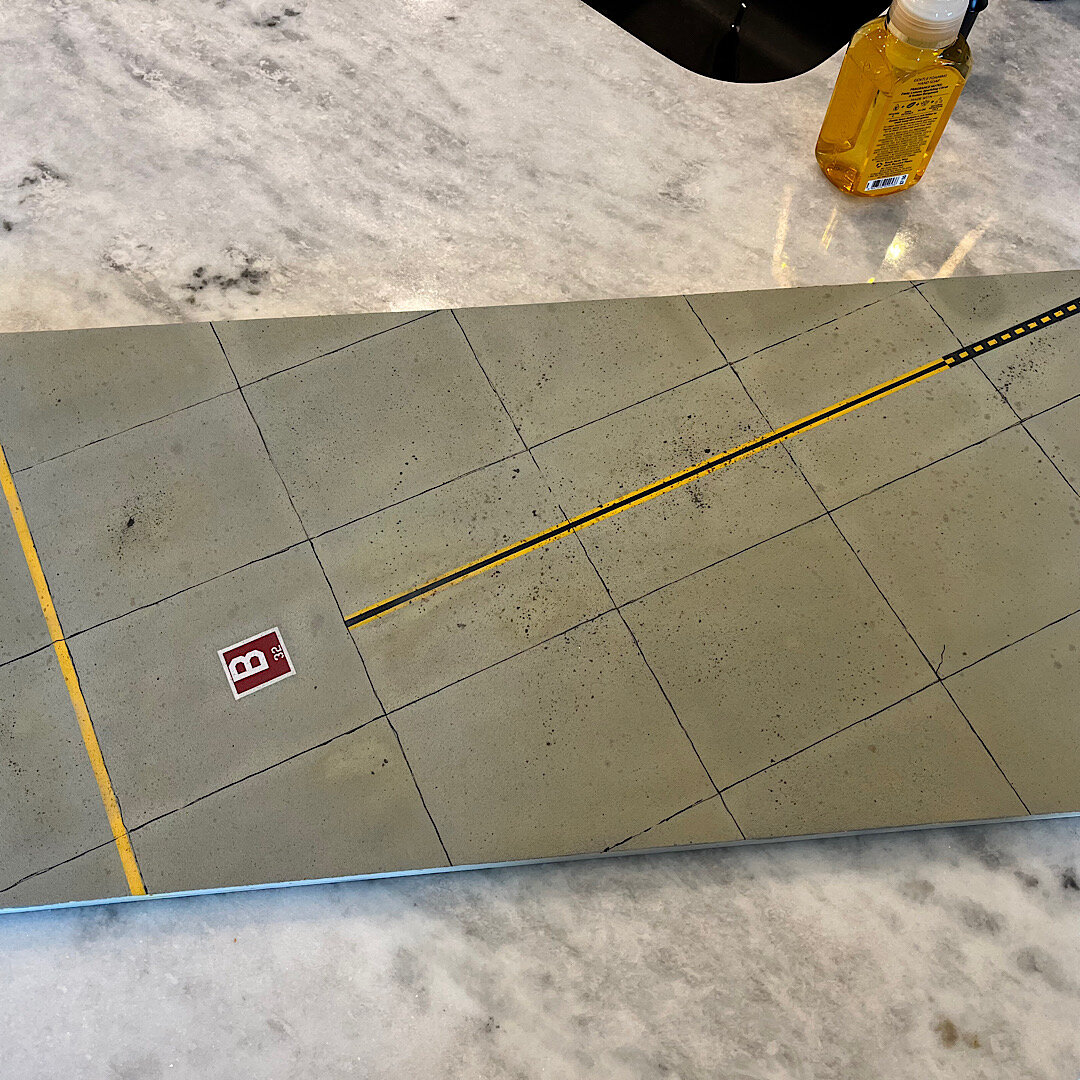
Well, she rolled off the assembly line two days ago. As far as I’m concerned, this kit is an excellent build. Designed very well. After the decals were applied, I did a pin wash over all the recessed detail. I wiped off the excess with mineral spirits. The base is 3/4” plywood. To simulate concrete, I cut up squares of 100 grit sandpaper, and attached them with contact cement. Once built, it was airbrushed with several shades of Tamiya gray, and tan. To add oil and grease stains, I splattered Tamiya accent colors with a large brush. I taped and sprayed Tamiya yellow and black to simulate the lines. I decided at the last moment to add an aircraft tug from Aerobonus. The remove before flight tags are from Eduard. I had to scratch build the optical covers for the GBU-24’s, and GBU-10’s. Chris