sprueguy
-
Posts
157 -
Joined
-
Last visited
-
Days Won
10
Content Type
Profiles
Forums
Events
Everything posted by sprueguy
-
A true classic, you did an outstanding job on this kit. Is the base original to the kit?
-
Great work like the base
-
Great job!!
-
Where do you get these kits? Your work is always great to see.
-
Great aircraft, and you did a fantastic job on it.
-
Nice! OK great build..
-
Looks a lot like a girl I dated a long time ago. Great job on your work.
-
Fantastic work.
-
Some updated pics, kind of gives an idea where I'm going with this. Pictured are the arm positions and some of the TA-50 equipment of the figure, not pictured are the grenades, AN-PRC25 field radio, butt pack ect…..

-
Great display, I enjoy the title and it fits the sceen
-
Great likeness to the actor.
-
Great build
-
Fantastic work, I agree the jewels are a vary nice touch.
-
WOW! great work.
-
New details added
-
Great job lots of fantastic details
-
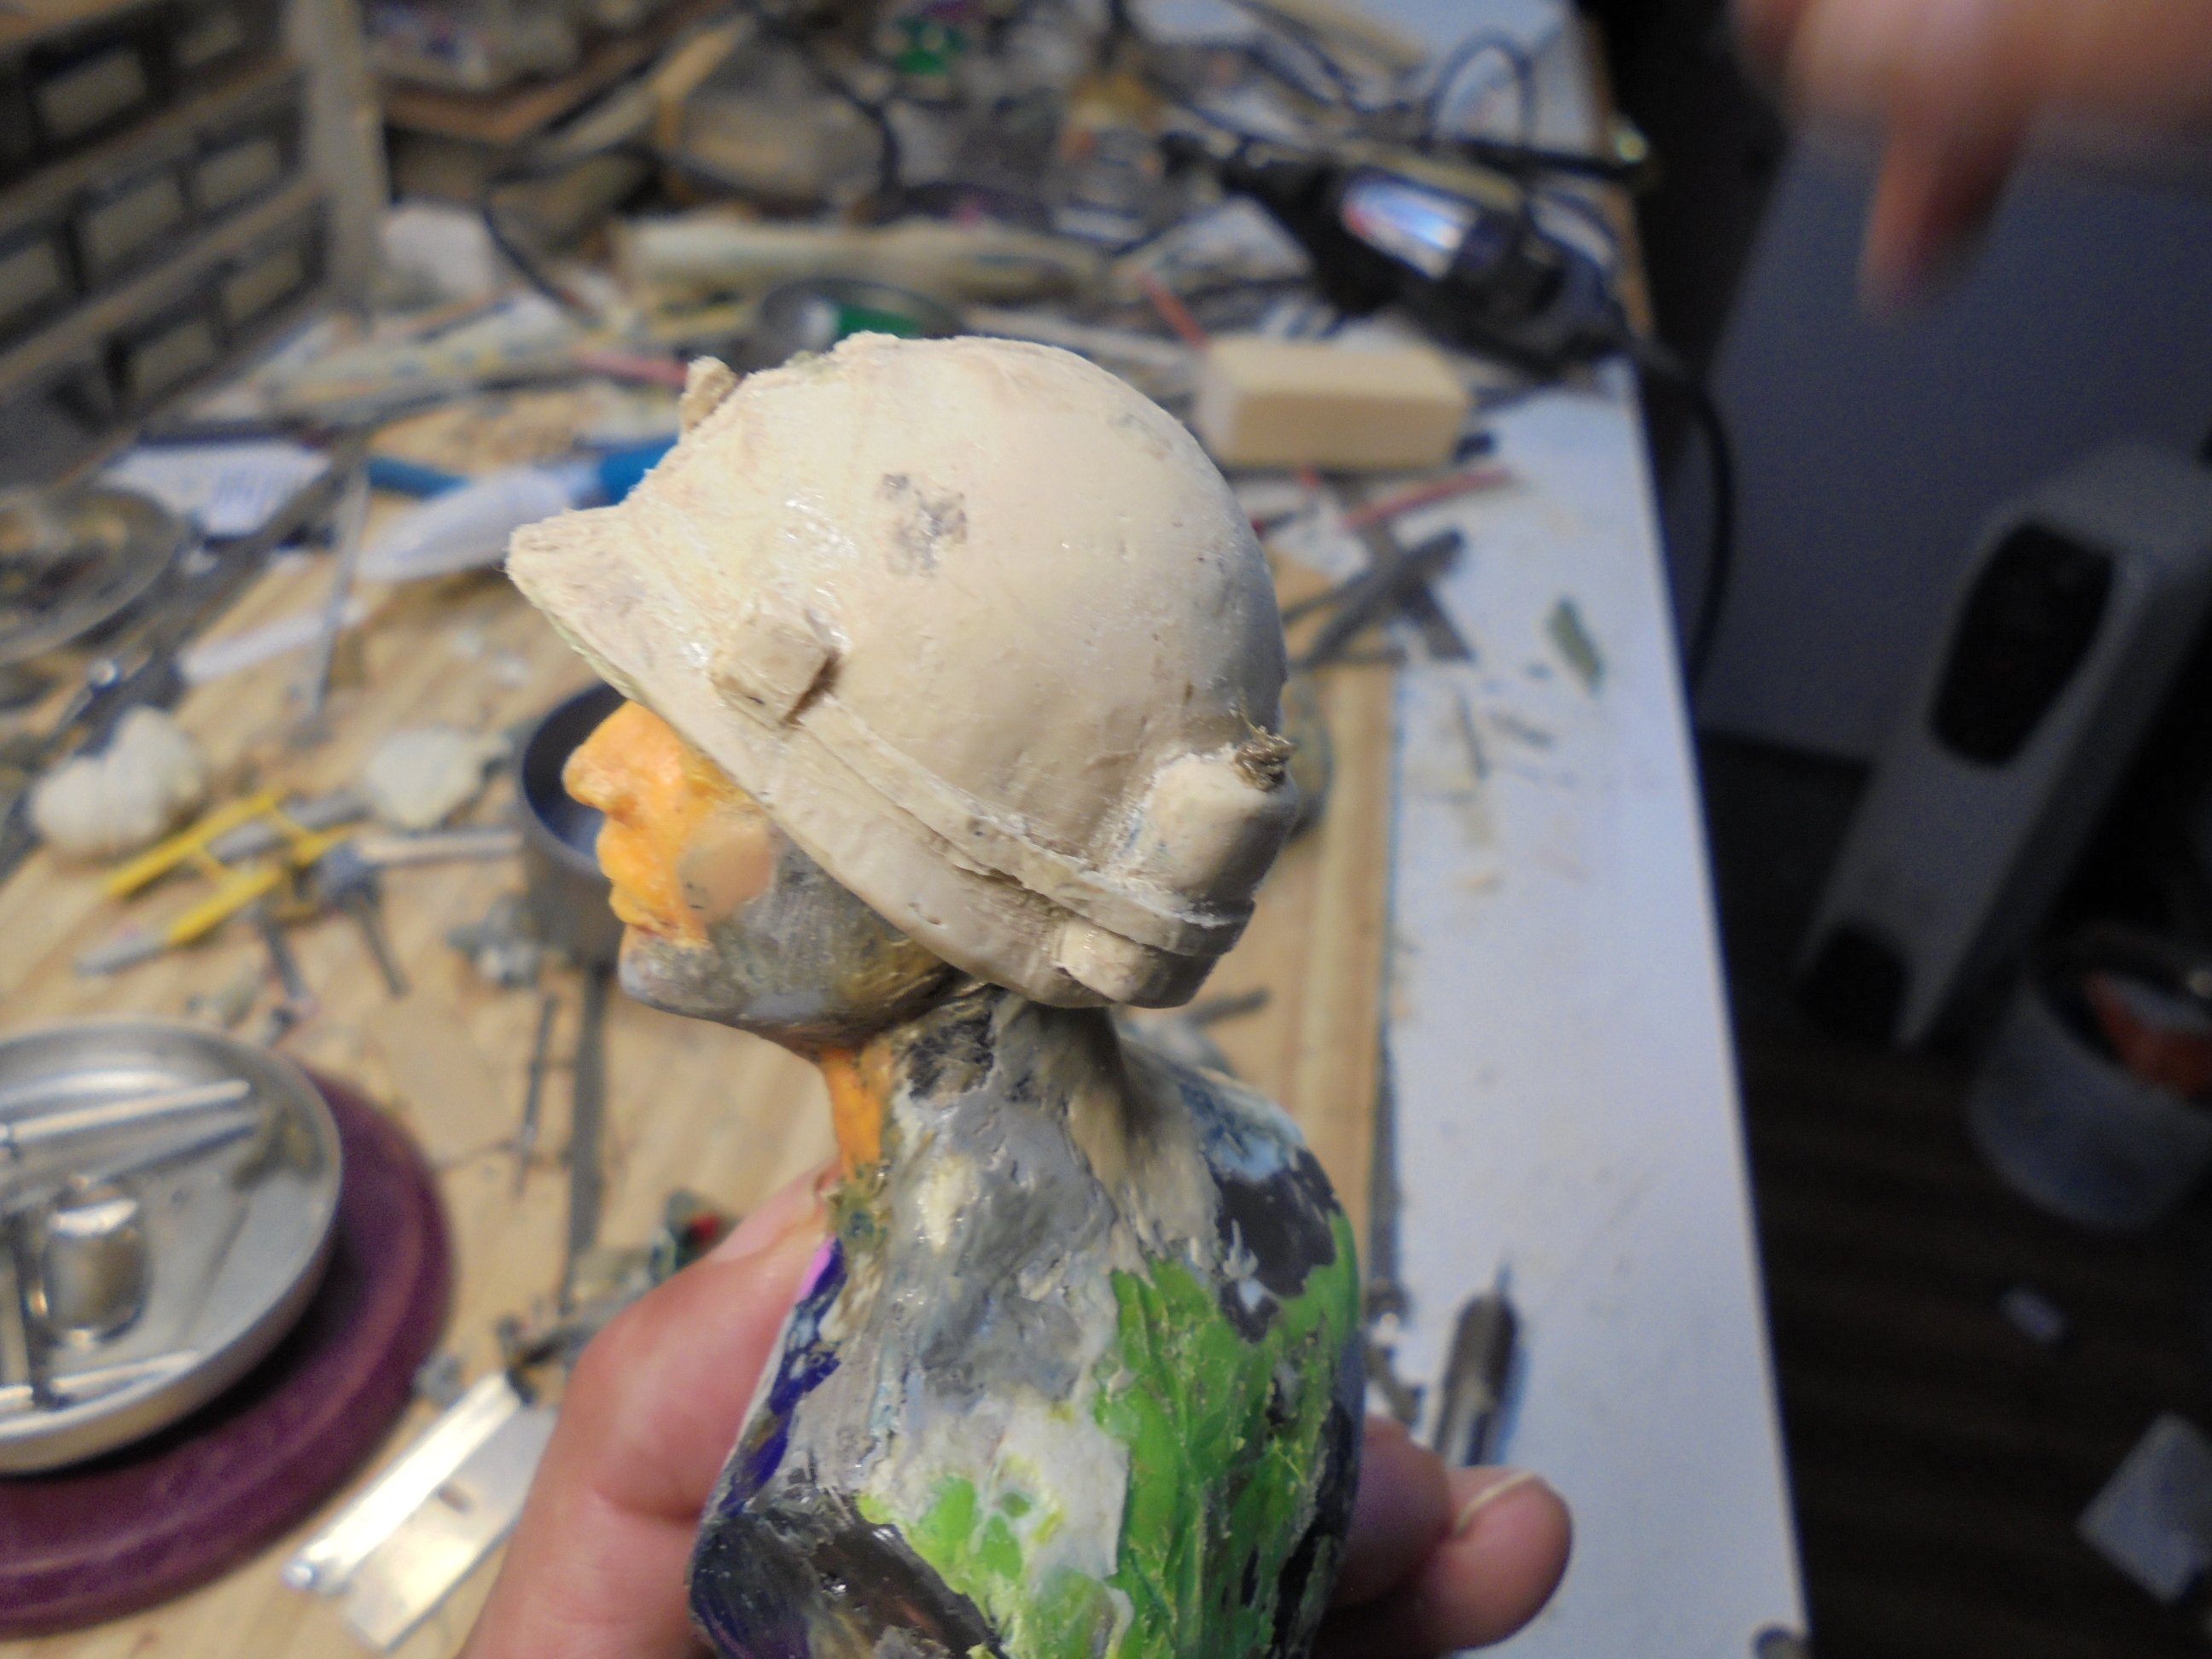
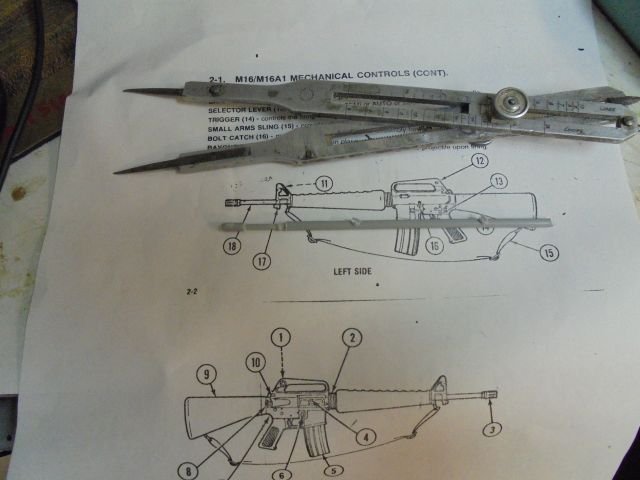
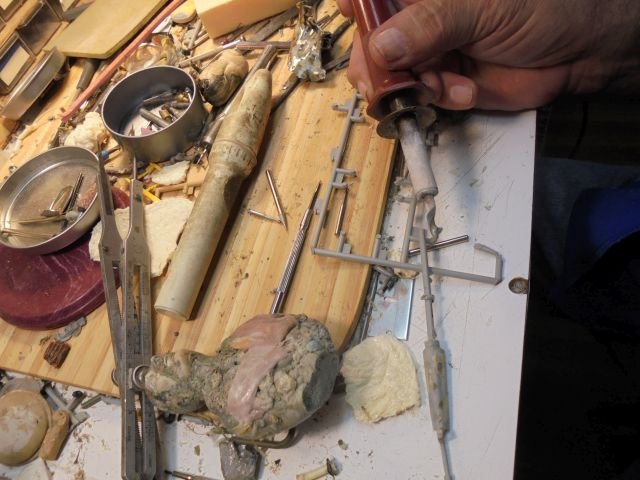
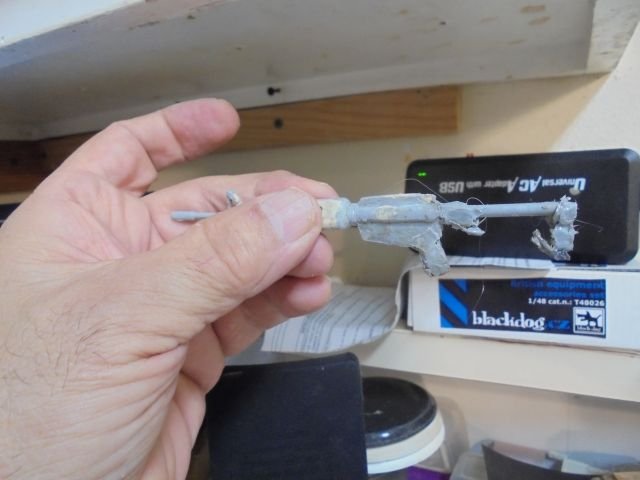
Bill: the picture above kind of shows the process used. In this case the helmet. Shown are the original sculpt, the silicon mold, the 1st copy, and finally the sanded finish copy. The heat from the toaster oven is enough to melt the various plastics together. The picture below shows the basic oven setup. I use the "Pam" as my releasing agent. The bottom picture shows more work on the helmet. It was cast using plastic cutlery. The above picture of a proportional divider, scaled picture of an M16a1, and a piece of sprue. The drawings and the divider are the things used to make the rough m16. The first picture shows the basic step needed to sculpt anything in plastic. I use a basic wood burning iron, with a flattened tip that is sharped to a knife's edge. I simply slice into the sprue, and build into a basic shape with the soften plastic. The stock of the m16 being worked on shows the melted sprue applied to the stock sprue length Here is the piece ready o be molded The mold is made in two pieces with DAP 100% s silicone. Here we have the base piece placed on modelling clay, It will be pushed into the clay to the half way point. I'll spray it with a cooking spray, this is to prevent the silicone from sticking to the piece. Once the mold is settled, I'll cut a section of sprue using a set of wire cutters. I'll place the bits of sprue in the mold. Heat at about 400 degrees for thirty minutes. Set aside to cool. As you can see you will have lots of work on the piece before you have something finished. This picture shows the original base piece, one piece with the flashing cleaned up, and a little bit of detail work done. The last piece is just out of the oven. This is not a process for the faint at heart, but is well within the abilities of most modelers. The molding part could be used to copies of just about any item you wished. I would like to say after doing this for decades know, I've never seen any commercial use for this. It's fun and I like doing it. Good luck This is just a basic overview of what I do. If you have questions please feel free to ask....
-
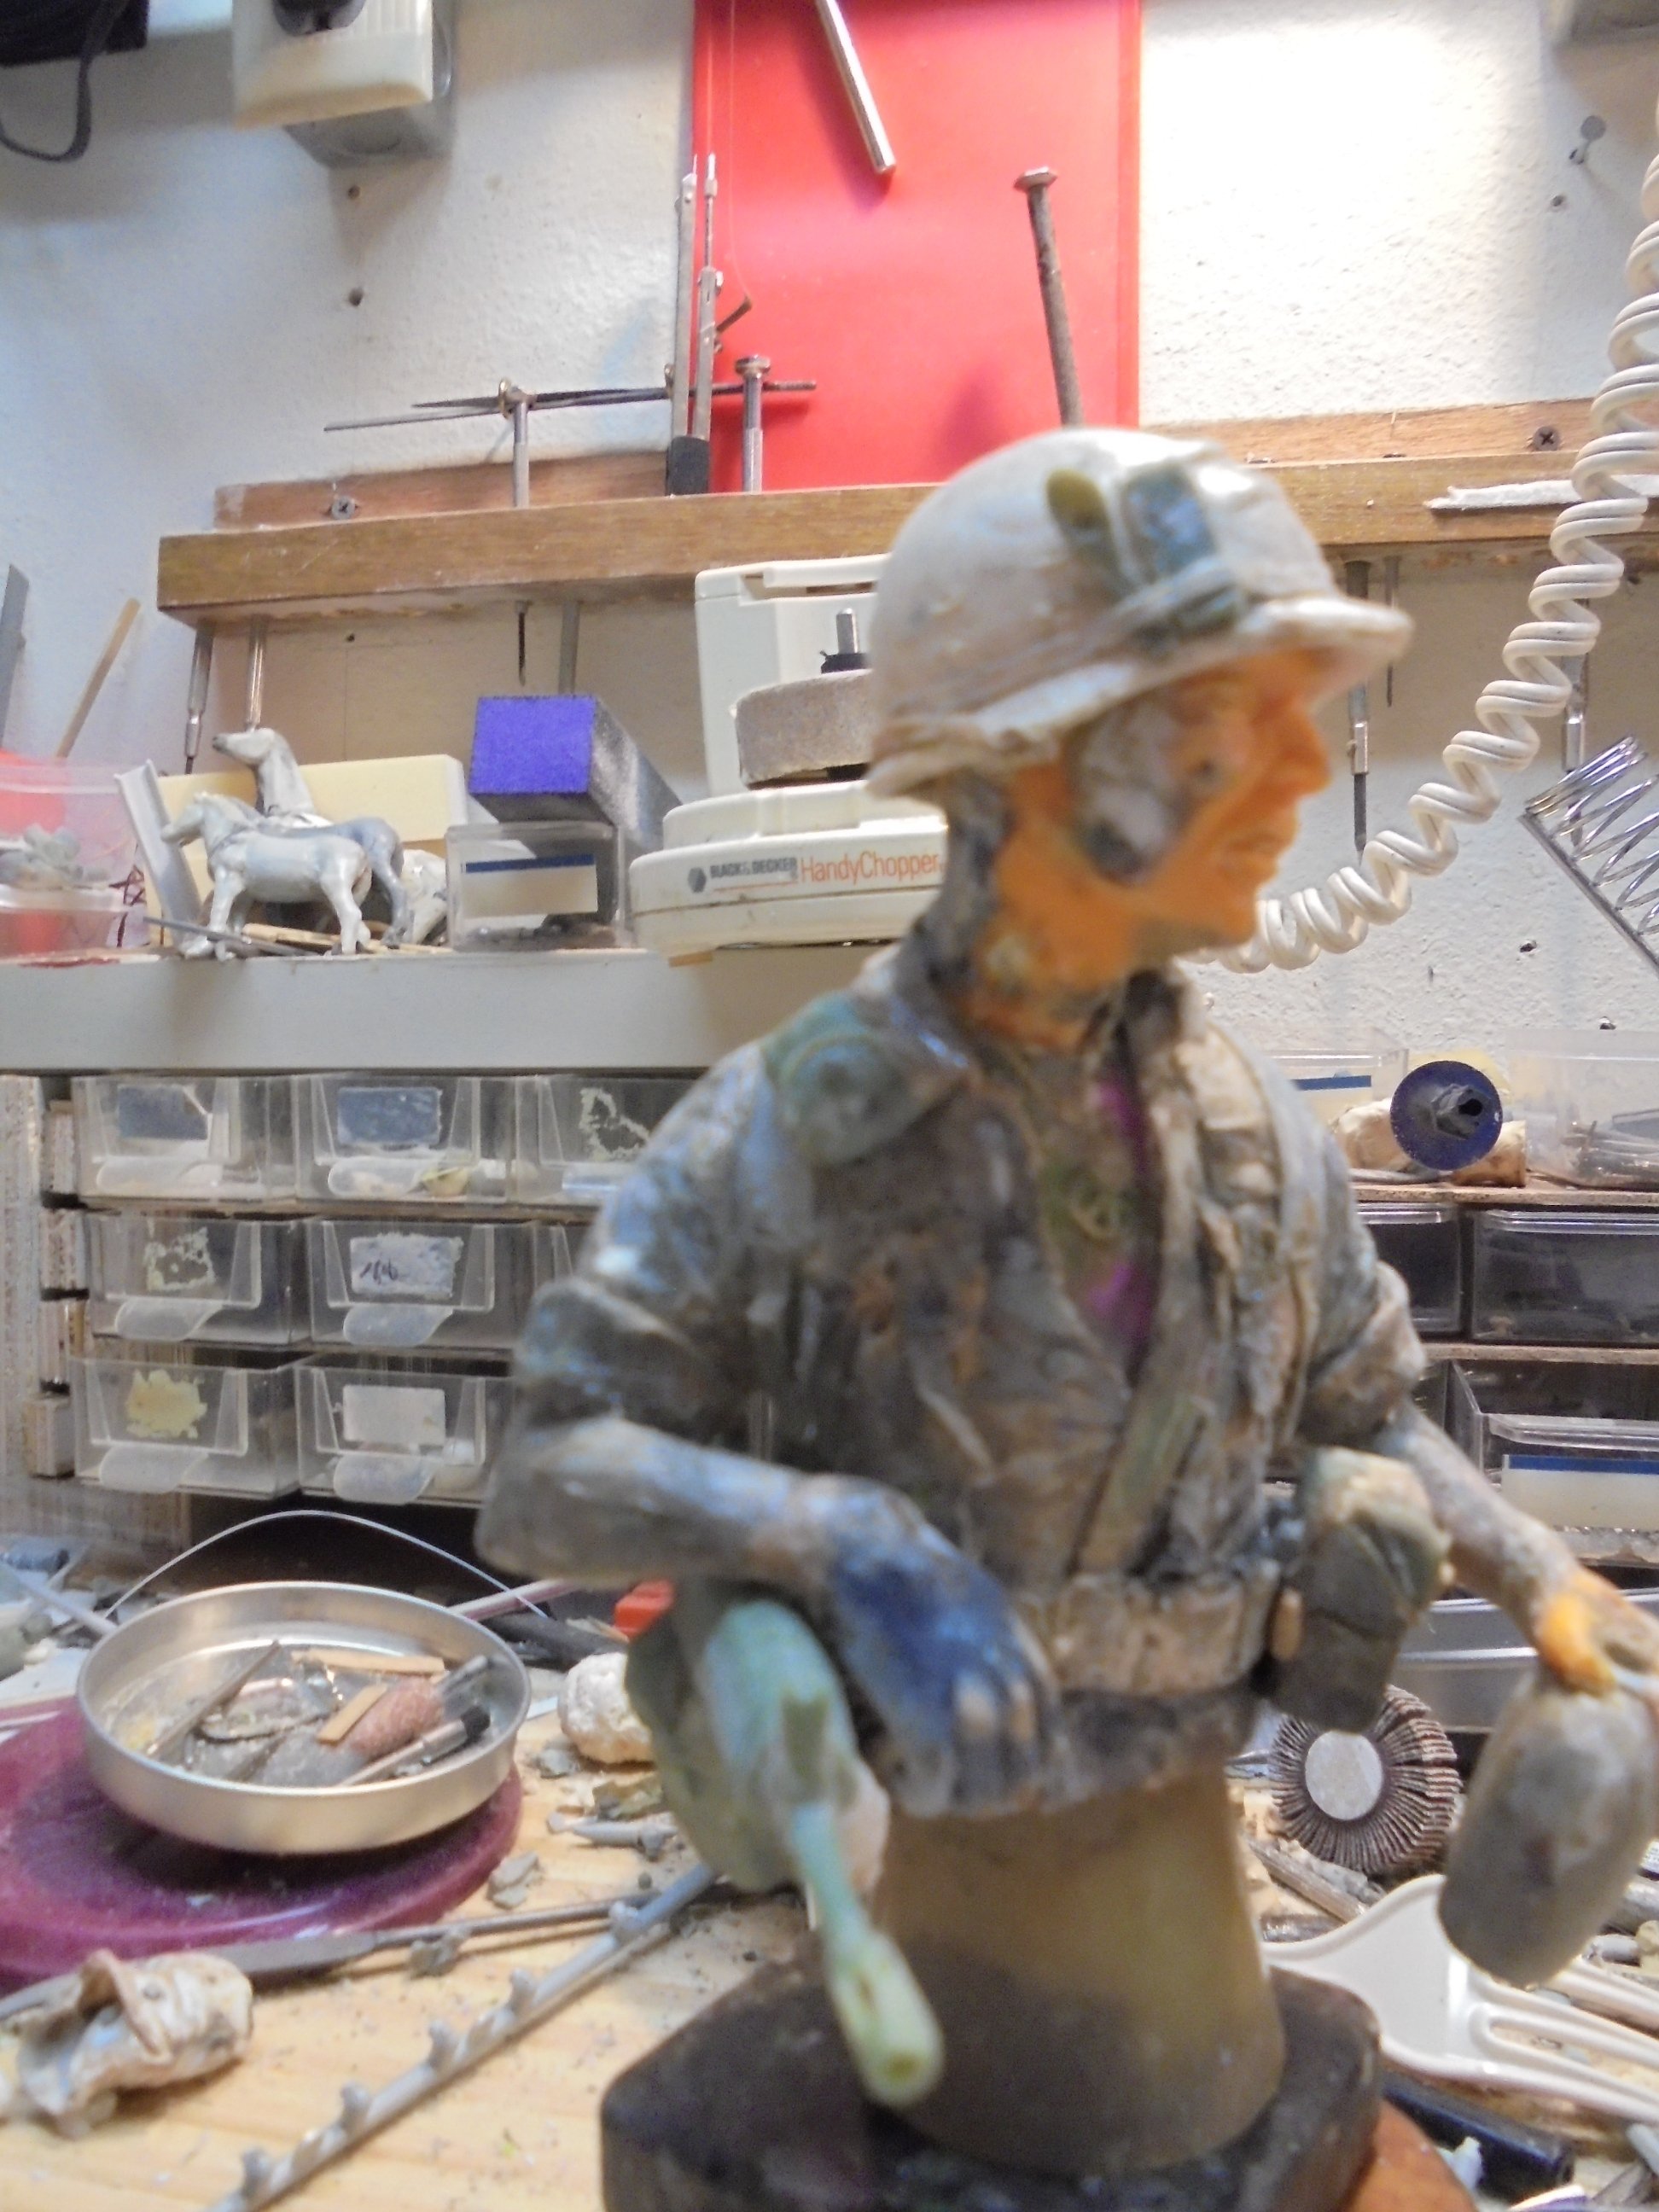
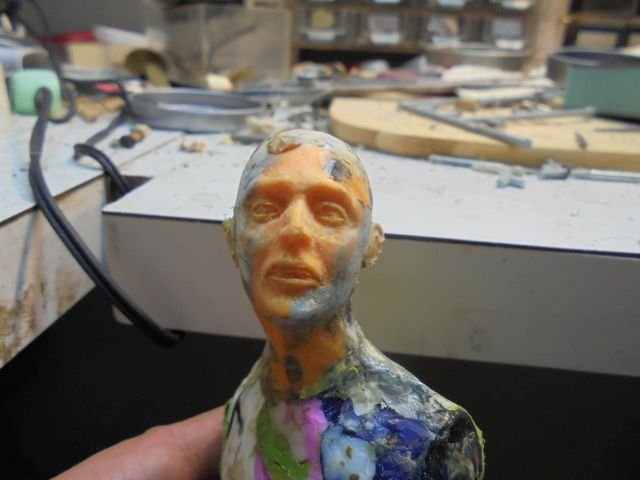
Here is the beginning of a new figure. When completed it will be a 1/10th bust of a US Army soldier from the Vietnam war around 1968/69 time frame. I used the old Monogram 1/10th Vietnam war statue as my base. The different colors are from various types of plastics melted, such as the orange, blue, and pink are from use razors, the green is a plastic spoon, and the rest are from sprue. The helmet is molded from plastic forks. This is intended to be a SBS to show another way to use left over plastic (sprue).
-
Great piece lots of action...
-
Great site, and you're a Texan to boot...I'm in Amarillo myself.
-
Young or old it is still a fantastic work.
-
Great build and in only 1/72d must be great to have young eyes.
-
Great work, always had a soft spot for WW1 aircraft.