Ron Bell
-
Posts
2,093 -
Joined
-
Last visited
-
Days Won
241
6 Followers


Recent Profile Visitors
6,133 profile views


-
I have a Paache "H" model that I have been using for over 30 years and it still works fine. I'm sure it can't do all the intricate fancy stuff that other airbrushes can, but then again, I'm not skilled enough to pull that off anyway.
-
I have always liked Tester's Dullcoat, but sometimes it dries to a semi-matte rather than a dead flat finish. I recently read on-line another modeler say that he lets a bottle of Tester's Dullcoat sit until the "flattening agent" (you know what I mean, all that 'stuff' that gathers at the bottom of the bottle) settles to the bottom. Then he draws/pours off a quantity of the solvent. This increases the concentration of the flattening agent and depending on how much you draw off, the finish that can vary all the way up to dead flat. I decided to give this a try. I took a new bottle of Dullcoat which had settled completely and poured off about 1/3 to 1/2 of the carrier/solvent. I was a bit afraid that it might be spotty or have flecks of flattening agent in the finish so I tested it on a scrap piece of plastic with a flat paint on one side and a high gloss black on the other. i thinned the Dullcoat as normal for my airbrush and gave each finish a coat. The matte finish was still matte, no surprise. But the high gloss dried to a DEAD FLAT and there was no flaking or spotting on either finish. I then tried it on my current project that had gloss and matte surfaces plus decals and I got an even dead flat finish over all. 60 some odd years of modeling and I am still learning.
- 1 reply
-
- 1
-

-
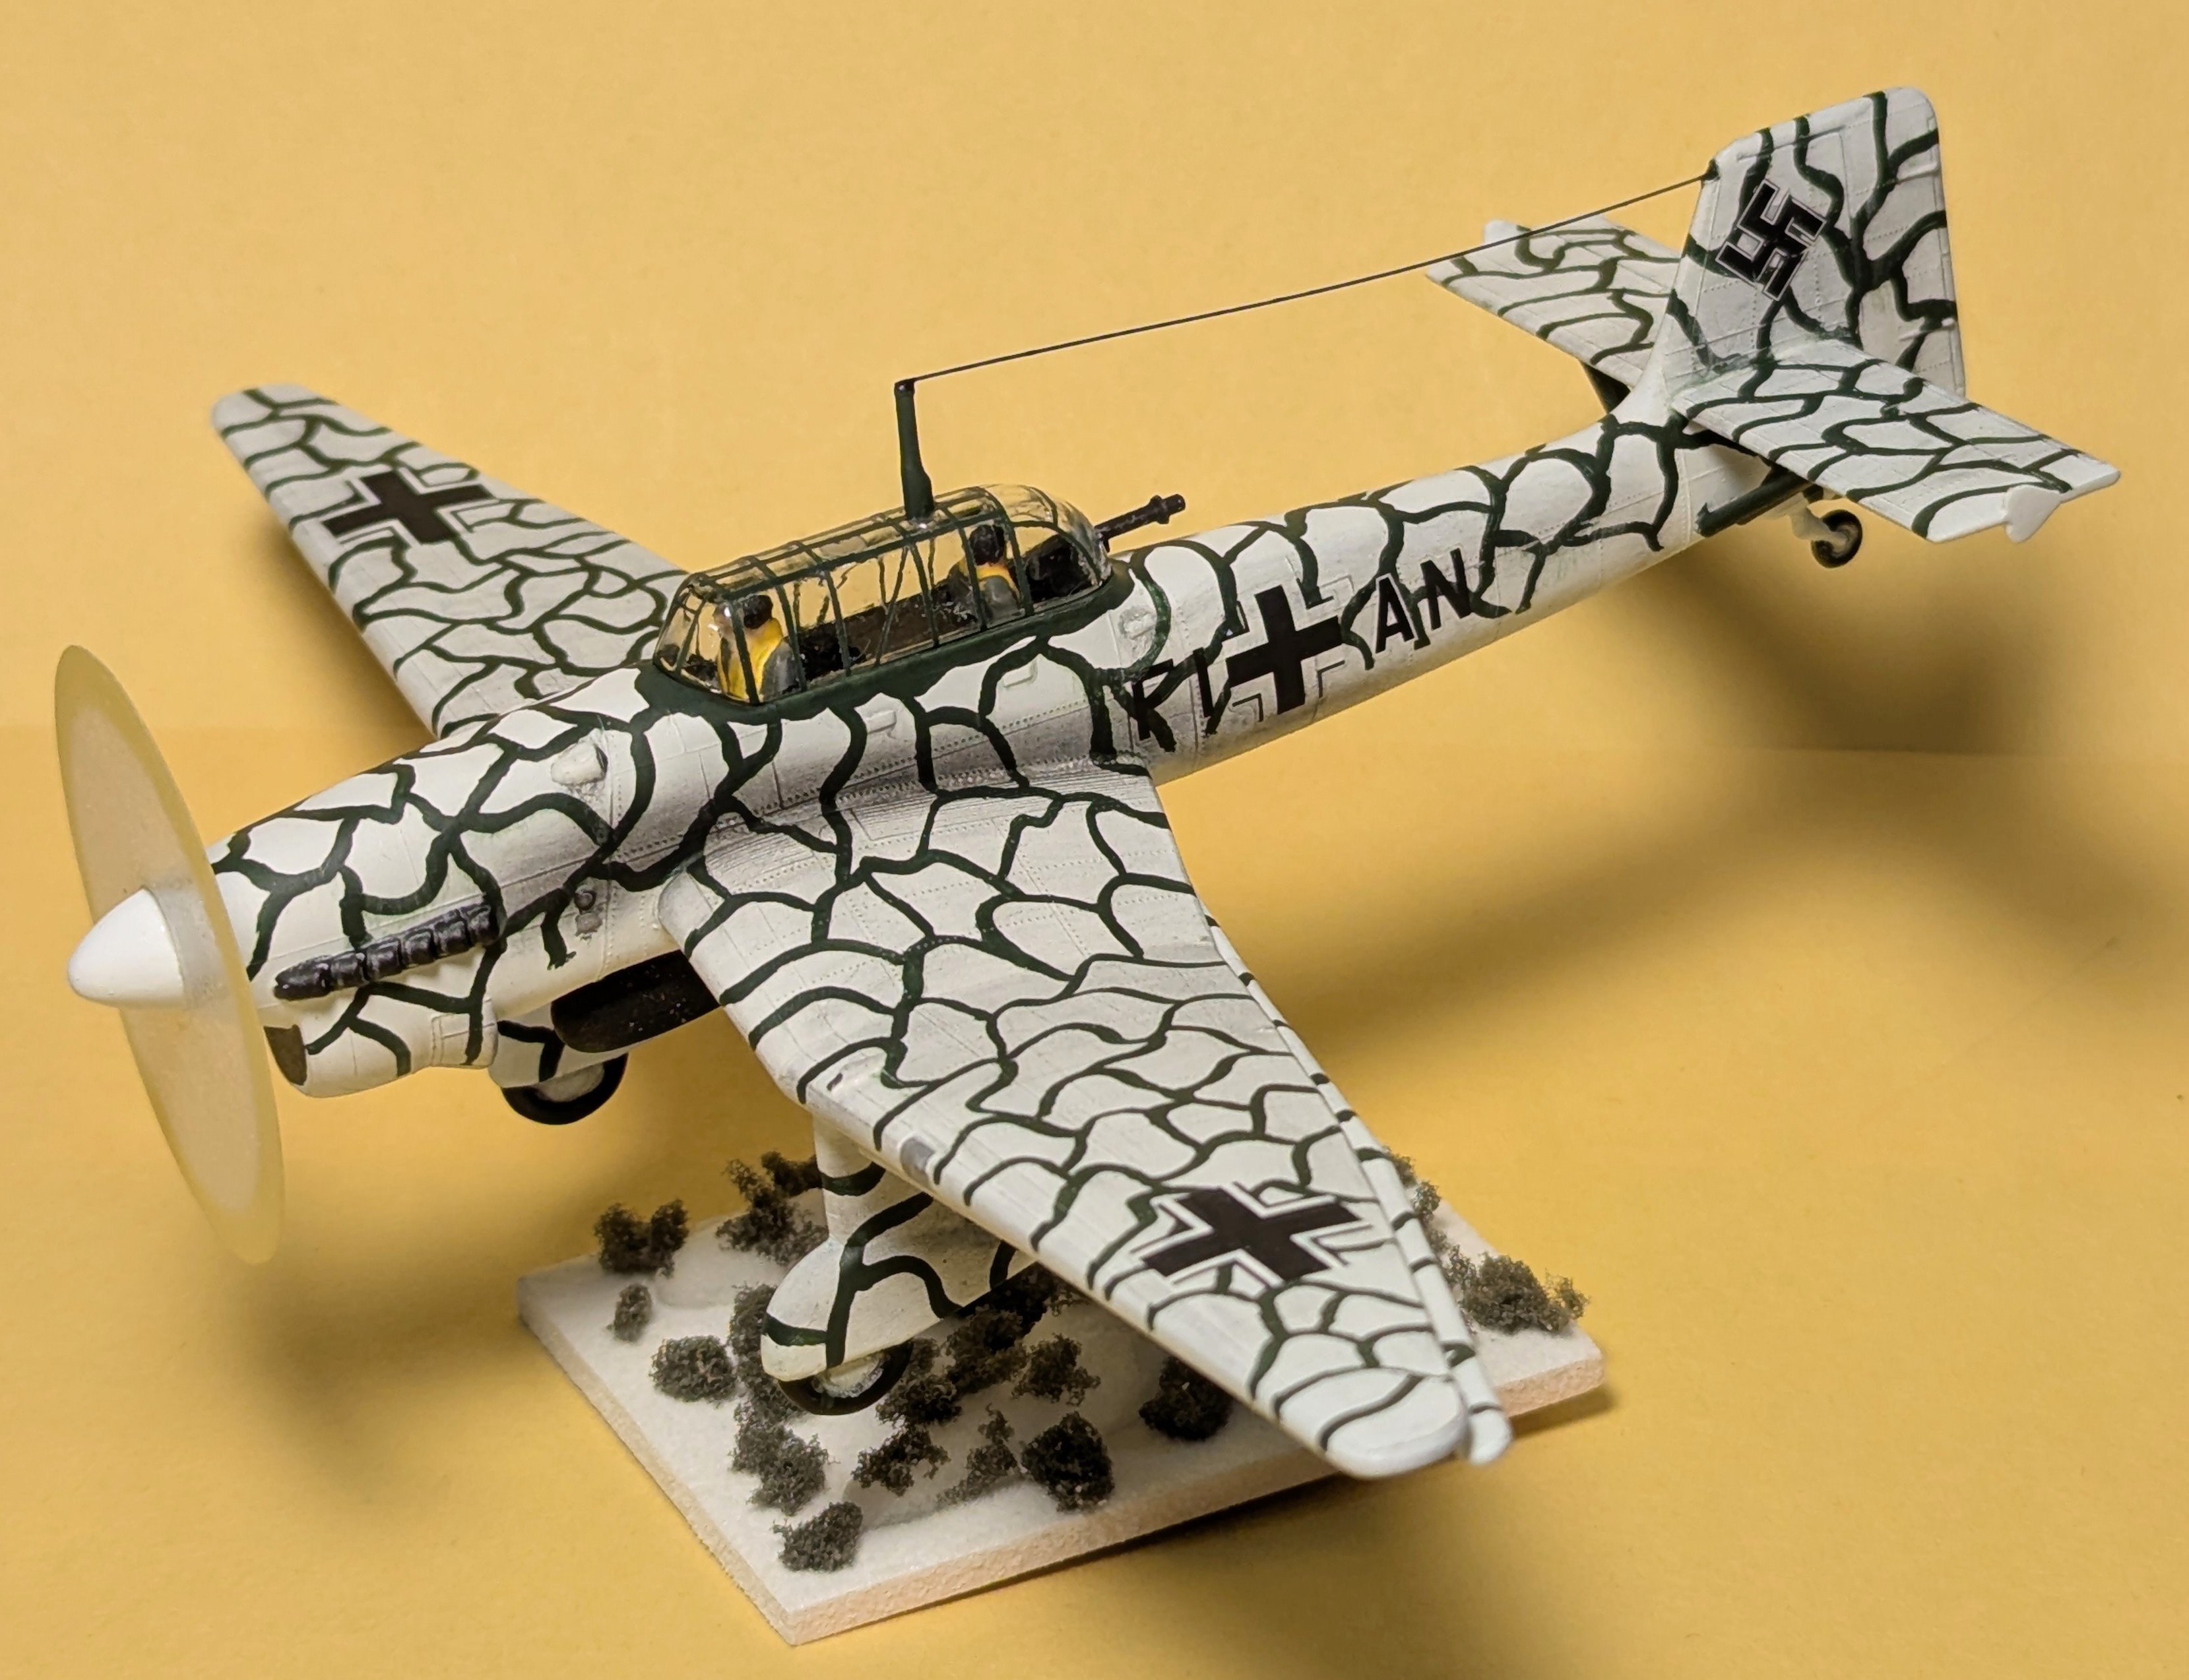
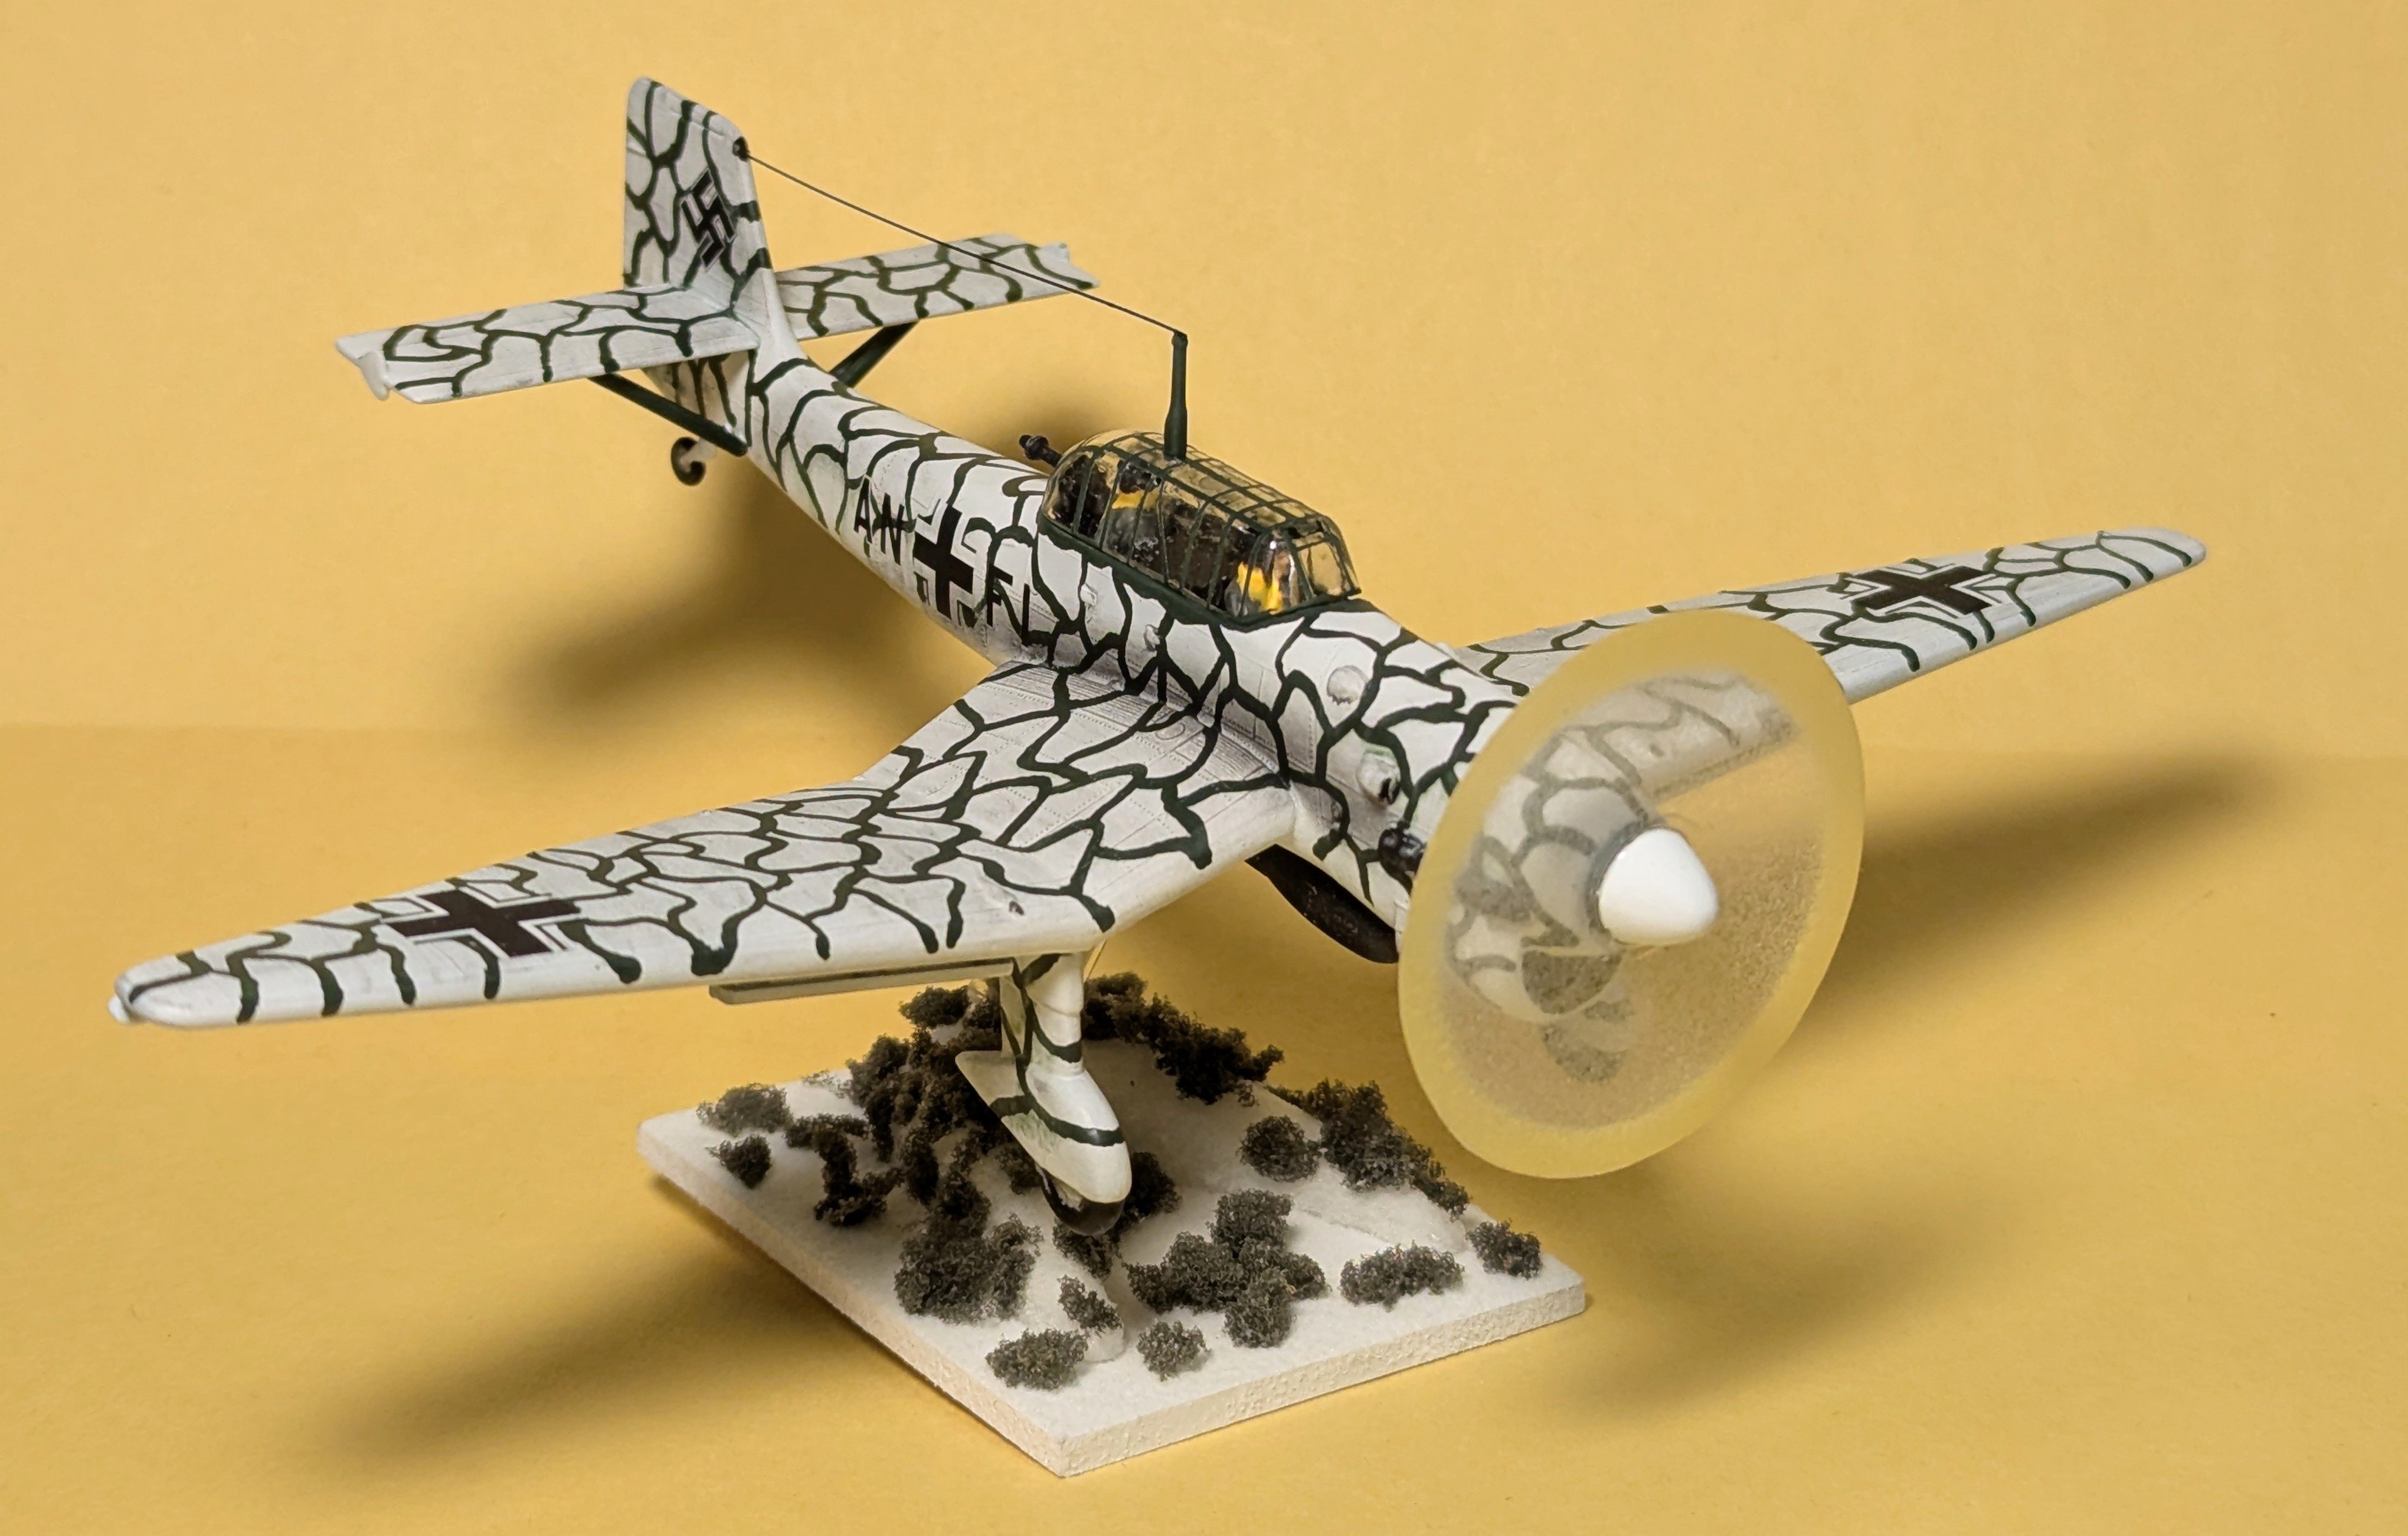
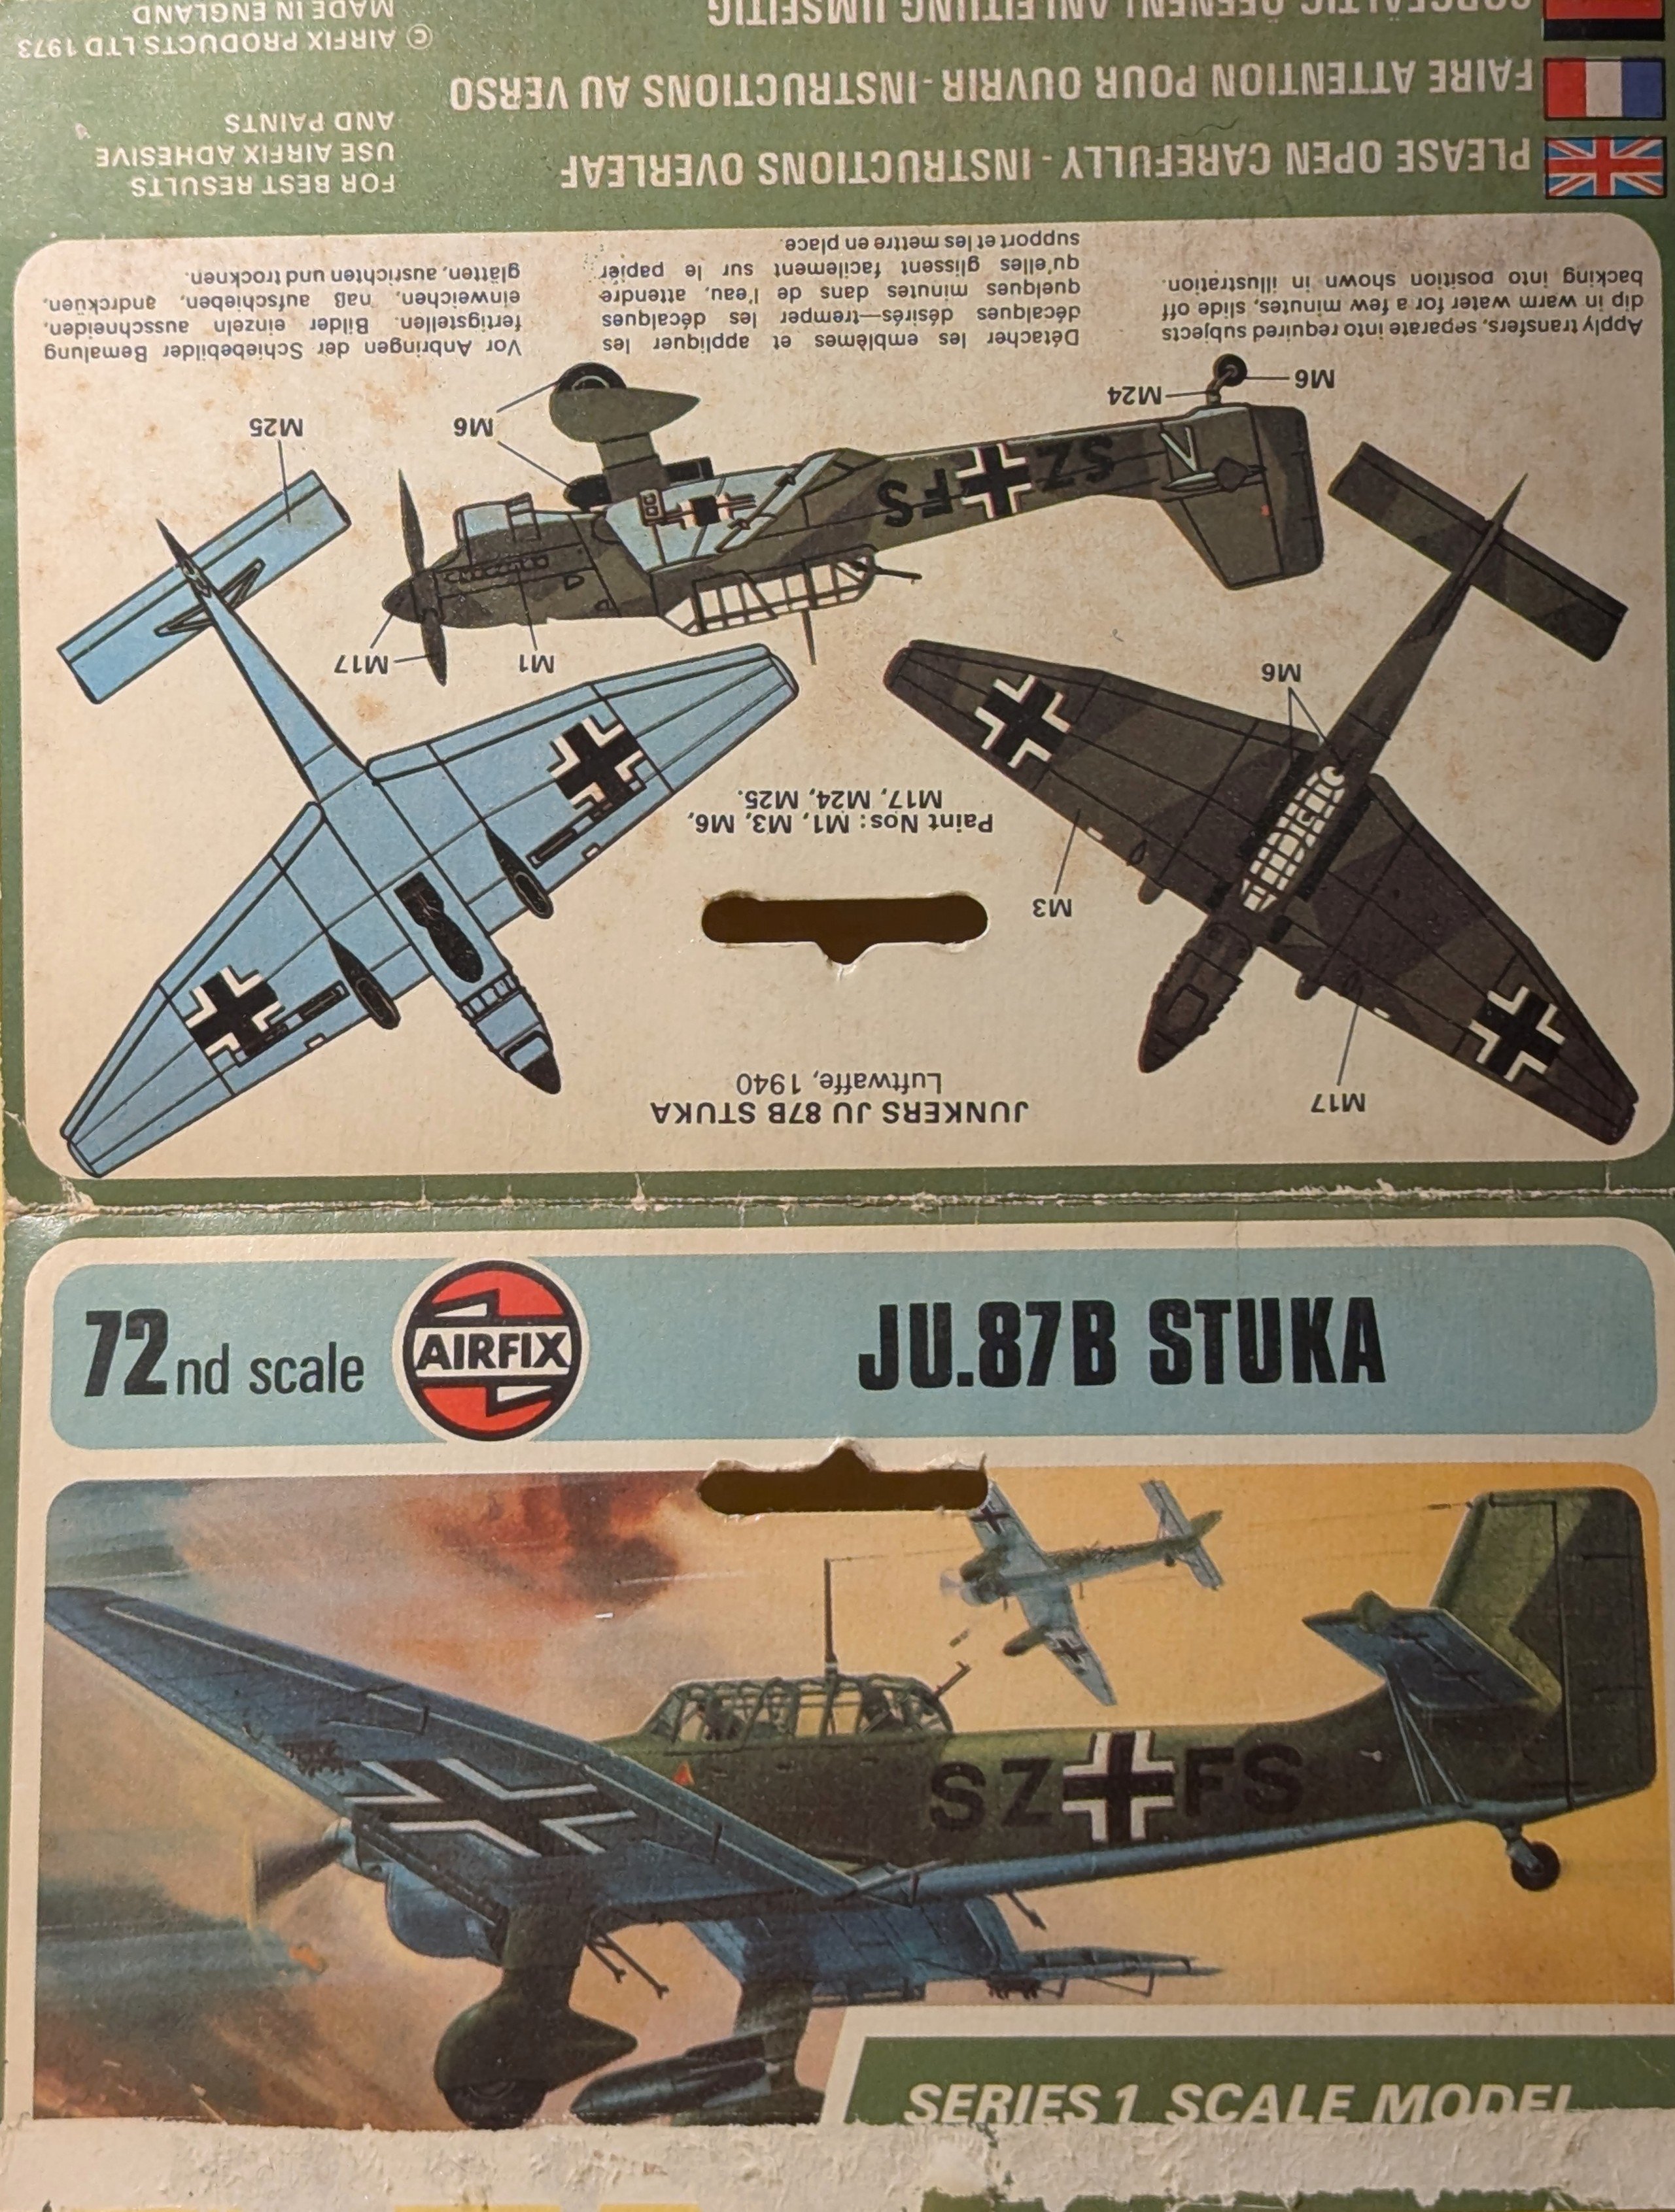
This is the 1973 release of Airfix's Ju-87 Stuka done in a winter camo scheme. It's OOTB with the exception of the prop disc. I also worked on the stand to make it look like frozen terrain from the air. Very basic kit, of course, but went together well with care. Decals were no good so those are after market ones.

-
Sharp paint job. At least it isn't natural metal, eh?
-
Plus, by shrinking the area, you should get better suction in the remaining holes, no?
-
Many denigrate Matchbox kits as overly simple and toylike. For the aircraft ones they add in overly done panel lines. However, there must have been a different sort of designer that worked on their biplane kits 'cause they are pretty nice. Well engineered, they go together easily and as the Brits say they "look the part". Maybe not the most detailed, but pleasing to the eye. Plus they did kits of subjects other companies wouldn't touch such as the Stranraer and Heyford and this one, the Siskin. It's OOTB and the rigging is stretched sprue.
-
For comparison, here's the Thor.
-
This is Glencoe's rerelease of the 1958 Adams Vanguard rocket kit. The launch pad and 'crew' are identical to those in their Thor missile kit. The difference here is in the addition of the tower and the actual missile itself. The launch pad and tower are full of mold seams that need to be removed and you have to make sure everything fits before you paint it. The tower was pretty fiddly as it is in 11 pieces and the instructions aren't the clearest. But with care it actually went together rather easily. However, to get the inside painted, you need to paint the parts first before assembly, contrary to my usual practice. The decals went on nicely, but the color scheme is problematic. They give you decals for six different missiles and each one has a different scheme illustrated on the back of the box. The odd thing is that the colors called out in the instructions do not match any of these. Only 11 Vanguards were produced in reality, so I took some liberty and used the instruction colors to make one of the later missiles. In a brief interweb search I actually did find one photo of these colors in use, so I don't feel too bad. The launch pad and the one officer figure are fixed to the base, which I made, but the missile and tower are not to facilitate possible moving or storage. There should be some cables between the tower and the rocket but I couldn't put them in place and keep the rocket and tower removable so you'll have to use your imagination.
-
Where did you get the airfoil strip stock? I have some really old stuff I'm hoarding but can't find any new supplier. I've used aluminum stuff but it doesn't come in smaller sizes.
-
On the Neptunes equipped with skis, did they retain the landing well doors or were they removed? I've seen photos that suggest they were removed but they aren't great so I'm not sure.
-
It was not an easy kit to get together as i recall. Many seams/gaps because there were so many removable parts. Plus big seams on that main fuel tank. I did mine as a "what if"...
-

Making models in the barracks - Virginia
Ron Bell replied to TJNavyAG's topic in Welcome to the Forum!
Wow. That is so far and above what I had back in 70 in WW II barracks in Monterey, CA. We had two bunks in a cubicle with a small desk in-between and each of us had one of those lockers like you had in high school. Still, I managed to get a few models done, but none of them survived transit to my next base, nor should they have. Good on you for keeping on. -
Maddog Manufacturing Opening for 2026
Ron Bell replied to Mark Deliduka's topic in Photos: On the Bench
Duke, I will say that your interest are wide and varied and your ambition boundless. Keep on keepin' on. -
You are getting ambitious in your golden years! I had the Esoterica vacform model of this and just never got around to building it. So far yours is looking good, Keep us posted.
-
Welcome aboard. There's much to see and learn on this board and don't be afraid to show your work.