Leaderboard


Popular Content
Showing content with the highest reputation on 01/31/2021 in all areas
-
Very nice job. Keep on building those models. Have a nice day. David Von Almen, Gentleman Modeler in Paradise2 points
-
This week the diorama base for the Stuka is being built up. The base is a 16” diameter, 1/8” thick maple base. I started by painting the base with forest green and dirt tan in patches. Using the Scene-O-Rama accessories the base was sprayed with spray glue and sprinkled with the medium green and dark green “grass”. I then added some “weed clumps” and added some “yellow flower” spots on the weeds. A sheet of thin styrene was then trimmed to fit one edge to be part of the runway. I used medium gravel to trim the edge of the runway and sprinkled a few “rocks” around the base. The area where the aircraft and vehicles sit was then scraped to show bare spots. I then assembled the Kettenkraftrad. I painted it the dark green with leather seats. It was then weathered using black, dark gray, light gray, and mud brown pastel chalk. Once the vehicles and aircraft are mounted on the base I will add bits of grass and dirt to the wheels and tracks. I was looking over the figures and one of them shows a mechanic kneeling holding a tool. With the height of the aircraft engine off the ground I searched the internet and located a few photos of Stuka’s being worked on. They all show a maintenance platform with a sandbag keeping the wheels stable. Using the photos I scaled out the size of the platform. I then used styrene rods to make up the frame and sheet styrene for the steps and platform. I then scaled out the wheels and sandbag. These were then put into Solidworks and finally 3-D printed. The platform was then painted medium gray and weathered. I then built up a couple of jerry cans and fuel drums to add to the display. Next I will be working on all the figures that will be used. You can see all the photos and details from the start in my build log at https://davidsscalemodels.com/build-log/1-48-ju-87b-1-stuka/2 points
-
Well, despite many issues and setbacks, as well as a delay from spending time with Family in Florida, I managed to pull these seven armor models over the finish line; just squeaking them in before February hit. Here they are in no particular order. All of these are in 1/72 scale.... of course. S-Models M5 Stuart light tank: This was done in fictitious markings due to losing the original kit decals. Gonna have to find them if I plan on building the second one in this kit and make it French. Airfix M551 Sheridan light tank in Fort Knox Armor School markings: This one can also be classified as a Shelf Queen finally completed as I started this at least two or three years ago. S-Models Australian Turreted M-113 APC: I love the Snoopy on this one. Trumpeter Russian BTR-70 Early: This vehicle wasn't a Guards vehicle originally, but I decided to take some creative liberties and promote it to a Guards vehicle. Trumpeter BTR-70 Late: ACE Ukrainian BTR-3K Anti-tank Vehicle: This one has the digital camouflage decals. They were quite easy to put on, easier than some of the assembly I had to do. And finally my Dragon/Corporal Overby Conversion kitbash of the Israeli M-51 Sherman: This one gave me extreme difficulties when it came to getting the bogies glued in and lined up properly. You can see how difficult it was by how badly I failed. I also took a little liberty adding the .30 caliber machine gun to the turret. I figured the Israelis would have done that at least once. Okay, those are my first seven models finished for the year. They aren't the best I've done but they are done and on the shelf. Thanks for looking in, comments are always welcome.1 point
-
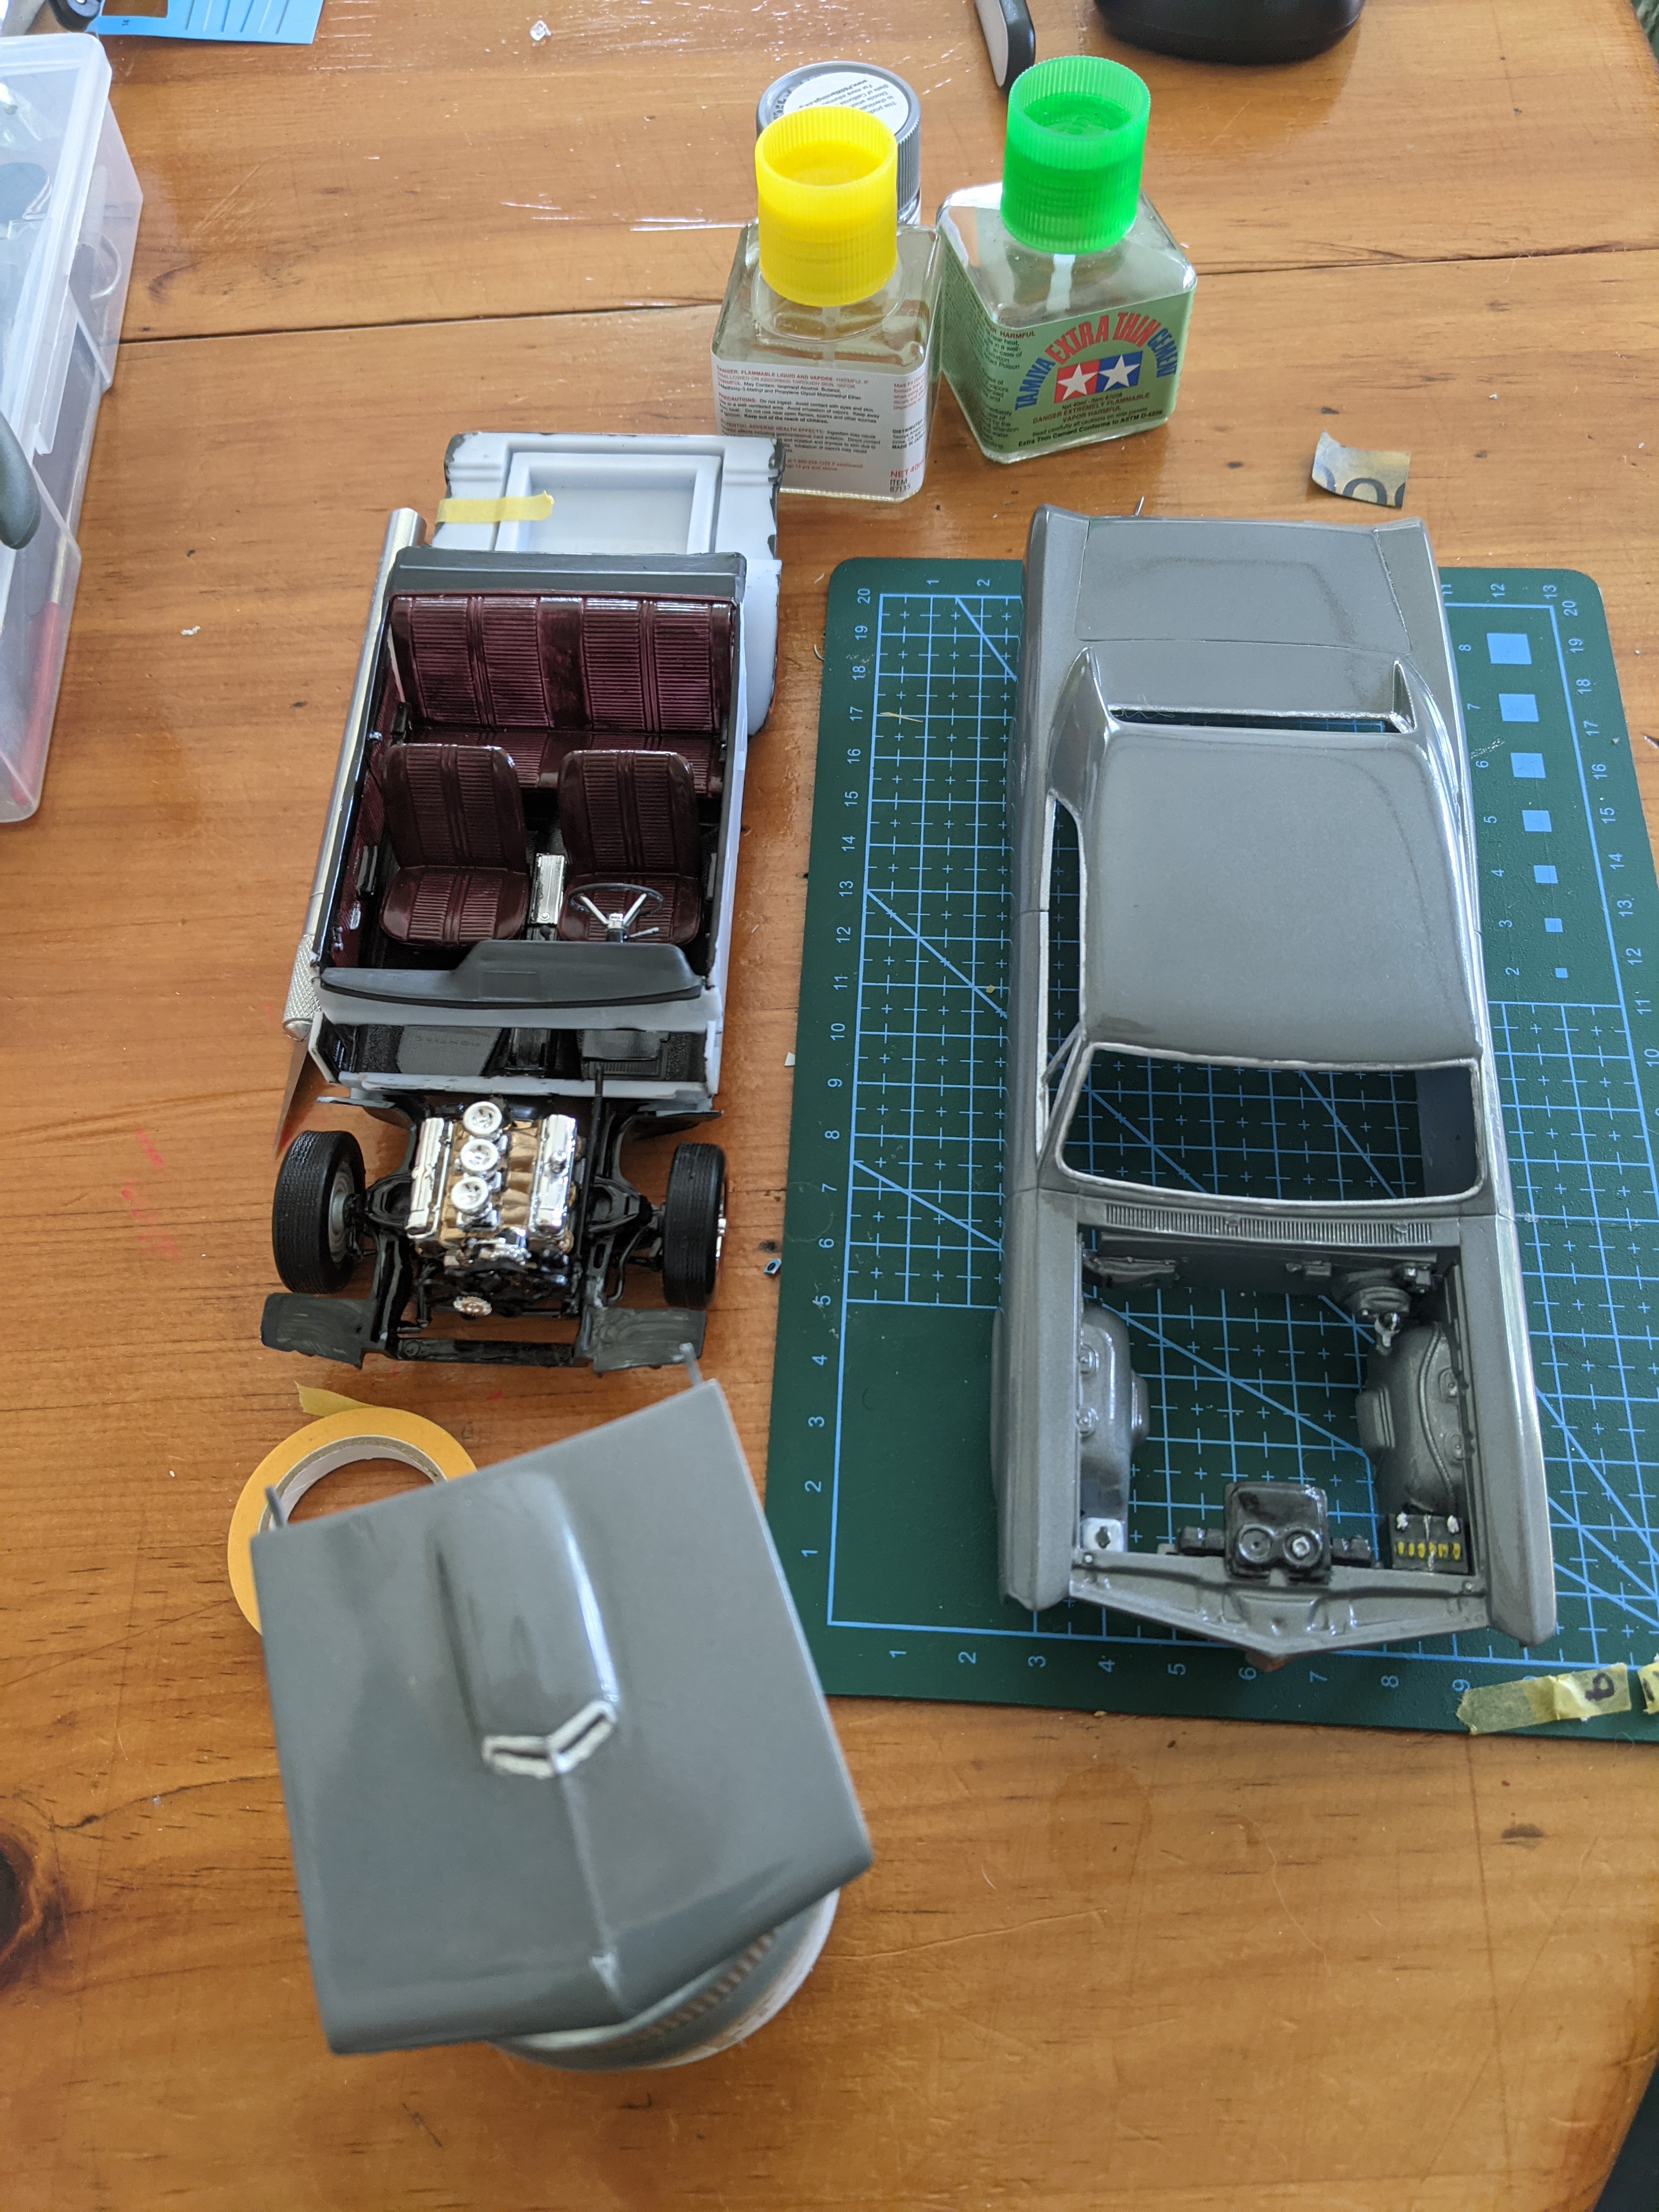
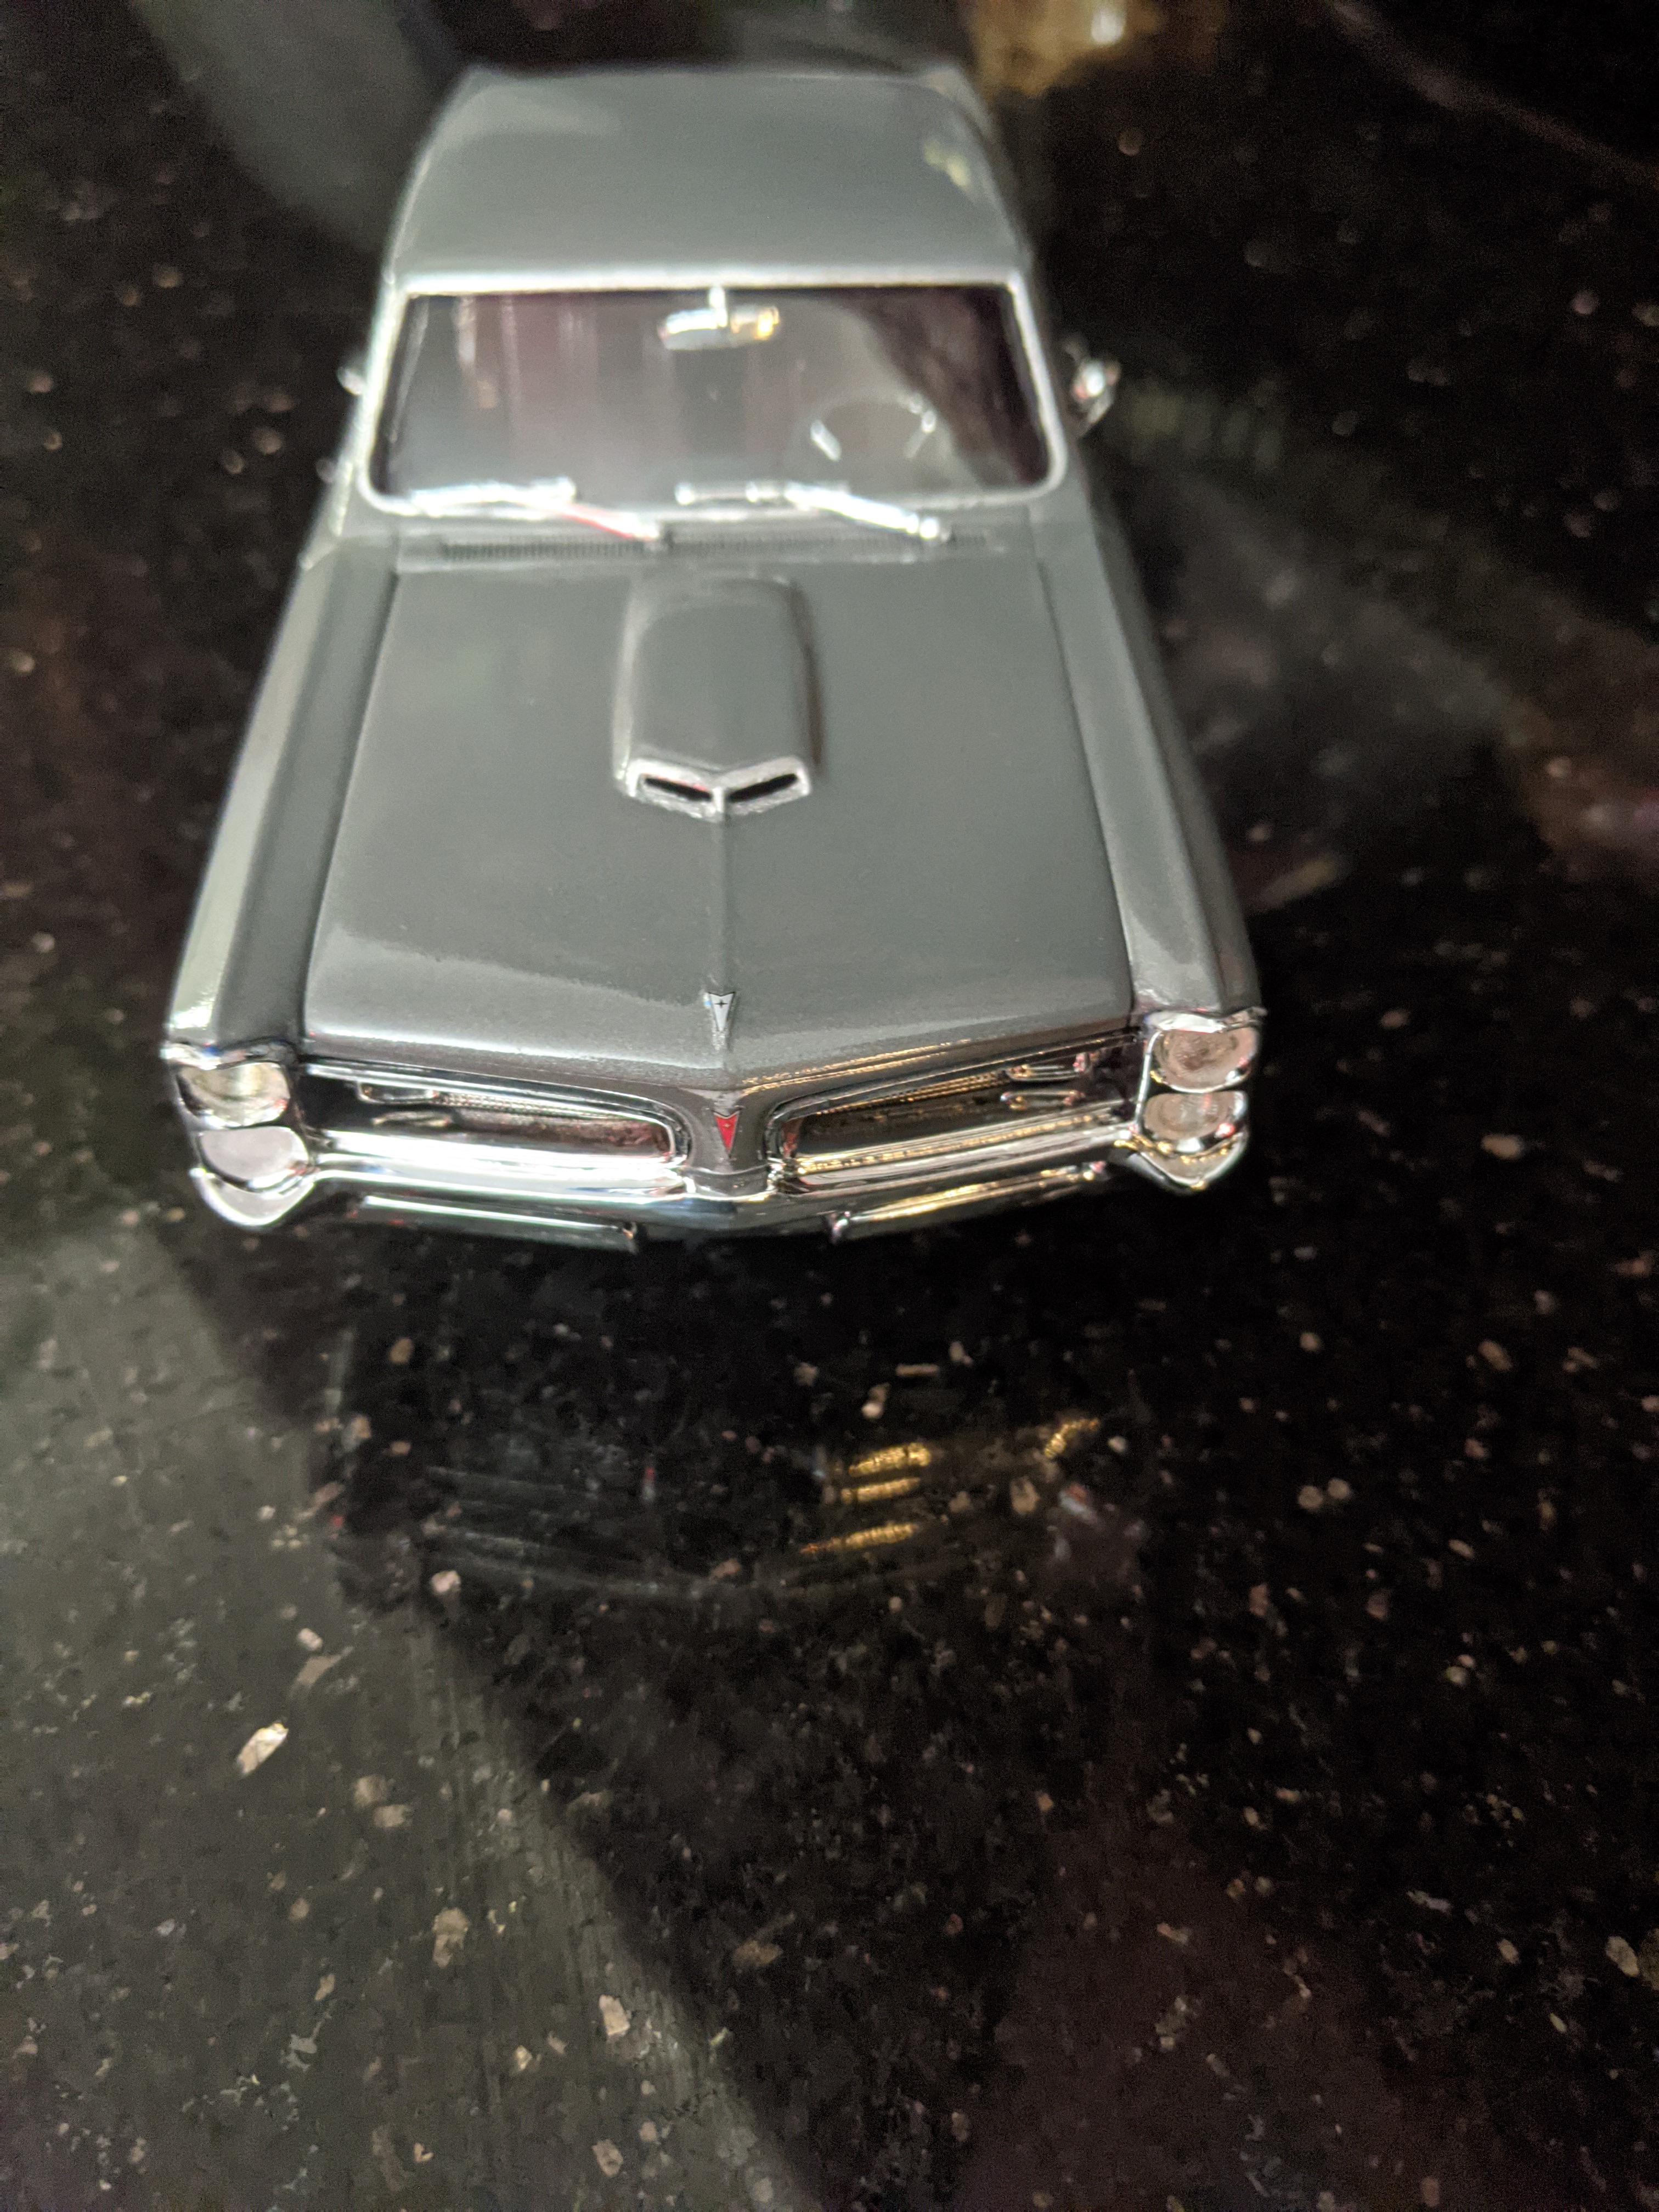
Got this kit for Christmas in 2019. I built it but was not happy with the paint job. It looked like I painted it with a crayon. So after my last project, I took it apart and sanded it down to body in white. Original paint job was Testors acrylic blue. The new color is 1 part Tamiya flat aluminum, 1 part Tamiya flat white, 1 part Tamiya nato black, and 1 part Tamiya thinner. The resulting color, which my wife approved, was compounded then waxed. I will include a pic of the original paint job.
 1 point
 -
Epic. so much to look at. It looks like you could turn the key and start it up! Did you scratch build the wiring for the plugs and the master cylinder tubes?1 point
-
I agree. Very, very nice. Never built the General but did like the TV show. Have a nice day. David Von Almen, Gentleman Modeler in Paradise1 point
-
1 point
-
1 point
-
My November/December 2020 issue arrived in the mail yesterday.1 point
-
Like most who have posted here, the Sept/Oct issue came in pretty much normal time. All I can suggest is patience. Between Covid-19, all the political furor and the postal service being overloaded with stimulus checks, we're about to the point of just being glad when anything shows up, no matter how long it takes! Case in point, there's a fascinating camera mount that I would love to have...and it's cheap, too. Only $35.00...but you order from the manufacturer in England and because they can't ship from England because of the lockdowns. Instead, they ship from their fulfillment center in China with a projected transit time of 25 days...which could end up being almost anything.1 point
-
Kapton tape is a polyimide tape. Typically used in electronics. I first found out about it many years ago. At work they used it for isolating sections of circuit boards that were used on a wave solder machine. The thing that is nice is it does not react to paint, thinners or glues, the silicone adhesive leaves no residue and the edges seal very well so no bleed thru. The polyimide nature also allows a little bit of stretch for curves. You can buy a pack with a variety of widths on Amazon https://www.amazon.com/ELEGOO-Polyimide-Temperature-Resistant-Multi-Sized/dp/B072Z92QZ2/ref=sr_1_1_sspa?crid=1VE1BPJ6EZHAB&dchild=1&keywords=kapton+tape&qid=1610916519&s=industrial&sprefix=Kapton%2Cindustrial%2C192&sr=1-1-spons&psc=1&spLa=ZW5jcnlwdGVkUXVhbGlmaWVyPUEyUFRRUTFLRUZCT1M2JmVuY3J5cHRlZElkPUEwNDM3Njk3TE9MRjAzUDNWWEJBJmVuY3J5cHRlZEFkSWQ9QTA0MTAzNjExMUFEMDc2SFNMTVVVJndpZGdldE5hbWU9c3BfYXRmJmFjdGlvbj1jbGlja1JlZGlyZWN0JmRvTm90TG9nQ2xpY2s9dHJ1ZQ== Here is the center canopy of a SB2U masked off. It trims easily. I put one large piece over the side and used a #11 hobby blade to trim it. Once trimmed I use a toothpick to press down on the edges. Since it is translucent, you can see where it is "sealed" on the edges. After painting just use a hobby knife or toothpick to lift the corner and peel it off. And here it is after painting Here is the masked off canopy of the UH-60L and after painting I even used it for the top and side windows on my 1/48 E-2D to replicate the gold tint of them. (Taped the inside of the windows.) I find it easier than even the pre-cut masks. I even used for all my masking on models. (stripes, camoflauges, etc.) I have even used it to make navigation lights by placing a dot of acrylic gel onto the backside of the tape. Once dry it just peels off the tape and you have a round navigation light.1 point