Leaderboard


Popular Content
Showing content with the highest reputation on 12/09/2022 in all areas
-
Because it is asked in the "About the IPMS/USA National Convention" sub forum? And the restaurant is less than a mile from the 2023 convention hotel?3 points
-
For the fourth week I built up and detailed the starboard side avionics bay. I used 32 awg wire for cables and made some more nameplate decals for the equipment. This completes the avionics. I then started on the intake and nose gear bay. First, the intake trunk was filled with some very bad mold marks. These needed to be sanded, filled with putty, and then sanded smooth. For the nose gear bay I added some photo etch panels from my PE scrap drawer for the two ends. On the aft end I made a box to house the LED for the Angle Of Attack (AOA) lights. This is the small panel that sits on the gear bay door. These were shown in week 2 (Incorrectly named recognition lights). The final sub-assembly that needs to be done so I can put the fuselage together is the exhaust can. Again the can was filled with large deep mold marks that require a lot of putty. Once these were filled the exhaust was assembled and painted. It was then weathered using pastel chalk. I used black, dark gray, light gray, blue and rusty brown inside and out. Next I will be detailing the fuselage around the cockpit area and the exhaust then I can start routing the wiring. More details and photos can be seen from the start in my build log at https://davidsscalemodels.com/1-32-a-7e-corsair-ii-va-37-the-bulls/1 point
-
What, may I ask, does this subject have to do with plastic models or IPMS??1 point
-
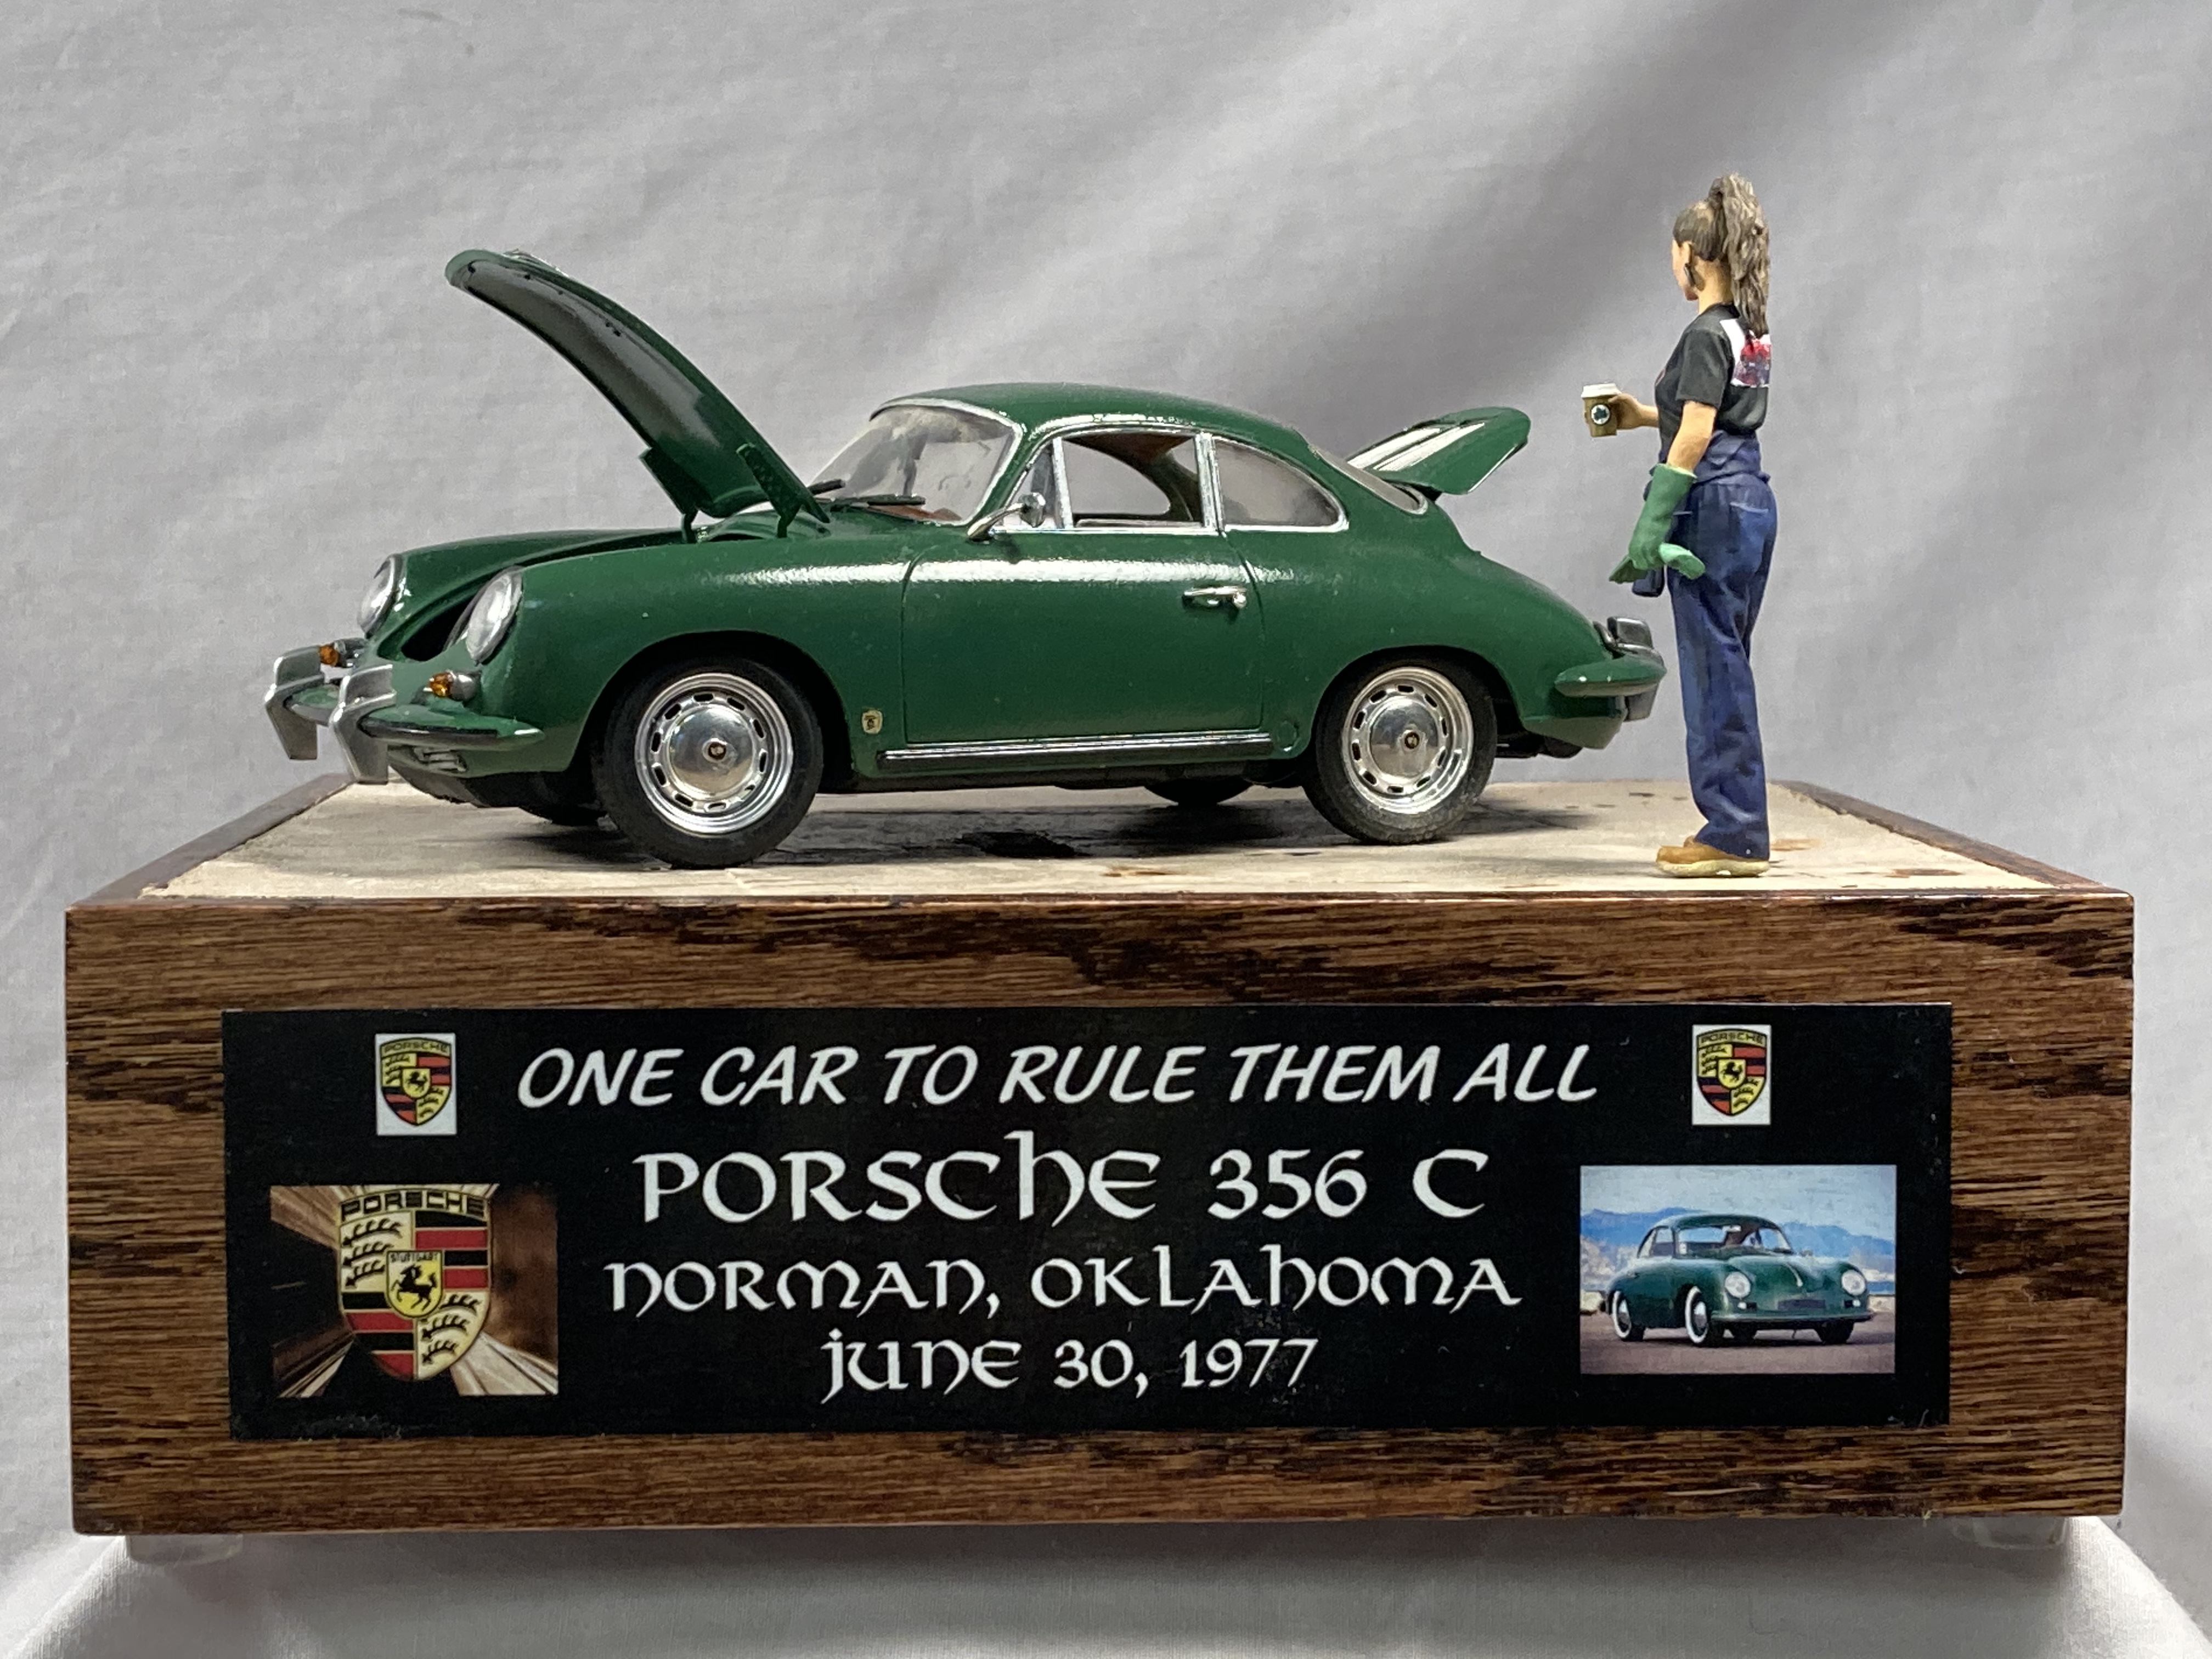
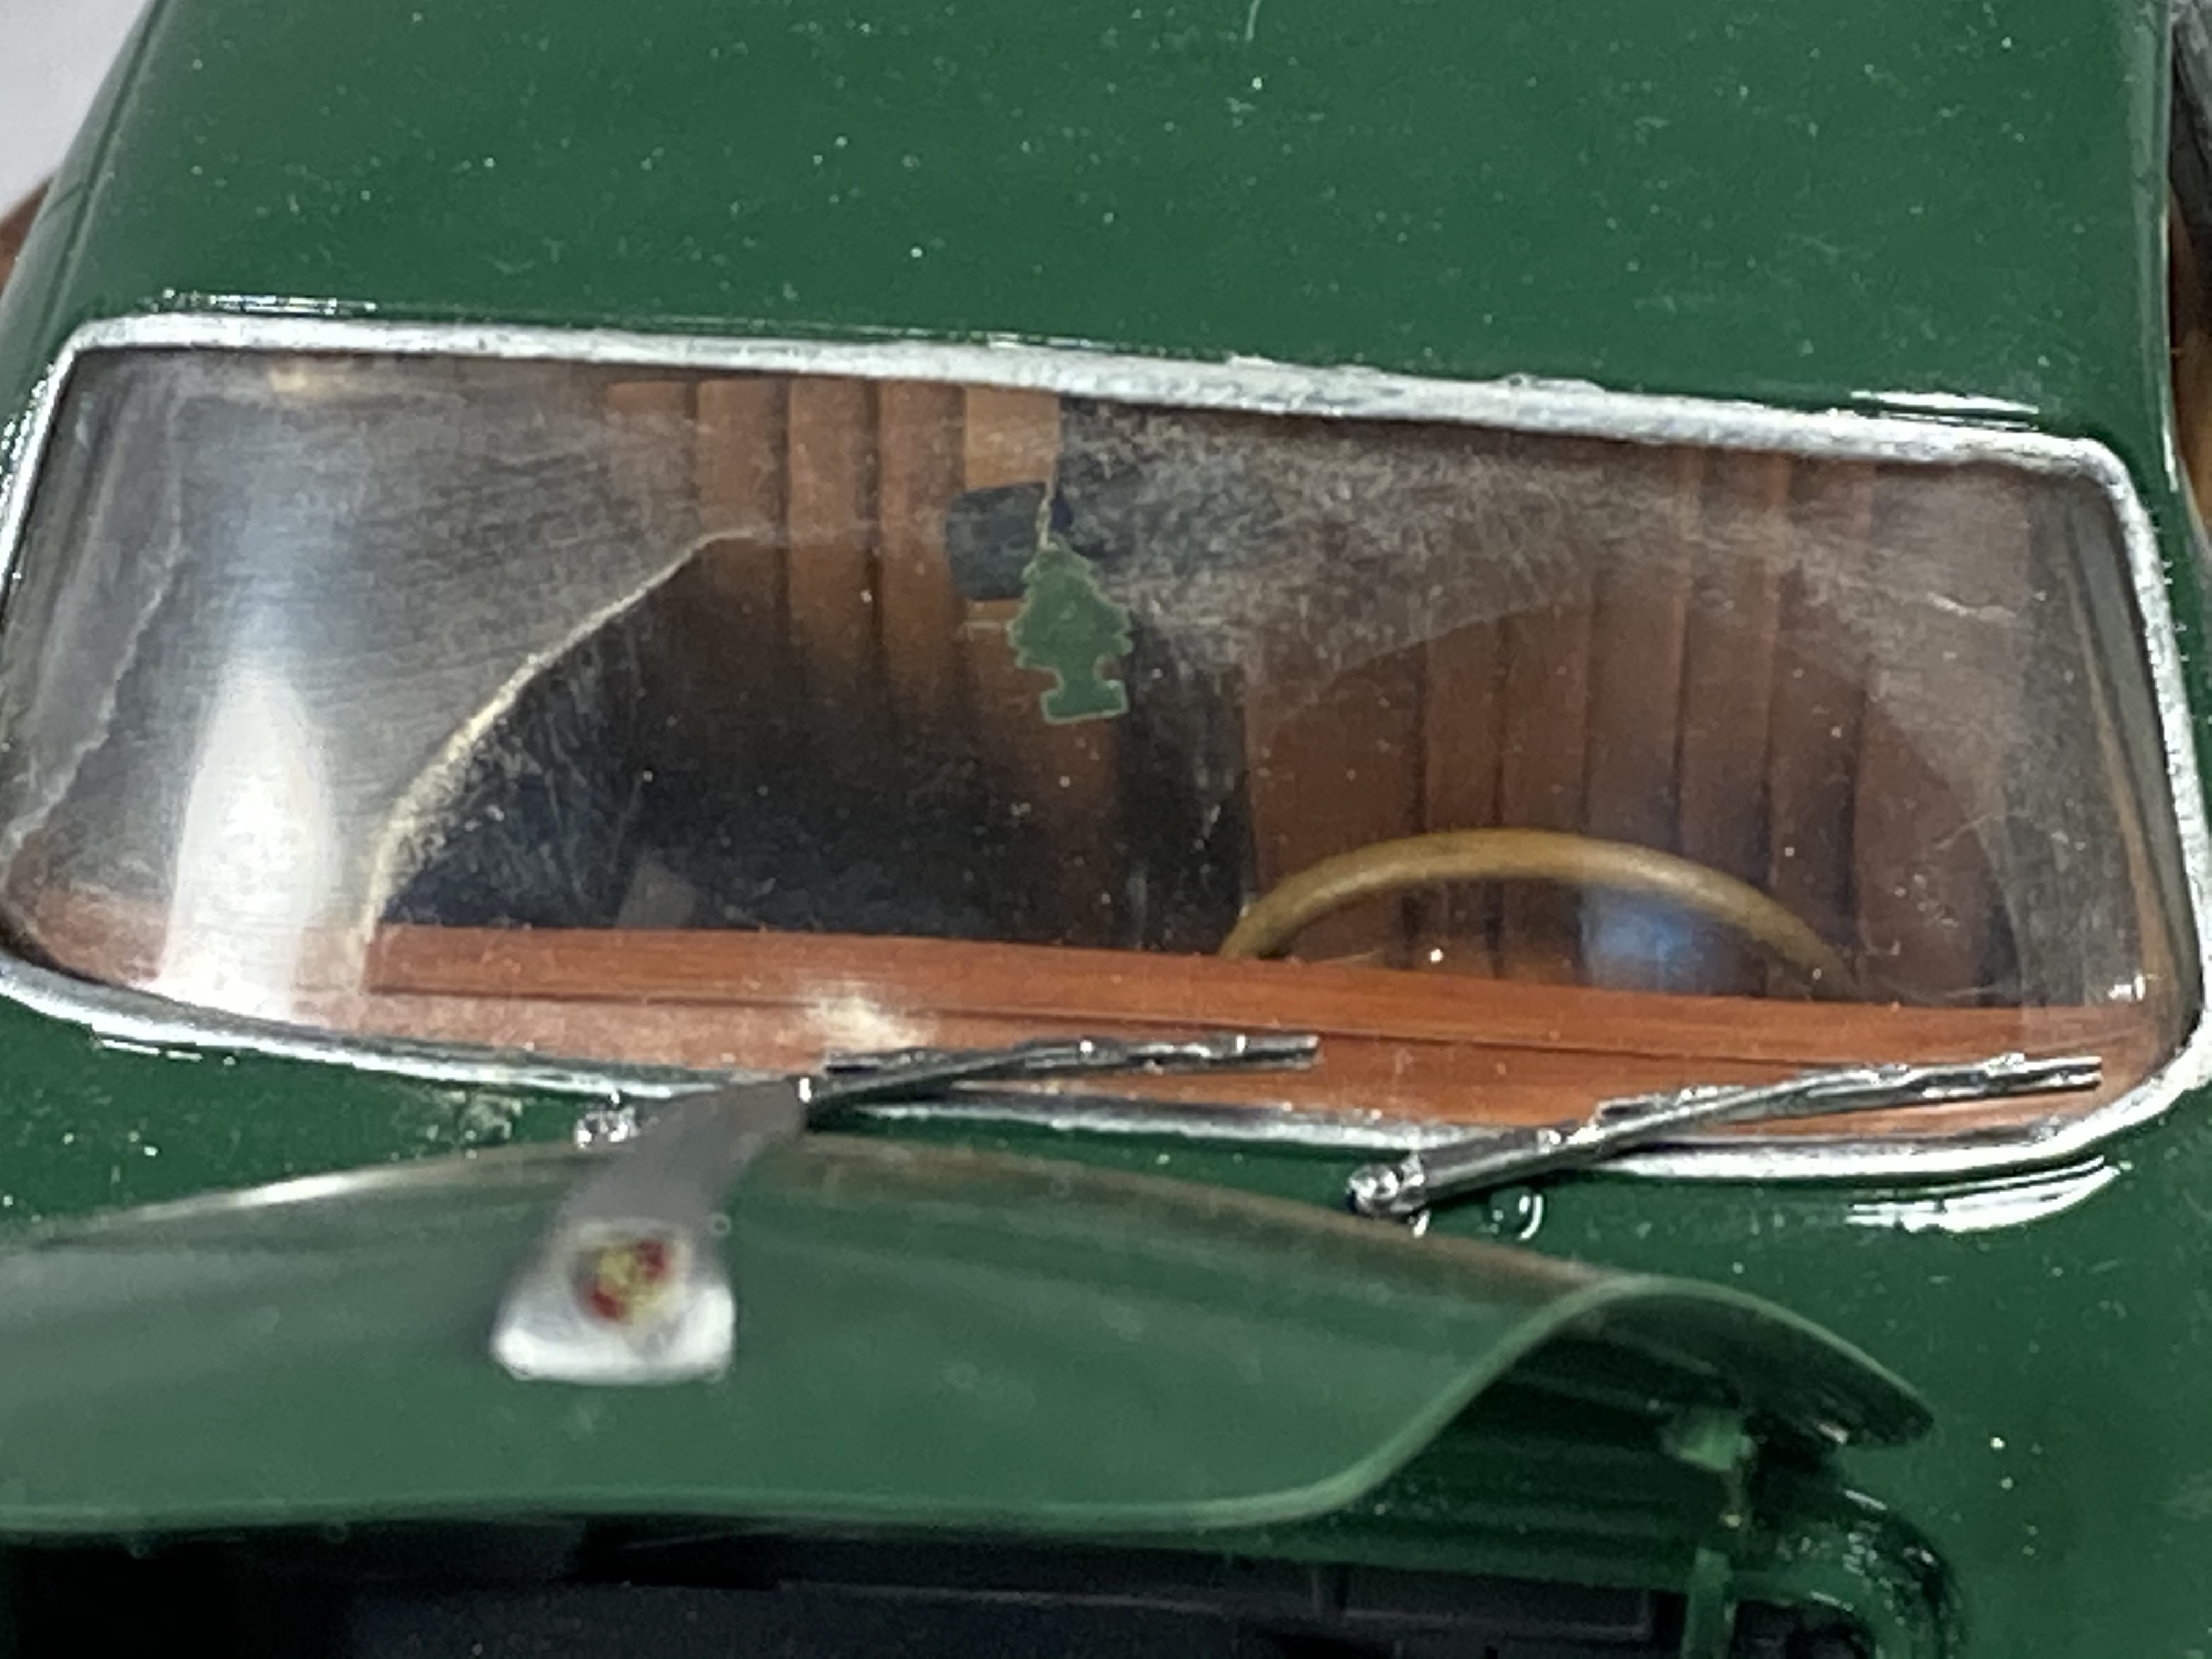
This is the Fujimi 1/24th kit. I had started it back in 1986 and only got as far as starting to paint the body. I found it in the garage stash last month and decided to finish it. Added some Porsche manuals to the interior along with keys in the ignition and an air freshener. The figure is from DEF. The kit does not live up to how good it looks in the box Dak
 1 point