All Activity
- Past hour
-
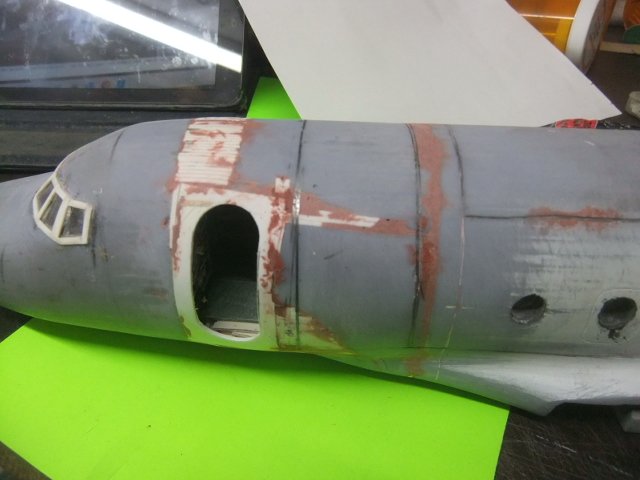
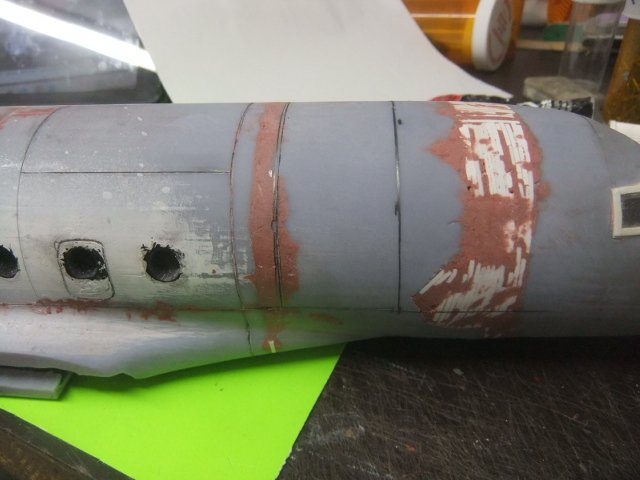
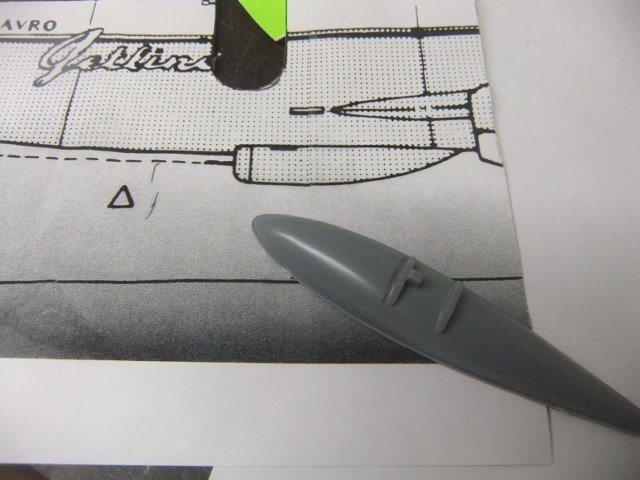
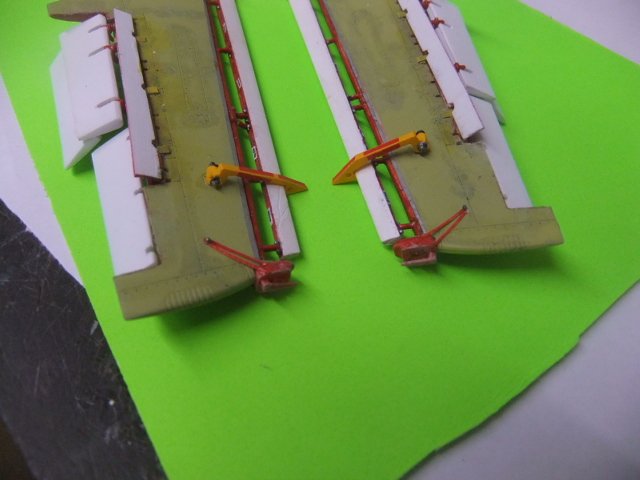
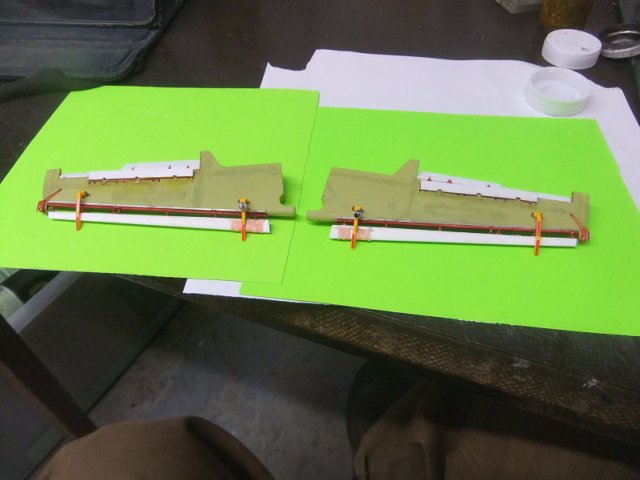
Thanks for following the WIP on this project , it's quite appreciated !, here the latest update AVRO C.102 JETLINER (3D +SCRATCH) (JUL 13th ) Today , I sanded the work done last time, start ingraving the front section and finally started the work on the airframe intake ! If you like to view the complete WIP on this project , just follow this Google link : https://photos.app.goo.gl/uvk6ymGqZHgpWDaR9 If you like to view what I have completed so far on the AVRO CANADA project , I have set up an GOOGLE page for them , here the link: https://photos.app.goo.gl/FpZs5m3ic3c3eL329 Enjoy and it's an 'rendez-vous' next week for more on this particular project..!. Jmarc

-
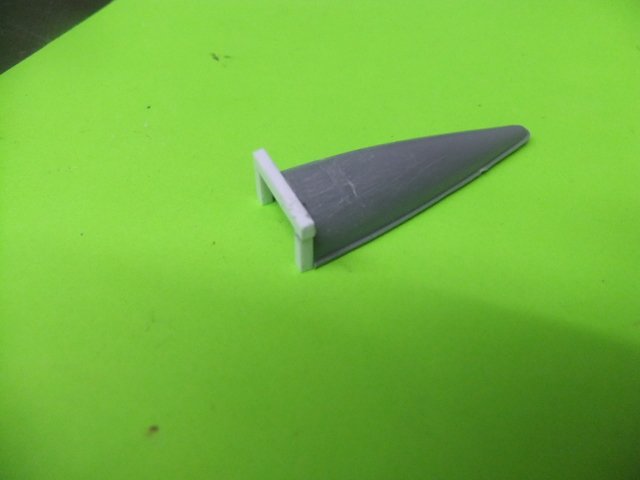
Thank you for following the 'WIP' on this project ,it's quite appreciated ! (JUL 13th)...Today I completed the wing tips ! f you like to see the complete WIP on this project , just follow this Google link : https://photos.app.goo.gl/1W6Eu6c7EvJeyLGT6 If you are curious and like to view the SCI-FI kits I have done in the past ,just follow this link : https://photos.app.goo.gl/D2FAQcJCoNhHNjkdA Enjoy ! jmarc
-
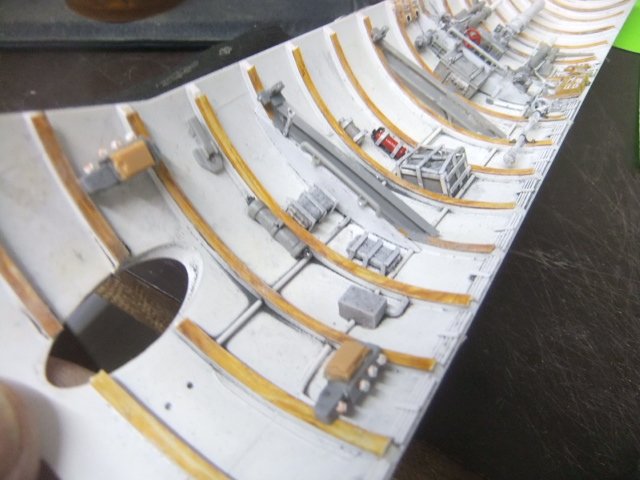
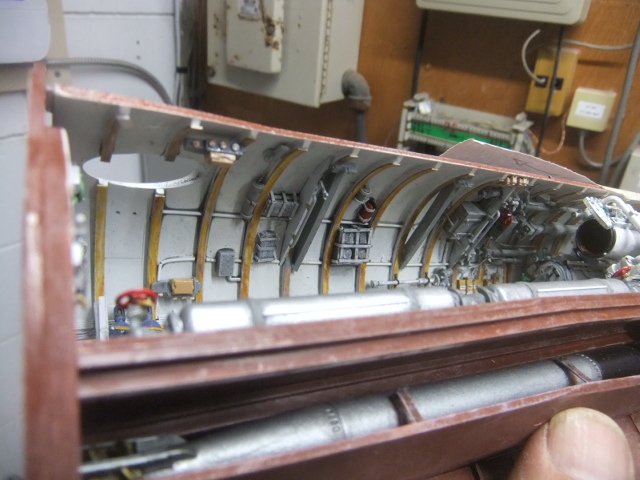
First I'd like to thank you for following this WIP it's quite appreciated ! TRUMPETER 1/48 GERMAN SUBMARINE TYPE VIIc (JUL 13th)...Today I continue working on the ceiling details ! If you like to see the complete WIP on this project , just follow this Google link : https://photos.app.goo.gl/EZKenssCafCXix326 If you are curious and like to view the other WWII GERMAN sub I have done in 1/48 , just follow this link : https://photos.app.goo.gl/BcwASAzLsZRq5mQf7 Enjoy ! jmarc
-
First I'd like to thank you for following this post ,it's quite appreciated ! BOEING INCITUS MQ-27 / CU-169 SCAN EAGLE 1/48 ( 3dPRINTED +ADDITIONS) (JUL 13th ) Today I continue adding the last details ! If you like to view the complete WIP on this project , just follow this Google link : https://photos.app.goo.gl/jrWyBiNZSJHCUknZ9 If you like to view all the DRONES I have done so far in 1/48 , just follow this link: https://photos.app.goo.gl/mjGm69hDKYaDuFNX6 Enjoy ! Jmarc
-
First I'd like to thank you for following this post , it's quite appreciated ! 1/48 LOCKHEED T-33 SILVER STAR (TESTOR) (JUL 13th ) Today I start working on the connection cable ! If you like to follow the complete WIP on this project , I have set up an GOOGLE page, just follow this link .. https://photos.app.goo.gl/mCtpo97pwYCFaYE39 If you like to view the complete STASH PARTS done so far ,just followthis GOOGLE link .. https://photos.app.goo.gl/NtNSgh1zJgx9jRSx5 Enjoy ! Jmarc
- Today
-
That addresses question one. What about an elevator? That is not addressed on the website, which is why I have asked here.
-
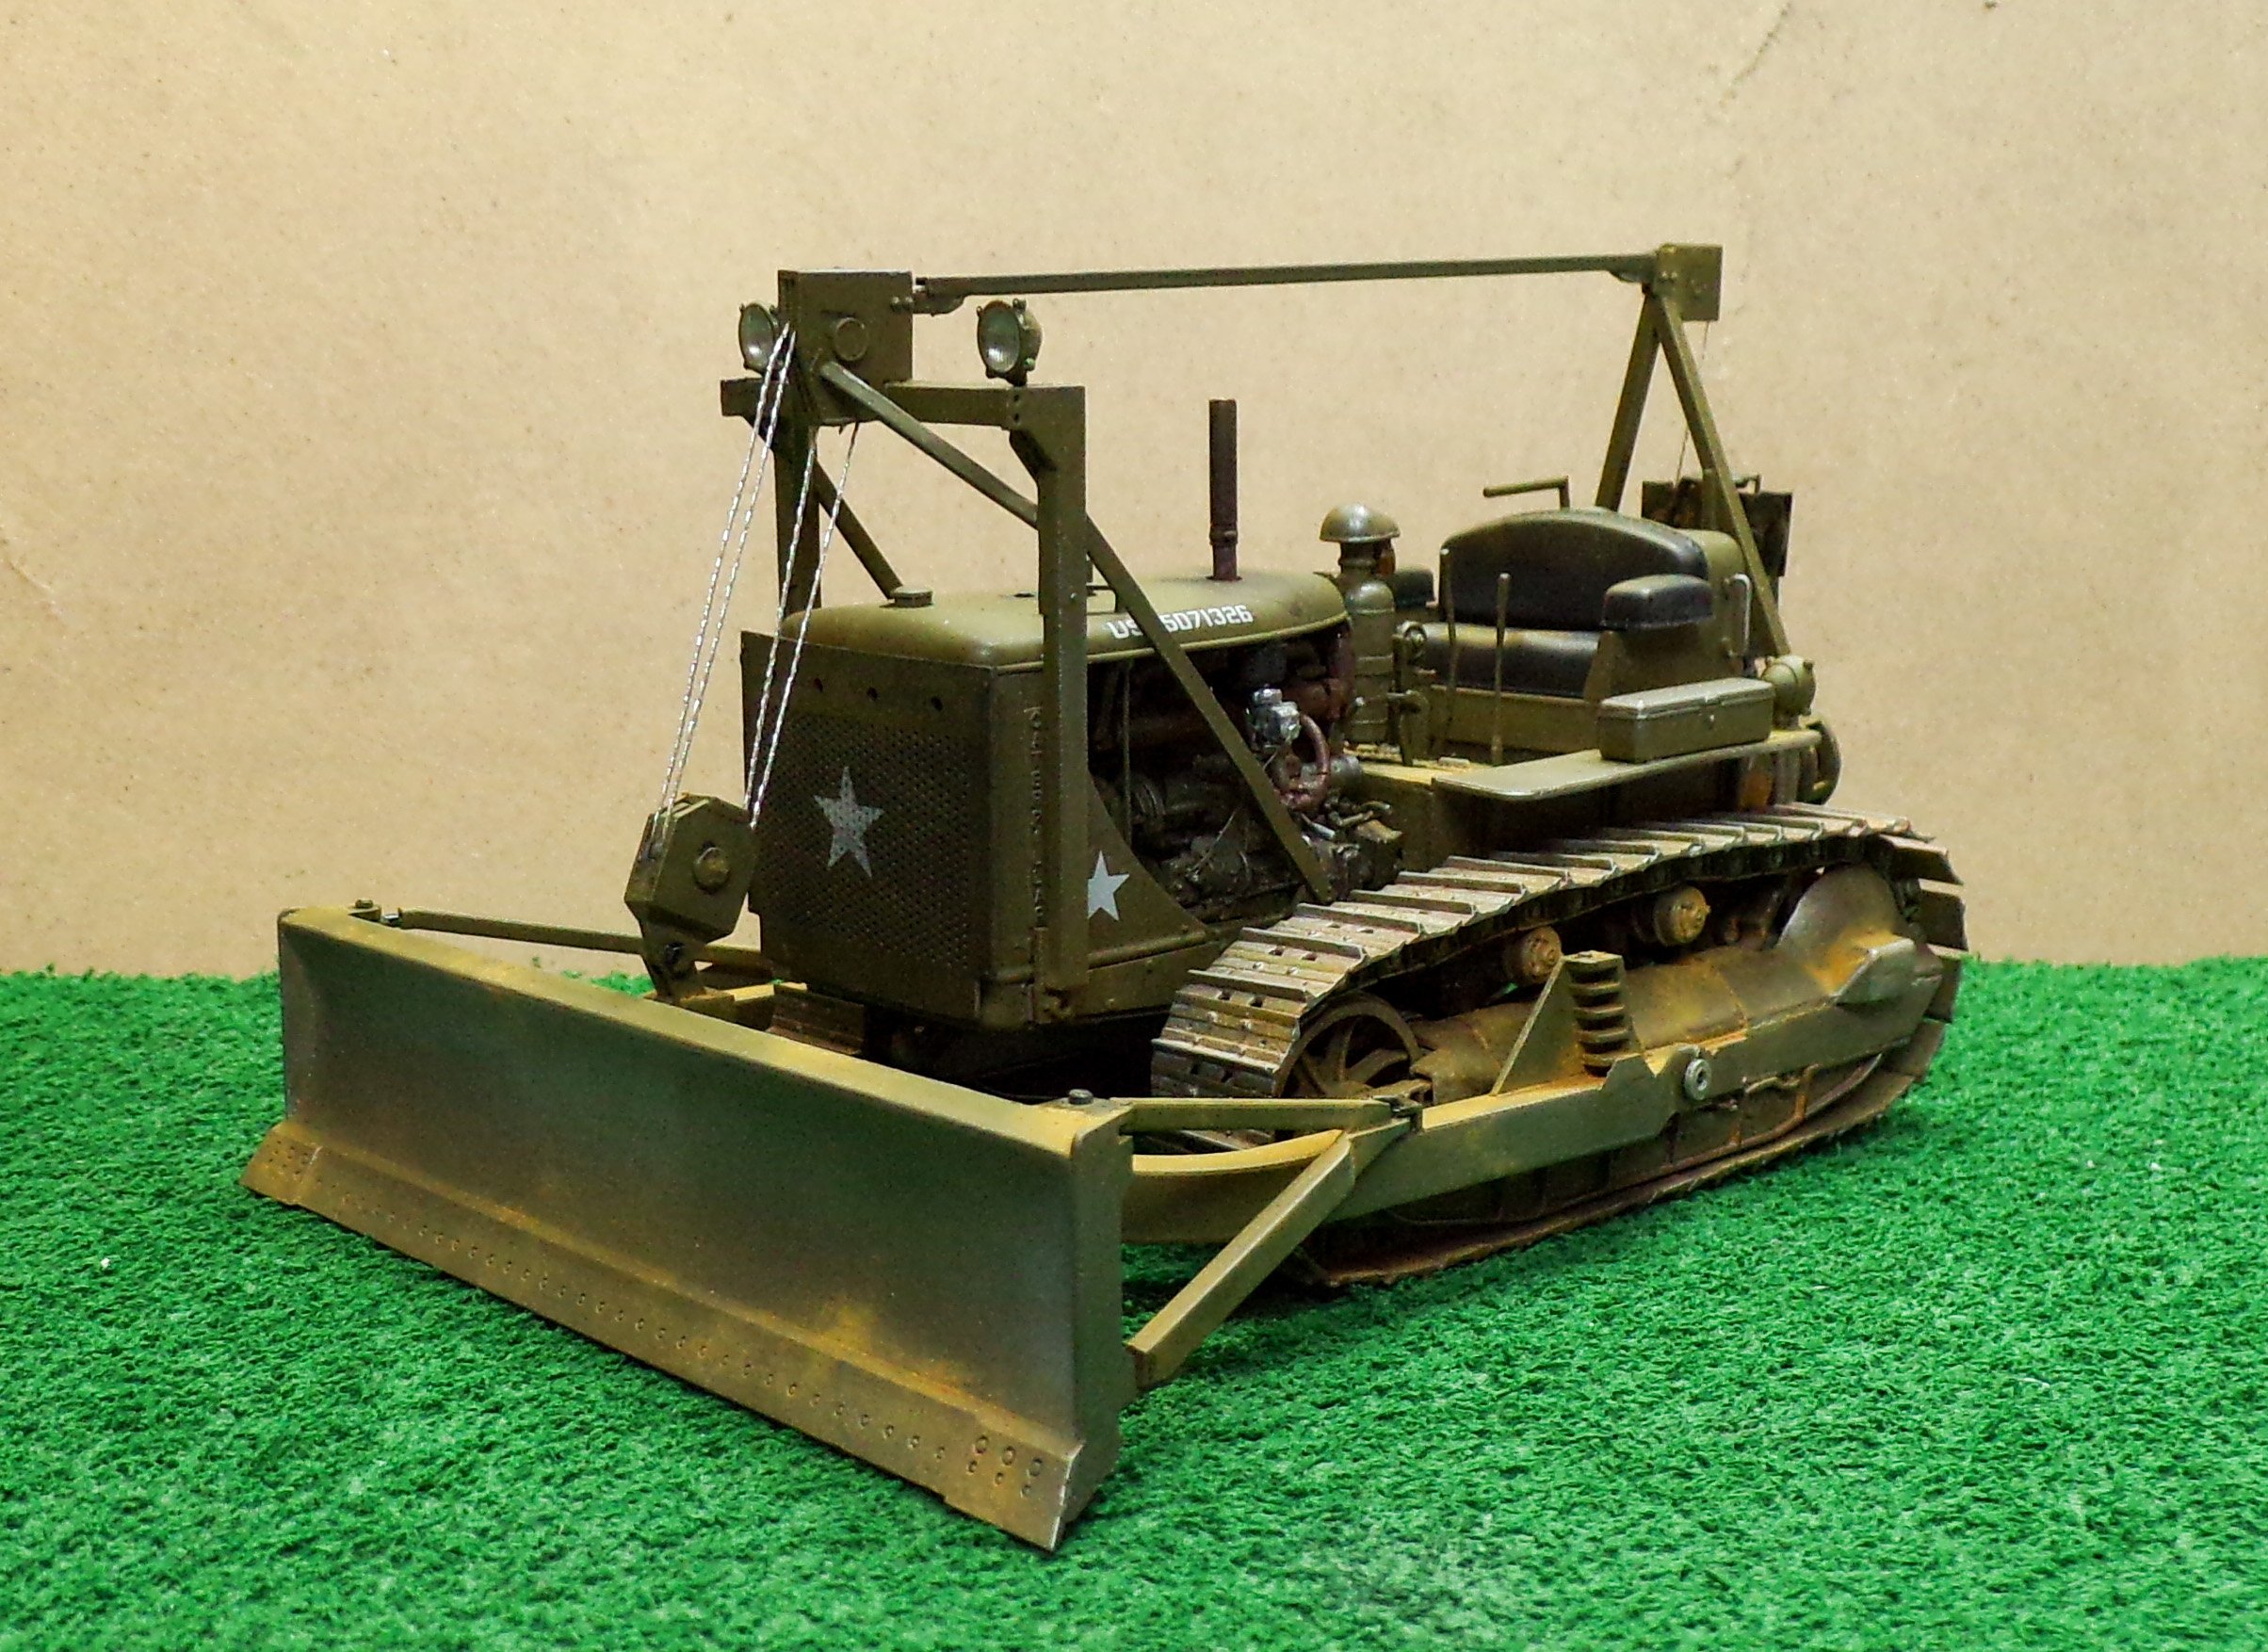
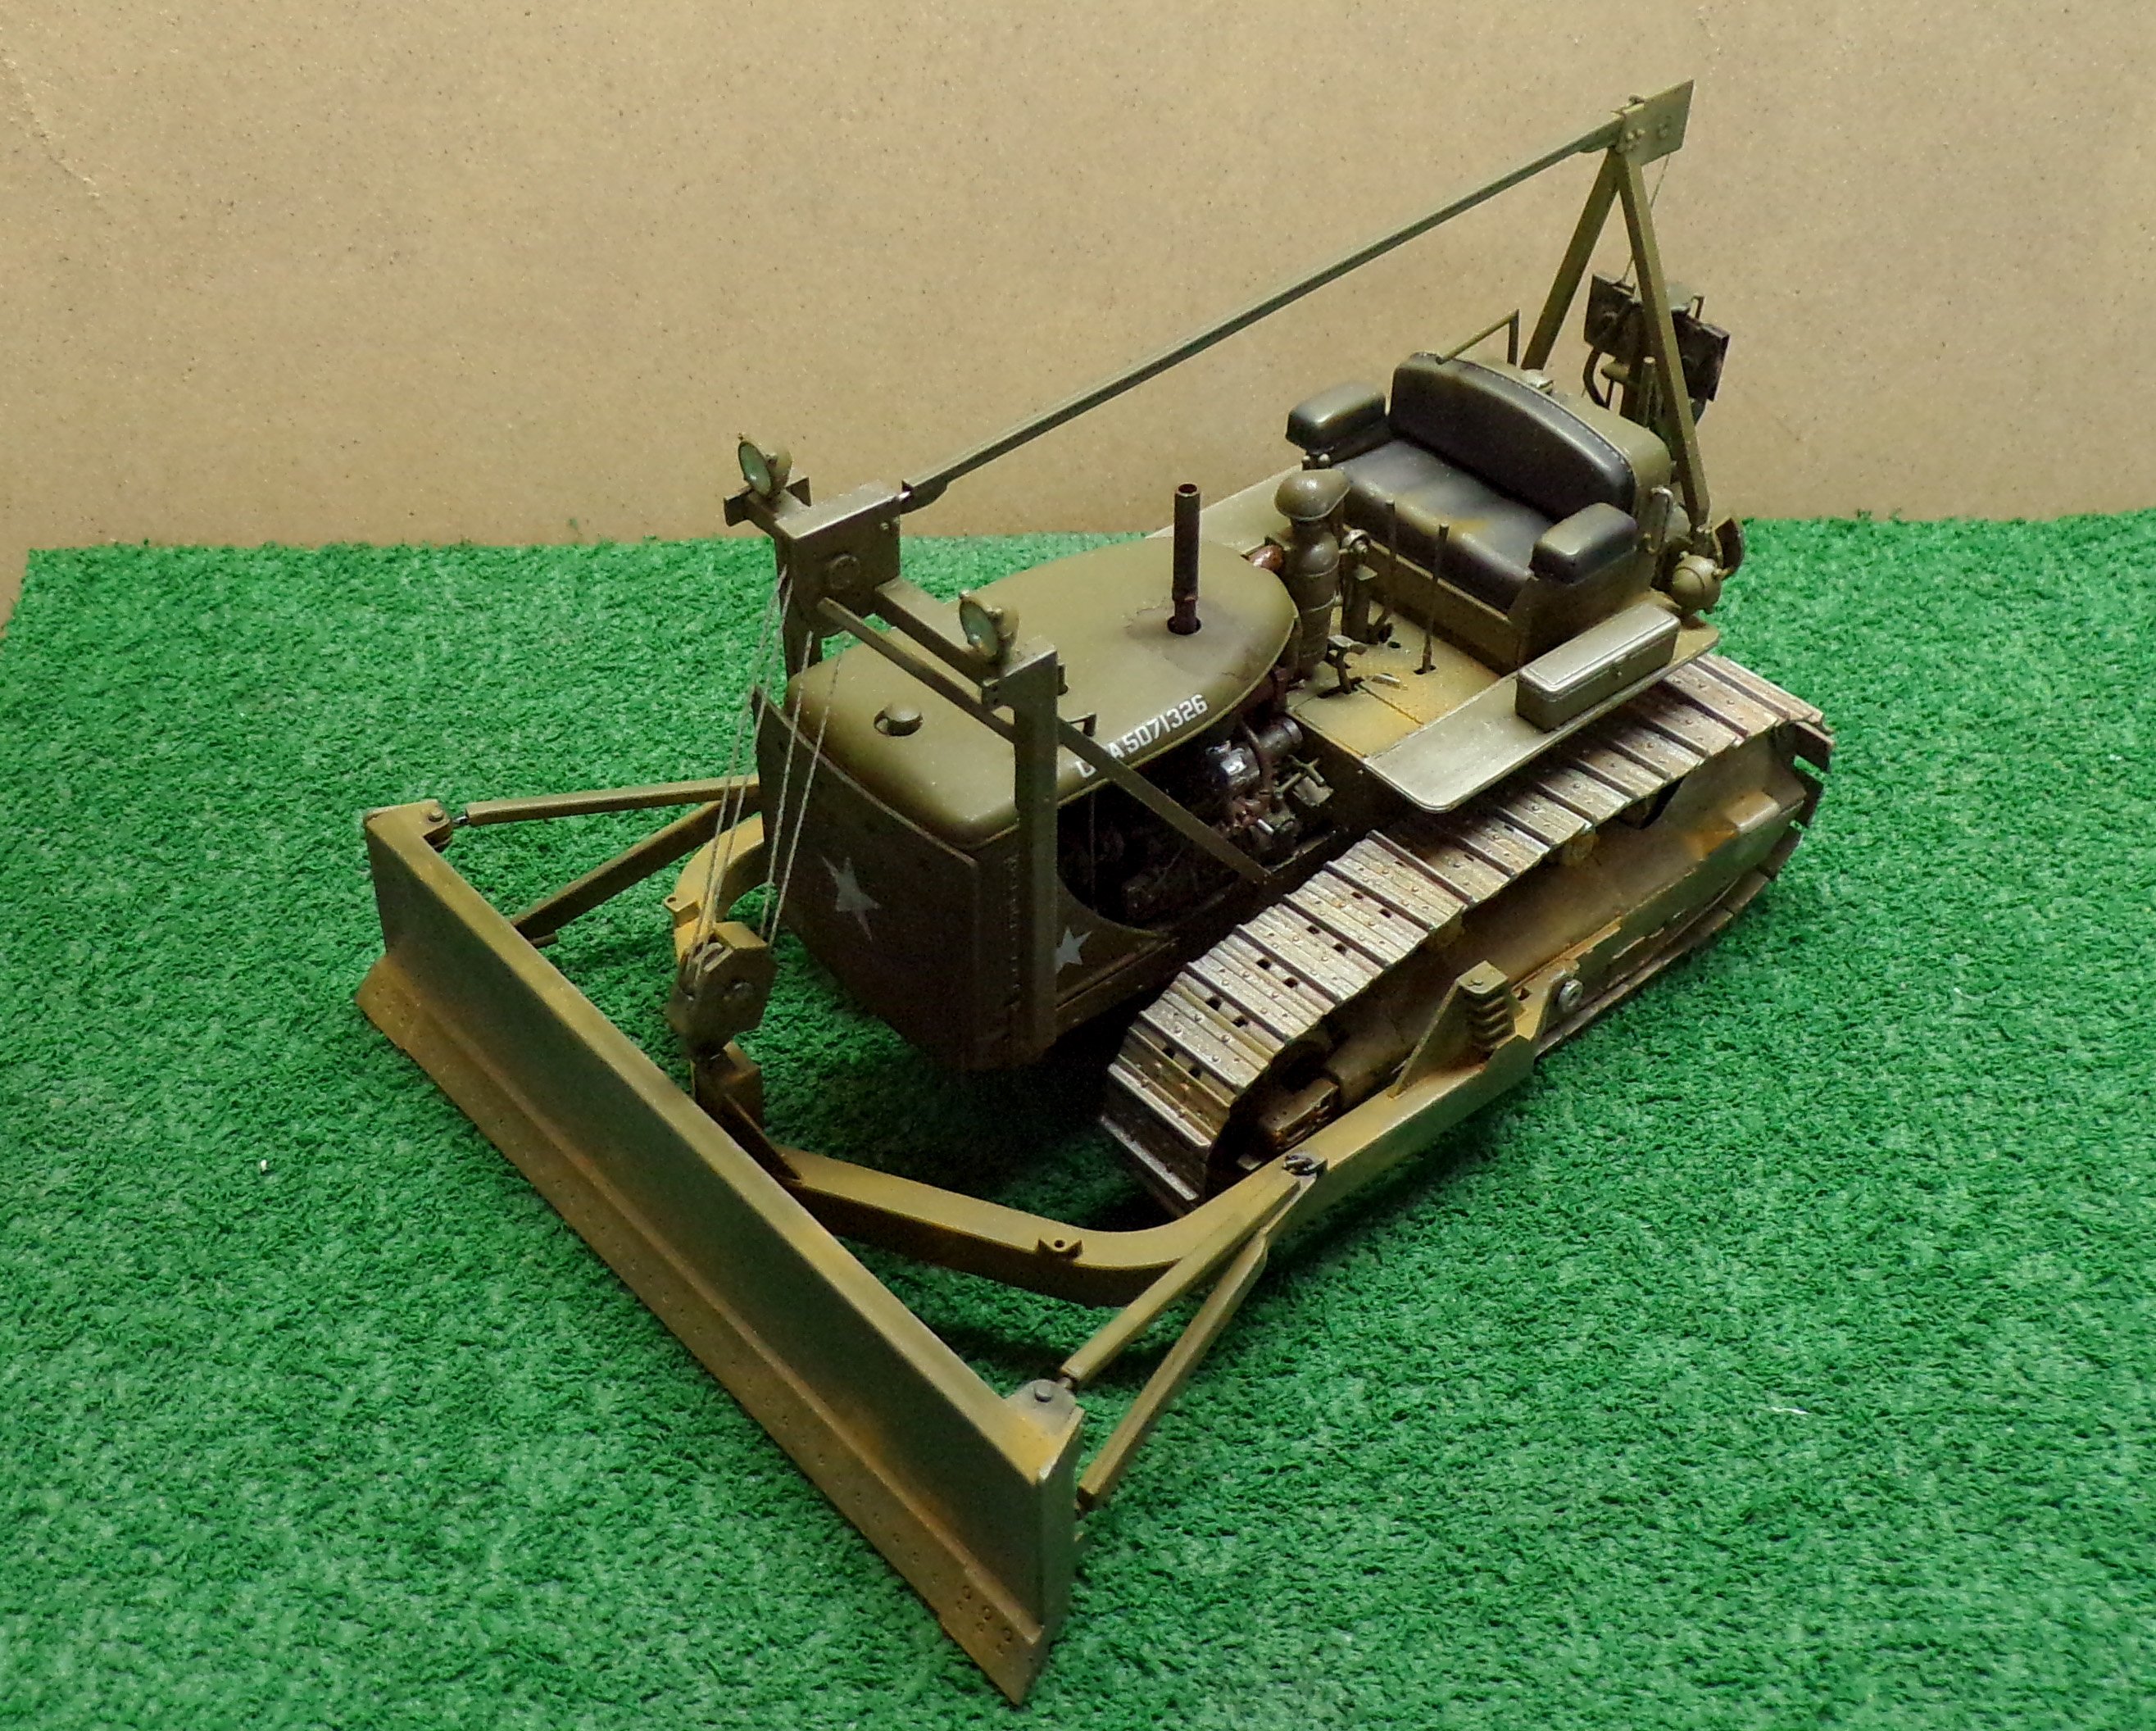
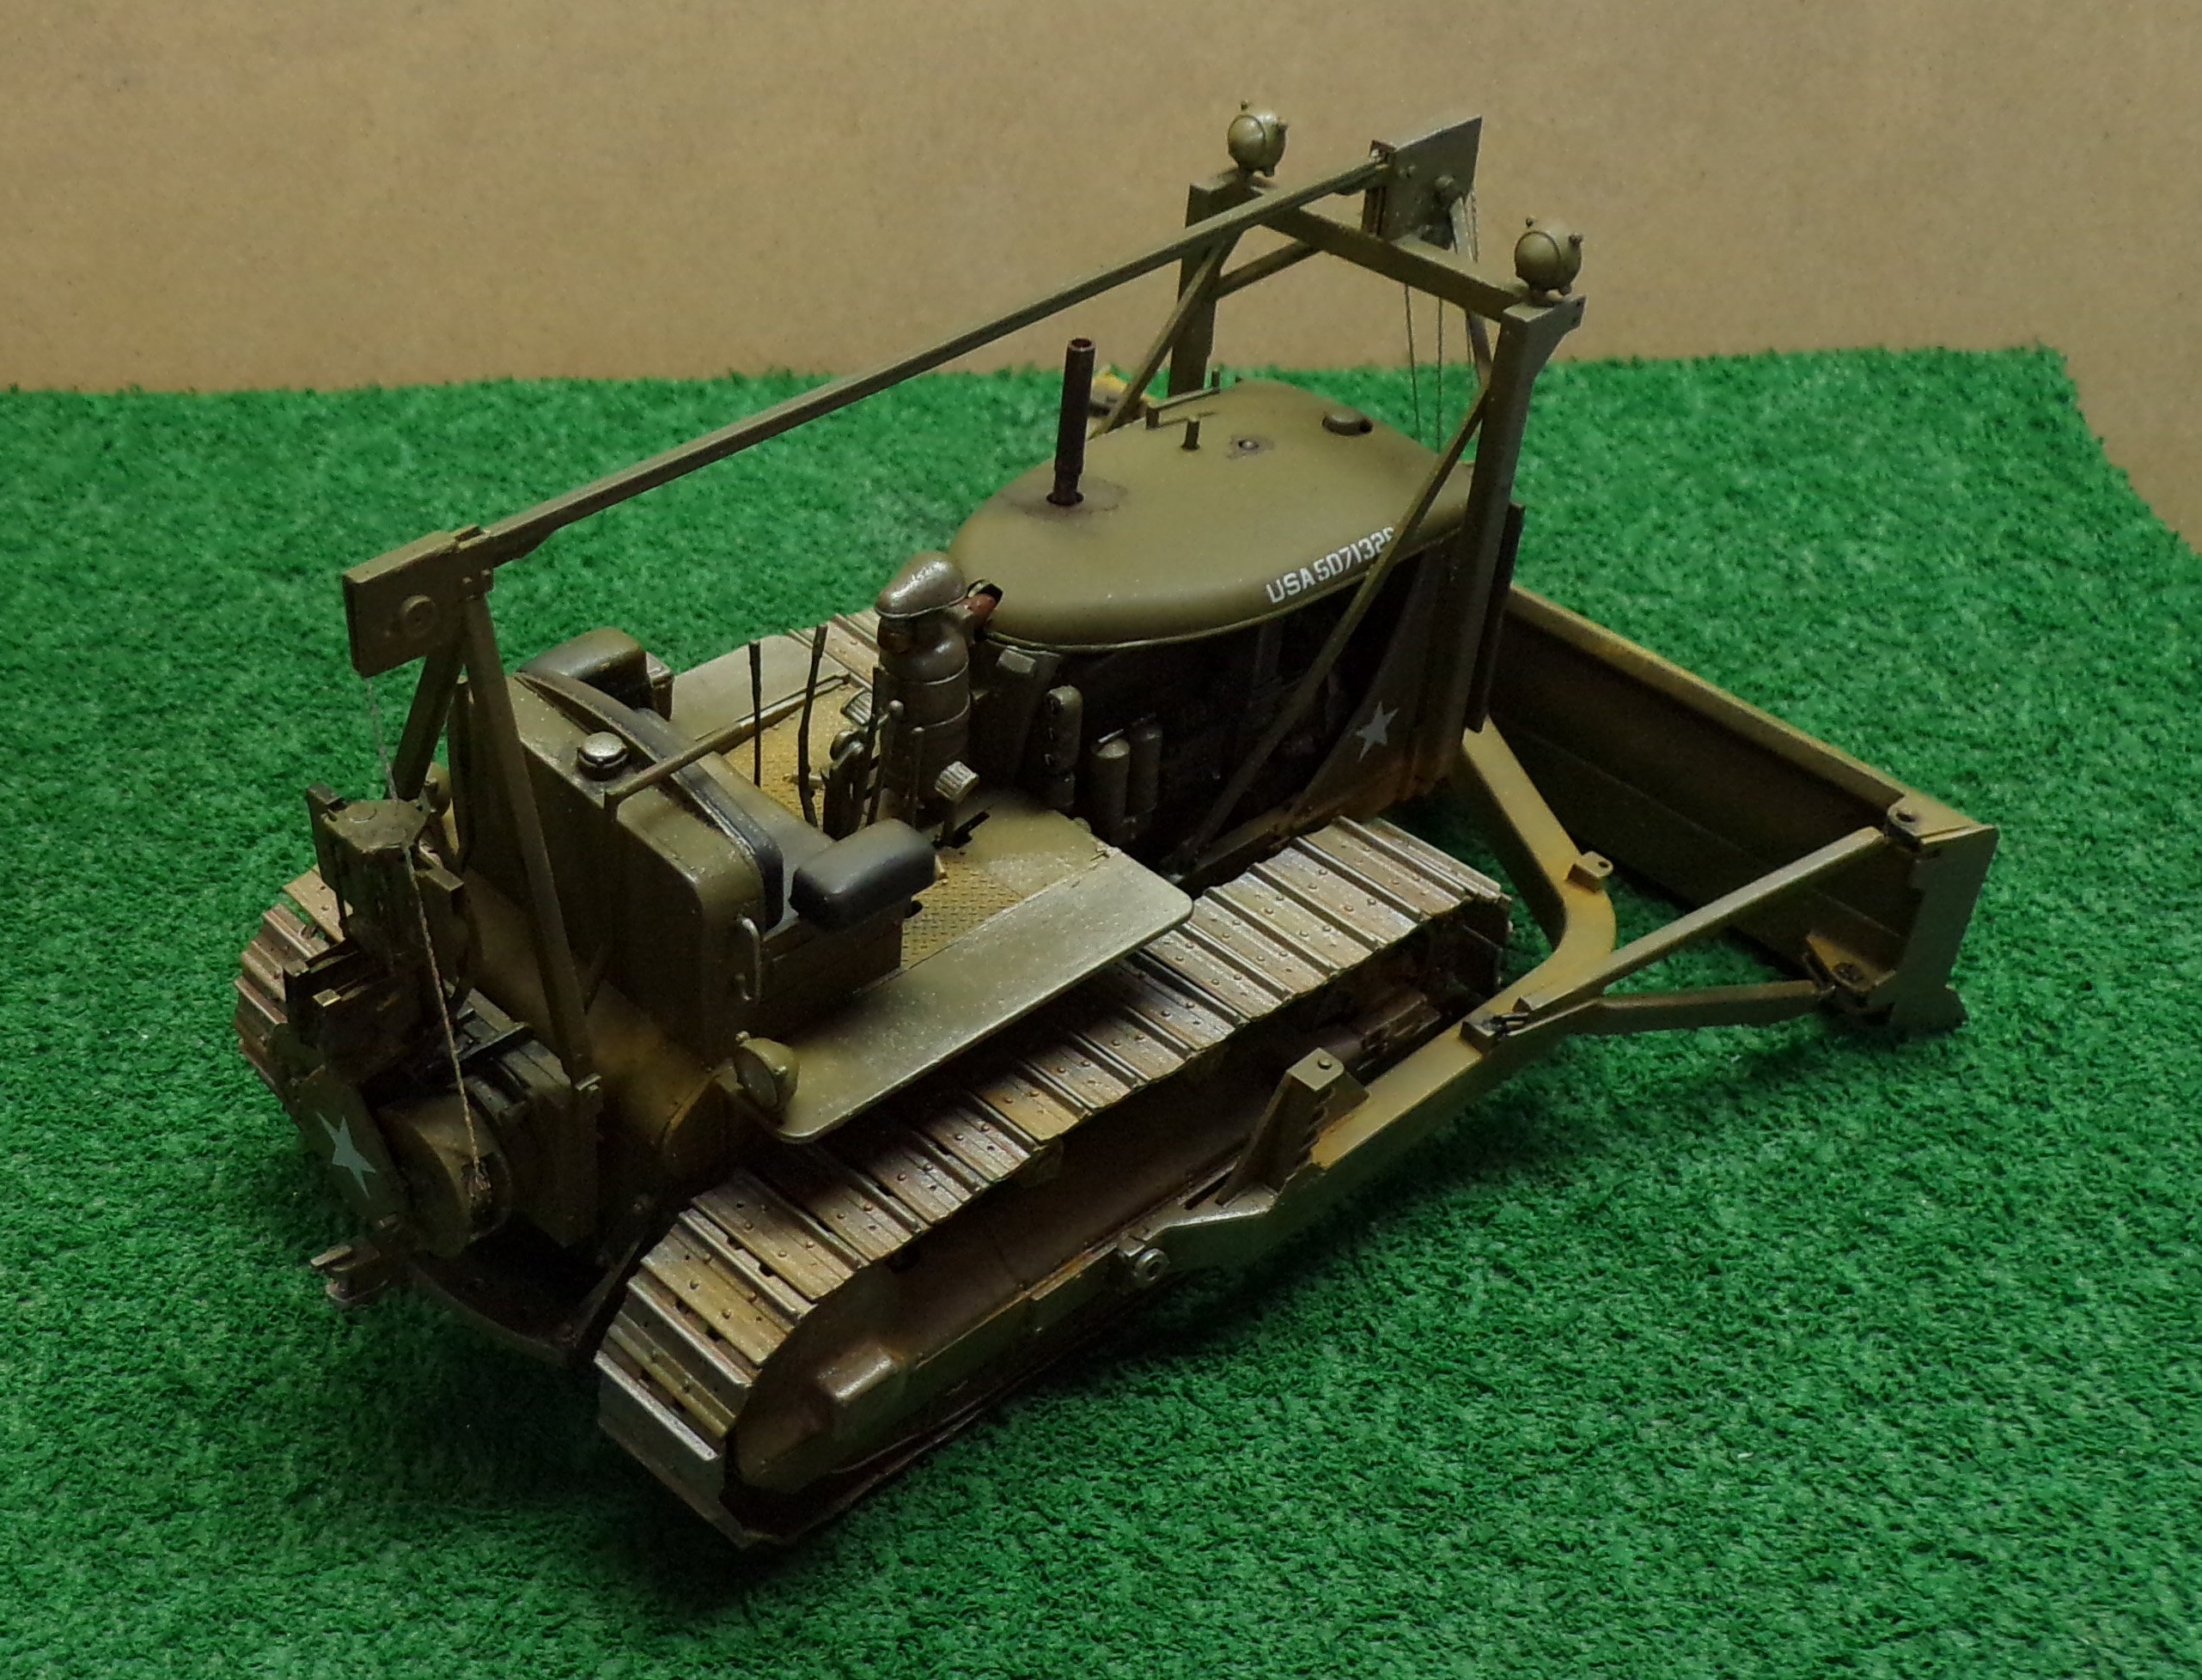
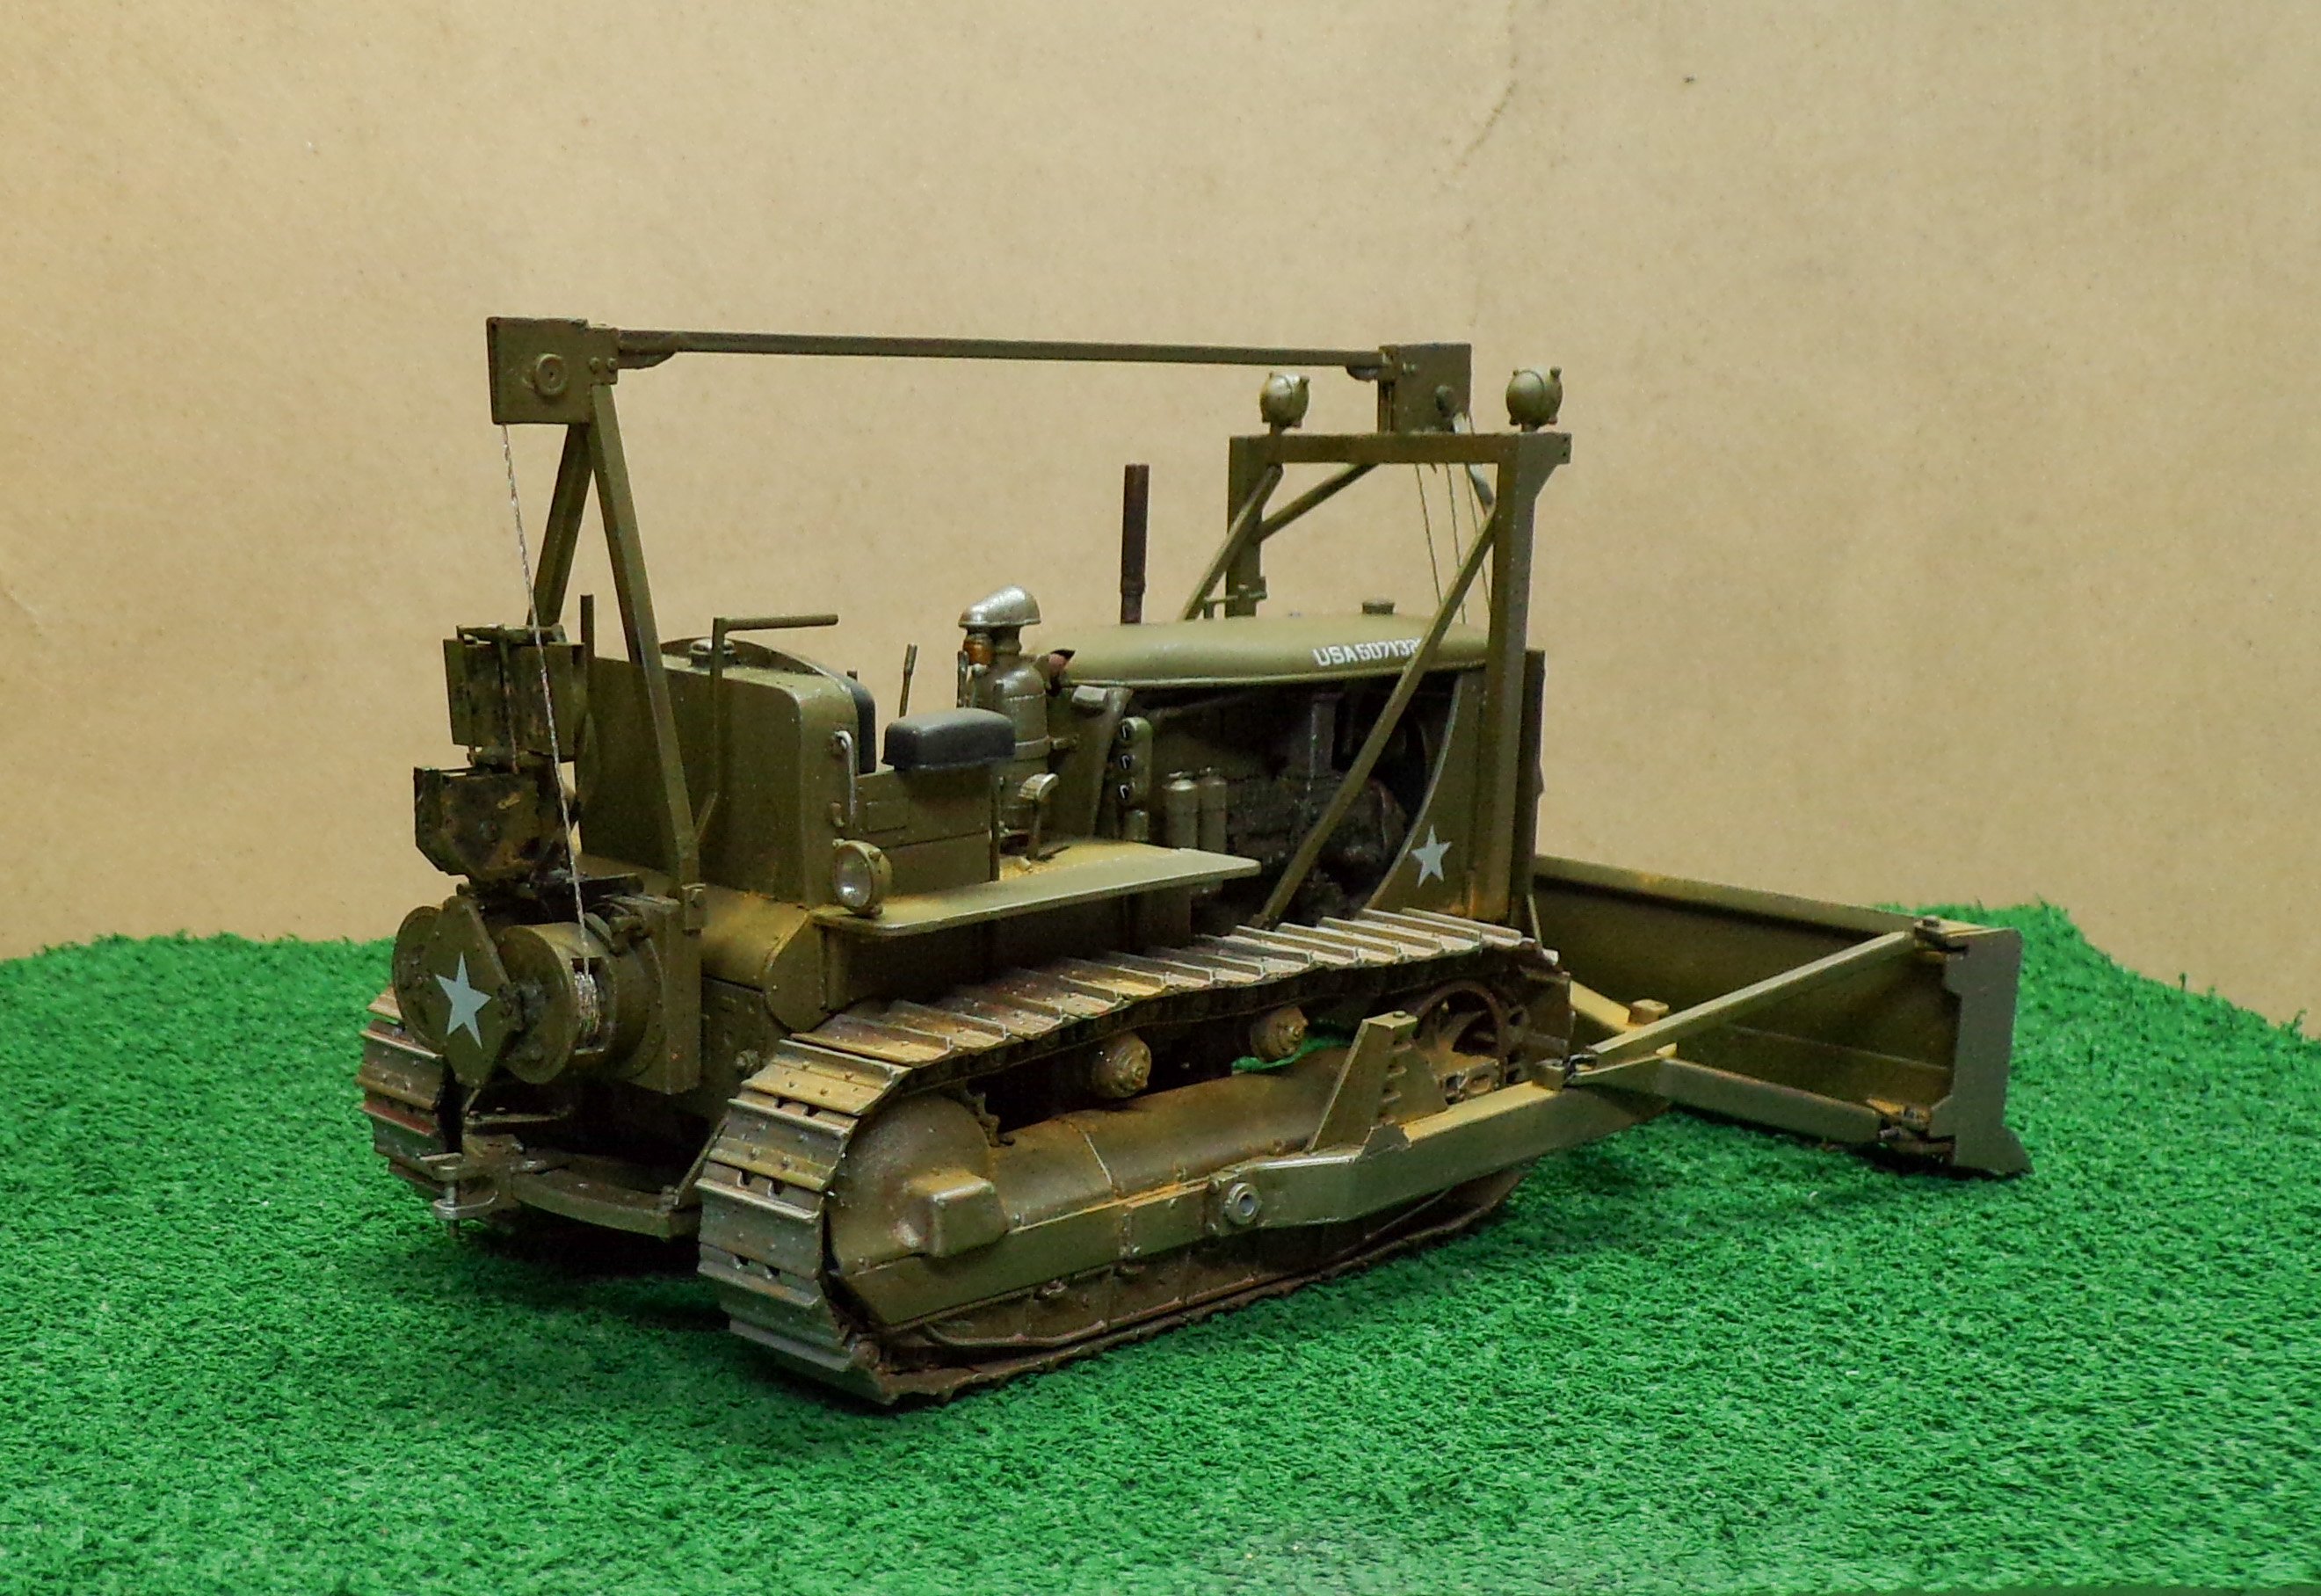
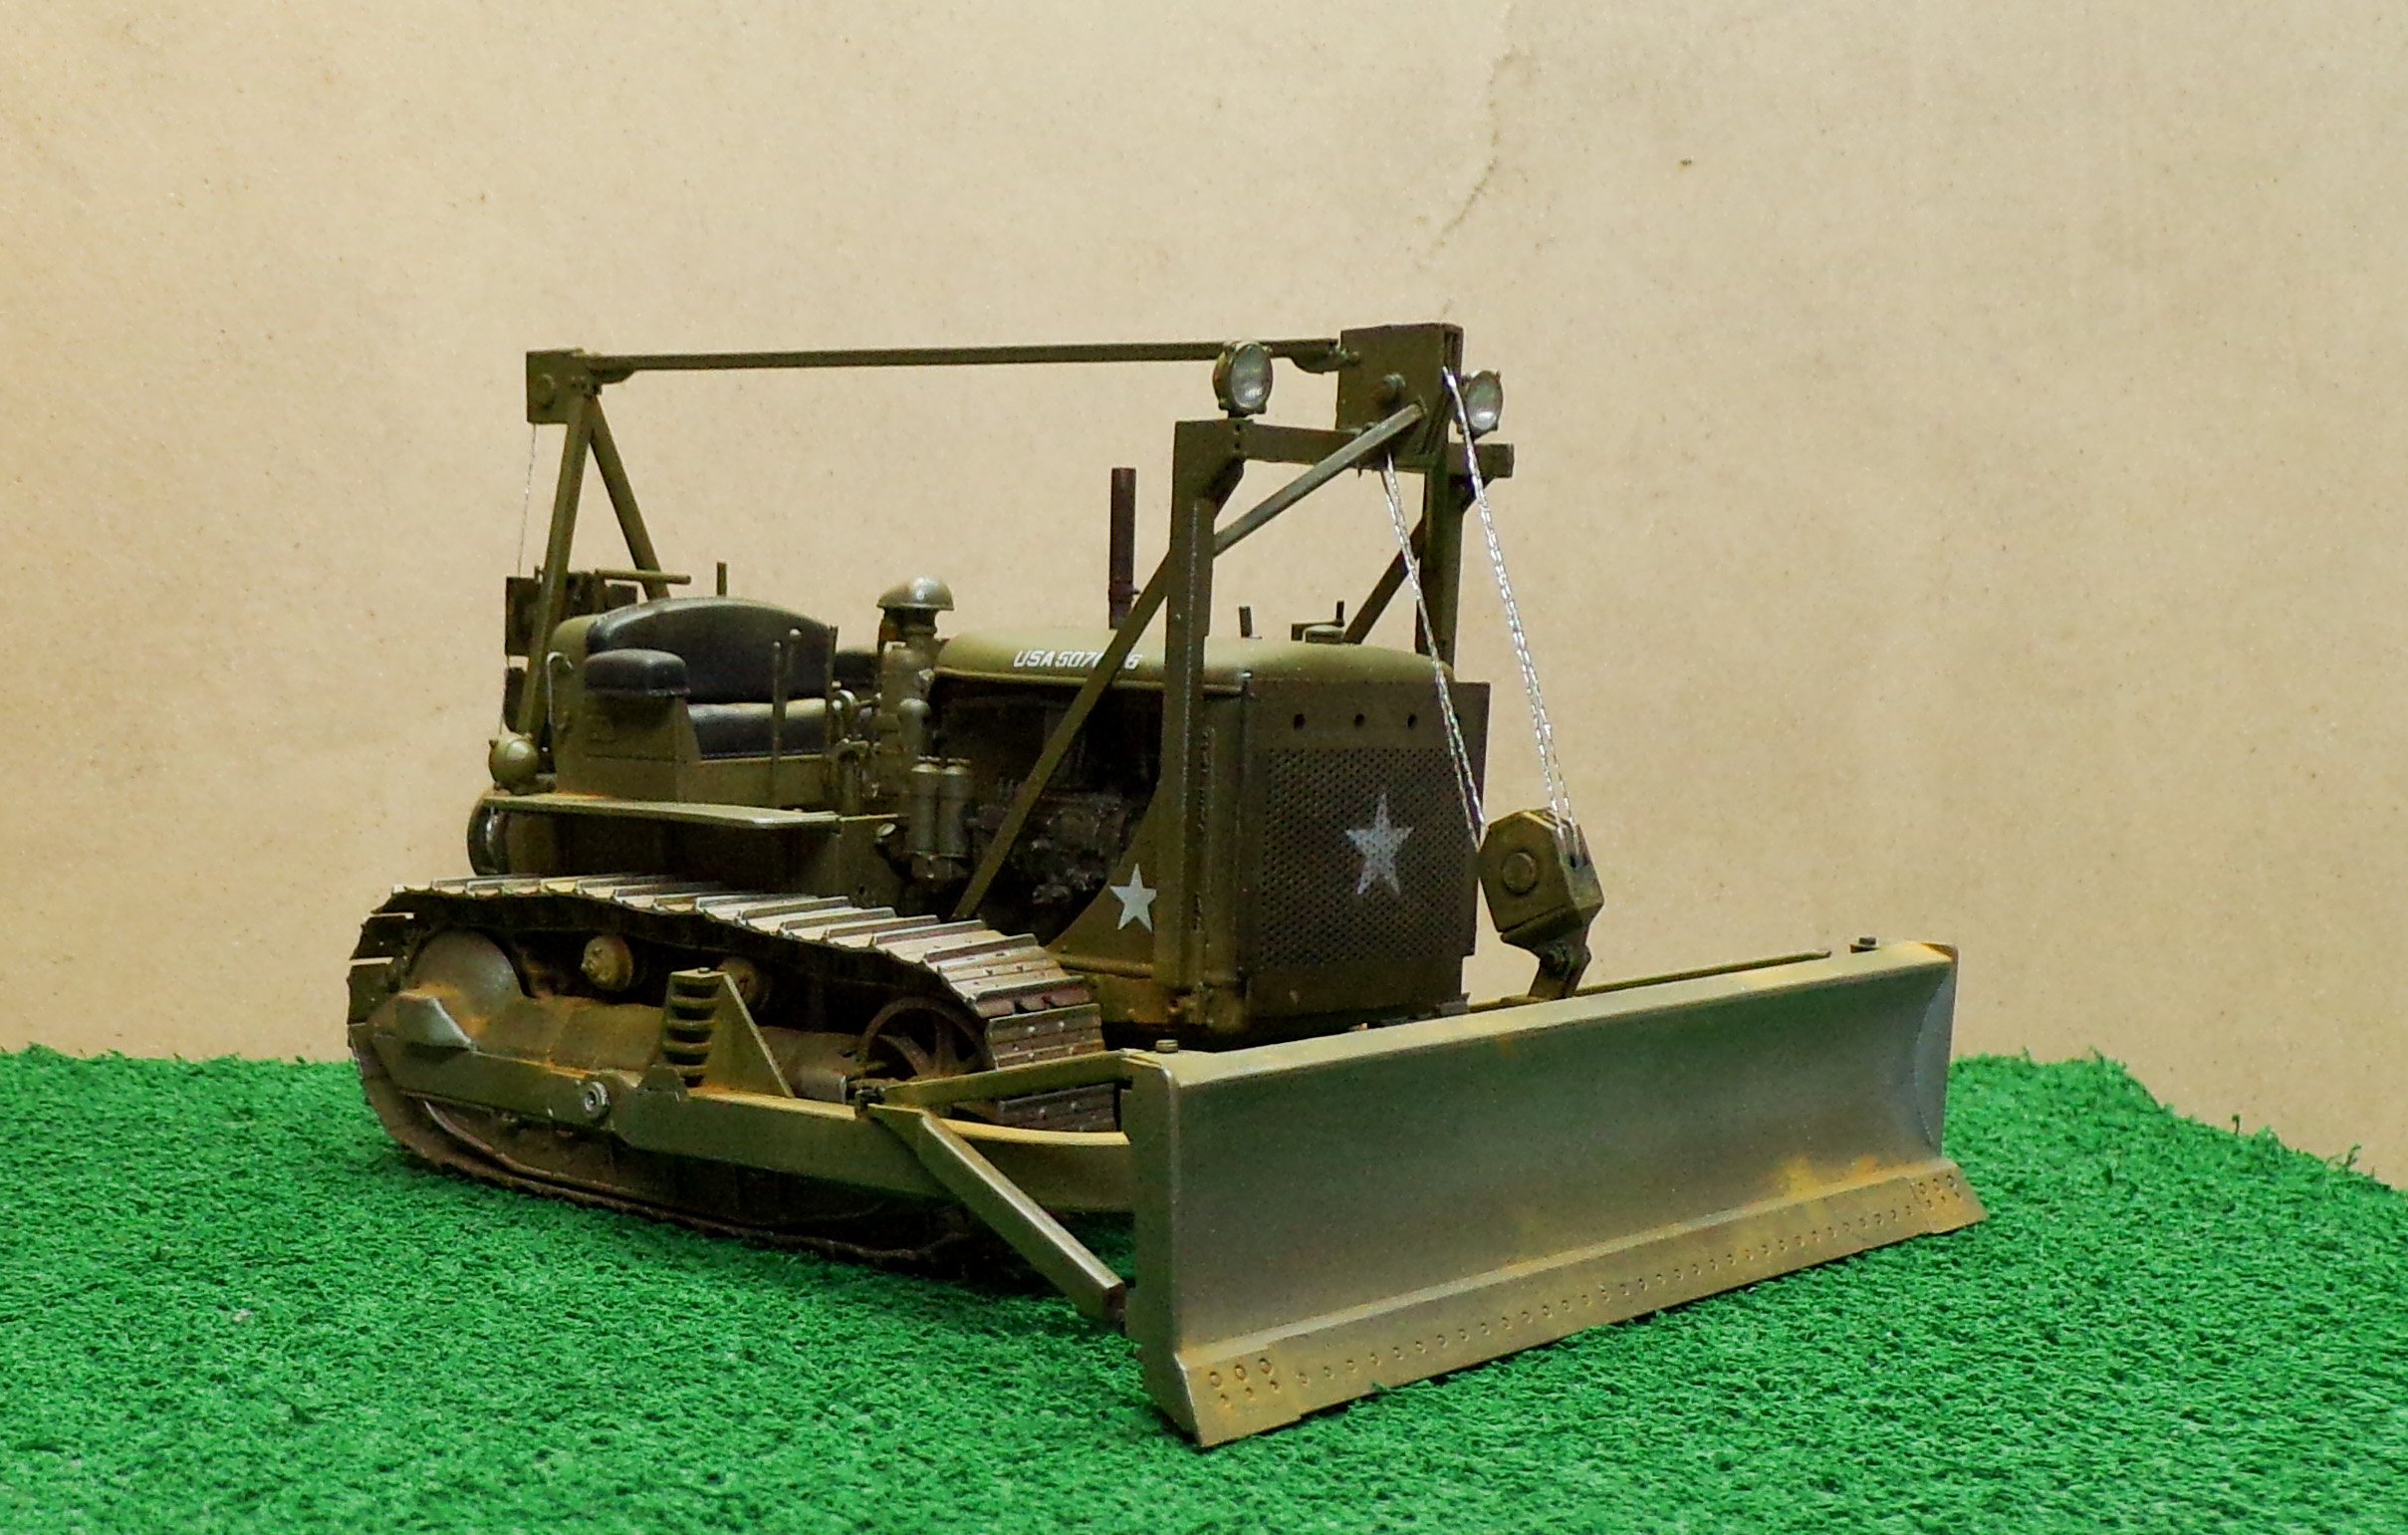
Calling this one done. In spite of all of the tiny parts and the frustration of trying to get them in the right spot with a minimum of glue, I have to say this kit was well done. Some of the tiniest could have been incorporated into larger parts and some I substituted some craft wire for. Nevertheless this is a great interpretation of the Cat D-7 and is quite authentic in comparison to photos I have seen.
-
Awesome job on nice old kit!! Just gorgeous!!!!
-
Well Done Gil
-
Like my good friend here Mark Duke Maddog, I am going to start an all subject build thread here to keep on rolling with whatever my ongoing project(s) will be. I’m gonna lead off with this one My latest resurrection project from the Shelf of Doom… I started this for a So.Cal AMPS Panzer IV GB about 10 years ago I was going to replace the kit tracks with some AM tracks and eventually settled on some Modelkasten indy links Since I wanted to do a DAK Panzer I decided to replace the crew figures with a set from Verlinden and the kit decals are replaced by a set from Bison I got most of the basic assembly finished, but then hit a snag when I tried to fit the AM tracks to the kit sprockets. The sprockets were too wide as engineered. So I put it onto the shelf of doom after getting this much completed So yesterday I decided to pull this one off the shelf and tackled the reason for the stop first. I cut the sprockets in half, sanded away some of the middle section until they would fit the MK tracks, then glued them back together. Then a test fit onto the lower hull This won’t be my main project, but I will be chipping away at it for the next while until it is finished.
-
Very nicely done! Looks like you really dressed up the old Cat 👍🏼
-
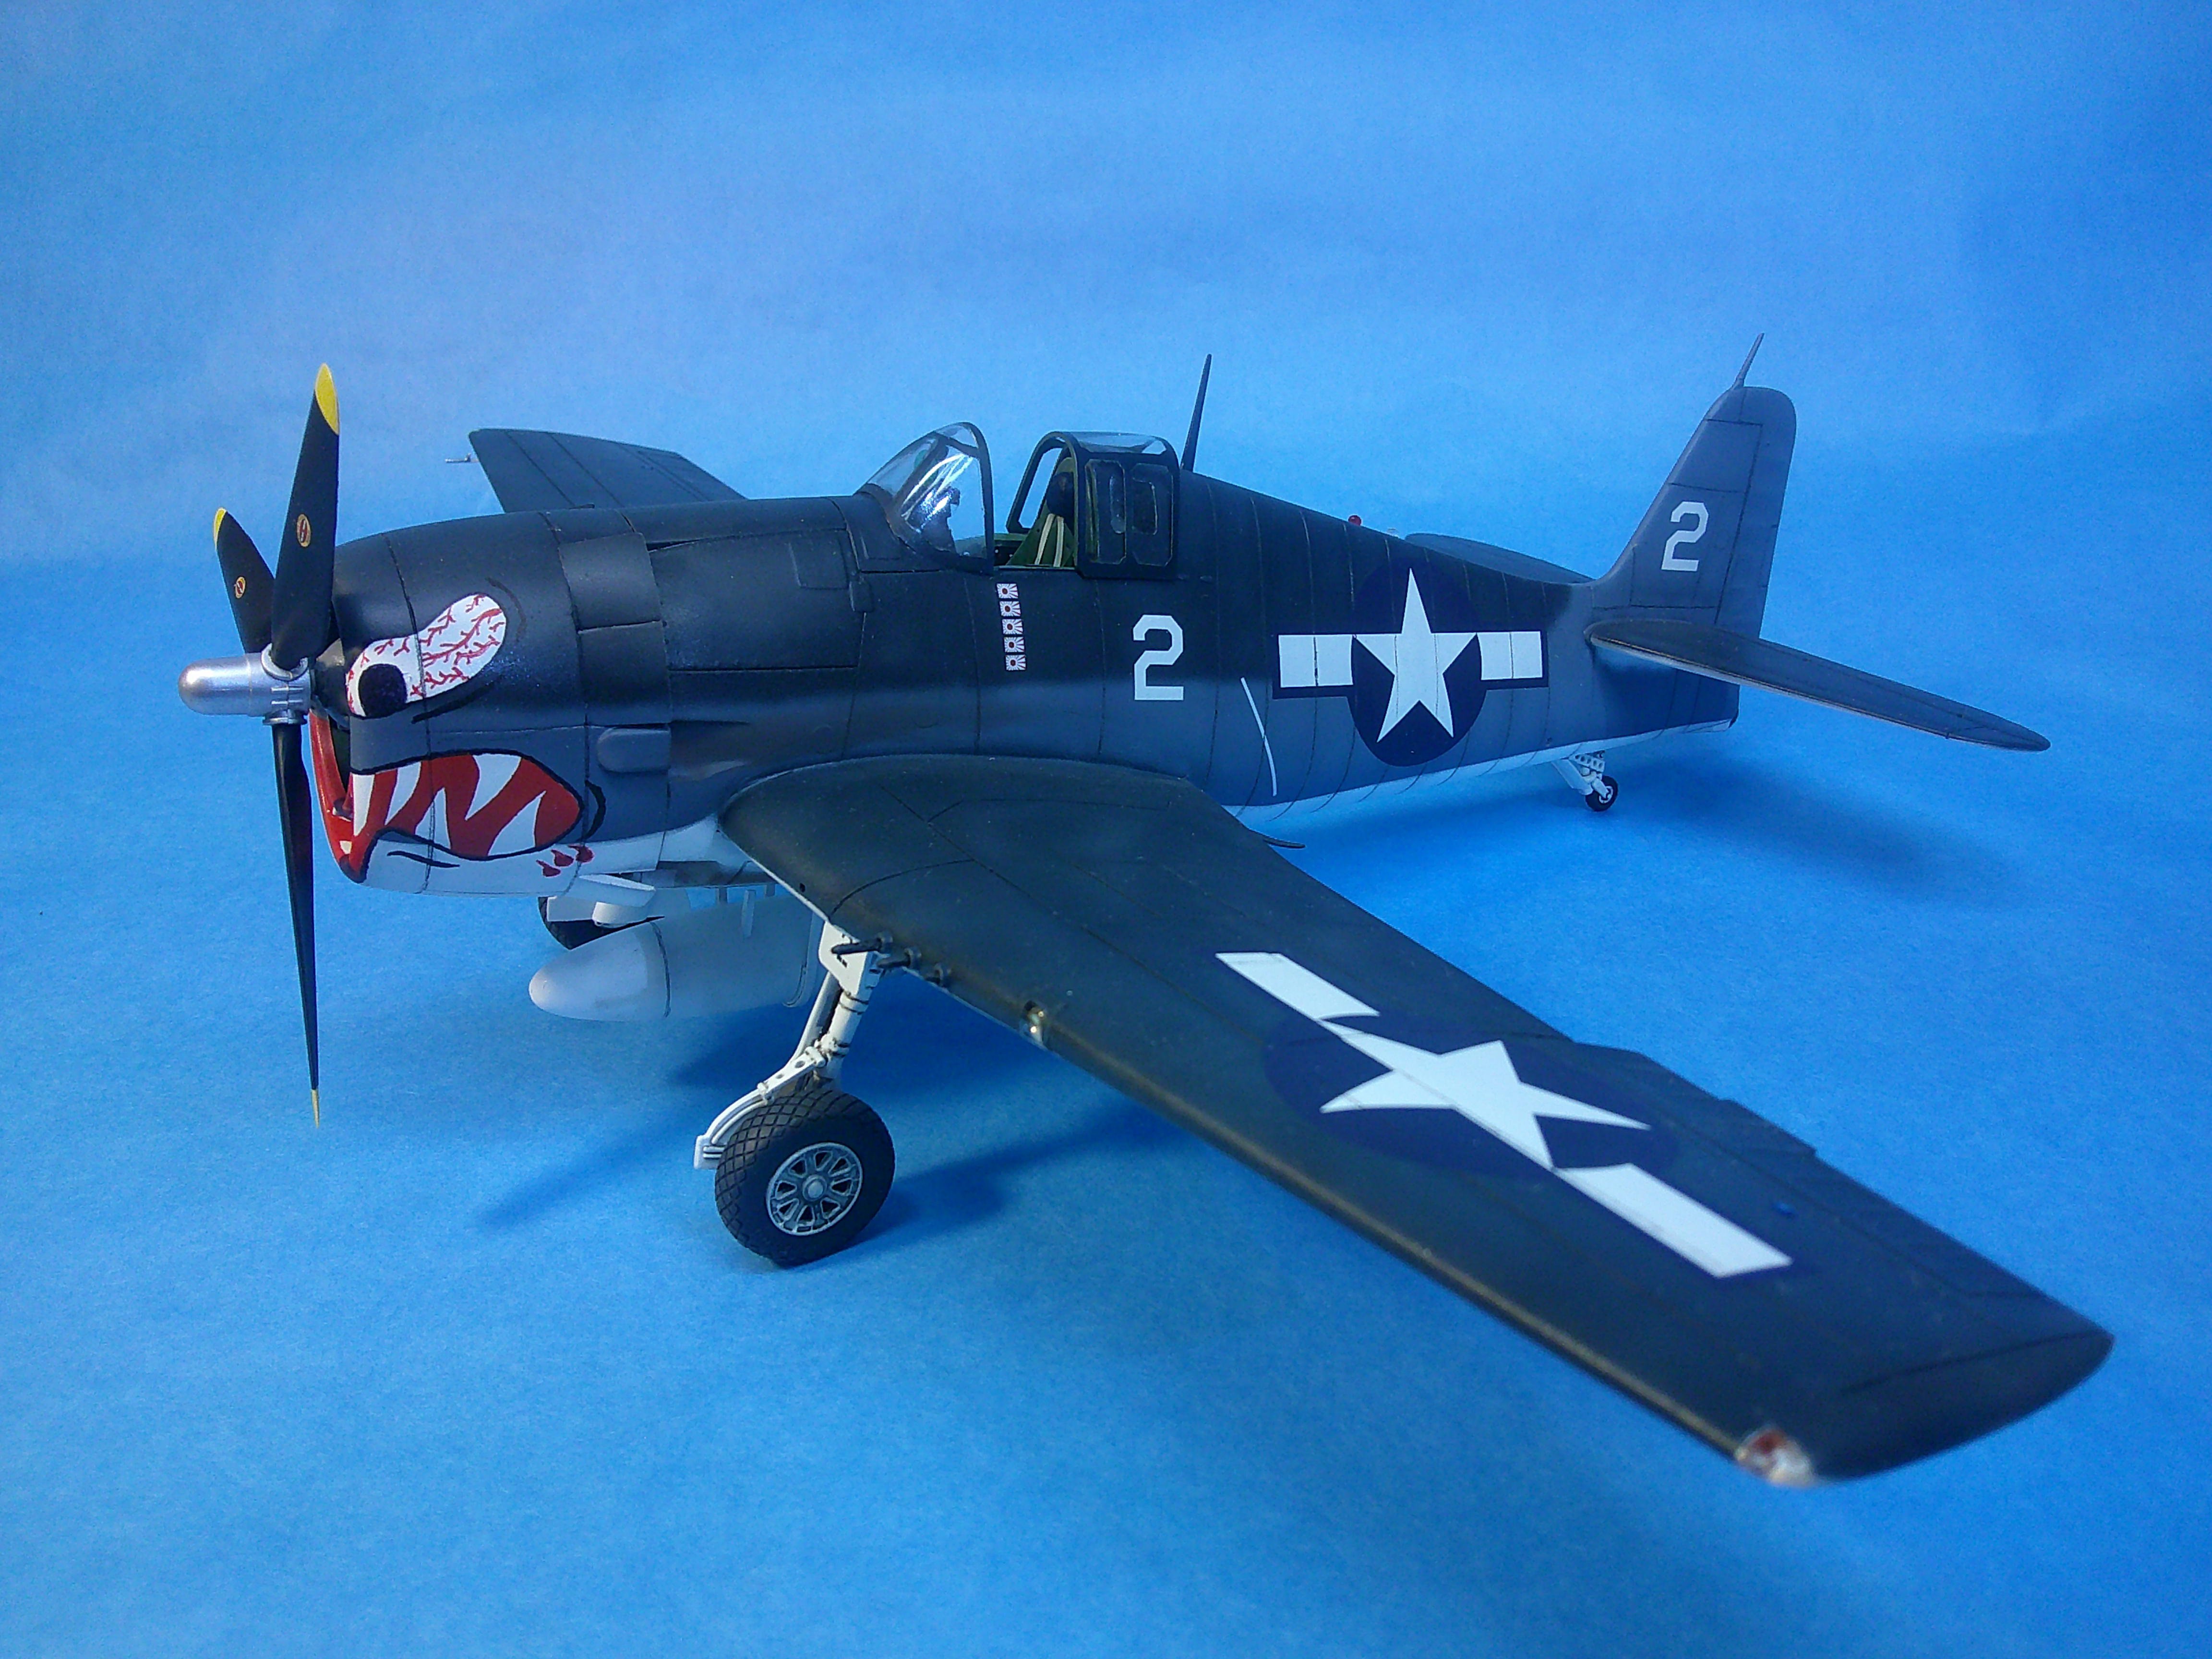
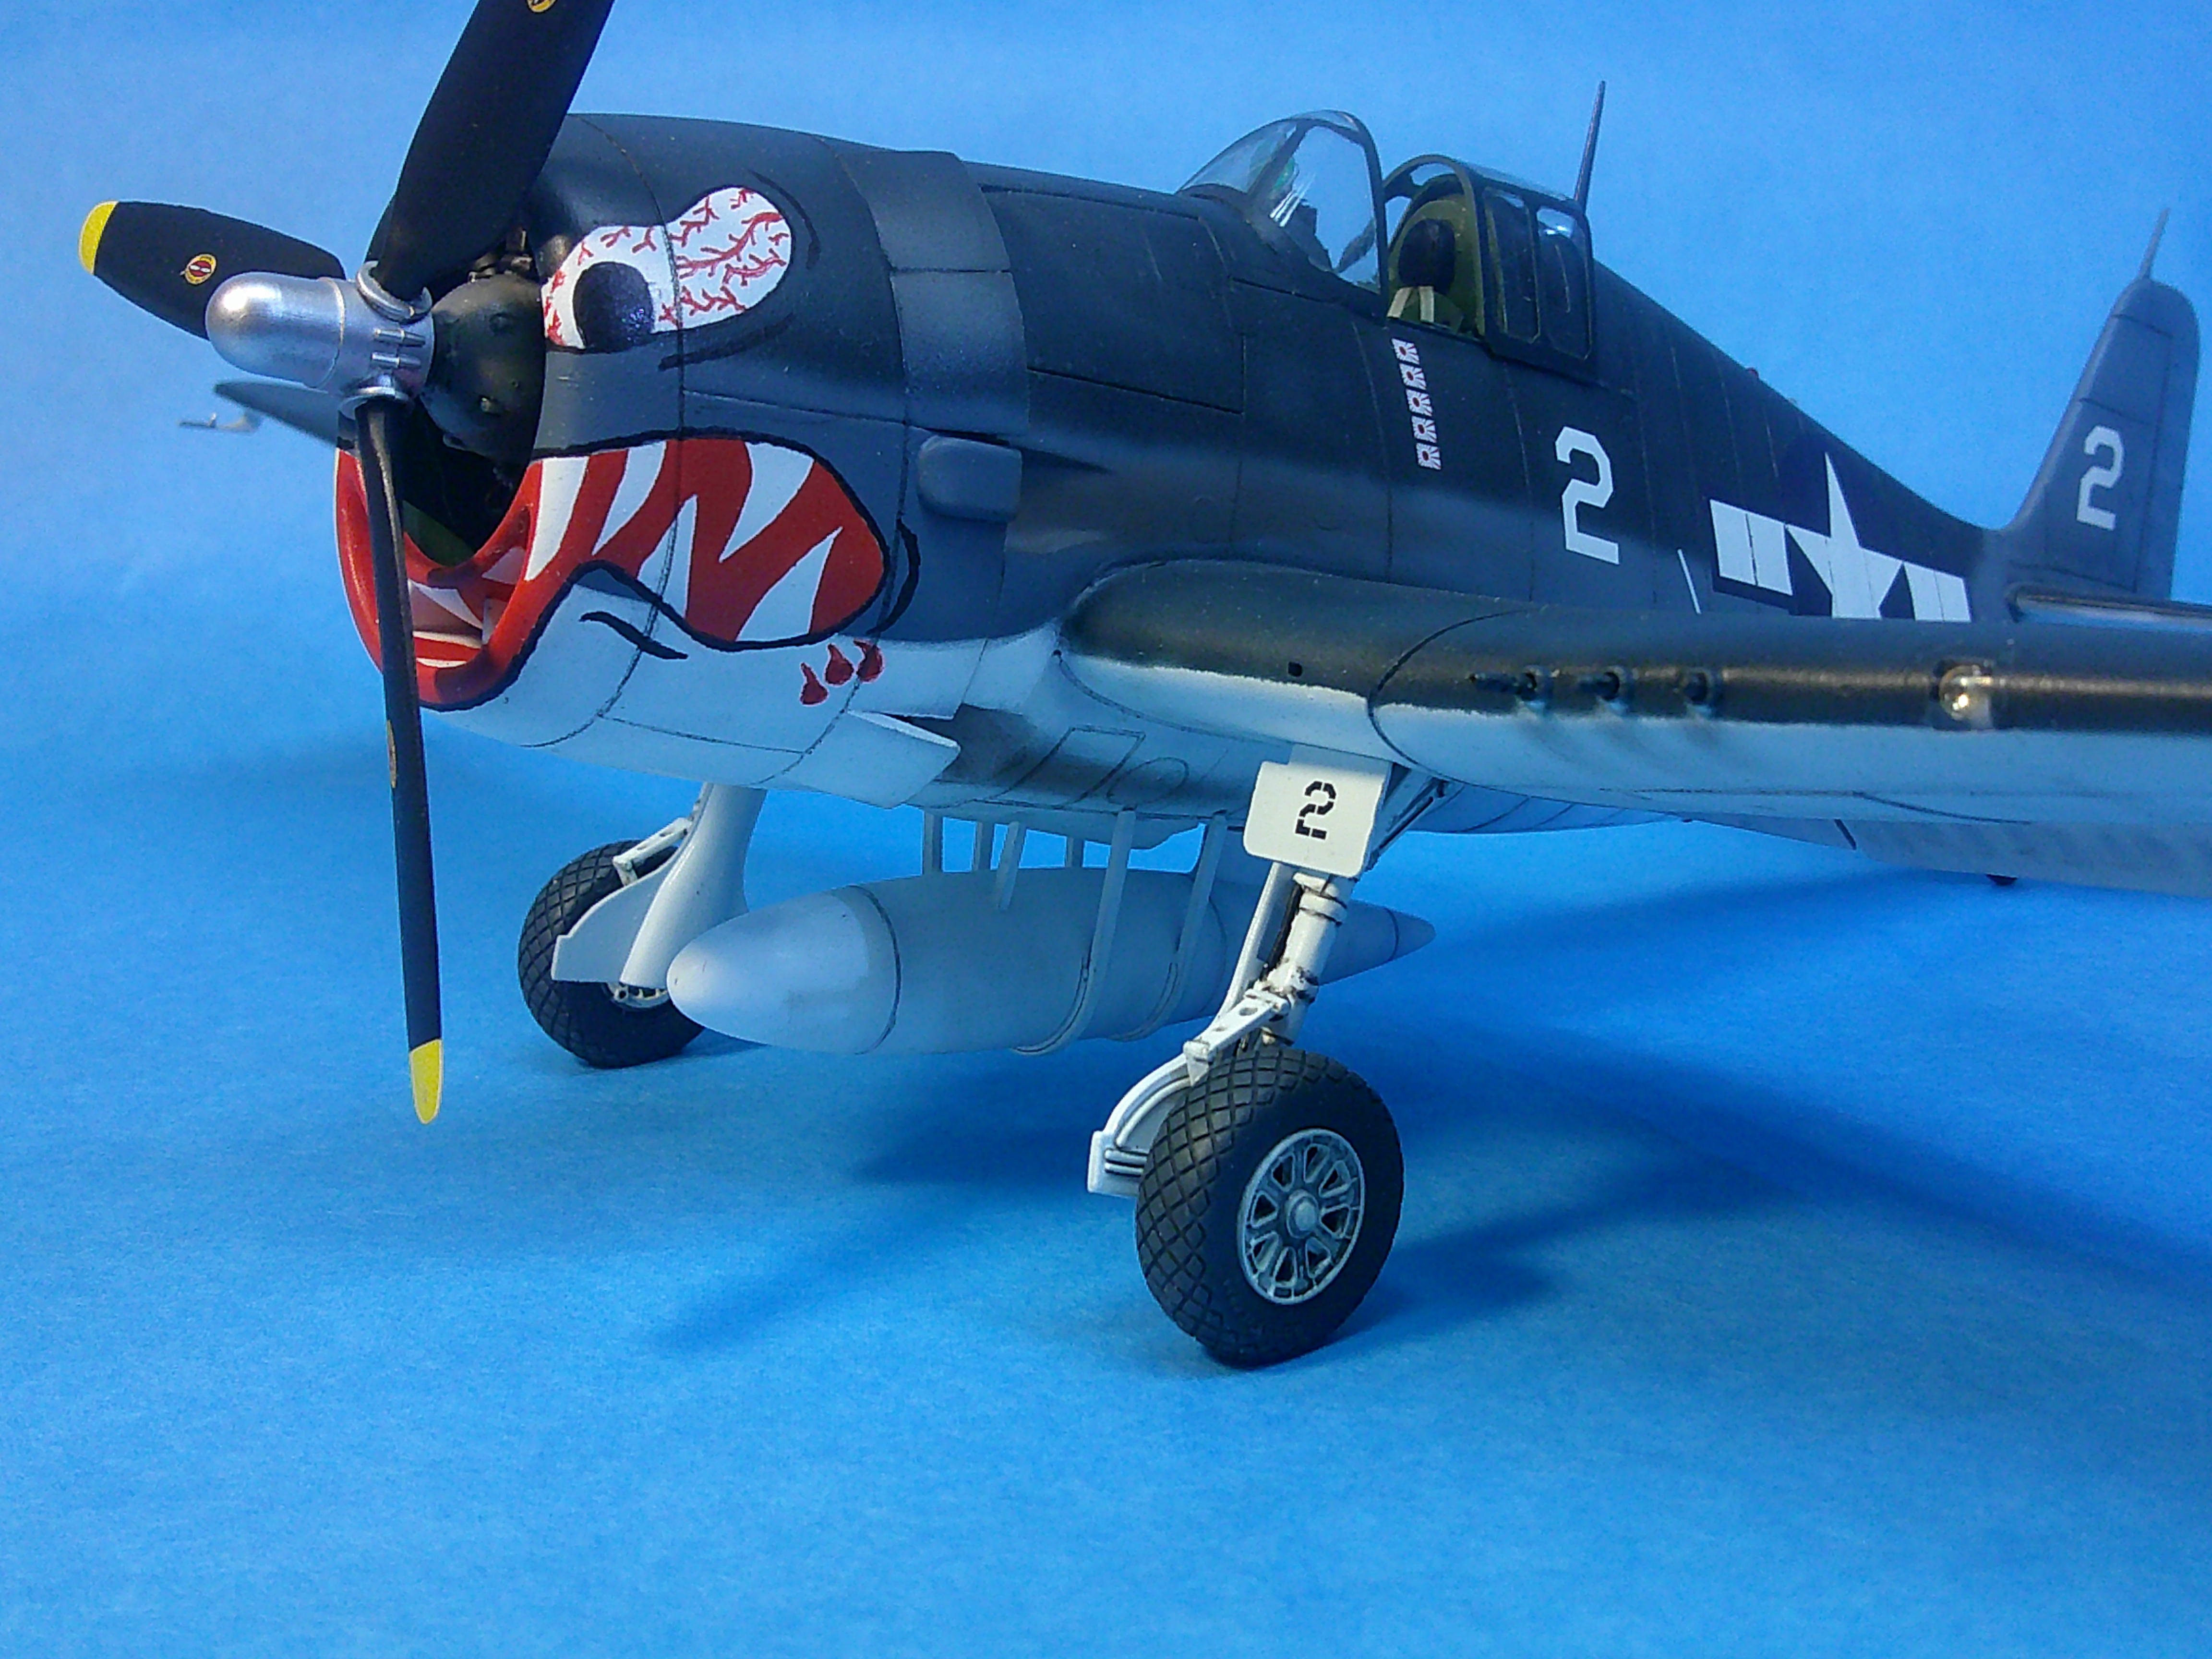
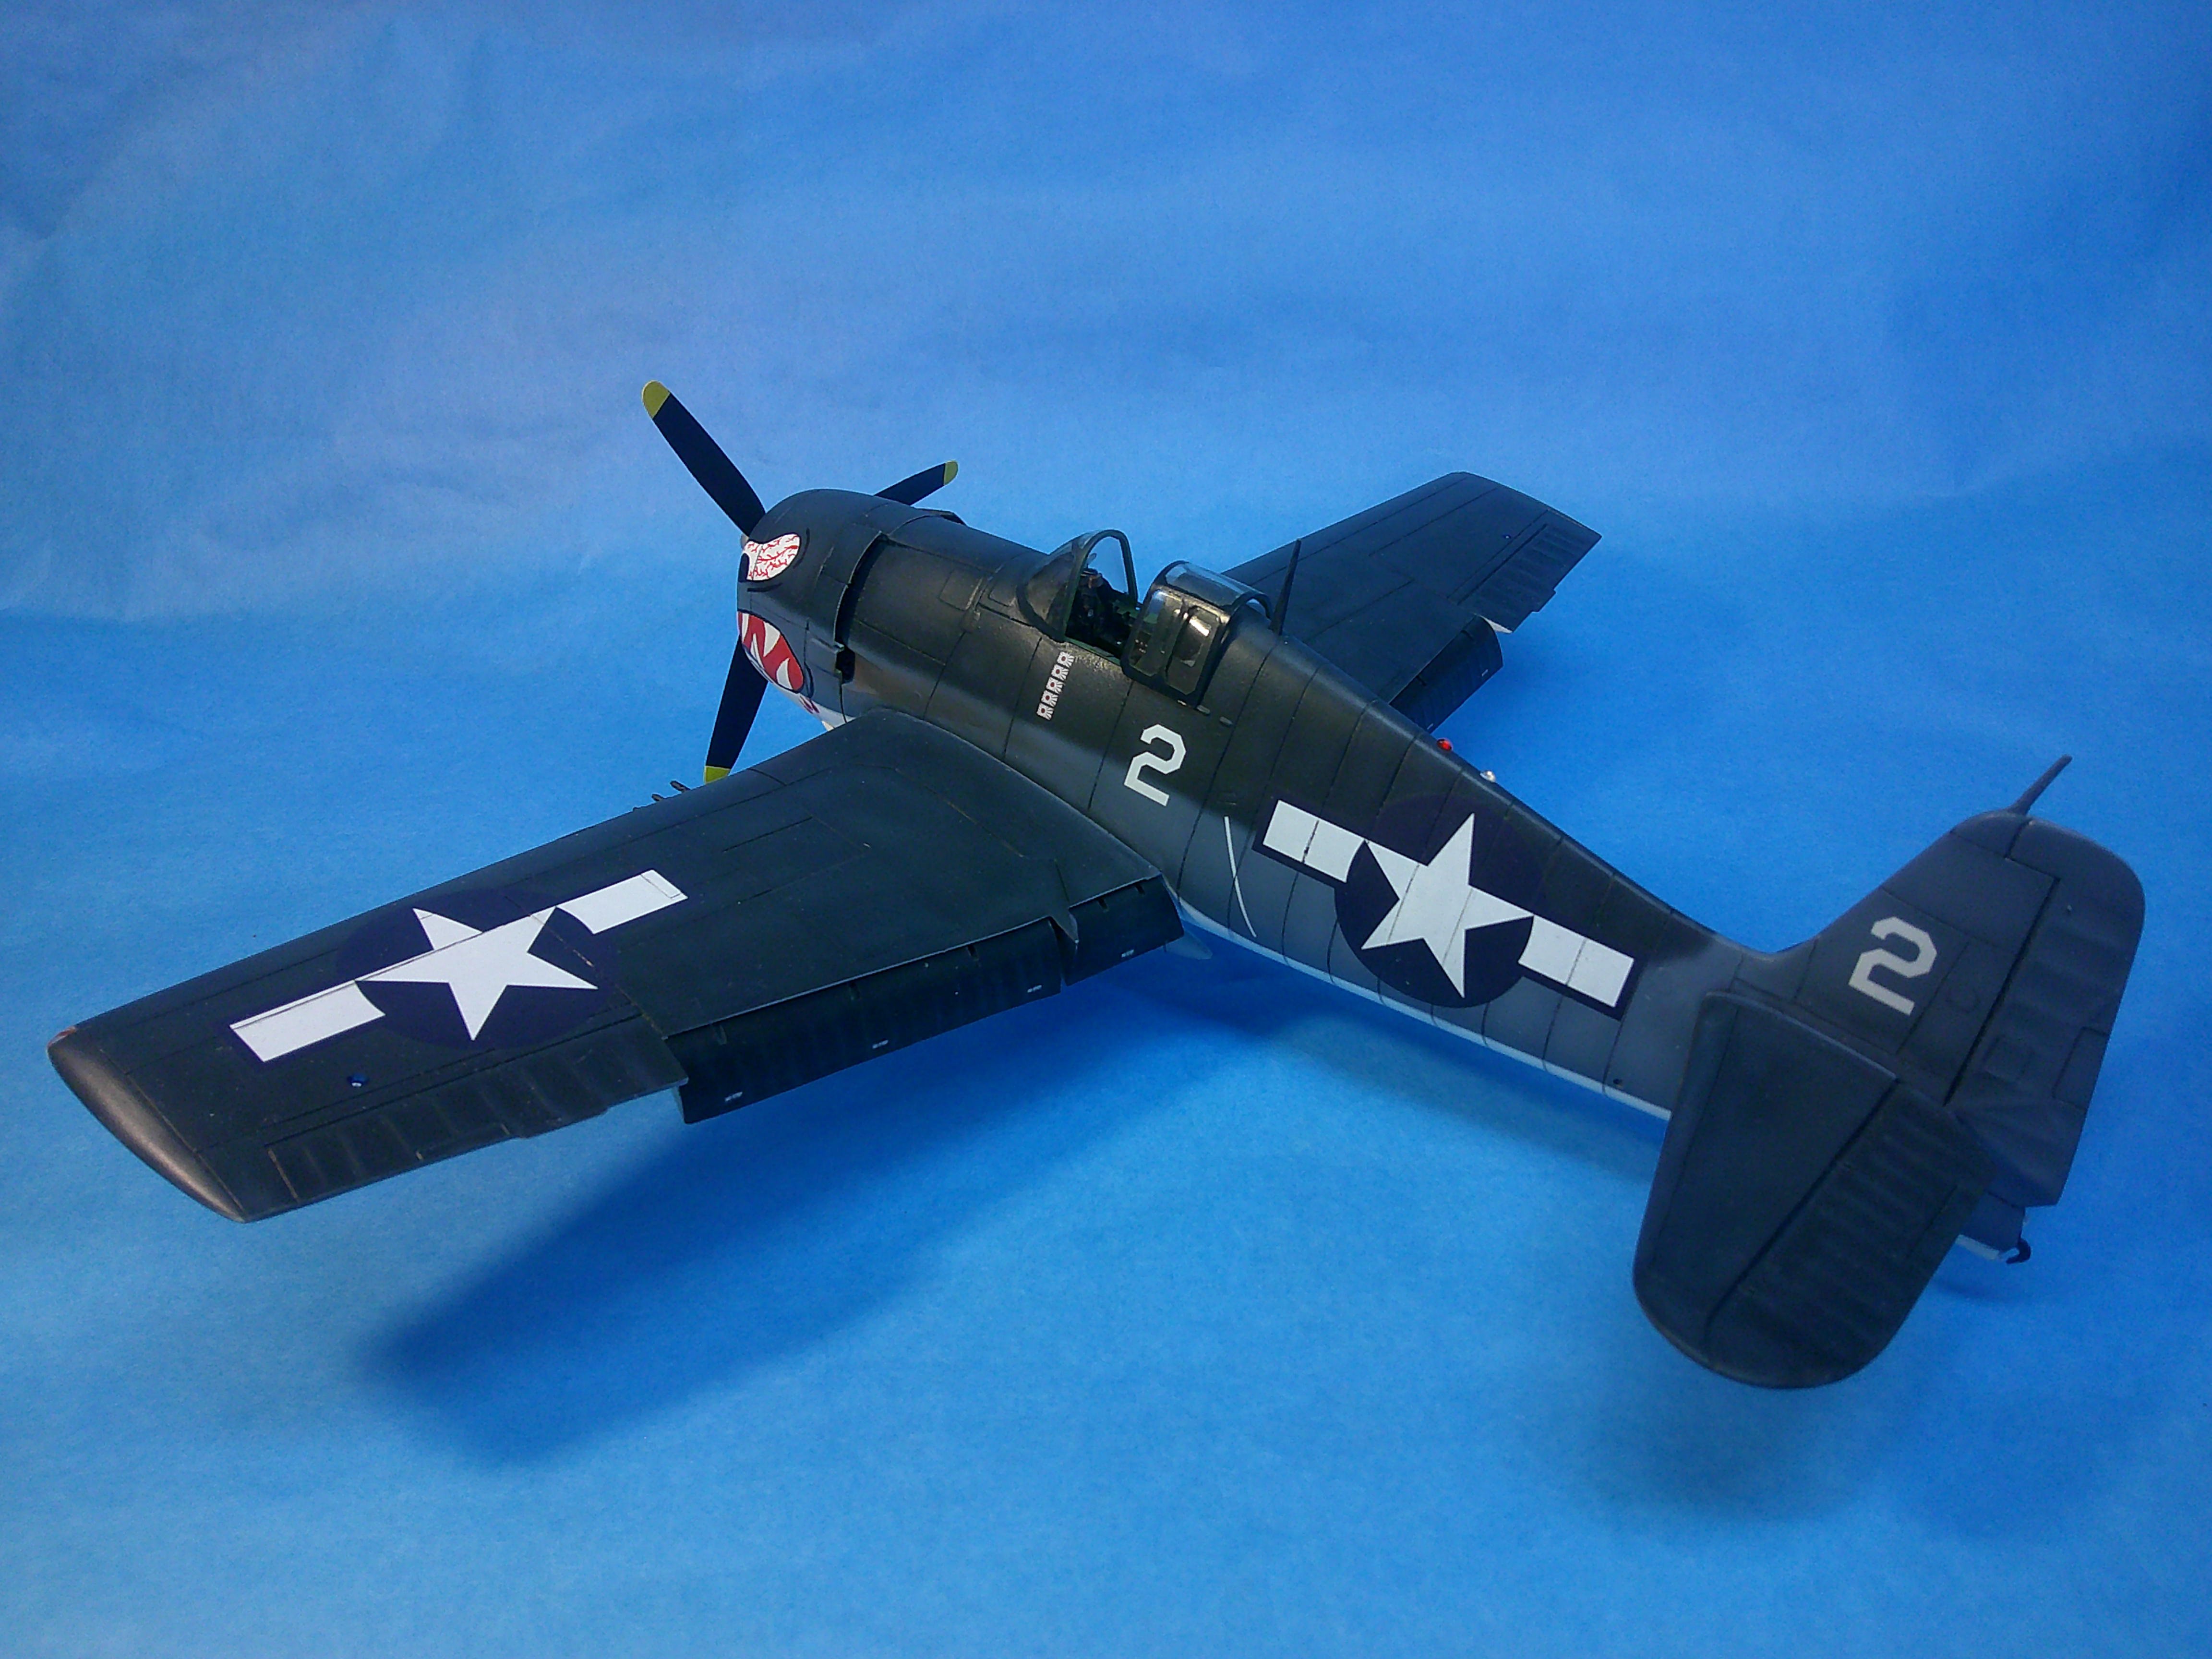
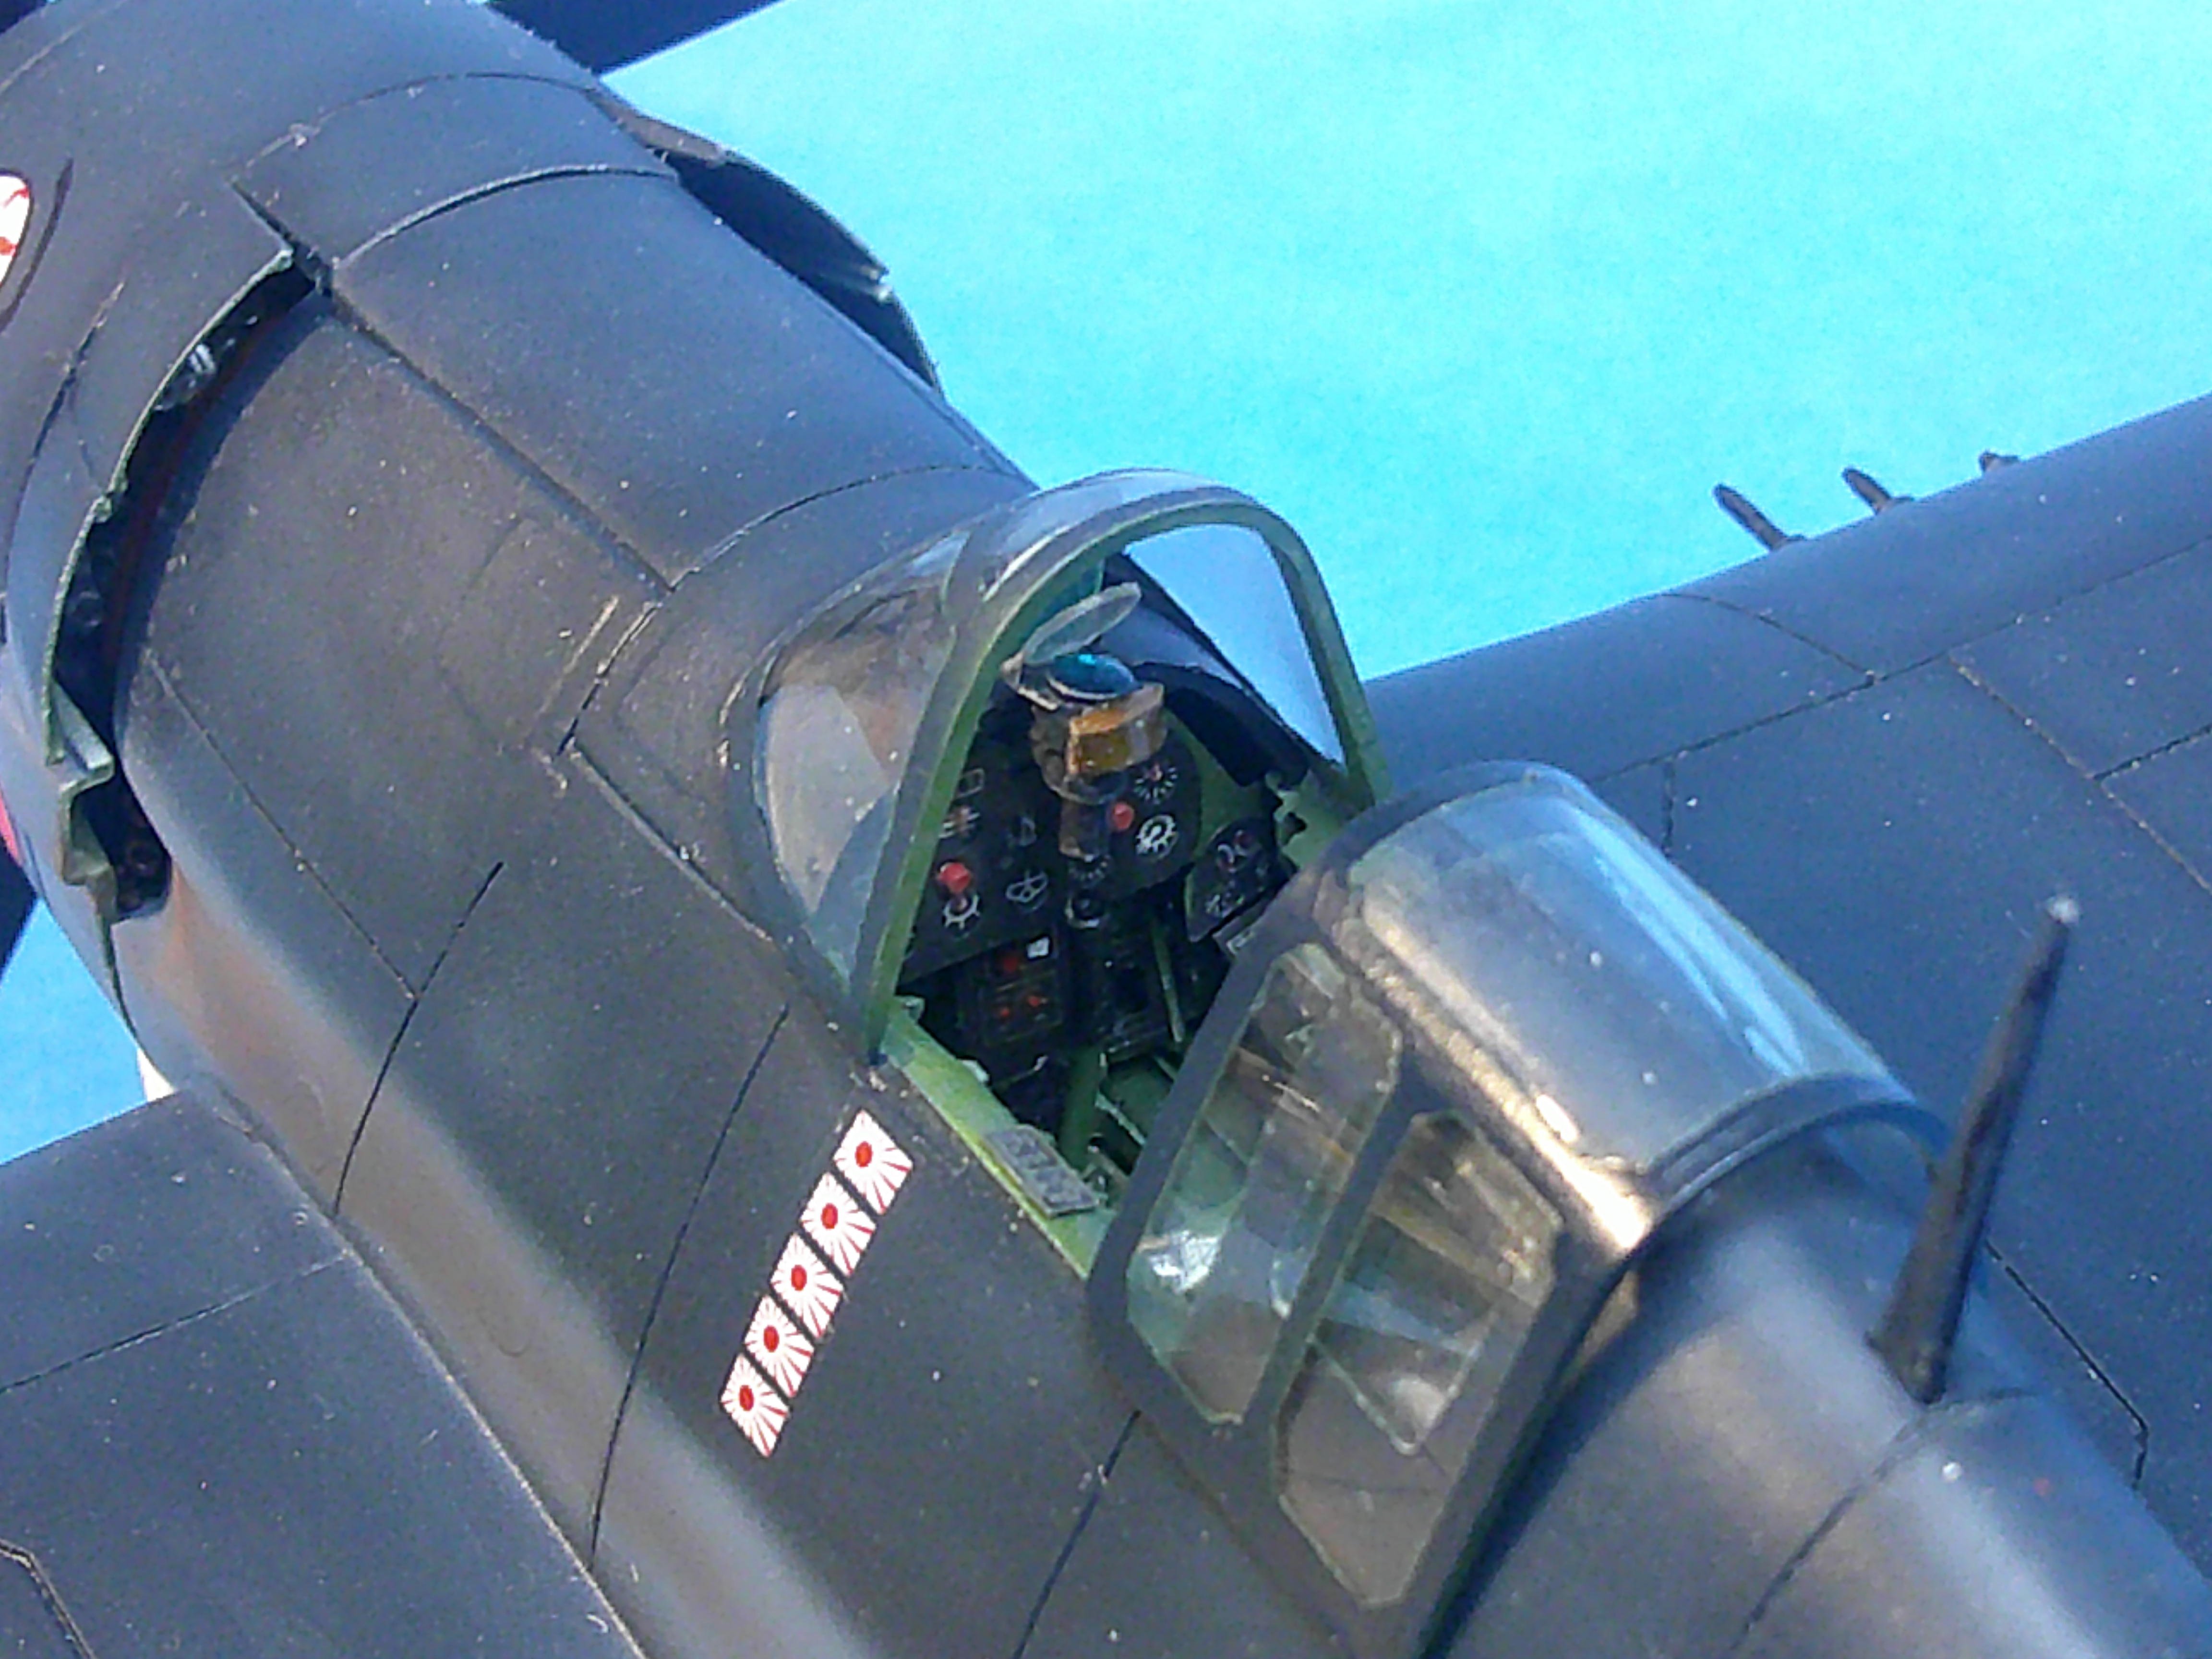
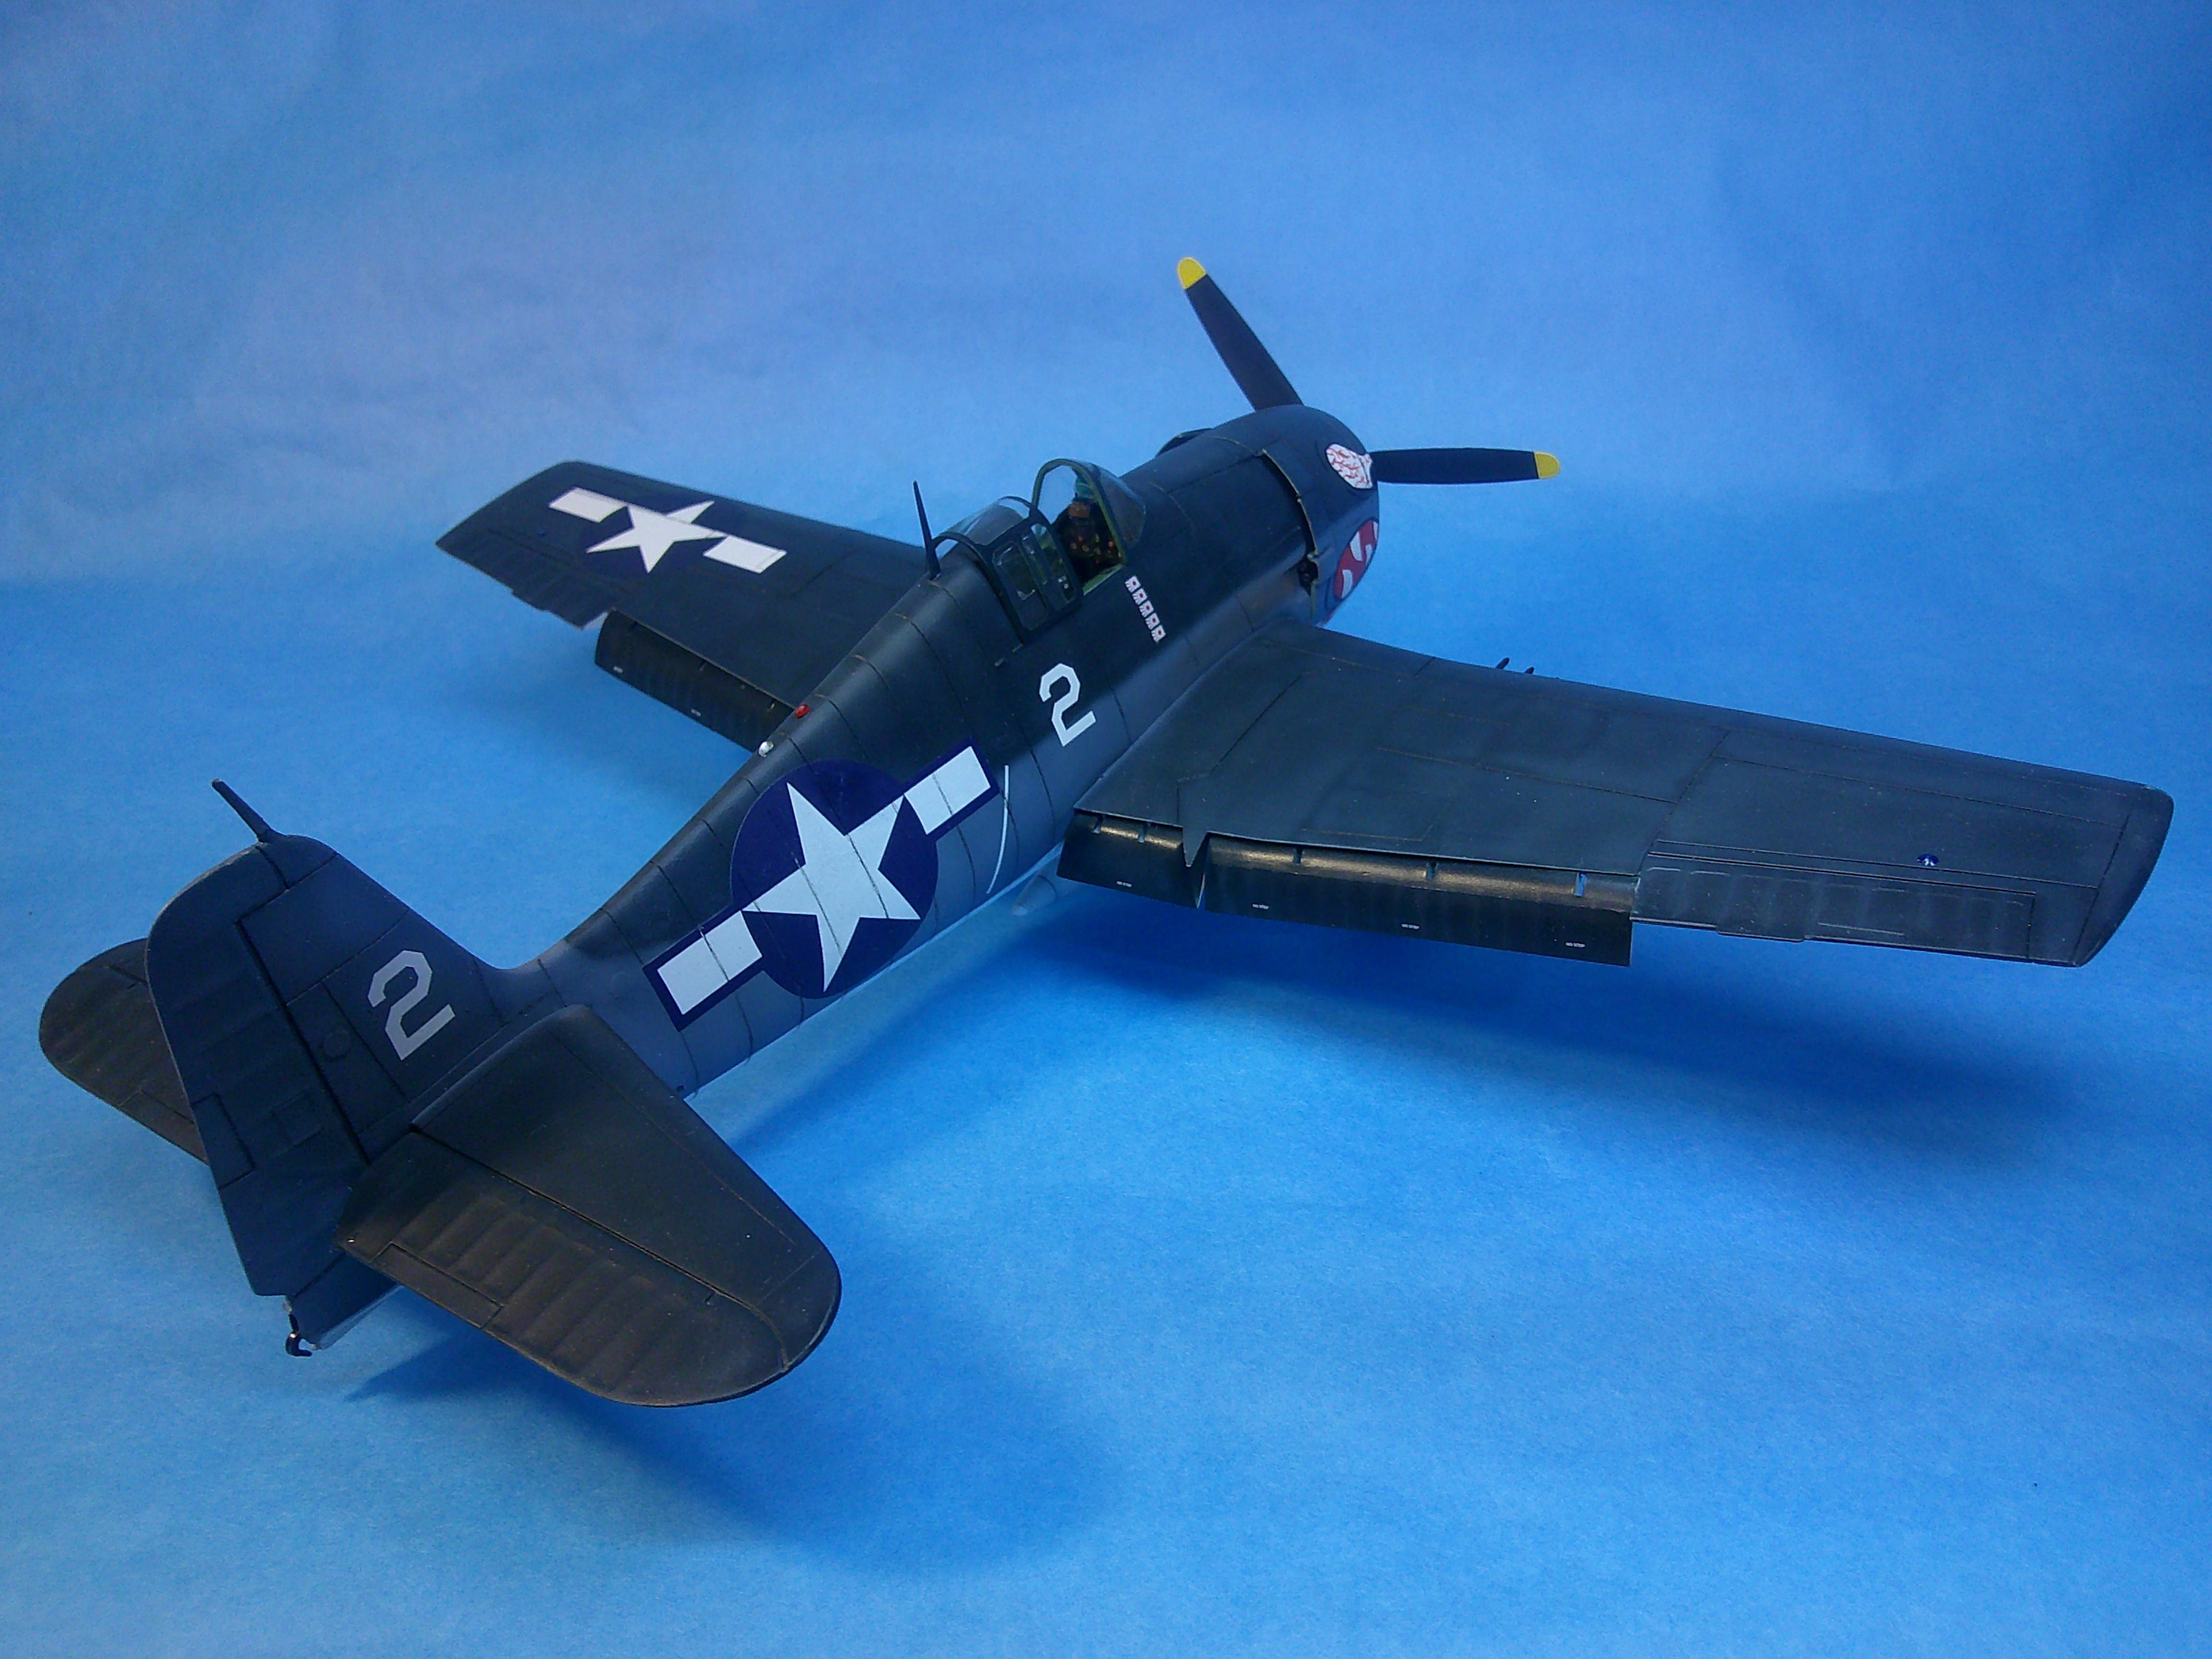
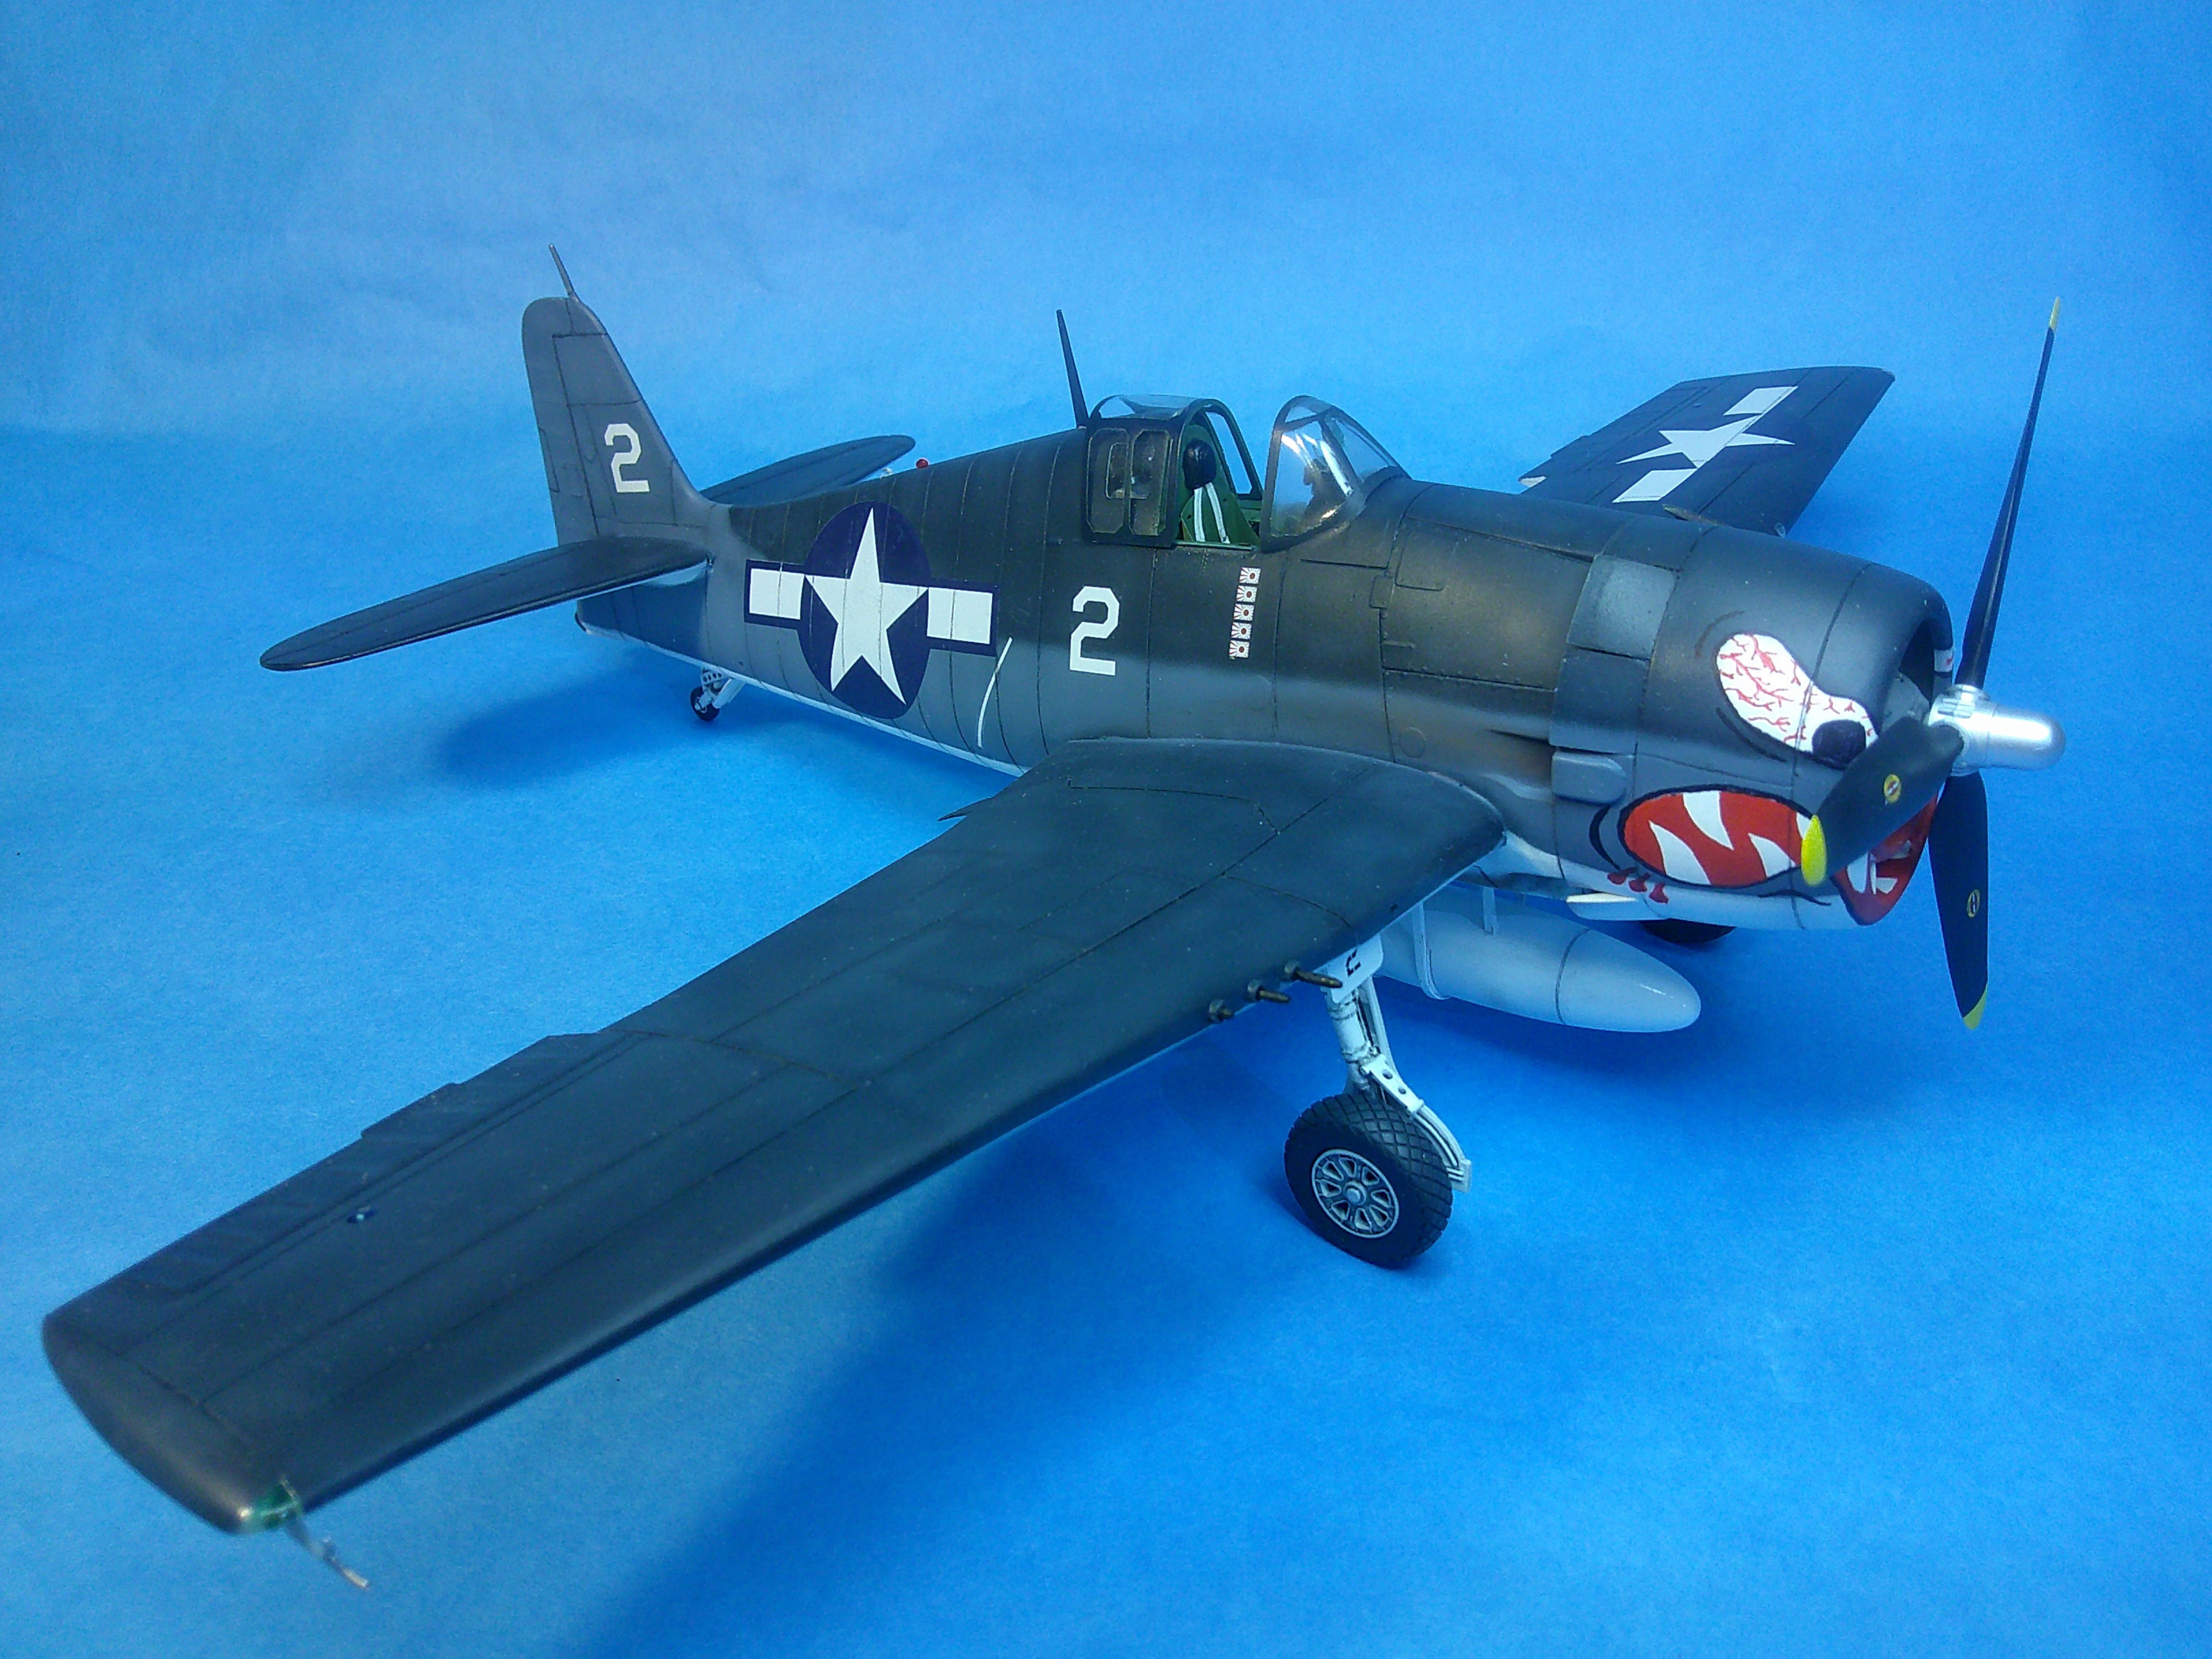
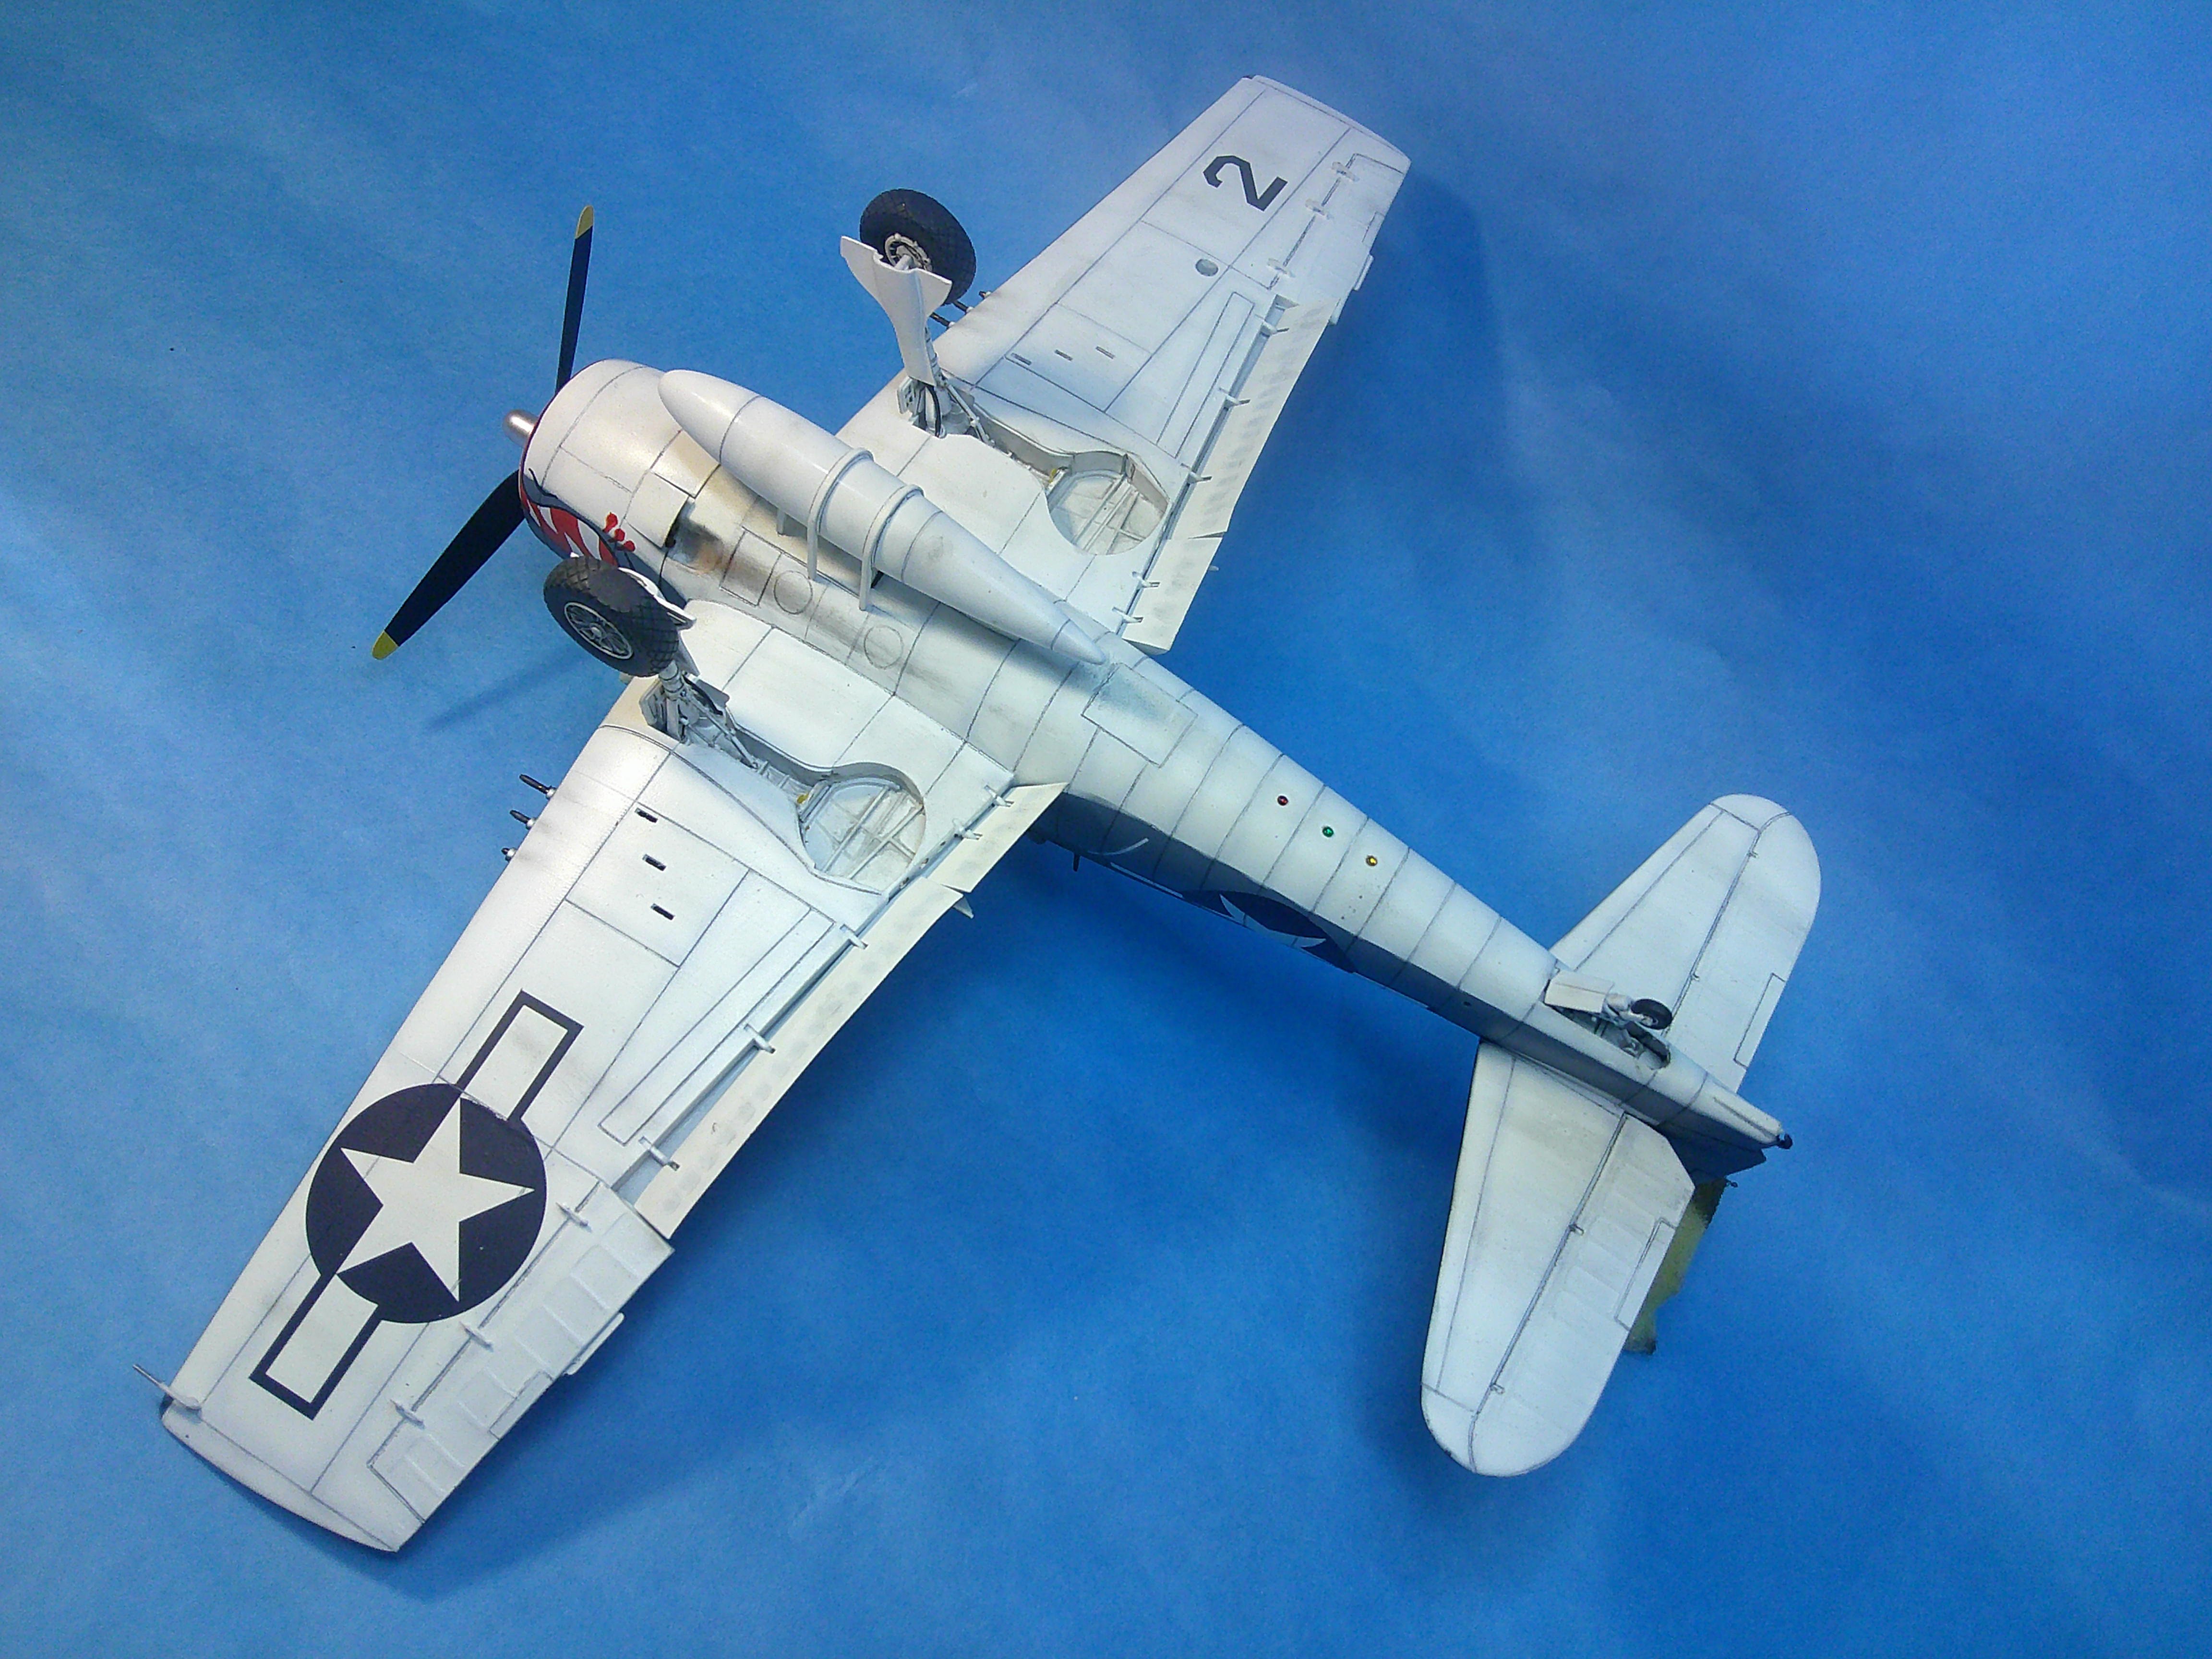
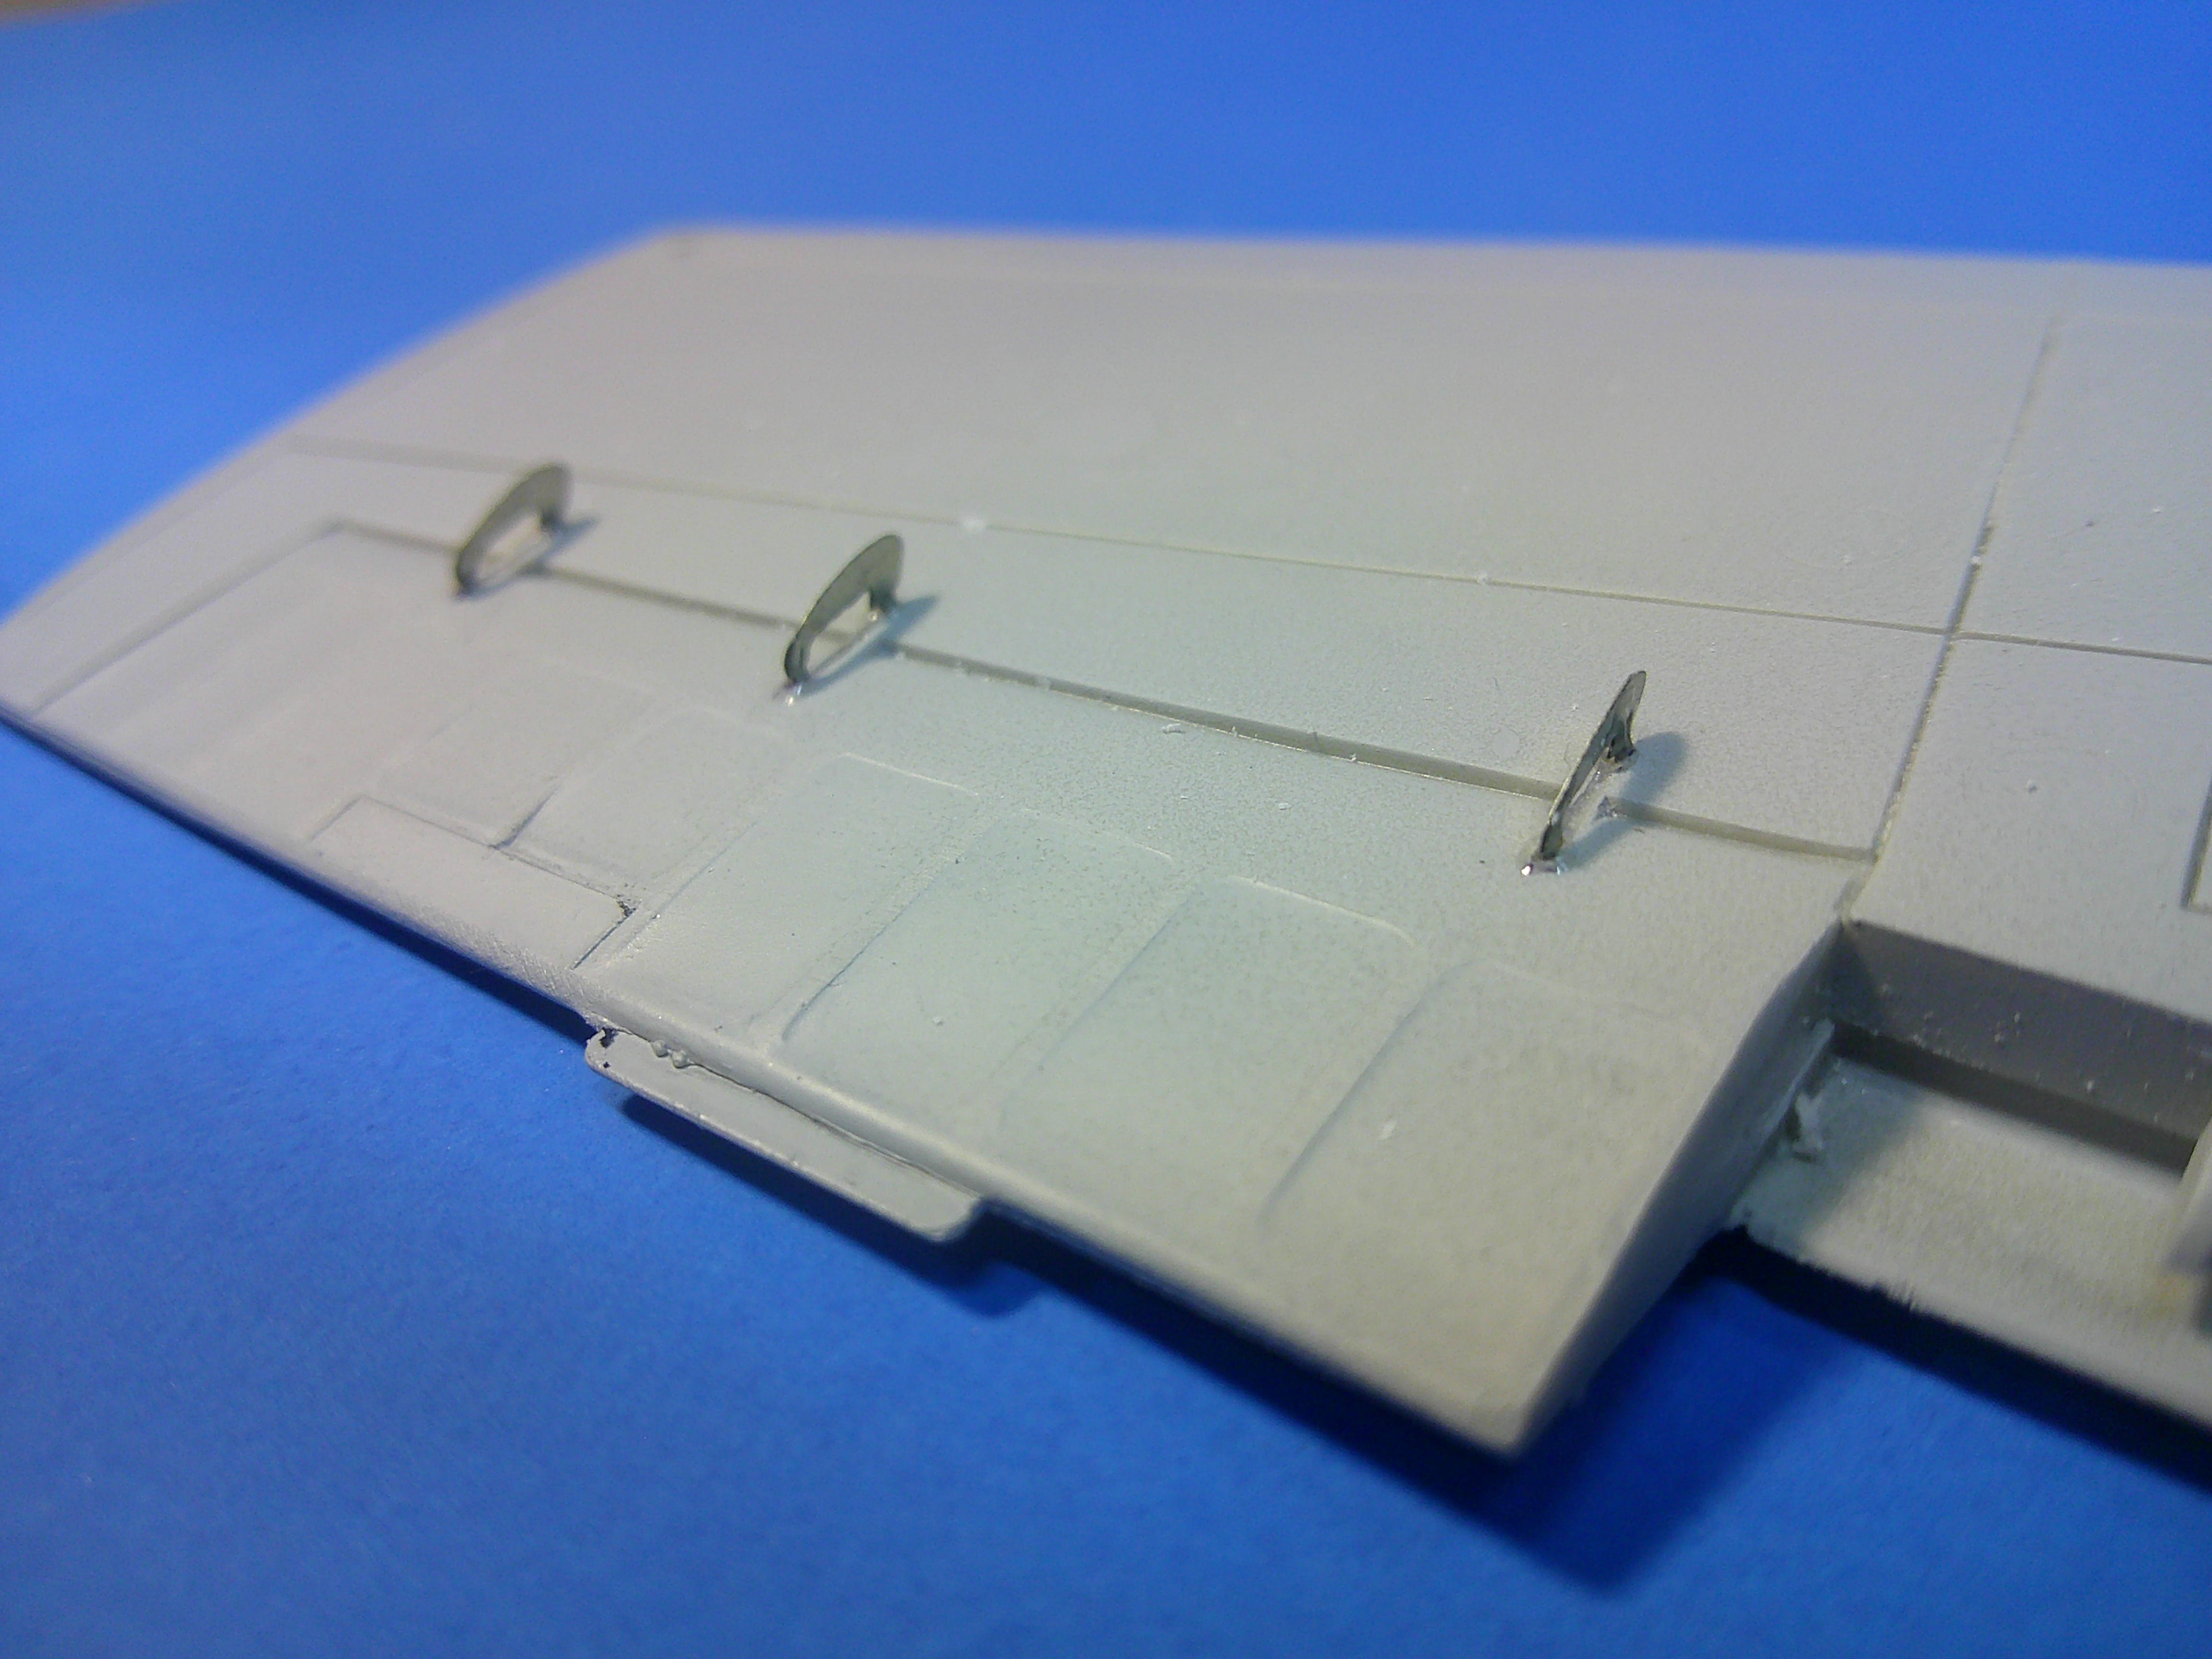
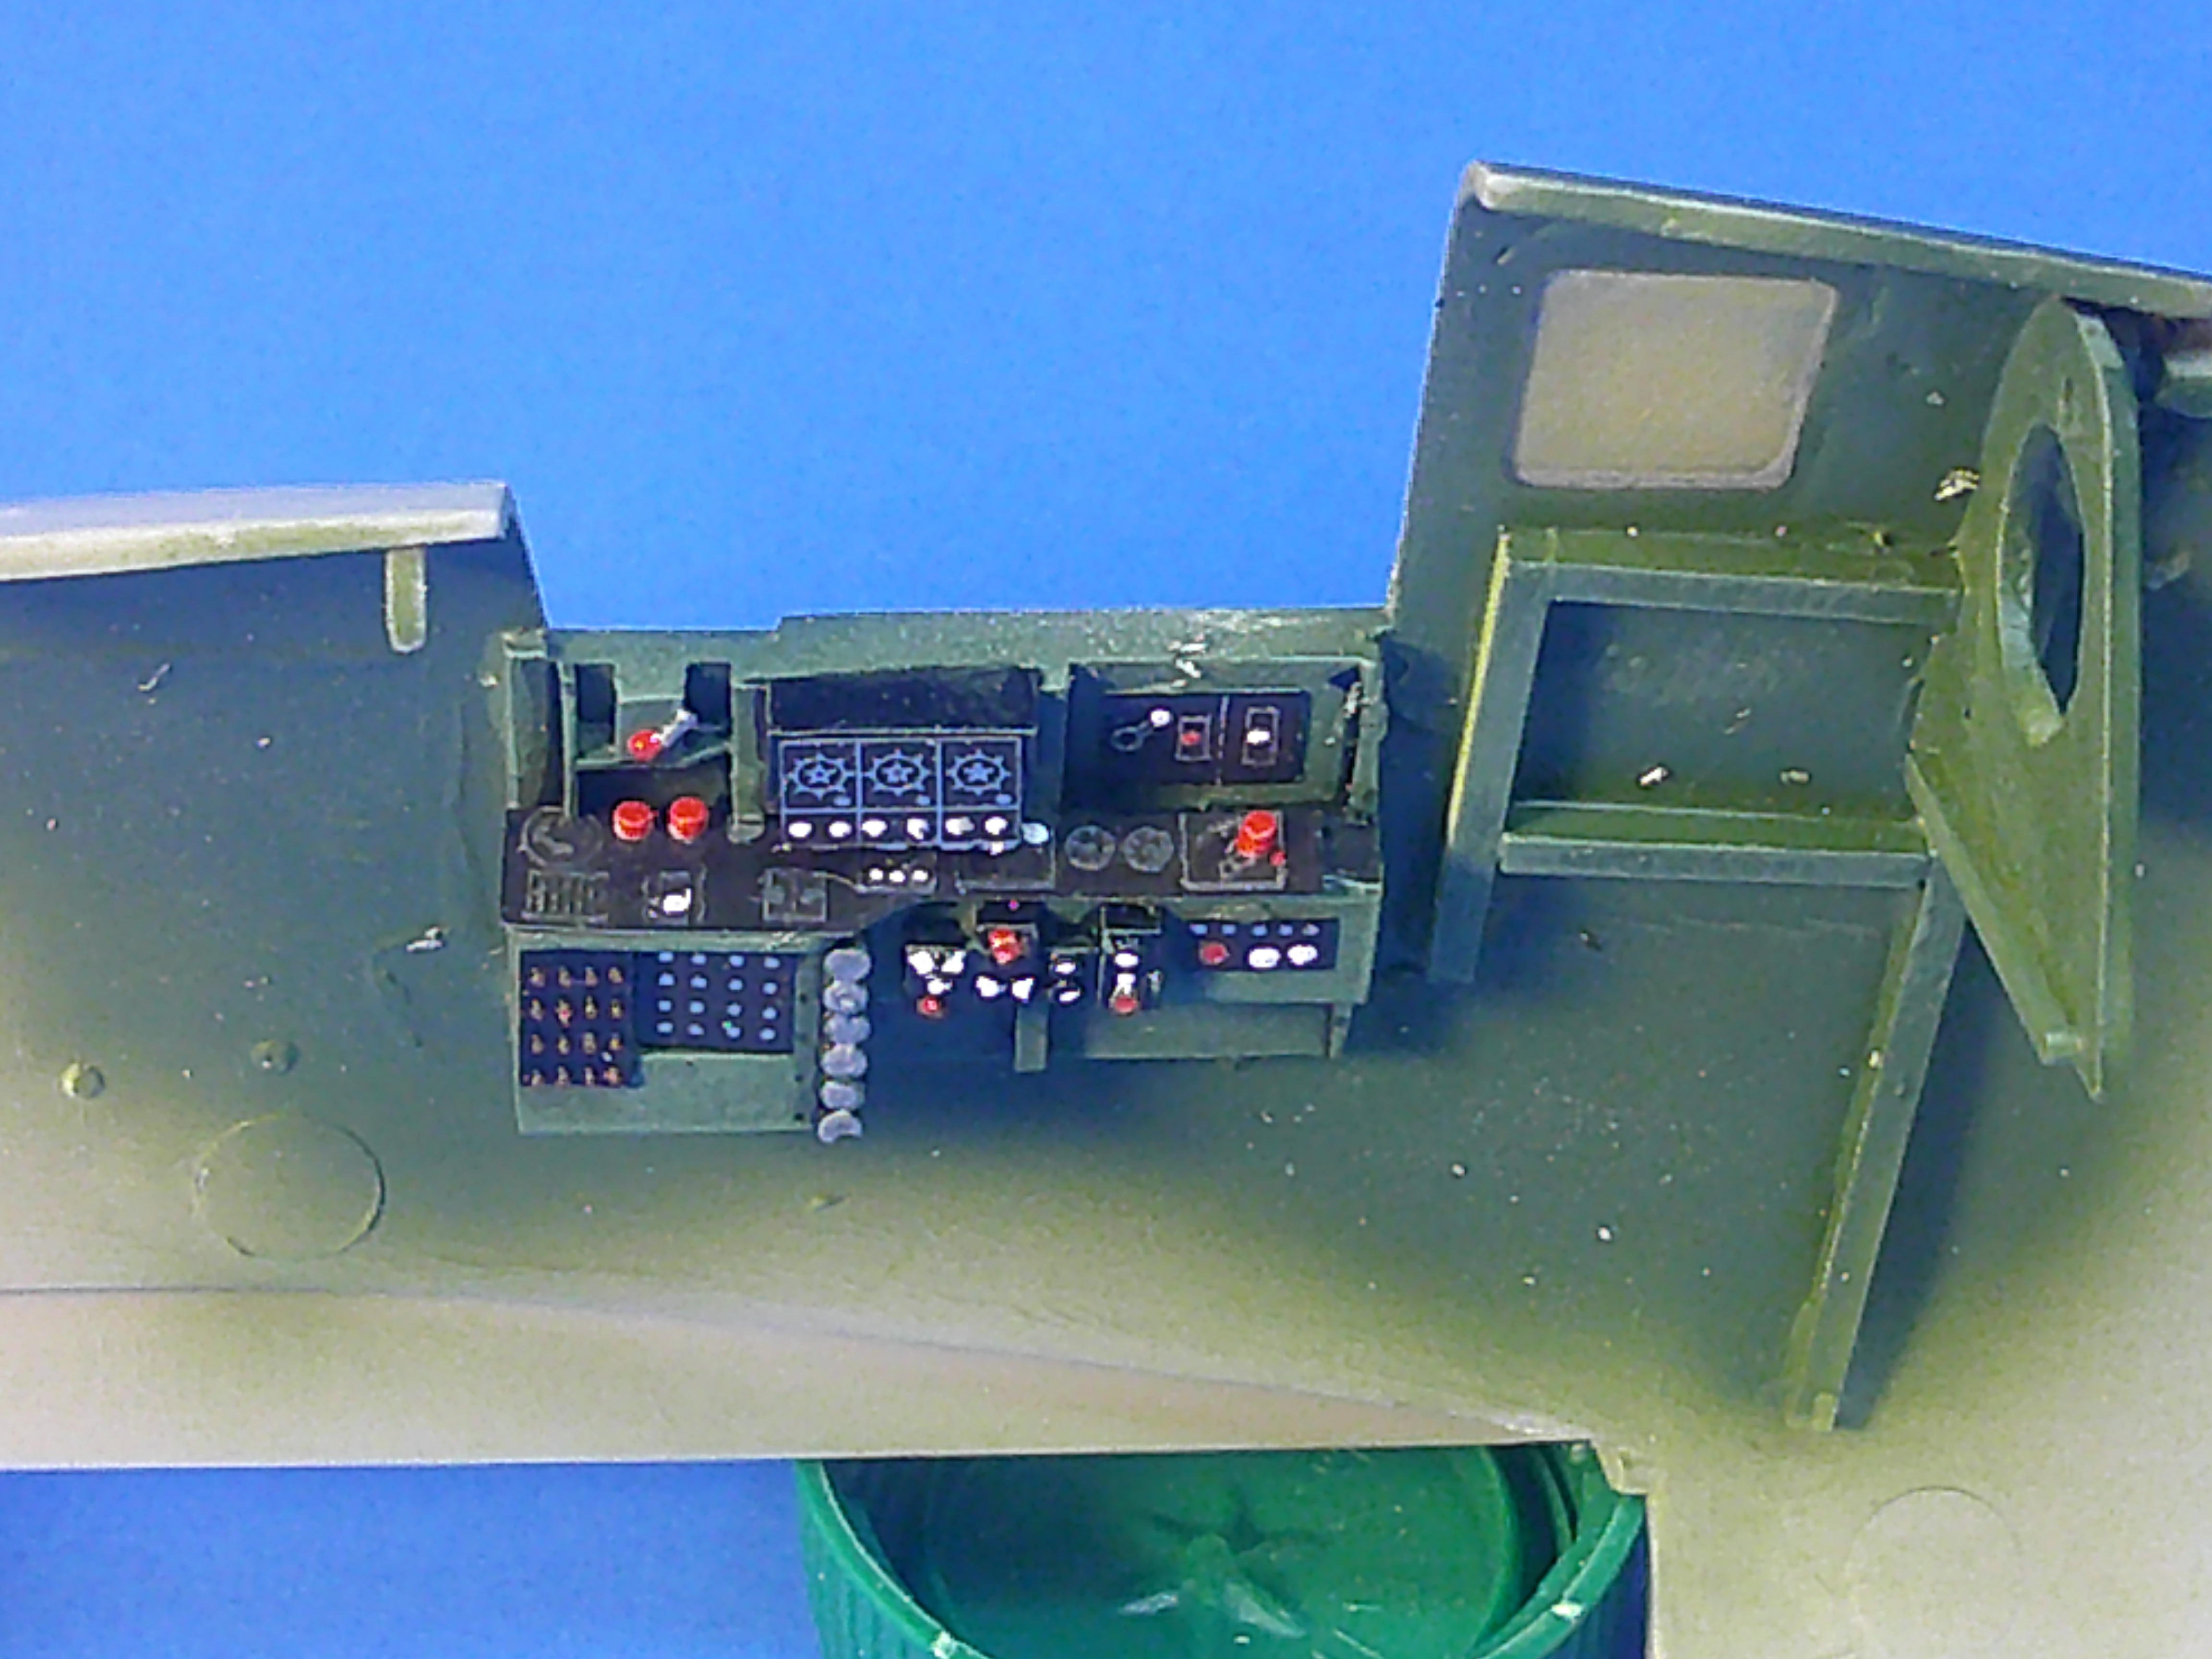
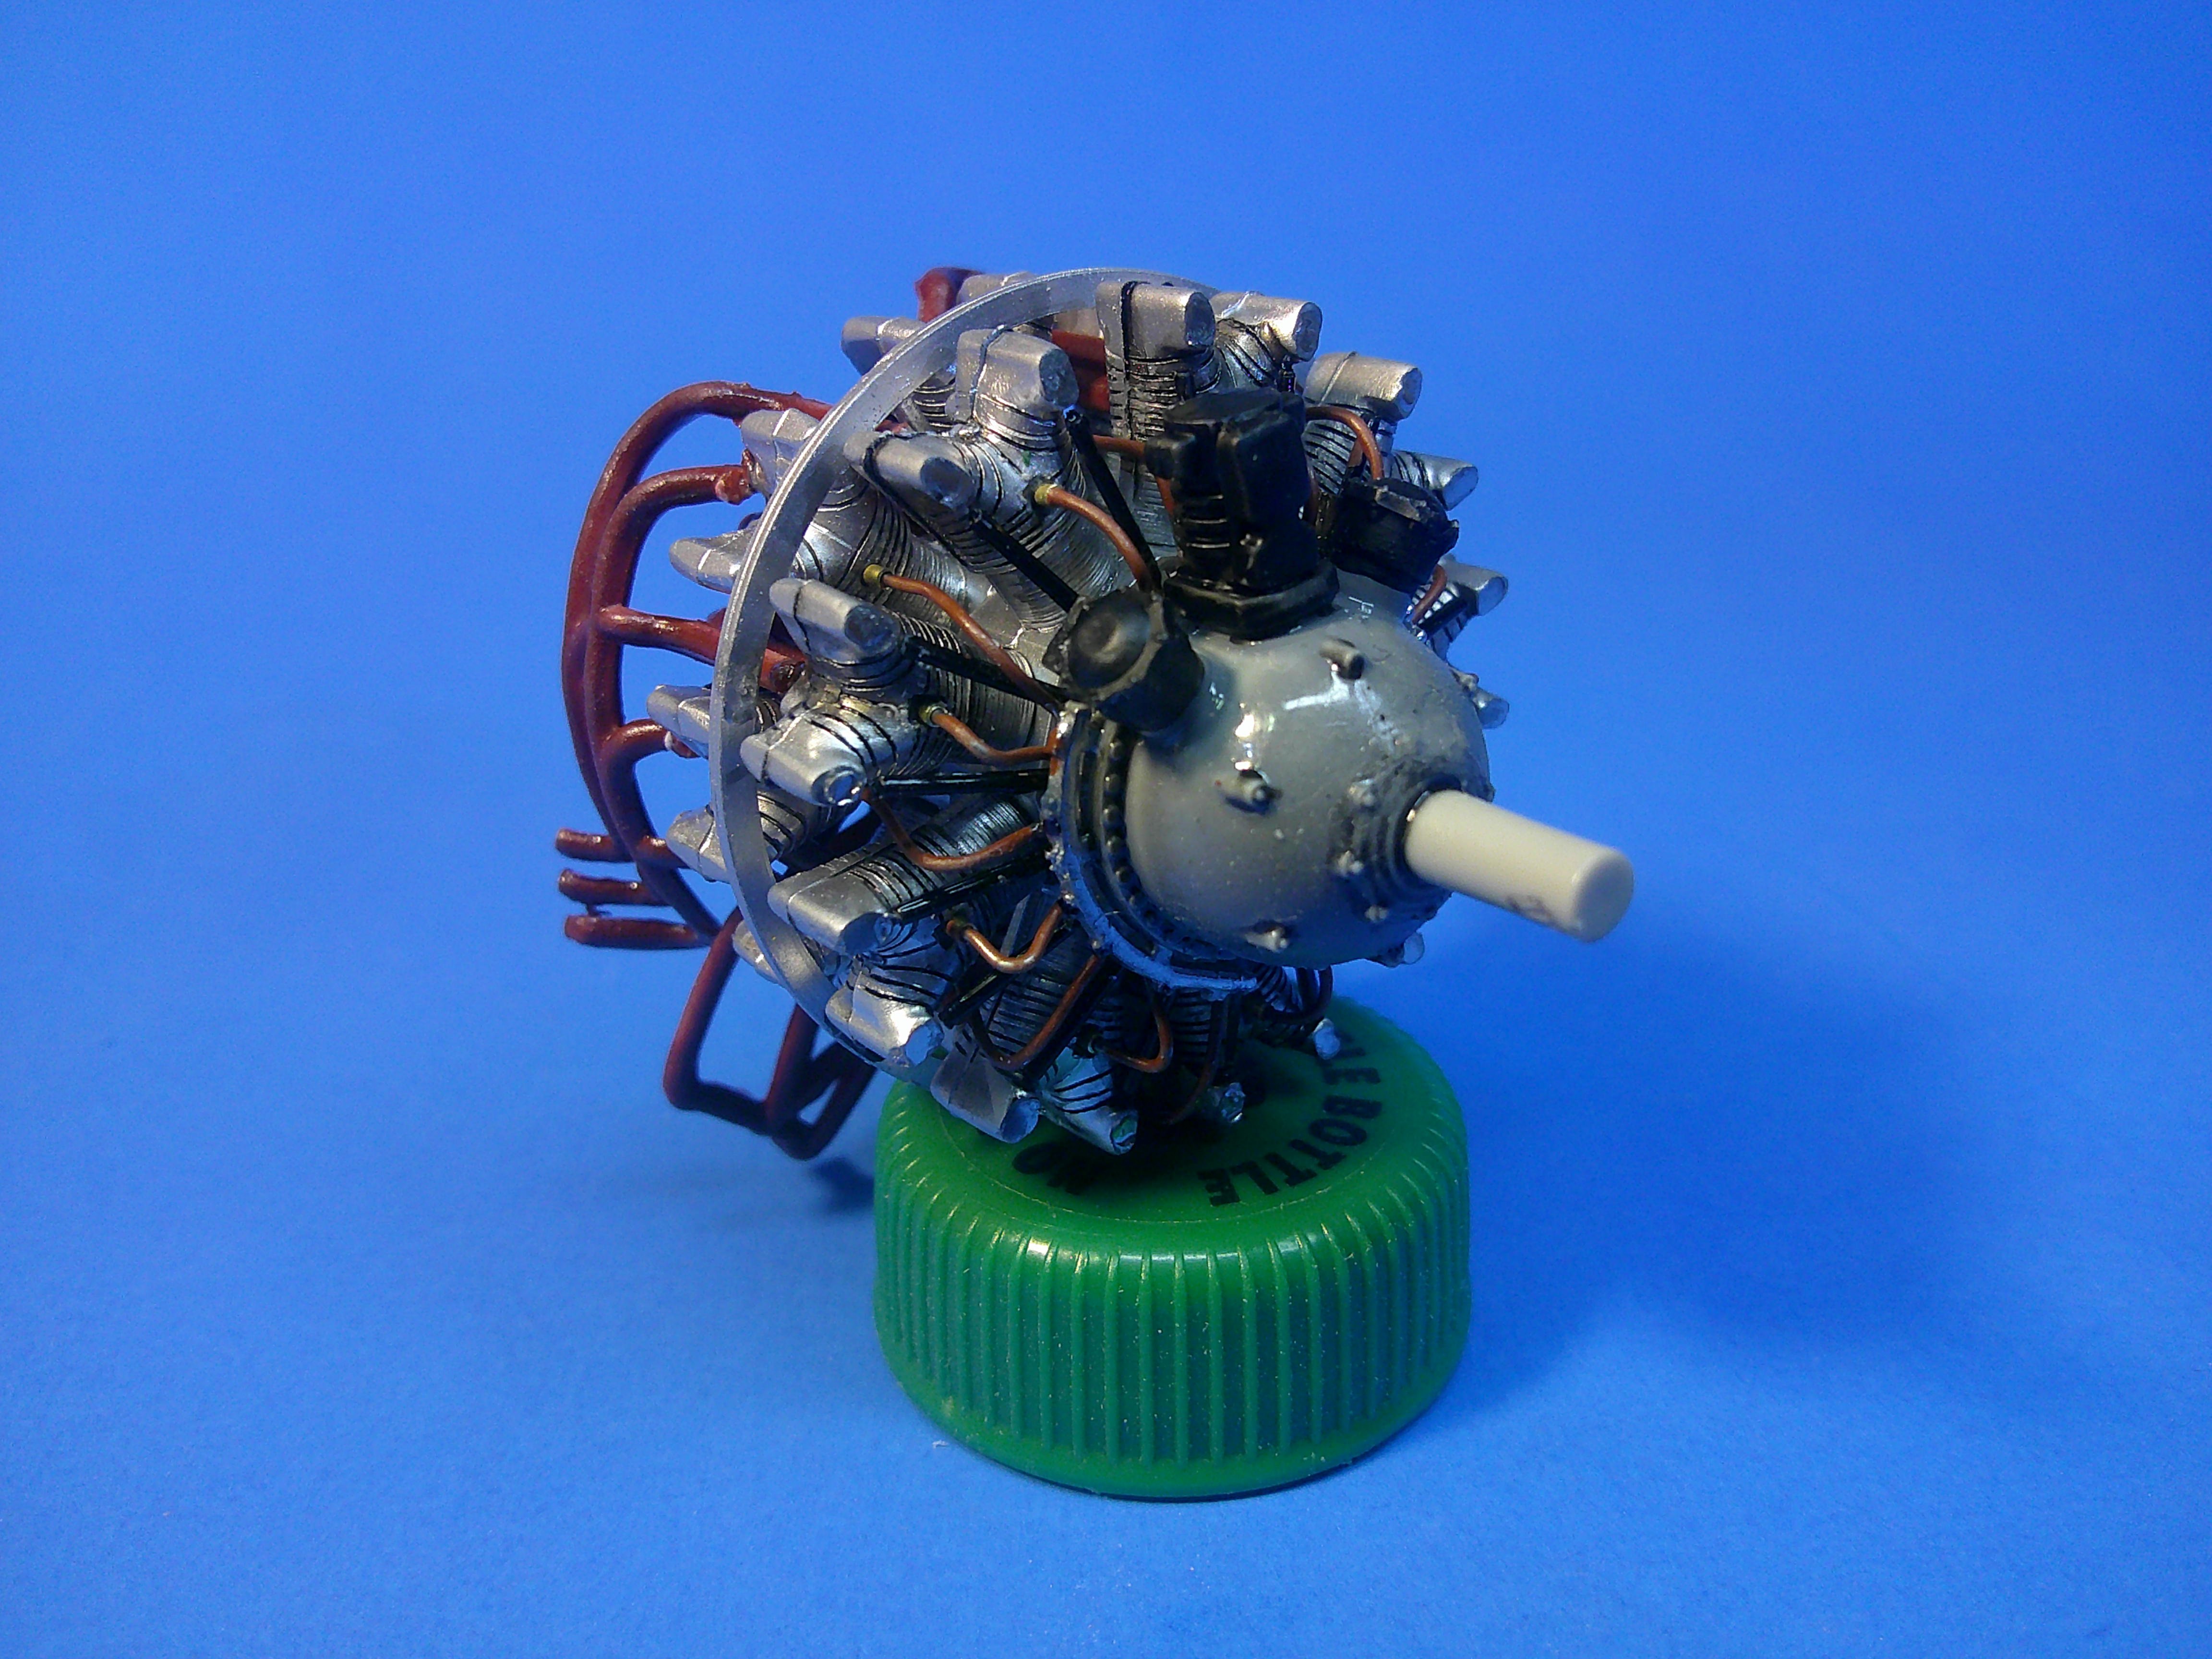
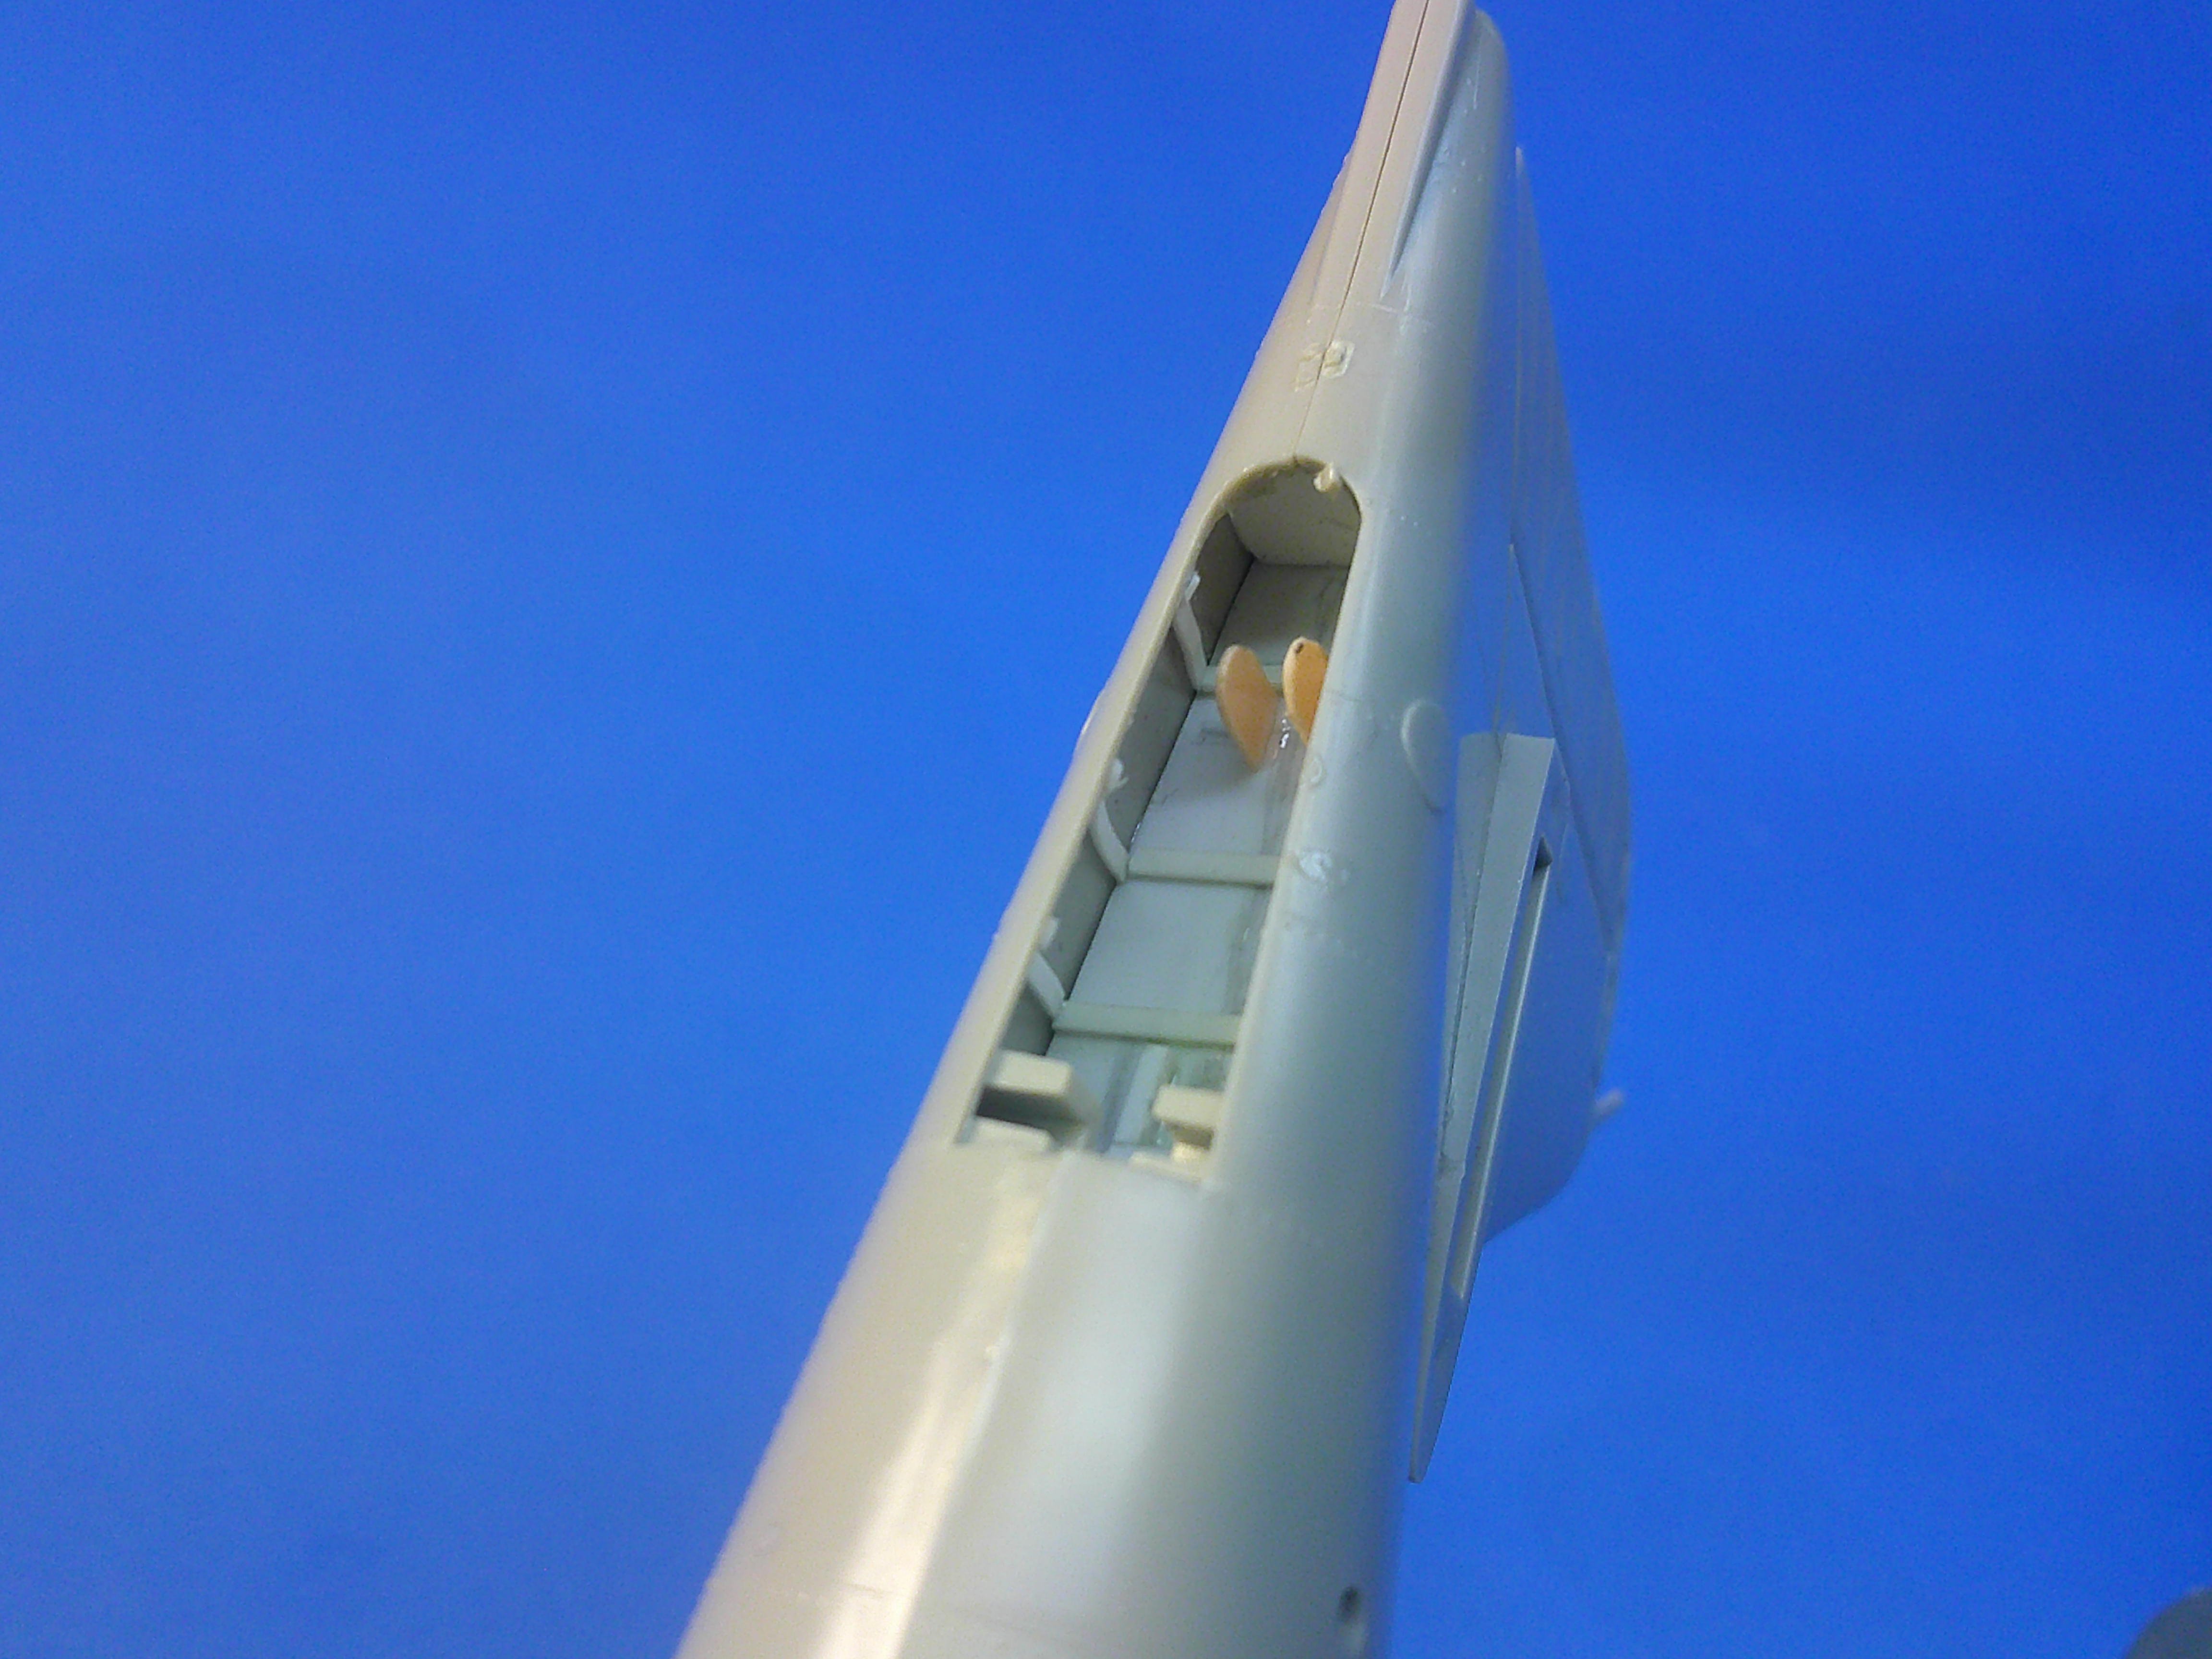
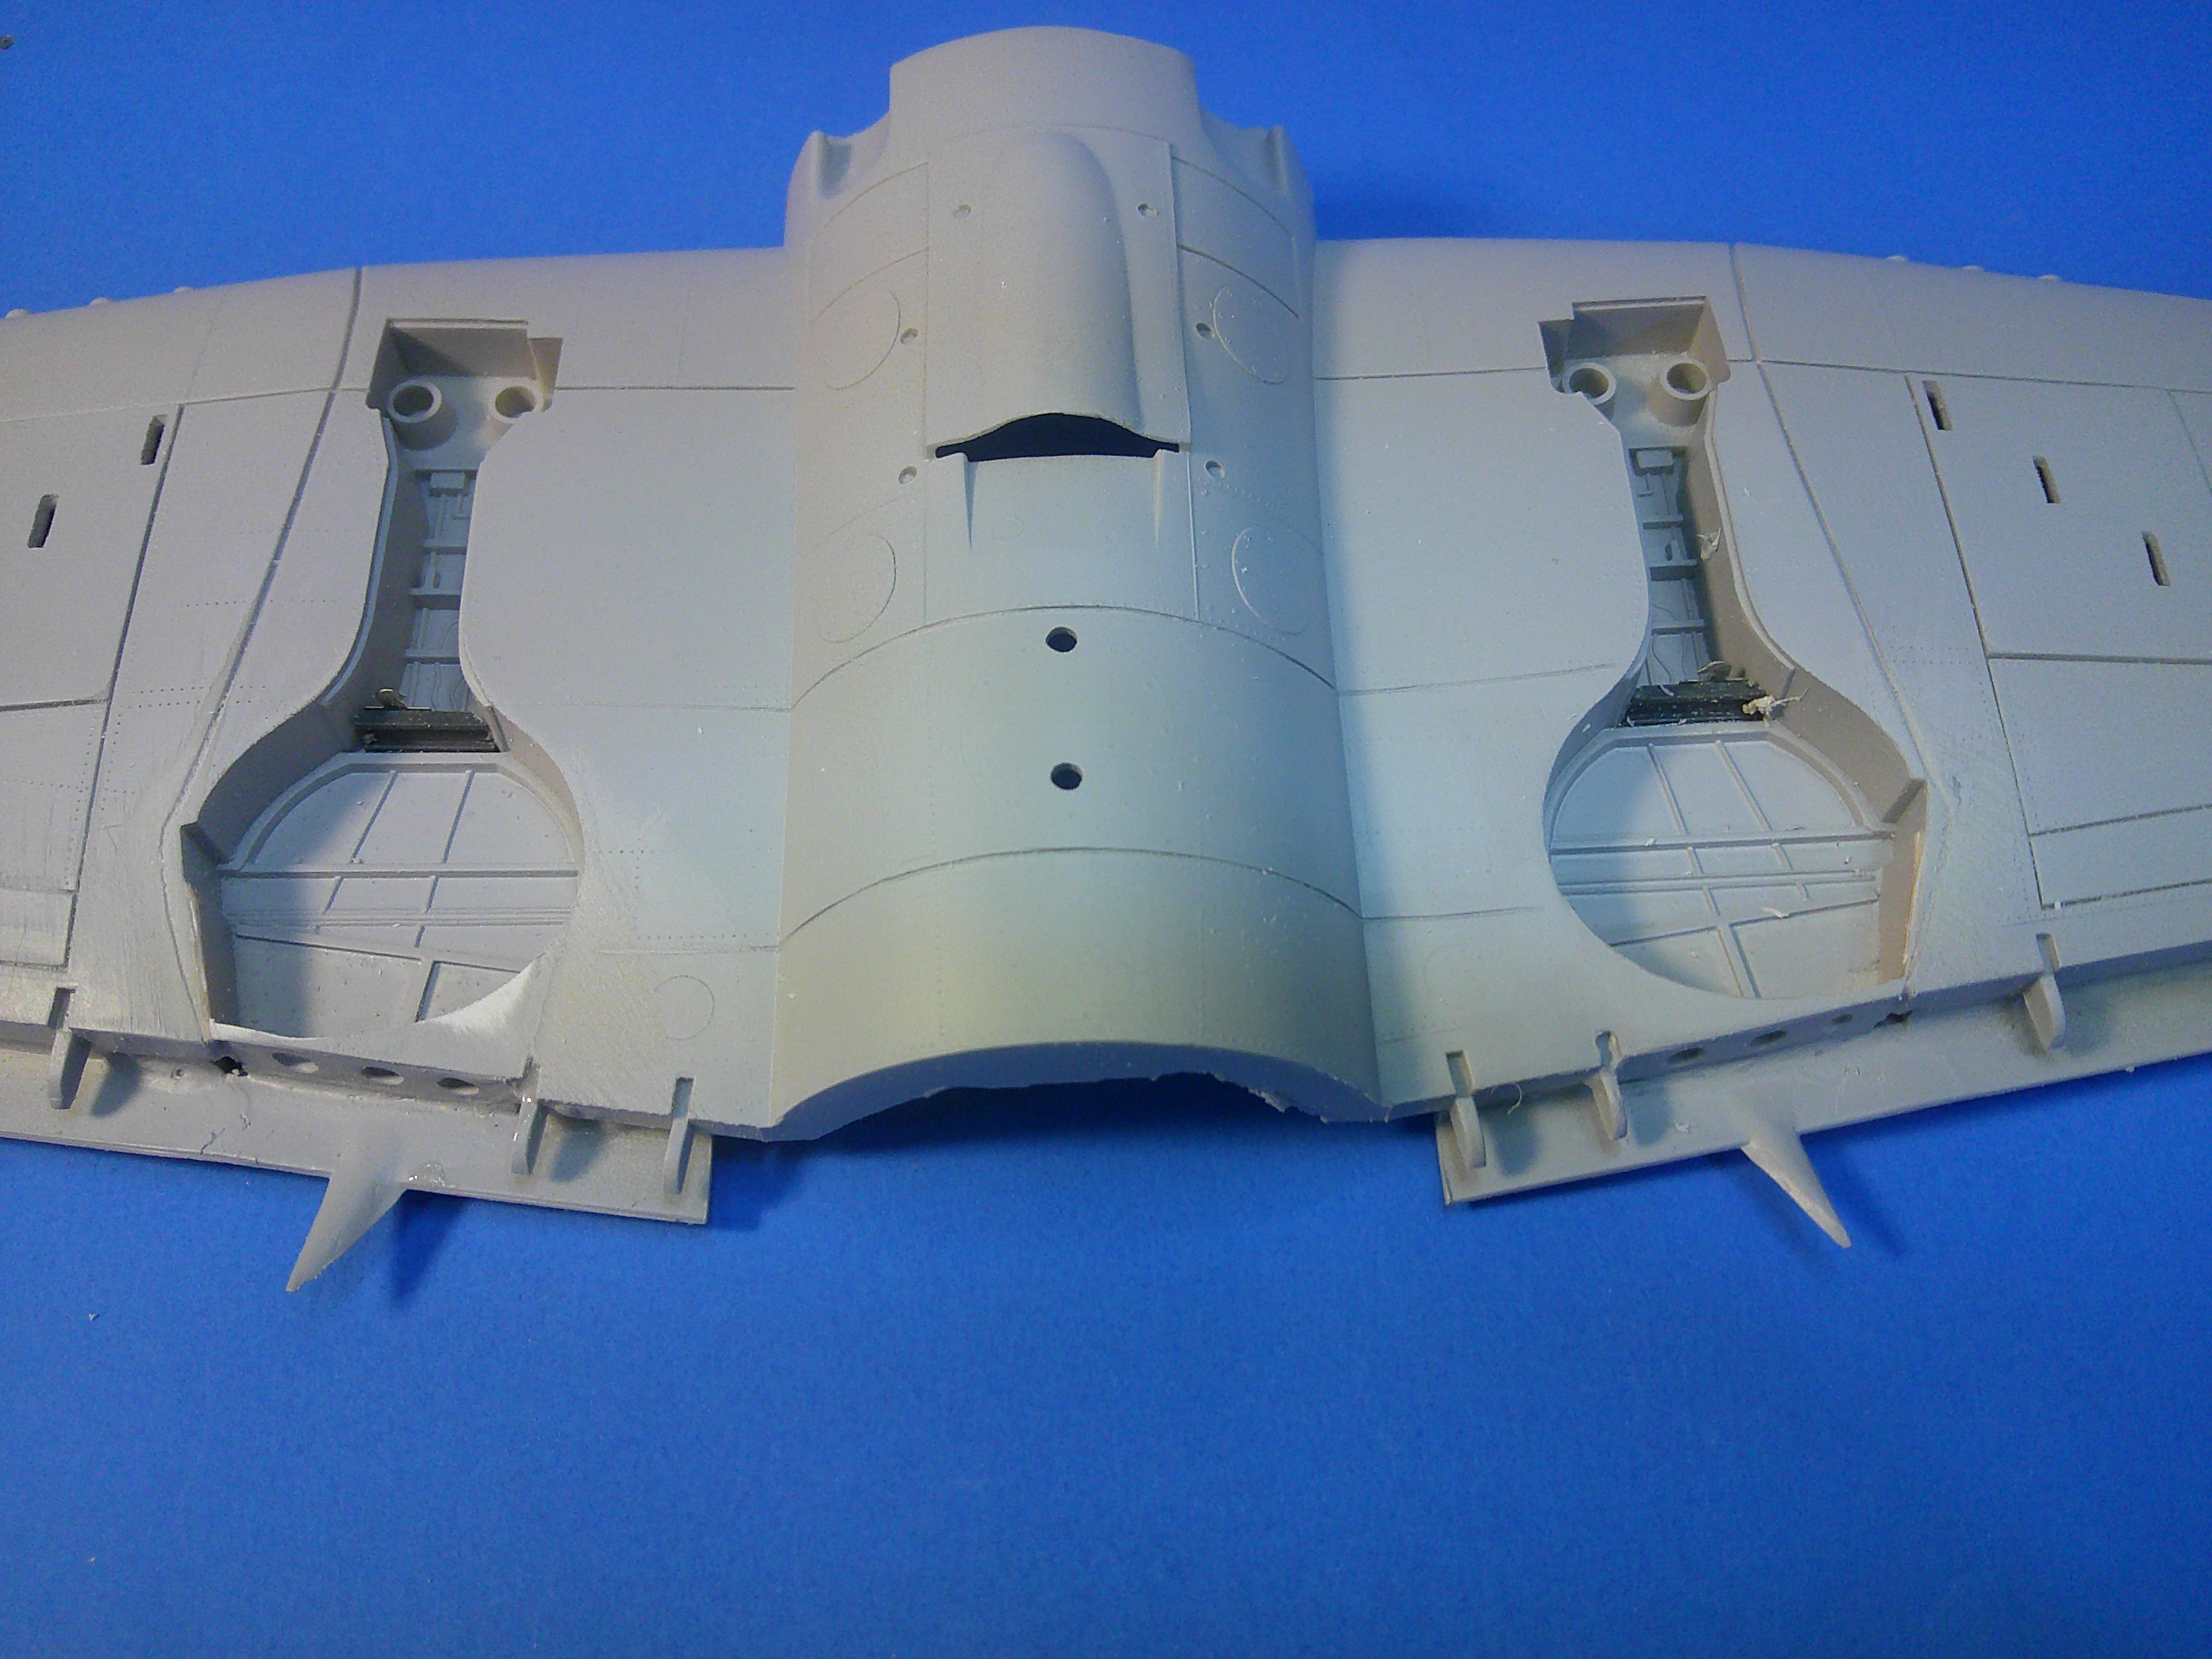
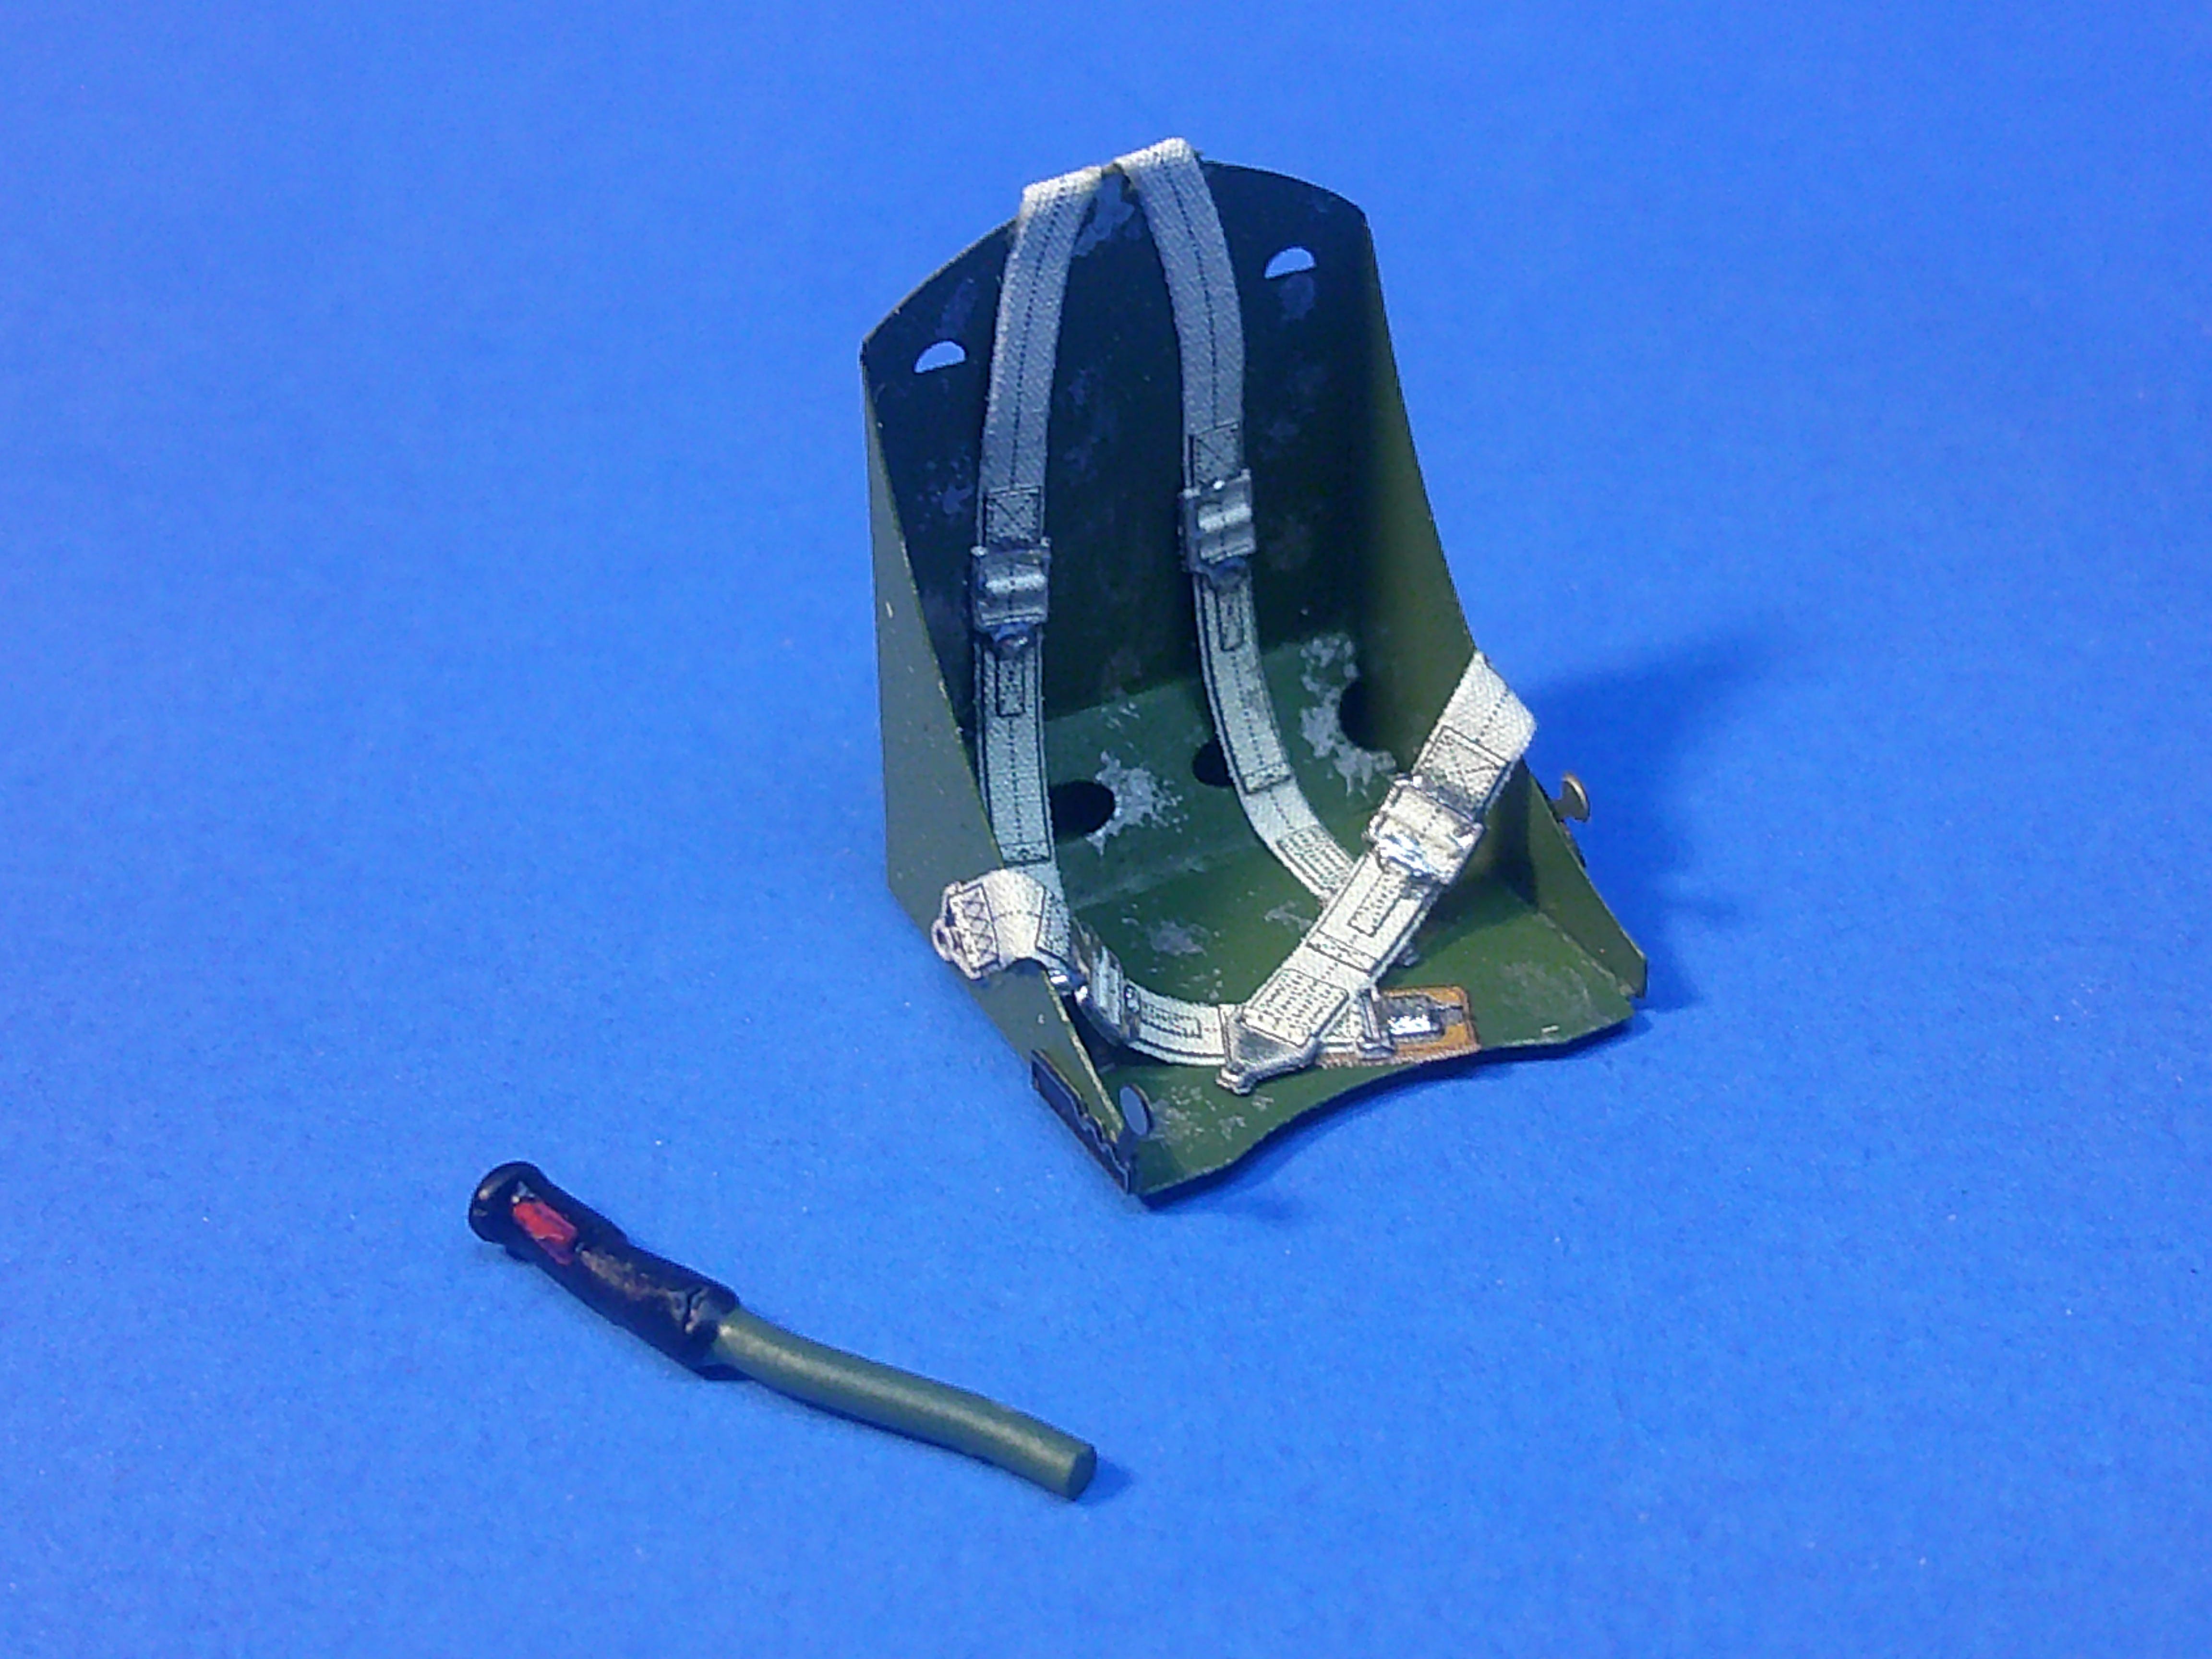
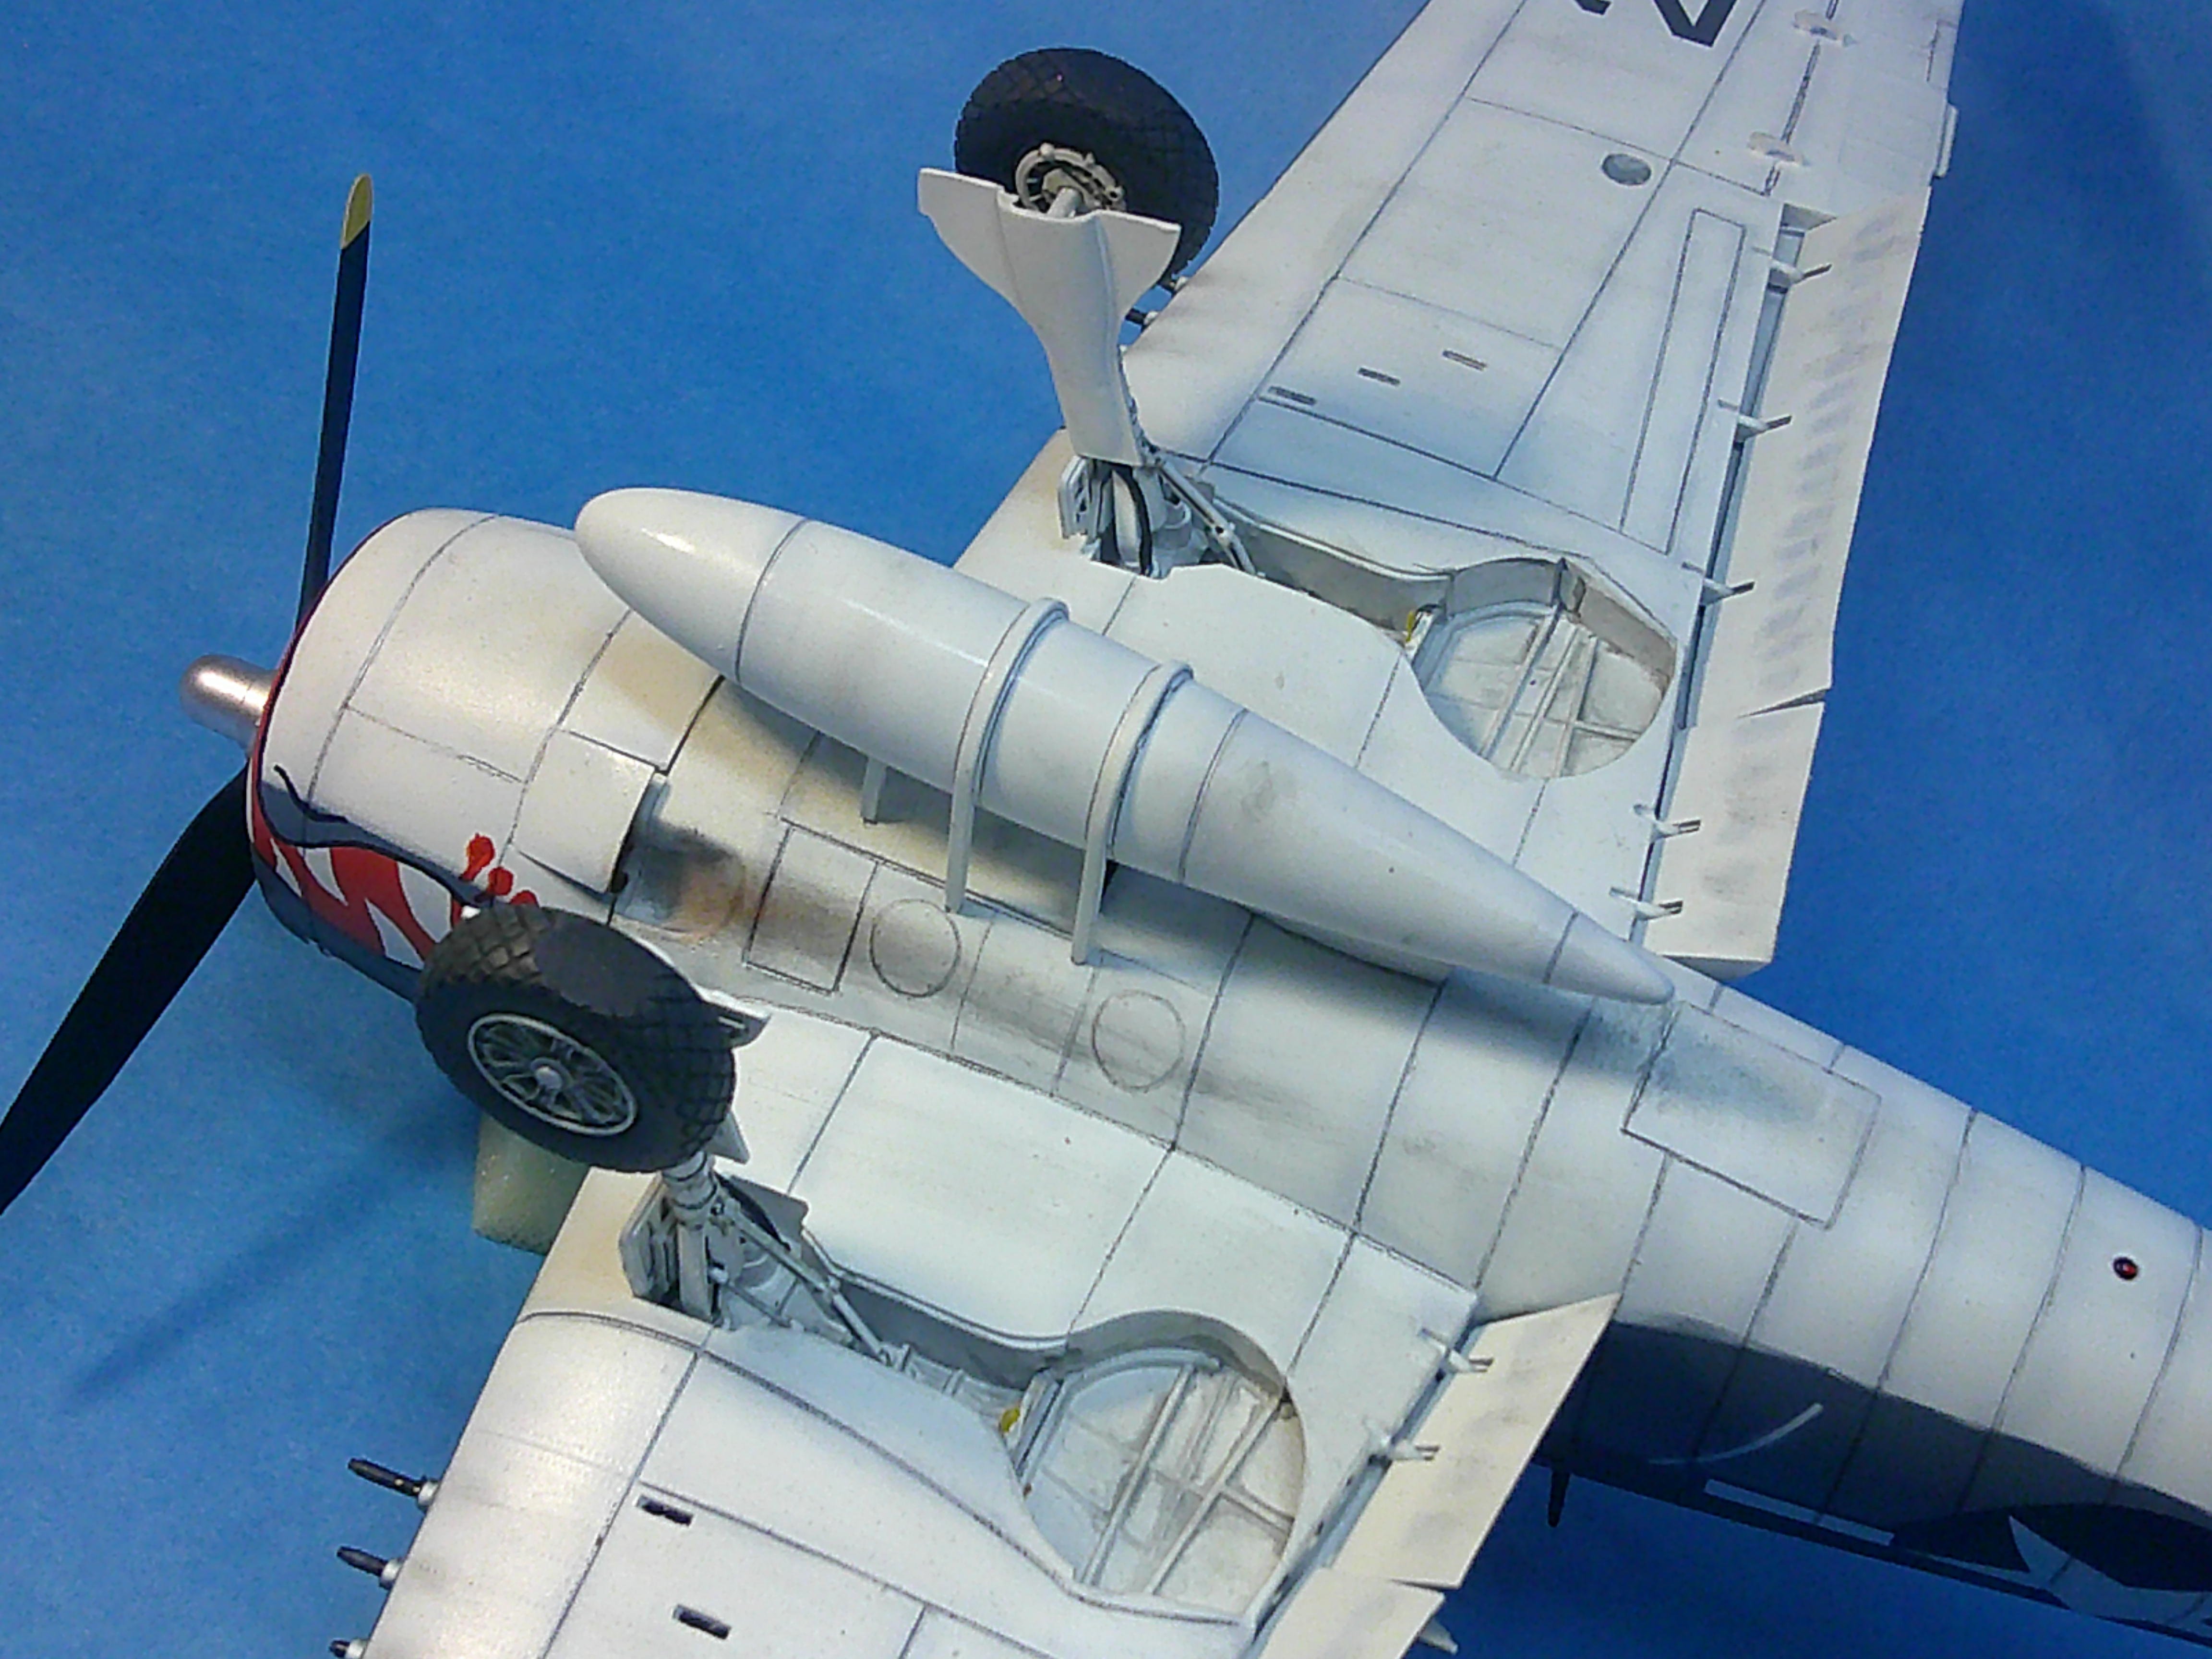
I just finished the classic 1/32 Hasagawa Hellcat, first released back in the early '70s. I built it as an F6F-3 on the Princeton and "shot the works" detailing and correcting parts of it. BUT.... the main accomplishment was PAINTING the cat-mouth artwork on the cowling. The interior is a combination of Verlinden resin parts for the floor and side panels and HodgePodge PE parts for the main instrument panel (with film instruments), the seat, and side wall detailing. I also scratchbuilt the engine water injection storage tank behind the cockpit since it would be visable through the -3 side windows. The rudder pedals are HP PE parts (with Grumman on them!) but I had to scratchbuild their frames. The kit only had a hole for the tail wheel, so I scratchbuilt a well for it. The main gear bay detailing mysteriously stopped half-way back in the tire well, so the rear half of each of them needed to be detailed with strip plastic. The wells also needed to be closed off at the rear and their outlines around the tire wells corrected so that there was a curve along their inside edges along the top. You can also see the HP PE gear up-lock hooks added in each well. The kit's aileron hinges were solid blobs so they were cut off and replaced with HP PE actuators that have the proper see-through underside to them. The kit engine is almost a kit in itself and VERY complete for its age. All I did was add plug wire receptacles and ignition cables made from solder wire. The cat-mouth artwork is a combination of masking and painting for the eye and mouth outlines and teeth along with detailing for and around them added using black and red very fine point Sharpie pens. The hardest part wasn't the artwork itself as much as making sure the masking for both sides was even and symmetrical from all angles! The approach light in the leading edge of the wing was added using an MV lens with a clear cover made from packing tape. I scratchbuilt a Mk.VIII gun sight (8 parts!) and also added the bullet proof glass panel behind the windshield that the kit omitted. The dropped flaps and open cowl flaps are a kit option. The kit has indented scribing on the wings and forward fuselage, but I had to scribe in all of rest of the main fuselage and tail panel lines using a razor saw. I added position lights to the rear fuselage above the tail hook and on the fuselage spine. Also note the blue formation light that was drilled, painted, and given a UV cured resin lens top on the outer part of each top wing. The wingtip lights are drilled and painted clear plastic that was then sanded and polished to shape. I also used aftermarket brass .50 gun barrels, each one cut to its proper length. I added brake lines and gear actuator struts to each of the landing gear and also drilled out their scissors links. The tires are aftermarket resin. I also added MV lens IFF lights under the rear fuselage bottom and the -3 landing light under the left wing. All in all this was a fun build that only took me about 3 weeks. It was also nostalgic as I originally built it back in the late '70s. Now I have to figure out if I can get one more built before the Nats! Critiques, comments, and questions welcome as always! Gil
-
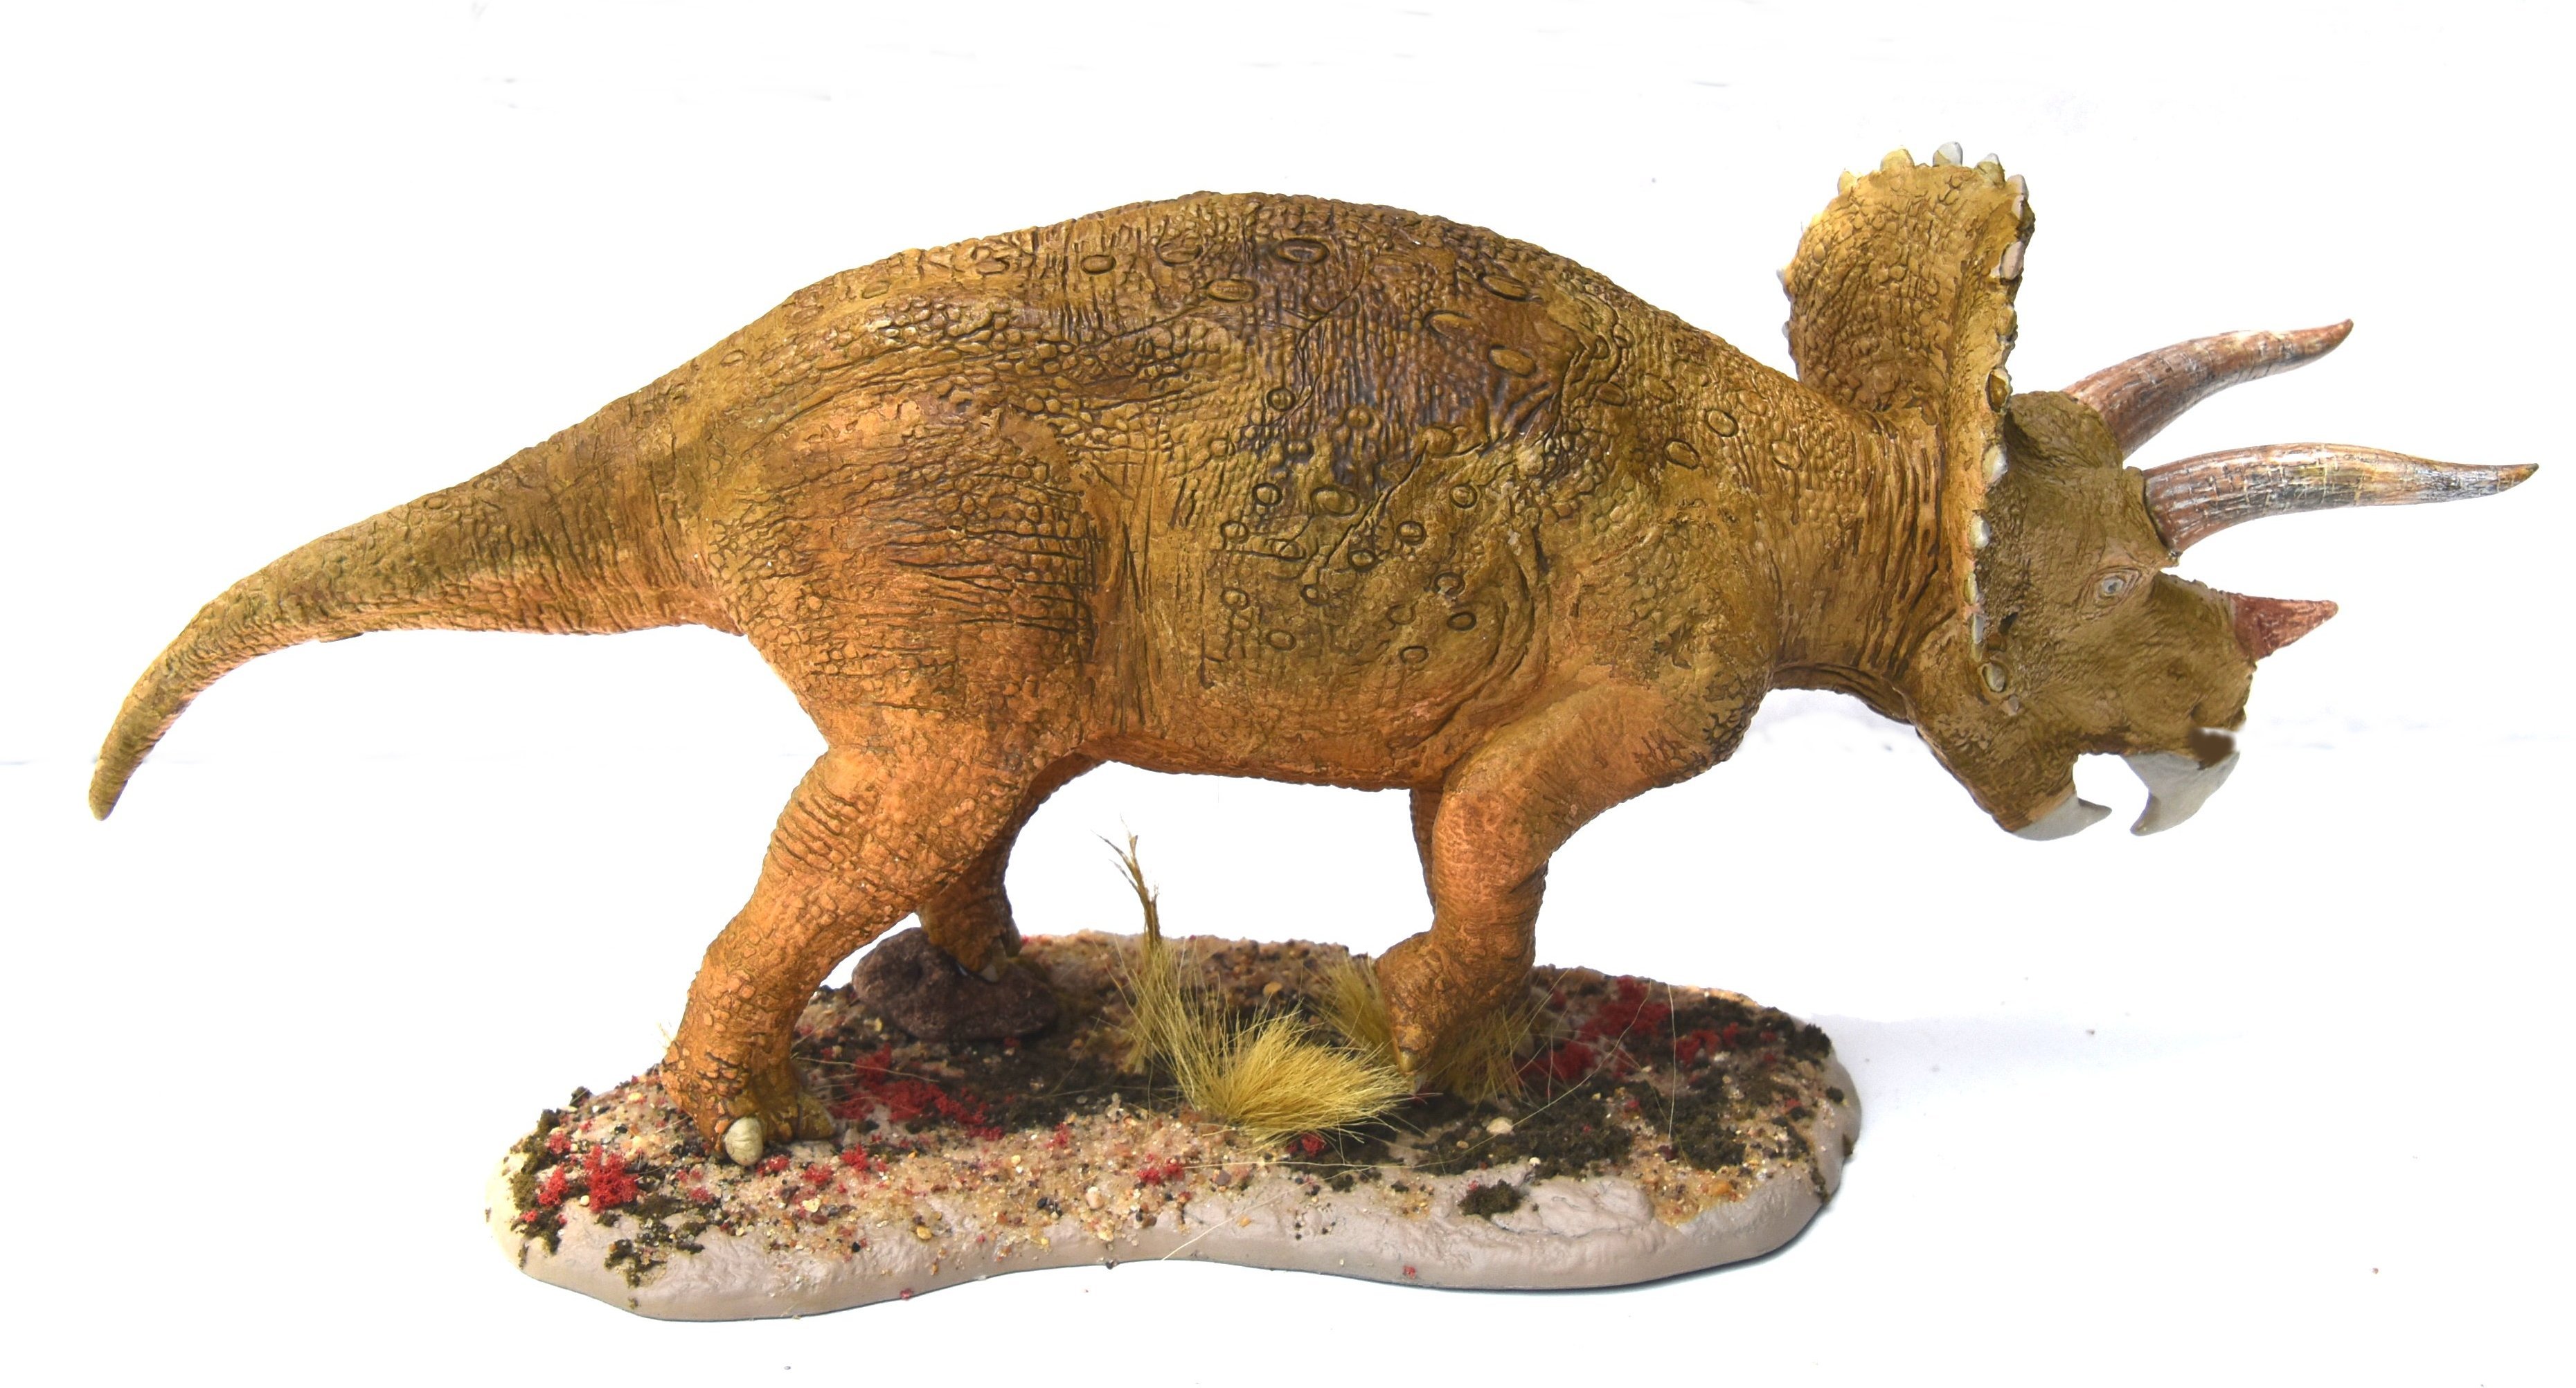
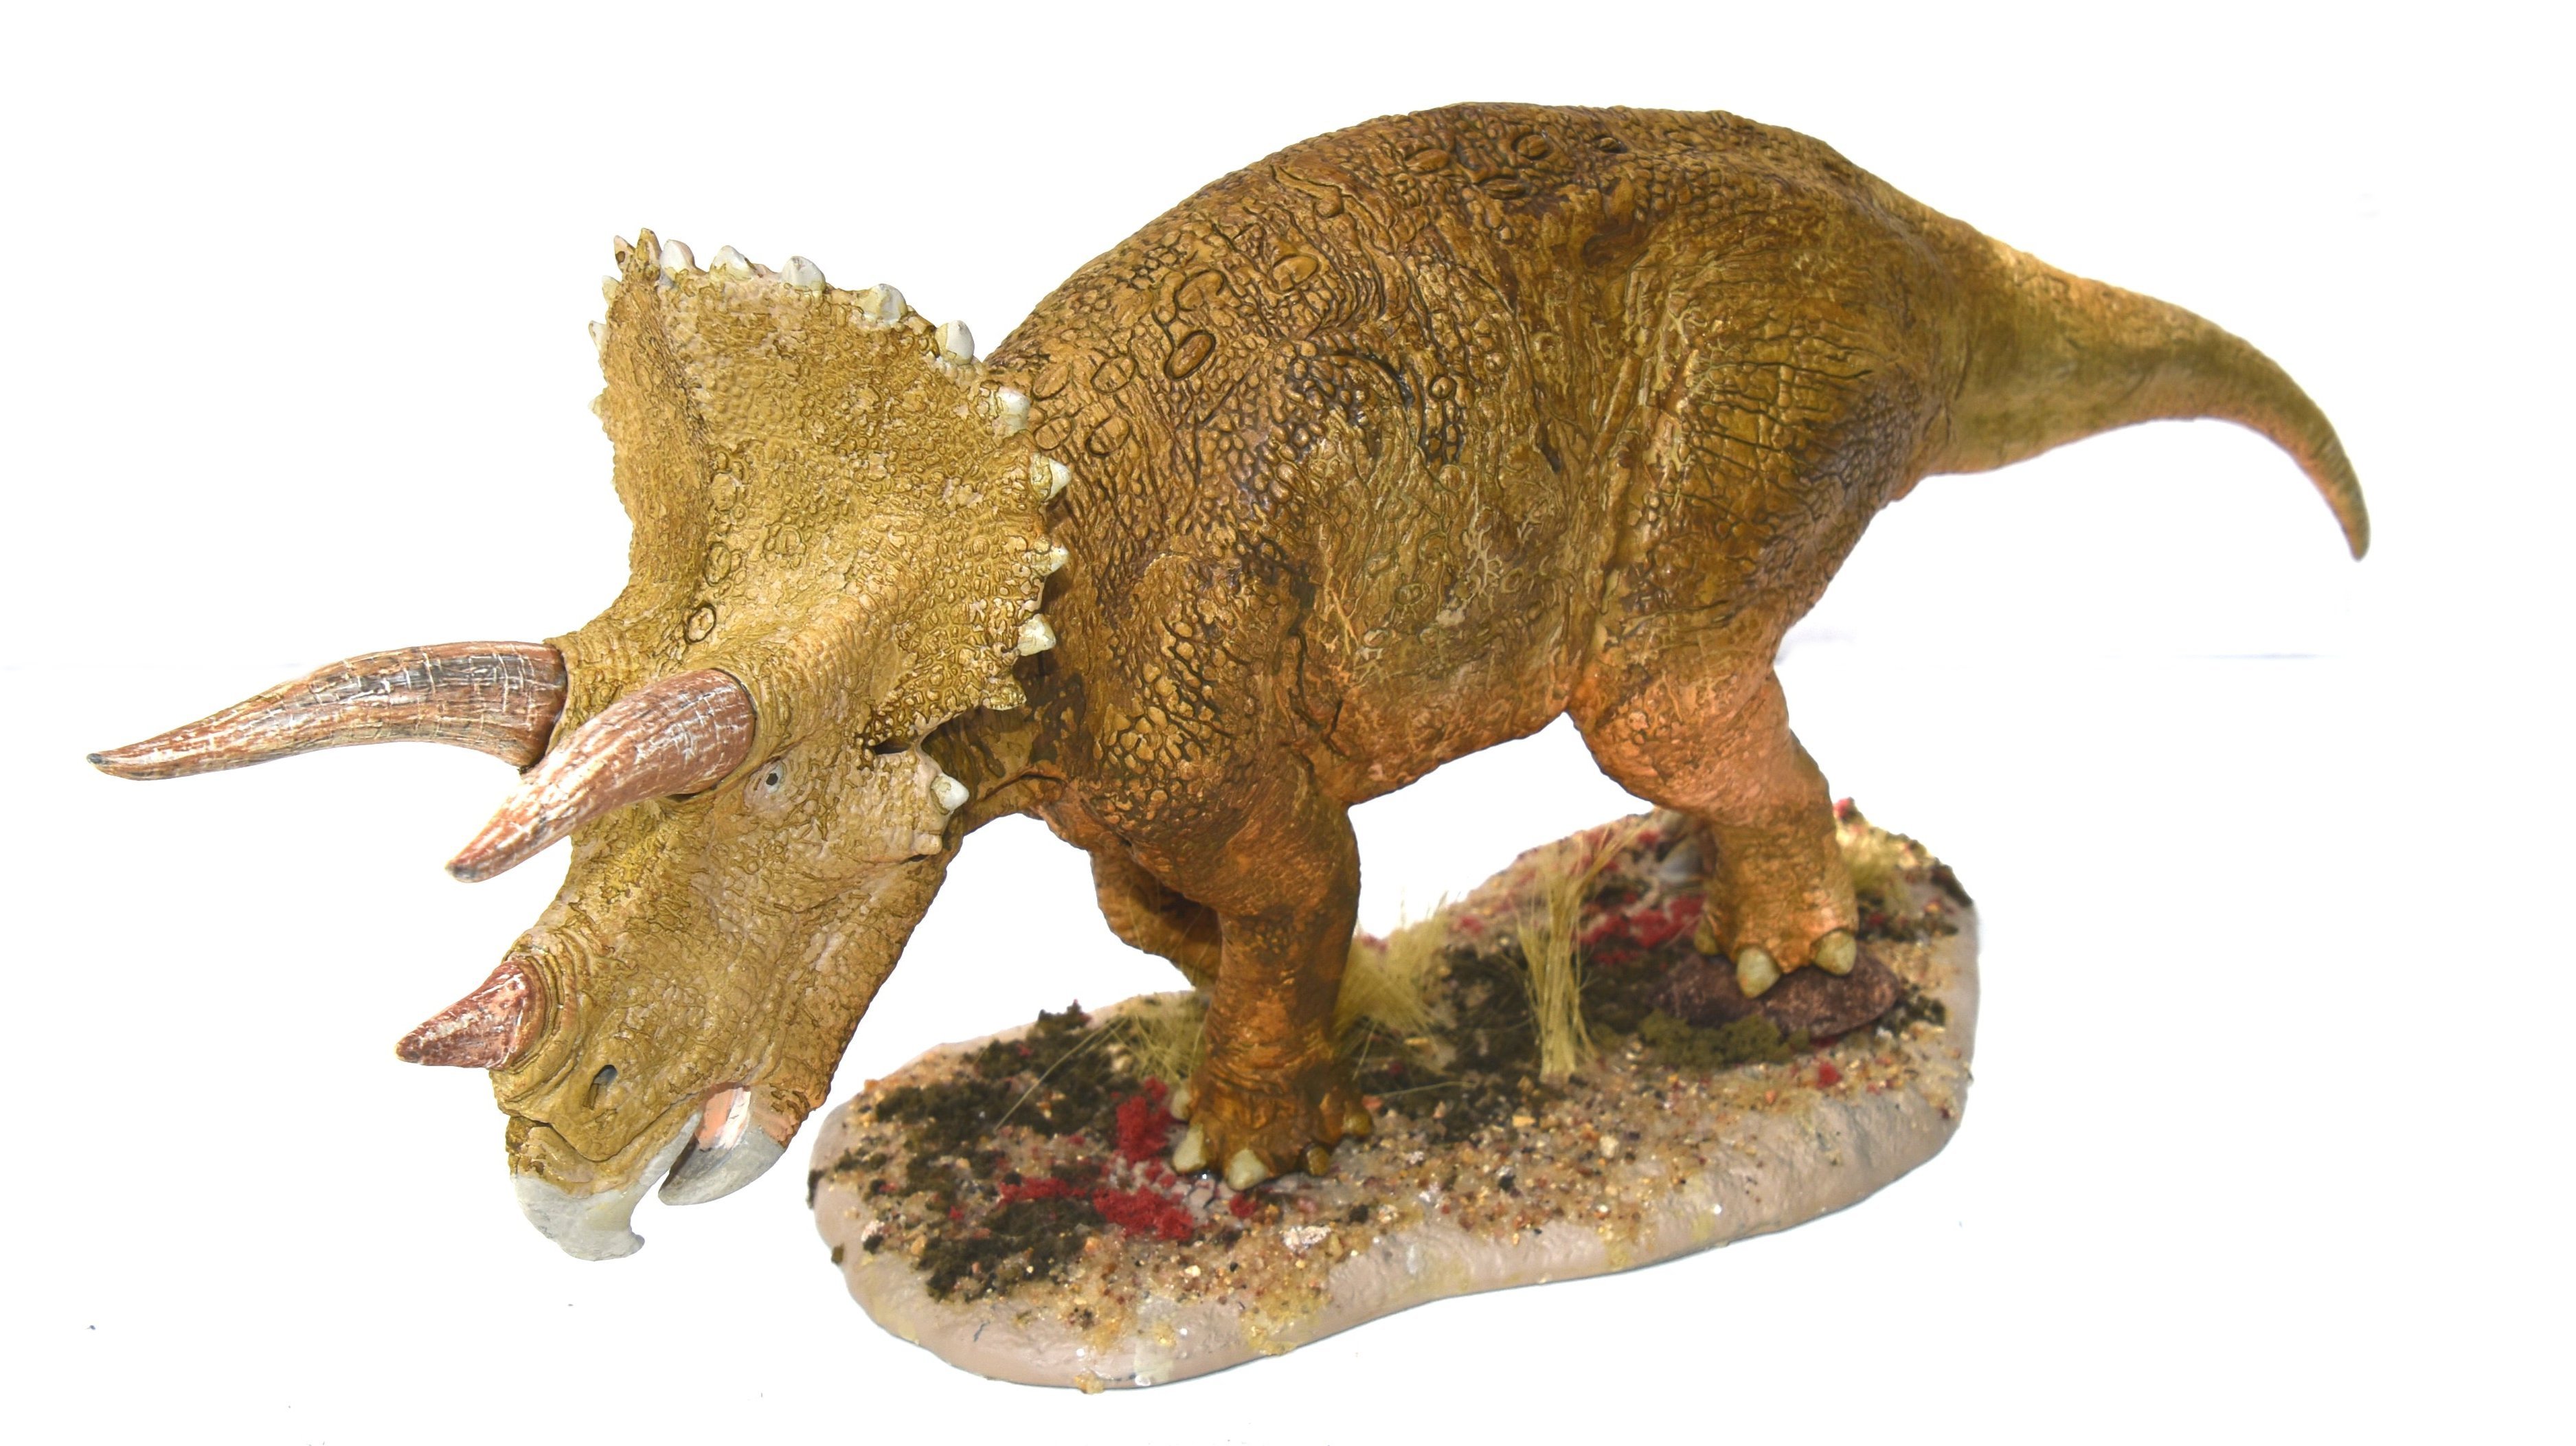
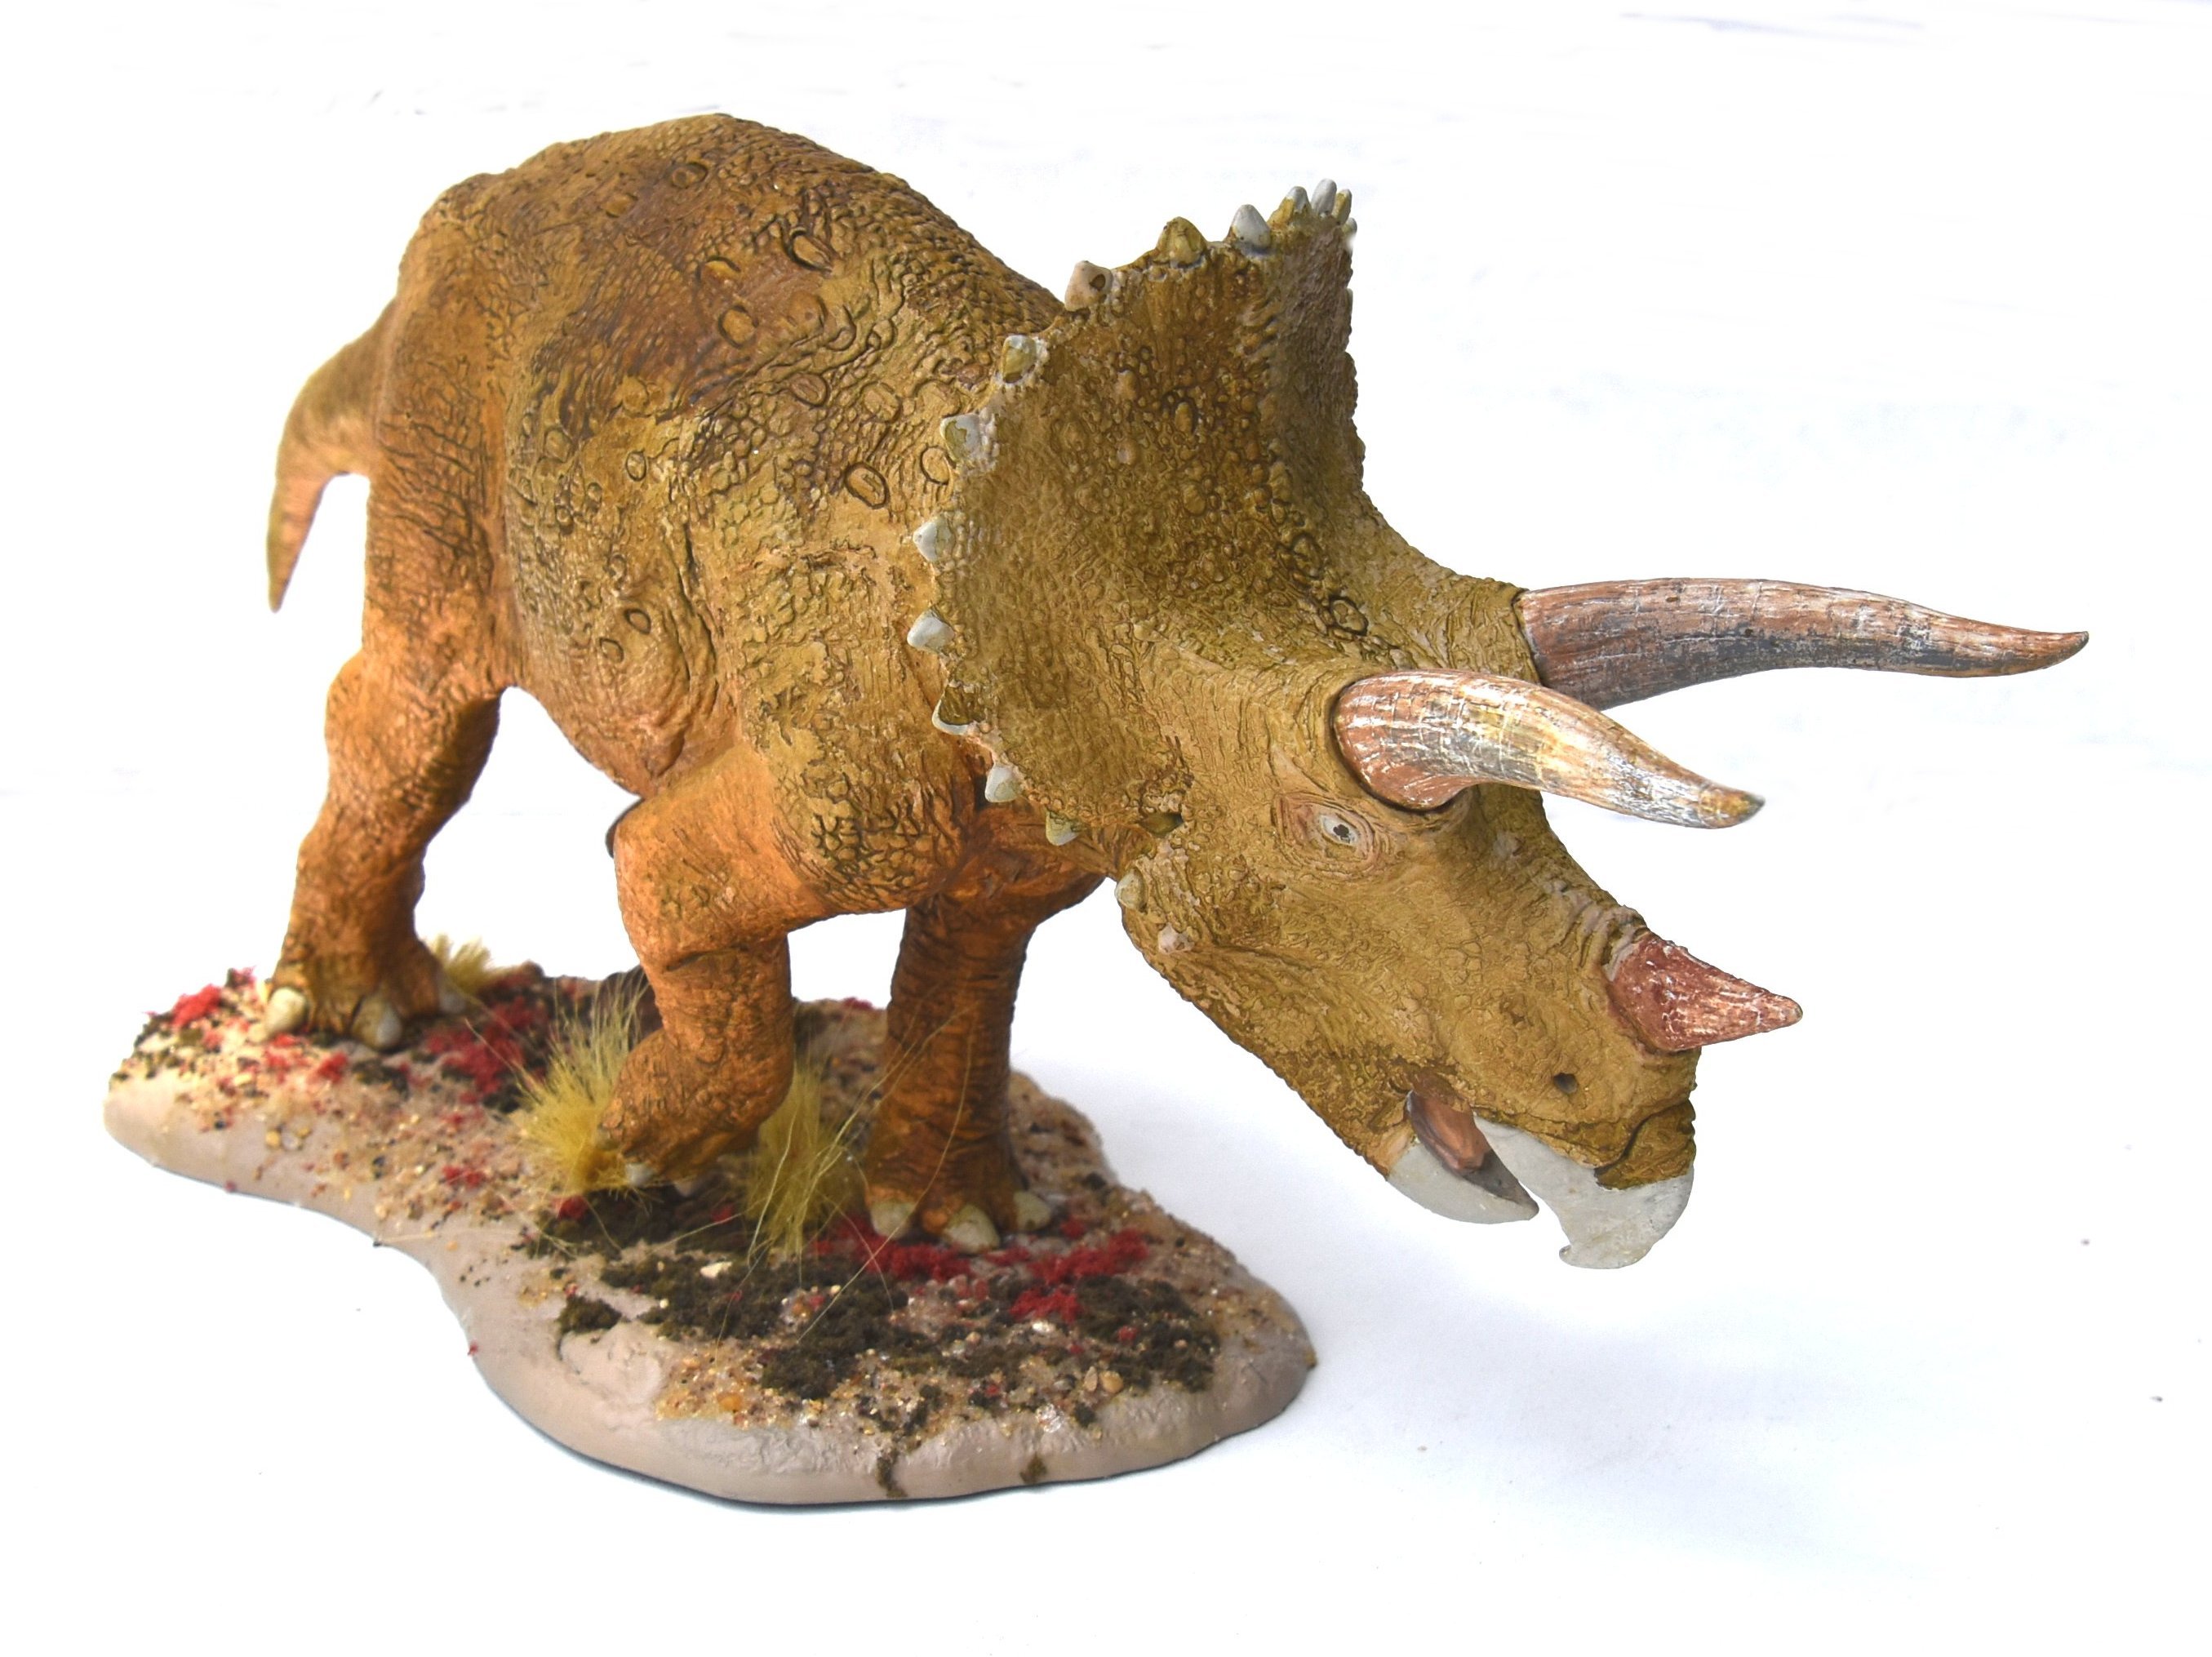
My latest project was a vinyl kit, the Pegasus Triceratops. Even though I've been building models since the mid 1950's (not a typo) this is my first vinyl kit. It was a very enjoyable build!
-
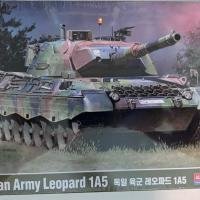
Box Art / Packaging / HistoryAcademy have produced a newly boxed iteration of the 1999 Revell Leopard 1A5, parts are well molded and very little flash was observed. The box art is glossy and depicts artwork of a Leopard in German Markings and NATO Camouflage scheme. The instructions did not give any history of the MBT, but briefly, the Leopard 1A5 was the main service version of the Leopard 1 post 1987 when some 1800 Leopard 1’s were converted to the new variant. The newer variant improved on fire control systems, gun stabilization and night fighting capabilities adding a laser rangefinder and enhanced thermal imaging. Some are indeed in service today in Ukraine. View the full review
-
Reviewer’s Comments: I believe the Battle of the Coral Sea is vastly underrated and overlooked in its importance, often overshadowed by the imminently more covered Battle of Midway less than a month later. The Battle of the Coral Sea could arguably be more important than Midway, and author Dr Tom Lewis does a fantastic job of not only describing the Battle of the Coral Sea very well, but he also places it where it belongs in history. View the full review
-
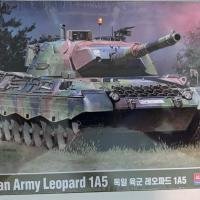
Box Art / Packaging / History: Academy have produced a newly boxed iteration of the 1999 Revell Leopard 1A5, parts are well molded and very little flash was observed. The box art is glossy and depicts artwork of a Leopard in German Markings and NATO Camouflage scheme. The instructions did not give any history of the MBT, but briefly, the Leopard 1A5 was the main service version of the Leopard 1 post 1987 when some 1800 Leopard 1’s were converted to the new variant. The newer variant improved on fire control systems, gun stabilization and night fighting capabilities adding a laser rangefinder and enhanced thermal imaging. Some are indeed in service today in Ukraine. View the full review
- Yesterday
-
This is for the real old-timers. In an episode of the old “ Sky King” adventure series, the one entitled “Sky Robbers,” Penny flies a small, single engine, low wing monoplane with fixed landing gear. She wins the Lady’s Pylon Race in it. Can anyone identify what that aircraft is? Thanks. (I hope this is the correct place for this thread!) Nick Filippone
-
I have had the busts of the two priests from The Exorcist on my shelf now for some time- Fr. Karras, and Fr. Merrin . To finish off the trilogy Regan was also offered, but the sculpt was too good and it was just too creepy for me. Move time fwd and Artist/producer Saul Alvarez of Silver Screen Icons has come up with another Regan. This time a little less creepy (IMHO). 😄 The kit comes in 5 3D printed parts - the head, the body, the base, and then a head and base of the idol Pazuzu. There is also a copy of the movie poster that fits into the base frame. Excellent idea for future movie models. The kit looked pretty benign, so I epoxied the 3 main parts together, in what turned out to an early mistake. Turns out there are spots the way the hair is done that reveals openings to the dress/nightgown that can be seen and it was rather difficult to get primer in there. But with a little effort the job got done. Next, as usual for me was to add color to the face. This too was a little tricky as looking at screen grabs there are seemingly always color filters over the lights. Do I paint it normally or do I give it that creep blue color? I decided to do it normally. Normal is a loaded word with her under possession, she was painted with pale sickly colors. Thankfully I bought a few triads of flesh color schemes. 😉 Her hair was brown and the nightgown was a pale blue so that was completed easily. Thinking back to the movie, when Fr. Merrin was excavating the dig site, and finding the little Pazuzu head it was a sort of dirty brown. So I decided to make the base a simple dulled down brown color. The base also has some imagery of Pazuzu, so I highlighted them. To make the portrait a little more gross, I mixed some florescent green with UV resin and added a few drops to her mouth and gown. The movie poster needed a little trim, and then easily glued into the frame and I was done. One thing I would have done differently is since the base was 3D printed hollow, it's very light. I'm so used to the bases being big chunks of solid resin. So I think I would add some weight to the base. Thanks for looking.
-
I agree with Gill!
-
TTTTTTTTThanks ! I surely agrre ! Jmarc
-
Pretty little pony Chris, nicely posed too! Gil
-
Nice collection! Those type of flying vehicles always remind me of Johnny Quest! Gil
- Last week
-
HI ! Here another project I have done in the past , if you like to view more pics , just follow this GOOGLE link : https://photos.app.goo.gl/oY8cW5E3w14HXcSQ6 Enjoy ! Jmarc
-
untilMidwest Scale Madness 6 Saturday, Sept. 12, 2026 Country Inn and Suites Fort Atkinson, WI. Doors open at 8:00 am Judging begins at noon.
-
The sixth week of the F-35C was started off with installing the refueling probe. I then added the kit photo etch details to the canopy rails. According to the instructions there is a piece that mounts to the rear of the canopy area. This piece was missing from the kit. Looks like when injecting the plastic it did not fill in this part of the mold. Using reference photos I scratch built a new part. The canopy tub was then installed into the upper fuselage. I needed to sand down part of the backside of the refueling probe bay to get the cockpit tub positioned correctly. I then went to assemble the upper and lower fuselage assemblies together. The fit was a little on the poor side. The area where the refueling probe bay sits required more sanding to get the fuselage halves to join correctly. Also the lower fuselage was a little off just behind the refueling probe area as well. Once the fuselage was together I assembled the wings and rear stabilizers. While installing the wings the topside fit well but the underside had a gap where it meets the fuselage on both wings. Finally I assembled the tails. The port side tail required some sanding and filing to make it fit correctly on the fuselage. The starboard tail fit much better and only required some light sanding. I am now working on the outside of the wings and then detailing the landing gear doors. I am hoping to get the painting process started by the end of the week. You can see all the photos and details from the start in the build log at: https://davidsscalemodels.com/build-log/1-48-f-35c-vfa-86-sidewinders/












.jpg.71dcf5712cdb175823fa1c9980644ae1.jpg)