Ron Bell
-
Posts
2,109 -
Joined
-
Last visited
-
Days Won
249
Content Type
Profiles
Forums
Events
Everything posted by Ron Bell
-
Just to be clear, was that letter from Mark Persichetti? You don't mention his name and the last name was not given in the 'signature'. Wasn't he stepping down as Head Judge anyway to be replaced by Phil Perry? I just want to ascribe things to the correct people as we wade through this drek.
-
The original Renwal kit had a mechanism where the range finders/radars turned in synch with the main gun and terrier launcher, but it was deleted from this re-release. The ship is depicted in one of its early refits with the terrier launcher but retained the twin 40mm forward. The kit had planking ribbing on the main and second deck, but these ships did not have wooden decks, so I had to remove all that, which was a messy pain. It also had molded in railings on the main deck and in some places on the second deck. I removed all these. I substituted generic railings on the main deck and in places on the second one but did not do it all as I just didn't want to put in the effort at this point. And after seeing the photos, I realize I didn't replace the molded in anchor chain on the bow, so I'll take care of that now. However, despite her age, she turned out surprising well and makes a nice display model.

-

How long have you been building models guide....
Ron Bell replied to ghodges's topic in General Modeling
How 'bout the appearance of Japanese kits in the US market? Or when you could get Hawk, Renwal or Adams kits without paying stupid collectors' prices? Or when Strombecker made some interesting kits? Or you bought your kits at the local hardware/pet store/Five and Dime and hobby stores per se didn't even exist as far as plastic models went? Or when half the kit was "pre carved" balsa wood parts with plastic "detail" parts? God, I'm old! -
This is a Crusader Mk III marked as a vehicle of the 17/21st Lancers of the 26th Armoured Bgd of the 6th Armoured Division in Tunisia in 1943. They went to North Africa with some of their vehicles still in UK camoflage, thus the overall green color. Right after Kasserine, they turned them in for Shermans. Nice kit. Rubicon has done something with this one that the "big boy kits" should copy. They have their normal one piece headlight/guards pieces, however, they provide separate headlights and a form to make the guards out of wire if you want. It greatly improves their appearance and it was simple to do. I added the fuel line from the auxiliary tank at the rear and the antennae. I also noticed in the photos that I have forgotten to paint the searchlight. I'll take care of that. The decals were a bit brittle and care needed to be taken to get them in place without damaging them, which I did in a couple places, and getting them to settle with no silvering was problematic, as can be seen in the photos. I've never had that issue with other Rubicon decals, so I don't know what the deal is. These are great kits for those who don't want to stress out about exacting details, PE parts and miniscule detail parts.
-
WANTED: 2023 IPMS Convention decals NASA M113
Ron Bell replied to Cmdrcody's topic in Wanted/For Sale (public)
I've got a set of the 2023 decals you can have, one modeler to another. PM me your address and I'll put them in the mail. -
Nice job. Looks better than the real car did. Now see if you can find an AMC Pacer and you could have two of the worst cars ever made.
-
Mark Conaway - Pittsburgh, Pennsylvania
Ron Bell replied to Ivectord's topic in Welcome to the Forum!
Welcome to hours and hours of enjoyment! -
As a follow up. Vargas neither responded to a query via their web site "contact" button nor to a PM sent via Face Book. Now I'm stuck with an essentially unbuildable $30 model. I'll take the offending parts to Madison next summer and hope that they are there as a vender so maybe I can get an exchange.
-
Paul, Will do. Thanks. Ron
-
I purchased their 1/72 Liberty International Tank MkVIII kit and the runner/sprue with the detail parts must have shifted during printing because all the parts are "bent" the same amount at the same point. If you use the address given in their kits, you get all sorts of stuff about them on other sites, but not their site. The only way I got to their site was via the IPMS/USA review of one of their kits. It has a contact function, but after a week I have gotten no reply and I have now resent my message. Anyone out there have a better idea how to contact them?
-
James, in this scale they were almost impossible to deal with and to remover them would have involved removing most of the detail. The paint covered most and I can live with the rest.
-
This is a 3D printed model from Vargas. They do a variety of American Civil War and between the world wars subjects in both 1/35 an 1/72. The Type 1 was a private venture by Vickers and combined aspects of the British mediums in its rhomboid shaped track run and the French FT-17 in having its armament in a revolving turret instead of sponsons on the side. It had a crew of three and was only armed with machine guns. A second prototype was also built that had some changes in automotive parts as well as having one more MG in the turret rear pointed up for anti-aircraft work. The final version, the No 2, was only a design and was not built. It's distinction was that it carried a 47MM (3 prd) gun in the turret and was the first tank designed specifically for anti-tank work. The type was abandoned after trials revealed serious transmission problems. The Vargas kit consists of only eight parts and is beautifully printed with no flash not mold seams (as there are no molds used, that is logical). There are some striations on the back and nose of the hull that are evidence of the 3D printing process. Everything fit perfectly and with painting makes an excellent addition to my between the wars collection. I'm no figure painter, as is obvious, but the figure is included to give you a sense of how small this vehicle was in reality.
-
1/48 Tamiya Fairey Swordfish - almost done, need advice
Ron Bell replied to StuartMont's topic in Aircraft
I think Tamiya released that kit in a couple of versions. One was with the torpedo and another with bombs/flares, etc. You may have gotten the one that did not use the torp. -
1/48 Tamiya Fairey Swordfish - almost done, need advice
Ron Bell replied to StuartMont's topic in Aircraft
Another derivation I have read about the name "Stringbag" is that with all the rigging it had they said it resembled the knitted/crocheted (out of strings assumedly) bags women took with them to the market to carry all their purchases and since the Swordfish could carry all sorts of ordinance such as torpedoes, bombs, flares, depth charges, etc, the name "stringbag" seemed fitting. -
1/48 Tamiya Fairey Swordfish - almost done, need advice
Ron Bell replied to StuartMont's topic in Aircraft
As to stretching sprue, here's a quick primmer. All sprue is not equal. Some company's stretch easily and well (Tamiya) and others not so much (Matchbox). Try sprues from various manufacturers to find one that works well for you. Get a cheap votive style candle, the short squat ones. It will burn with a nice steady flame and not fall over. Get a length of the sprue you are using and cut it into about 3 inch lengths. Holding it from both ends, hold it just over, not in, the flame and keep turning it. You will see it get shiny and feel that it is loosening. When you can feel it being "bendable", which will take some practice, take it out of the heat and pull the two ends apart from each other. Go slow for thicker sprue, faster for thinner. When you feel the sprue start to resist stop and let one end hang in the air. This will keep the sprue straight as it cools. I tape one end to a door and let it sit for a few minutes. Then I cut it as I need it. If the sprue is not soft enough it will just snap. No problem, sprue is cheap, so start again. It does take practice and there is a 'feel' for when the sprue is ready to stretch, but if you can master this, you can make rod stock in almost any thickness you want. -
1/48 Tamiya Fairey Swordfish - almost done, need advice
Ron Bell replied to StuartMont's topic in Aircraft
Another possibility is what is known as beading wire. It's sold in craft stores and is used to make bracelets, necklaces and the like. It comes in many thicknesses and made from many materials ranging from elastic threat to aluminum. The aluminum might be "flattenable". The stuff is cheap, has a myriad of other uses and one spool/loop will last a long time. -
1/48 Tamiya Fairey Swordfish - almost done, need advice
Ron Bell replied to StuartMont's topic in Aircraft
You could use stretched sprue. Cheap and easy to work with. This is my 1/72 scale old Airfix Swordfish rigged with stretched sprue so you can see that it works.
-
When I said "a length of it between ..." I meant like 5 or so feet or more even to be sure, the hose is cheap. Actually, I just used an entire coil and then used the airbrush's original line to connect from the water trap to the airbrush. You can coil it up to save space.
-
I use a Sears compressor that is around 20 years old and still chugging along. It came with a 'sort of regulator' but I don't know how accurate it is but it does what I need anyway. As to the water trap, the directions to mine said to attach it directly to the compressor. When I did that it didn't work. A friend told me to get a cheap air hose like from Harbour Freight, and attach a length of it between the compressor and the trap. Then have a line from the trap to the airbrush. Now it works like a charm in even the most humid conditions. The physics are when you compress air it heats up and hot air retains moisture better than cool air. If the trap is attached directly to the compressor, the air going through it is still hot so it doesn't lose enough moisture. If the trap is further down the line, the air has cooled more and when it passes through the trap it loses much more moisture. Anyway, works for me.
-
I'm not a figure builder, but I built this, very badly, a long time ago as a kid so I had to have another go at it. Atlantis has done a good job of cleaning up the molds, but there are still a lot of mold seams and the fit is problematic in many places. I took my time and tried to do it as best I could, but you all can be the judges of that.
-
In my experience, no Micro Mir kit is for the inexperienced. They all demand some modeling experience.
-
Excellent result on an "oldie". You proved you don't need to spend hundreds of bucks to have a nice representation of your subject. I always liked the F-84 and it can be done with so many different liveries as it was used so widely around to world.
-
Where are you coming from?
Ron Bell replied to ctruss53's topic in 2023 IPMS/USA National Convention
Left Field. -
It was Graham.
-
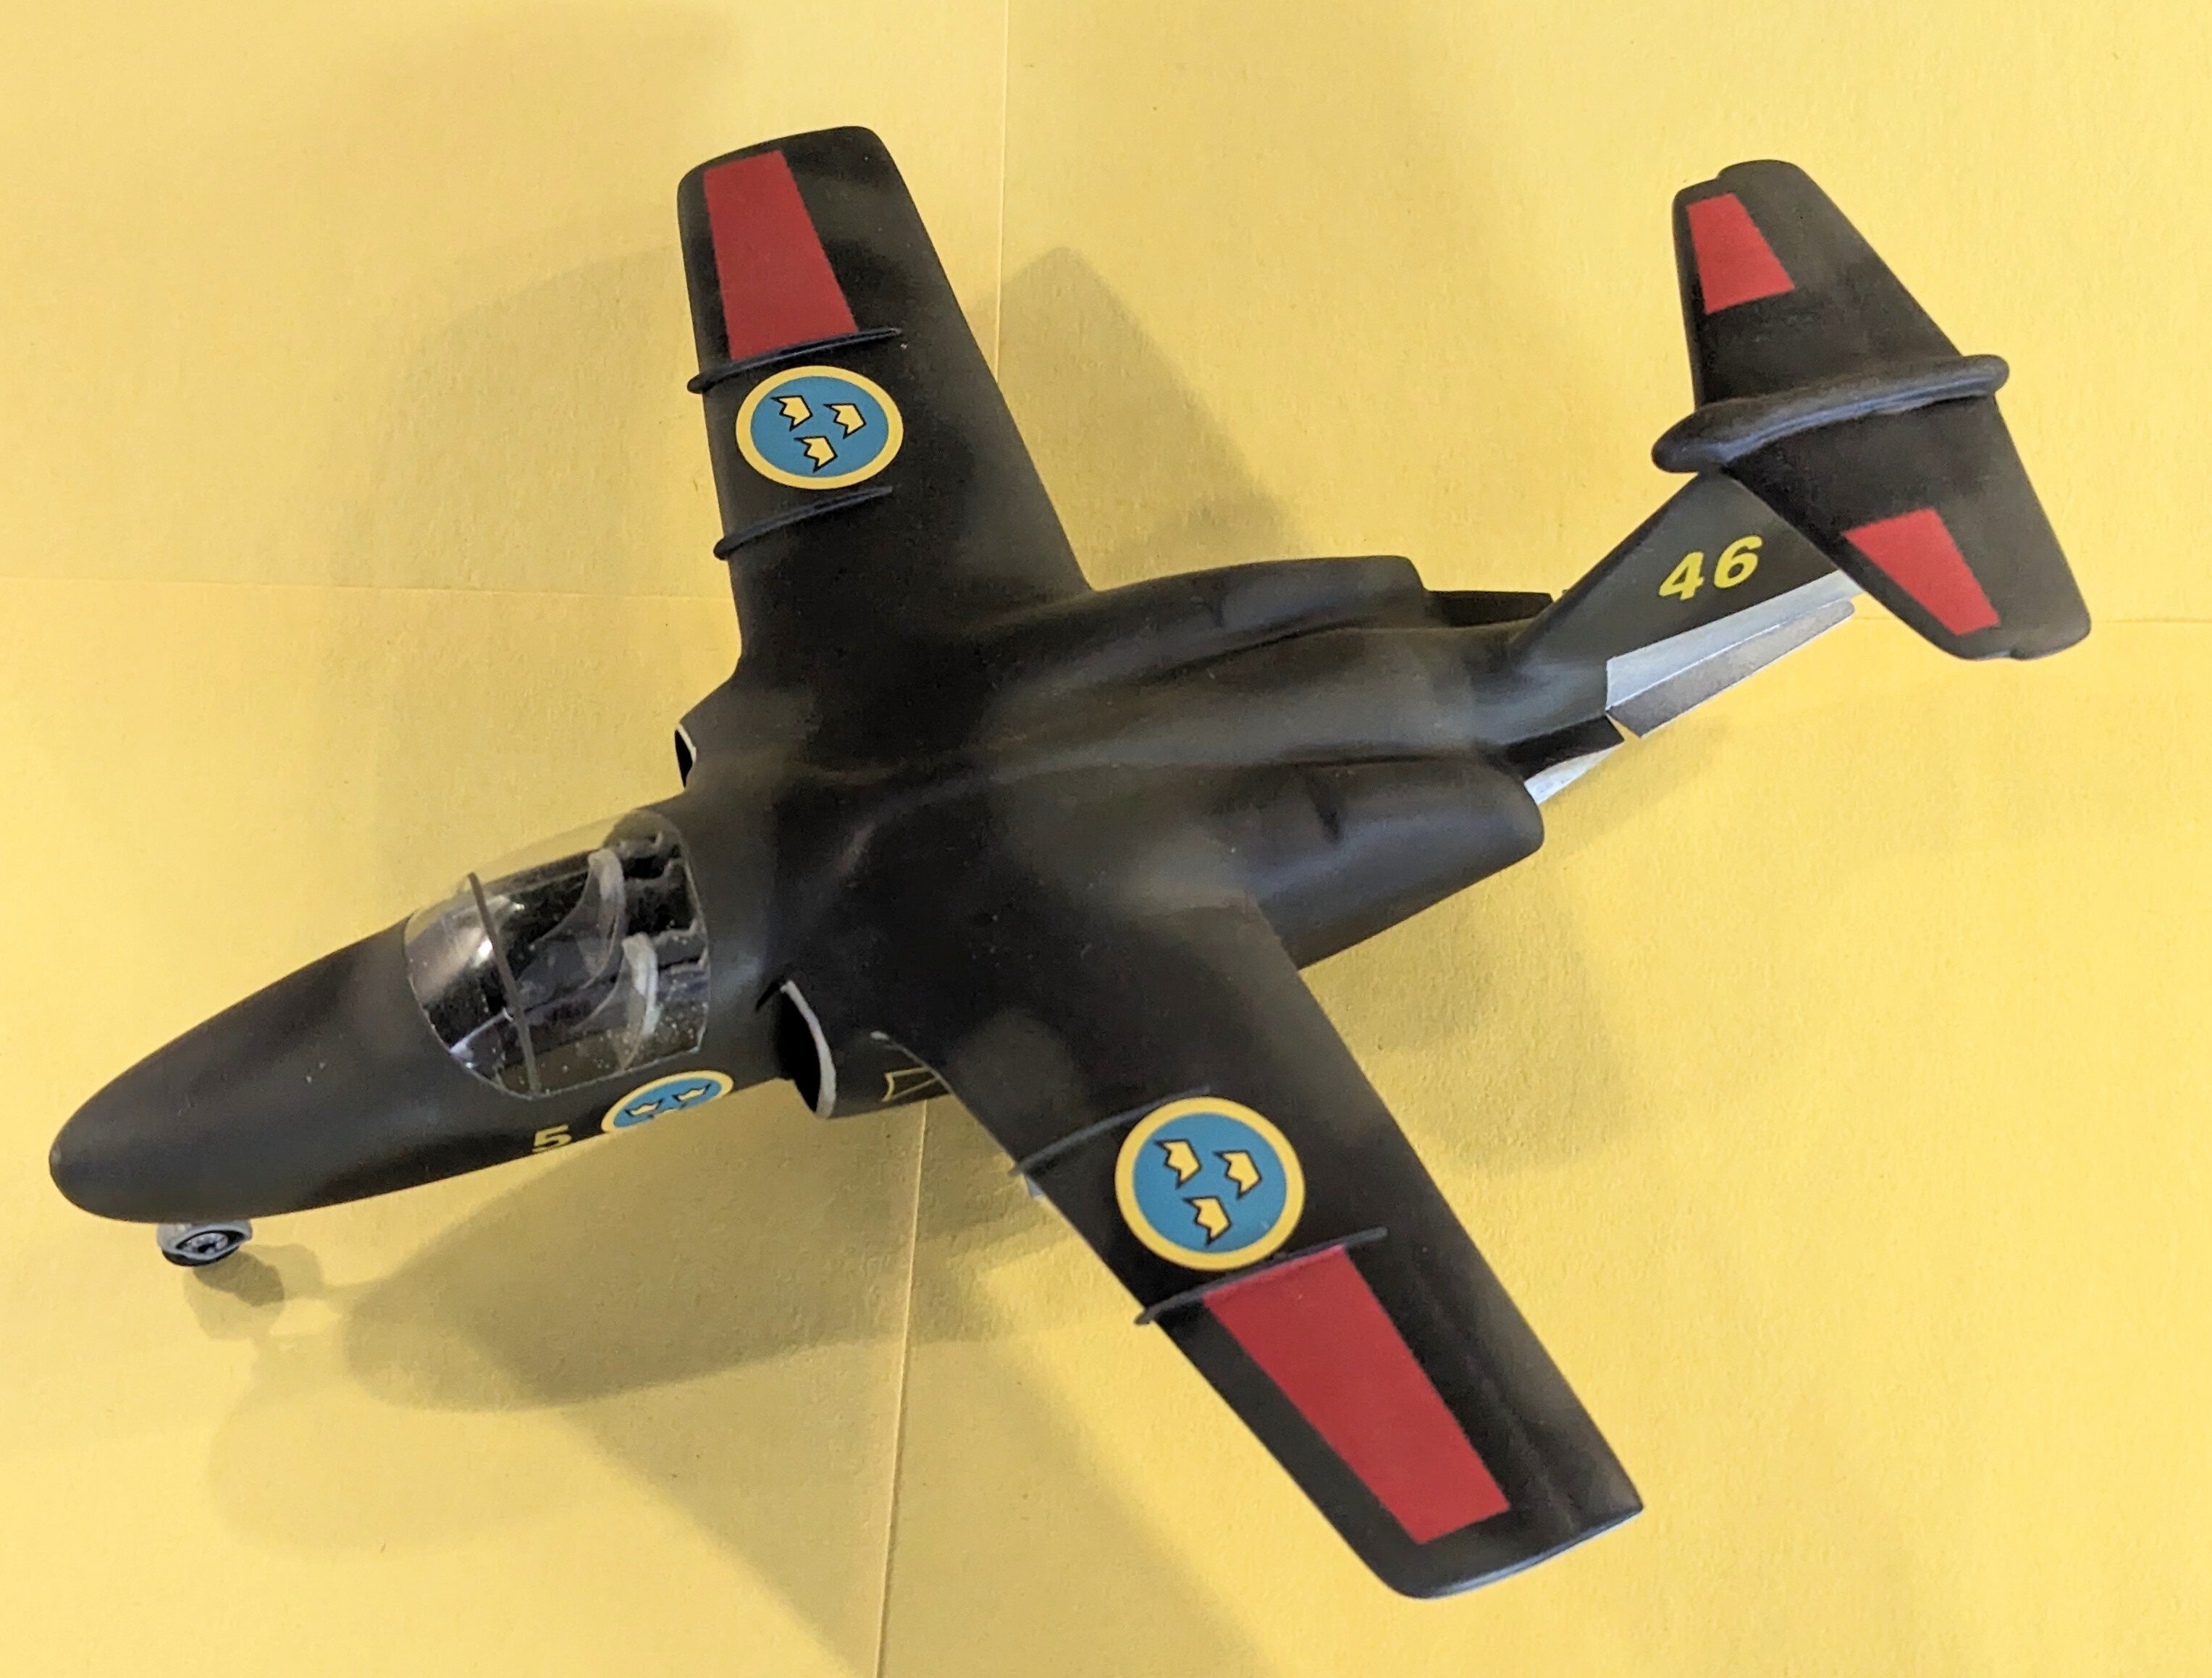
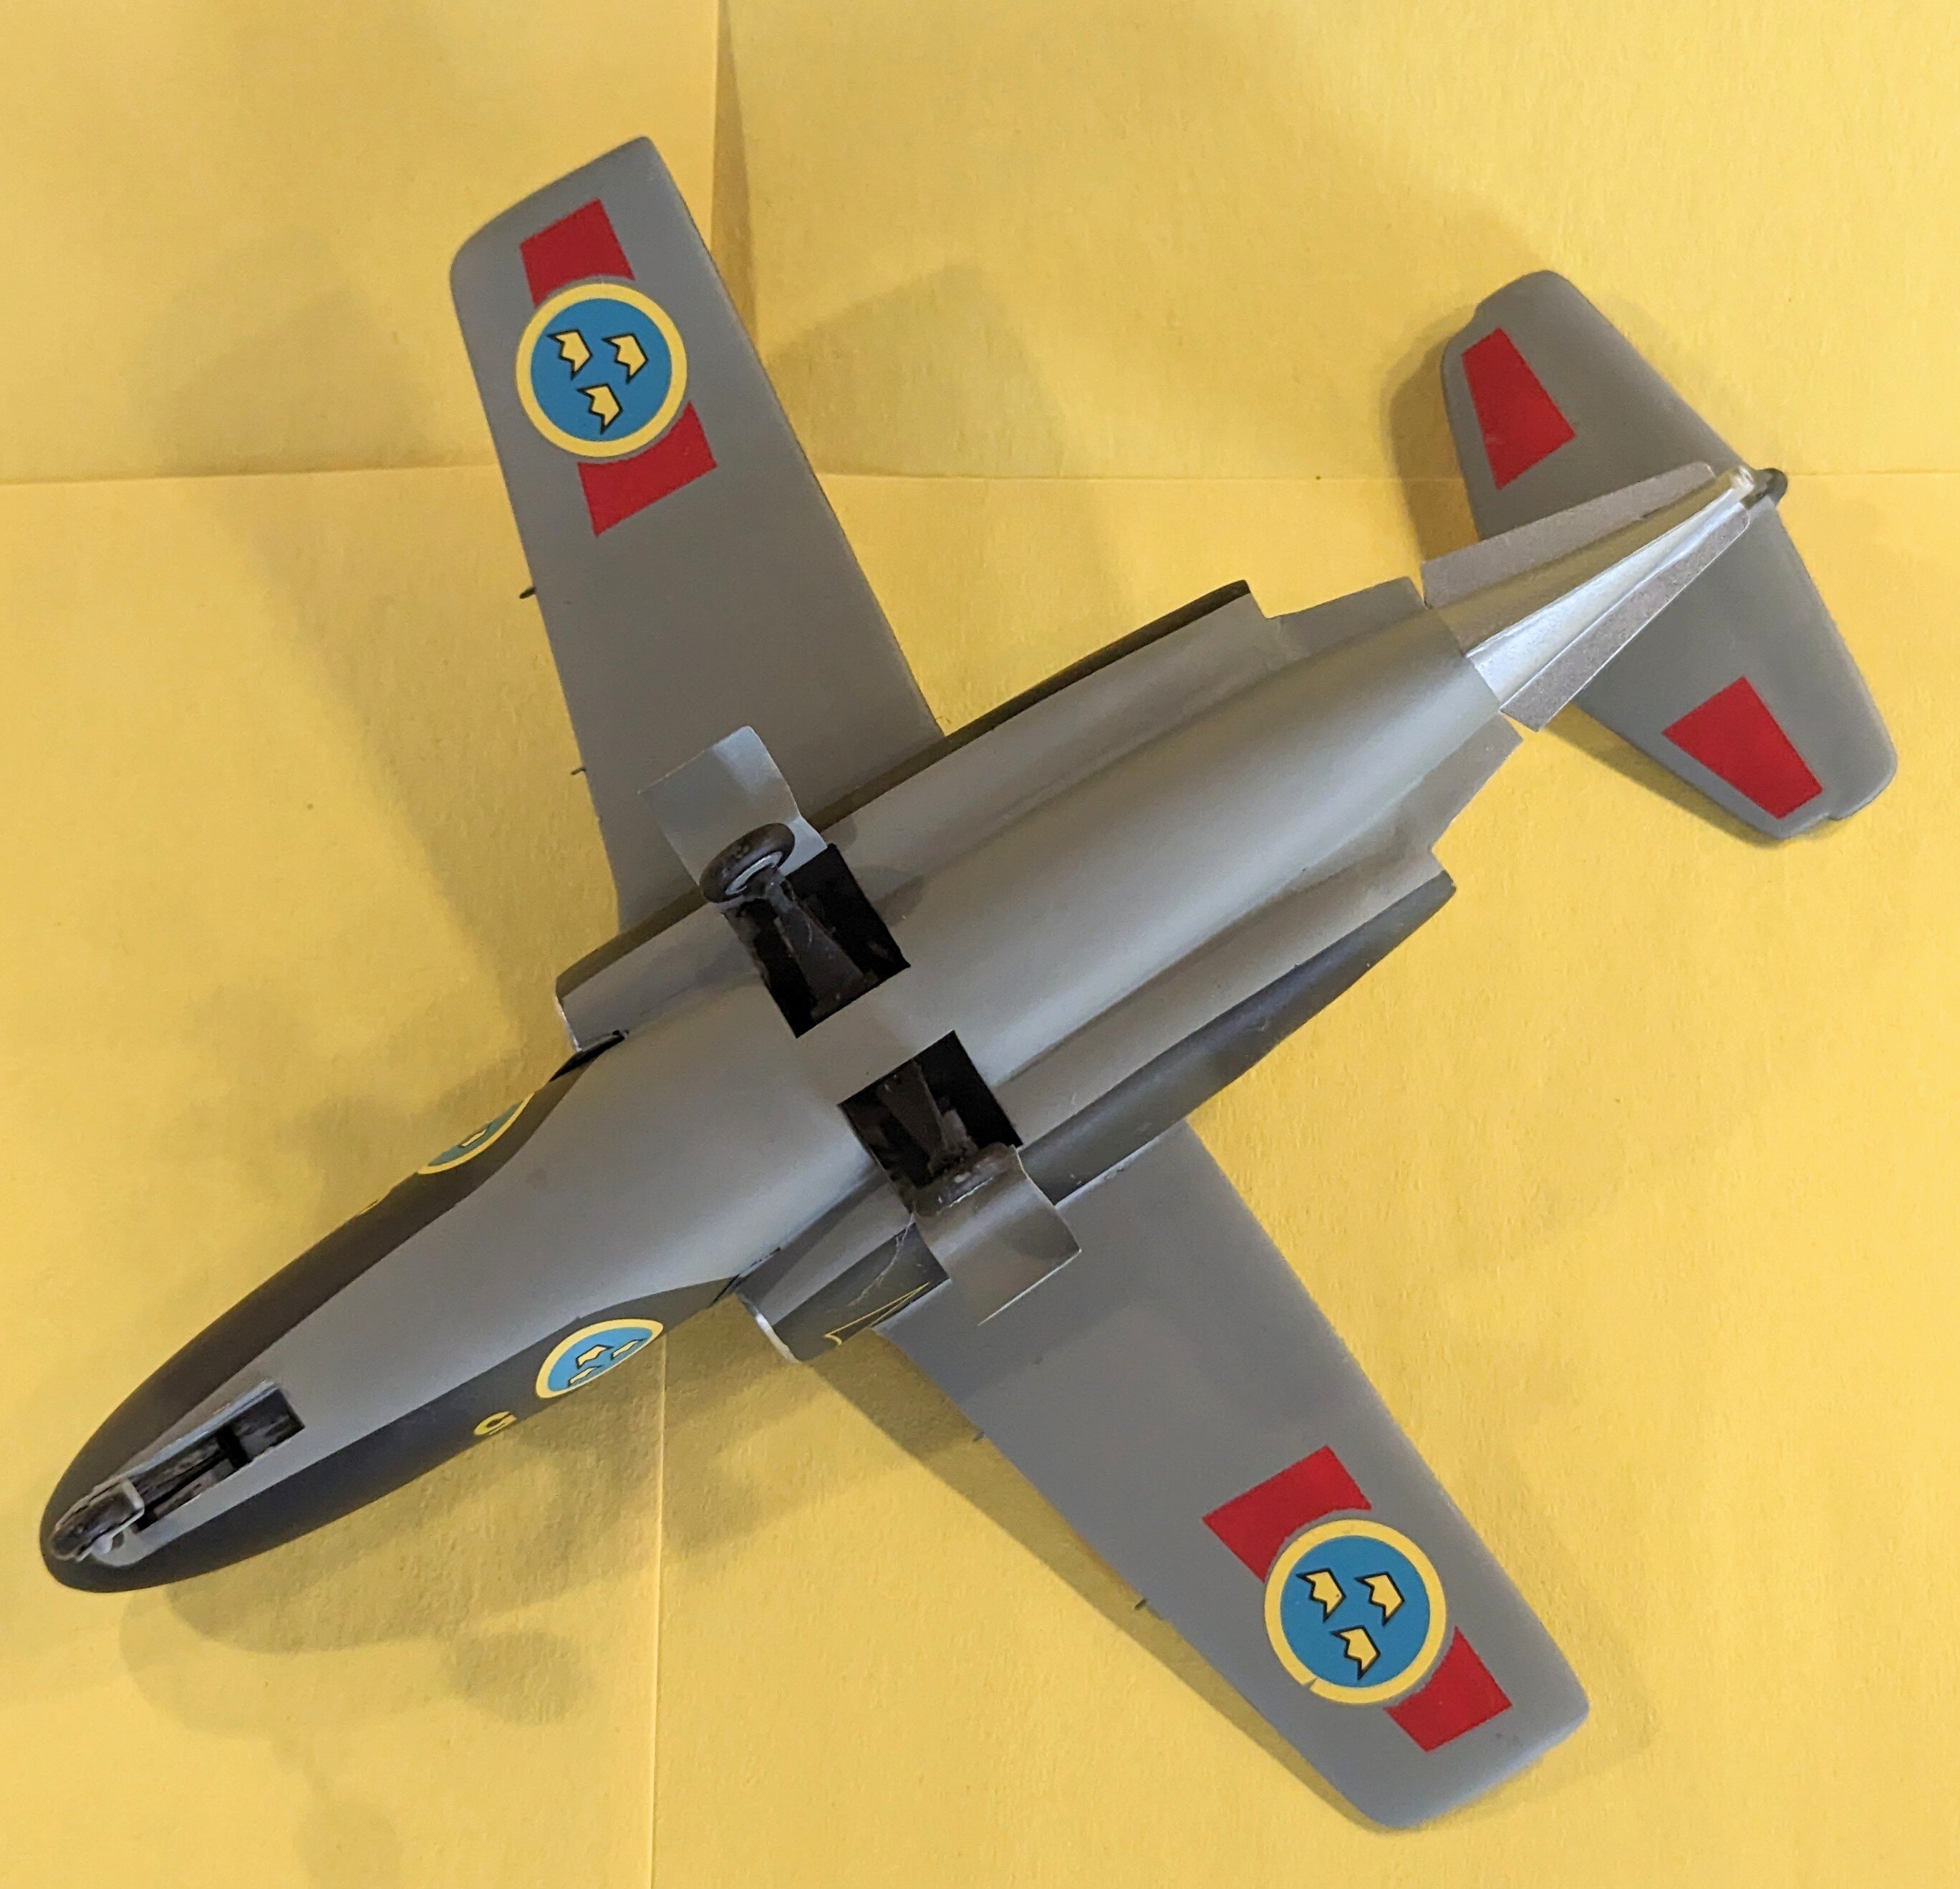
A friend of mine was working on a 1/48 display of trainer a/c and asked if I could help out and build this kit as he knew I took on a vacuform or two. At the time, it was the only kit of this a/c, but it was VERY crude, the equivalent of a limited run injection kit only in a vacuform (note the unequal intakes in the front view), but I wrestled with it and got it together. The interior and landing gear came from a T-37 kit and assorted other bits a bobs came from the spares box. Much putty was used and I even resorted to low expansion insulation foam to fill some HUGE gaps between the bottom of the wing and the fuselage. In the end, at least in photos, it looks pretty good. Of course now there are several injection kits of it, but this was like climbing Everest without oxygen. I did it before..