All Activity
- Today
-
The seventh week of the F-35C was spent detailing the canopy and preparing all the landing gear, tail hook, weapons bay, and boarding ladder doors. Starting with the canopy I detailed it using the kit photo etch details. After the photo etch was installed I was reviewing the instructions and noticed there was no way to mount the canopy! The instructions do not show or call out the part that mounts onto the front of the canopy to represent the hinge. I looked over the part trees and located the part that looks like a similar part used on the Tamiya F-35 kits and installed it. Next I turned to the wing tip sections. These required some putty to fill the seam in the middle of the flaps. The wings were then mounted onto the aircraft. I should note that the kit has instructions for wings down and wings folded. I opted for wings down. The mounting of the wings down takes some work to mount and align them as there are no guides for them to mount to. I also assembled the small center fuel tank and putty the seams as the fit was not the best. I then began cleaning up all the doors. The first issue is the multiple mold marks on the inside of nearly all the doors. These needed to be filled with putty. The second issue is the two side doors for the tail hook. Only one of the doors had one hinge molded on. The other hinge and both on the other door were not molded on. I located some spare photo etch hinges I had and will use these. The third issue is the weapons bay main doors. The weapons bays have three locations for the main door hinges and the kit has three hinges for each door. However the main doors have four cutouts to mount hinges. The fourth cutout (if it had a hinge) would interfere with the small door in the center of the weapons bay. All reference photos for the “C” show three main hinges and the small door. I filled the extra hinge slot with putty. I am now working on the starboard nose gear door which has some avionics boxes that need to be scratch built and hooked to the wiring I added previously to the nose gear bay. I am hoping to start the painting later this week once all the doors have been installed. You can see all the photos and details from the start in the build log at: https://davidsscalemodels.com/build-log/1-48-f-35c-vfa-86-sidewinders/
-

Stikpusher Scale Defense Industries
Stikpusher replied to Stikpusher's topic in Photos: On the Bench
Today was good progress on my Johnson Jug… I got the seam filling all cleaned up and sanded smooth Then after that I added the horizontal stabilizers and a few other small bits to finish up the main airframe construction I have the cowling almost wrapped up and ready to add to the airframe. Next week, more progress… 😉 -

Searching for an aircraft identification
Nick Filippone replied to Nick Filippone's topic in Ask the IPMS/USA
Mystery solved! It’s a Culver Dart G. -
 The Images of War series is a great series for modelers and those interested in history because the story told in amazing photographs that are usually not available anywhere else. Philip Jowett has authored several books within this series, and one of the amazing aspects of these books is that no matter the author, the books all feel a part of the series rather than disparate writing styles under the same banner. Following the familiar Pen & Sword Images of War series is the story of Partisans & Guerrillas of World War Two - Poland, the Soviet Union, Czechoslovakia, Italy, France, covering 248 pages with 300 black and white photographs. Each chapter starts with a brief history of the topic covered, followed by a lot of photographs to complement the text. This book is composed of the following: View the full review
-
Thanks to Casemate Publishers USA and IPMS/USA for the review copy! For too long, the Royal Navy's numerous heavy cruisers have been ignored by model ship companies. This timely update shows this mistake is being corrected, a boon for ship modelers. This heavily illustrated paperback is a useful and powerful single resource for building accurate models of the 13 County class heavy cruisers. Casemate Publishers brings back Seaforth's ShipCraft 19, County Class Cruisers in Britain's Royal Navy before, during and after World War 2 by Les Brown. Les Brown is a well-known and accomplished British warship aficionado and model builder, with a long history of British warship subjects, typically destroyers and smaller warships. He is also a luminary in the Small Warships Group of the IPMS. View the full review
-
Following the base and paint modifications, the rest of the build is finishing the model and taking the pictures. To finish the build, you need to finishing the left arm and leg; these are built the same way of the previous right arm and right leg. I did paint and modify most of the cylinders in the arm and leg as per the previous sections. Once these are attached, we need to build the torso. The torso is constructed from the inside out with plates being added. The connections of the “hydraulic” lines also occurs. The parts are precut and glued in place and I used the recommended super glue here sparsely. These are attached to the head and shoulder section. The plate sections are heavy plastic or metal. The process continues with the back and cylinders being added. Follow the instructions and read them thoroughly and you should be good as fit is precise and great. View the full review
- Yesterday
-
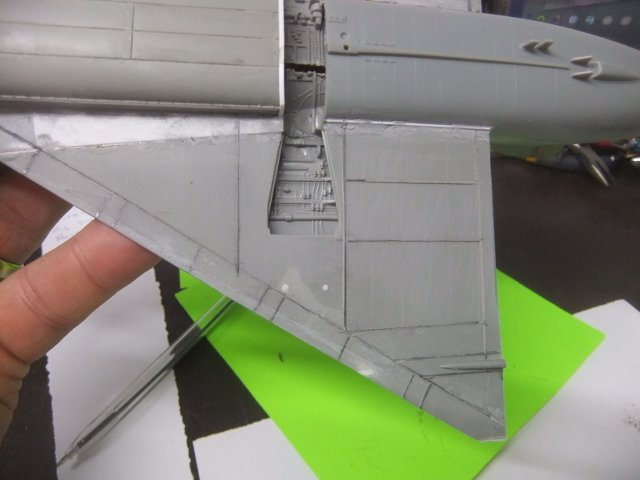
I agrree, soon I complete the verification of the basic panel lines , I,ll be able to do the atrachment of the wings one , and since trhe wings are already done that should be quick !!
-
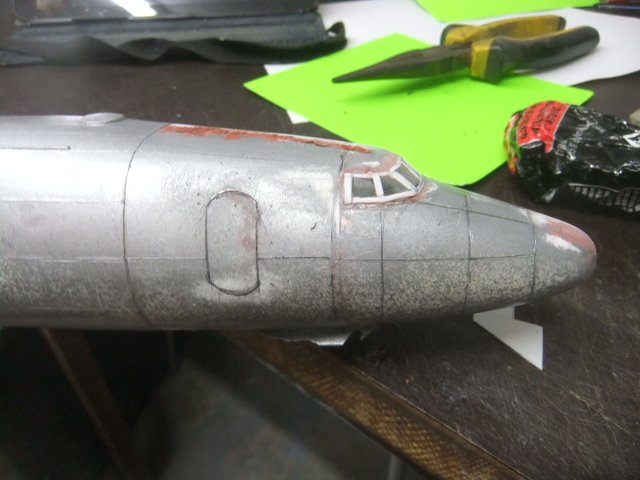
Nice! Connie is starting to take on her magnificent shape! Gil
-

This week just off the bench in 1/48 scale ( update # 128)....
Jmarc replied to Jmarc's topic in Photos: On the Bench
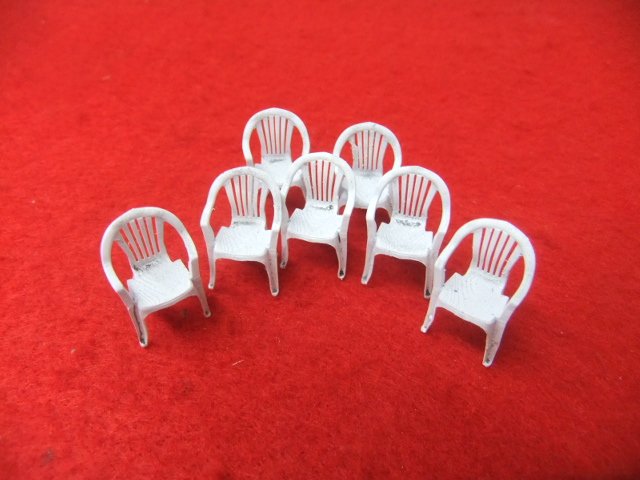
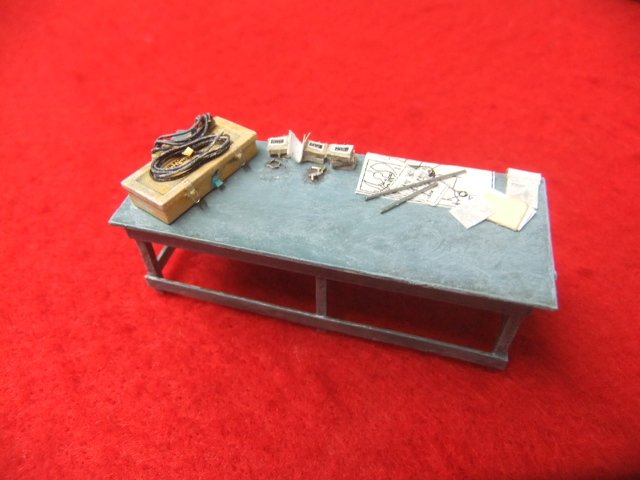
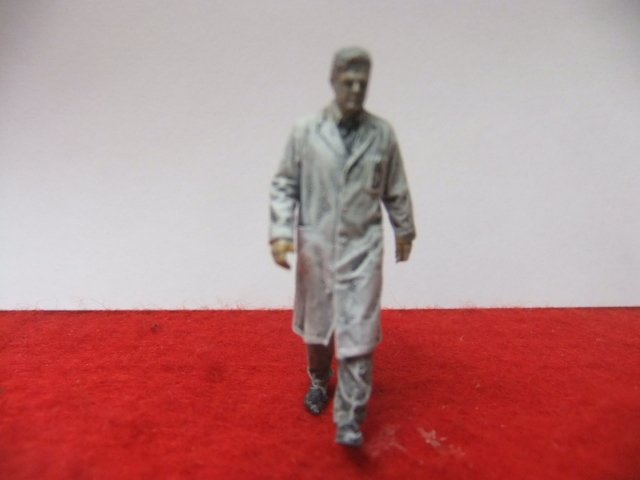
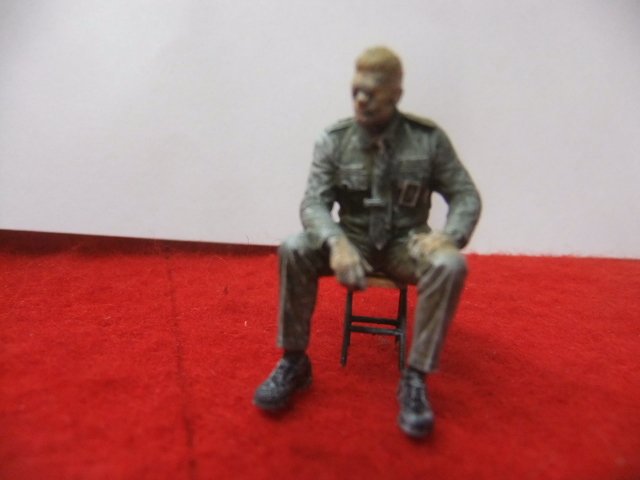
i , here a pic of the projects I completed this week..it's in 1/48 scale PATIO CHAIRS (STEPH 3D) https://photos.app.goo.gl/BCnEes6tfQgv8m1k8 AVRO CF-105 AROW 'MASTER MOLD' https://photos.app.goo.gl/y7fd6KMxL1xMLm9q7 AVRO CANADA EMPLOYE (STEPH 3D) https://photos.app.goo.gl/nmSZrGimois7RV9c7 1950 ERA CANANDIAN MILITARY (STEPH 3D) https://photos.app.goo.gl/f845jHqMwpWEytk28 Like to view what I have done so far in 2026 season , just follow this Google link : https://photos.app.goo.gl/dJwnAmhVD15JPt9w8 Like to see more of my previous completed projects in 1/48 scale ..................... Like to see what I have completed so far this season 2025 (143 projects) , just follow this GOOGLE link: https://photos.app.goo.gl/zKmRkgK19W2fPoin7 Like to see what I have completed so far this season 2024 (103 projects) , just follow this GOOGLE link: https://photos.app.goo.gl/4d3DYFCkVLL64imq8 Like to see what I have completed in 2023 season (100 projects) , just follow this GOOGLE link: https://photos.app.goo.gl/Wbzocz4nrbgcPuAQ6 Like to see what I have completed in 2022 season (148 projects). just follow this Google link: https://photos.app.goo.gl/WniLxX42pzCF6JYH9 Like to see what I have completed in 2021 season (110 projects). just follow this Google link: https://photos.app.goo.gl/d89Abe6NeE8LJUEeA Like to see what I have completed in 2020 season (65 projects) ,just follow this Google link : https://photos.app.goo.gl/piTfBCtMXvf6g5zG8 Like to see what I have completed in 2019 season (35 projects) ,just follow this Google link : https://photos.app.goo.gl/wX42Q8pKRqwR7APR9 Like to see what I have completed in 2018 season (52 projects) ,just follow this Google link : https://photos.app.goo.gl/SnL7aiYFfHrV5JbA8 Like to see what I have completed in 2017 season (33 projects) ,just follow this Google link : https://photos.app.goo.gl/1RxEF7q89HnJUjGA6 Like to see what I have completed in 2016 season (33 projects) ,just follow this Google link : https://photos.app.goo.gl/299uiMnC7C2PDaABA Like to see what I have completed in 2015 season (33 projects) ,just follow this Google link : https://photos.app.goo.gl/e9kY3Gg1D3fxECtC9 Enjoy !
-
Thanks for following the WIP ..here is the latest advance on the project ! (JUL 17th) Today , I continue ingraving the panel lines on the wings bottom section ! If you like to view the complete WIP of this project https://photos.app.goo.gl/89TgFWzqzKY6KcjE6 ........You been following this post and like to view all the AVRO CANADA projects I have completed so far .. just follow this Google link: https://photos.app.goo.gl/FpZs5m3ic3c3eL329 Hope youl,le enjoy the built Jmarc
-
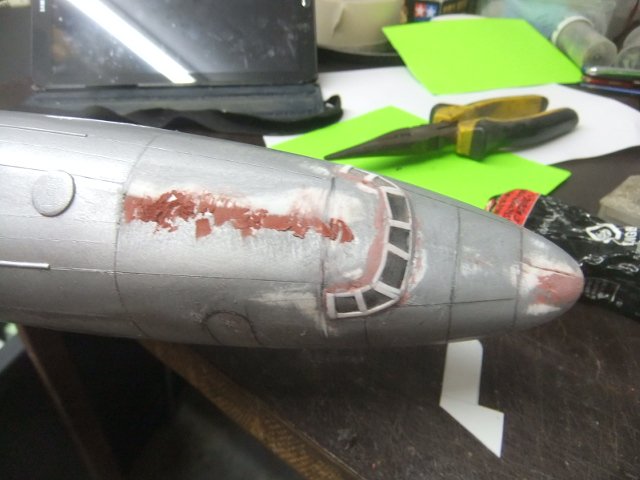
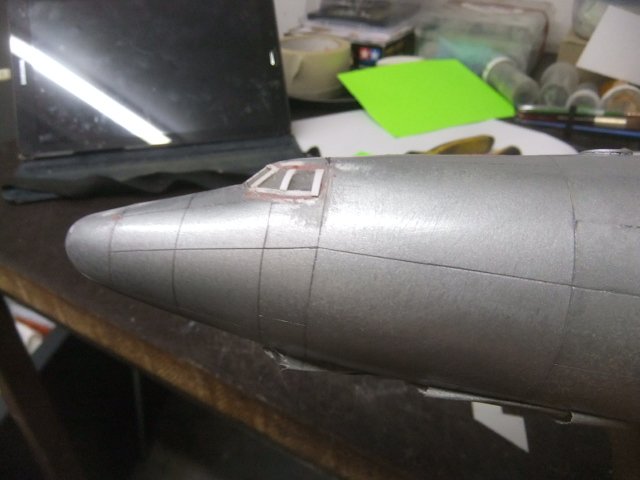
First I'd like to thank you for following this WIP , it's quite appreciated ! LOCKHEED WV-1 CONSTELLASTION in 1/48 (JUL 17th ) ..Today I continue reviewing the joints and panel lines of the fuselage ! If you like to view the complete WIP on this project , juts follow this Google link : https://photos.app.goo.gl/GZvfX8dsdnYnsQ2W7 Here a pics of both projects Enjoy Jmarc
-
First I'd like to thank you for following my WIP , it's quite appreciated ! Here another space related project I been working on , its the COLLECT-AIR BOEING X-20 DYNASOAR ! (JUL 17th) today ,I I repair the damage done to the back section and continue adding details ! If you like to view the complete WIP , just follow this Google link to my personal page: https://photos.app.goo.gl/Rjsjms9BhTrbnhYDA If you like to view the other space related project I have done so far , just follow this link: https://photos.app.goo.gl/ov2R8HFSA26iDpms5 Enjoy ! Jmarc
-
First I'd like to thank you for following this post ,it's quite appreciated ! BOEING INCITUS MQ-27 / CU-169 SCAN EAGLE 1/48 ( 3dPRINTED +ADDITIONS) (JUL 17th ) Today I continue adding the last details ! If you like to view the complete WIP on this project , just follow this Google link : https://photos.app.goo.gl/jrWyBiNZSJHCUknZ9 If you like to view all the DRONES I have done so far in 1/48 , just follow this link: https://photos.app.goo.gl/mjGm69hDKYaDuFNX6 Enjoy ! Jmarc
-
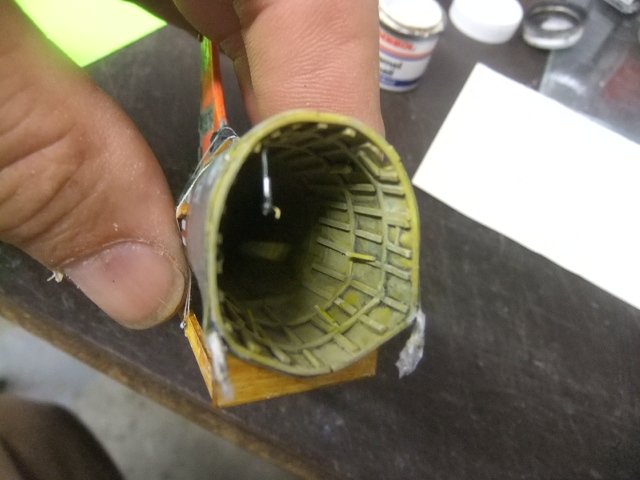
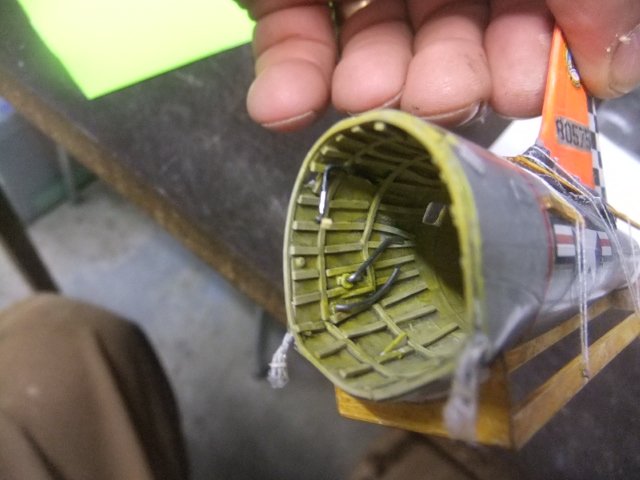
First I'd like to thank you for following this post , it's quite appreciated ! 1/48 LOCKHEED T-33 SILVER STAR (TESTOR) (JUL 17th ) Today I continue adding the lastt inner details to the tail section ! If you like to follow the complete WIP on this project , I have set up an GOOGLE page, just follow this link .. https://photos.app.goo.gl/mCtpo97pwYCFaYE39 If you like to view the complete STASH PARTS done so far ,just followthis GOOGLE link .. https://photos.app.goo.gl/NtNSgh1zJgx9jRSx5 Enjoy ! Jmarc
-
Stikpusher Scale Defense Industries
Stikpusher replied to Stikpusher's topic in Photos: On the Bench
Last night I glued the wings in place And here is the gap on the lower fuselage at the lower wing But… it’s Hasegawa… I don’t want to hear anyone talking smack about the fit on Monogram kits… but no worries, I attacked the problem with strip styrene shims to fill that gap… Some Tamiya Extra Thin to get them in place, then I trimmed them up and sanded them down a bit Then an application of Mr Surfacer that’s going to dry overnight More to come in a day or two… -
 Just a quick heads-up: a lot of the vendors who will be at the 2026 IPMS/USA National Convention in Fort Wayne, Indiana have begun posting information about themselves on our Facebook page. You might want to check them out, they're offering all kinds of cool stuff! https://www.facebook.com/groups/ipmsusanationals/
 -
Double Xcellent Model, DXM, from Tawain has provided the IPMS/USA reviewer corps with a set of painting stencils (weathering/rusted) to give a splotchy/mottle look to your kits. These are made from a soft silicone material and can conform over complex surfaces. These should be used in conjunction with an airbrush to get the best results. In The Package DXM provided four different stencils each individually packaged. View the full review
-
Helion is a UK-based company that produces books on many aspects of Military History from the Late Medieval period through to the present day. Helion was established in 1996 by University of Warwick graduate Duncan Rogers. Since then, they have published over 1,200 books, with 100 or more new titles coming out every year, for readers around the world. Casemate markets Helion books in the United States. View the full review
-
In this second to last part, I want to go over some of the modifications we can do to the Terminator. First, let me say, these are not needed as the kit is fantastic by itself. That being said, I can never leave well enough alone so here we go. Looking at the kit, there are parts of metal and plastic. I wanted to deal with plastic parts and when they are made, they are molded and have faint seam lines and then are chrome plated over that. My first step was to use sanding sticks and progressively finer grits to get the seams removed. Polishing the parts will produce a finer finish. The only difficult part to this is getting through the really good chrome plate. Once the seams are good and smoothed, I used a primer to prep the pats for painting. I like Tamiya Super Fine. It dries quick and hard but does have an odor. This was allowed to dry overnight. View the full review
- Last week
-
 Hi folks, I'm from Brazil, and I will be attending the Nats this year again. My first leg will be Chicago->Idianapolis->Lexington->Dayton by car. Then Dayton to Fort Wayne. I would appreciate if you guys know about hobby shops - plastic or railroad along this route. I don't mind to deviate a few miles to visit a nice shop. Any help, please. Thanks in advance. Rato Marczak
 -
 CameronJamison joined the community
 -
Nice work!
-
Looks terrific!
-

Maddog Manufacturing Opening for 2026
Ron Bell replied to Mark Deliduka's topic in Photos: On the Bench
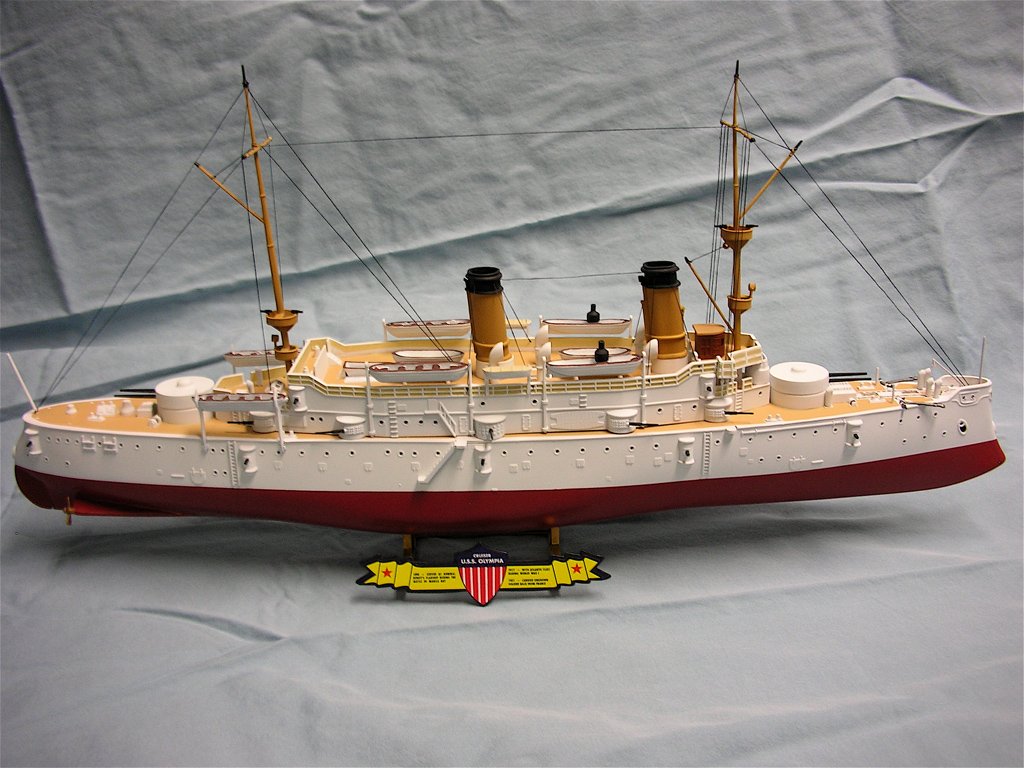
That is one busy workshop. I did the Olympia a while back. It's a very old kit but was a fun build and makes a nice "mantle model" over a fireplace or on a decorator shelf.
-
Excellent job. When I do carrier models it takes me as long to do the air wing as it does the ship.
-
RatoMarczak joined the community
-
This month I was able to finally get another Shelf Queen off the Shelf of Doom. Three years after it was started, the 1/600 scale Academy USS Enterprise was launched: Now she's off for her shakedown cruise. Thank you all for looking in, comments are welcome.