All Activity
- Today
-
Nice! Connie is starting to take on her magnificent shape! Gil
-

This week just off the bench in 1/48 scale ( update # 128)....
Jmarc replied to Jmarc's topic in Photos: On the Bench
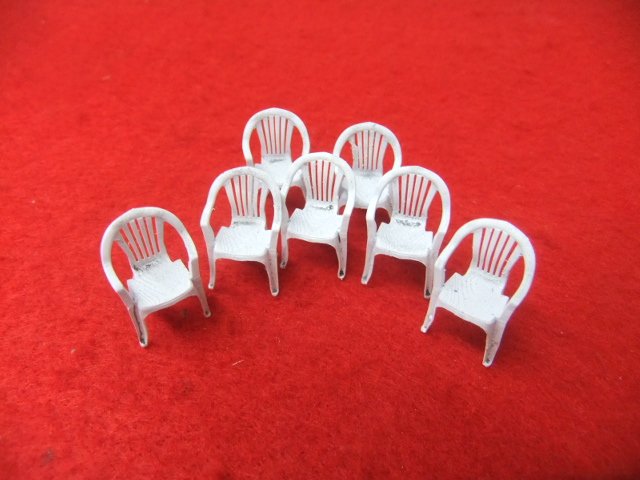
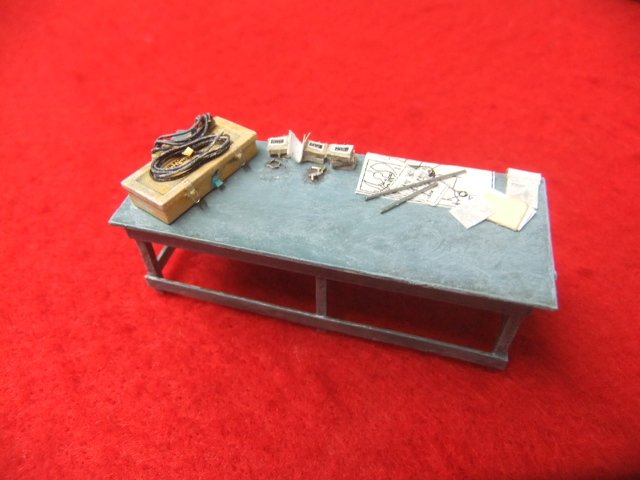
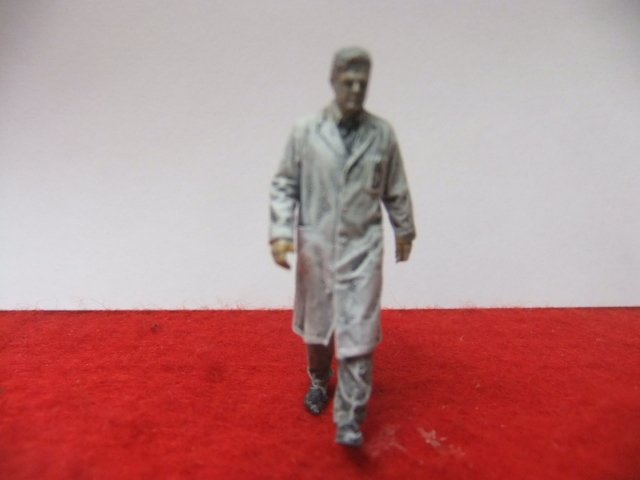
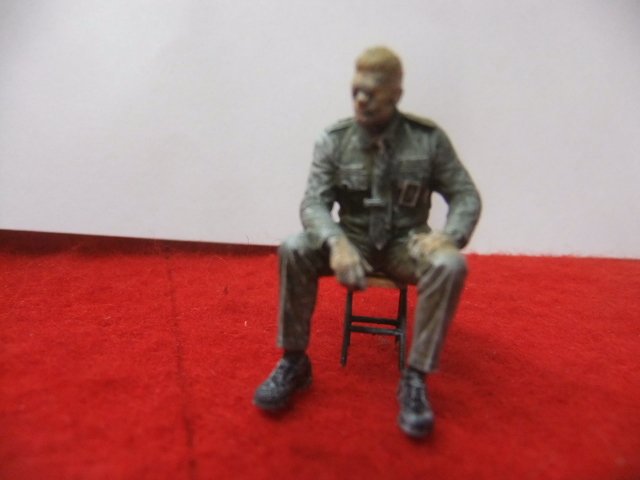
i , here a pic of the projects I completed this week..it's in 1/48 scale PATIO CHAIRS (STEPH 3D) https://photos.app.goo.gl/BCnEes6tfQgv8m1k8 AVRO CF-105 AROW 'MASTER MOLD' https://photos.app.goo.gl/y7fd6KMxL1xMLm9q7 AVRO CANADA EMPLOYE (STEPH 3D) https://photos.app.goo.gl/nmSZrGimois7RV9c7 1950 ERA CANANDIAN MILITARY (STEPH 3D) https://photos.app.goo.gl/f845jHqMwpWEytk28 Like to view what I have done so far in 2026 season , just follow this Google link : https://photos.app.goo.gl/dJwnAmhVD15JPt9w8 Like to see more of my previous completed projects in 1/48 scale ..................... Like to see what I have completed so far this season 2025 (143 projects) , just follow this GOOGLE link: https://photos.app.goo.gl/zKmRkgK19W2fPoin7 Like to see what I have completed so far this season 2024 (103 projects) , just follow this GOOGLE link: https://photos.app.goo.gl/4d3DYFCkVLL64imq8 Like to see what I have completed in 2023 season (100 projects) , just follow this GOOGLE link: https://photos.app.goo.gl/Wbzocz4nrbgcPuAQ6 Like to see what I have completed in 2022 season (148 projects). just follow this Google link: https://photos.app.goo.gl/WniLxX42pzCF6JYH9 Like to see what I have completed in 2021 season (110 projects). just follow this Google link: https://photos.app.goo.gl/d89Abe6NeE8LJUEeA Like to see what I have completed in 2020 season (65 projects) ,just follow this Google link : https://photos.app.goo.gl/piTfBCtMXvf6g5zG8 Like to see what I have completed in 2019 season (35 projects) ,just follow this Google link : https://photos.app.goo.gl/wX42Q8pKRqwR7APR9 Like to see what I have completed in 2018 season (52 projects) ,just follow this Google link : https://photos.app.goo.gl/SnL7aiYFfHrV5JbA8 Like to see what I have completed in 2017 season (33 projects) ,just follow this Google link : https://photos.app.goo.gl/1RxEF7q89HnJUjGA6 Like to see what I have completed in 2016 season (33 projects) ,just follow this Google link : https://photos.app.goo.gl/299uiMnC7C2PDaABA Like to see what I have completed in 2015 season (33 projects) ,just follow this Google link : https://photos.app.goo.gl/e9kY3Gg1D3fxECtC9 Enjoy !
-
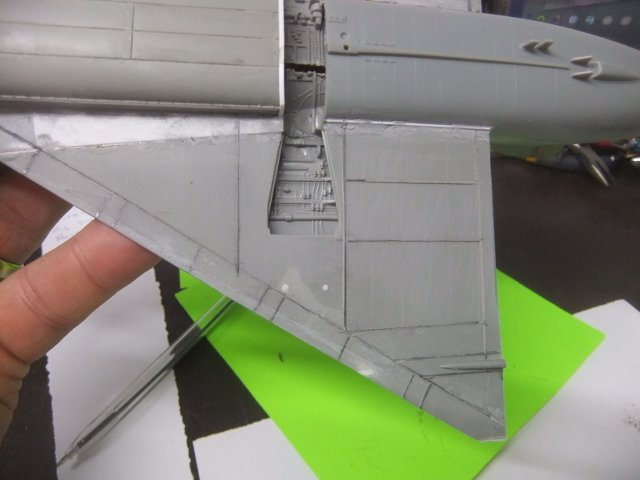
Thanks for following the WIP ..here is the latest advance on the project ! (JUL 17th) Today , I continue ingraving the panel lines on the wings bottom section ! If you like to view the complete WIP of this project https://photos.app.goo.gl/89TgFWzqzKY6KcjE6 ........You been following this post and like to view all the AVRO CANADA projects I have completed so far .. just follow this Google link: https://photos.app.goo.gl/FpZs5m3ic3c3eL329 Hope youl,le enjoy the built Jmarc
-
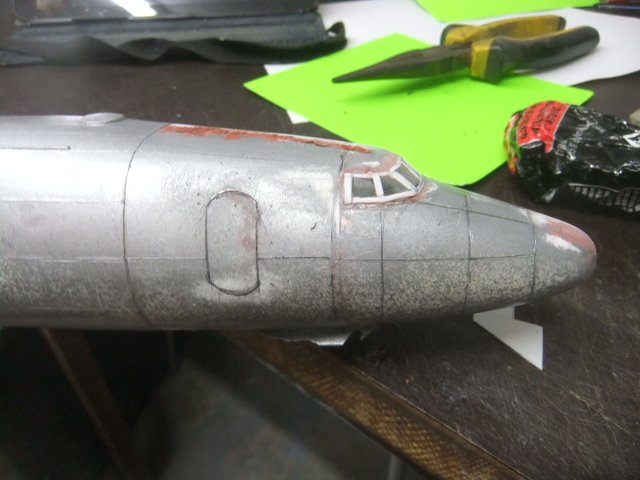
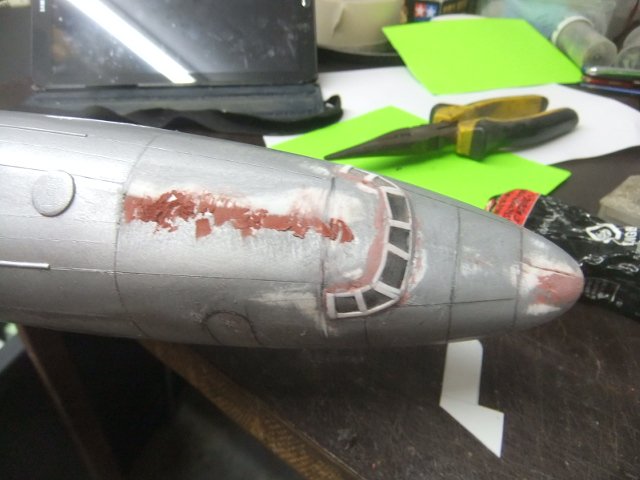
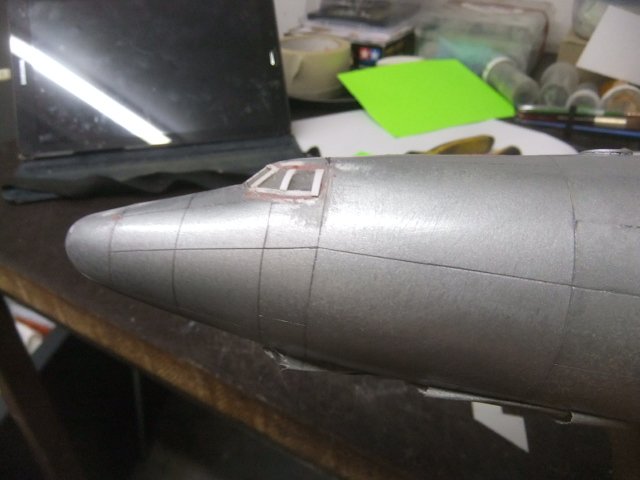
First I'd like to thank you for following this WIP , it's quite appreciated ! LOCKHEED WV-1 CONSTELLASTION in 1/48 (JUL 17th ) ..Today I continue reviewing the joints and panel lines of the fuselage ! If you like to view the complete WIP on this project , juts follow this Google link : https://photos.app.goo.gl/GZvfX8dsdnYnsQ2W7 Here a pics of both projects Enjoy Jmarc
-
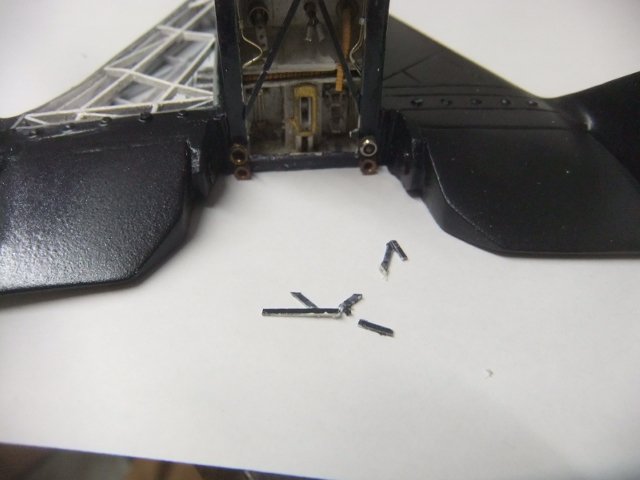
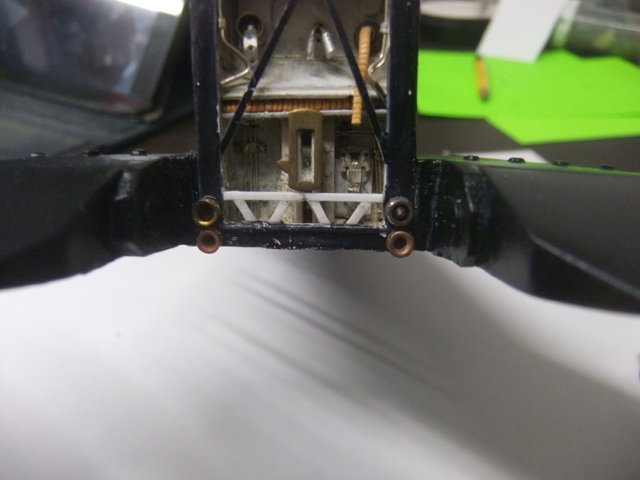
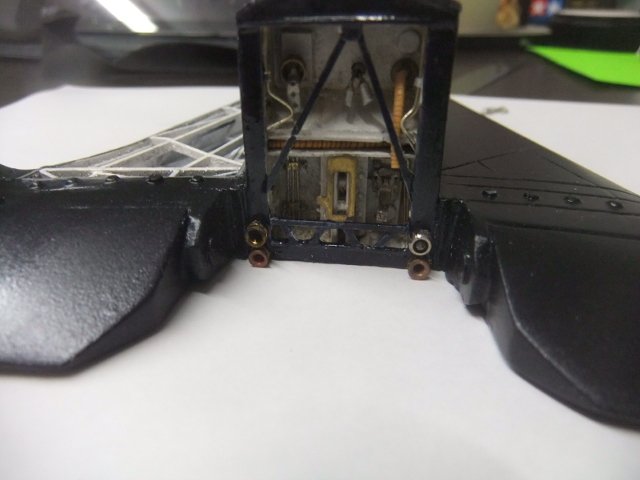
First I'd like to thank you for following my WIP , it's quite appreciated ! Here another space related project I been working on , its the COLLECT-AIR BOEING X-20 DYNASOAR ! (JUL 17th) today ,I I repair the damage done to the back section and continue adding details ! If you like to view the complete WIP , just follow this Google link to my personal page: https://photos.app.goo.gl/Rjsjms9BhTrbnhYDA If you like to view the other space related project I have done so far , just follow this link: https://photos.app.goo.gl/ov2R8HFSA26iDpms5 Enjoy ! Jmarc
-
First I'd like to thank you for following this post ,it's quite appreciated ! BOEING INCITUS MQ-27 / CU-169 SCAN EAGLE 1/48 ( 3dPRINTED +ADDITIONS) (JUL 17th ) Today I continue adding the last details ! If you like to view the complete WIP on this project , just follow this Google link : https://photos.app.goo.gl/jrWyBiNZSJHCUknZ9 If you like to view all the DRONES I have done so far in 1/48 , just follow this link: https://photos.app.goo.gl/mjGm69hDKYaDuFNX6 Enjoy ! Jmarc
-
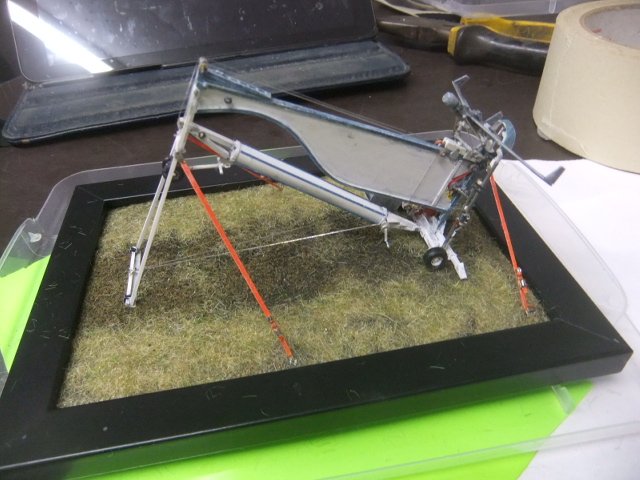
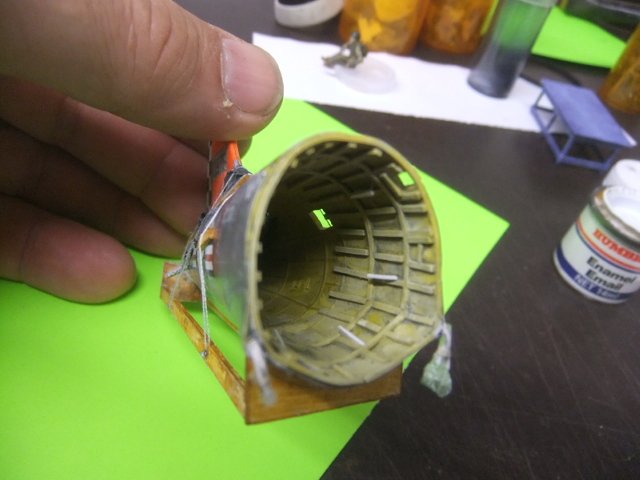
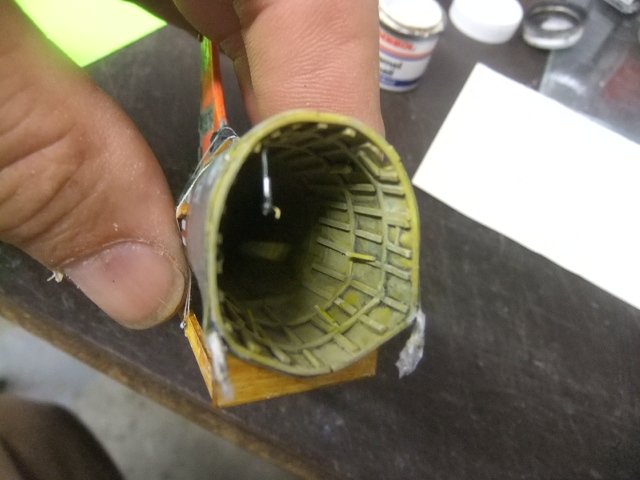
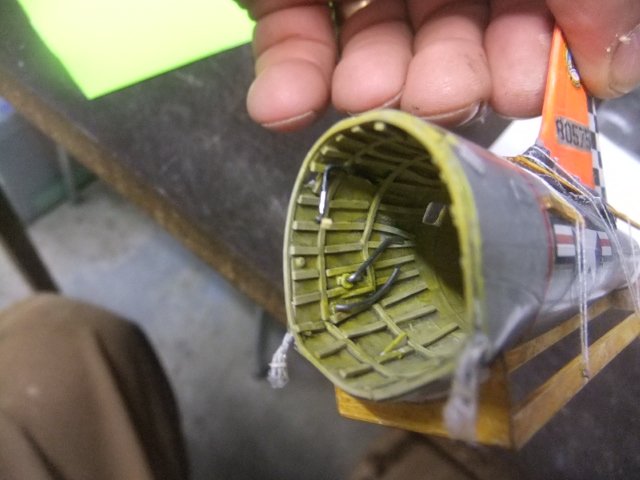
First I'd like to thank you for following this post , it's quite appreciated ! 1/48 LOCKHEED T-33 SILVER STAR (TESTOR) (JUL 17th ) Today I continue adding the lastt inner details to the tail section ! If you like to follow the complete WIP on this project , I have set up an GOOGLE page, just follow this link .. https://photos.app.goo.gl/mCtpo97pwYCFaYE39 If you like to view the complete STASH PARTS done so far ,just followthis GOOGLE link .. https://photos.app.goo.gl/NtNSgh1zJgx9jRSx5 Enjoy ! Jmarc
-

Stikpusher Scale Defense Industries
Stikpusher replied to Stikpusher's topic in Photos: On the Bench
Last night I glued the wings in place And here is the gap on the lower fuselage at the lower wing But… it’s Hasegawa… I don’t want to hear anyone talking smack about the fit on Monogram kits… but no worries, I attacked the problem with strip styrene shims to fill that gap… Some Tamiya Extra Thin to get them in place, then I trimmed them up and sanded them down a bit Then an application of Mr Surfacer that’s going to dry overnight More to come in a day or two… -
 Just a quick heads-up: a lot of the vendors who will be at the 2026 IPMS/USA National Convention in Fort Wayne, Indiana have begun posting information about themselves on our Facebook page. You might want to check them out, they're offering all kinds of cool stuff! https://www.facebook.com/groups/ipmsusanationals/
 -
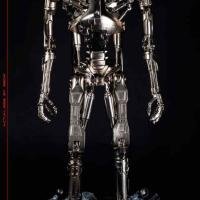
 In this second to last part, I want to go over some of the modifications we can do to the Terminator. First, let me say, these are not needed as the kit is fantastic by itself. That being said, I can never leave well enough alone so here we go. Looking at the kit, there are parts of metal and plastic. I wanted to deal with plastic parts and when they are made, they are molded and have faint seam lines and then are chrome plated over that. My first step was to use sanding sticks and progressively finer grits to get the seams removed. Polishing the parts will produce a finer finish. The only difficult part to this is getting through the really good chrome plate. Once the seams are good and smoothed, I used a primer to prep the pats for painting. I like Tamiya Super Fine. It dries quick and hard but does have an odor. This was allowed to dry overnight. View the full review
- Yesterday
-
 Hi folks, I'm from Brazil, and I will be attending the Nats this year again. My first leg will be Chicago->Idianapolis->Lexington->Dayton by car. Then Dayton to Fort Wayne. I would appreciate if you guys know about hobby shops - plastic or railroad along this route. I don't mind to deviate a few miles to visit a nice shop. Any help, please. Thanks in advance. Rato Marczak
 -
 CameronJamison joined the community
 -
Nice work!
-
Looks terrific!
-

Maddog Manufacturing Opening for 2026
Ron Bell replied to Mark Deliduka's topic in Photos: On the Bench
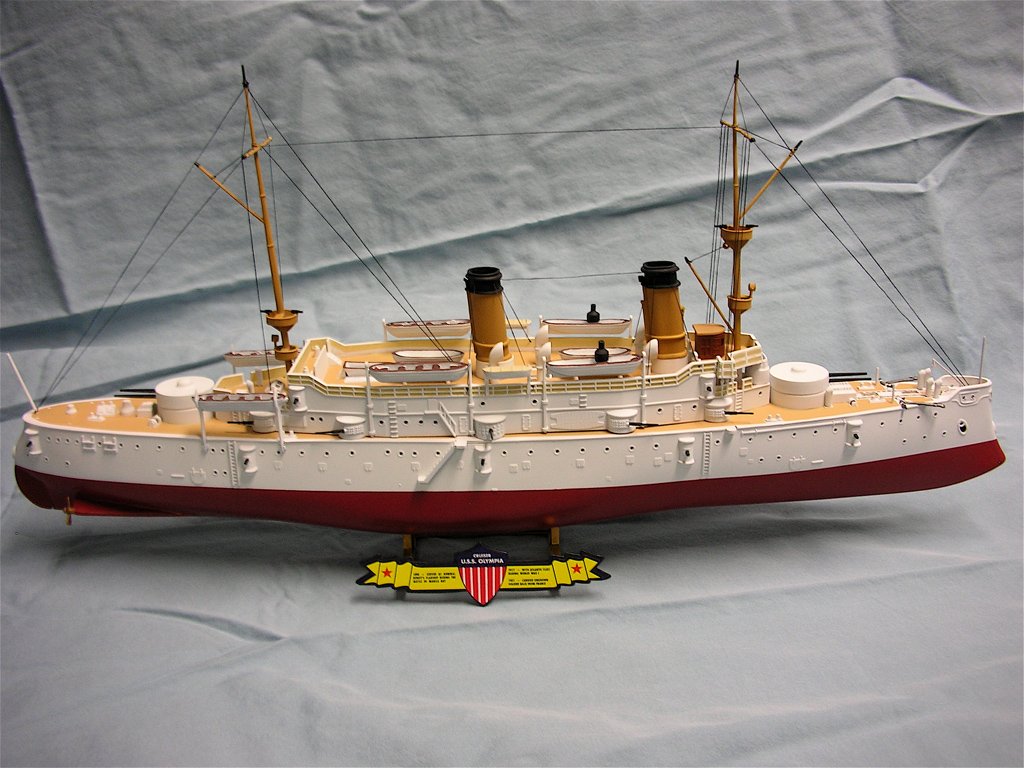
That is one busy workshop. I did the Olympia a while back. It's a very old kit but was a fun build and makes a nice "mantle model" over a fireplace or on a decorator shelf.
-
Excellent job. When I do carrier models it takes me as long to do the air wing as it does the ship.
-
RatoMarczak joined the community
-
This month I was able to finally get another Shelf Queen off the Shelf of Doom. Three years after it was started, the 1/600 scale Academy USS Enterprise was launched: Now she's off for her shakedown cruise. Thank you all for looking in, comments are welcome.
-

Maddog Manufacturing Opening for 2026
Mark Deliduka replied to Mark Deliduka's topic in Photos: On the Bench
It's July now and Happy Birthday America and Happy Anniversary to me. It's time for another tour of Maddog Manufacturing so all aboard the trams to see what's happening now. Our first stop is the Hangar which only had one project going this time, but it's a big one! I got started on the AN-225 transport, starting with assembling some of the wheels: Granted that's about 1/5th of the wheels this beastie has, and each wheel consists of five parts. I'll be working through these gradually as this progresses. Next I started with the main landing gear bay. The first part was easy: After that, every landing gear assembly needed to be built and installed one at a time. Each landing gear sub-assembly has 17 parts in each one and there are two types of main landing gear. Here's the first one installed into place: Later I got the rest of this first type of landing gear installed. This is still only one-third of the total landing gear assemblies: Once that was sufficiently dry, I installed two of the second type of landing gear to get them started: After that I got tired of dealing with all those tiny detail parts. So, I started on the engines, each of which had over twenty parts. I finally got all six of them finished and worked on their pylons next: After some more sanding and finagling, I got all six engines mounted on their pylons: After that I decided to start on the tail, cementing the two uprights to the horizontal part: Note the Exacto knife in the corner to show how big this monster is... After that, the instructions call for installing all these little posts in the wings to hold the engines and wing fillets. The posts came in these little rods that had to be cut into fourths to place in each hole. After drilling out the holes in the wings, I started by gluing the posts in place; then when they were dry, I cut off the top 3/4's and glued to the next holes, then cut them down again, lather, rinse, repeat until all the holes had posts: Later, after sufficient setting time had passed, I added each engine pylon: Later the wing fillets went on and as they all dried, I started the other wing with the posts: Again, the engines and wing fillets then got glued on to this one and now both wings are completed: Later on, I applied a thin coat of Gator's grip glue to each pylon and fillet to reinforce the CA glue and to fill any small gaps that remained. That is all drying now and waiting for paint. That completes the Hangar portion of this tour, on to the Shipyards. The Shipyards have been busier, several keels were laid down for new projects. The first of these is a Mahan-class destroyer: Later after that was dry, the deck, hull and superstructure were painted: Now we'll be able to get the detail parts all added. Meanwhile, another ship's keel was laid, this time a Liberty class cargo ship: ]https://modelersalliance.org/galleries/wip-liberty-ship-i-jpg.132758/full[/IMG Then the superstructure and some detail parts were added: Later this was painted along with the destroyer: One more keel was laid, this time for the USS Olympia. I had this in the stash for awhile, it's time to get it built: The superstructure was then built and added to the hull later: Once all that was dry, the lower hull was painted red and then masked when dry so the upper works could all be painted white later: One last new project, the USS San Francisco was then laid down. I didn't get much further than this though: One of the two current projects were worked on as well. The Japanese ship JMSDF Chikugo (mislabeled Chikuma) got a coat of paint on it: More details will be added and detail painted and then decals will complete this little ship. Meanwhile, on the USS Enterprise, some touch up painting was done: While that was drying, I worked on the air wing, getting them all built and painted. The the deck-edge details and other small assemblies were added and this bird farm is ready for decals and final details: That completes this tour of the Shipyards, on to the Motor Pool which also had only one more project going. This is the Russian BAL-E coastal defense system truck, designed to take out ships offshore, The chassis was built first, of course: Later the driver's cab, engine cover and command cabin were built and installed on the chassis: Next, the missile tubes were built: Once this was all assembled together, it got it's base coat of green: It won't be much longer on that one. That completes this tour of the facilities for now. Thank you to all who stopped in and commented, they are always welcome. We'll see you at the next tour. -
From the convention Center .. I asked them Hi William 🙂 We are only two floors, the first level and second level. We do have a passenger elevator that is located behind the Sales & Event Planning offices and in the alcove that the ATM is also located on the first floor. On the second floor it is located just to the right of the escalator as you are facing the escalator. Both are marked with ample signage as well as for our events we have Host that can direct you to where ever you intend to go 🙂 The Hilton Hotel that is physically attached to the Grand Wayne Center's building and is all "one building" inside has its own elevator bank that serves the hotel to their sleeping rooms and meeting rooms on their side of the building (or east end of building facing Calhoun Street) and are located just past the front desk in the hotel. I hope this helps. Let me know if you have any further questions. Stacey Paunovich | Assistant Business Manager main: 260.426.4100 | spaunovich@grandwayne.com | grandwayne.com 120 W. Jefferson Boulevard, Fort Wayne IN 46802
-
Stikpusher Scale Defense Industries
Stikpusher replied to Stikpusher's topic in Photos: On the Bench
In addition to my Panzer IV, I will be working on this “Child of Doom”. I would guestimate that I started this one at least 14-15 years ago if not longer, and stalled out due to some warpage where the lower forward fuselage meets the bottom part of the wing. Before that point I had finished the cockpit and engine. I’m converting this to a P-47C using an AM resin cowling from Cutting Edge I’m planning on building USAAF ace Robert Johnson’s P-47C “Half Pint”, in which he nearly was shot down during one of his early combat missions… This particular Jug never flew again after that mission, but Johnson did and eventually became the first USAAF pilot in the ETO to break Eddie Rickenbacker’s 26 kills score, and also one of the top scoring USAAF aces in the ETO with 28 kills before rotating back stateside at the end of his combat tour. I’ll be using this set of decals So after all that preamble, fast forward to the past couple of days, as I resumed work. Yesterday I airbrushed on a coat of primer onto the resin cowling Then after looking at several color and B&W photos of the fuselage spine under the canopy hood, I decided to go with OD under there and repainted that area, in addition to painting black under where the windscreen will go Today I glued the cockpit tub in place Next update in a day or two… -
Beautiful job! That is such a sensational model! Way to go!
-
Stunning work Gil! Once again, another striking example of a Master builder!
-
Zoukei-Mura has graciously provided the IPMS Reviewer Corps with a first look at their brand new 1/32nd scale Kawasaki Ki-100-I Otsu Type 5 Fighter. Full release and distribution will be later in August 2026. Prior to this release, the only way to get a 1/32nd scale Ki-100 was to purchase a Hasegawa Ki-61 and an Alley Cat conversion set. This new kit will fill a void for WWII Japanese fighters. First Impression: It Looks Fabulous! History (from Zoukei-Mura website)The Ki‑100 Type 5 Army Fighter was a Japanese Army aircraft of World War II, developed as a derivative of the Ki‑61 Hien. By installing the Ha‑112 radial air‑cooled engine and modifying the fuselage, the Ki‑100 arose as an emergency conversion aircraft. Despite its improvised origins, it demonstrated outstanding performance, providing the Japanese Army with an unexpectedly capable fighter. View the full review
- Last week
-
TTTTTTTTTThank !
-
Nice, colorful touch! Gil
-
First I'd like to thank you for following my WIP , it's quite appreciated ! Here another space related project I been working on , its the COLLECT-AIR BOEING X-20 DYNASOAR ! (JUL 15th) today ,I I continue adding ther last detail to the back section ! If you like to view the complete WIP , just follow this Google link to my personal page: https://photos.app.goo.gl/Rjsjms9BhTrbnhYDA If you like to view the other space related project I have done so far , just follow this link: https://photos.app.goo.gl/ov2R8HFSA26iDpms5 Enjoy ! Jmarc