Wolfman63
-
Posts
624 -
Joined
-
Last visited
-
Days Won
109
Content Type
Profiles
Forums
Events
Everything posted by Wolfman63
-
Welcome to week 18 on the Trumpeter 1/350 USS Hornet project. This week was spent detailing the gun directors and the island. On the gun directors I first removed the molded “blocks” that represented the door and hatch. These were replaced with photo etch pieces. I then used the photo etch for the antenna and mount. Switching over to the island I removed the molded porthole covers form the bridge and replaced them with the photo etch parts. The photo etch parts have the slots in them where the kit ones did not have them. I then started on the starboard side of the island. After reviewing the photos in the reference book I found that the three “portholes” near the top of the island are actually vents. I filled the portholes with putty then used a small styrene tube and cut an angle on them and installed them over the previously filled holes. There are also a couple of ducts and a storage bin mounted to the railing. After digging through my stash of extra photo etch parts I found a few items to scratch build a platform that has a cabinet attached to it. Not sure what its purpose is but I detailed it to match the reference photos. I will next be detailing the port side of the island. I have already added the hose reels and some small rail sections. It takes al lot of time comparing the model island to the reference photos. Each time I find another small detail that is missing on the kit version. I still have the masts and rigging to do as well. See more photos and details from the start in my build log at https://davidsscalemodels.com/build-log/1-350-uss-hornet-cv-8-doolittle-raid/
-
Week 17 on the USS Hornet was more work on the island. I mounted the LED’s in the main part of the island and verified the effect I am looking for worked and it did. I then started working on the catwalks and rails. As I was working on them and checking the photos I noticed the catwalks were grated not solid. I then looked over the many accessories and found that I purchased the White Ensign Models Catwalks Set. I thought it was just the catwalks around the ship but then found out it includes the island catwalks! I then removed the kit catwalks, filled the mounting holes and started mounting the photo etch versions. These look a lot better and appear to be sized correctly. The kit ones looked a little thinner width wise. There are two large search lights on each side of the island. These are molded in the kit gray. I decided to make them look more realistic. I took a drill bit the diameter of the search light lens. Drilling into it create a concave divot. This was then painted with chrome silver. I finally covered it with a round clear lens I located in my spare bin. I then cut off the molded area on the aft side of the island that represents the stairwell. This was replaced with numerous photo etch parts. I am working on the port side island catwalk replacement now then I will work my way up to the masts. See more photos and details from the start in my build log at https://davidsscalemodels.com/build-log/1-350-uss-hornet-cv-8-doolittle-raid/
-
Thanks All, They have been claimed and will be heading out.
-
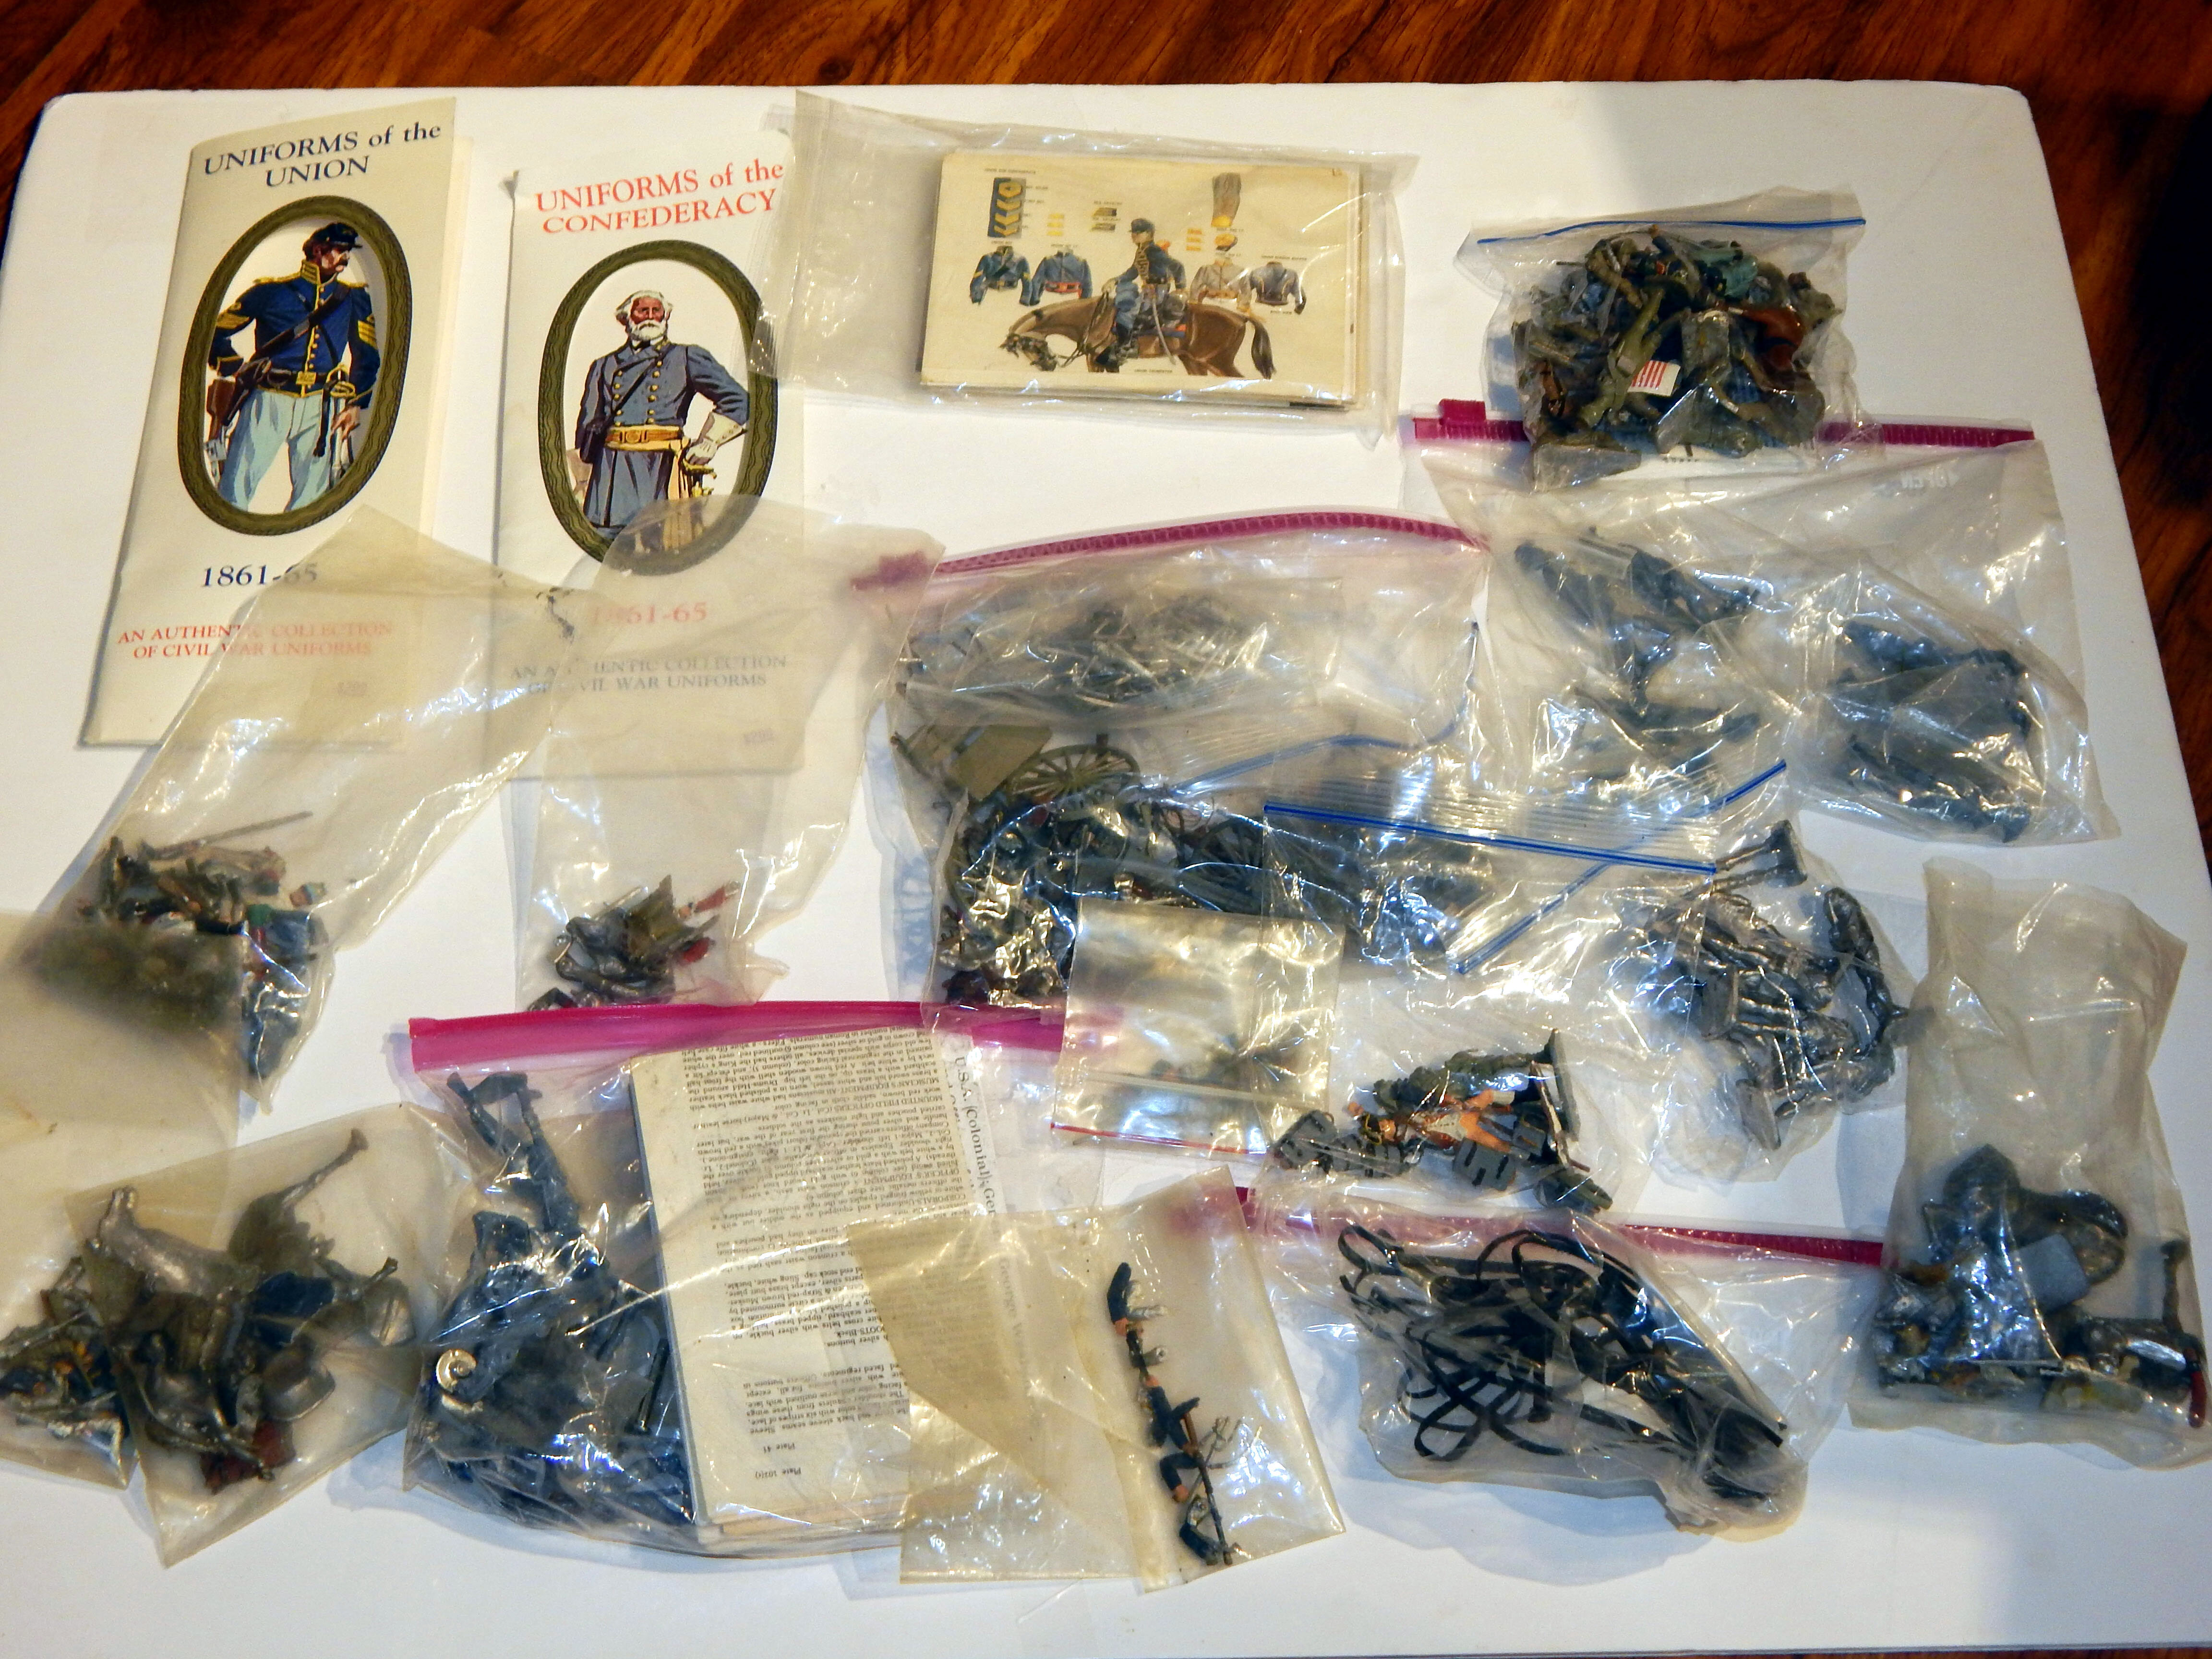
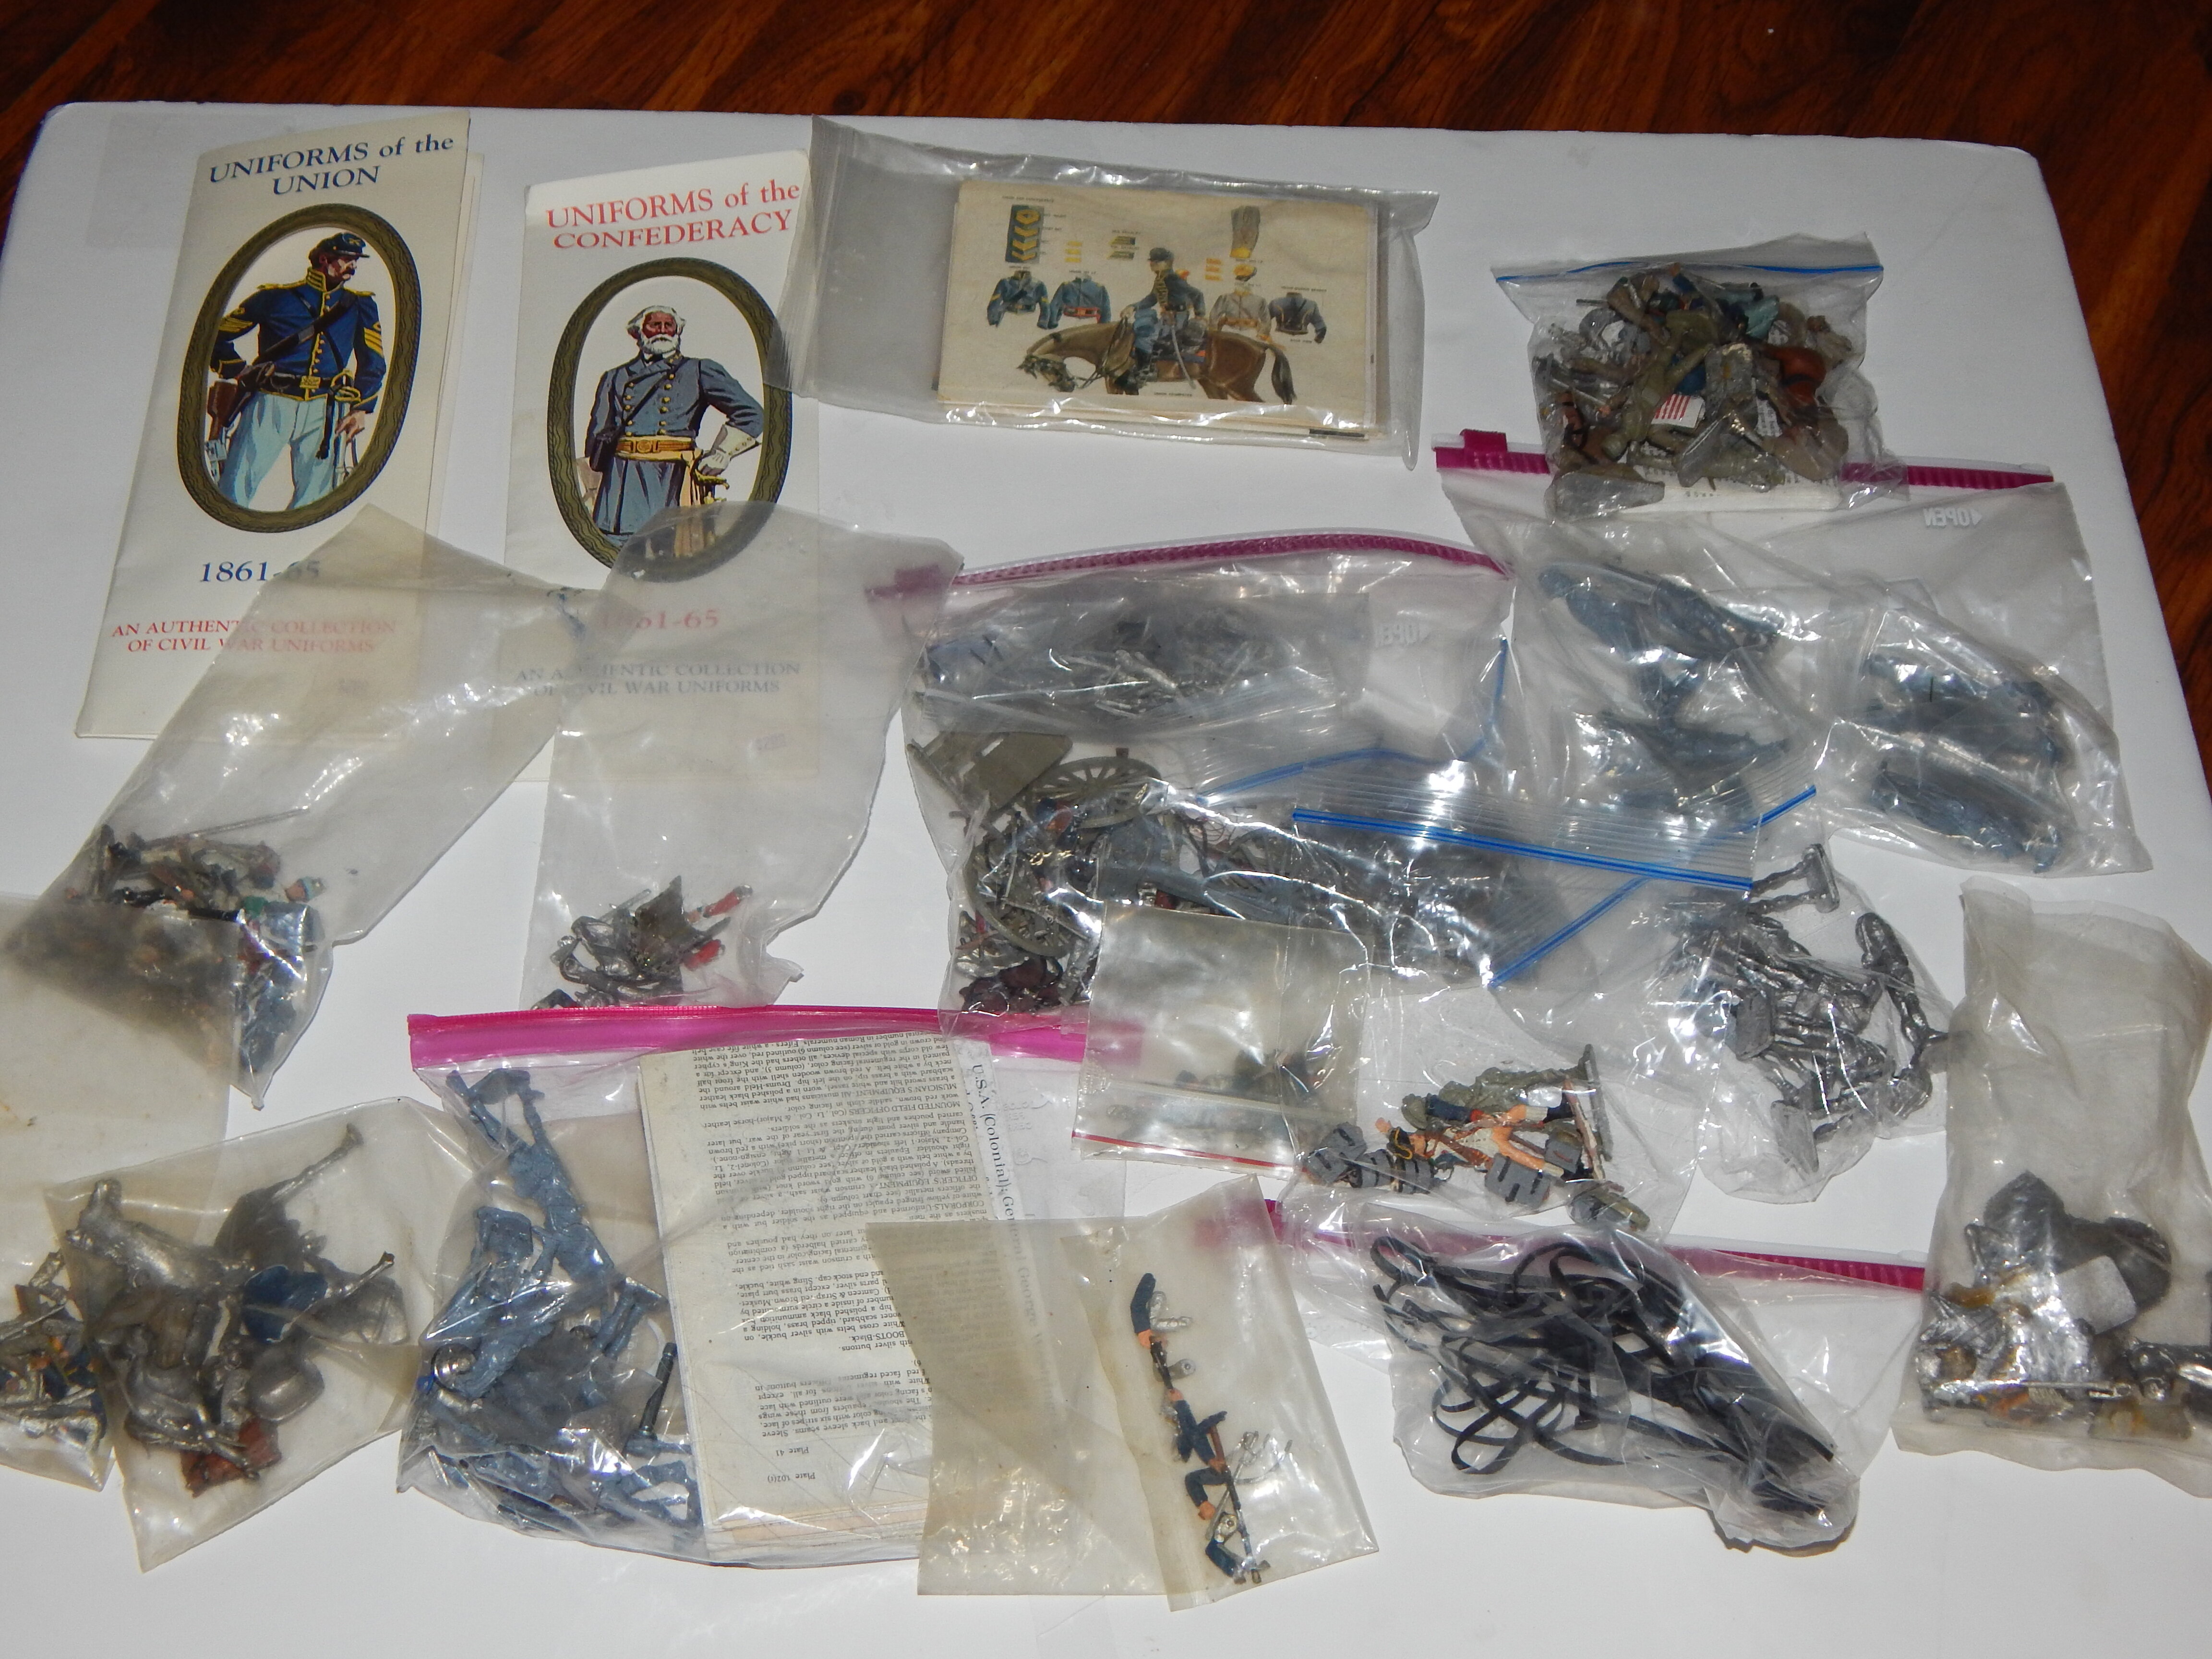
Good Morning All, I have a bin full of 1/35 scale civil war figures and accessories. I received these as part of a large box from an estate sale. I am mostly aircraft and ships. So I am offering the bin (for just shipping costs) to anyone who can use them. Just PM me.

-
Moving right along for week 16 of the USS Hornet project I have finished installing the hangar deck lights. To get the effect of multiple lights I staggered them from each side. All the wiring was routed to the section under the island so the wiring can be run to the bottom of the hull. With the hangar deck finished I started working on the island. I first drilled out all the portholes and windows. The windows on the bridge were then filled with acrylic gel to simulate the glass. The bridge is divided into two sections so I used two PICO sized LED’s to light it up. The rest of the island is illuminated with two 5mm LED’s. I then drilled out the funnel caps and replaced them with the photo etch details. Over the next week I will be detailing the island so I can install it on the flight deck as one assembly. This is needed so I can run the wiring into the hull. See more photos and details from the start in my build log at https://davidsscalemodels.com/build-log/1-350-uss-hornet-cv-8-doolittle-raid/
-
This is week 15 on the USS Hornet project. I spent most of the week figuring out the light placement and how to route all the wiring. Looks like I will be running a total of 18 LED’s for the hangar deck. For the section between the rear elevator to the mid-ship elevator I have 8 of the NANO size LED’s. These are the “Warm White” color. Placing them on alternate sides and staggering them gives me the best effect. Placing the LED’s is a slow process. I first started by placing the LED into the location and attaching it using acrylic gel. Once the gel is cured I then route the wire and use the gel to hold the in place. When you look at the photos don’t worry about the girders being bent/warped. Feeding the LED’s and routing the wire causes them to distort as they are handled while feeding the wires and LED’s thru them. I am going to wait until I am ready to install the flight deck before I straighten them. The wires are being routed to the section under the island. Later I will join these with the wiring from the island and run the wires into the bottom of the hull. Since it takes time for the gel to cure, I stated looking at the island. Since I plan on lighting it as well I drilled out all the port holes and windows on the on it. For the square widow I used a square file. It looks like the bridge has two sections so I will need 2 NANO LED’s. I then need to figure out which LED’s and where to place them inside the main part of the island to give even lighting thru all the port holes. The last of the hangar LED’s are curing now. I then need to do some painting and touch-ups on the wiring to blend them with the hangar deck. Once that is done, I then need to look at the flight deck and prepare it for the wooden flight deck. This will be the first time I will be doing a wooden deck on a model. See more photos and details from the start in my build log at https://davidsscalemodels.com/build-log/1-350-uss-hornet-cv-8-doolittle-raid/
-
This week on the USS Hornet project I was able to paint many figures and get them placed around the hangar deck. I used mostly the Tamiya figures with a few of the 3-D printed figures. One of the 3-D printed figures was in a seated position so he is now driving a Moto-tug. Another was kneeling so he is working on a dauntless SBD’s dive brakes. The last one I used was one posed walking up a ladder. The rest of the 3-D printed will populate the flight deck and island. With figures placed, I paced all the aircraft back in the hangar and added a few more figures, more moto-tugs, and the weapons carts near the weapons elevator. I then installed the aft girder assembly. This has turned into a slow process. One side needs to be attached and cured before attaching the other side. This is needed to keep the girders straight. I then placed some of the SBD’s in the girders. With the girders in place I started mapping out where the lighting will go and how to route the wiring for the aft section of the hangar for illumination. I am currently working on the forward section of girders now. See more photos and details from the start in my build log at https://davidsscalemodels.com/build-log/1-350-uss-hornet-cv-8-doolittle-raid/
-
The SBD’s of Bombing 8 for the USS Hornet have been completed! I completed the detail painting then applied all he decals then attached the propellers. I scratch built a rack to hold the propellers and added a bunch of them on the rack. I then started squeezing all the aircraft on the hangar deck. I added a couple more moto-tugs and placed the torpedo and bomb carts near the weapons elevator. I then laid out all the under deck girders. At first I tried using CA glue but with the size and length of the assembly then kept breaking loose. So I decided to solder them together. This worked a lot better. I made two assemblies. The assemblies are separated by the mid-ship elevator. I taped everything into place an measured the room available. There is a lot less room than I originally thought. I would need about 0.6mm of space but I only have about 0.15mm of space. This coupled with the thickness of the hangar walls it looks like I will not be able to add the fiber optic lines for each light. There is just no room for the estimated 14 feet of fiber optic lines. So I will be moving on to plan B. Instead of fiber optic lighting I am just going to use Nano sized LED’s. These will be placed in the girders throughout the hangar deck. With the girder assemblies built, I need to attach the aircraft and other details into the hangar deck. One of the things I need is the crew. So I will start off with the accessories I bought. I have a set of Eduard photo etch crew figures that I bought a few years ago when I was getting accessories for a different project. I ended up not using them back then. For this project I bought the Tamiya crew set which has 144 figures in 6 different poses. I also purchased 120 3-D printed crew figures. These were bought on Shapeways by member Holder8702 on his Panzer vs. Tanks page. The Tamiya crew members will be used mostly on the hangar deck and the 3-D printed will mostly be on the flight deck and island. I will not be using the Eduard set. The photo etch came painted but they are too thin to look real. The Tamiya figures are thicker but only have basic details See the photo below where I compare a saluting crew member between all 3 sets. I have lots of fine detail painting and mapping out where they will be placed to get accomplished before I can move on to the lighting. See more photos and details from the start in my build log at https://davidsscalemodels.com/build-log/1-350-uss-hornet-cv-8-doolittle-raid/
-
The SBD’s of Bombing 8 are getting closer to being completed. I made one of them with canopy open and dive brakes open. There will be two more with just the rear gunner canopy open and the rest will be all closed. I had to fill in the hole for the tail wheel so I could mount the photo etch version. Another thing I am doing is since the SBD’s do not have folding wings some of the aircraft on the ship had their wings, bomb swing, and propeller removed then the fuselage was hung in the rafters of the hangar bays. So there will be a wing rack as well as a rack for holding the propellers as well as spare propellers for the aircraft. I also found some reference photos of how the aircraft were arranged in the hangar bay. The very few photos I found show the F4F Wildcats forward, TBD’s mid-ship, and the SBD’s aft. So once the SBD’s are finished I will map out where the aircraft will be placed on the hangar deck. The photo etch set also has bomb carts and torpedo carts which will be added to the hangar near the weapons elevator. I bought some brass early MK 13 torpedoes to place on the torpedo carts. I am hoping to start working on the hangar deck details and crew next week. Still need to figure out the routing for the fiber optics to illuminate the hangar deck as well. See more photos and details from the start in my build log at https://davidsscalemodels.com/build-log/1-350-uss-hornet-cv-8-doolittle-raid/
-
The TBD’s of Torpedo 8 are finished. After I spent an evening correcting the misplaced antenna the canopies were added and then I applied all the decals to the fuselage and then the wings were painted and decaled. The wings were carefully placed in the folded position. With the aircraft drying from adding wings and decals I painted all the propellers and trimmed them to mount onto the aircraft. Once dry all the propellers were added to complete the aircraft. They were all staged on the hangar deck. I then started on the SBD Dauntless dive bombers of Bombing 8. The fuselage required some trimming for the cockpit section to fit. I then grabbed some reference photos. The reference photos show that some aircraft have the dive brakes open and some closed. I will do the same with some open and some closed. I also realized that the SBD Dauntless is missing one thing that most Navy aircraft have, folding wings! So once I get these all built I will need to figure out how to get all these aircraft on the hangar deck. Anyhow, getting back to the build, the cockpit photo etch has a tub with a seat and an instrument panel with pedals. There is also the rear gunner seat, gun mount, and gun which needs to be placed after the fuselage is together. I also have the photo etch set that includes the bomb swing and the dive brakes. I will be using the photo etch dive brakes on a few of them. I am working on setting up the assembly line for them now. See more photos and details from the start in my build log at https://davidsscalemodels.com/build-log/1-350-uss-hornet-cv-8-doolittle-raid/
-
The Devastators for Torpedo 8 are almost finished. I added the landing gear and wheels. The landing gear required some tedious work to get them to line up together. There are 3 attachment points so getting the left side and right side to line up as well as stand straight from the front took a lot of work. The landing gear struts were then painted aluminum, tire black for the tire and then the medium grey for the hubs and underside of the aircraft. The top was painted intermediate blue. The wings required a lot of work as well as they had a lot of flash. Especially on the trailing edge which is also very thin. Once finished they were painted. I then looked at the decals. The ones that came with the Trumpeter kit had the incorrect blue for the insignias so I will be using the Starfighter decals. This morning I was going to start applying the decals however, I was looking at some reference photos and noticed the antenna is incorrect. The one photo from the side looked like the antenna was offset similar to the vindicator and dauntless. It turns out the antenna on the devastator is actually just behind the cowl and centered. So I need to correct that today. Once I correct them I can start the decals. Hoping to finish the Devastator’s during this nice long Labor Day weekend then start on the Dauntless dive bombers of Bombing 8. See more photos and details from the start in my build log at https://davidsscalemodels.com/build-log/1-350-uss-hornet-cv-8-doolittle-raid/
-
This week I started working on the Devastators for Torpedo 8 for the USS Hornet. I am using White Ensign’s cockpit detail set #3548 and Tom’s Modelworks aircraft detail set #3538. The cockpit fits very well. I plan on having some of the aircraft with the canopy open and some with the canopy closed. Just like the Wildcats I set up an assembly line. Mounting the cockpit and seats first then assembling the fuselage. The detail set includes the rear gun, antenna, and the gun sight. One thing to note, The instructions for the aircraft assembly show the wings folded pointing straight up when in reality they fold over. Next I will be starting to paint the fuselage section and wings in preparation for the decals. See more photos and details from the start in my build log at https://davidsscalemodels.com/build-log/1-350-uss-hornet-cv-8-doolittle-raid/
-
The F4F Wildcats of “Fighting 8” for the USS Hornet are completed and aboard! I set up an assembly line. First I placed all the decals on the wings and lined them up. The decals were then applied on the fuselage. While they were drying I grabbed one of the 3-D printed Moto-Tugs from BaconFist on Shapeways and painted one of them. The detail for such a small tractor is awesome. The engine was painted engine gray. The body was painted intermediate blue with a black dash and seat. I also painted the front grill openings and tires. Once the Wildcats were completed I placed them in the aft hangar bay. I will set them in place later when I add the figures. I am finally starting the Devastators for “Torpedo 8” today. See more photos and details from the start in my build log at https://davidsscalemodels.com/build-log/1-350-uss-hornet-cv-8-doolittle-raid/
-
Progress this week is going slowly on the USS Hornet build. All things being equal 1/350 modern jets are much easier to build than World War II fighters. With the landing gear finished I needed to install the antennas. Using the Glue Looper V4 and a Pic-N-Stic I was able to place a small drop of CA glue and CAREFULLY place the antenna. ( Check out the Tips and Tricks section for the items I used at https://davidsscalemodels.com/tips-and-tricks/photo-etch-tools/ ) It may look easy but it took one evening just to install them on 18 aircraft. With all the photo etch added I painted all the aircraft and their wings. With the wings being in the folded position I needed to put the decals on before the wings. I had purchased the Starfighter Decals Hornet Air Wing decal set. I am not sure if it was the decal film was too thin or somehow they got degraded but the squadron numbers and the aircraft numbers on the cowl were very difficult to slide and place. They kept falling apart and cracking. After messing up many of them I decided to just make my own numbers. I printed out a set for all the squadrons and replaced the ones that messed up with my own. With the decals all placed I added the canopy, wings and propeller. So the first F4F is done, only 17 more to go! Once these are finished I will be starting on the Devistator torpedo aircraft. See more photos and details from the start in my build log at https://davidsscalemodels.com/build-log/1-350-uss-hornet-cv-8-doolittle-raid/
-

FS: 1/350 - 1/700 Hangar Bay and 1/350 Air Wing Decal Sets
Wolfman63 replied to Wolfman63's topic in Wanted/For Sale (public)
I completed two more sets of 1/350 air wing decal sets! The first set covers the USS John C Stennis CVN-74 during the 2001 deployment with CVW-9. The second set is the USS Nimitz CVN-68 during the 1978 cruise and during the filming of the movie “The Final Countdown” where the USS Nimitz goes thru a storm and ends up outside Pearl Harbor on December 6th 1941! This air wing set is the most colorful set I have done so far. It covers THREE full pages of decals for all the aircraft aboard. I also created Package deals so you can get the air wing decals and the hangar bay decals together at a discounted price. https://davidsscalemodels.com/2021/08/13/more-1-350-air-wing-decal-sets-added/ -
It has been another week of work on the USS Hornet CV-8 aircraft. I am still working on the F4F Wildcats. For this week I am showing all the little bits of Photo etch and the process of adding them to the aircraft. Once the fuselage is assembled I added the main gear which consists of the main strut, the landing gear doors, two struts, and a tail wheel. The main strut is added first then the doors. Getting the struts in position using very fine tweezers then gluing in place takes a little time. I find the Glue Looper V4 tip works very well for placing two very small spots of glue on the fuselage and main gear. Once dry I then place the tires and outside hubs on. I pre-painted the parts but they will require touch up after bending and gluing them. I then added the tail wheel. There is a slot for the kit tail wheel so the photo etch version fits into and using medium viscosity CA glue it fills the gap on each side since the photo etch part is a lot thinner than the kit tail wheel. After it dries I then do paint touch ups and paint the underside grey. While the landing gear dries, I assemble the propellers. I included a photo of the assembly showing the fiber optic with the hub and propeller separated to show the process. There is a total of 18 F4F’s that are being built. I am hoping to finish them next week so I can start on the others. See more photos and details from the start in my build log at https://davidsscalemodels.com/build-log/1-350-uss-hornet-cv-8-doolittle-raid/
-
This week the work on the USS Hornet was limited. I was “forced” by my lovely Wife to spend a relaxing weekend on the lake fishing. We both had a great time and caught many fish Anyhow, back to the build. I finished up the aft elevator and the fantail of the ship. I then moved on to some aircraft. During the trip across the Pacific the Hornet had its normal compliment of aircraft packed on the hangar deck while the B-25B’s remained on the flight deck. I need to build all these aircraft so I can finish the hangar deck. I purchased all of the photo-etch for these aircraft. Both Tom’s Model Works and White Ensign Models provide sets. The Tom’s provides landing gear, antennas, and propellers for each aircraft. White Ensign has some cockpit details (like the rear gunner for the SBD’s) as well as flaps for the aircraft. I decided to start with the F4F Wildcats of “Fighting 8”. Using the F4F that came with the kit I built it up to the point it was ready for decals. One of the things I noticed was they have a hole for the landing gear that comes on the tree. Since I was using the photo-etch landing gear I took a small drill bit the diameter of the main gear wheels and drilled into the fuselage to create the wheel wells that are on the real aircraft. I looked at using the photo-etch cockpit pieces but the canopy is very small and thick. You would not see any detail at all. So I opted to just paint the interior green and flat black for the instrument panel under the canopy. For the propeller I need to make the shaft into the engine. The hole in the propeller and hub are 0.5mm as well as the on the aircraft cowl. I took a 0.5mm fiber optic strand and used a lighter to melt the end slightly to make it the propeller hub cap. The propeller hub then blades were slid on and painted. The landing gear and antenna on the dorsal behind the cockpit were added. It was base coat painted for the intermediate blue and grey scheme. With interior green for the wheel wells and white for the main gear struts and hubs. I then took the other 17 aircraft and created an assembly line. I am building them up until the point of adding the photo-etch. As soon and all 17 are at this point I will add the photo-etch details and then paint them. After they are built up I will use the individual aircraft decals that are part of the Starfighter Decals Hornet set. See more photos and details from the start in my build log at https://davidsscalemodels.com/build-log/1-350-uss-hornet-cv-8-doolittle-raid/
-
Work continues on the Hornet hangar bay walls. While reviewing the few photos I have I noticed that the hangar doors roll up. I used some styrene tubing for the open doors and rods for the closed ones. The open door ones were painted the exterior color 5-O Ocean Blue due to how they would roll up. As for the brand of paint I am using, I will be using Scale Colors for the ship. The colors are 5-N Blue, 5-O Ocean Grey and 5-H Haze Grey. Once these were installed I then began to add fine details to the walls. I added doors to match the ones on the outside and then added ducts for the vents on the port side. A few platforms with railings and stairs/ladders were added as well. Other details I noticed in the photos were added as well. There are many pipes and cables which will be added later. I will be using the pipes to hide wiring and fiber optic lines when I add them. The walls were then painted and installed. I am currently working on the aft elevator then I need to build up and detail the fantail. This coming week I have a couple of days where I won’t have time to work on this but am planning on starting the aircraft by the end of the week. See more photos and details from the start in my build log at https://davidsscalemodels.com/build-log/1-350-uss-hornet-cv-8-doolittle-raid/
-
This week’s update on the USS Hornet covers more work on the hangar bay walls. I also started my experiments on add illumination to the hangar deck. I do not have all the lighting figured out but I have a general idea on what I need to do and a good start on how to accomplish it. Back to the hangar bay walls, the kit walls have many ejector marks so they have all been covered with 0.5mm styrene sheets. I then use extra rails and doors to detail them. On the thin hangar walls that lead to the outside I matched the doors on the inside. I framed the areas around the doors and for the doors that are closed I scored the surface to match the same detail as the outside. I still need to make the rolled up doors for the open ones but I need to wait until I install the flight deck supports. These will also affect where the wiring for the lights will go. I have also added a couple of stokes litters and a hose reel for where the Moto-Tugs will be parked. Another thing I need to do is to remove the guilds on the hangar deck for the walls. This is because with opening doors and with adding details to the inside of the wall they get in the way. For the lighting each support has lights hanging from their edge. (4 to 6 per support) There are total of 166 lights! I took some 0.5mm fiber optic lines and using a lighter I slightly melted the end to look like a bulb then dipped it in acrylic gel medium. Once dry I cut the excess gel off where the "bulb" part is and primed it all white except where the bulb area was. I used an individual Pico LED to see how the lighting would look. The effect came out perfectly. Now I just need to make 165 more and figure out how to mount them and illuminate them. As for extras, I received Hornet Air Wing decals from Starfighter Decals. These are for the battle of Midway aircraft so I will need to make the red dots for the center of the insignia for the Doolittle raid version. I also could not find 1/350 decals for the Doolittle B-25B’s so I made my own including the few aircraft that have nose art. The other accessories I received were ten 3-D printed moto-tugs thanks to BaconFist on Shapeways and I have 3-D printed officers and enlisted crew from HOLDEN8702RD on Shapeways. Next up is the finishing of the hangar walls then I will need to start making all the aircraft, accessories, and figures for the hangar deck. These will need to be installed before the flight deck supports and lighting can be installed. See more photos and details in my build log at https://davidsscalemodels.com/build-log/1-350-uss-hornet-cv-8-doolittle-raid/
-
On 1 April 1942 sixteen modified B-25B bombers were loaded aboard the USS Hornet CV-8. The next day the USS Hornet along with the ships of Task Force 18 sailed towards the Hawaiian Islands. They met up with the USS Enterprise and Task Force 16 then headed across the Pacific Ocean. On the morning of 18 April 1942 approximately 650 nautical miles from the Island of Japan, sixteen B-25B’s Led by Lieutenant Colonel James Doolittle launched off the Hornet’s deck to perform the first air operation to strike the Japanese mainland in retaliation for the attack on Pearl Harbor. For this next build I am building Trumpeter’s 1/350 USS Hornet as she was during the Doolittle Raid. This is going to be a super-detailed project. It is being built to be displayed at a museum that is creating a display of the raid for the 80th anniversary. This project is estimated to take around 4 – 5 months to complete. There are many aftermarket accessories that will be utilized in this build. So far I have four different sets of photo etch parts just for the ship, a wooden deck, all the B-25B’s as well as all the aircraft that were stored in the hangar bay that were later moved to the flight deck after the bombers departed in case the Task Force was spotted and needed to defend itself. All of the aircraft have multiple photo etch sets for the cockpits and exterior details. I will also be illuminating it as well. I have many accessories still on order like 3-D printed Moto-Tugs and crew members. At the end of the project I will list all of the accessories I used. I also purchased two reference books. One on the USS Hornet itself and the other covers the Doolittle raid. I also located a shipbuilding drawing of the Yorktown class carriers that covers all the decks from keel to the top of the island. I scaled the hangar deck sheet to 1/350 scale and printed it out so that I can accurately place the interior walls and other details. Starting with the hangar I began using the White Ensign Hangar bay photo etch set (#3541). The instructions give you sizes and plans to scratch build the hangar bay walls. I installed the hangar deck then painted it deck grey and gave it a basic weathering. I will be doing more weathering/staining once I figure out the layout of the aircraft. Using Evergreen Models 1.0mm styrene sheets I cut out the parts for the interior walls per the hangar bay detail set instructions. I have a few sheets of extra doors and rails from previous ship sets so after building the walls I added photo etch doors, stairs and rails to match the reference photos. The kit walls have numerous ejector pin marks. Instead of filling and sanding all of them I opted to use sheets of 0.5mm sheets to cover them. Also, since I will be illuminating the hangar bay I cut open many of the hangar bay side doors. With the starboard side interior walls assembled per the photo etch set instructions I added all the fine details as they are shown in the photos from the reference book. After adding details to the forward elevator bay I did some detail work on the bow. One of the obvious things missing from the model details is the bow mooring guides. I used some styrene tubing to make these. I then reshaped the anchor chain holes. On the kit these were just straight thru holes. I used a file to make them angled and flared. I removed the molded chain and will be replacing it with a real anchor chain. There are two supports for the front of the flight deck. I filled the mounting holes for the kit plastic ones and installed the correctly sized photo etch parts from the White Ensign Detail set (#3525). Working on getting the starboard side interior detailed and installed this coming week. See more photos and details in my build log at https://davidsscalemodels.com/build-log/1-350-uss-hornet-cv-8-doolittle-raid/
-
The 1/48 Trumpeter HU-16A Albatross is now finished! I painted the de-icing boots and added some EZ-line for the antenna. For the wingtip lights, the kit just had the clear lenses. I used a clear sprue and made small lamp bulbs that mounted to the lens and painted them using clear red and green for the bulbs. I added some exhaust staining to the top of the wings and this completed the aircraft. This aircraft is a nice kit to build. The fit was very good and so are most of the details. While the kit gives you details for the crew area, the numerous ejection marks require lots of work to remove/cover them up. The instructions are laid out well so the build process flows well. The kit does not account for the wingtip and top of the tail antenna’s so these had to be scratch built. I did not used the kit decals, however, comparing them to the Caracal decals the kit decals seem a little on the large size and the walkway is the wrong color. All reference photos show them as grey but the kit walkway is yellow. The Caracal decals look great and are the correct sizes. They are very thin so the conform to the surface well. The only down side is the larger decals like the walkway can tear/crack easily so extreme care when placing them is required. Overall the kit is fun to build and looks great when finished. See all photos and details from start to finish in my build log at https://davidsscalemodels.com/build-log/1-48-hu-16a-albatross-uscg/
-
As work continues on the Albatross I am getting closer to finishing this build. The kit engines have very good details. They only lack the ignition wires. I drilled holes in the cylinders and ran 30AWG wire to run from the cylinders to the ignition ring. With a little detail painting I was pleased with the engines. With the fuselage and wings completed, I masked off the landing gear bays, side windows and the crew door and painted the aircraft with Vallejo Duroaluminum metal paint. The wingtips and the fuselage stripe were then painted with Tamiya yellow. Reference photos show two antennas on top of the tail, one mid fuselage, and three on the underside of each wingtip. I used some spare photo etch pieces to replicate these. I then started applying the Caracal decals. The decals are very thin. It was a very tedious task to do especially the long stripes and the large walkway decal on the top of the fuselage. They are very delicate and craked easily. Eventually I was able to get the decals placed correctly. After the decals dried the entire aircraft was sprayed with a clear gloss to seal everything. Once dry all the masking was removed. The kit comes with both plastic and metal landing gear. I opted to use the metal version. Everything fit very well together. I then painted the wheel hubs and put them into the rubber tires that were supplied with the kit. With the landing gear all installed, I found that I had used the correct amount of weight in the nose to keep it from tail dragging. All that is left to do is some detail painting, painting the de-icer boots, adding the antenna lines and all the clear lenses for the wingtip and fuselage lights. See all photos and details from the start in my build log at https://davidsscalemodels.com/build-log/1-48-hu-16a-albatross-uscg/
-
One last update – The client presented it to his Father. Afterwards he left this comment on my blog: “Thank you so much for all your hard work and effort on this. My father was incredibly surprised and even more excited to receive his plane. He immediately noticed the antenna you added and many of the other details you so expertly crafted into this. We spent the entire weekend talking about his time in the Navy, the squadron, and of course the plane itself. You helped make this a very special Father’s day. “ It was an honor to build this for a fellow veteran and having a Father and son to spend a special weekend together after being apart for a period of time due to pandemic situation.
-
This week I will cover the detailing of the interior of the HU-16A Albatross. The first thing I did was scratch built the doors for the aft bulkhead. I then used styrene square rods and began lying in the internal framework. Once the framework was installed I painted it with interior green and added some scratch built equipment with wire for cables. Near the entry door on the reference photos there was a yellow safety strap. I used some cloth tape and scratch built one. I then assembled the entry door parts and added hinges (photo etch extras) so the door can be mounted in the open position. I then fitted the interior assembly inside and assembled the fuselage. To complete the fuselage, I started working on the canopy section. I masked off the windows with kapton tape and installed the escape hatches. (see https://davidsscalemodels.com/tips-and-tricks/masking-with-kapton-tape/ ) The kit overhead console has no details at all. I then dug through my photo etch extras and found some detailed panels, knobs, switches, and levers. Using the reference photos I matched up the panels. I set the canopy onto the fuselage and the fit was not very good. The width was too thin and it was too tall. I heated up some water to almost boiling (around 180*) and soaked the canopy in it for a few minutes to soften it a little. I then took a toothpick and cut the length to match the width of the cockpit area. I picked up the canopy and placed the toothpick to widen the rear area and then soaked it back in the hot water for a couple of minutes. I pulled it out then placed it in a bowl of ice water to cool it off. Once cool the toothpick was removed and I test fit it on the fuselage. The fit was much better. The top was now even with the top of the fuselage and the width was very close and only required a little putty to even them out. I am now working on detailing the engines so I can put the wing assembly together. See all photos and details from the start in my build log at https://davidsscalemodels.com/build-log/1-48-hu-16a-albatross-uscg/
-
For my next build I am building the 1/48 Trumpeter HU-16A Albatross. I should note that I have been working on this in the background for a while I was working on the commission builds. The HU-16A is a twin-engine seaplane (originally designated SA-16A) mostly used as a search and rescue aircraft for the United States Coast Guard and United States Air Force. I will be using Caracal decals # CD48047 and using the scheme for U.S. Coast Guard in 1956. I will also be super-detailing the interior. I was able to locate some reference photos of this aircraft from a fellow modeler. One of the first things I needed to do was to add the door from the cockpit to the crew area. I used some sheet styrene and made the window from clear acetate film. The door handles are extras from my photo etch bin. There are two bays on each side of the cockpit bulkhead that have avionics gear. I used more extras from my photo etch extras to detail the equipment and 30 awg wire to cable them. The instrument panel and center console were all hand painted. The flight control wheels had a sinkhole in the middle so I filled them with putty and the made decals of the 1950’s Grumman logo for the center caps. The pilot and co-pilot seats were assembled and detailed with photo etch seat belts. The landing gear bays were assembled extra details were added with 30 awg wire. The floor of the crew area has a path of non-skid as well and tie-down pads for various configurations. I represented the pads with spare photo etch pieces. There are three cots in the mid-section. The kit supplied photo etch pieces but they are flat and difficult to shape to make them look like the real cots. I decided to use some thin cloth which gives them a much better look. I detailed the crew seats with photo etch seat belts and mounted the main landing gear bays. I am starting on the fuselage now. The interior has numerous ejection marks. I filled these with putty so that I have a smooth surface to begin the interior wall detailing. See more photos and details in my build log at https://davidsscalemodels.com/build-log/1-48-hu-16a-albatross-uscg/