Leaderboard


Popular Content
Showing content with the highest reputation on 07/16/2026 in all areas
-
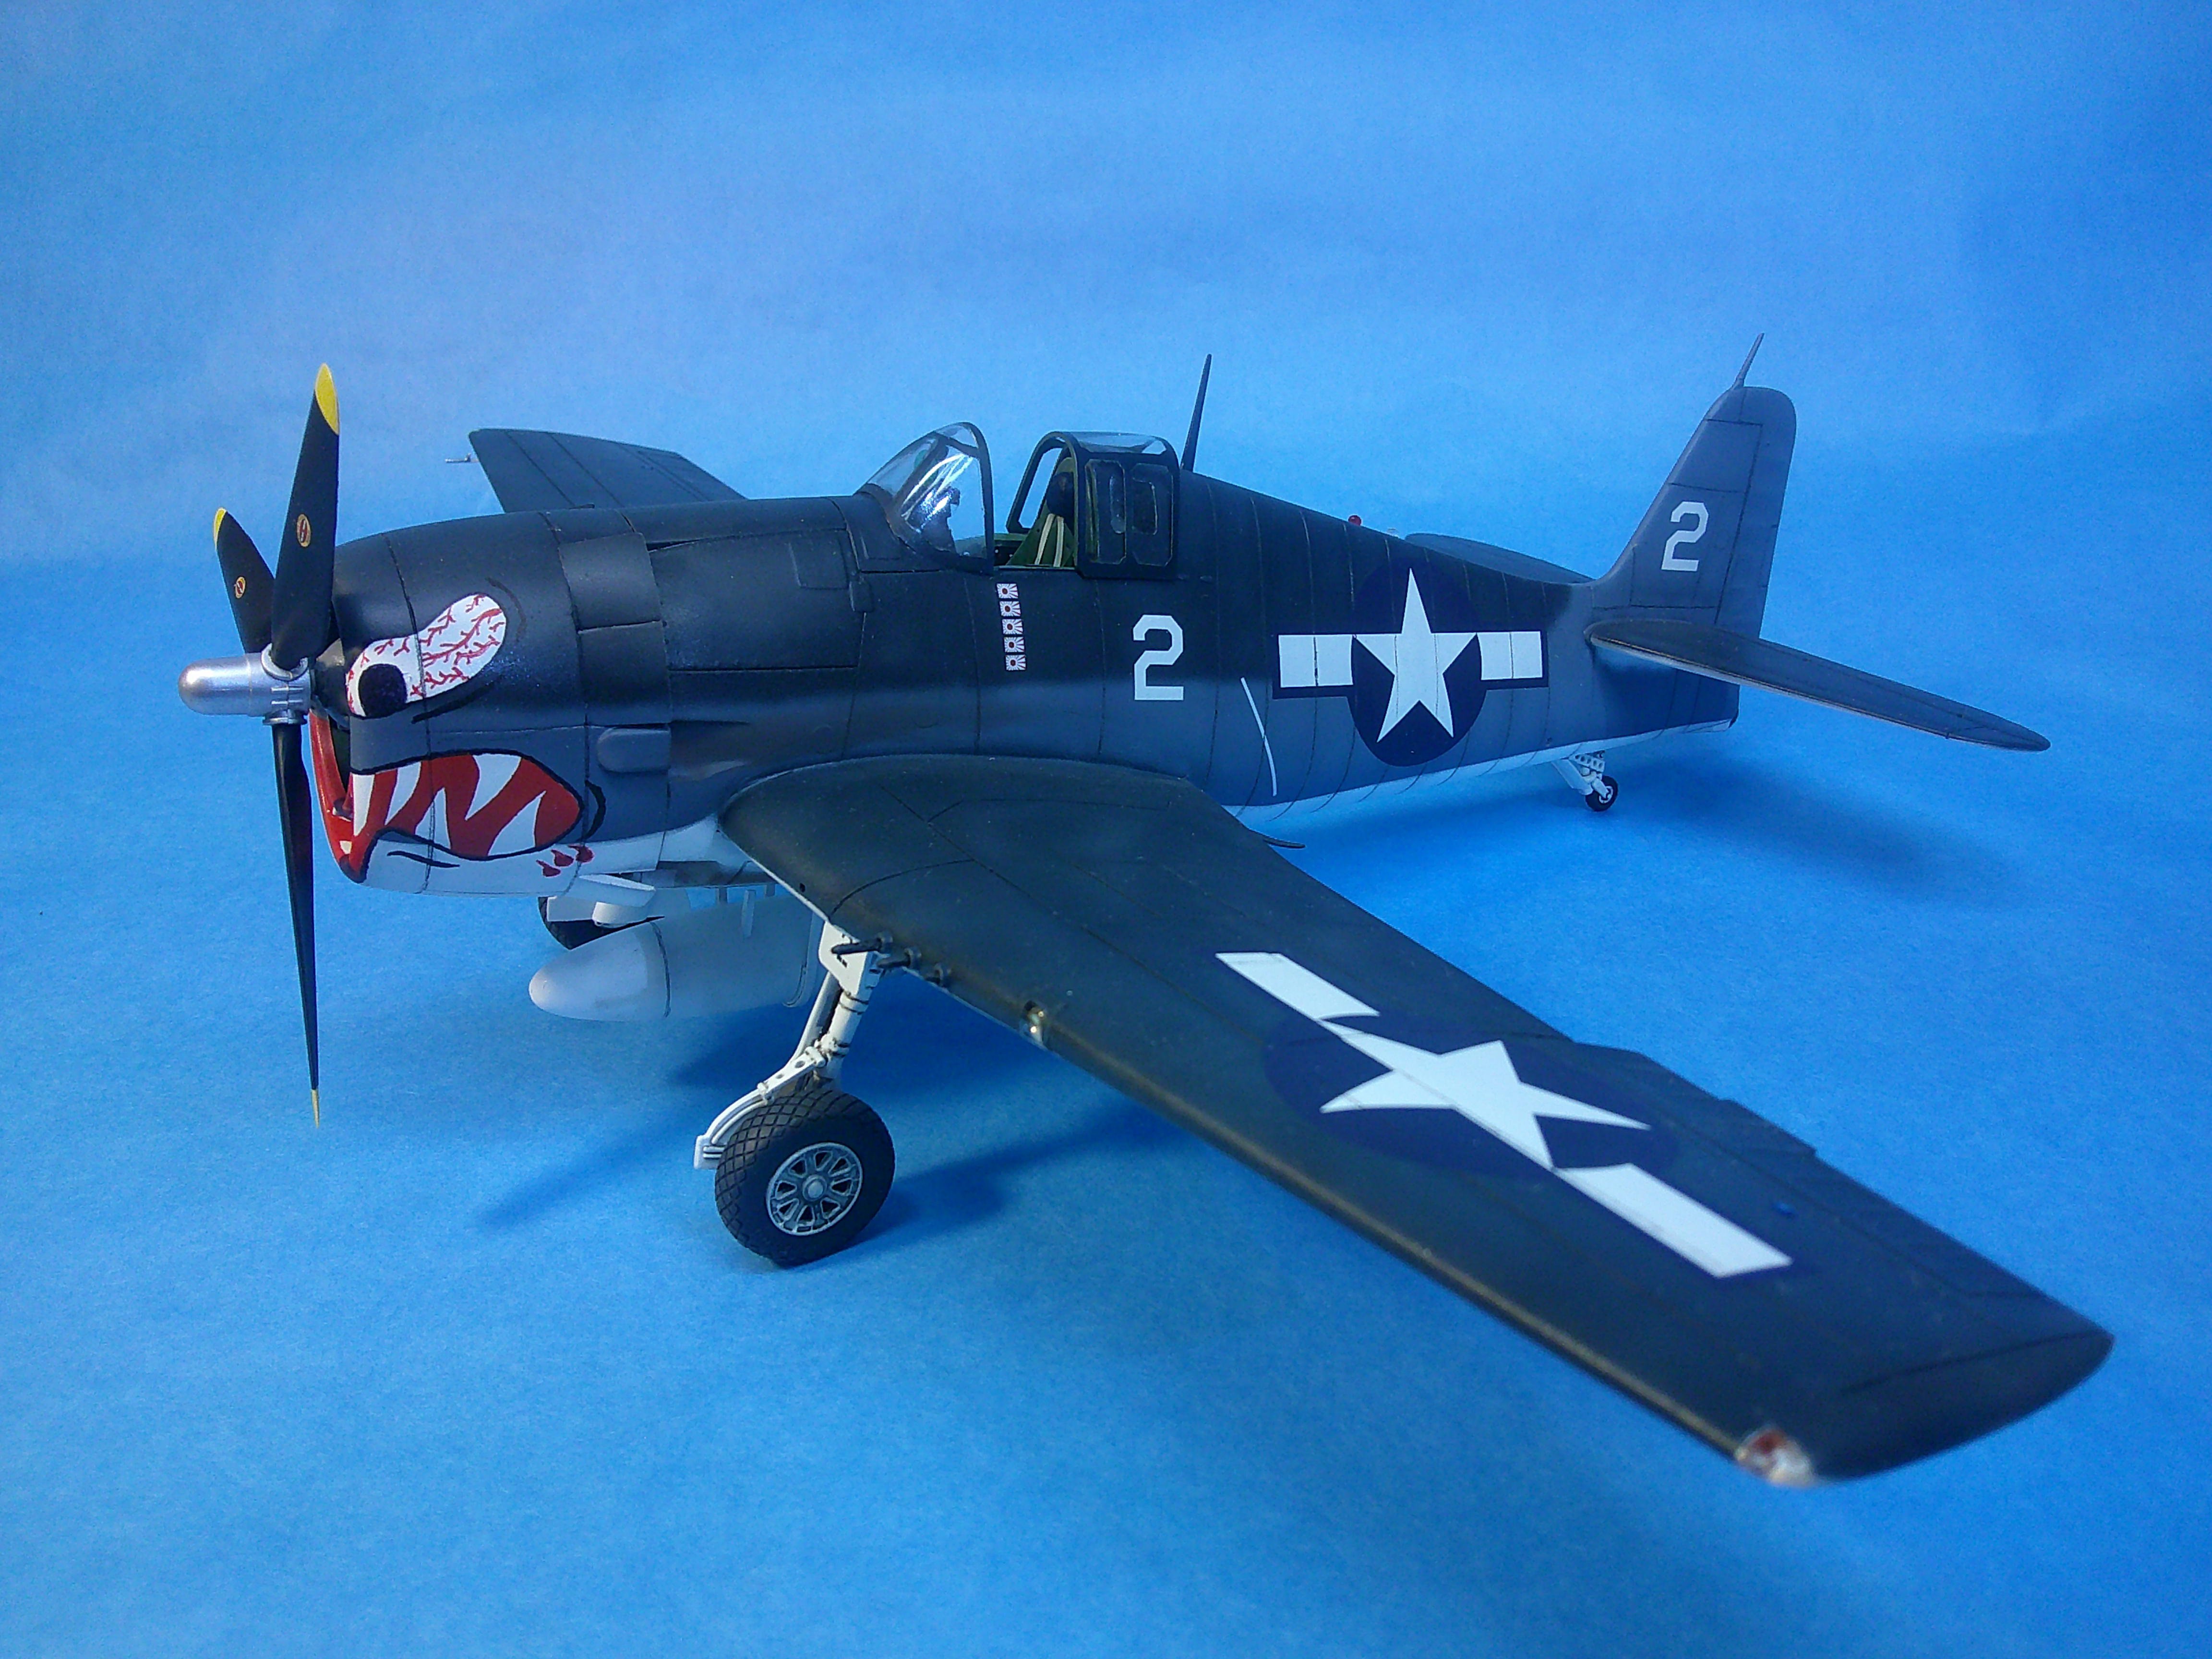
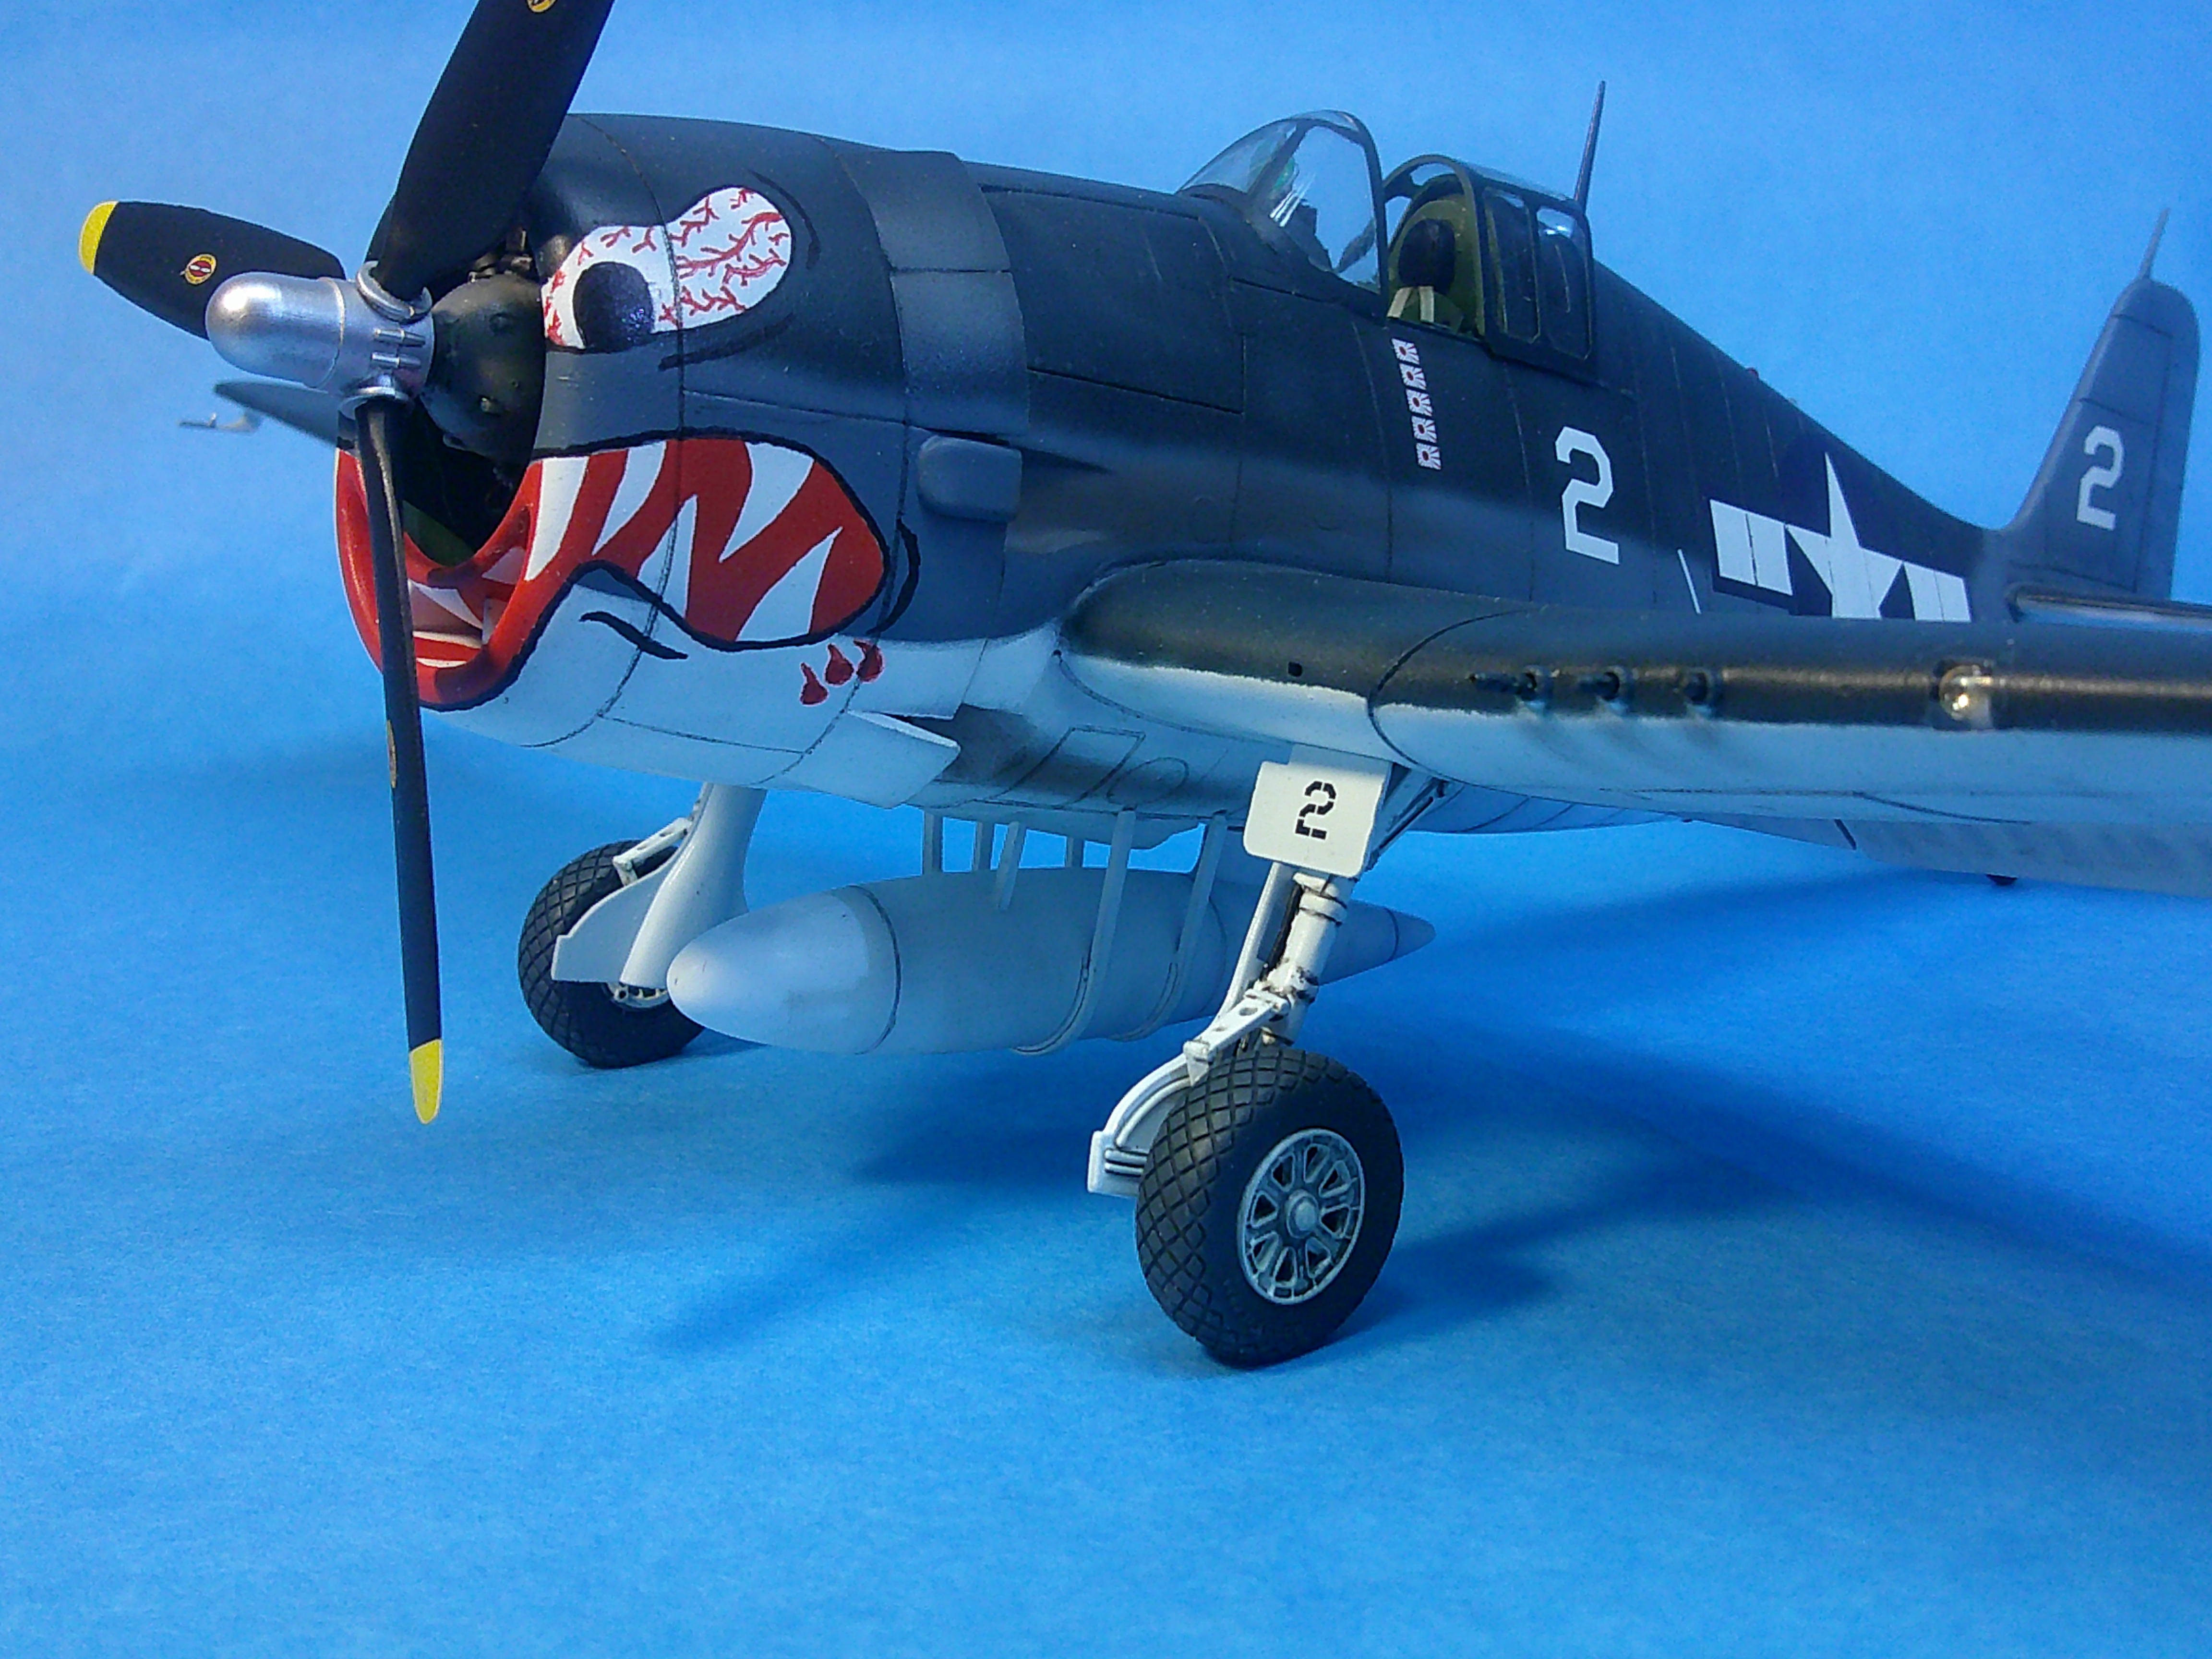
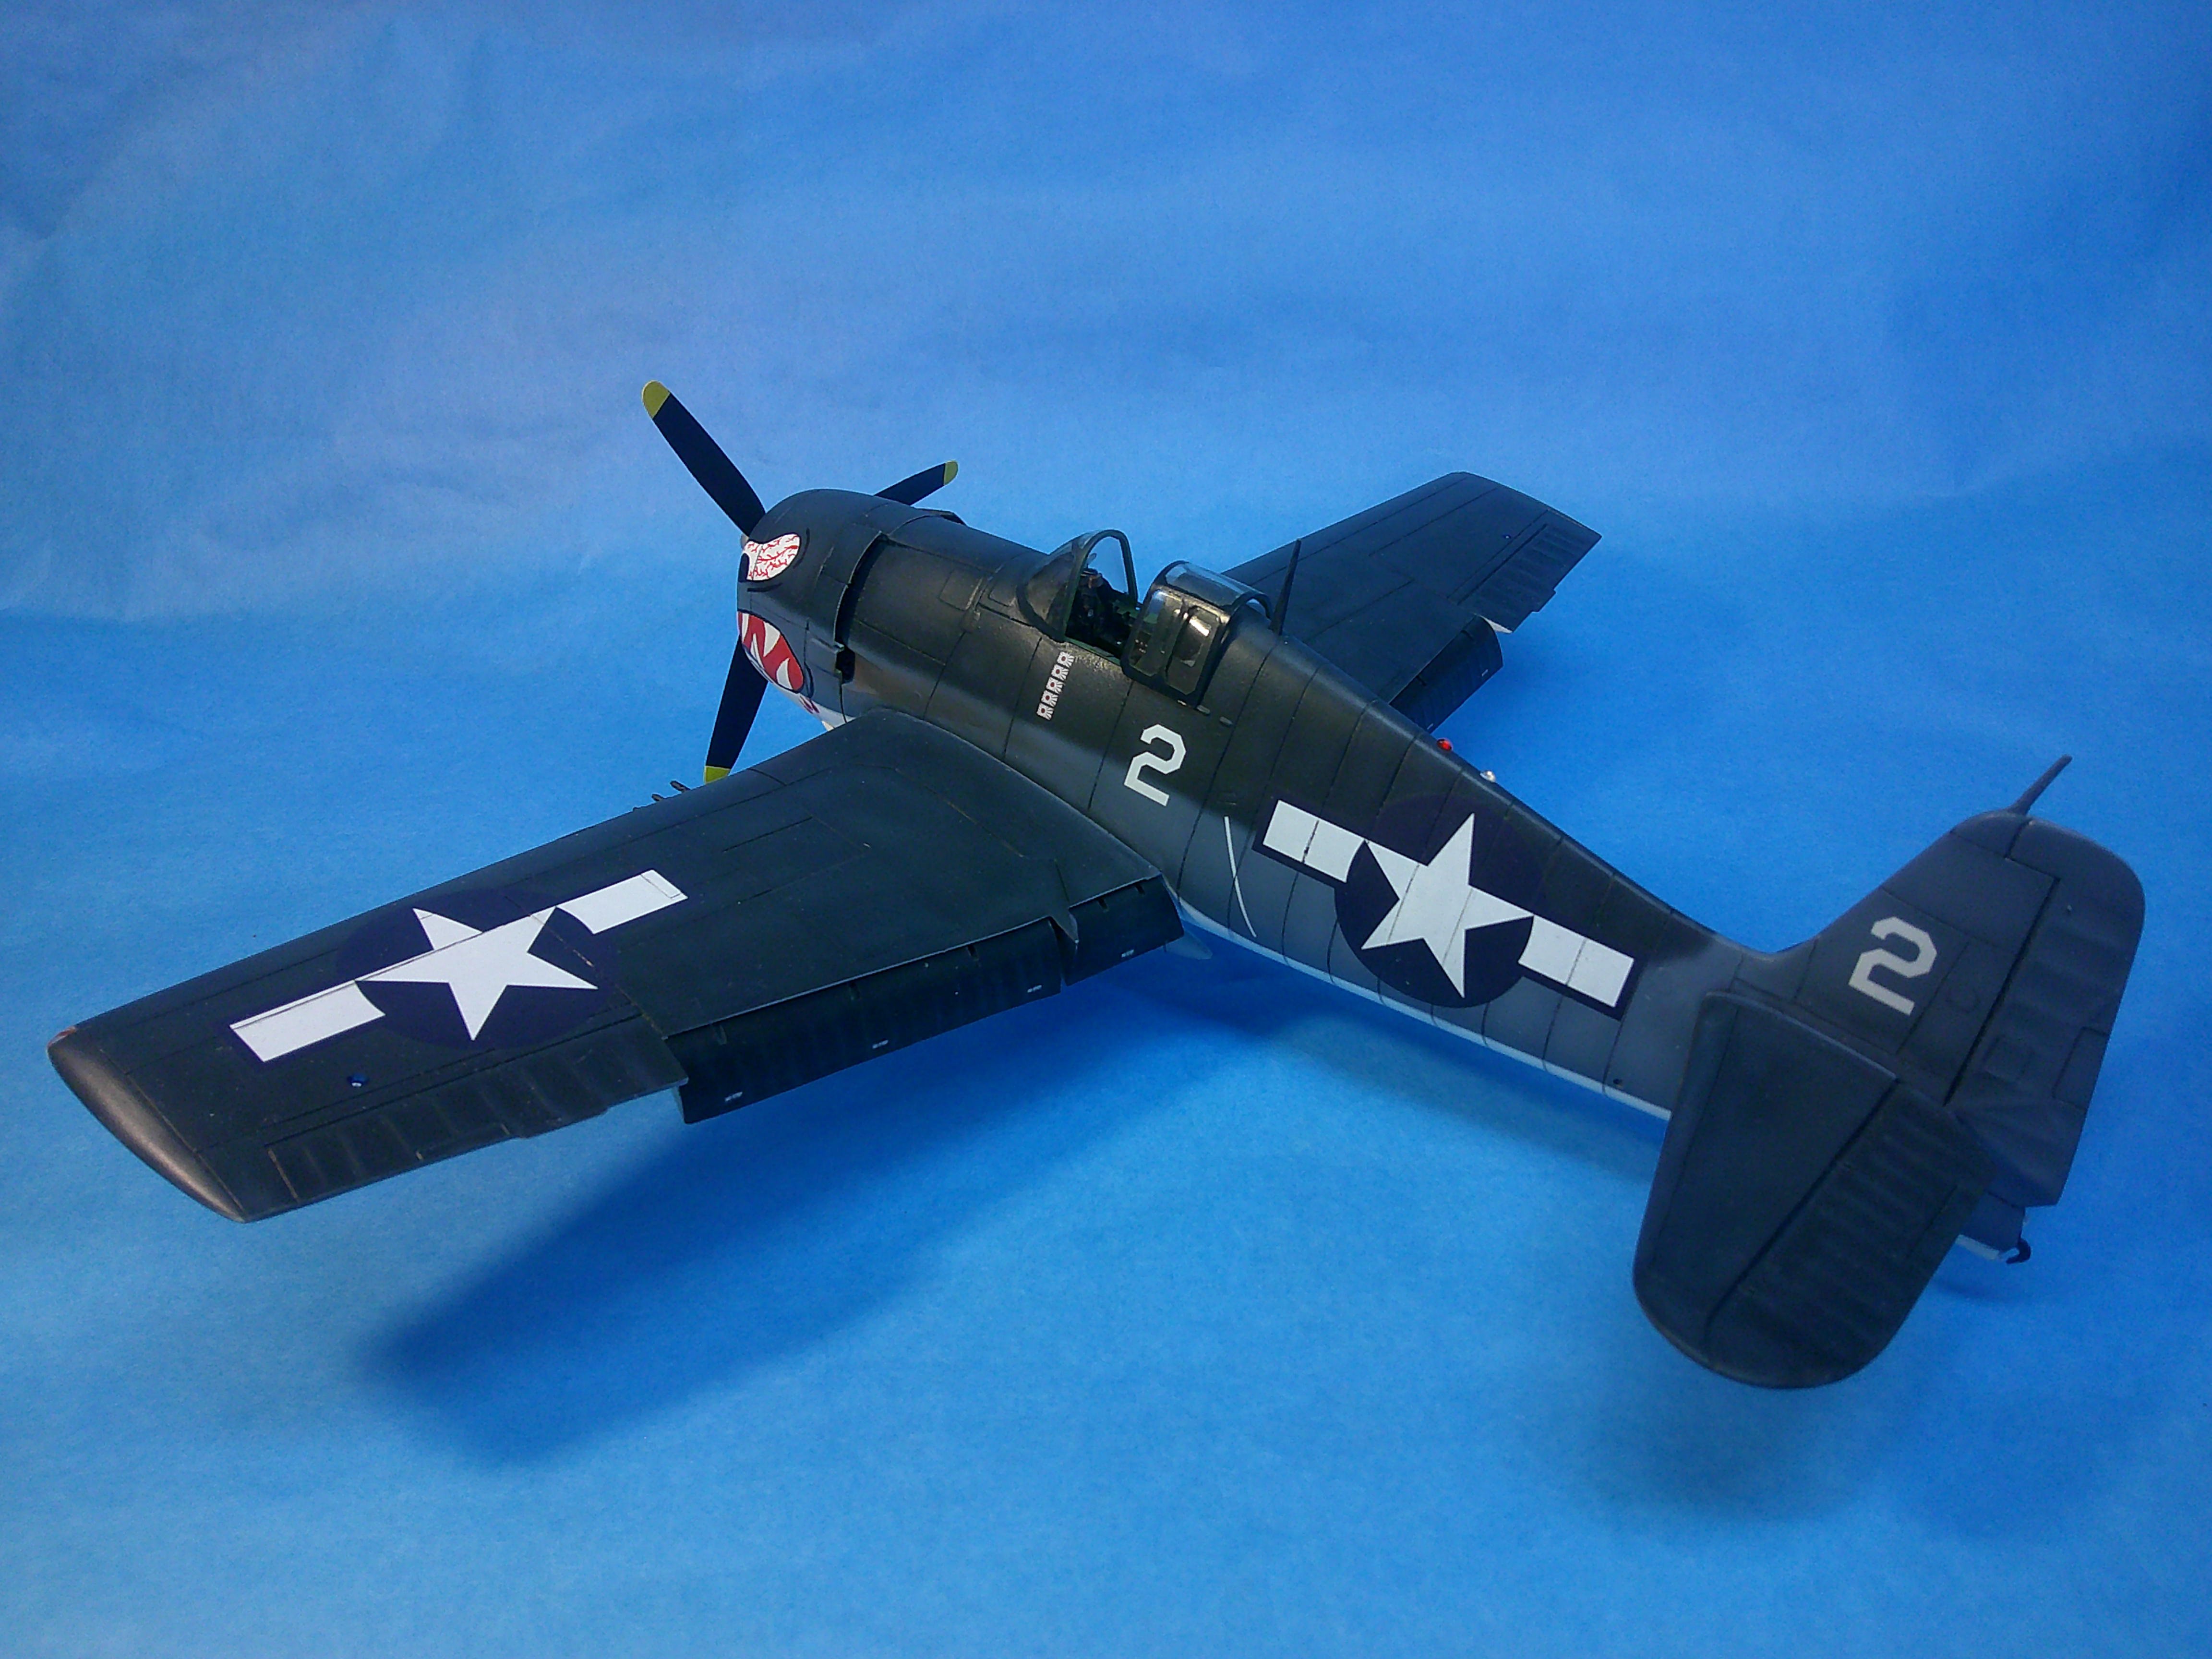
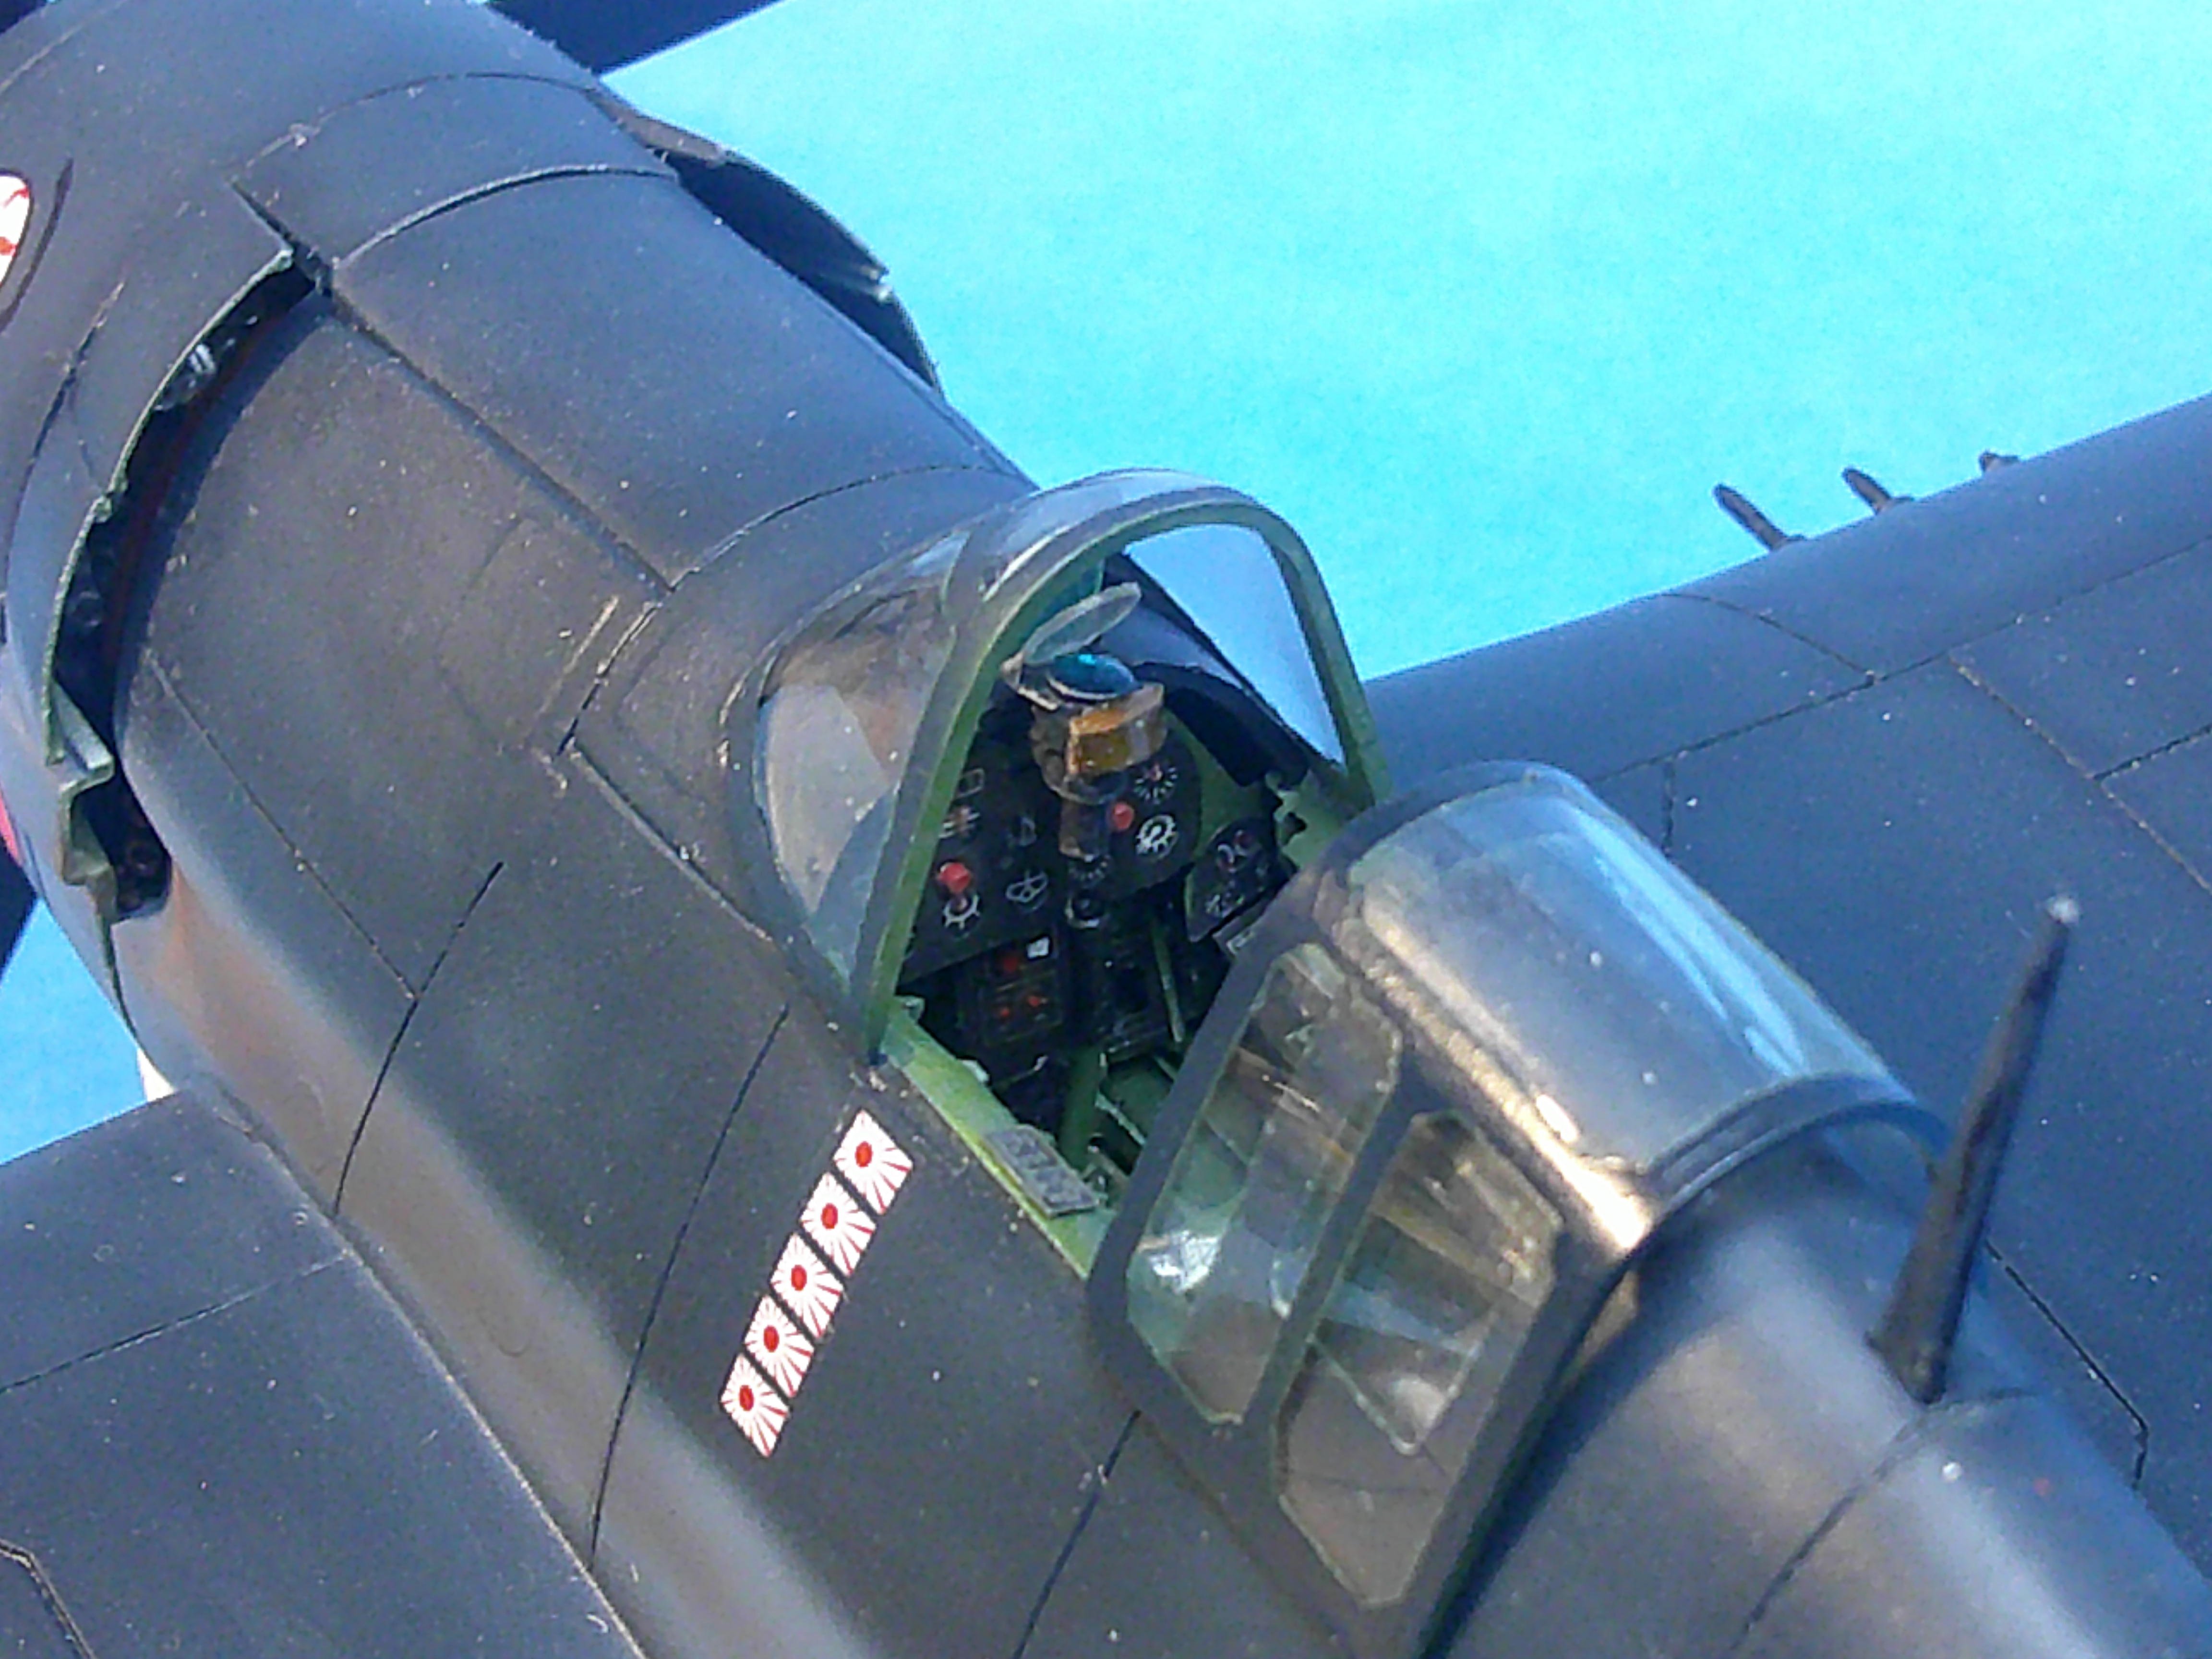
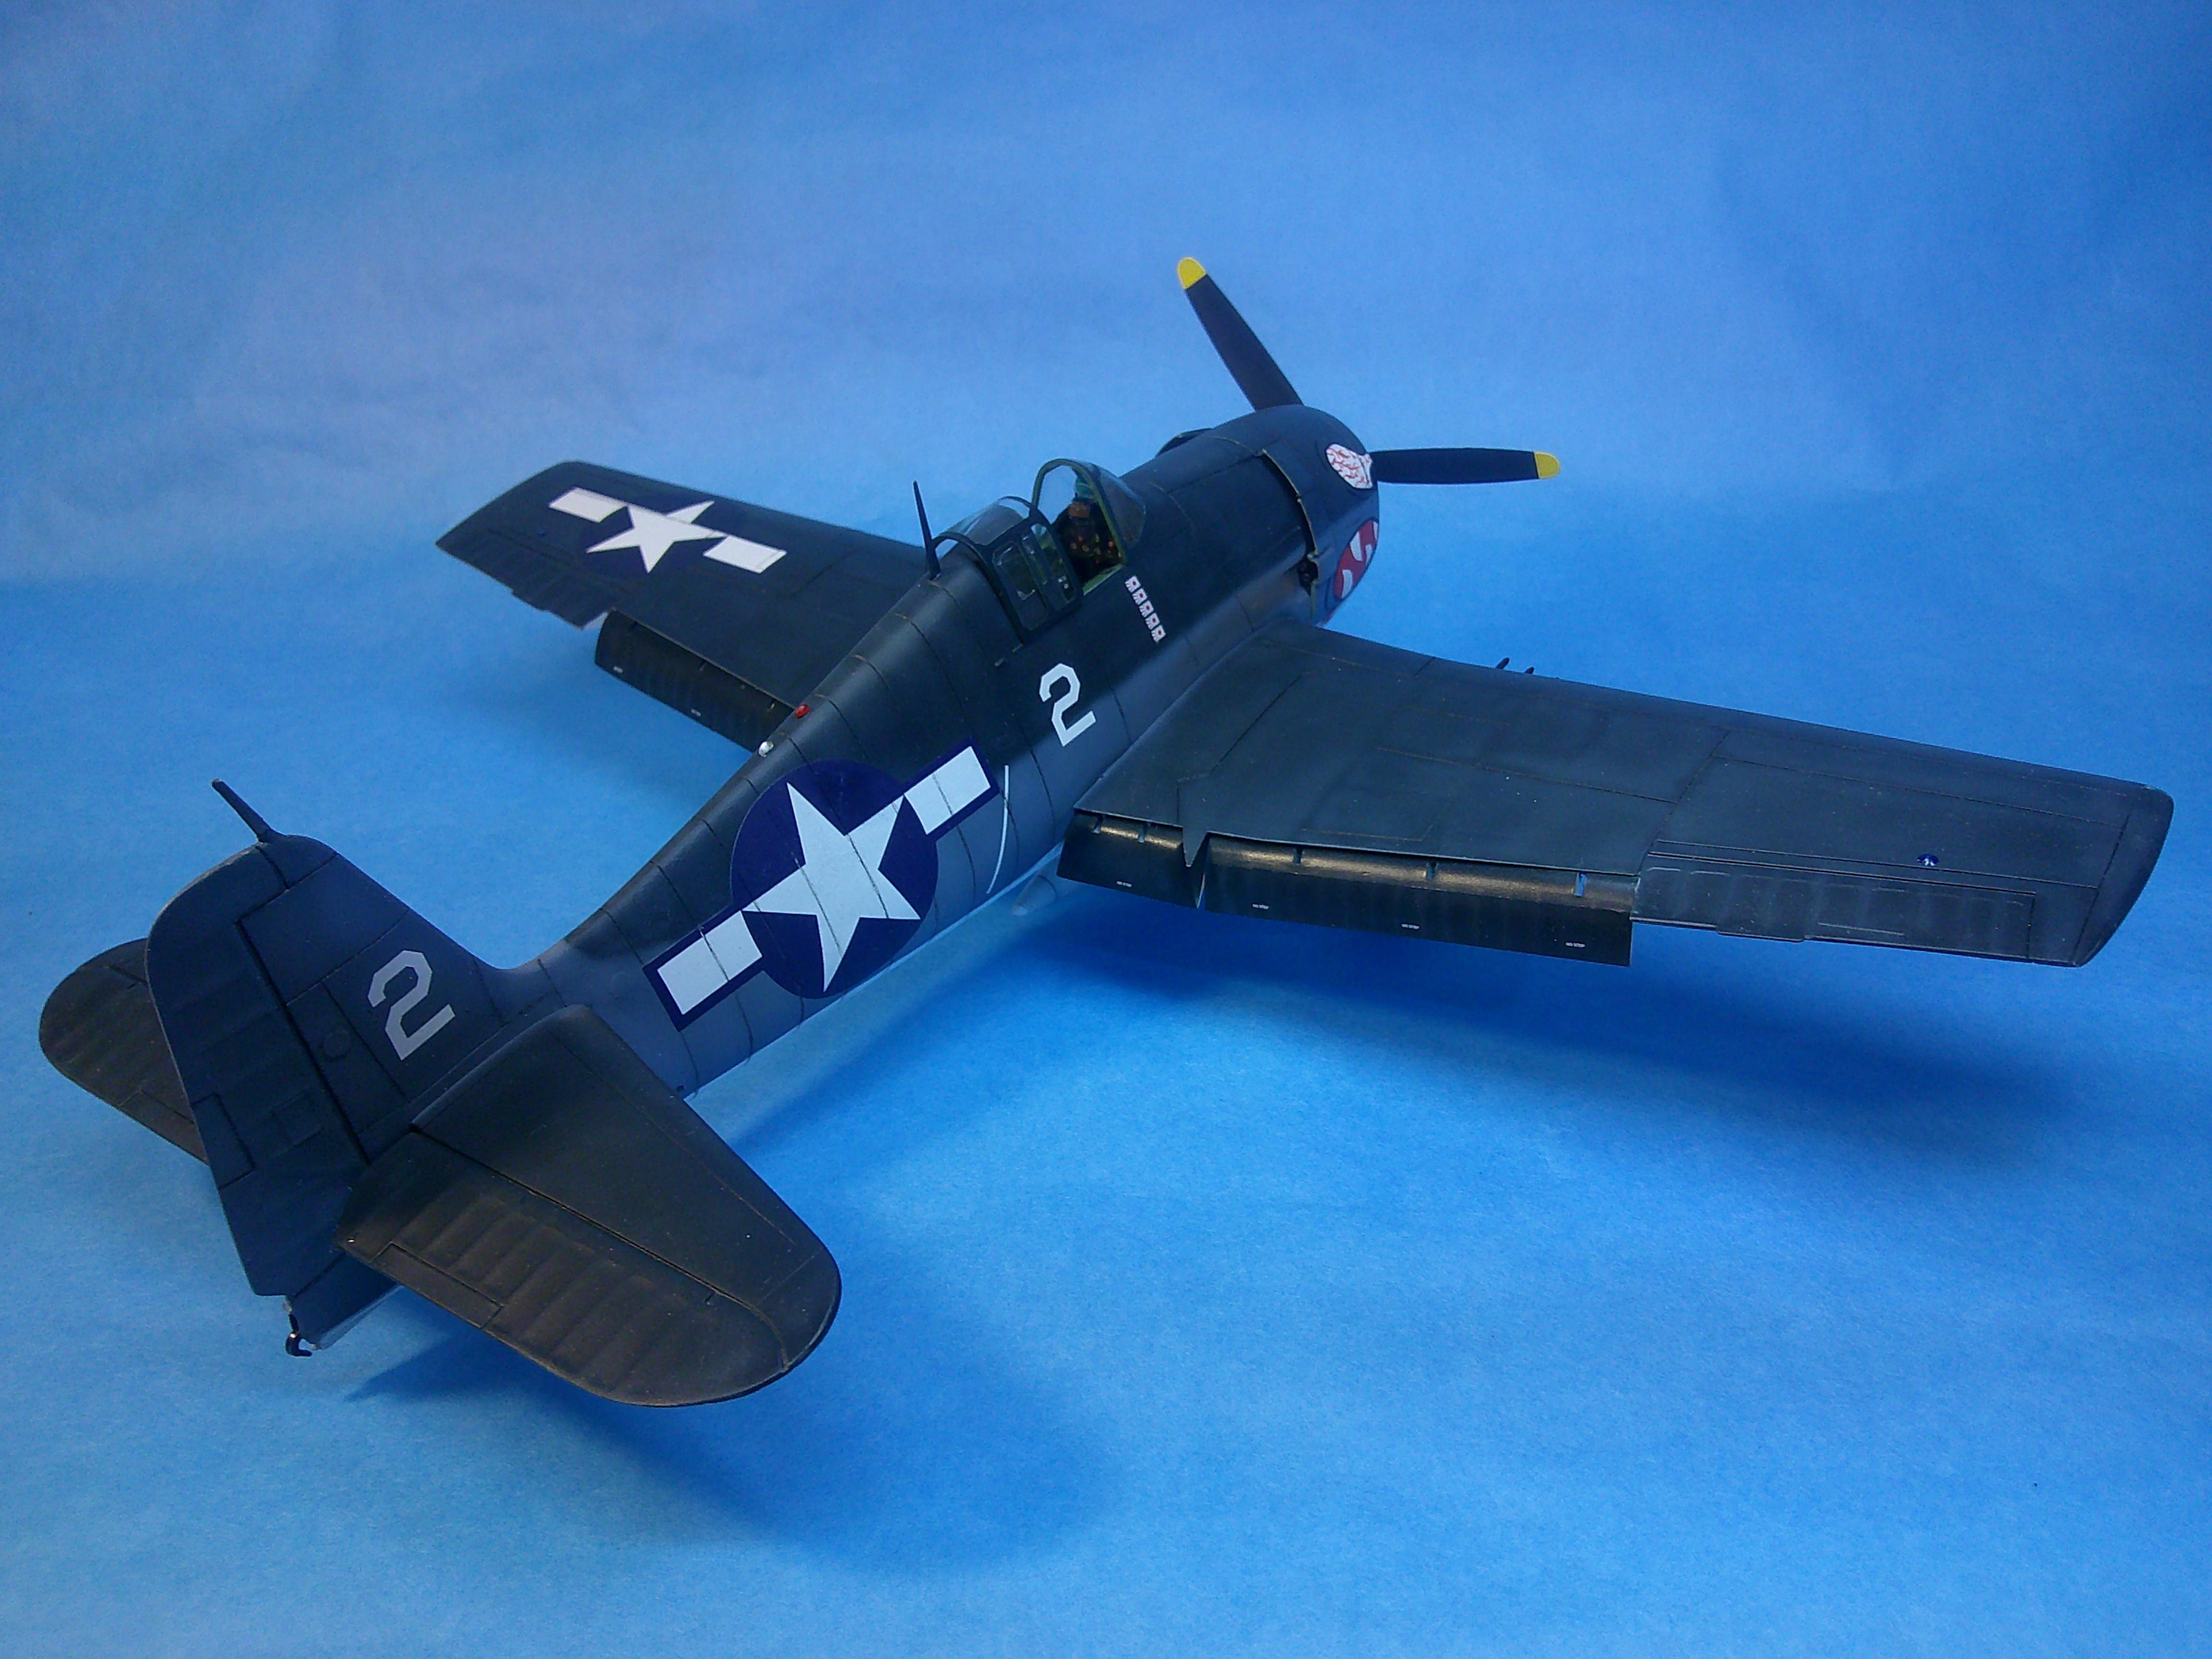
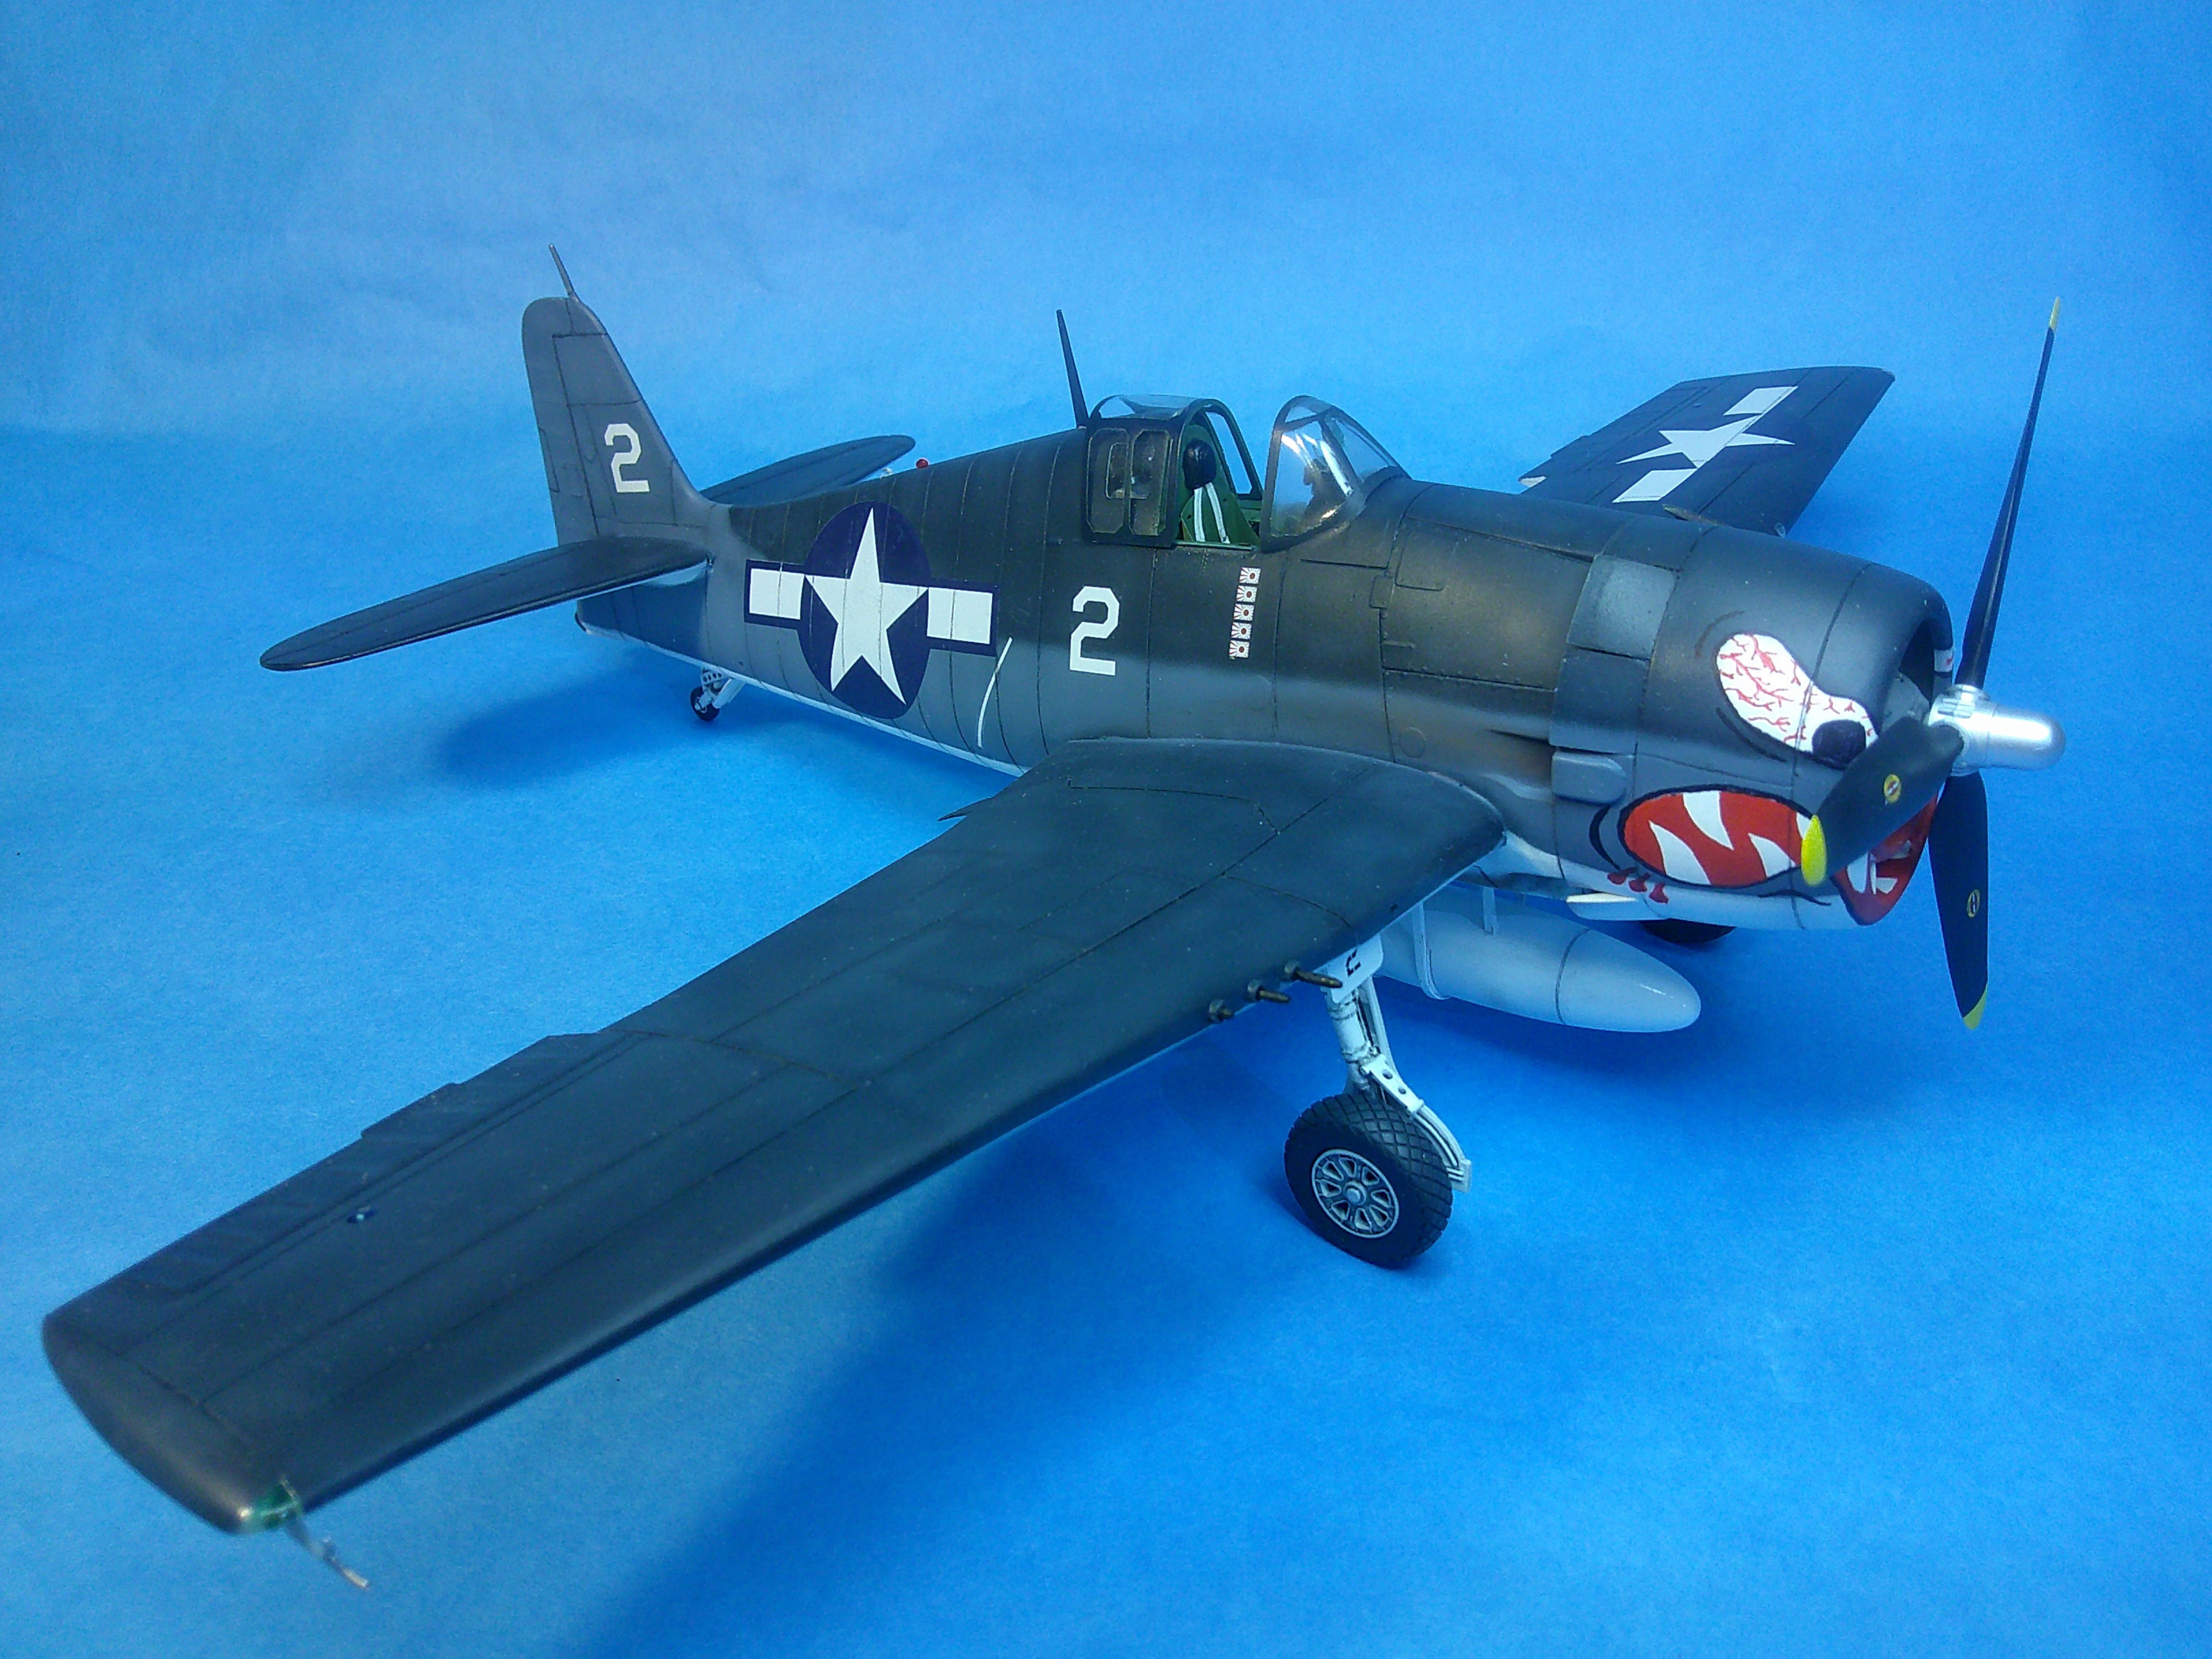
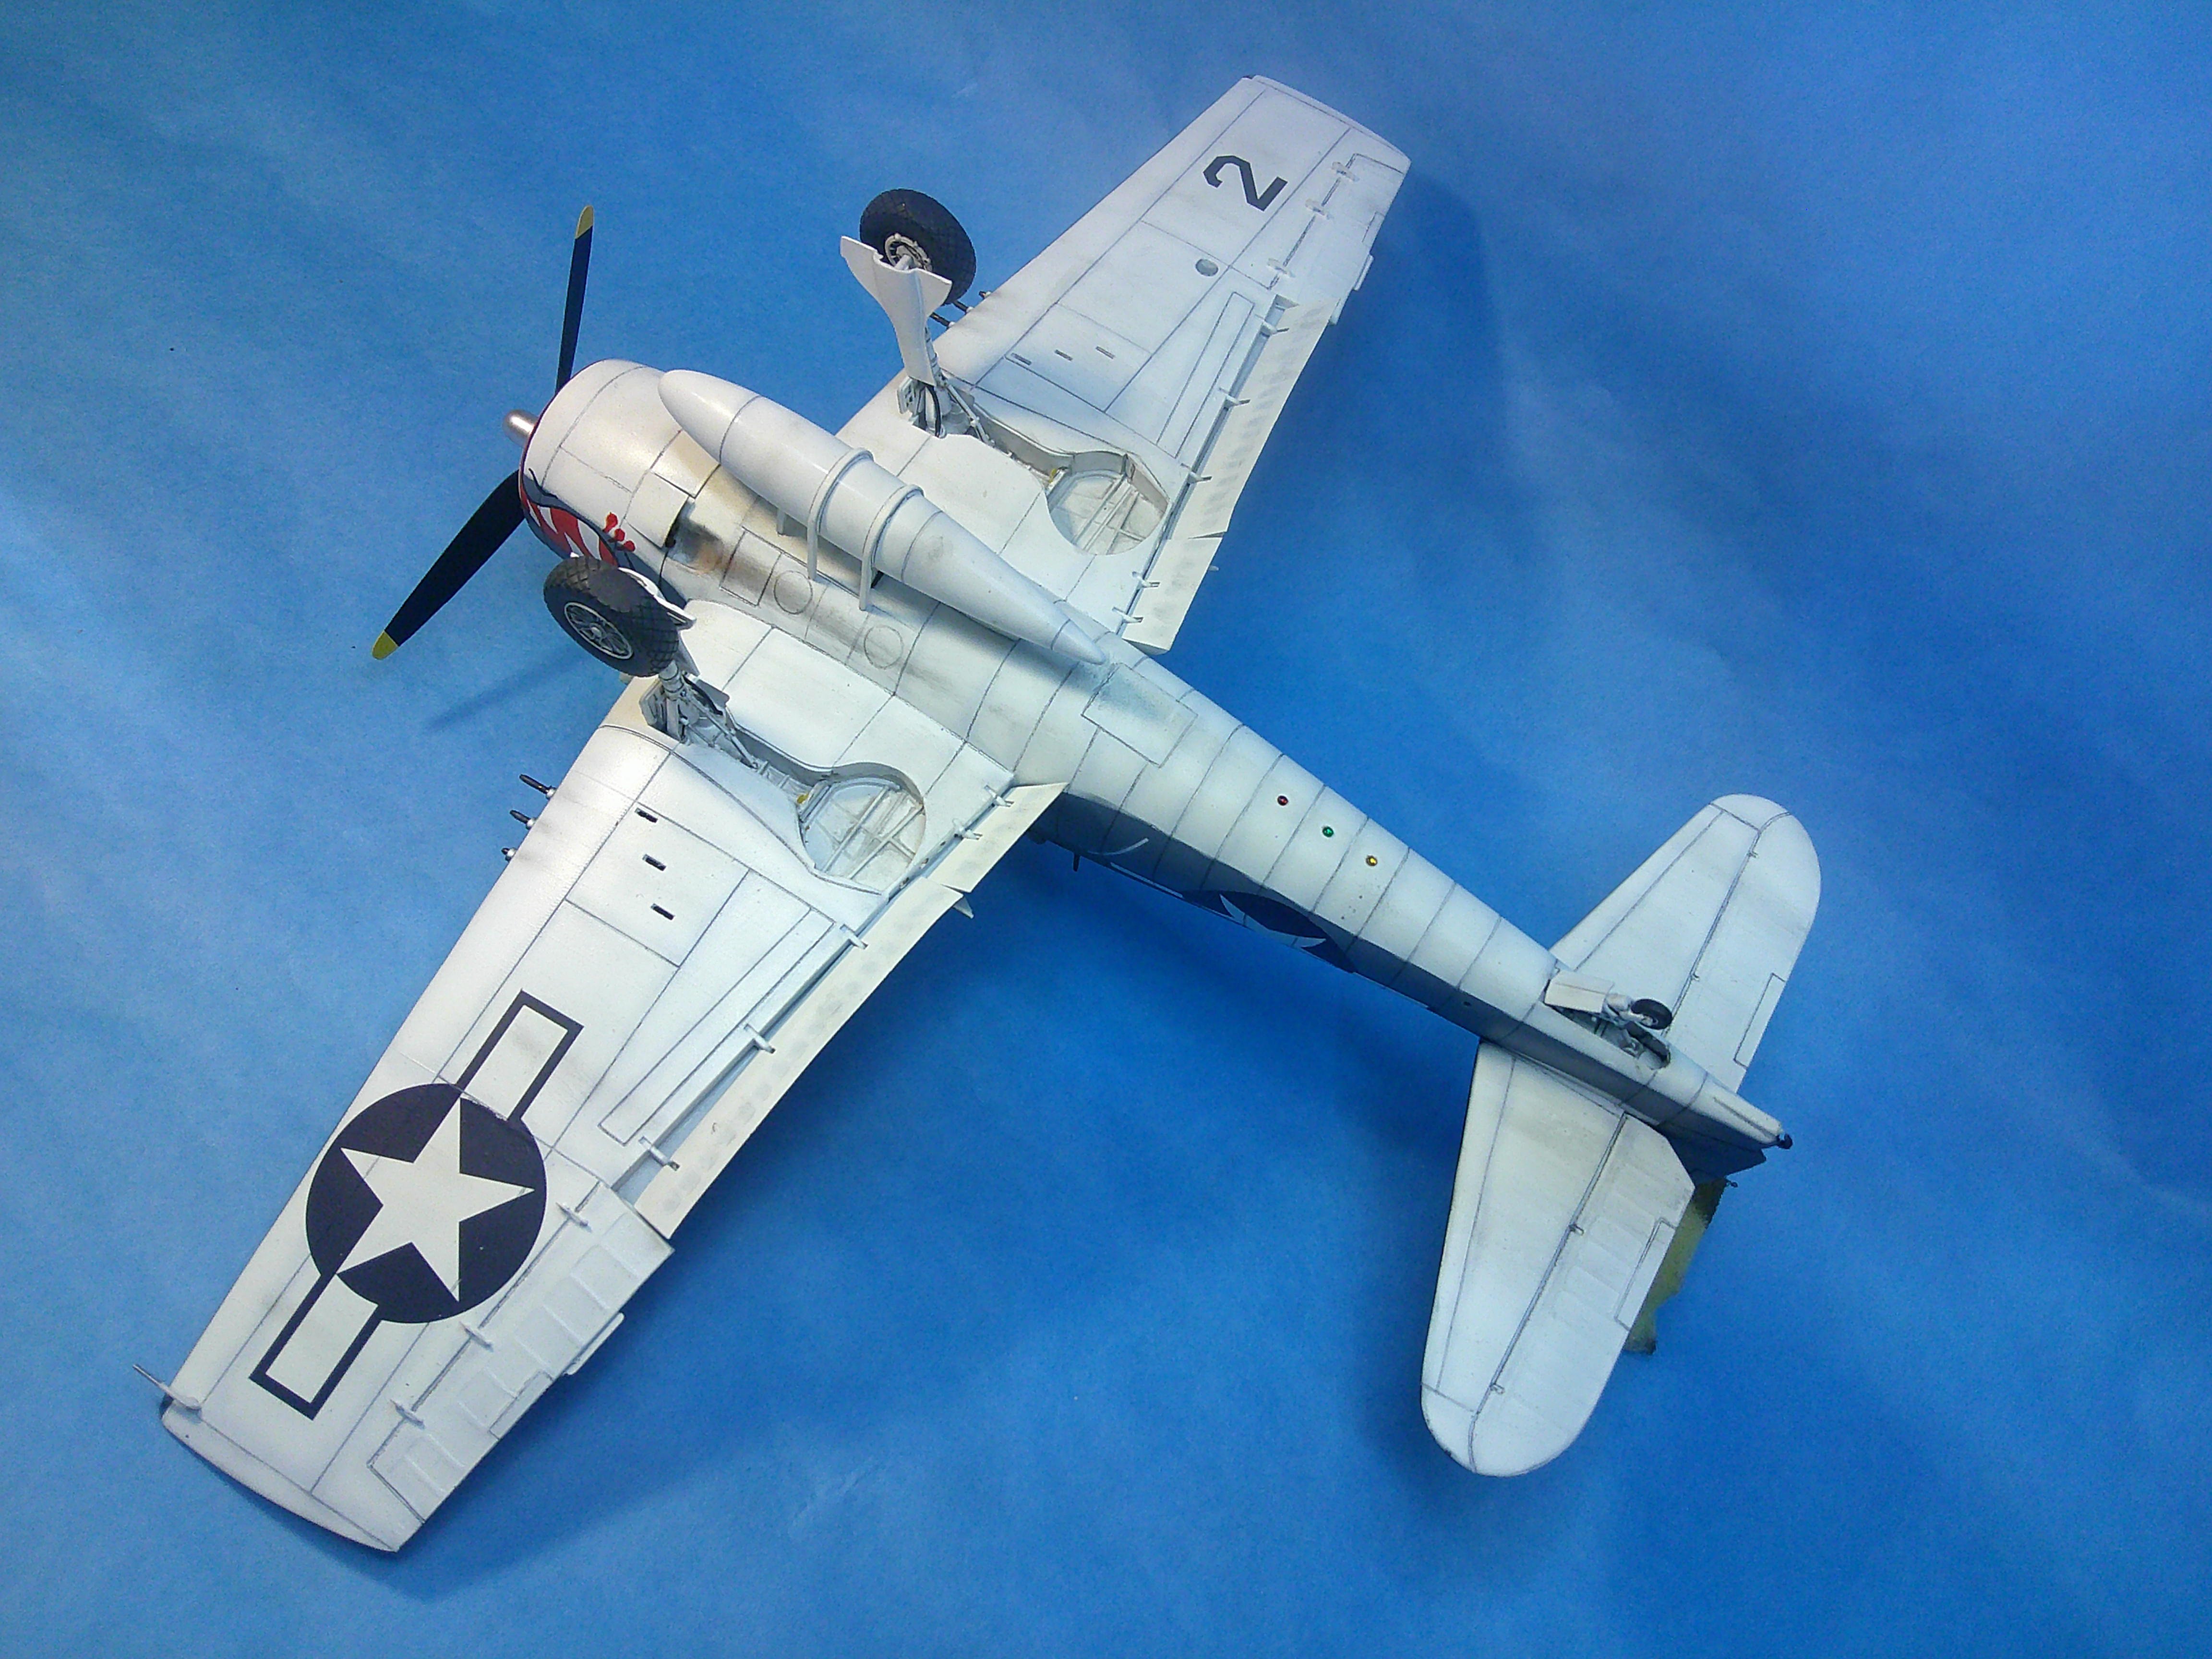
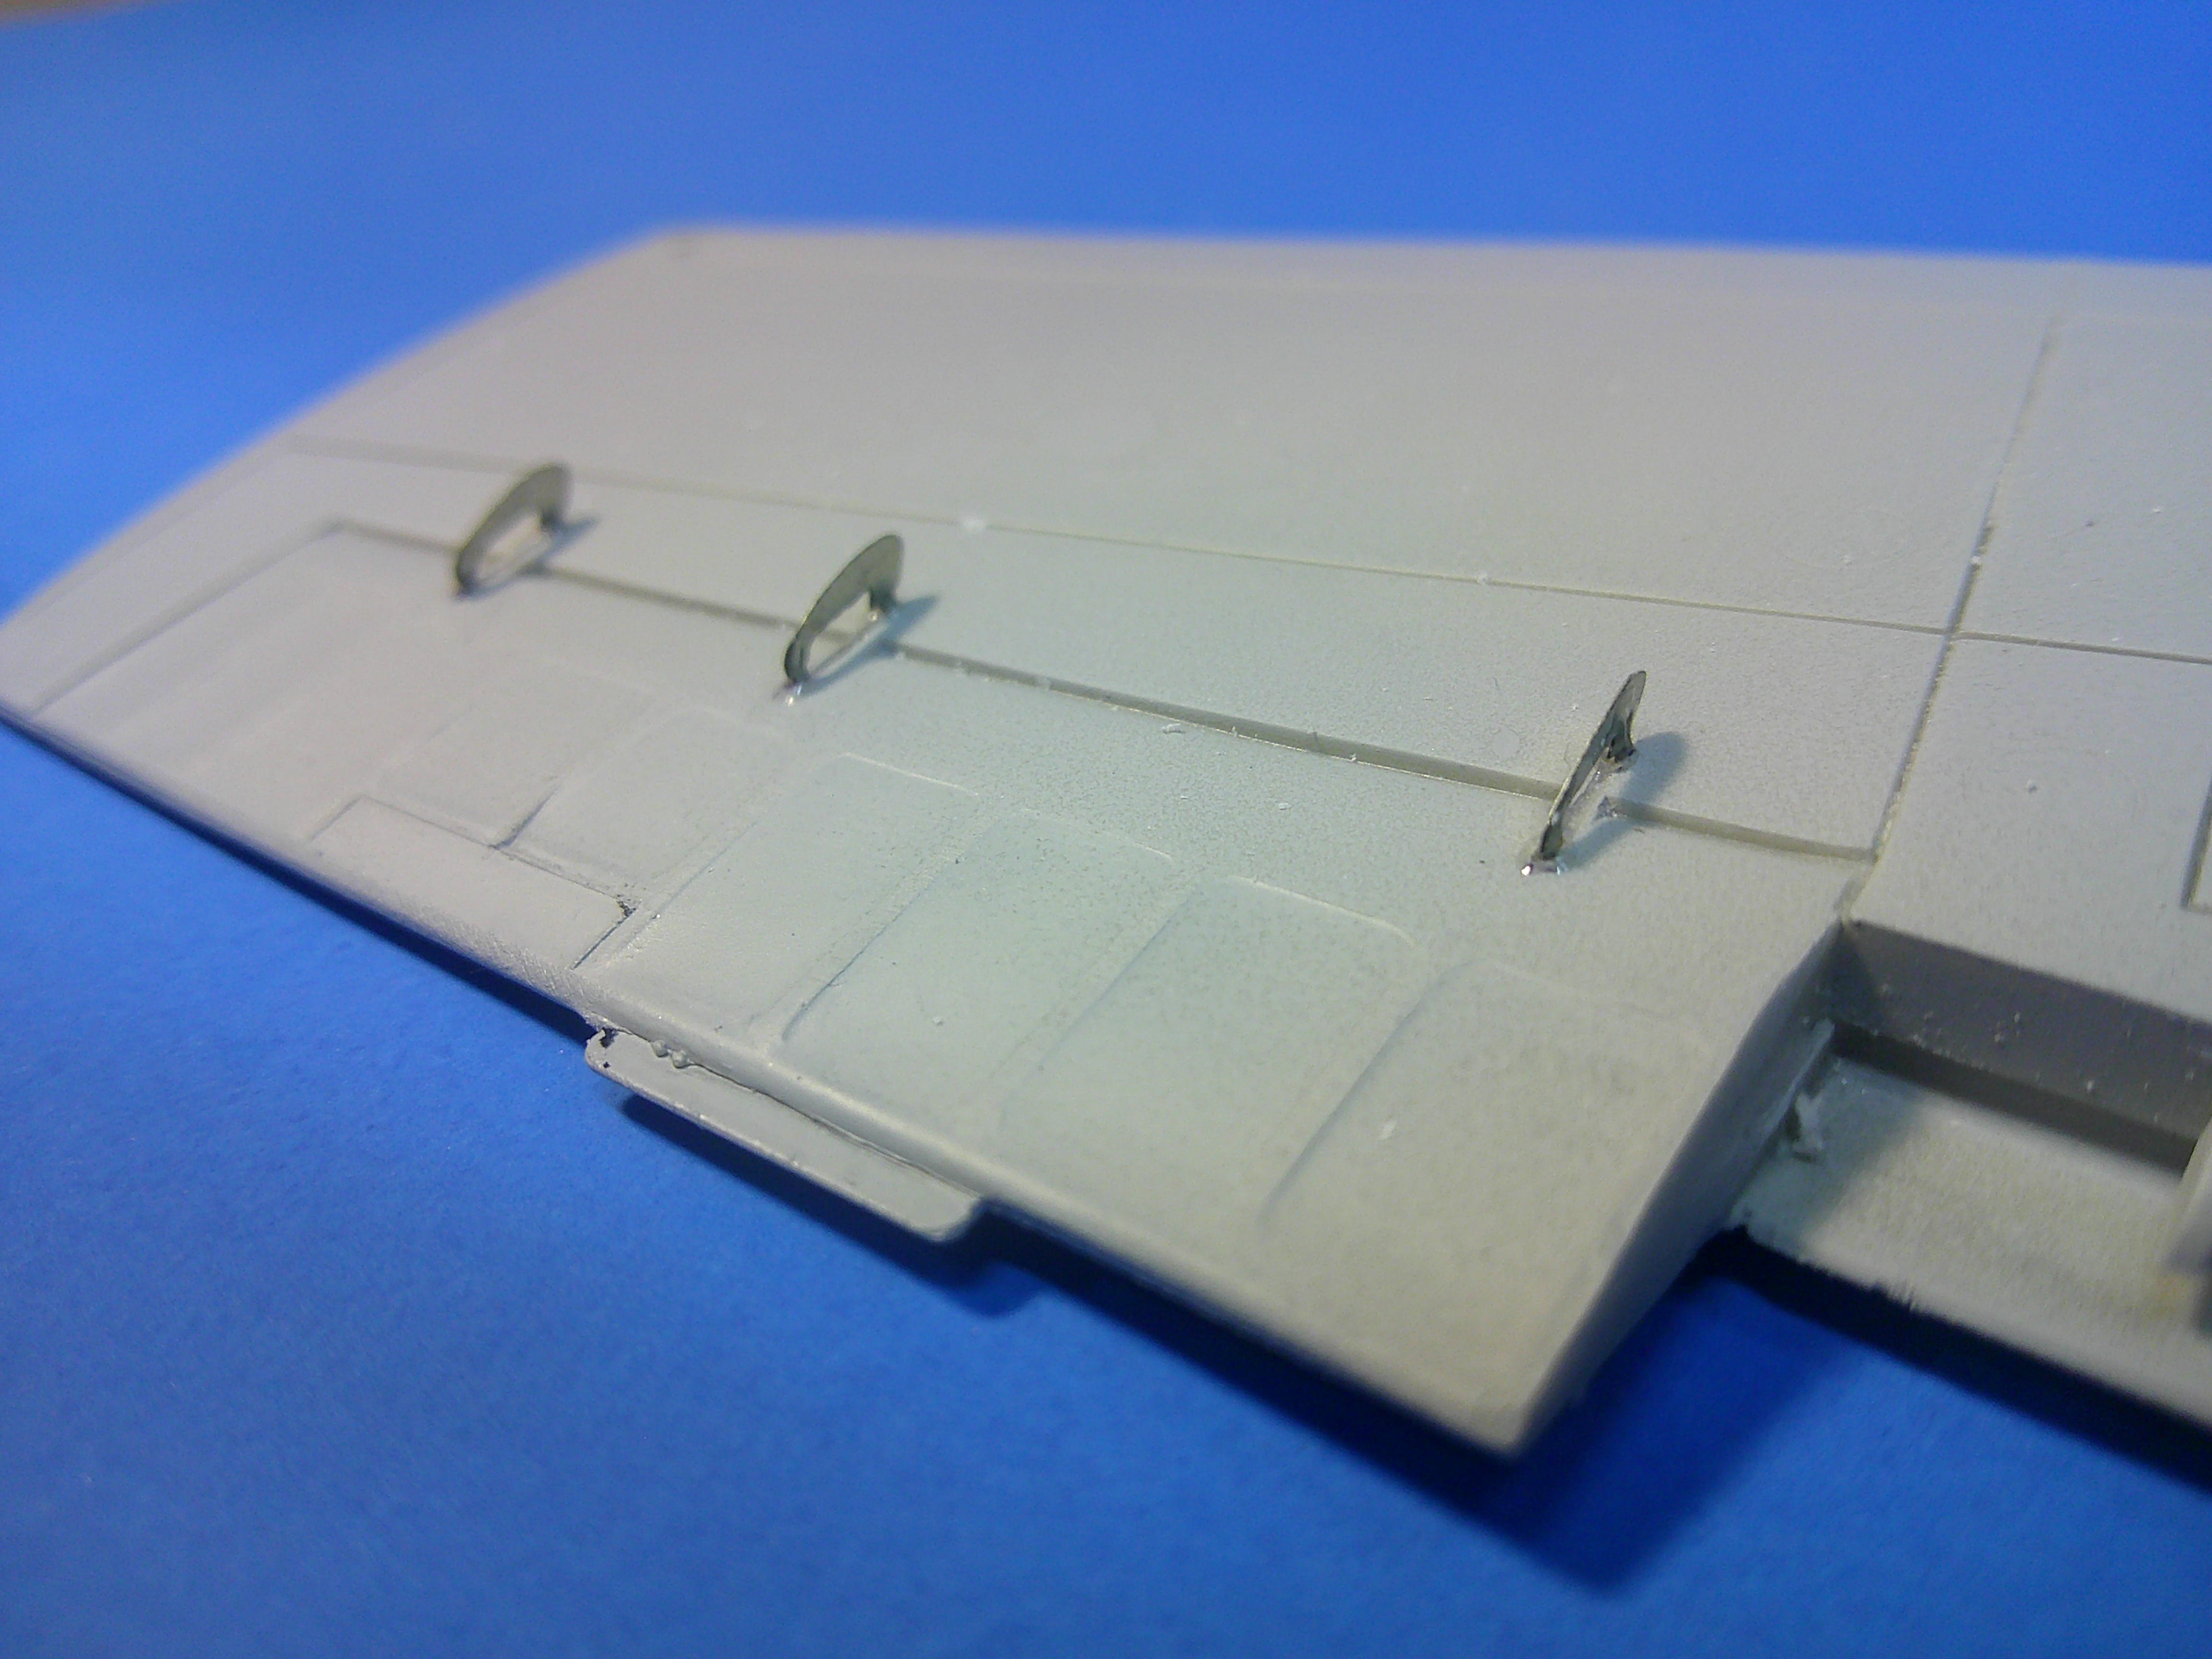
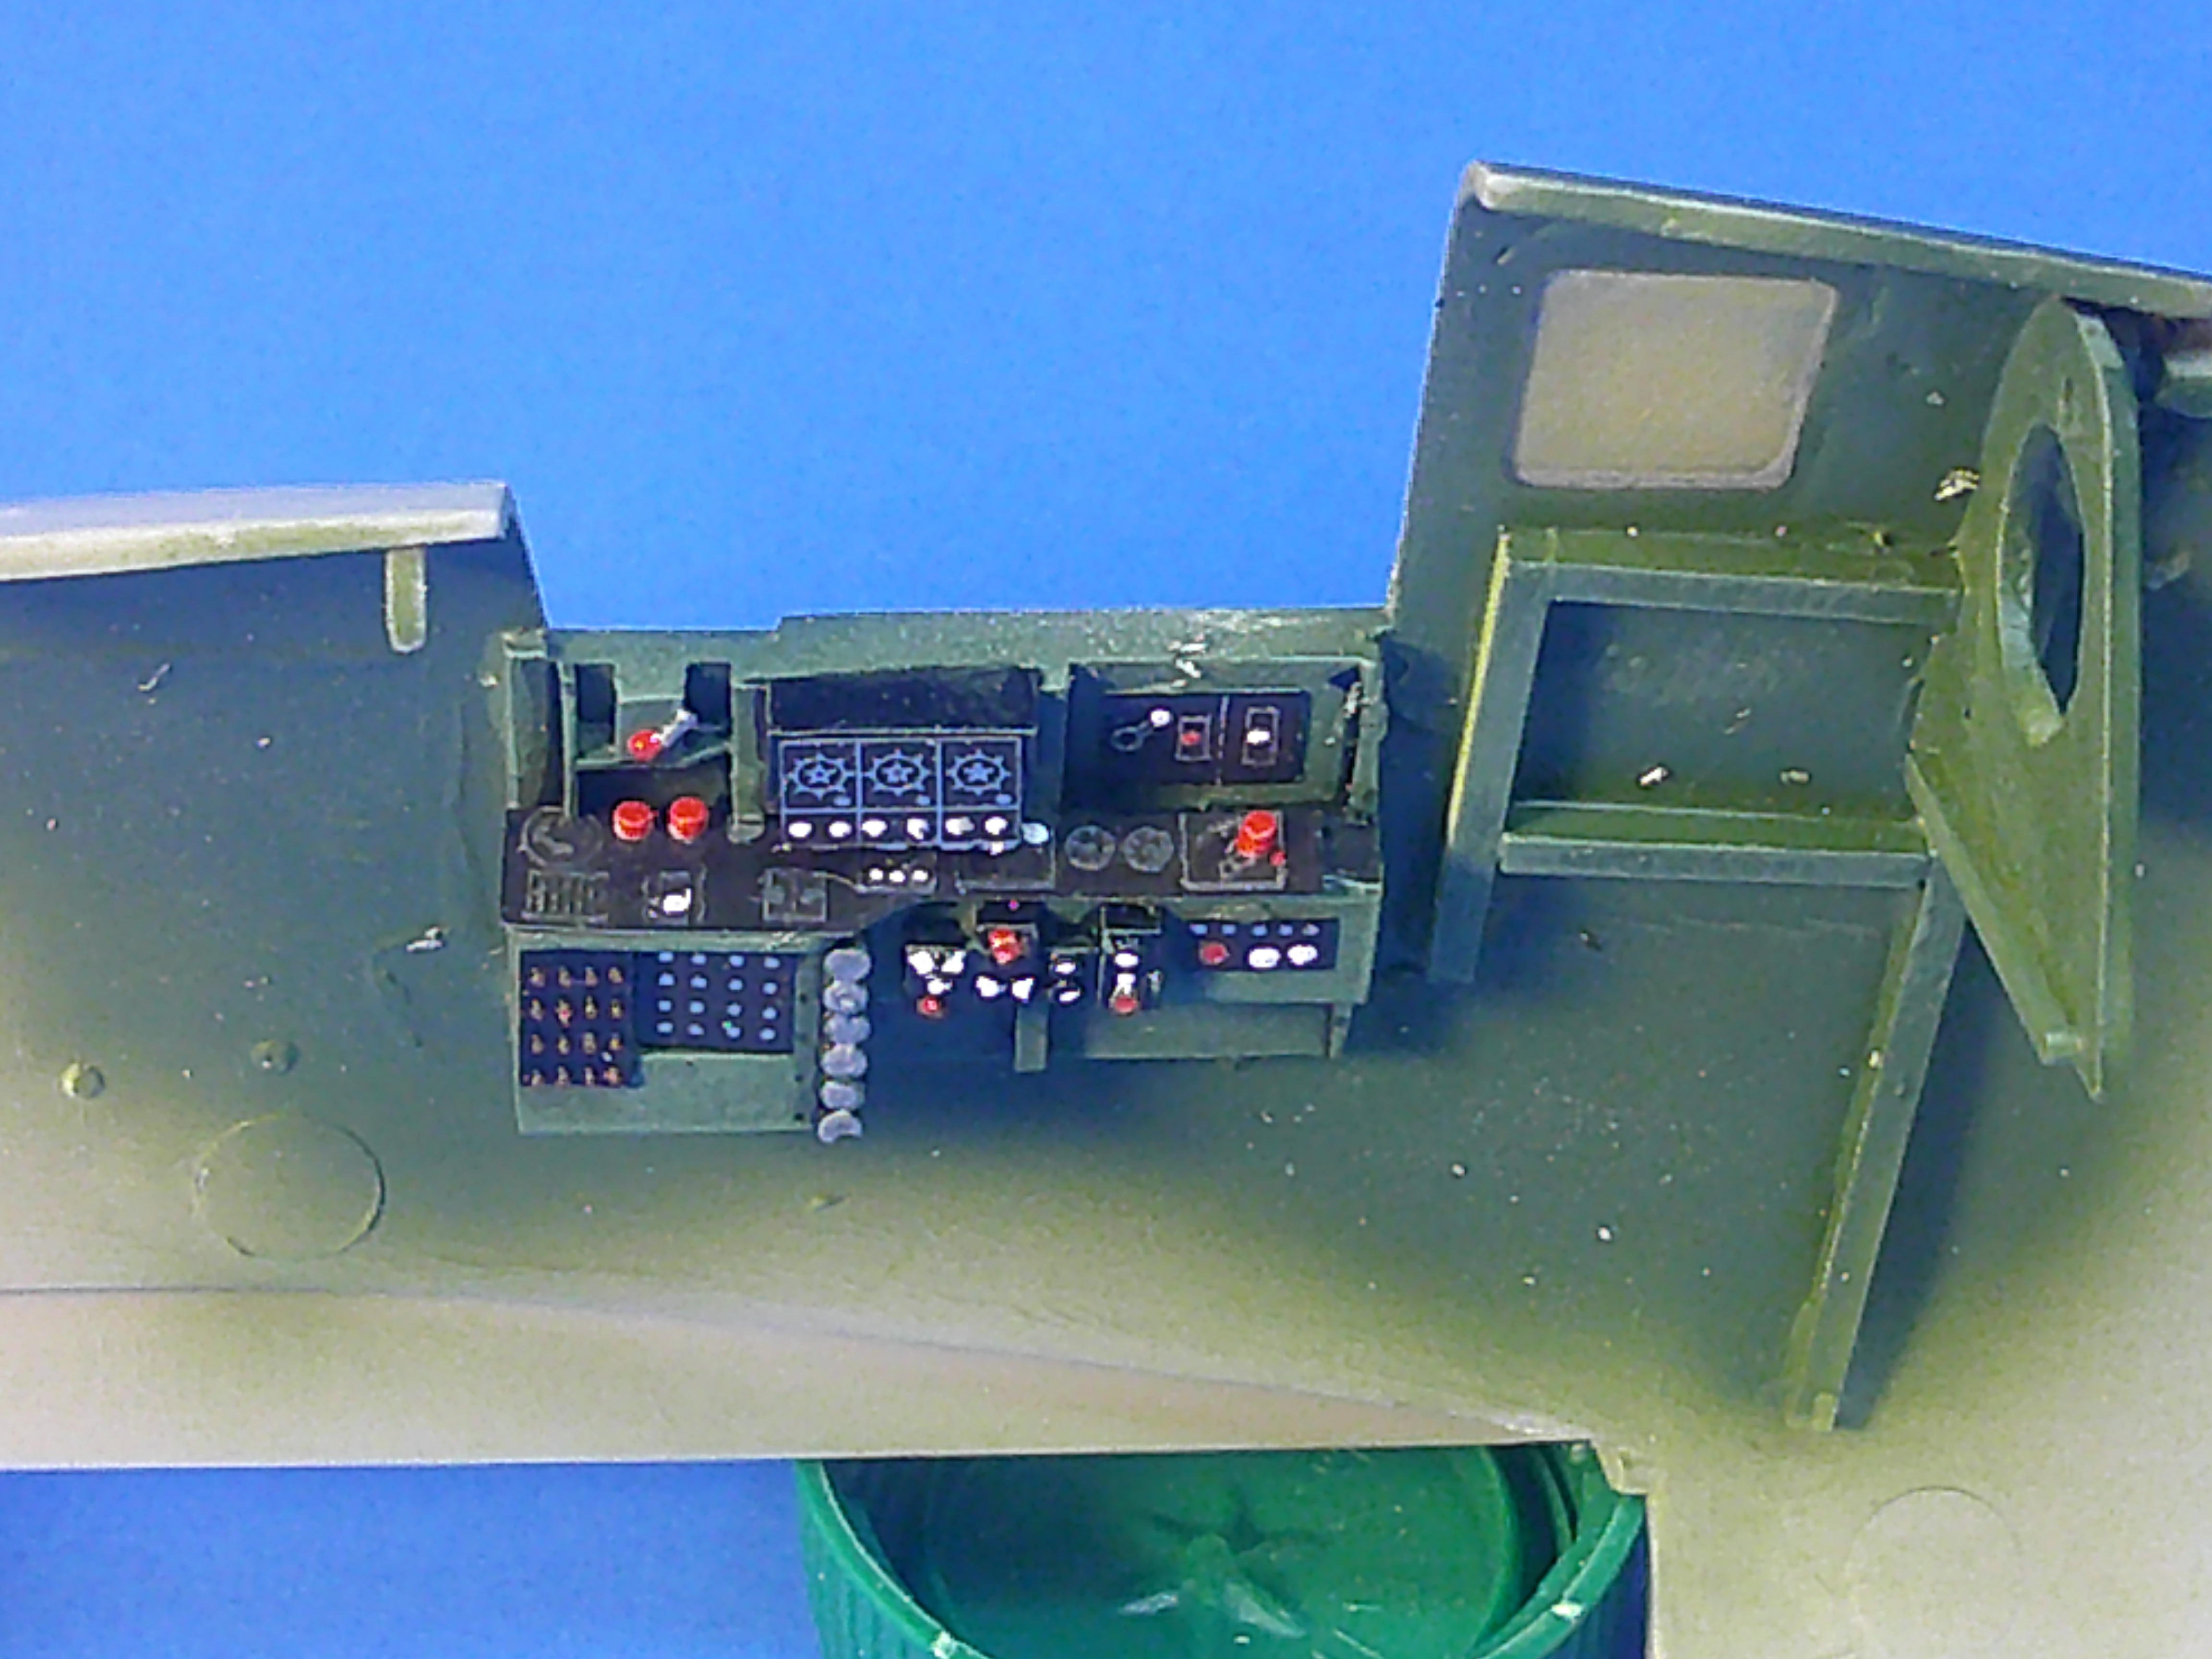
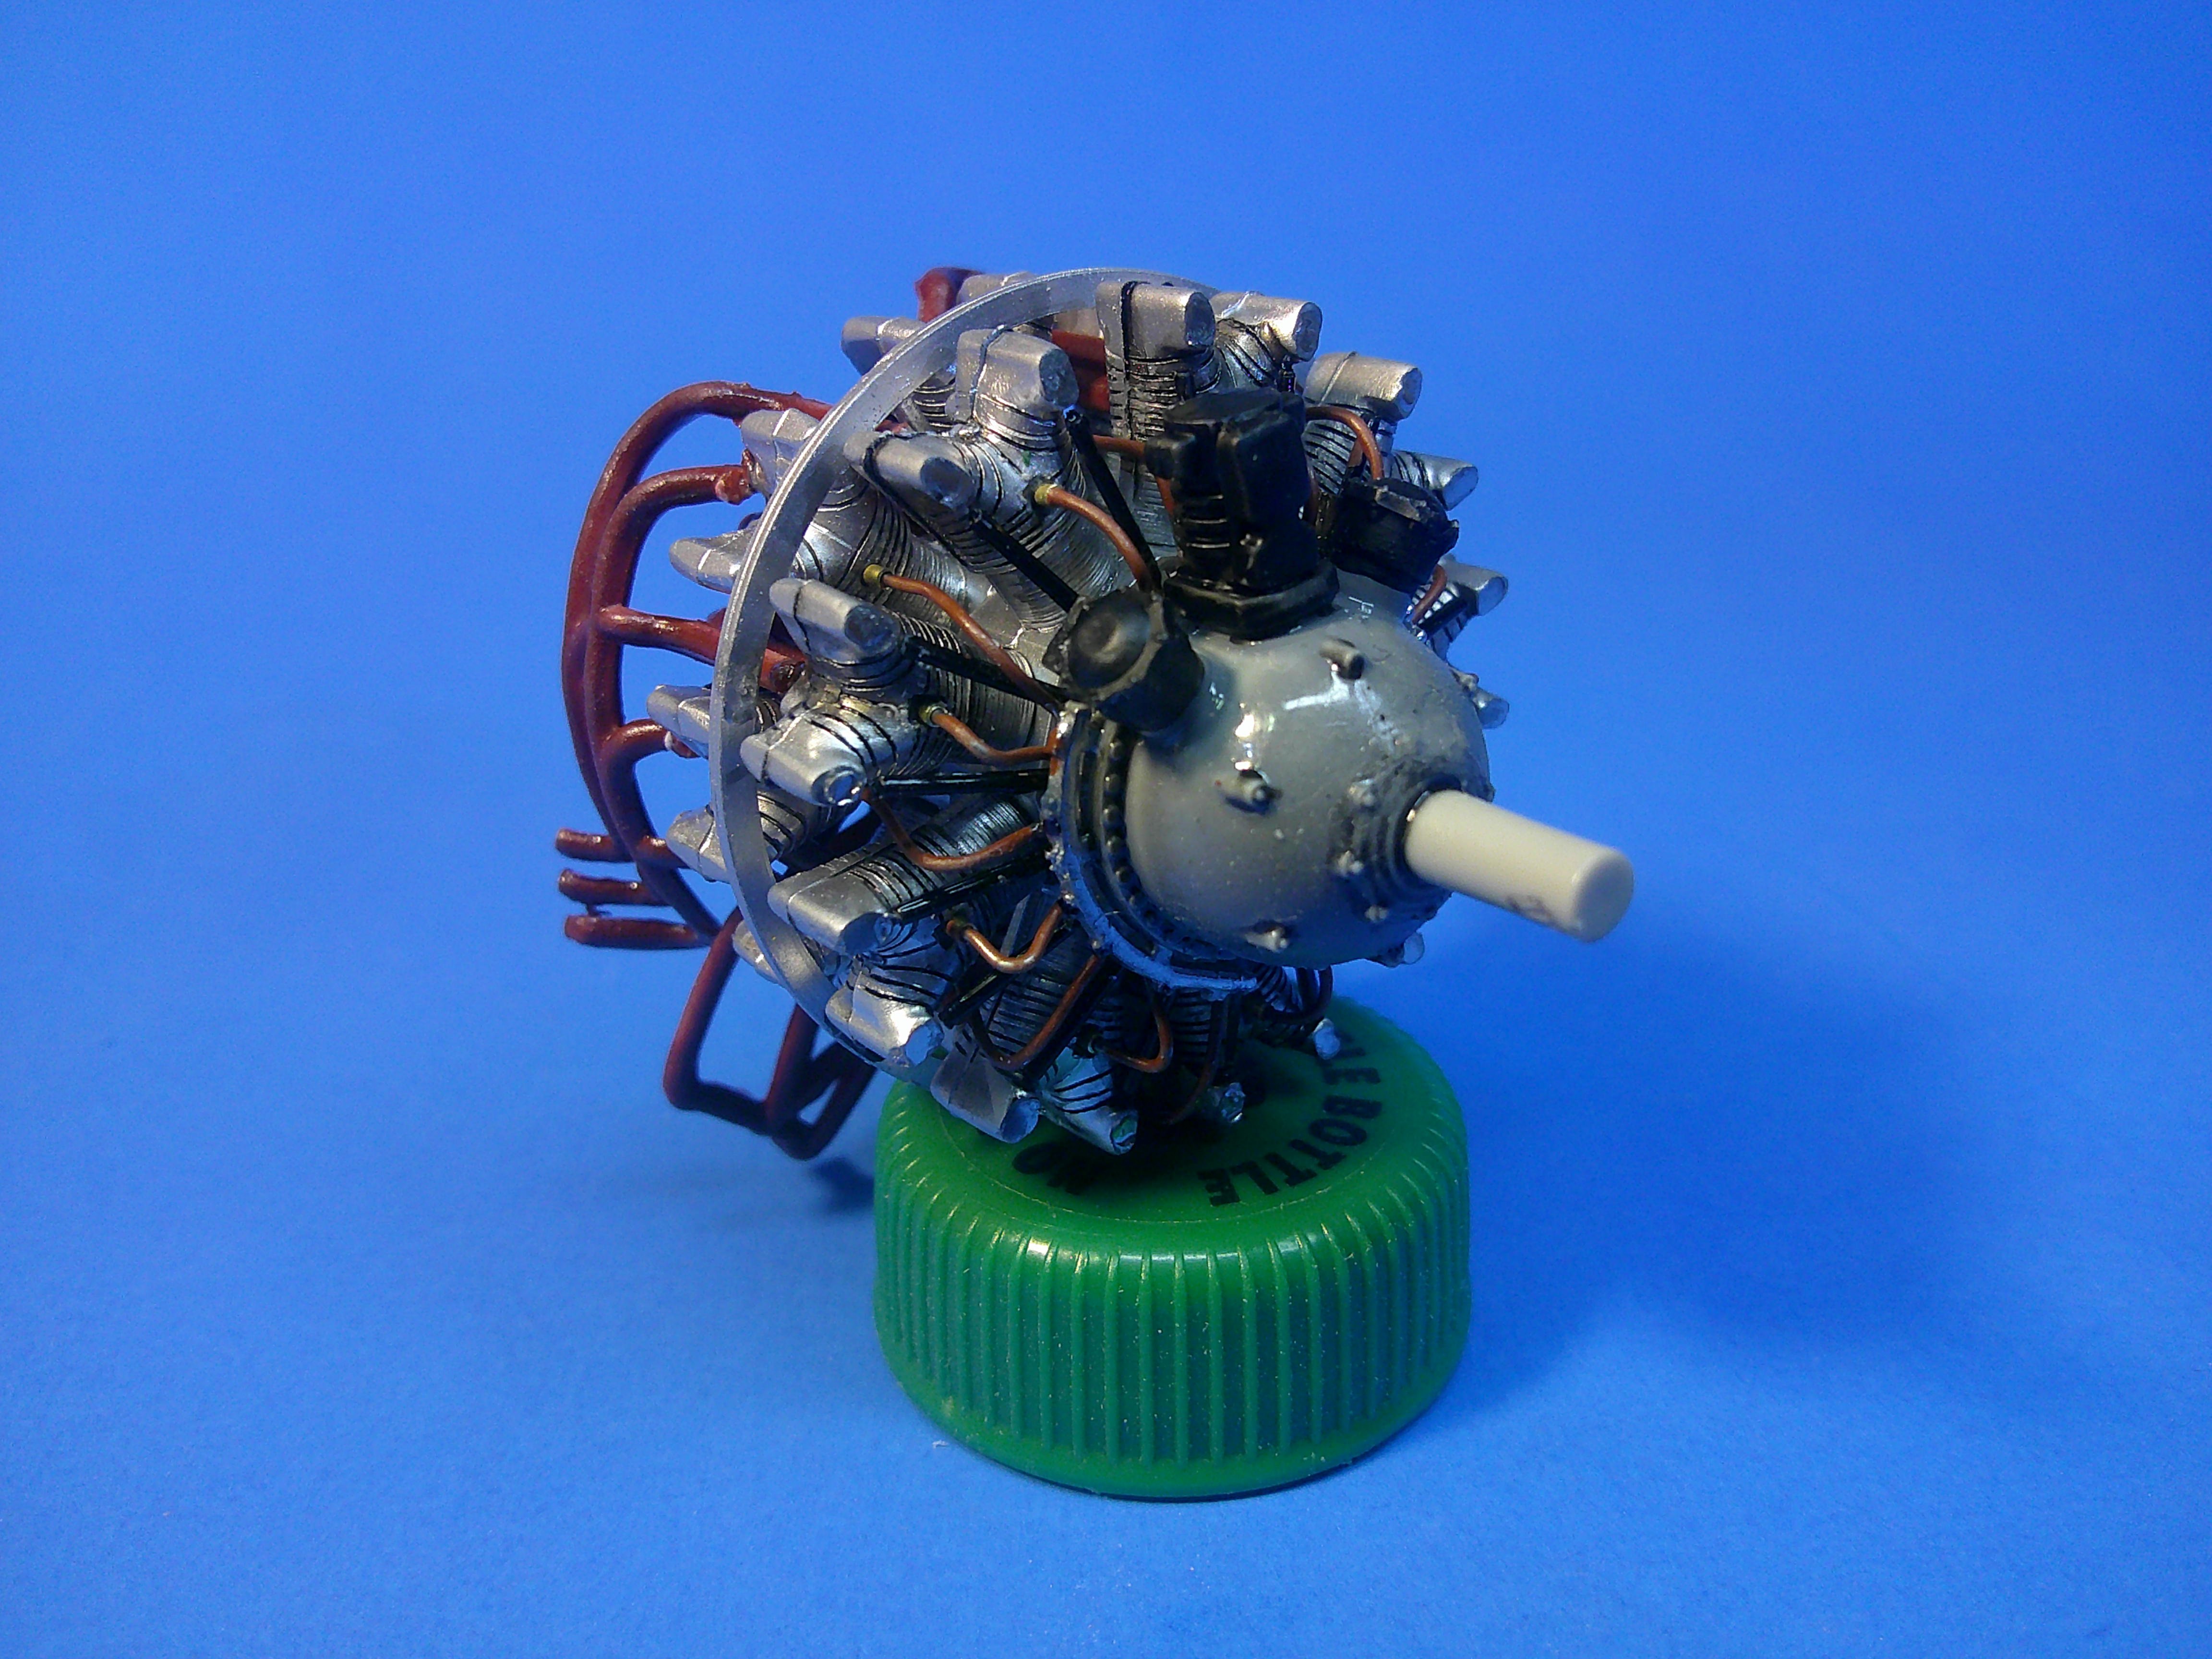
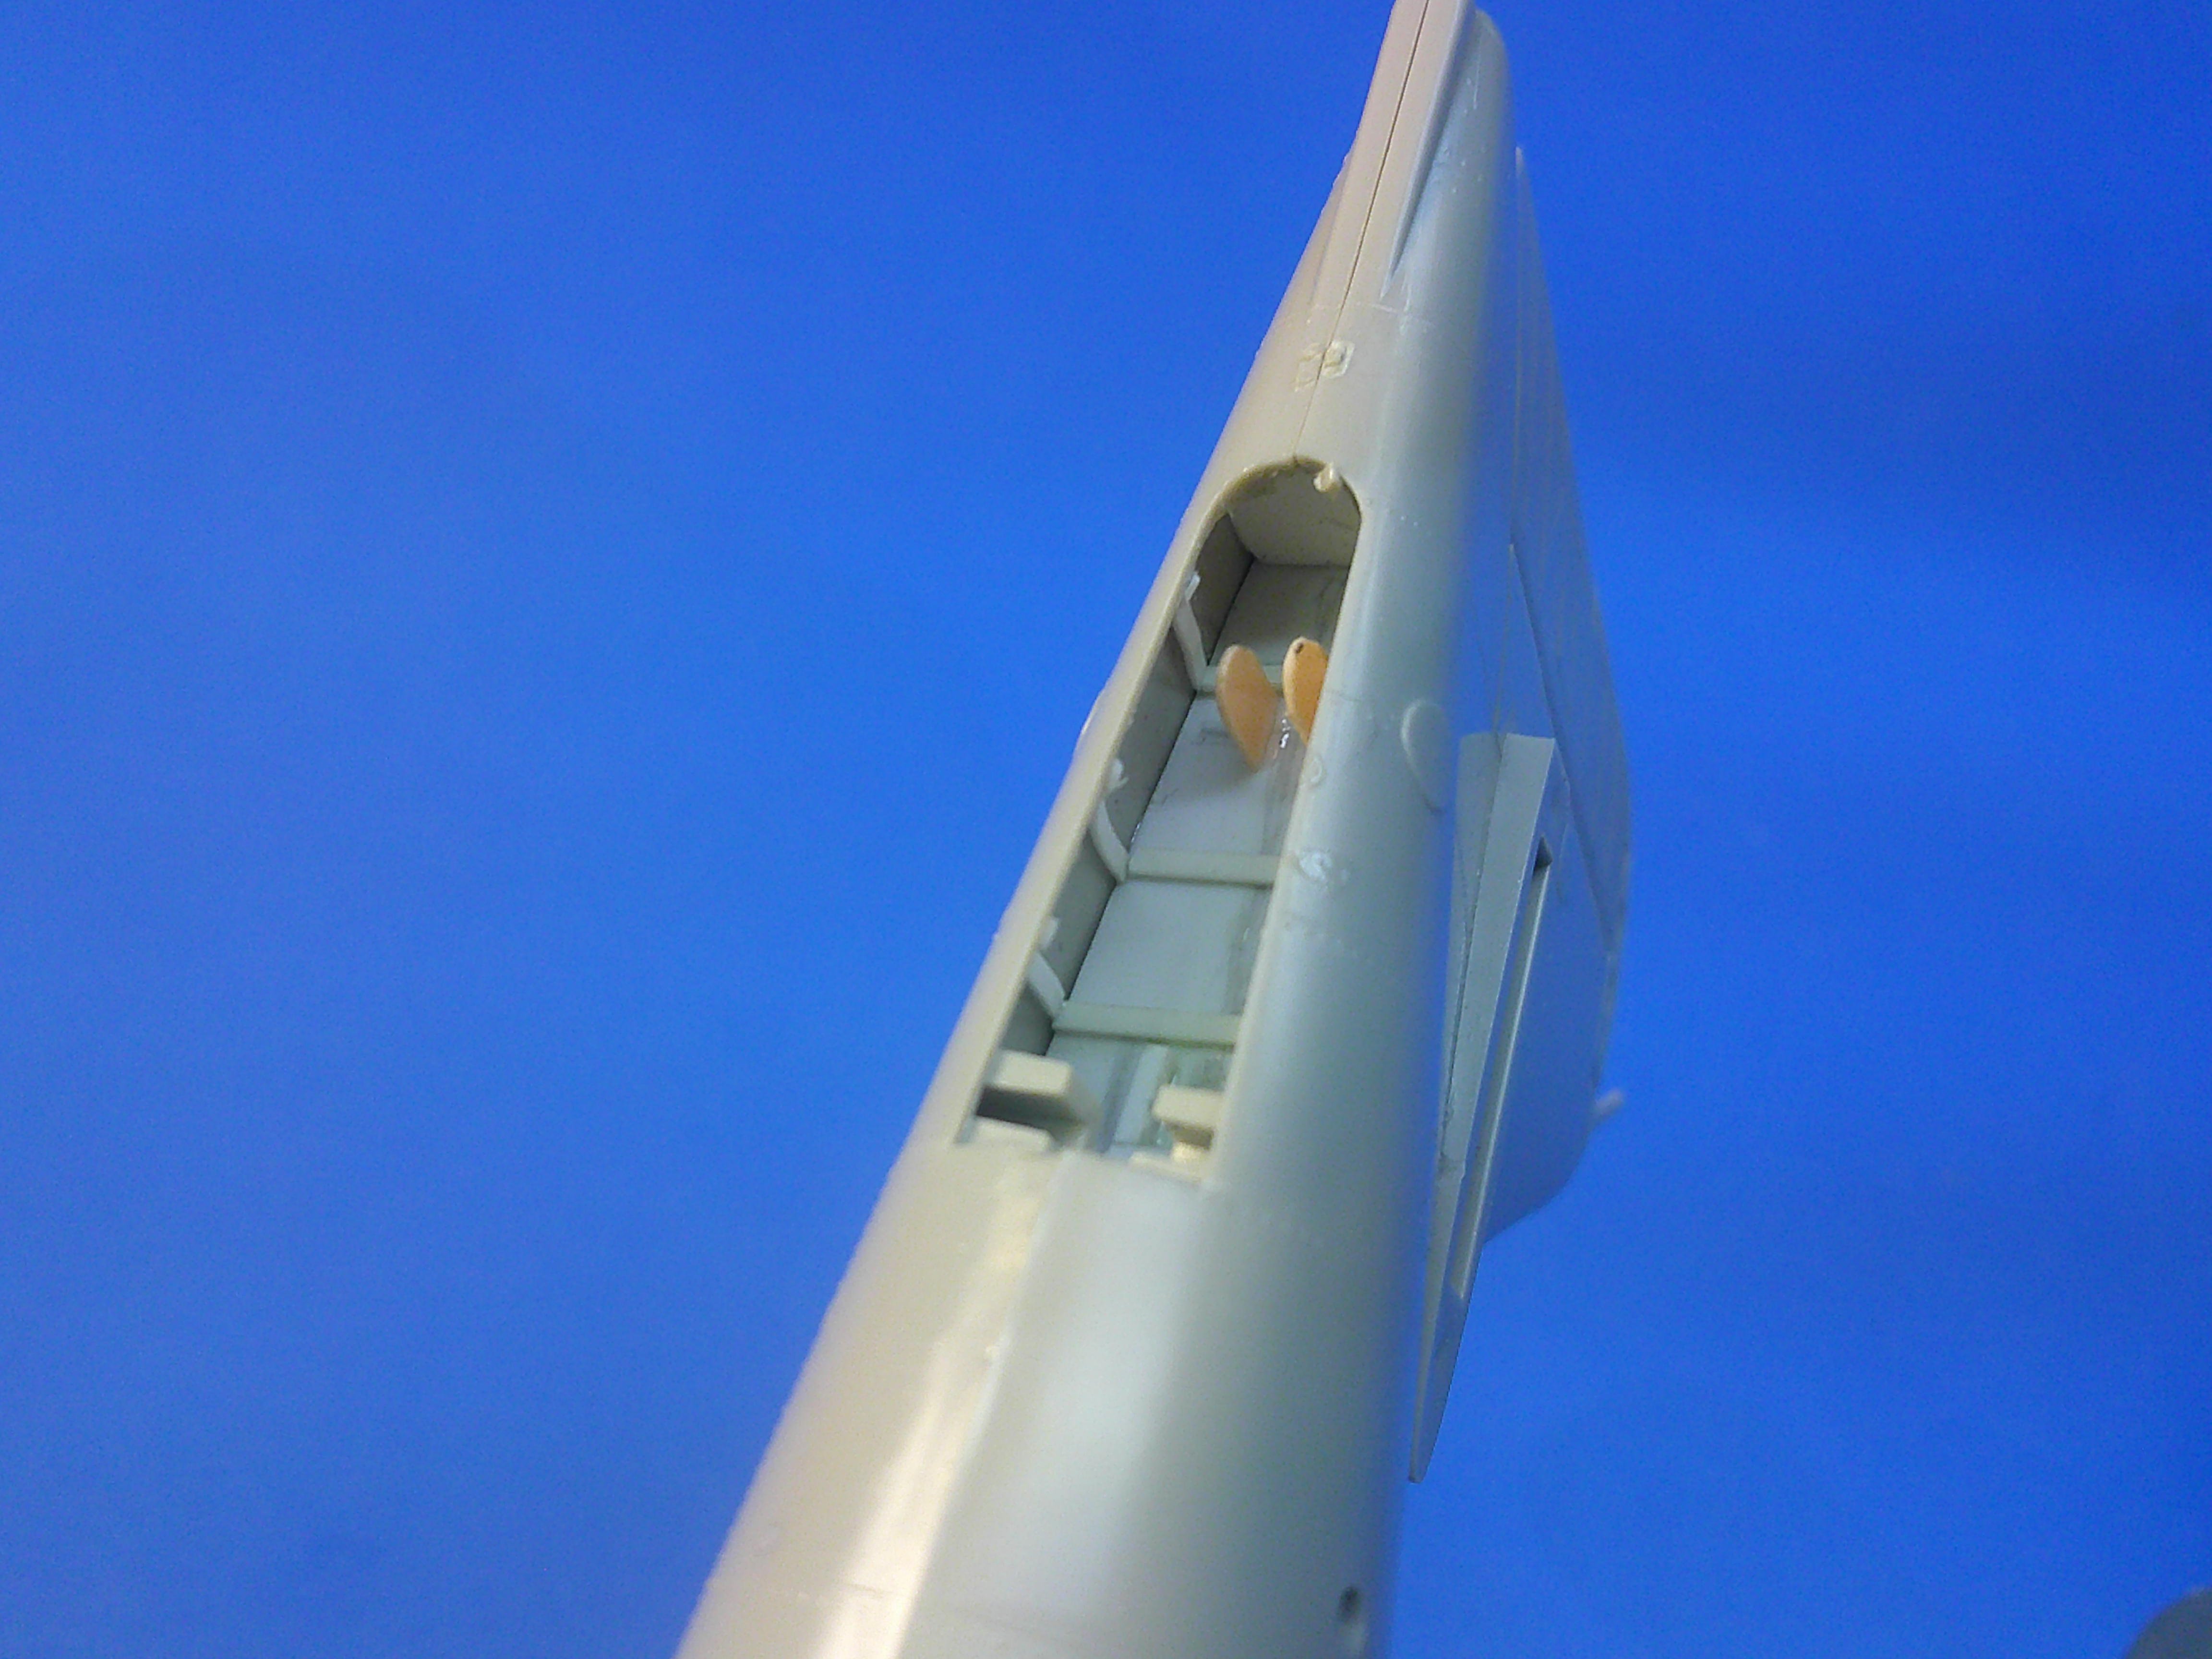
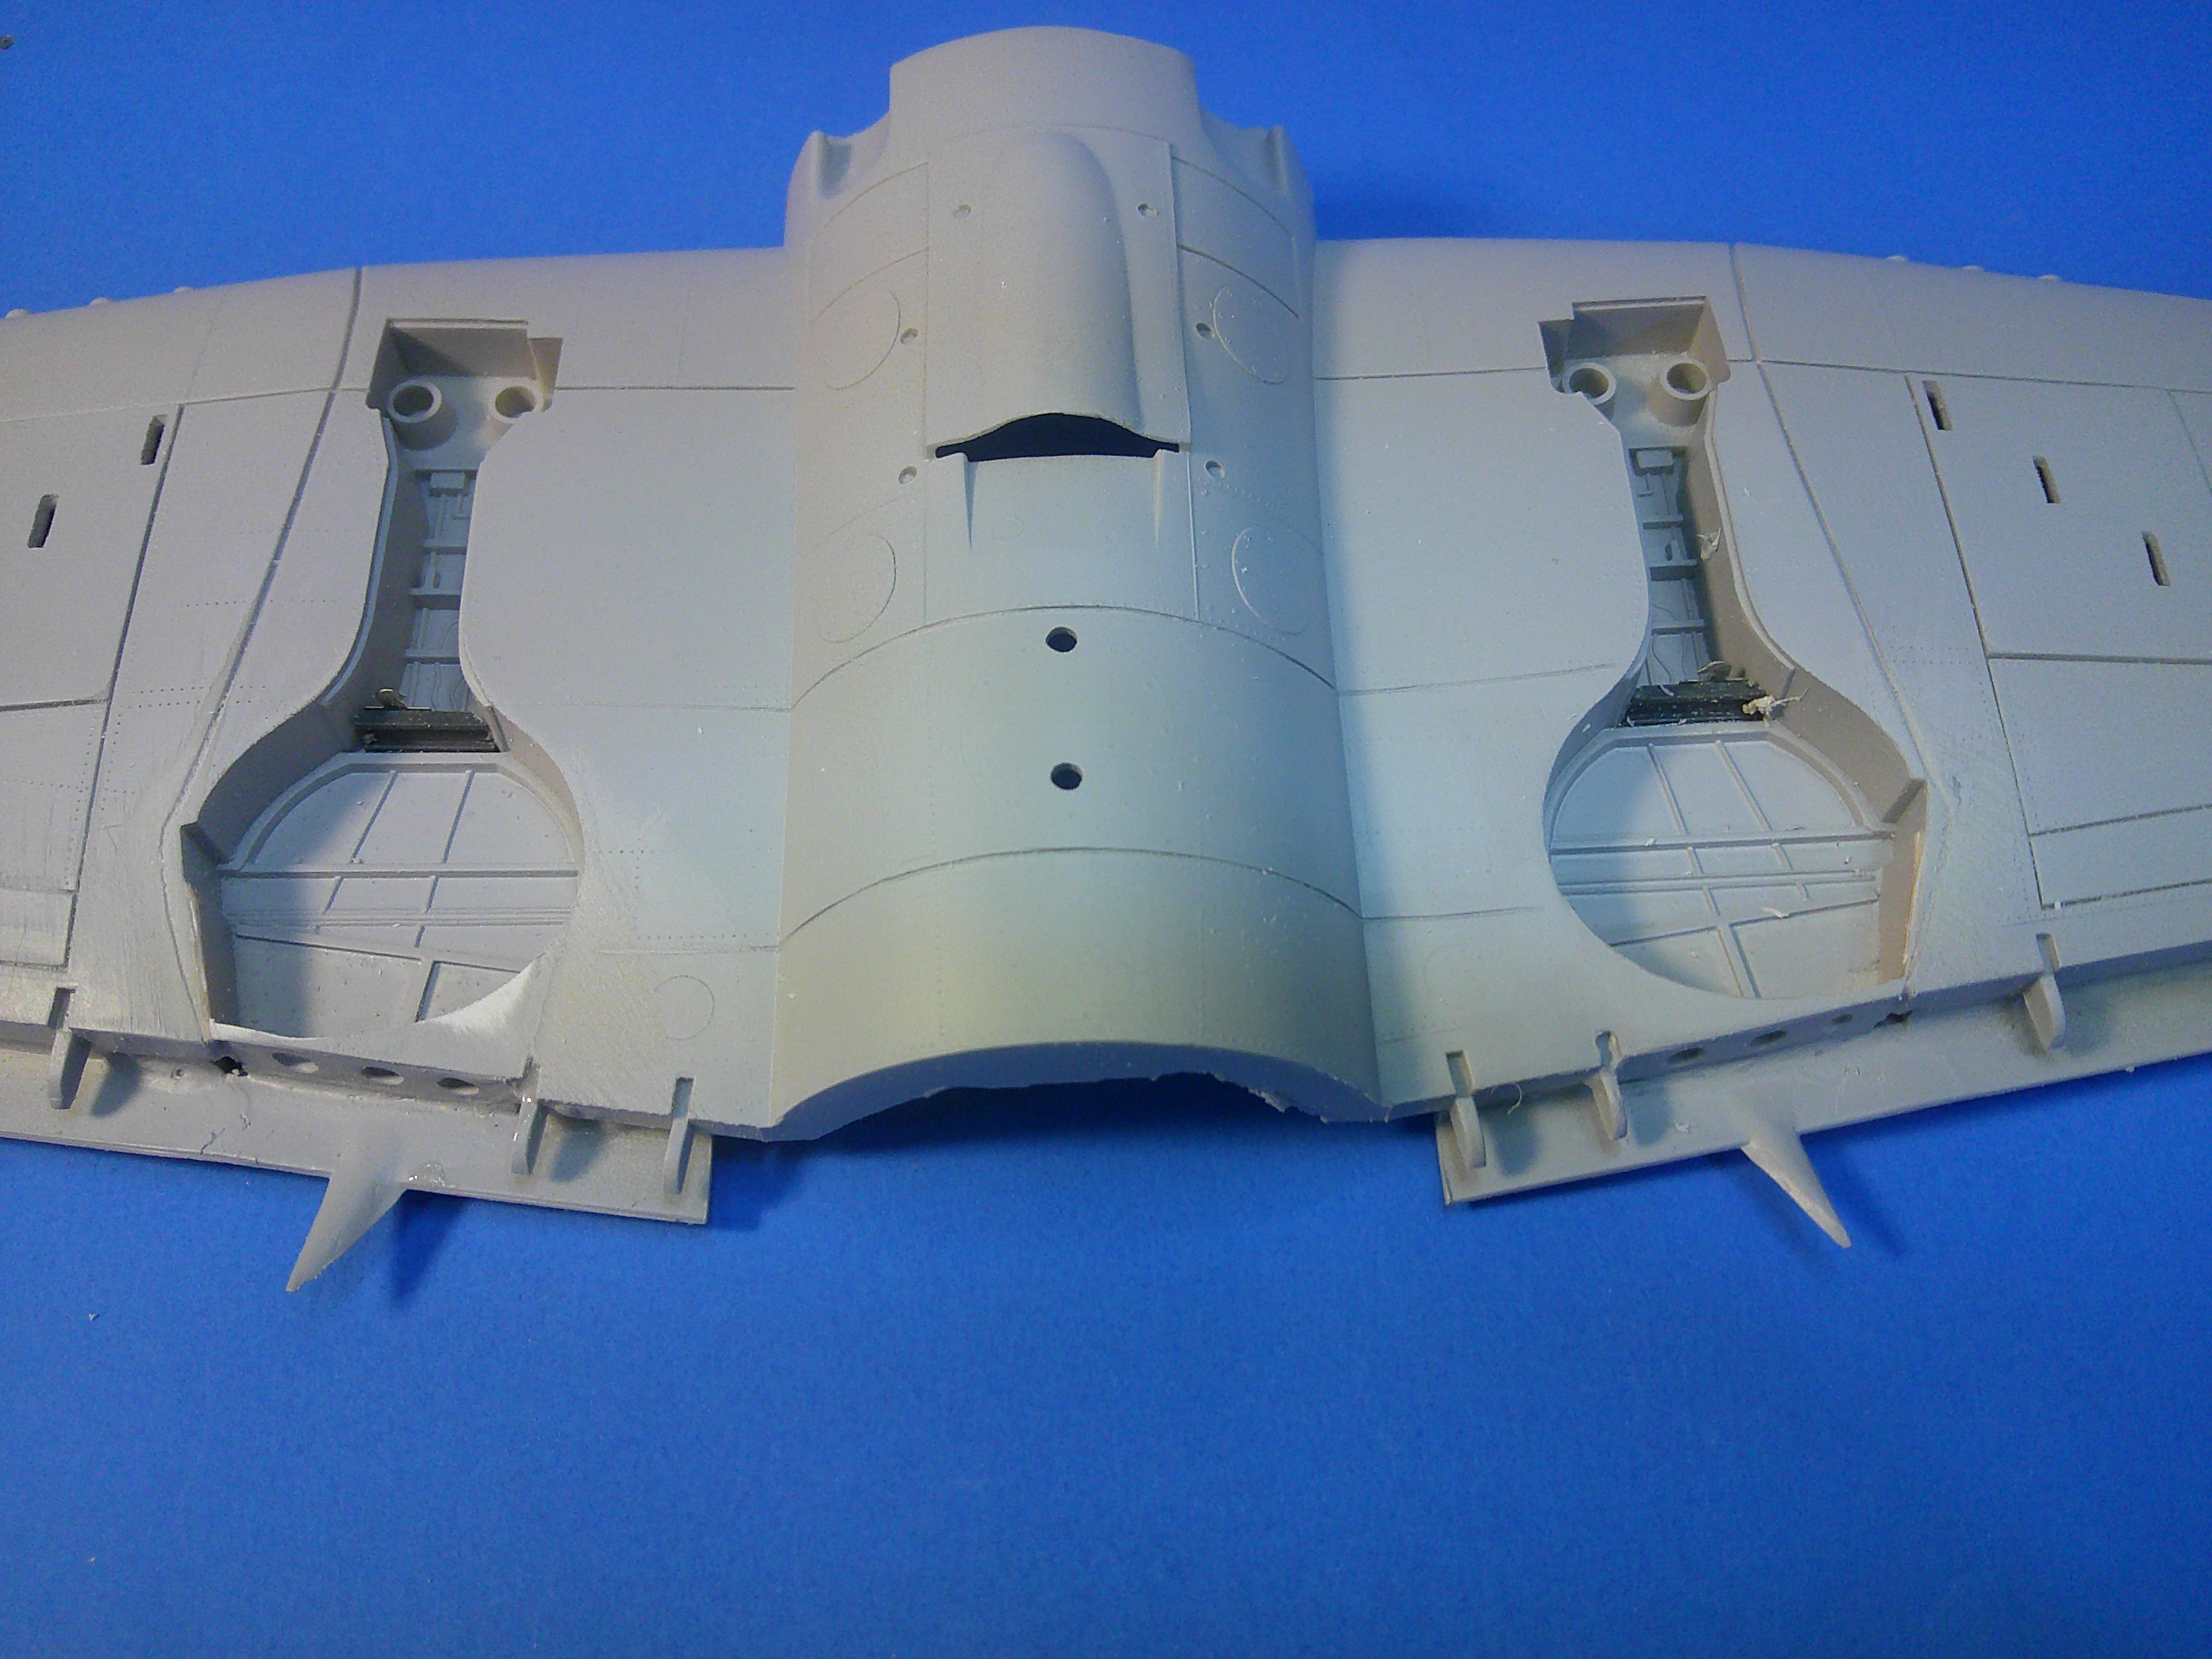
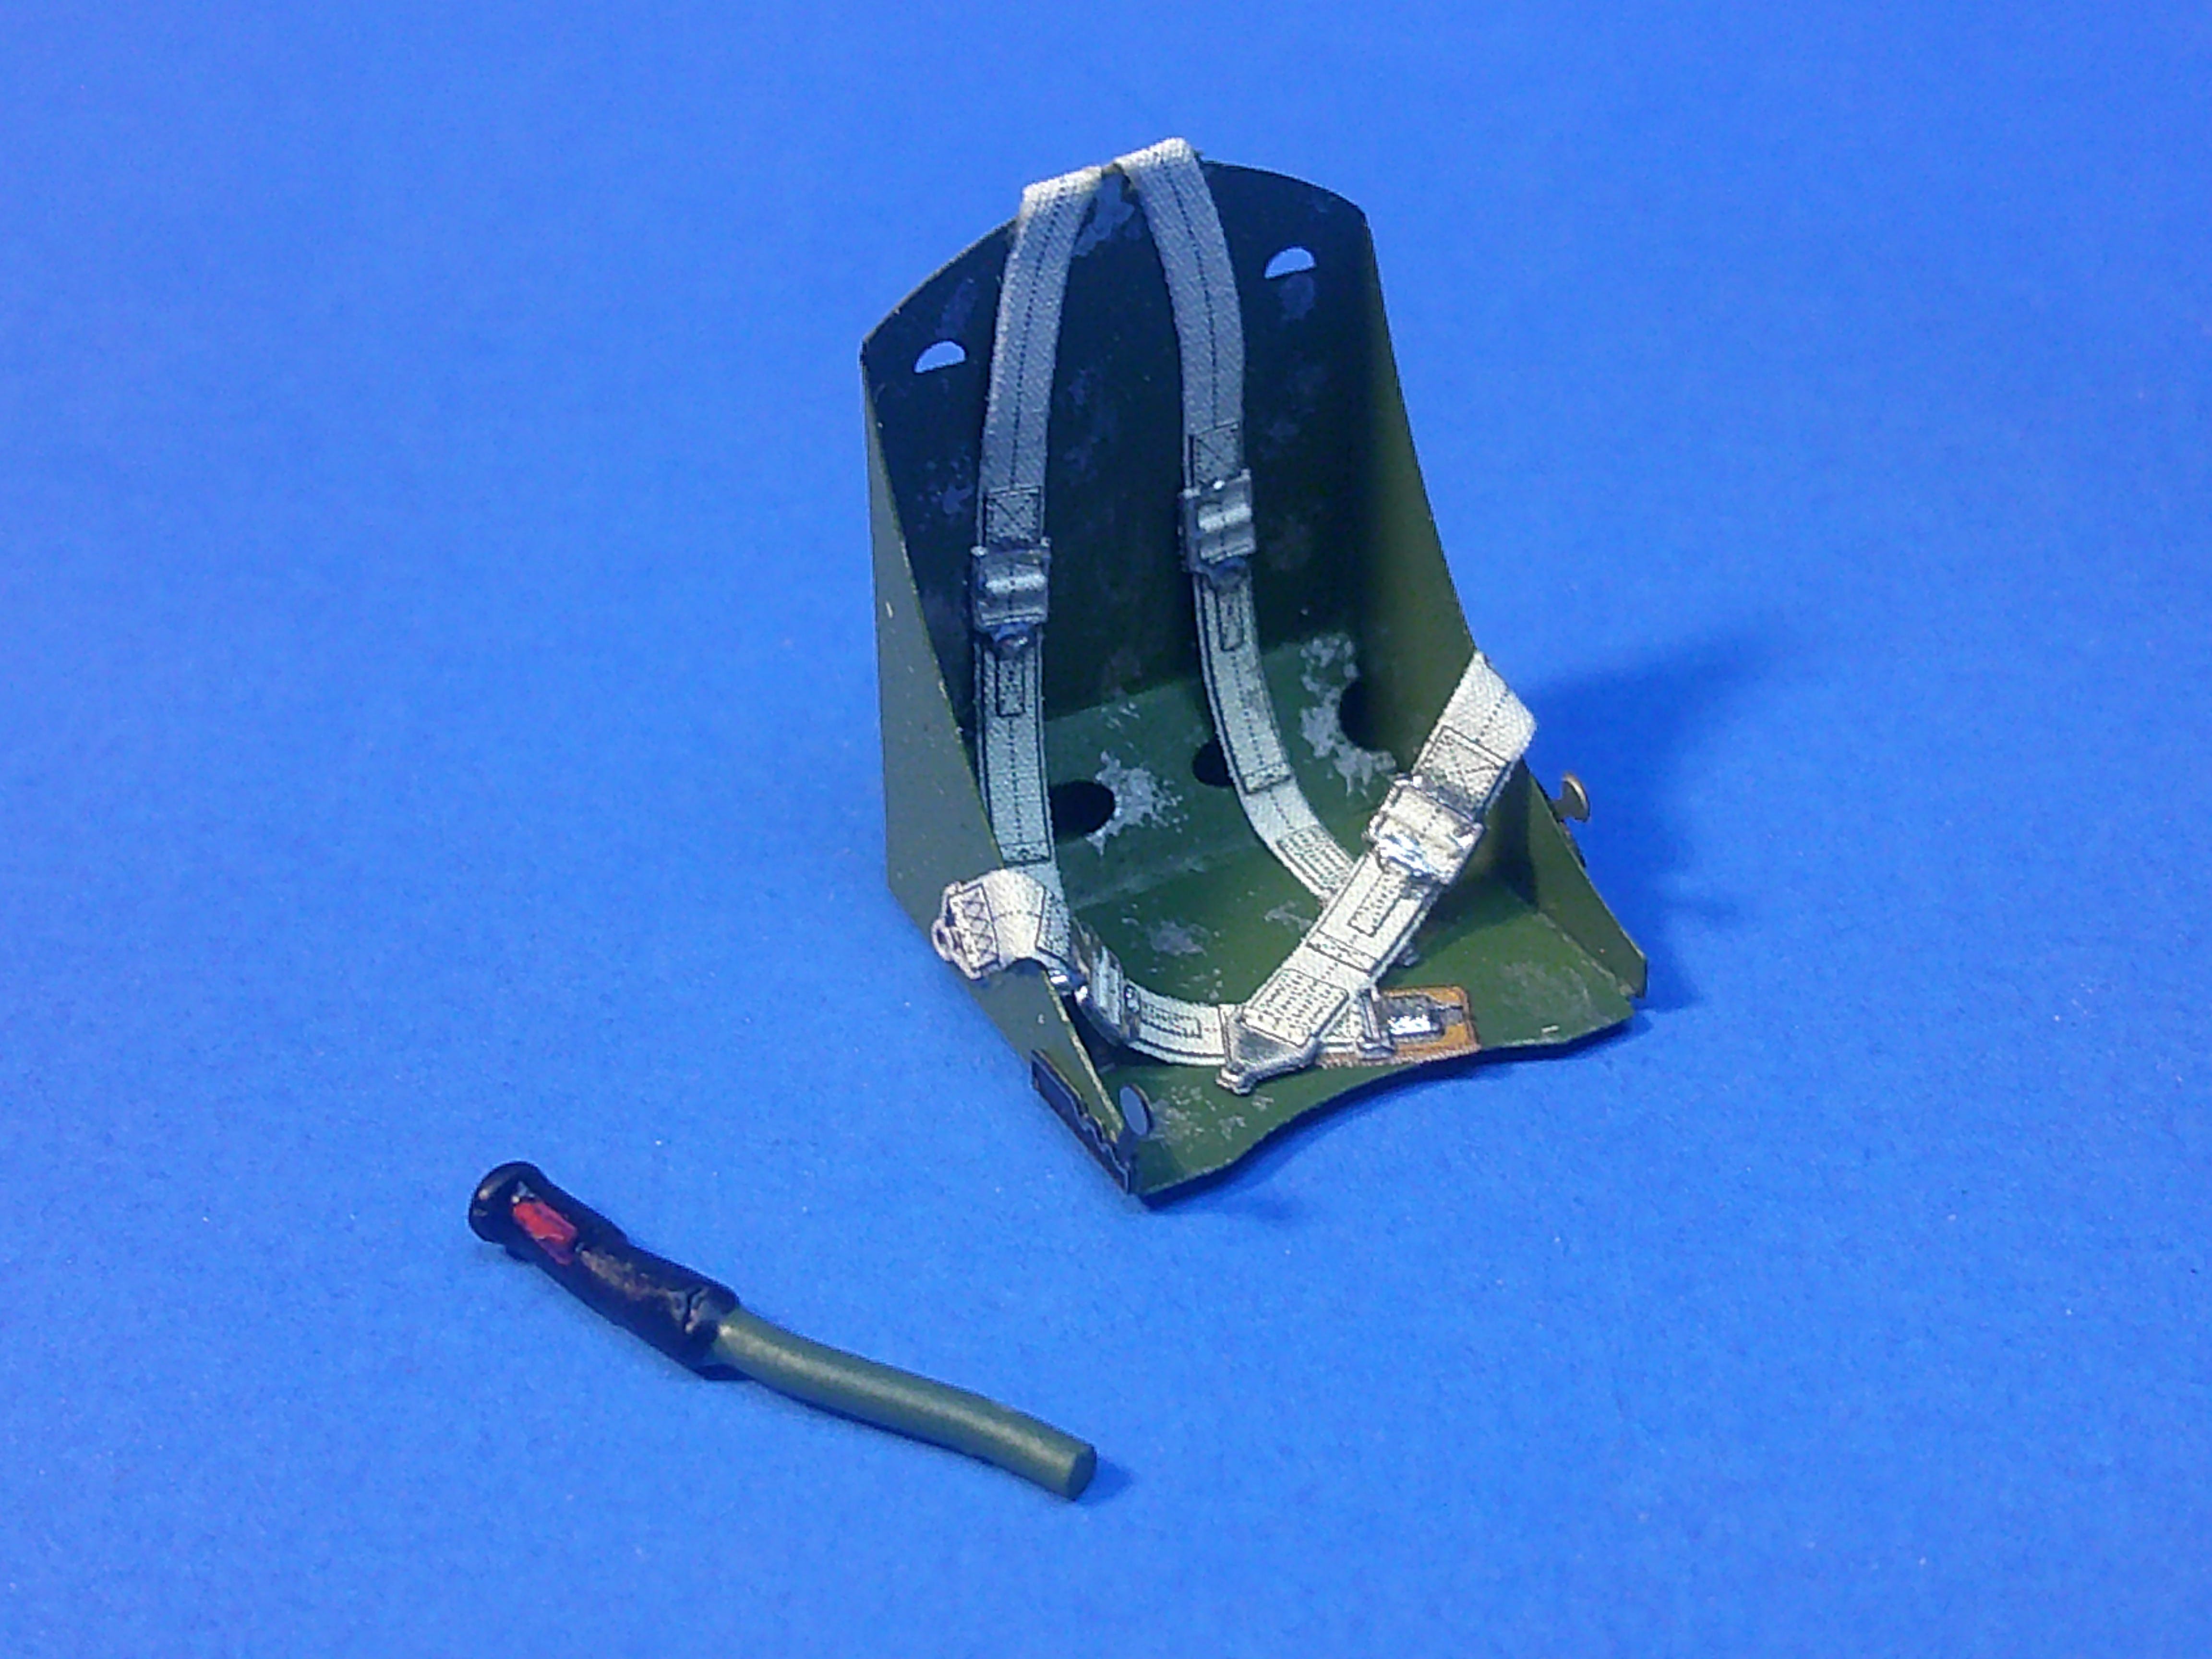
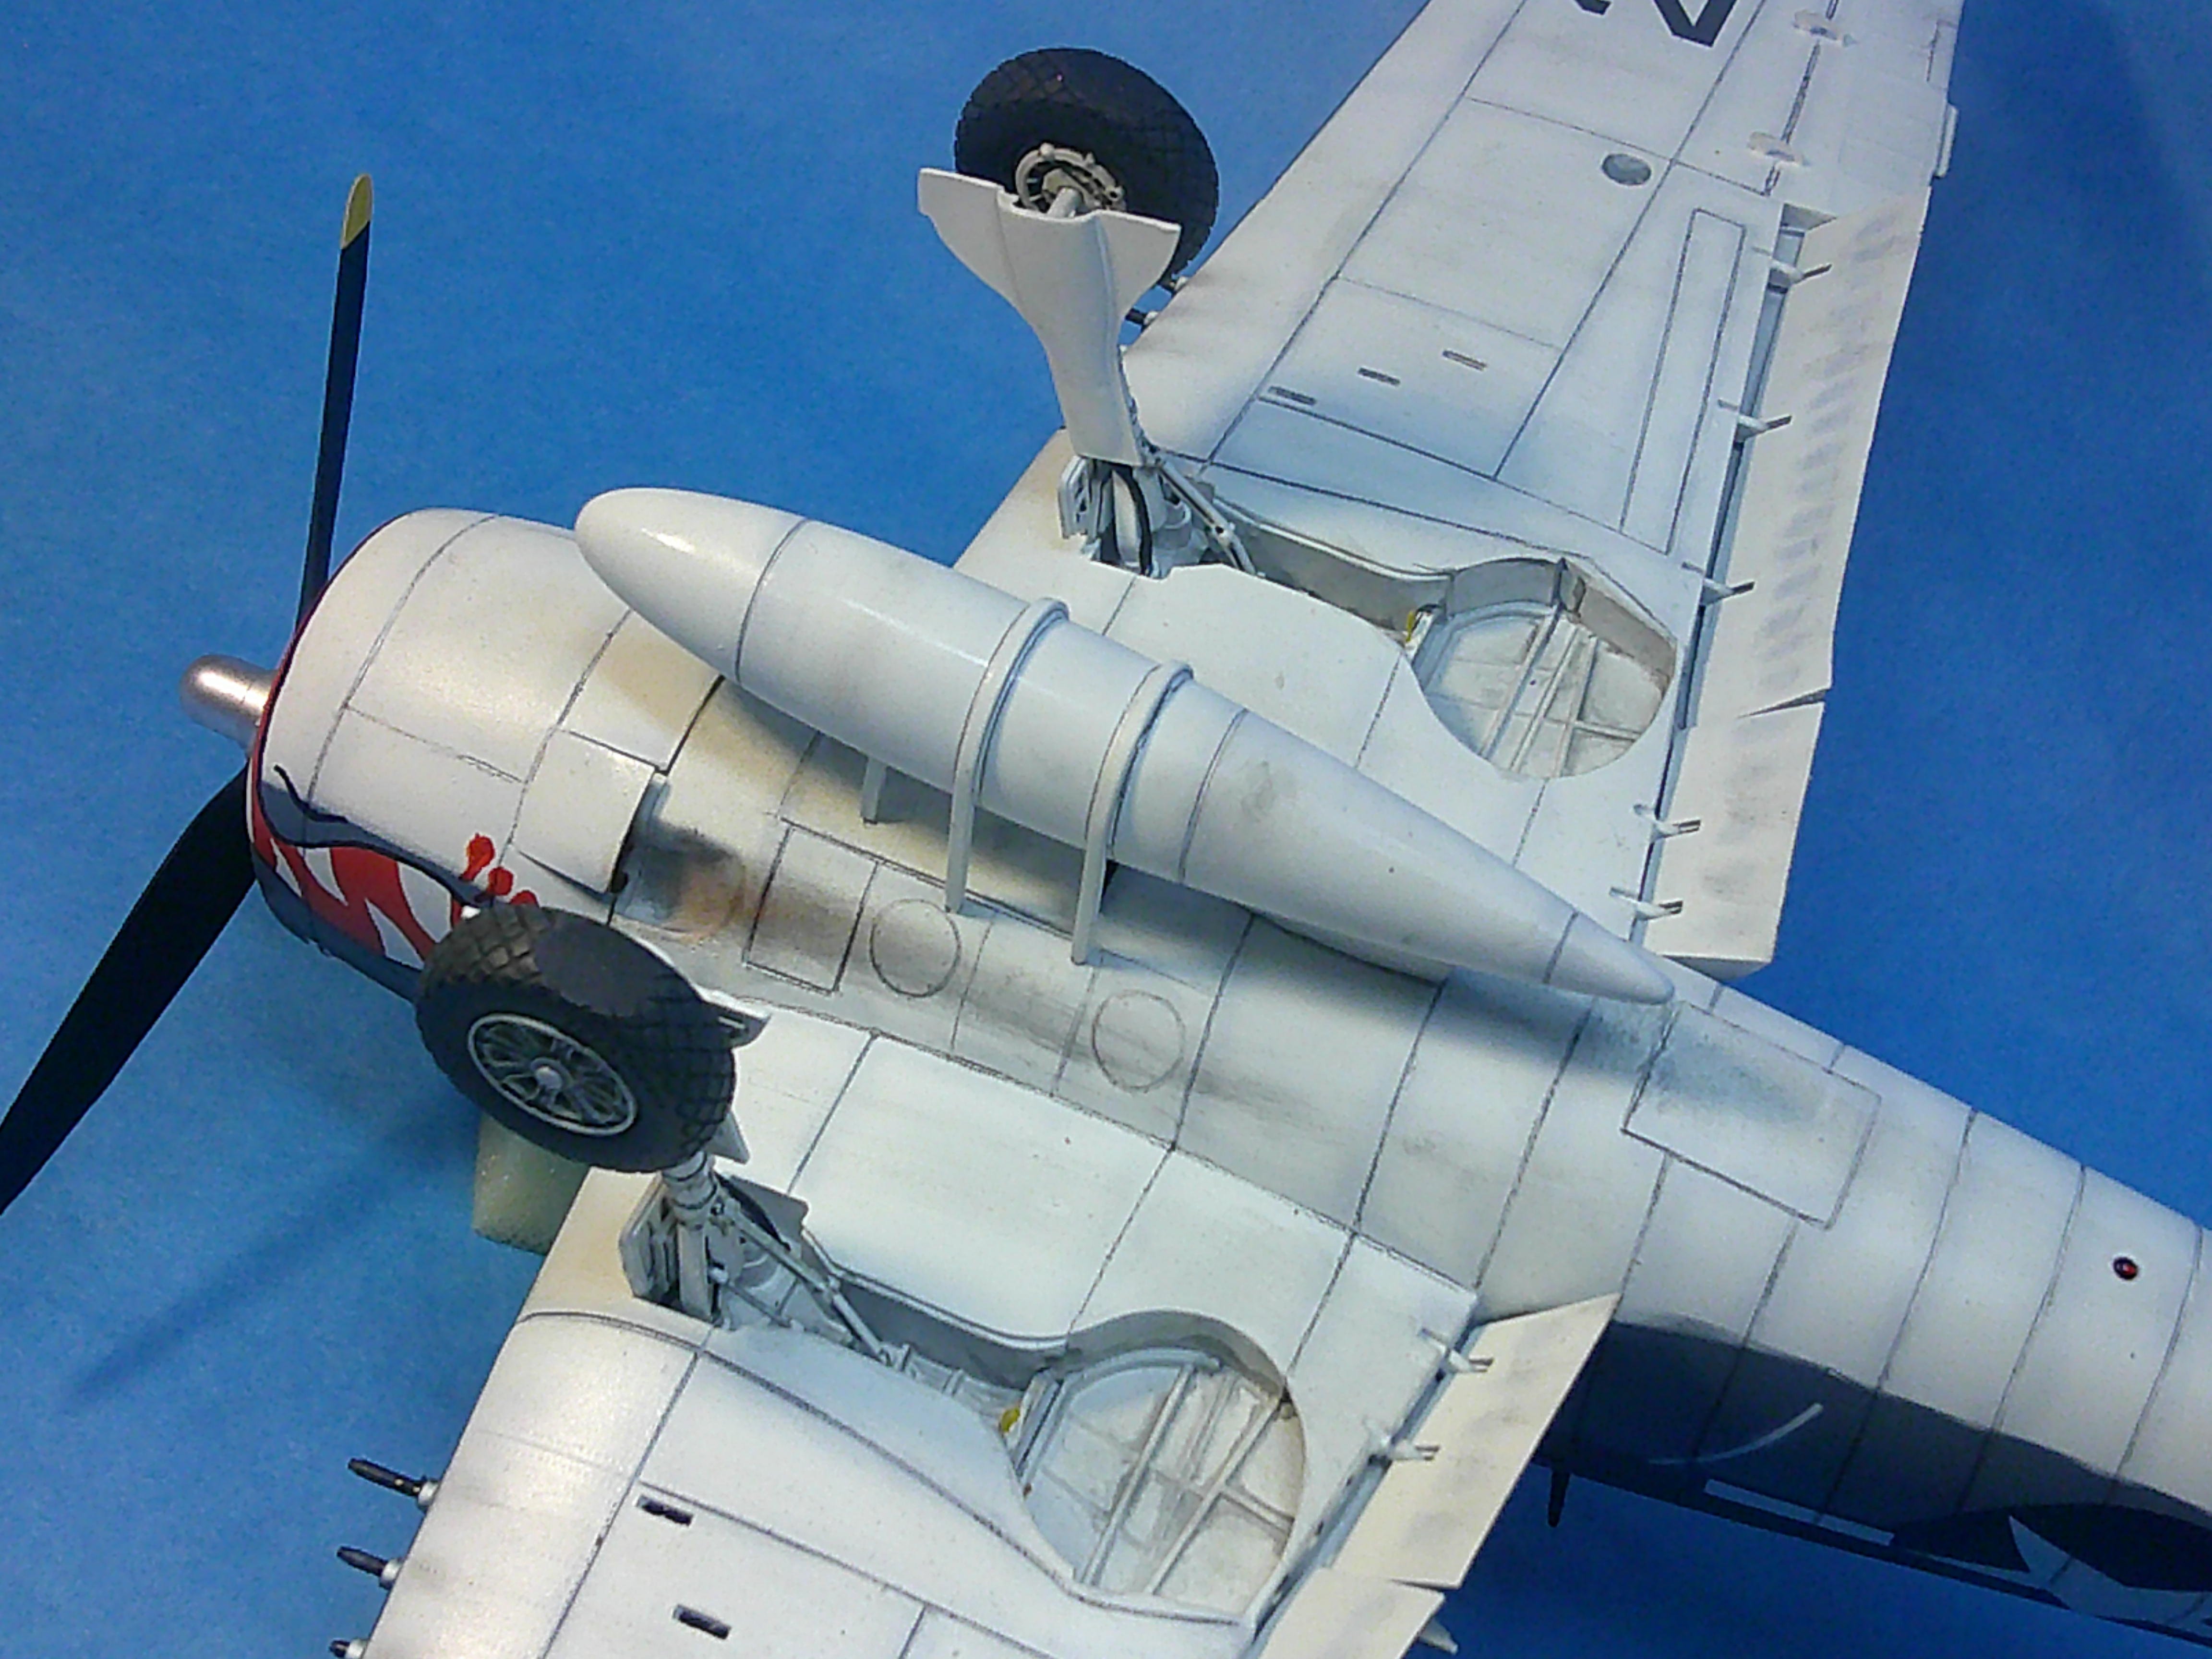
I just finished the classic 1/32 Hasagawa Hellcat, first released back in the early '70s. I built it as an F6F-3 on the Princeton and "shot the works" detailing and correcting parts of it. BUT.... the main accomplishment was PAINTING the cat-mouth artwork on the cowling. The interior is a combination of Verlinden resin parts for the floor and side panels and HodgePodge PE parts for the main instrument panel (with film instruments), the seat, and side wall detailing. I also scratchbuilt the engine water injection storage tank behind the cockpit since it would be visable through the -3 side windows. The rudder pedals are HP PE parts (with Grumman on them!) but I had to scratchbuild their frames. The kit only had a hole for the tail wheel, so I scratchbuilt a well for it. The main gear bay detailing mysteriously stopped half-way back in the tire well, so the rear half of each of them needed to be detailed with strip plastic. The wells also needed to be closed off at the rear and their outlines around the tire wells corrected so that there was a curve along their inside edges along the top. You can also see the HP PE gear up-lock hooks added in each well. The kit's aileron hinges were solid blobs so they were cut off and replaced with HP PE actuators that have the proper see-through underside to them. The kit engine is almost a kit in itself and VERY complete for its age. All I did was add plug wire receptacles and ignition cables made from solder wire. The cat-mouth artwork is a combination of masking and painting for the eye and mouth outlines and teeth along with detailing for and around them added using black and red very fine point Sharpie pens. The hardest part wasn't the artwork itself as much as making sure the masking for both sides was even and symmetrical from all angles! The approach light in the leading edge of the wing was added using an MV lens with a clear cover made from packing tape. I scratchbuilt a Mk.VIII gun sight (8 parts!) and also added the bullet proof glass panel behind the windshield that the kit omitted. The dropped flaps and open cowl flaps are a kit option. The kit has indented scribing on the wings and forward fuselage, but I had to scribe in all of rest of the main fuselage and tail panel lines using a razor saw. I added position lights to the rear fuselage above the tail hook and on the fuselage spine. Also note the blue formation light that was drilled, painted, and given a UV cured resin lens top on the outer part of each top wing. The wingtip lights are drilled and painted clear plastic that was then sanded and polished to shape. I also used aftermarket brass .50 gun barrels, each one cut to its proper length. I added brake lines and gear actuator struts to each of the landing gear and also drilled out their scissors links. The tires are aftermarket resin. I also added MV lens IFF lights under the rear fuselage bottom and the -3 landing light under the left wing. All in all this was a fun build that only took me about 3 weeks. It was also nostalgic as I originally built it back in the late '70s. Now I have to figure out if I can get one more built before the Nats! Critiques, comments, and questions welcome as always! Gil
 1 point
 -
From the convention Center .. I asked them Hi William 🙂 We are only two floors, the first level and second level. We do have a passenger elevator that is located behind the Sales & Event Planning offices and in the alcove that the ATM is also located on the first floor. On the second floor it is located just to the right of the escalator as you are facing the escalator. Both are marked with ample signage as well as for our events we have Host that can direct you to where ever you intend to go 🙂 The Hilton Hotel that is physically attached to the Grand Wayne Center's building and is all "one building" inside has its own elevator bank that serves the hotel to their sleeping rooms and meeting rooms on their side of the building (or east end of building facing Calhoun Street) and are located just past the front desk in the hotel. I hope this helps. Let me know if you have any further questions. Stacey Paunovich | Assistant Business Manager main: 260.426.4100 | spaunovich@grandwayne.com | grandwayne.com 120 W. Jefferson Boulevard, Fort Wayne IN 468021 point
-
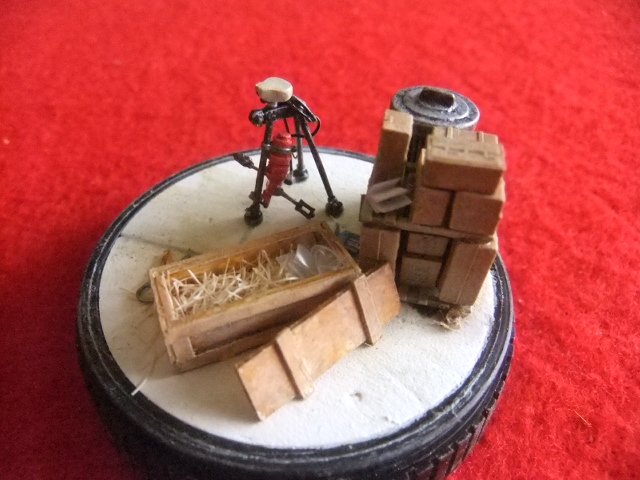
HI ! Here another project I have done in the past , if you like to view more pics of it, just follow this link: https://photos.app.goo.gl/brgJ86mnyB1Hx8V56 Enjoy ! Jmarc
1 point