


Roktman
-
Posts
947 -
Joined
-
Last visited
-
Days Won
70
Content Type
Profiles
Forums
Events
Posts posted by Roktman
-
-
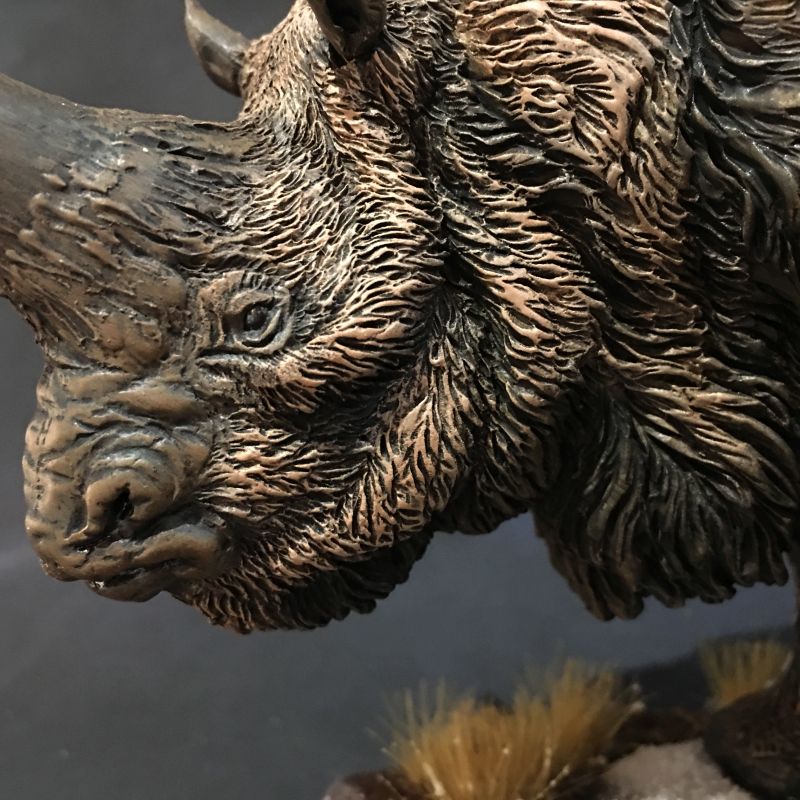
Great job. The eye is outstanding, it brings the piece to life. Well done, Sir!
Thanks!
-
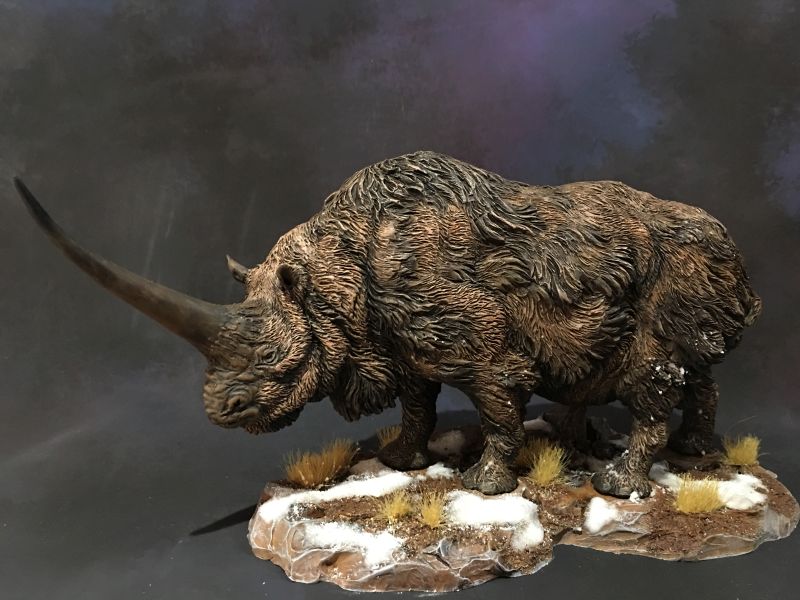
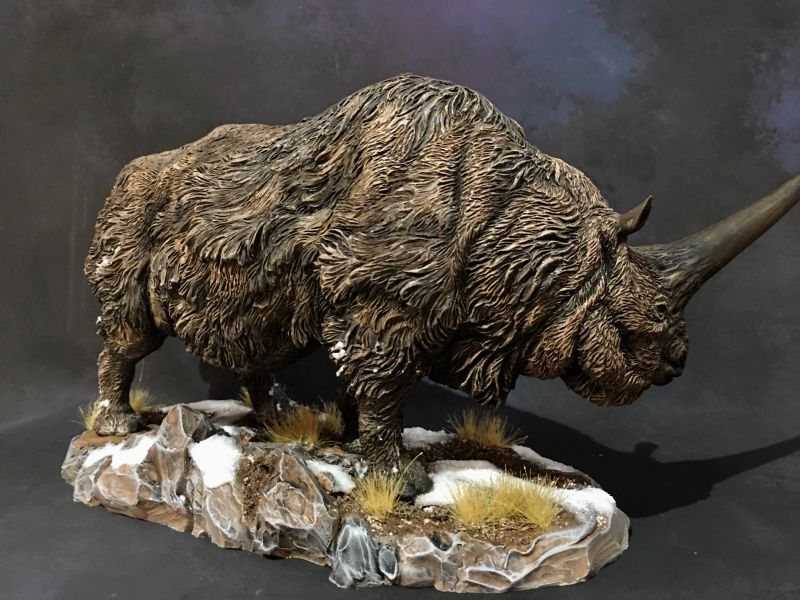
The newest addition to my paleo zoo is an Elasmotherium from Paleocraft.
The model was a typical Paleocraft offering - excellently detailed, in a bubble free, odorless resin. There was a little flash here and there in the thick fur, but took little time to clean it up.
Oddly enough, the kit went so smoothly that I took no WIP pics. I just used various brown colors, washed the recesses with Citadel's Agrax Earthshade, and finally giving the highlights a topcoat of a tan flesh color.
Thanks for looking.

-
 1
1
-
-
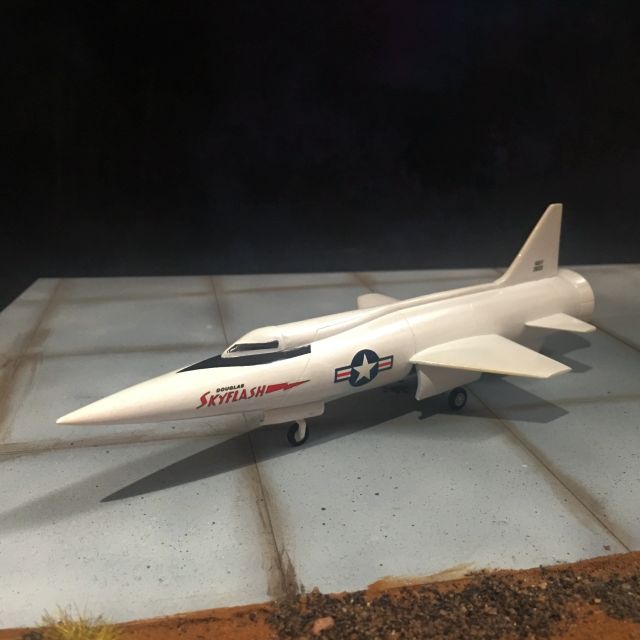
I thought I was finished until I came across the landing gear doors while I was cleaning the work table. So I go out the CA and now I'm really done. ;)
I thought to "celebrate" I took out my "airfield set" and set the jet up. Thanks for looking.
-
We last left off with me ready to smash the model off the wall. I didn't.
Looking at the model the alligatoring clear coat in many places had settled down to just a rough pebbling. Being the pebbling was very close to the decals I wanted to be ultra delicate so I wouldn't have to redo the decals. I had 3200 sanding sticks and went to work. Not strong enough. I moved to some Ultrafine sanding pads (I forget the number) and once again started in. Even that wasn't budging any of the material. Finally I got out the regular "Fine" pads and started in this seemed to work. After a few minutes of light scrubbing I had the fuselage to where I wanted it. I got a little too close to one of the decals, but some paint fixed the goof.
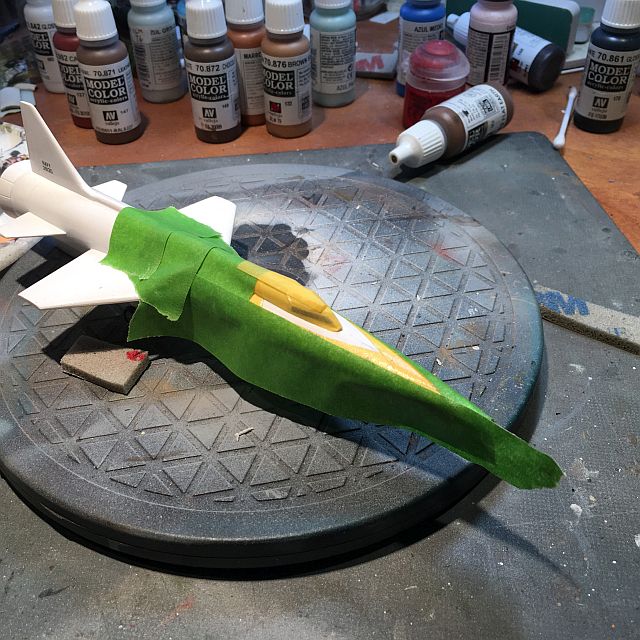
From there my next step was to mask off where the anti-glare panel -Yellow tape is Tamiya, Green tape is Frog tape - good stuff
Using Vallejo's Black and my a/b set to a low psi, the panel went on with no problems.
Now, back to the clear coat. Trying not to repeat the problems, and knowing Future is self leveling, I took a wide brush and brush painted on the Future -I'm happy to be calling this one done... Thanks for looking.
-
That's a bonus having extra decals. I have to rob another kit to replace mine! I'm simply waiting for the weather to cool before I try shooting anything. It's been 100+ degrees here all week!
I'm sure really any GK Co. will have service like that. Big Co's... hmmm not so much. ;)
But yep, it's good to have a choice to buy extra decals and vac canopies if you want. I think each is only something like 50¢ or so...
-
I know EXACTLY how you feel! I had the same issue with my C-118! Exactly the same! And then when I masked off everything to re-spray the color (after spraying several coats of clear,) my decals lifted when I shifted my frisket film to better cover the area!
Good luck in getting this fixed.
Thanks. I looked at it today and only 1 section remained alligatored. The other sections drop down to a rough pebbly feel. I'll leave the paint harden some more for another day or so and then *hopefully* I'll be able to smooth the areas and repaint. I guess the bright side is that Anigrand sells extra decal sheets - in case I f*#k them up... <_<
-
Thanks guys.
Getting back to the Skyflash after being a bit ill for a few days, I started by painting the vac form cockpit. Once painted, and glued on, I noticed that I could have sanded the front a little more. It looked cocked backward a bit to me. Oh well, theoretically my next one will be a little better.
Next on the list was to apply the decals. Odd for Anigrand, the decals were a bit thick, and took several applications of Micro Sol onto them to get them to conform to the curved shape of the fuselage. even after 3 or 4 applications of Micro Sol I still needed to cut the decal where it rode over a panel line. Luckily for me there was just one panel line in the way on each side -Having a relapse I left it for a few more days, and when I got back to it I wanted to apply a gloss coat over the decals to seal them in before continuing on.
Here's where disaster struck!I sprayed on the gloss and all around the cockpit the paint alligatored!!! Bad! WTF! :angry: :angry:
I was so PO'd I just walked away. I really wanted to fling it off the wall.
Check back to see if I did fling it, or tried to fix the paint.
-
Kevin, that's fine. But I can't stand acrylics, especially water-based acrylics. I will be trying Tru-Color and anticipate gradually shifting to them as my go to paint if tests work as expected.
Richard,
Thats cool. No biggie. Was just throwing it out there. I hope the Tru Color works out for you then.
-
As a big fan of x-planes and concept craft I gotta say Nice Job!
Add me to the list of those that never seen it before.
I guess the Luft '46 and NASA (NACA) x-planes dominate so this fell thru the information cracks.
Congrats for being brave enuff for vac form (not me yet). ;)
-
Not to be a salesman for Vallejo, but I switched to their paints from MM and Tamiya about 2 years ago and haven't looked back.
There is a tiny learning curve - for me 70/30 water to paint, a drop of flow improver, psi between 15 and 18 and I'm good to go. They also specify some of their paints that match with the RLM colors. Plus I put their new line of metallic paints up there with Alclad... Just throwing it out there. ;)
-
I have a shelf over my worktable where I store kits in small boxes or kits that have no box. Well poor ol' Edgar Allen has been up there for more than a year staring down at me with those sad unpainted eyes. So today I figured I needed to remedy that.
The kit is just one piece and sculpted by Brian McGuire. The resin in odorless and I only found a few small bubbles in some of the tips of the hair strands.Here he is with the skin tone done and the eyes, mustache, and eyebrows base coated -
Looking online I found out that his eye color has been described as gray, violet, hazel, green and even blue. Finding out that hazel is a combo of brown and green, I decided to go that way. I also fixed up his hair and scarf. Then base coated his jacket -
Continuing on, I brightened up the scarf, and I also highlighted the jacket by adding German Gray to the Black Gray base coat. I also brightened up the ivory shirt with a little off white. I then gave the bust a flat coat.
Turning to the base, I tried my best to highlight Edgar's signature. But being the base was so busy, I don't think I pulled that off too well.
To finish it up I added gloss to the eyes, and called this one done. Thanks for looking.-
1
-
-
Put a curly haired wig on that thing and I think i dated it in high school. Jeesh, I'd have gone out with anything that would have me.
Hehe you and me both. ;)
-
Being math challenged, I found this online years ago. Glad the page is still up. HTH
-
Thanks guys. Since I have such a narrow range of build interests, I'm afraid that a large portion of my stash are resin kits. The big plastic Co's just don't make 'em. I haven't tried all the GK guys, but IMHO the easiest ones to build are from Anigrand, Planet, and Fantastic Plastic. On the other end Unicraft and Sharkit are tough to work with. But as you would figure, sometimes they are the only game in town for certain odd ball aircraft...
-
Sorry, don't know what happened with that spacing glitch in the middle of that last post.
Anyway, Well, I didn't get it finished, but I am still progressing forward.
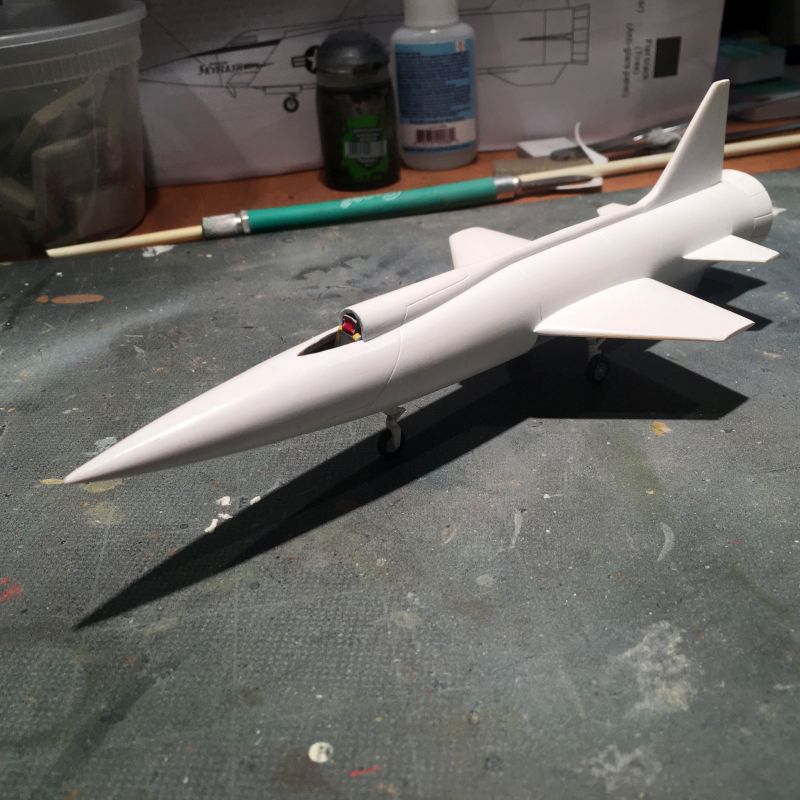
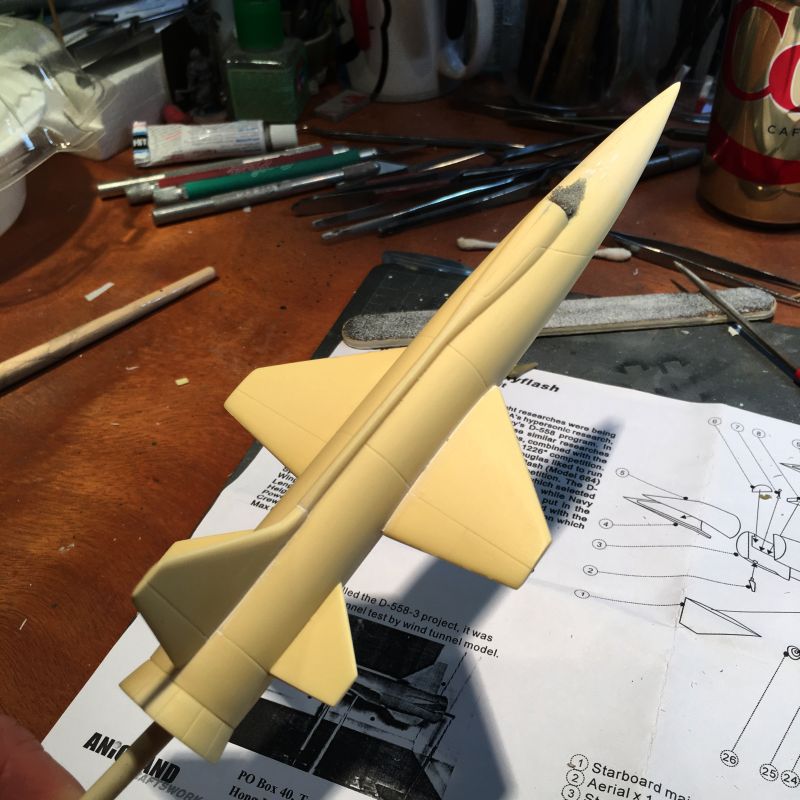
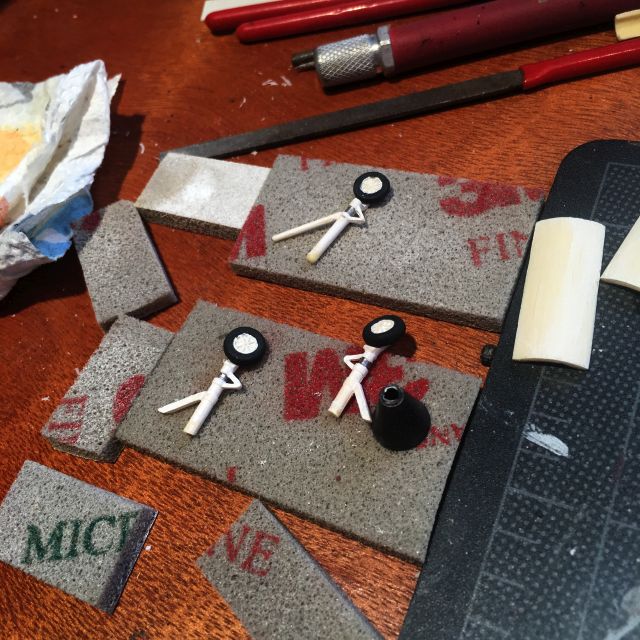
I added the landing gear and then realized the wheels were a little wonky. They had to be broken off and realigned to the jet.While the wheels were drying, I turned my attention to masking off the canopy. It was then I noticed I never even touched it. So I dipped the canopy in Future. While *that* was drying I went back and had a look at the wheels. Looked good. Then it suddenly struck me that I never put any weighs in the nose. Oh boy, I hope it's not a tail sitter. Turning it over while half wincing, I gave it a try. Whew, it rested on its wheels -
Now I turned back to the canopy. Now in the past 3 planes I did, the vac form canopies gave me fits. So I started my cutting, sanding and fitting with some trepidation. After about a half hour, I gave it it's 3rd fitting and Holy Moley, it looks good!
I was very happy and with that fit and decided to not press my luck and call it a session (BTW that piece of dust is not in the paint, and was easily whisked off).
Check back for the finale. Thanks for looking. -
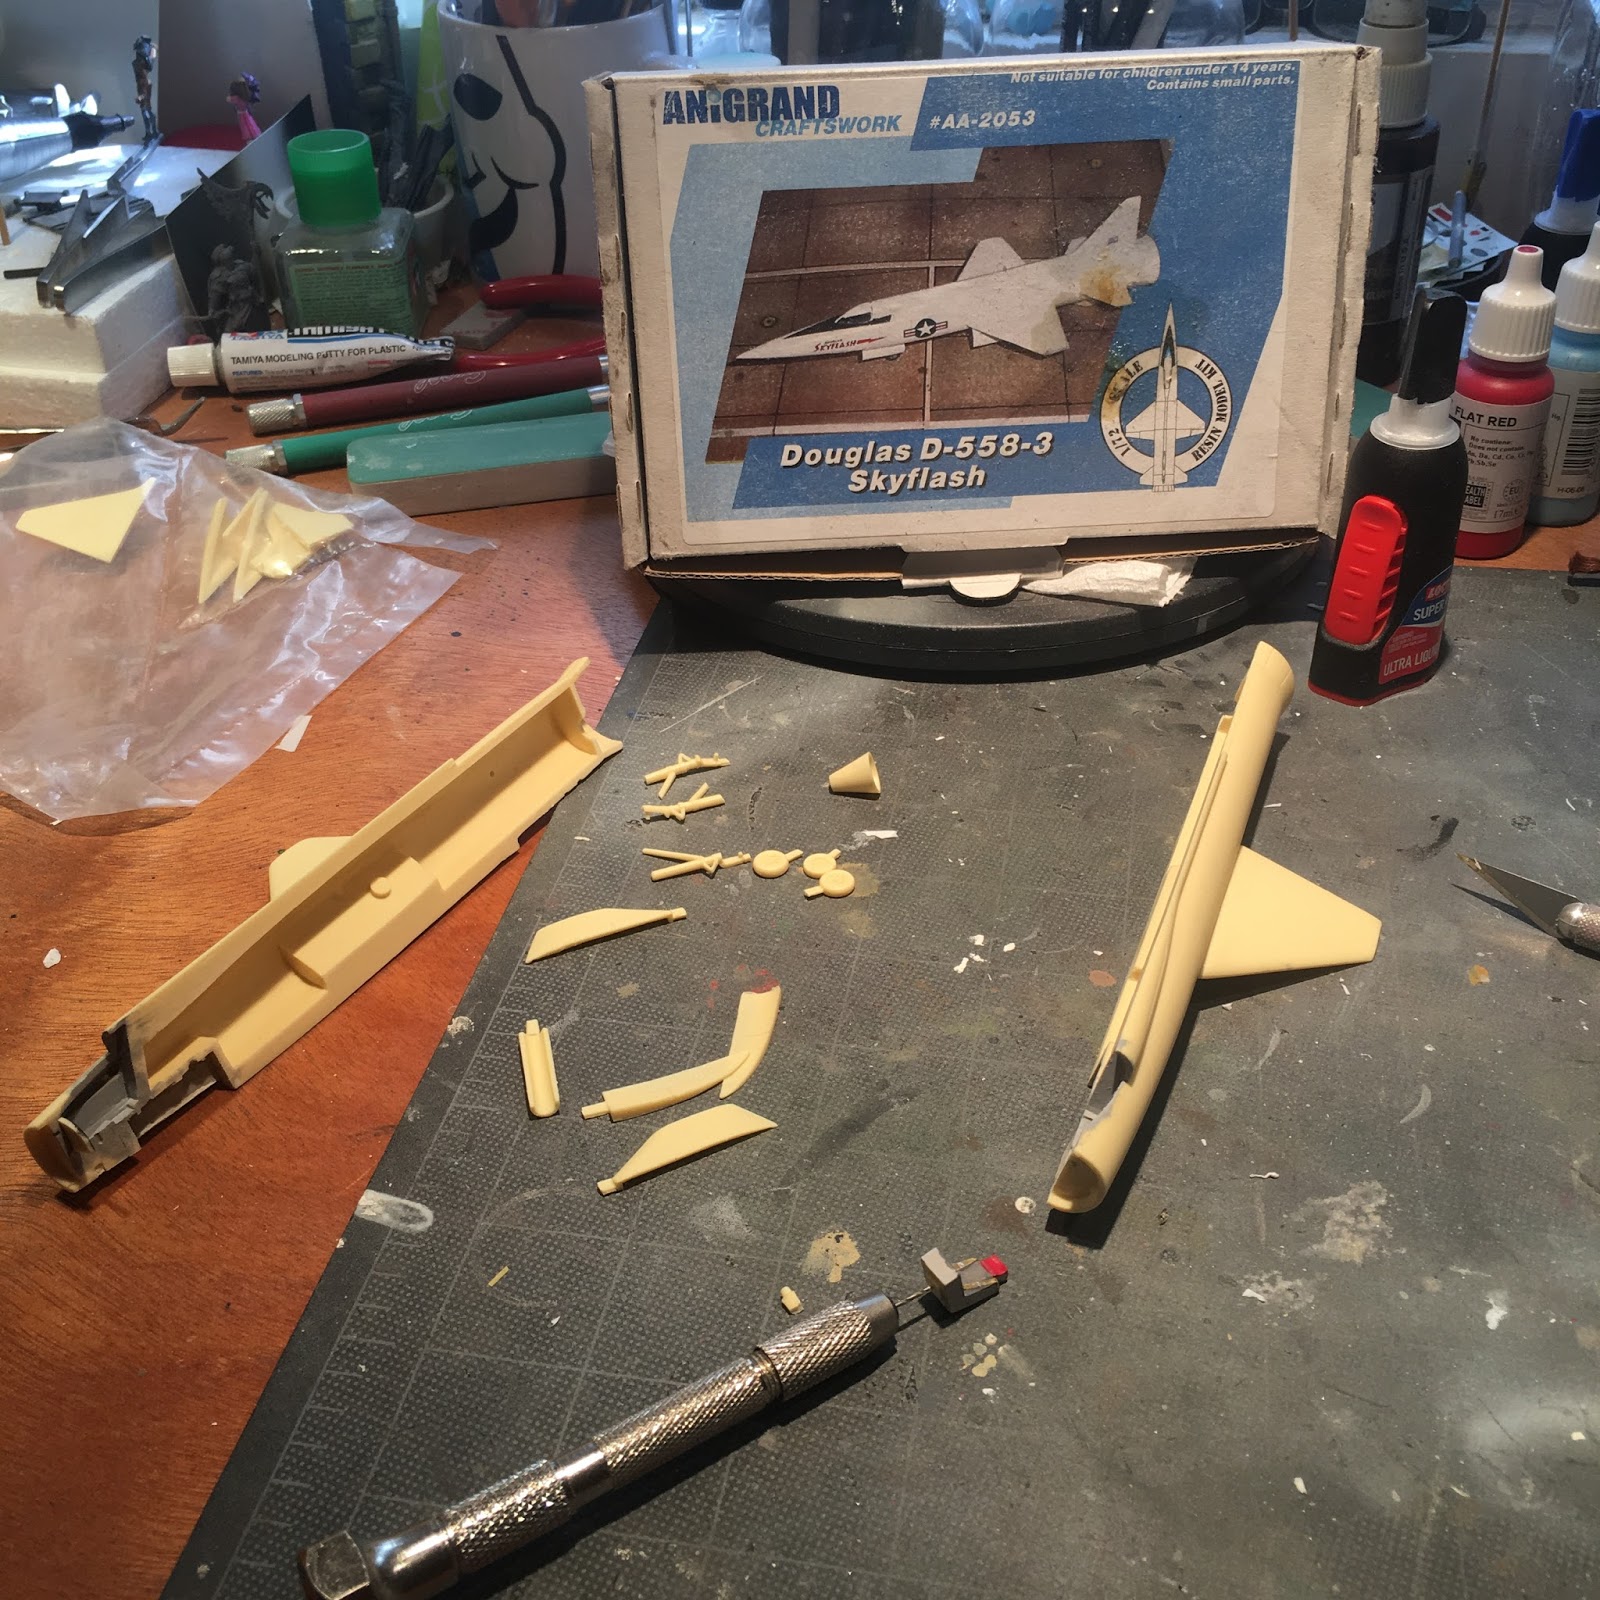
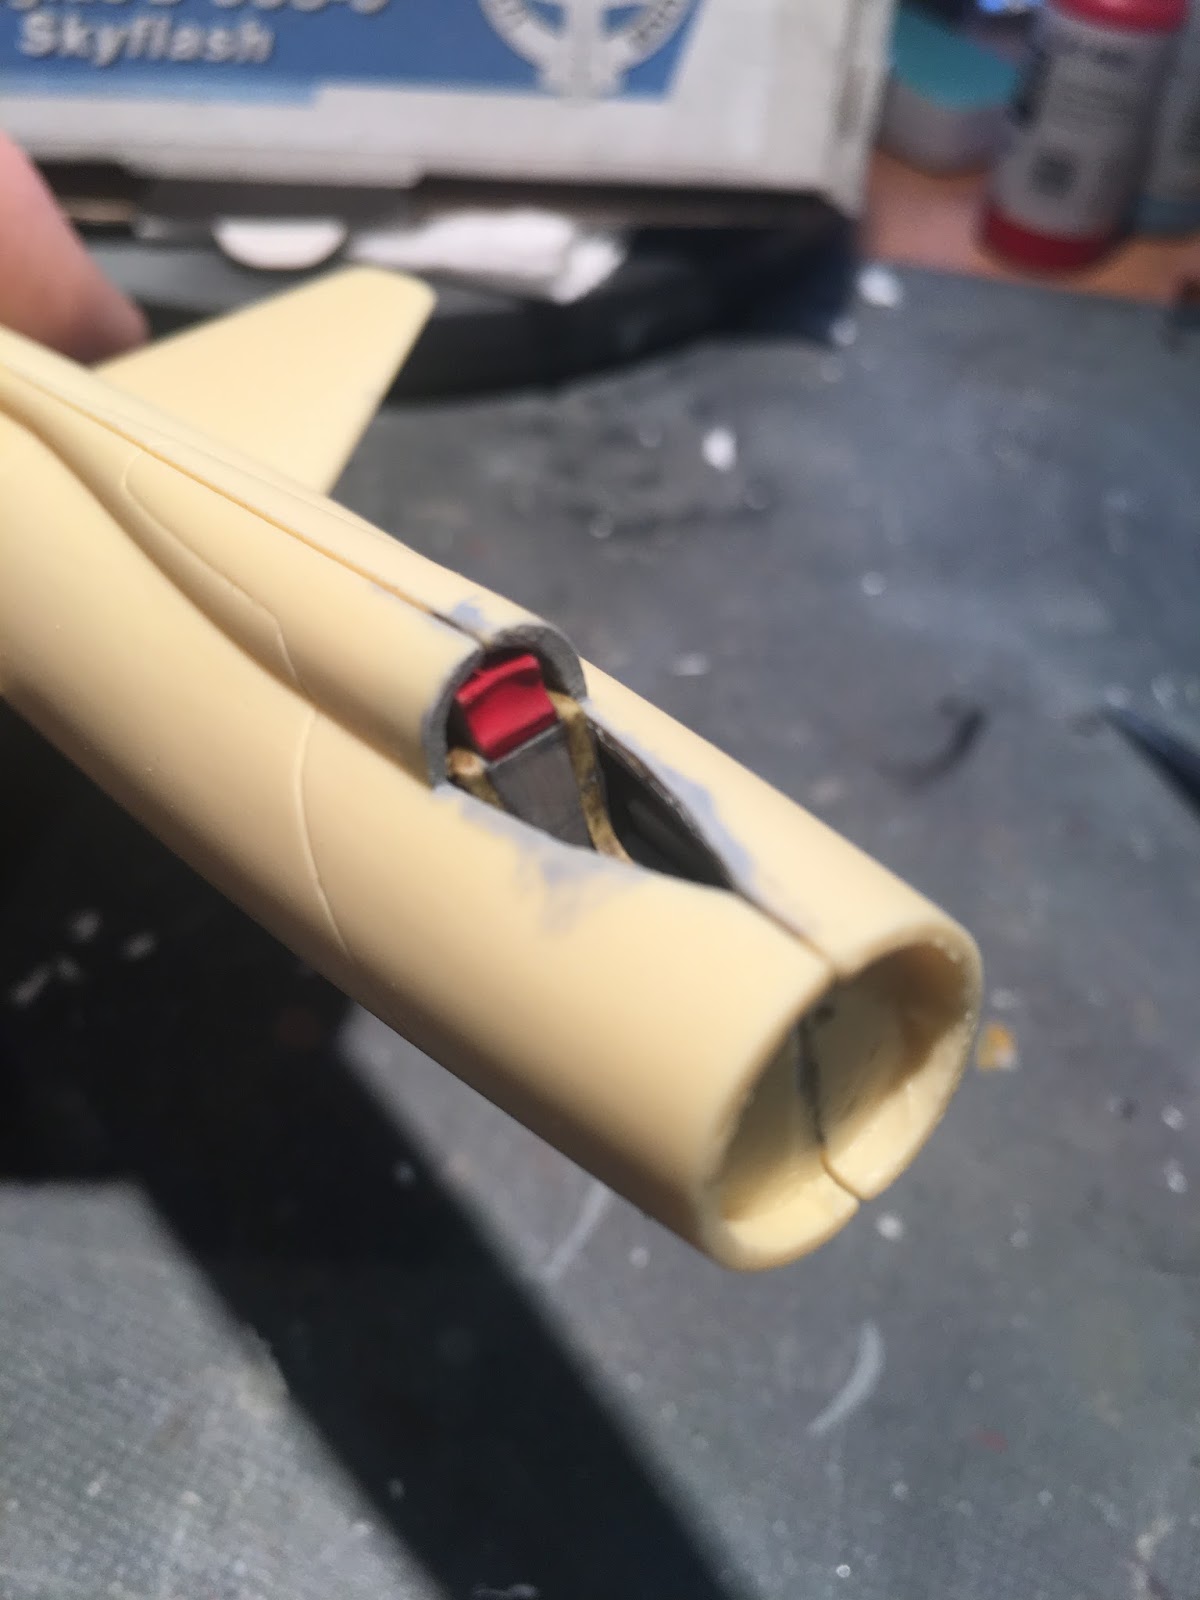
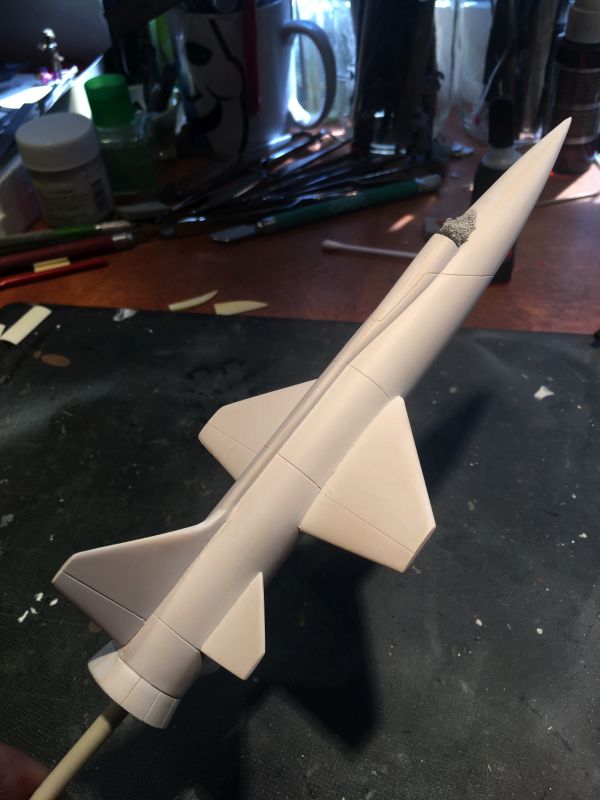
This kit has been on my desk since the before the IPMS Nationals. I started out to be the easiest short run resin kit I ever worked on. Then when I started messing with seams to get them perfect it became a monster. I should have remembered what I was told years ago "Don't ruin a good (fill in the blank), by trying to make it great..."
Here's the kit box art and parts -
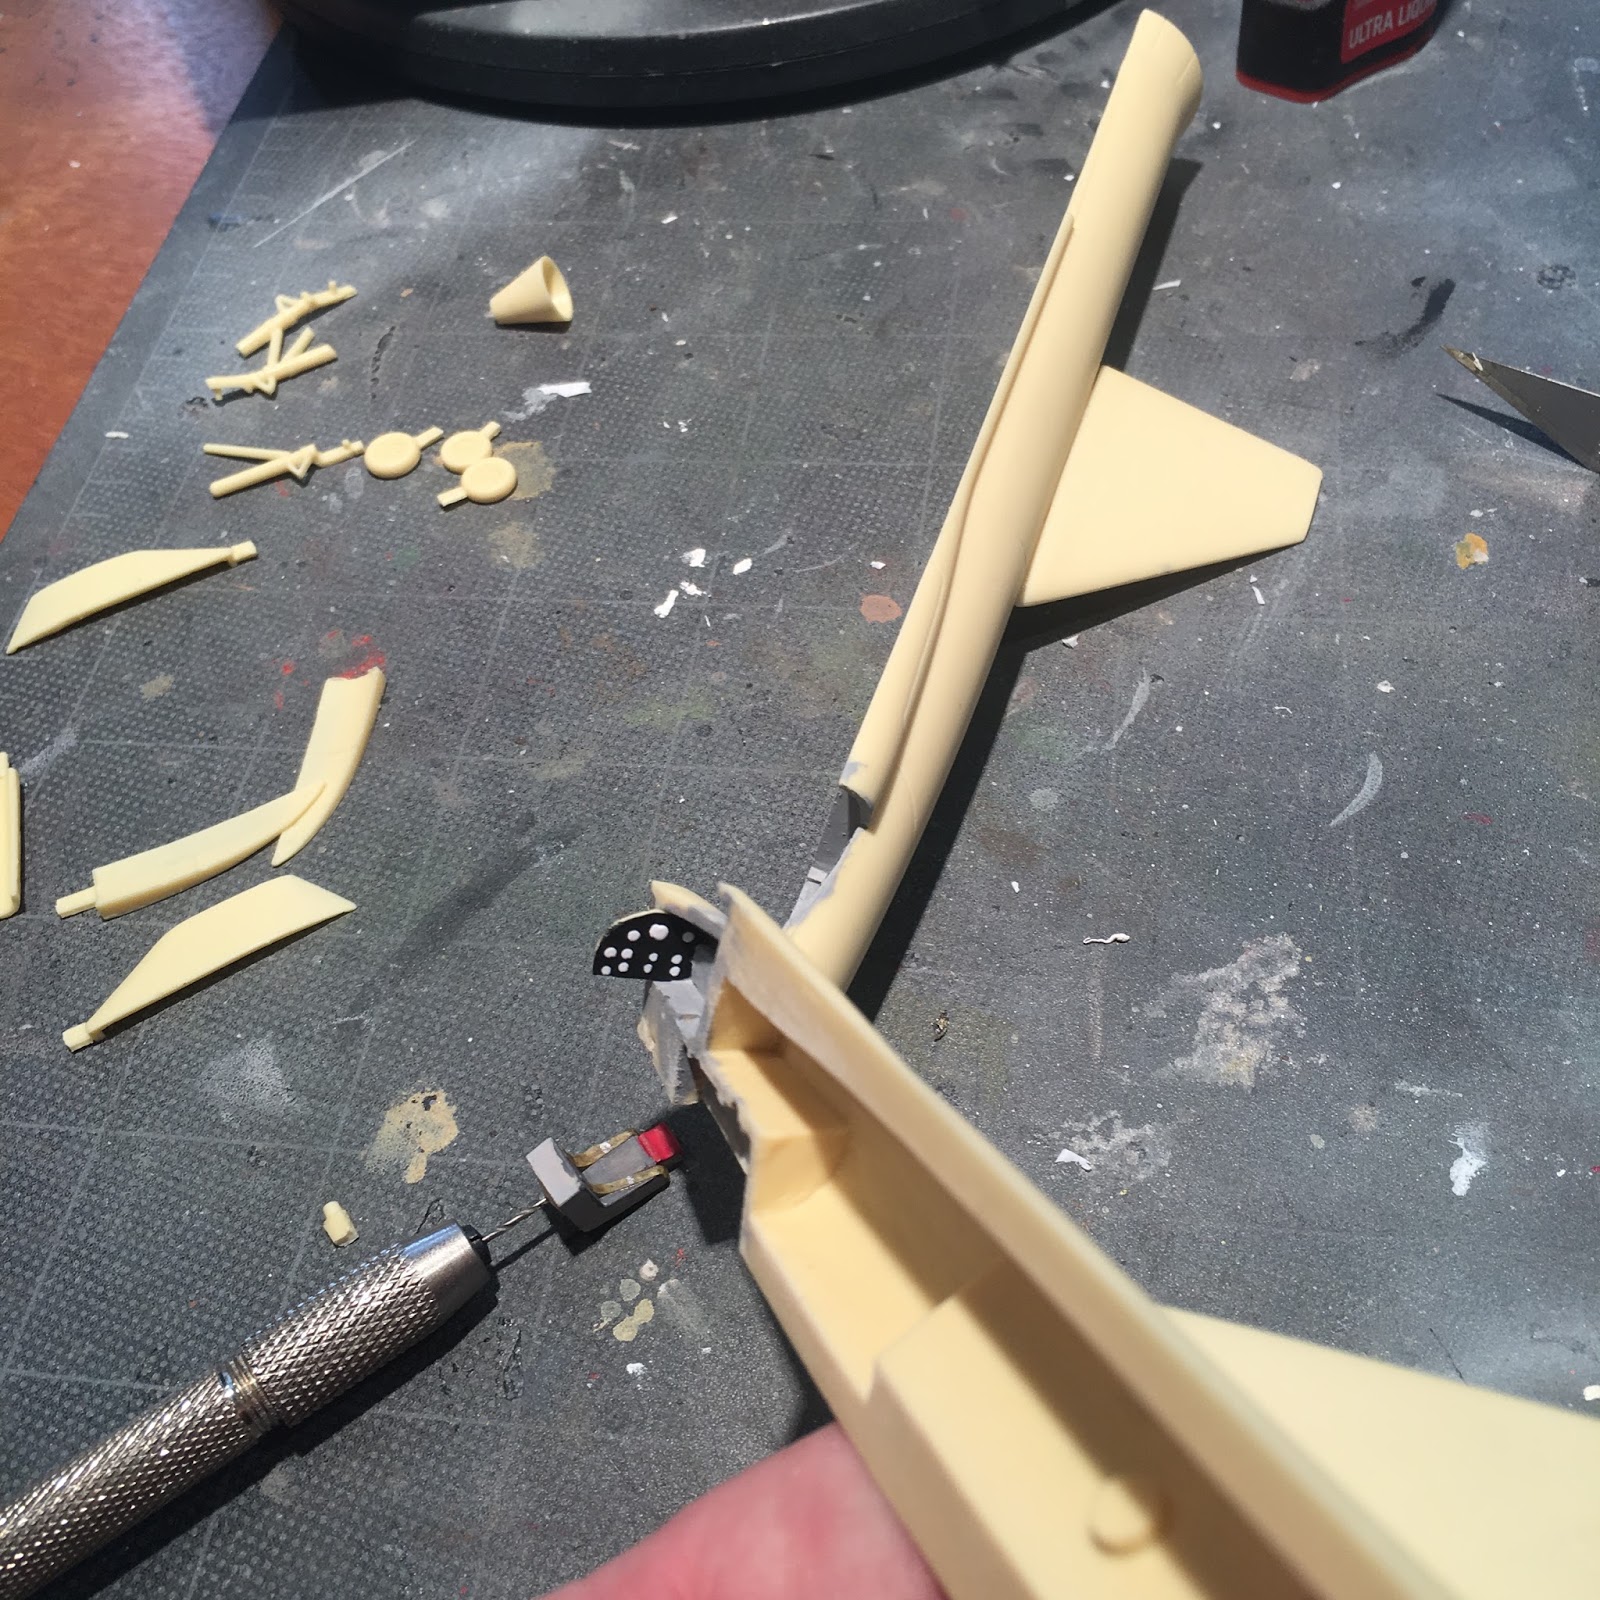
While there is an instrument panel, there is no detail to it. There are no decals for it, so I just added a few dots of white to mimic instruments. It looks like there's not a lot of room in there so this should suffice -
Not a lot of room seems to have been an understatement ;) I also added some Tamiya tape seat belts -
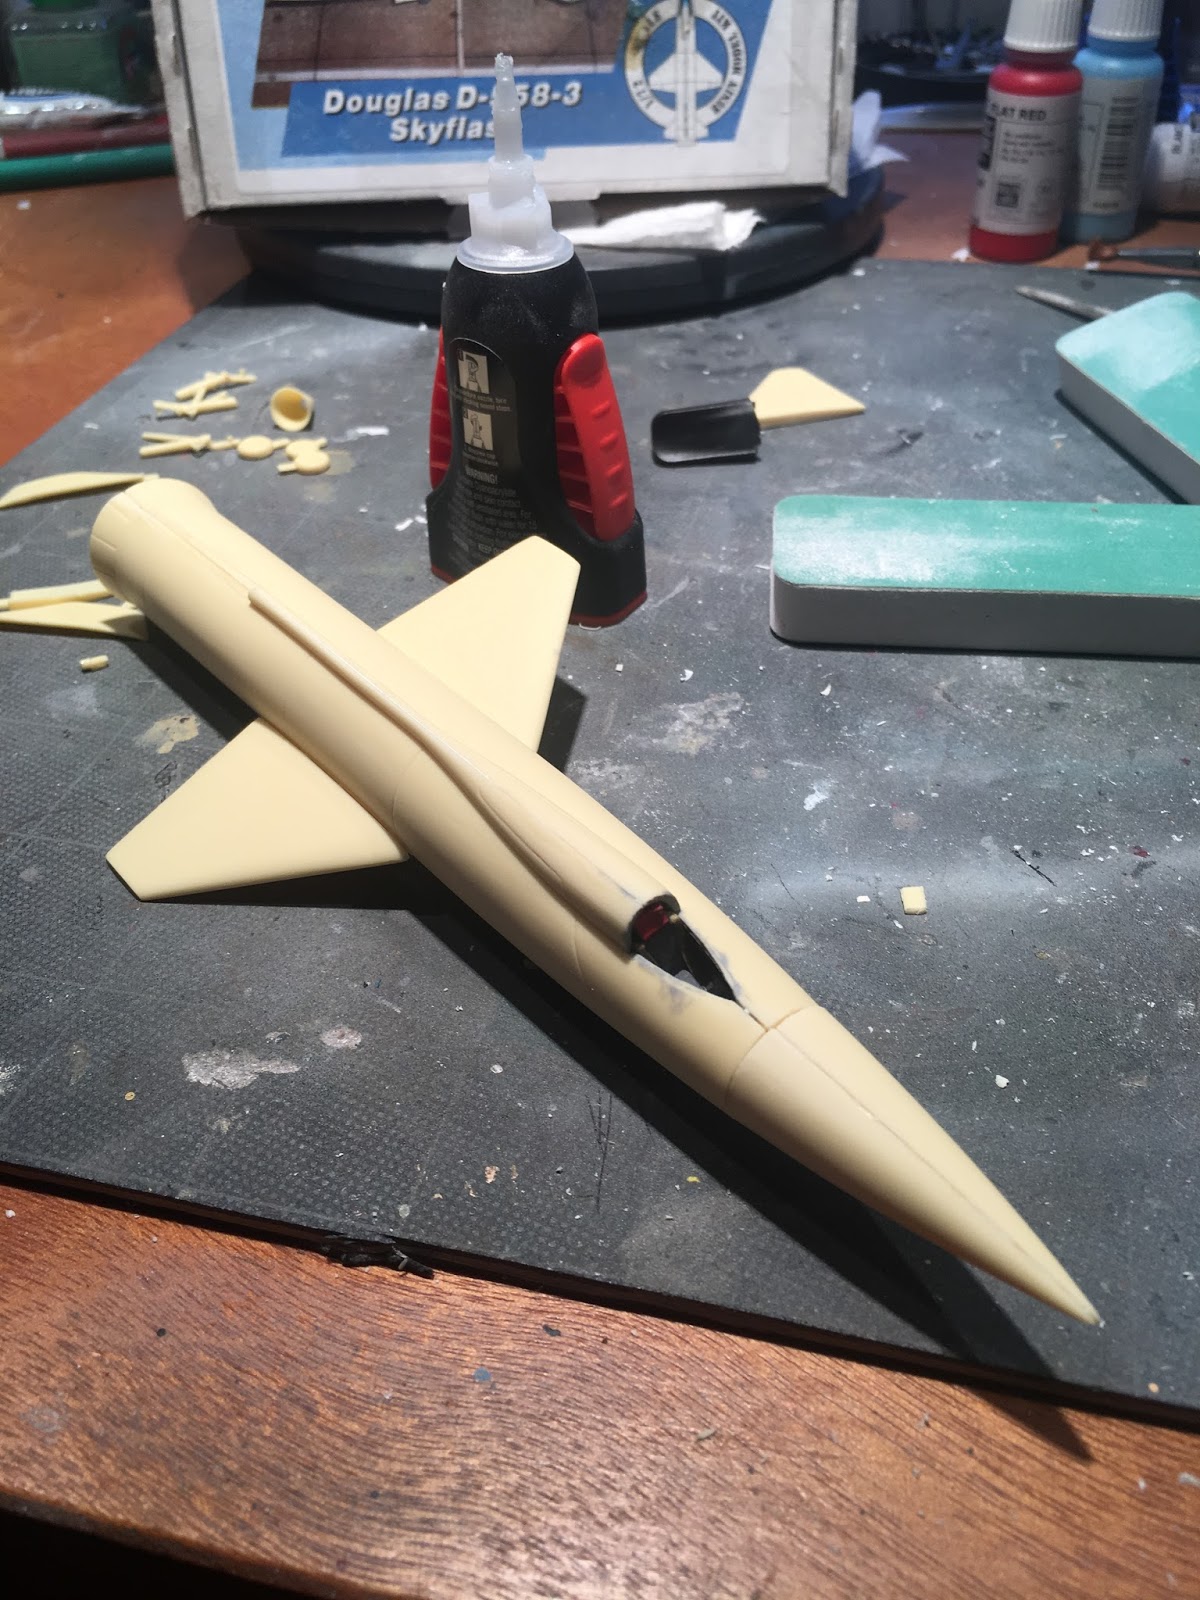
Nose cone added. This is going well -
The fuselage is mostly complete - Time to fill in the seams.
I applied Tamiya filler for the seams. While I'm waiting I painted the landing gear, wheels, and landing gear doors.
Added primer to see where I am re: the seam lines. Not bad, but I'll give a few spots a second go round. This is where I took my "Going to the Nationals" break.
Thanks for looking. Back w/ part 2 soon.
-
WOW, absolutely fantastic build!
-
I made a trip to the SAC Museum while at the Nats, and took some pics. I you want to look, maybe I have a pic you could use -
-
I have finally gotten to the checkerboard stage of this project and much appreciate the advice I've received!
I find the masking to be tedious as expected but not really difficult. I'm having a substantial problem with paint leaking under masking and/or pulling off when masking is removed. Can someone give me some pointers? I don't have this problem with other, less complicated masking...
Thanks in advance for any comments!
Regards,
Chuck
"Sometimes the easy stuff looks hard and the hard stuff looks easy!"
-Anonymous
Maybe too late, but one thing to do is after you have your first color down, hit it with a coat of clear. Then burnish your tape squares down.
If the clear coat is something like Future (or whatever it's called nowadays) and any gets underneath the tape you can pick the stray paint off with a tooth pick and you won't ruin the first lighter coat.
From doing a lot of Figures I now hit any model after each step or two with a clear coat. This way if I botch the next step I won't accidentally take the paint down to the primer coat (or raw plastic) with the use of a clear coat in-between steps.
HTH
-
1
-
-
WOW! Looks great!
-
Thanks guys. I'm actually surprised the post went thru. I tried to post about 3 or 4 times, and each time the process timed out. So I gave up. :smiley5:
Agreed about Gillman. Paul is a good guy as is sculptor Mark Van Tine. Tho Mark only did the base of Beetle juice this time. Paul's a usual staple at both WF and JF. Nice, friendly and BIG guy. can't miss him. ;)
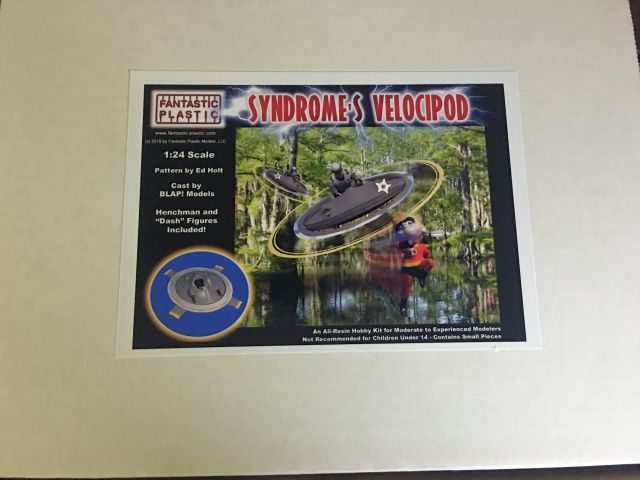
The feast continued. Having forgotten, the mail man delivered a box from Fantastic Plastic. As a guy with a young son, I filled up on my share of kids movies - and not shy to admit that some are pretty good. ;) One was the Incredibles, about a retired superhero father of a "supers" and comes out of retirement with the help of his family and fellow super "Frozone" to save a city.
Meanwhile at the villians lair, his henchmen had these pretty cool looking Velocipods to get around. This is the model.
Now it's really time to get building. Jersey Fest is just around the corner... ;)
-
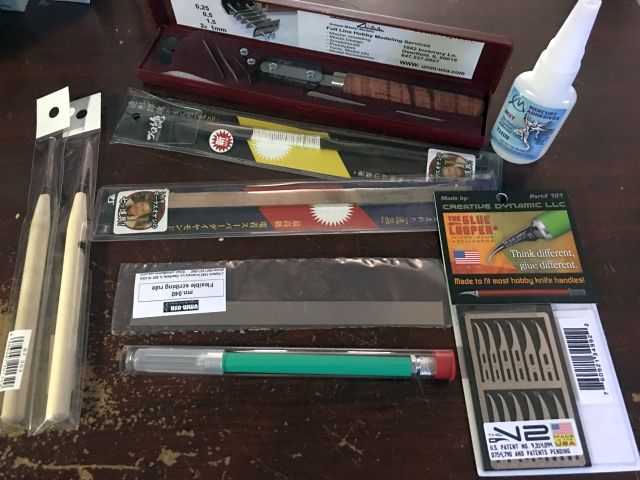
Checking out my booty from the latest trip to the Nationals. Being my likes are so narrow, I didn't buy any kits myself. But I did pick up a few tools -
From Top to bottom - red box is a razor saw from UMM, then the next two are a diamond bit file and then a seam scraper from Volks. Below that is a flexible straight edge for scratching seam lines from UMM. Below that is a handle that came with the set of glue applicators (to the right), and some thin CA glue above that. All from Glue Looper. The two items on the left are 2 sable brushes - also from Volks.
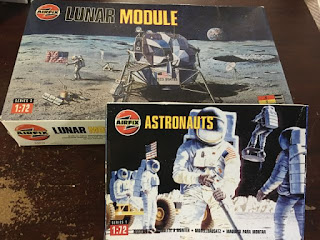
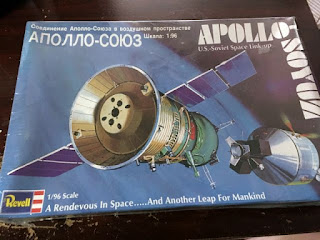
During the Real Space Modelers Seminar, which doubles as a Meet and Greet of the members of the Yahoo Space Modelers Group, they have a grab bag giveaway at the end of the meeting. My son won the Airfix LEM and astronauts. But since he only builds armor, he gave them to me -Then another man sitting next to me won the Revell Apollo Soyuz Link Up in 1:96 scale. He turns to me and says he already has it, and hands the kit to me. I'm a scale slave, that's not my scale, but as it's a gift I will build it.
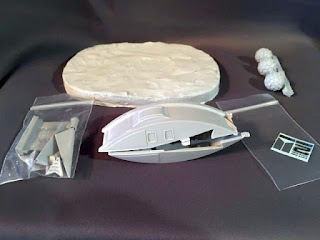
Finally the mailman dropped off two packages. One before I left and 1 after, The before box is the Galaxy Quest Shuttle from JPG Casting. It comes complete with Berellium spheres, and a base. I have an idea for base and will create something different -
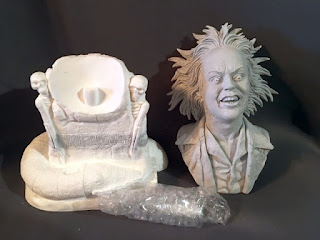
Finally my good friend Paul Gill, from Gillman Products held the kit for me mailing it the day before I came home, so it wouldn't be sitting around unattended in front of my house. It's Beetlejuice, Beetlejuice, Beetlejuice! I comes complete with a resin copy off the Book for the Recently Deceased. Pretty cool!
Time to get building again! Thanks for looking.
-
You have email! ;)
-
That came out very nice. What paint medium do you use?
Thanks. I switched over to Vallejo acrylics about 2 years ago and haven't looked back. :)


The Haul, or what you've recently bought.
in General Modeling
Posted
Sounds like a nice score Phil. Too bad if some vendors didn't show up. That's always a downer.
A few weeks ago I went to JerseyFest. JerseyFest (like WonderFest) is to sci-fi, horror, and fantasy models, is to what IPMS Nats are to aviation and armor. ;) Yes, there are figures at the Nats, but no there is no armor, unless you count the armored personnel carrier from Aliens, at JF. LOL
I did go a little crazy in the vendor room on Saturday -
These 2 were cast partially in transparent resin to assist in case guys wanna light the models. I just may...
The new Pennywise...that was fast
Mother of Dragons
The Punisher -comic book series. There's a lot of comic covers as decals for the base.
No one can have enuff aliens.
Well, that should keep me busy for the Fall and Winter. :)