Leaderboard


Popular Content
Showing content with the highest reputation since 06/27/2026 in Posts
-
A brief update for the record: Researching other info, I discovered that the P-38E that Laven flew in Alaska is shown in the records having been destroyed in a crash in Washington State (before he flew it!??) in 1942, very strange. However, a few months after posting this "article" about Laven, I got in touch with Laven's brother's son, Laven's nephew, who told me a couple of interesting stories that were in the "family lore" about Laven. The first item is that he was said to have destroyed a Japanese mini submarine in Puget Sound (Washington State), PRIOR TO THE PEARL HARBOR ATTACK on Dec 7, but that this was covered up by the U.S. Gov't so as "not to frighten" the public... Or, could there have been a "cover-up" at work, which may account for his P-38E being "destroyed, before he later was known to have flown it! Secondly, his family tells the story that when Laven was in Israel, working for McDonnel-Douglas, we was flying one days with Israelis and they were jumped by MIGS from some surrounding country, and Laven scored an air-to-air kill. This too was quickly covered up, as civilians were not supposed to fly in combat. (Charles Lindberg anybody...?). Alas Laven's logbuck has apparently disappeared from the family, so the absolute truth might never be known. Still, what a hell of a guy! Ed1 point
-
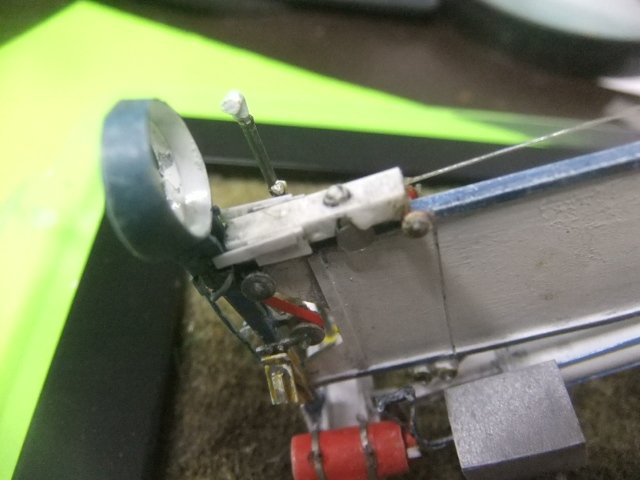
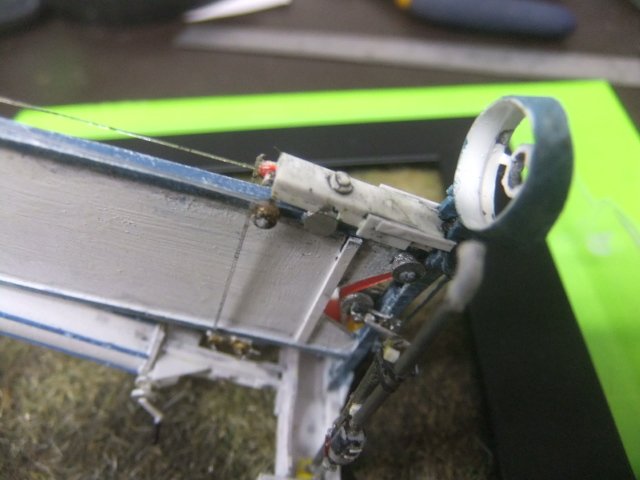
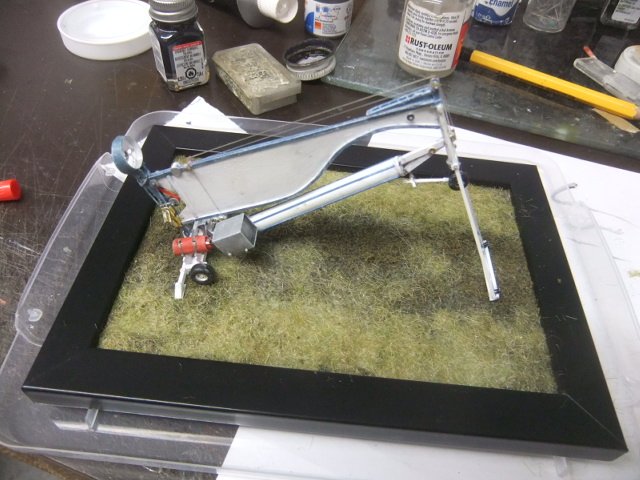
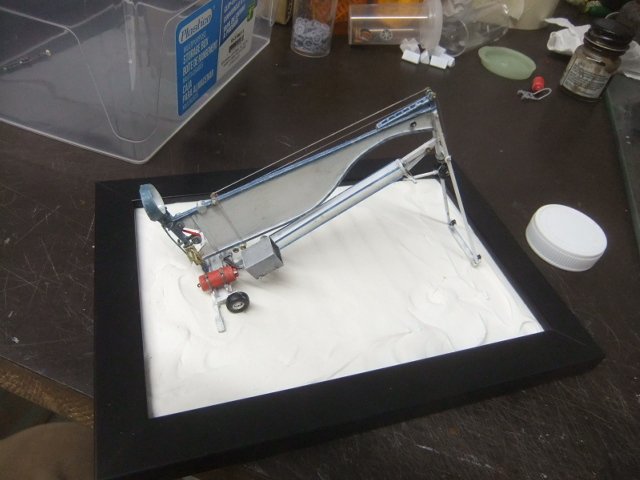
First I'd like to thank you for following this post ,it's quite appreciated ! BOEING INCITUS MQ-27 / CU-169 SCAN EAGLE 1/48 ( 3dPRINTED +ADDITIONS) (JUL 02nd ) Today I continue working on the lauching chariot ! If you like to view the complete WIP on this project , just follow this Google link : https://photos.app.goo.gl/jrWyBiNZSJHCUknZ9 If you like to view all the DRONES I have done so far in 1/48 , just follow this link: https://photos.app.goo.gl/mjGm69hDKYaDuFNX6 Enjoy ! Jmarc
 1 point
 -
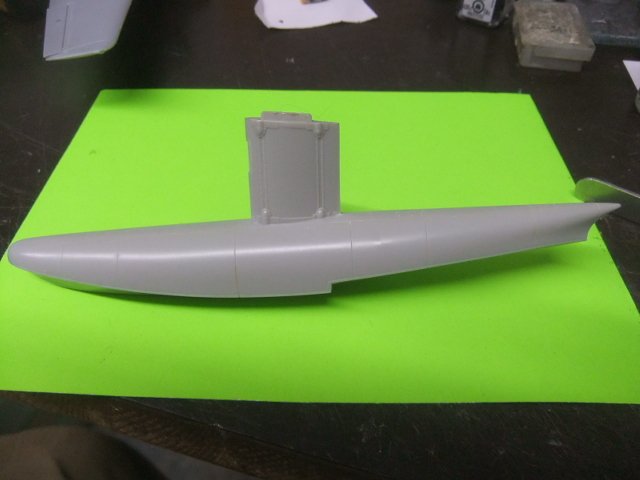
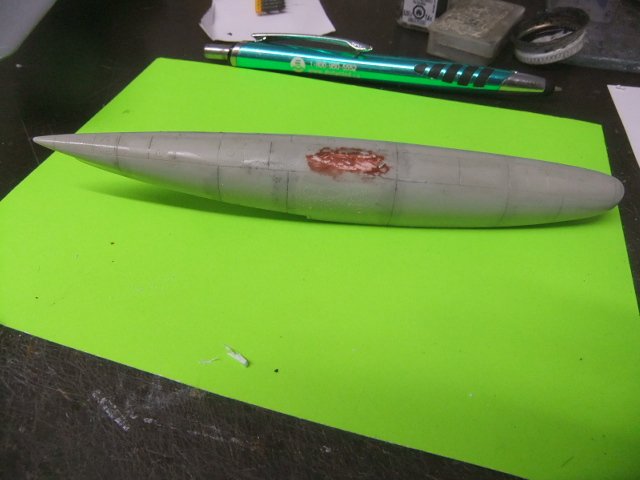
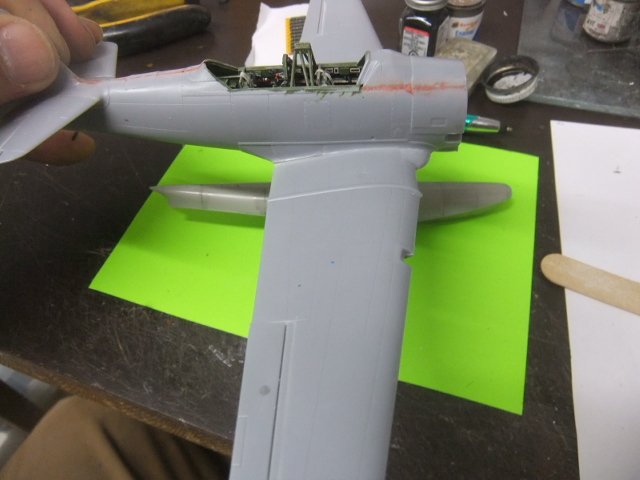
First I'd like to thank you for following this post , it's quite appreciated ! T-6 KOREAN FLOAT PLANE (OCIDENTAL + MODIFICATION) (JUN 30th ) ..Today , I started working on the floats ! If you like to view the complete 'WIP' of this project , just follow this GOOGLE link. https://photos.app.goo.gl/Hk6hkr5HVKEz8rpk8 A big Thank you for following the project it's more than appreciated. hope my weekly update meet your expectation ! ! Enjoy .. and it's an 'RENDEZ-VOUS for more .... Jmarc
1 point
-
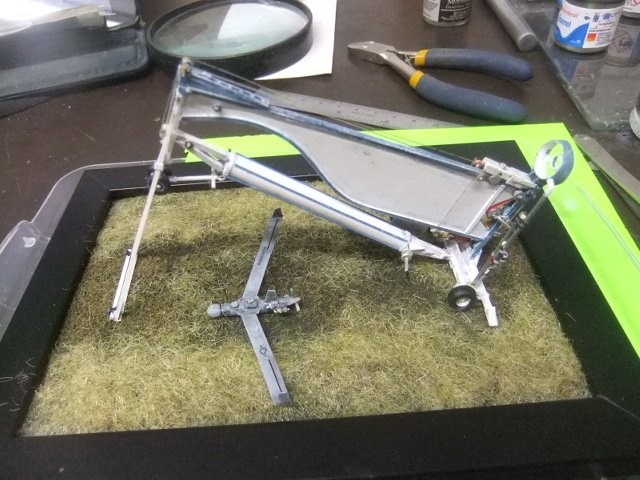
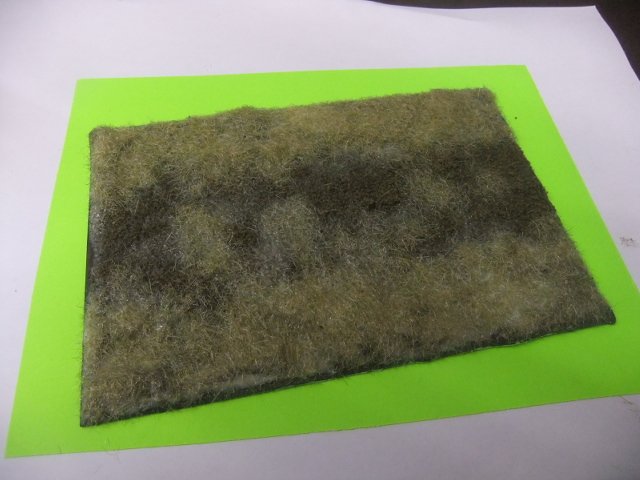
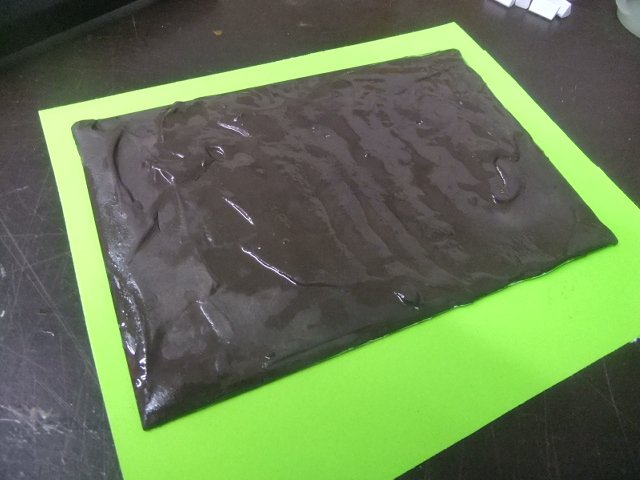
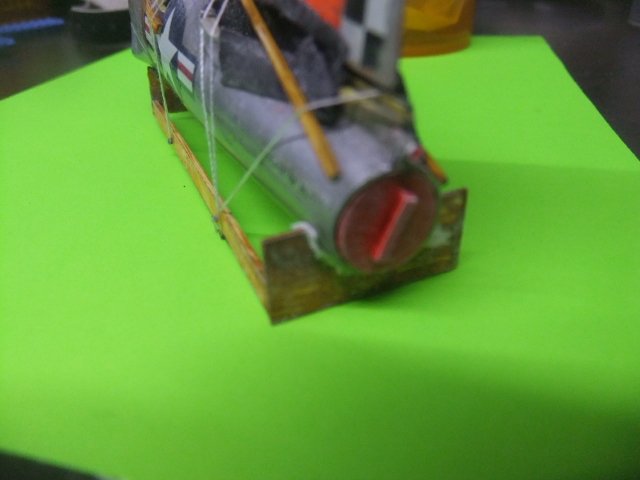
First I'd like to thank you for following this post ,it's quite appreciated ! BOEING INCITUS MQ-27 / CU-169 SCAN EAGLE 1/48 ( 3dPRINTED +ADDITIONS) (JUN 30th ) Today I continue working on the carrying base ! If you like to view the complete WIP on this project , just follow this Google link : https://photos.app.goo.gl/jrWyBiNZSJHCUknZ9 If you like to view all the DRONES I have done so far in 1/48 , just follow this link: https://photos.app.goo.gl/mjGm69hDKYaDuFNX6 Enjoy ! Jmarc
1 point
-
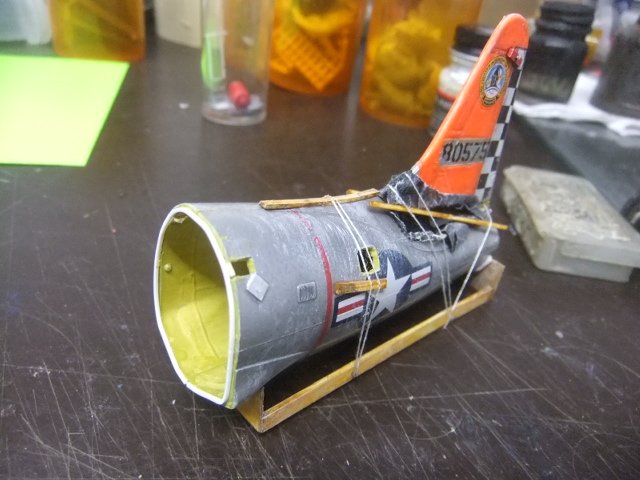
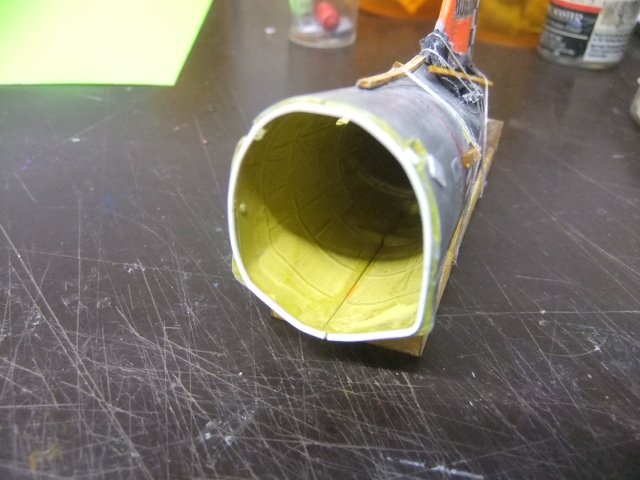
First I'd like to thank you for following this post , it's quite appreciated ! 1/48 LOCKHEED T-33 SILVER STAR (TESTOR) (JUN 30th ) Today I painted the detials done yesterday and started the front section ! If you like to follow the complete WIP on this project , I have set up an GOOGLE page, just follow this link .. https://photos.app.goo.gl/mCtpo97pwYCFaYE39 If you like to view the complete STASH PARTS done so far ,just followthis GOOGLE link .. https://photos.app.goo.gl/NtNSgh1zJgx9jRSx5 Enjoy ! Jmarc
1 point
-
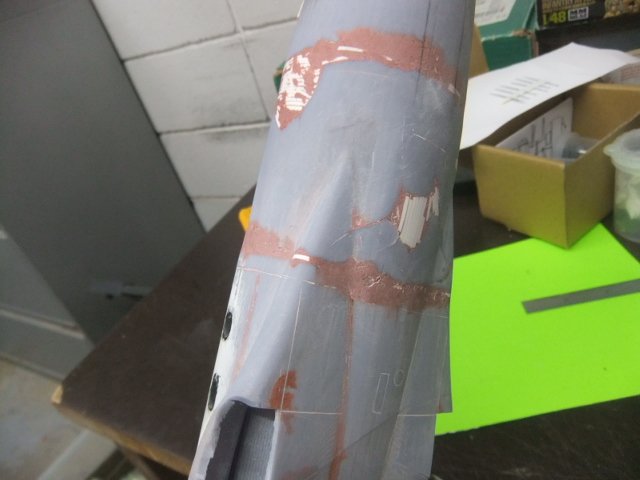
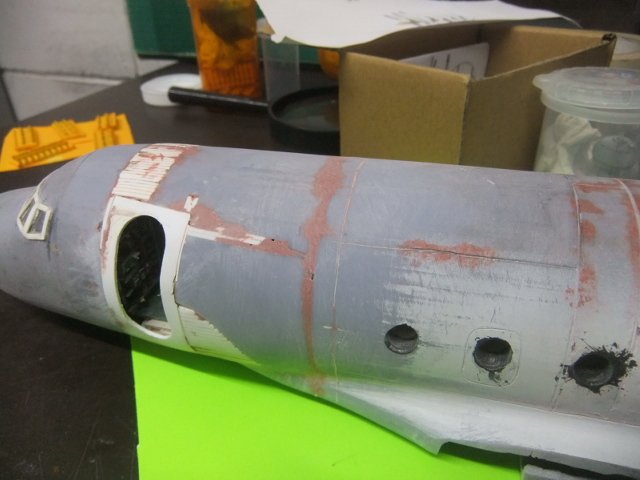
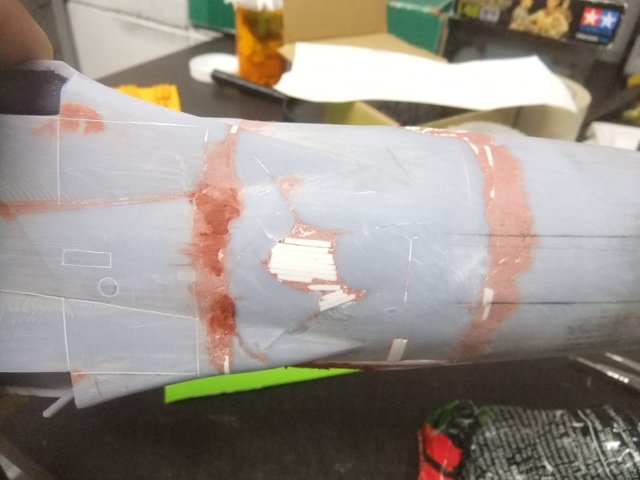
Thanks for following the WIP on this project , it's quite appreciated !, here the latest update AVRO C.102 JETLINER (3D +SCRATCH) (JUN 29nd ) Today , I sanded the work done last week also sand down the bulge that appear on the side fuselage and bottom , where the 3d resin delaminated and apply more putty on ther problem areas If you like to view the complete WIP on this project , just follow this Google link : https://photos.app.goo.gl/uvk6ymGqZHgpWDaR9 If you like to view what I have completed so far on the AVRO CANADA project , I have set up an GOOGLE page for them , here the link: https://photos.app.goo.gl/FpZs5m3ic3c3eL329 Enjoy and it's an 'rendez-vous' next week for more on this particular project..!. Jmarc
1 point
-
First I'd like to thank you for following this post ,it's quite appreciated ! BOEING INCITUS MQ-27 / CU-169 SCAN EAGLE 1/48 ( 3dPRINTED +ADDITIONS) (JUN 29th ) Today I start working on the carrying base ! If you like to view the complete WIP on this project , just follow this Google link : https://photos.app.goo.gl/jrWyBiNZSJHCUknZ9 If you like to view all the DRONES I have done so far in 1/48 , just follow this link: https://photos.app.goo.gl/mjGm69hDKYaDuFNX6 Enjoy ! Jmarc
1 point
-
First I'd like to thank you for following this post , it's quite appreciated ! 1/48 LOCKHEED T-33 SILVER STAR (TESTOR) (JUN 29th ) Today I continue working on the last exterior details of the tail section ! If you like to follow the complete WIP on this project , I have set up an GOOGLE page, just follow this link .. https://photos.app.goo.gl/mCtpo97pwYCFaYE39 If you like to view the complete STASH PARTS done so far ,just followthis GOOGLE link .. https://photos.app.goo.gl/NtNSgh1zJgx9jRSx5 Enjoy ! Jmarc
1 point
-
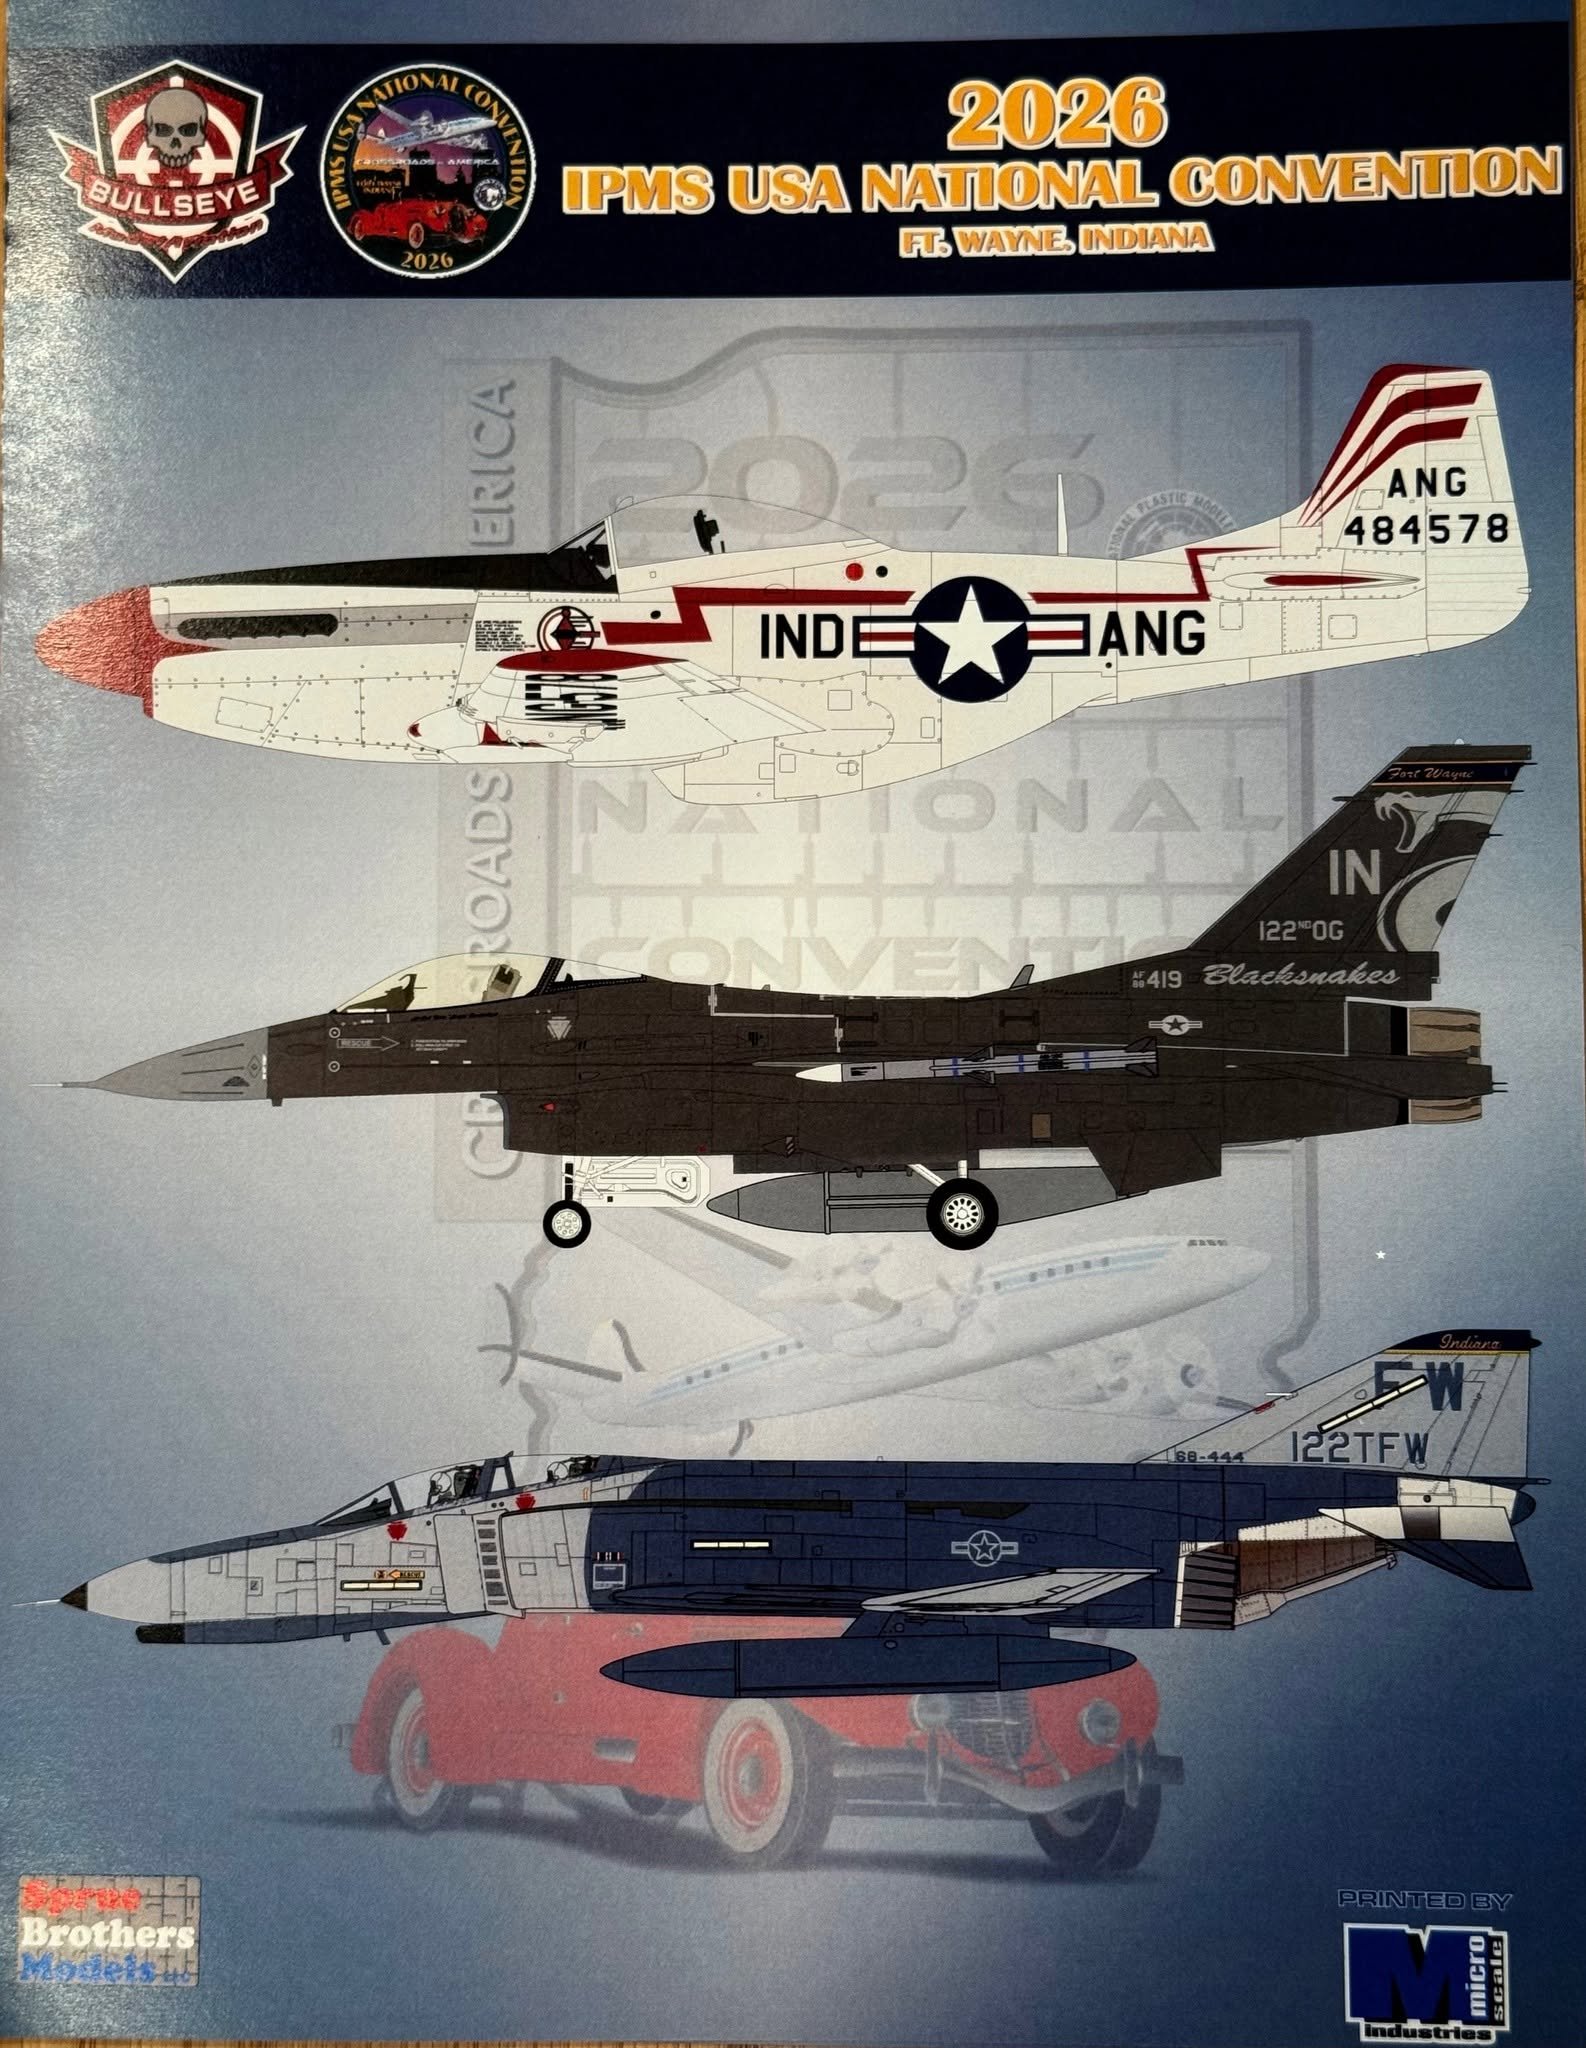
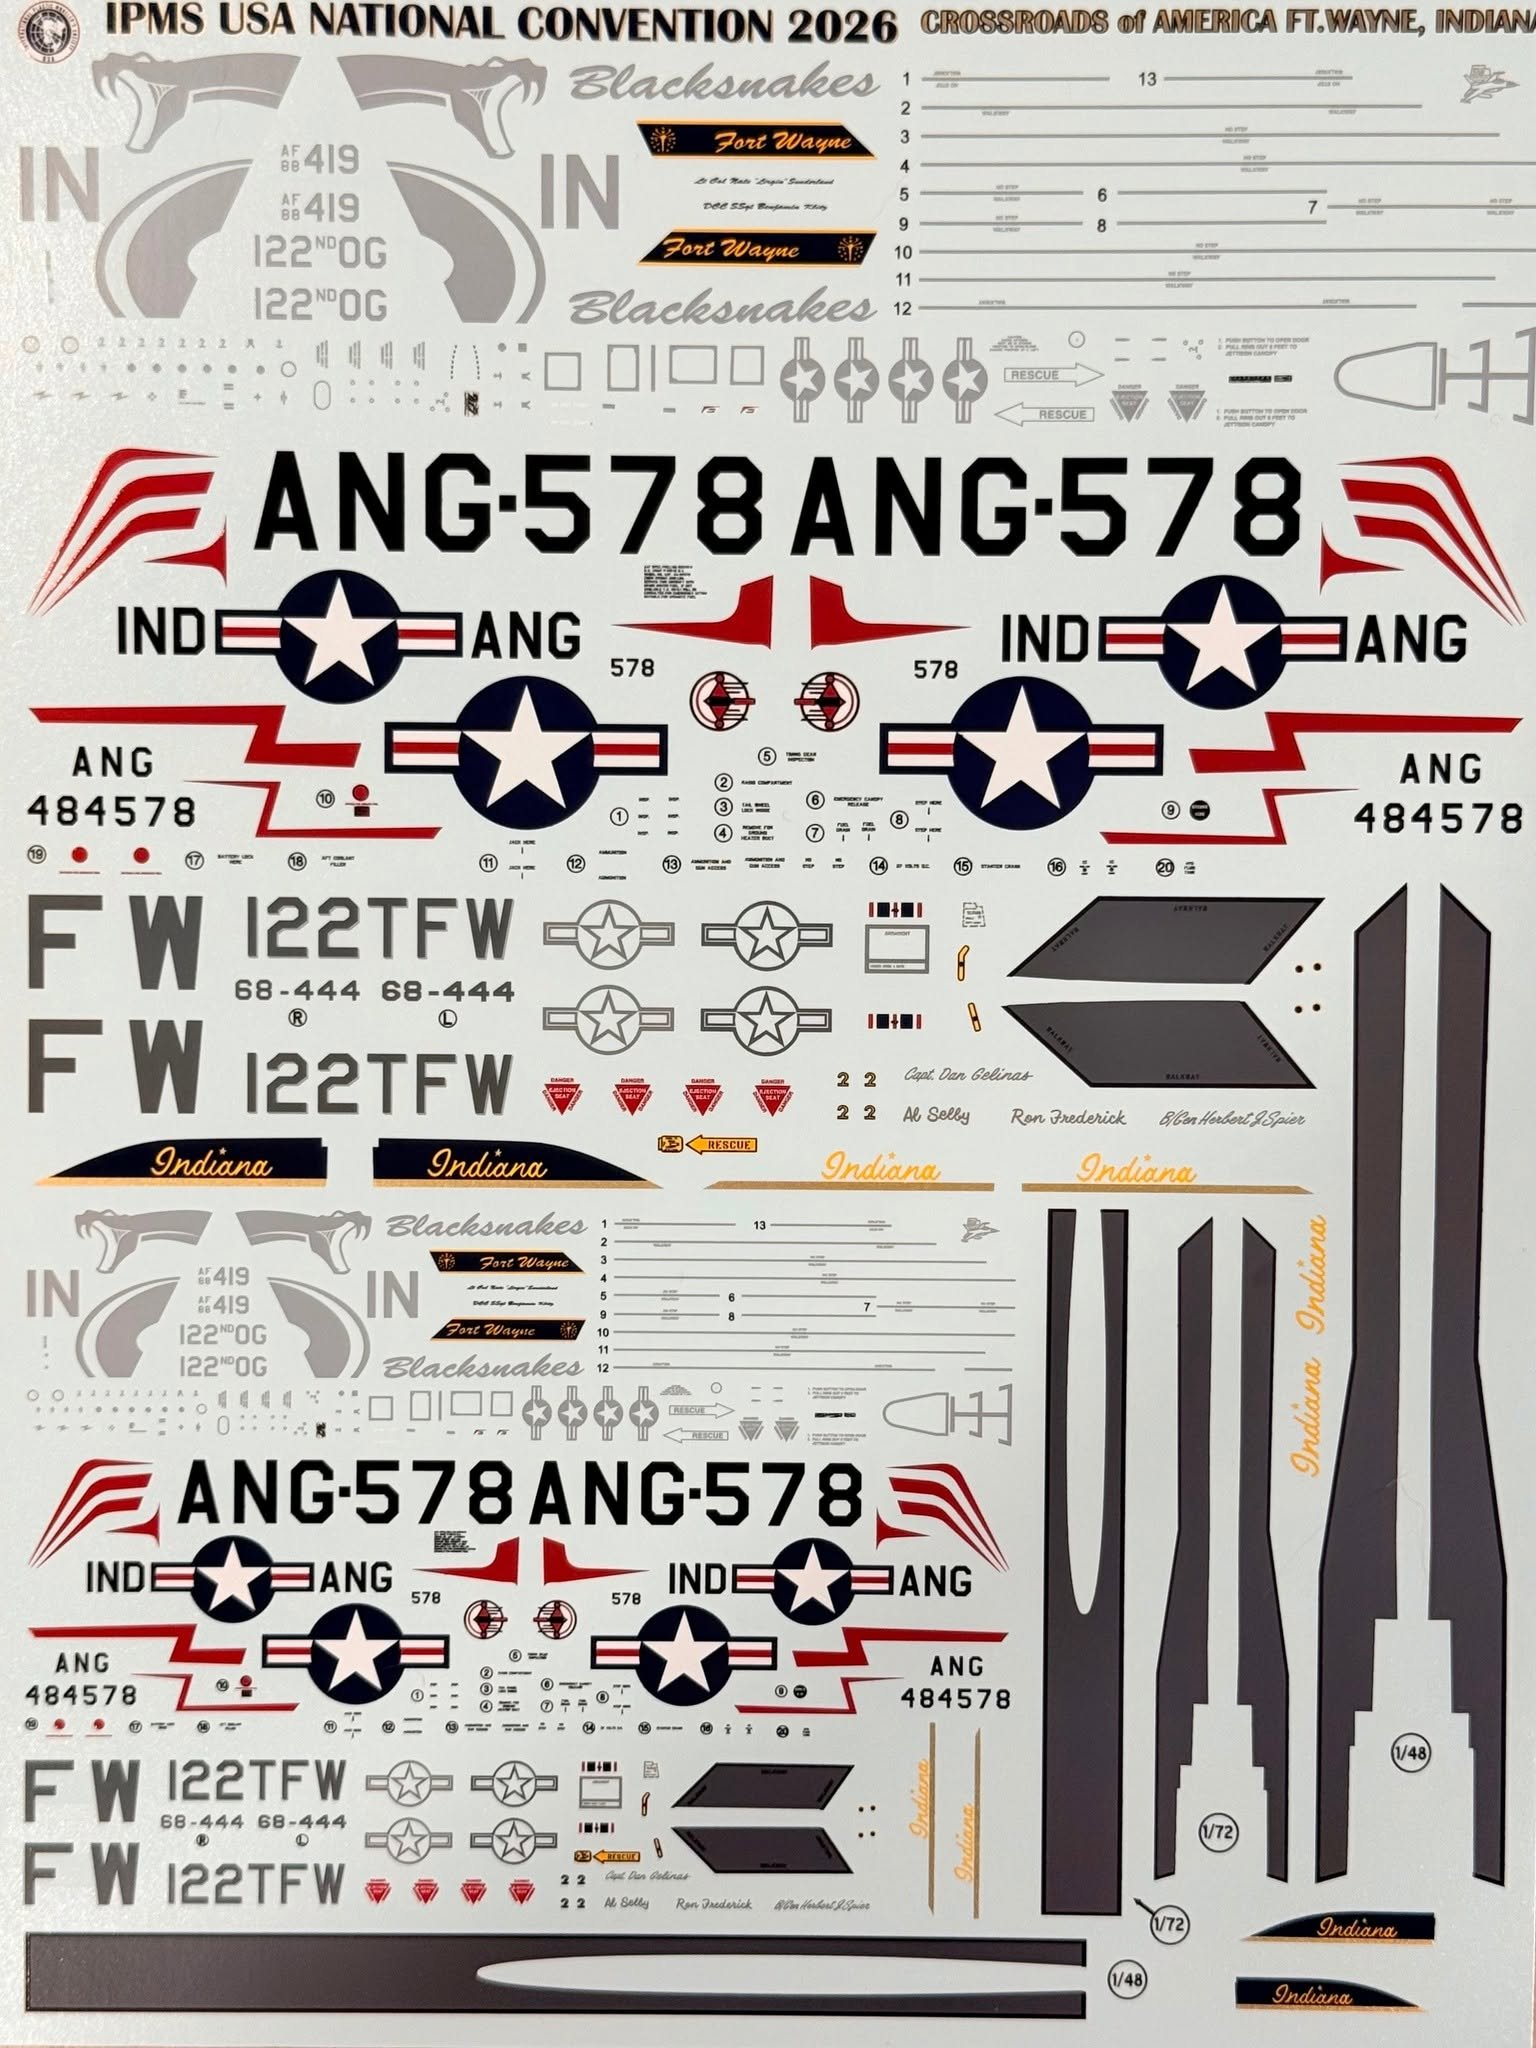
Here's a preview of the aircraft models sheet that you'll receive at the 2026 IPMS National Convention in Fort Wayne, Indiana. A big thank you to Sprue Brothers for sponsoring this sheet! I will post pictures of the automotive sheet once I receive it.
1 point
-
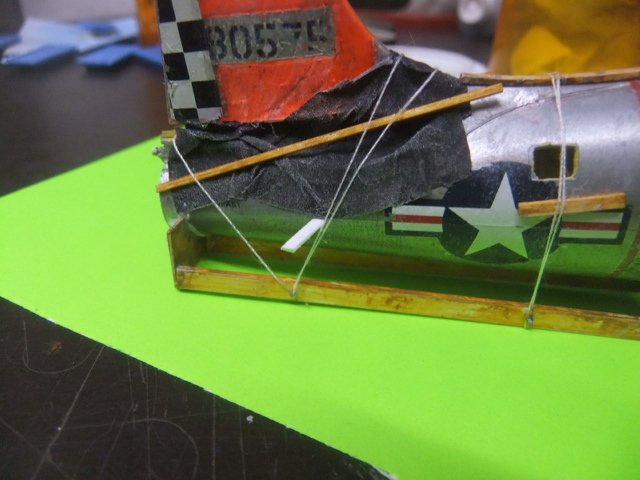
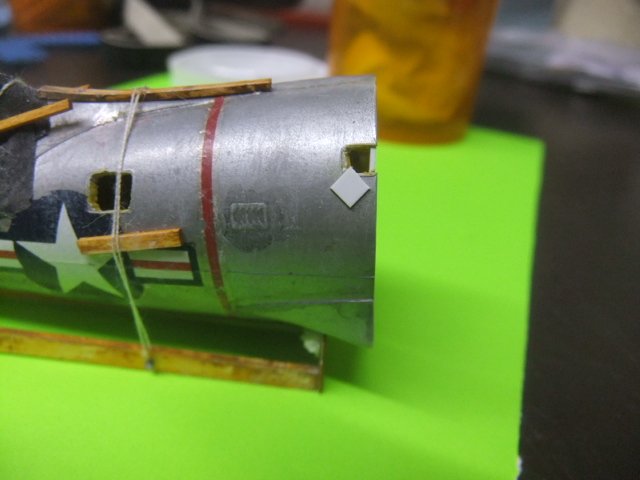
For the fourth week of the F-35C I installed the weapons bays and nose gear bay into the lower fuselage. I then built up the tail hook and installed it as well. Next I started on the engine. Since I am using the ResKit engine I needed to cut off a section of the kit engine from the exhaust side. The resin engine pieces were then painted and weathered. I then assembled and painted the intakes. The kit intakes went together very well and it was easy to hide the seams of the two halves. There were some mold marks that needed to be cleaned up on the inside of them but they were not too bad to smooth out. I am now working on the main landing gear bays. Just like the nose gear bay these lack details which I will scratch build the details. Another thing I noticed in the reference photos are the large placards on the main struts. Neither the kit decals nor the Furball aftermarket decals have them so I will need to make the decals for them. You can see all the photos and details from the start at: https://davidsscalemodels.com/build-log/1-48-f-35c-vfa-86-sidewinders/1 point