Search the Community
Showing results for tags 'curtiss comando'.
Found 1 result
-
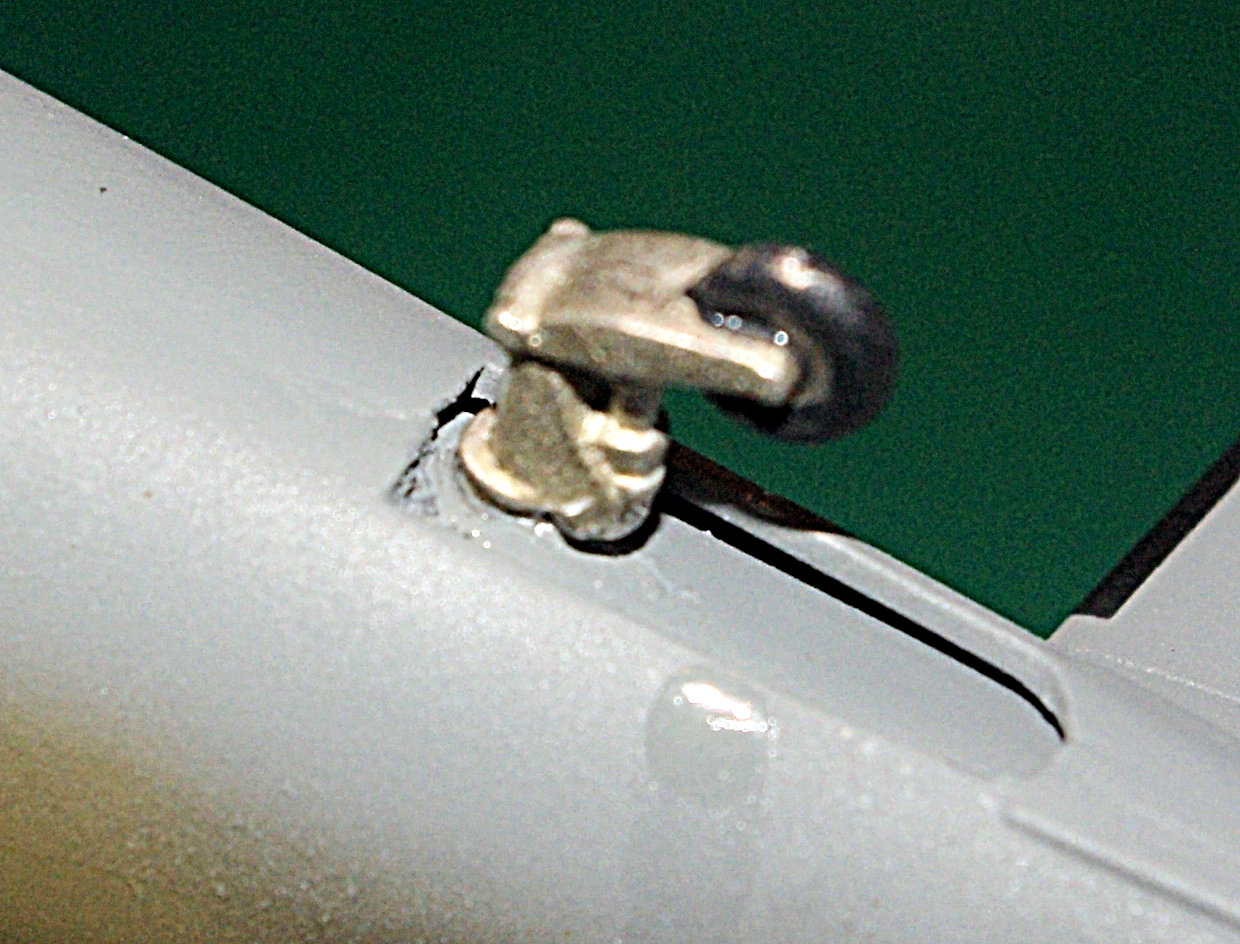
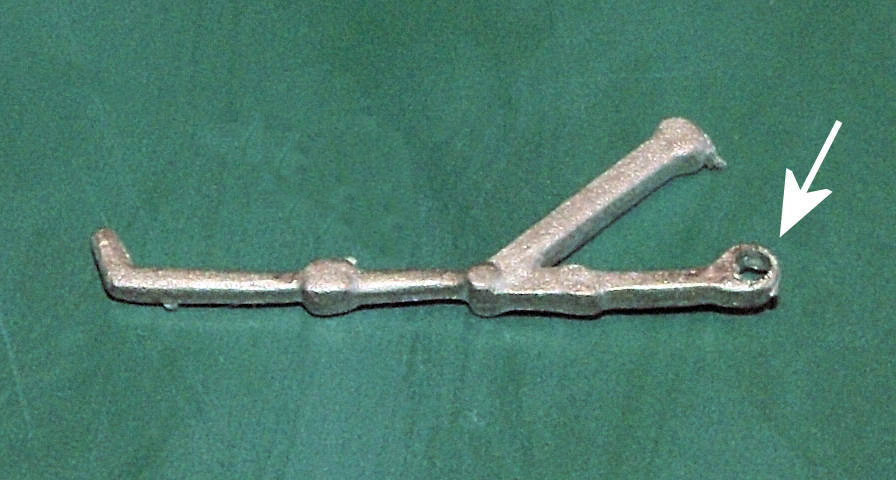
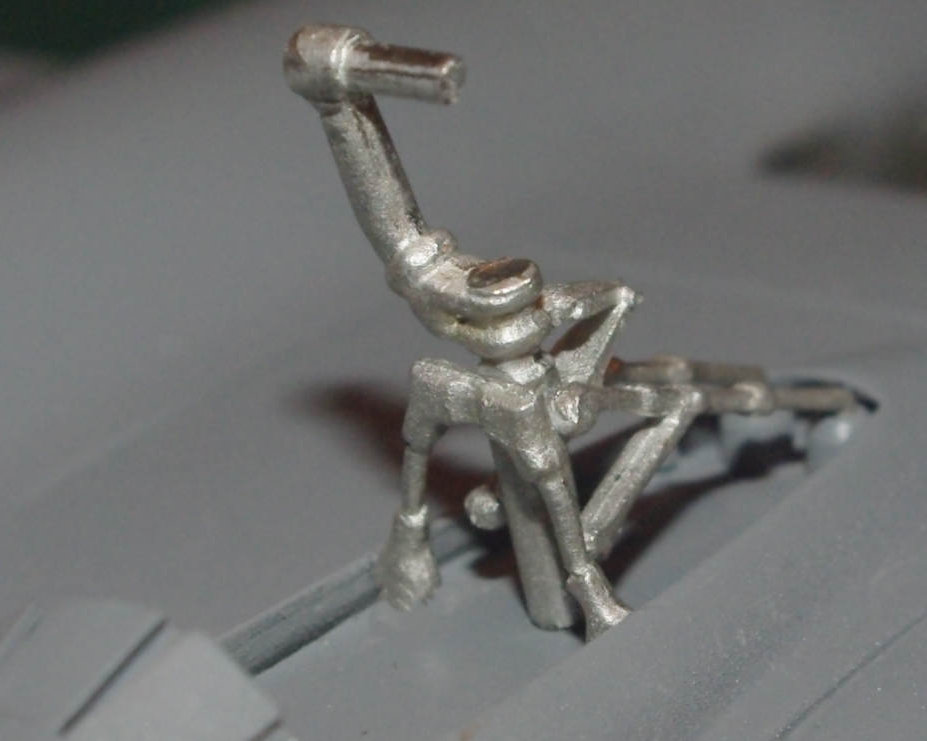
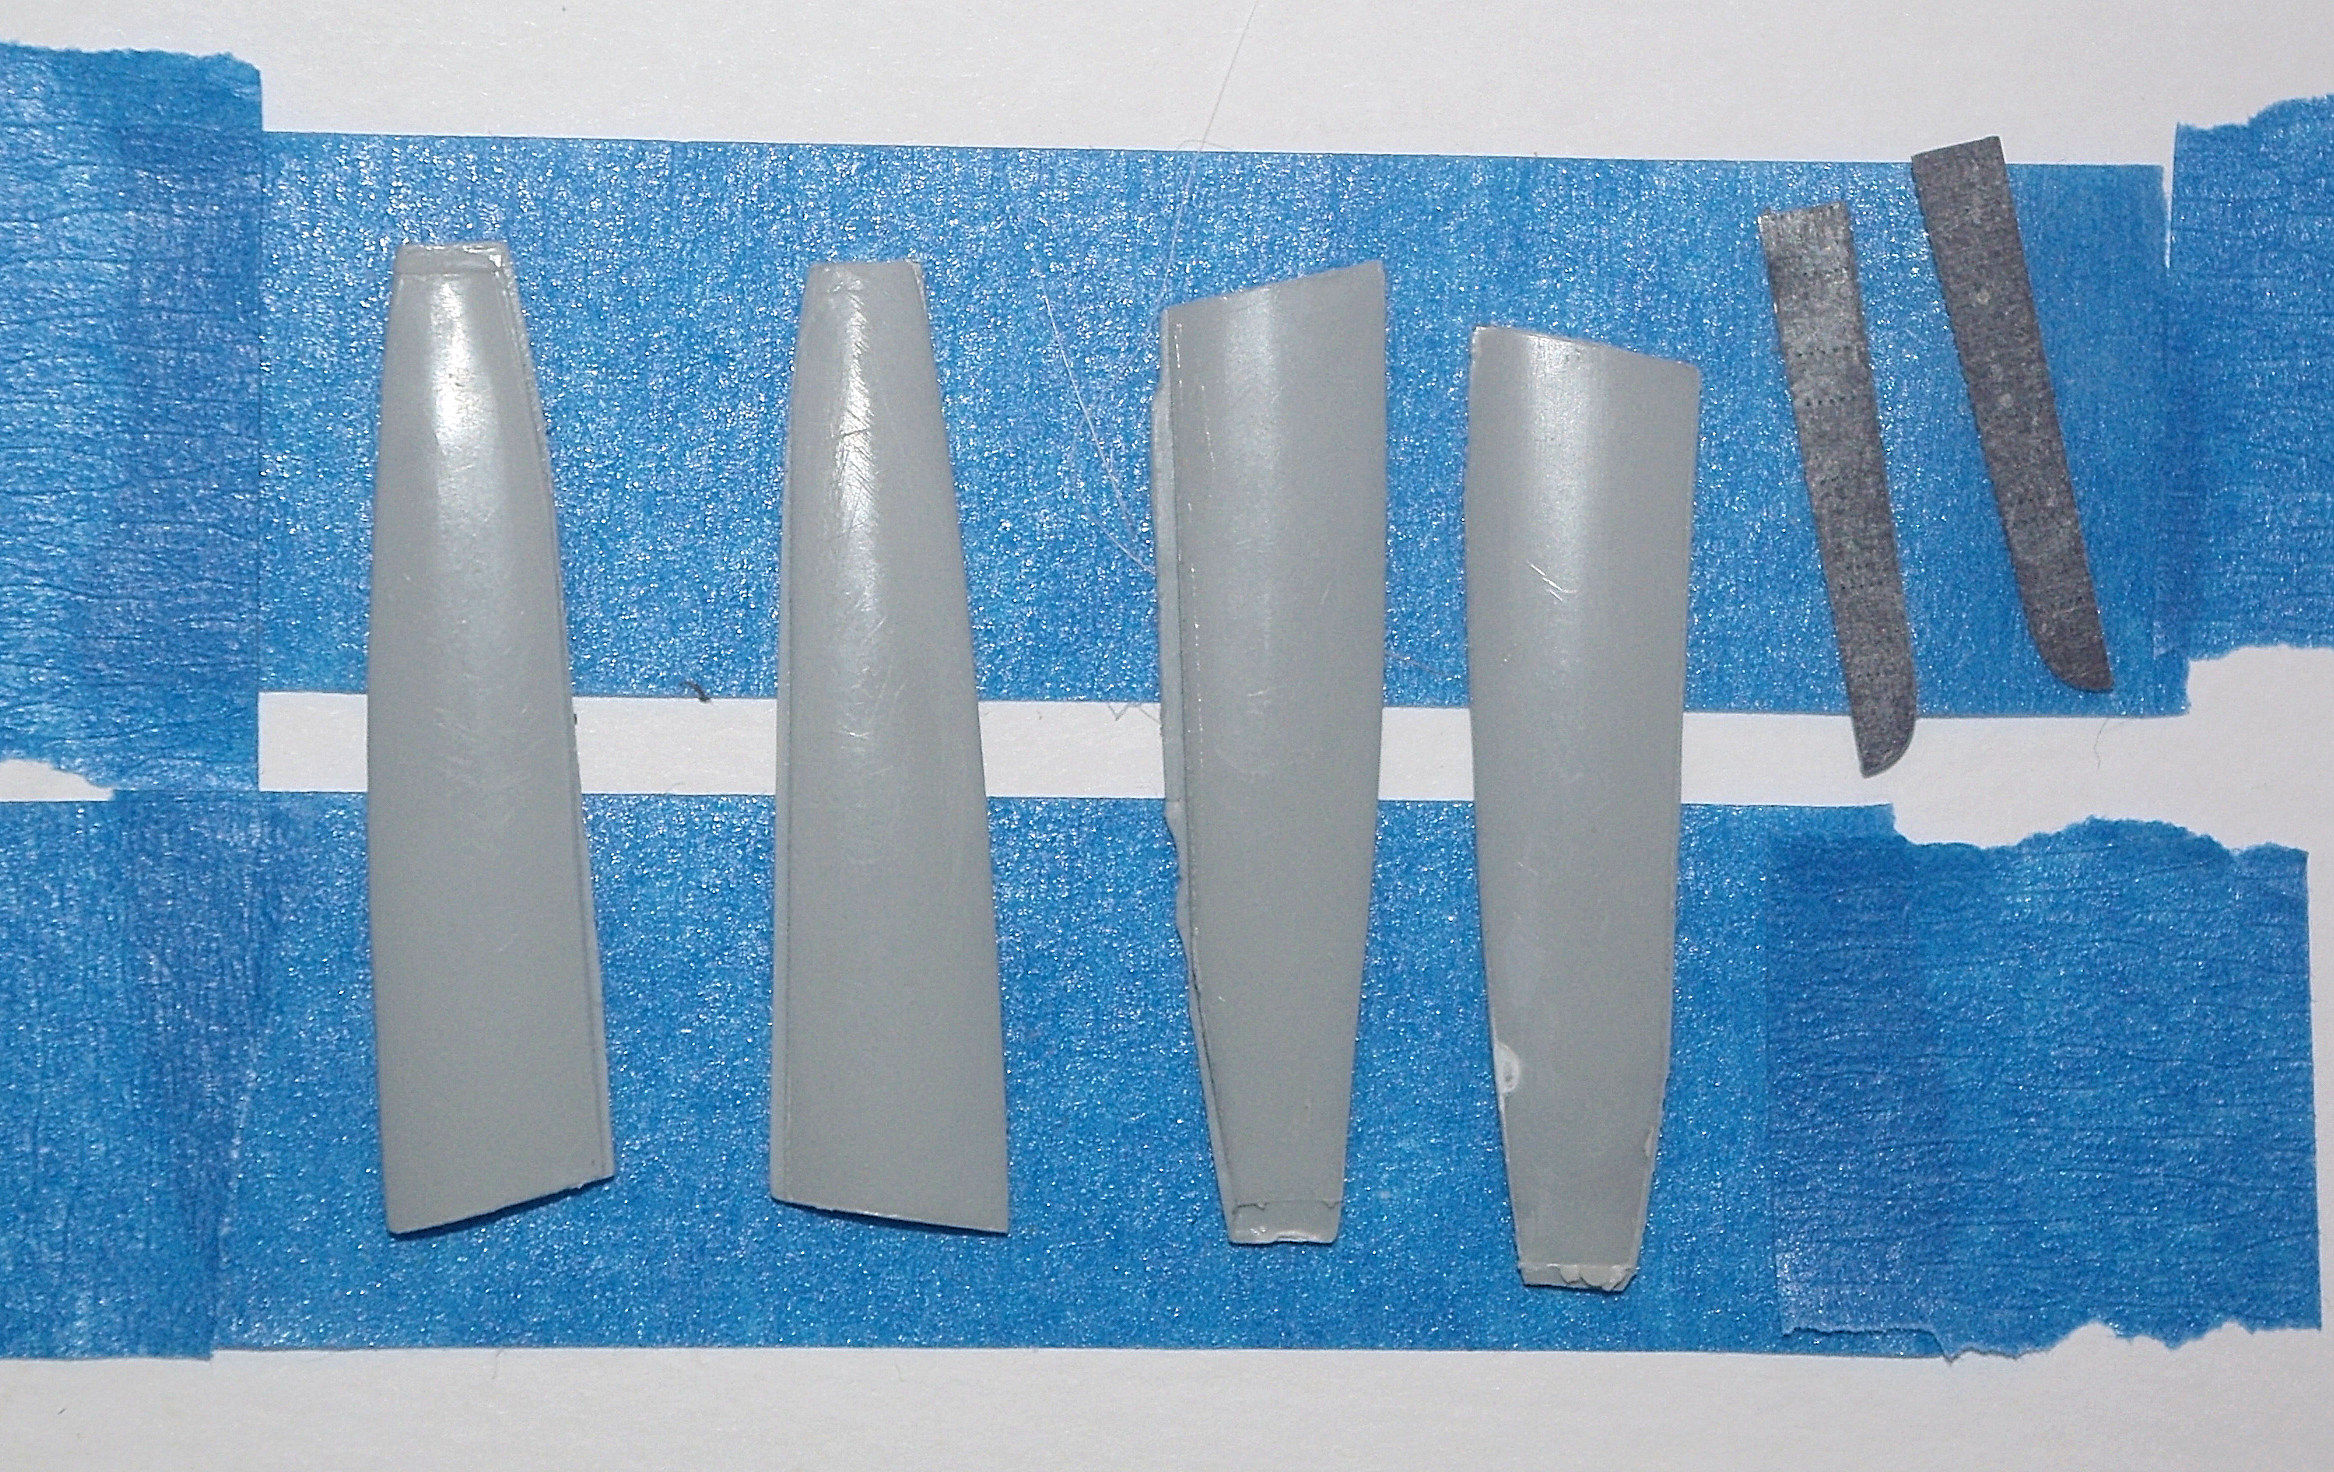
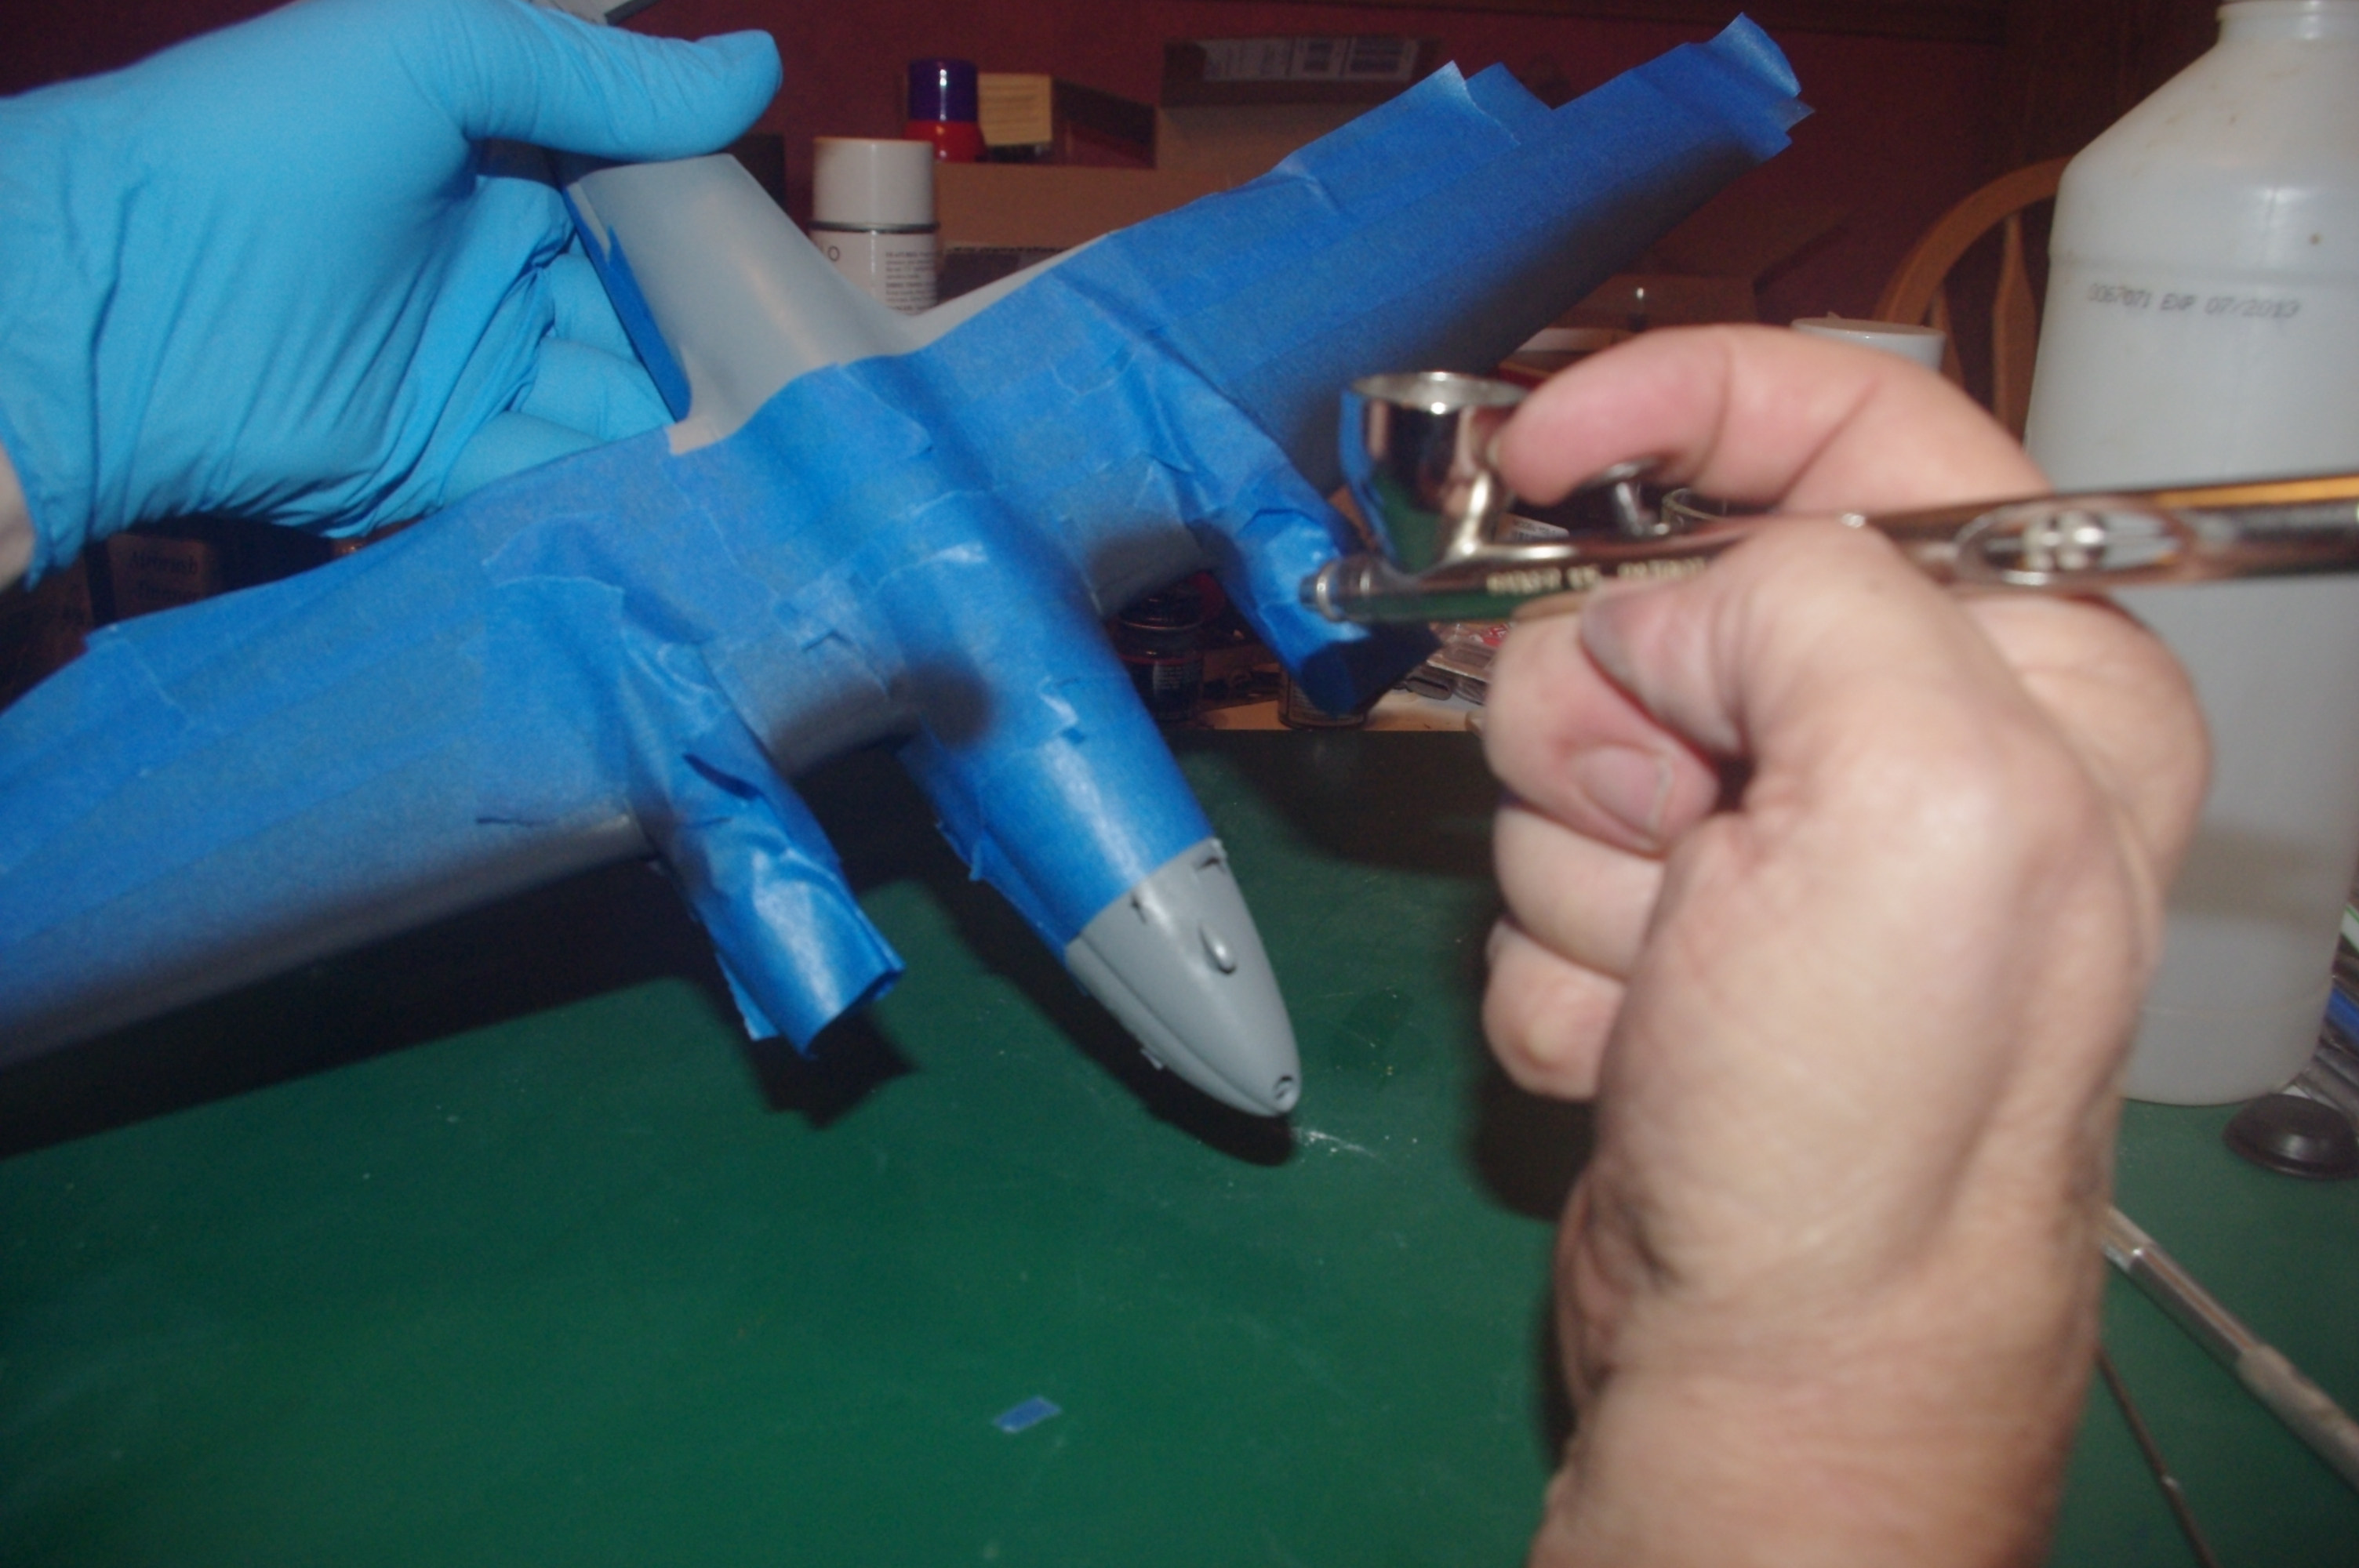
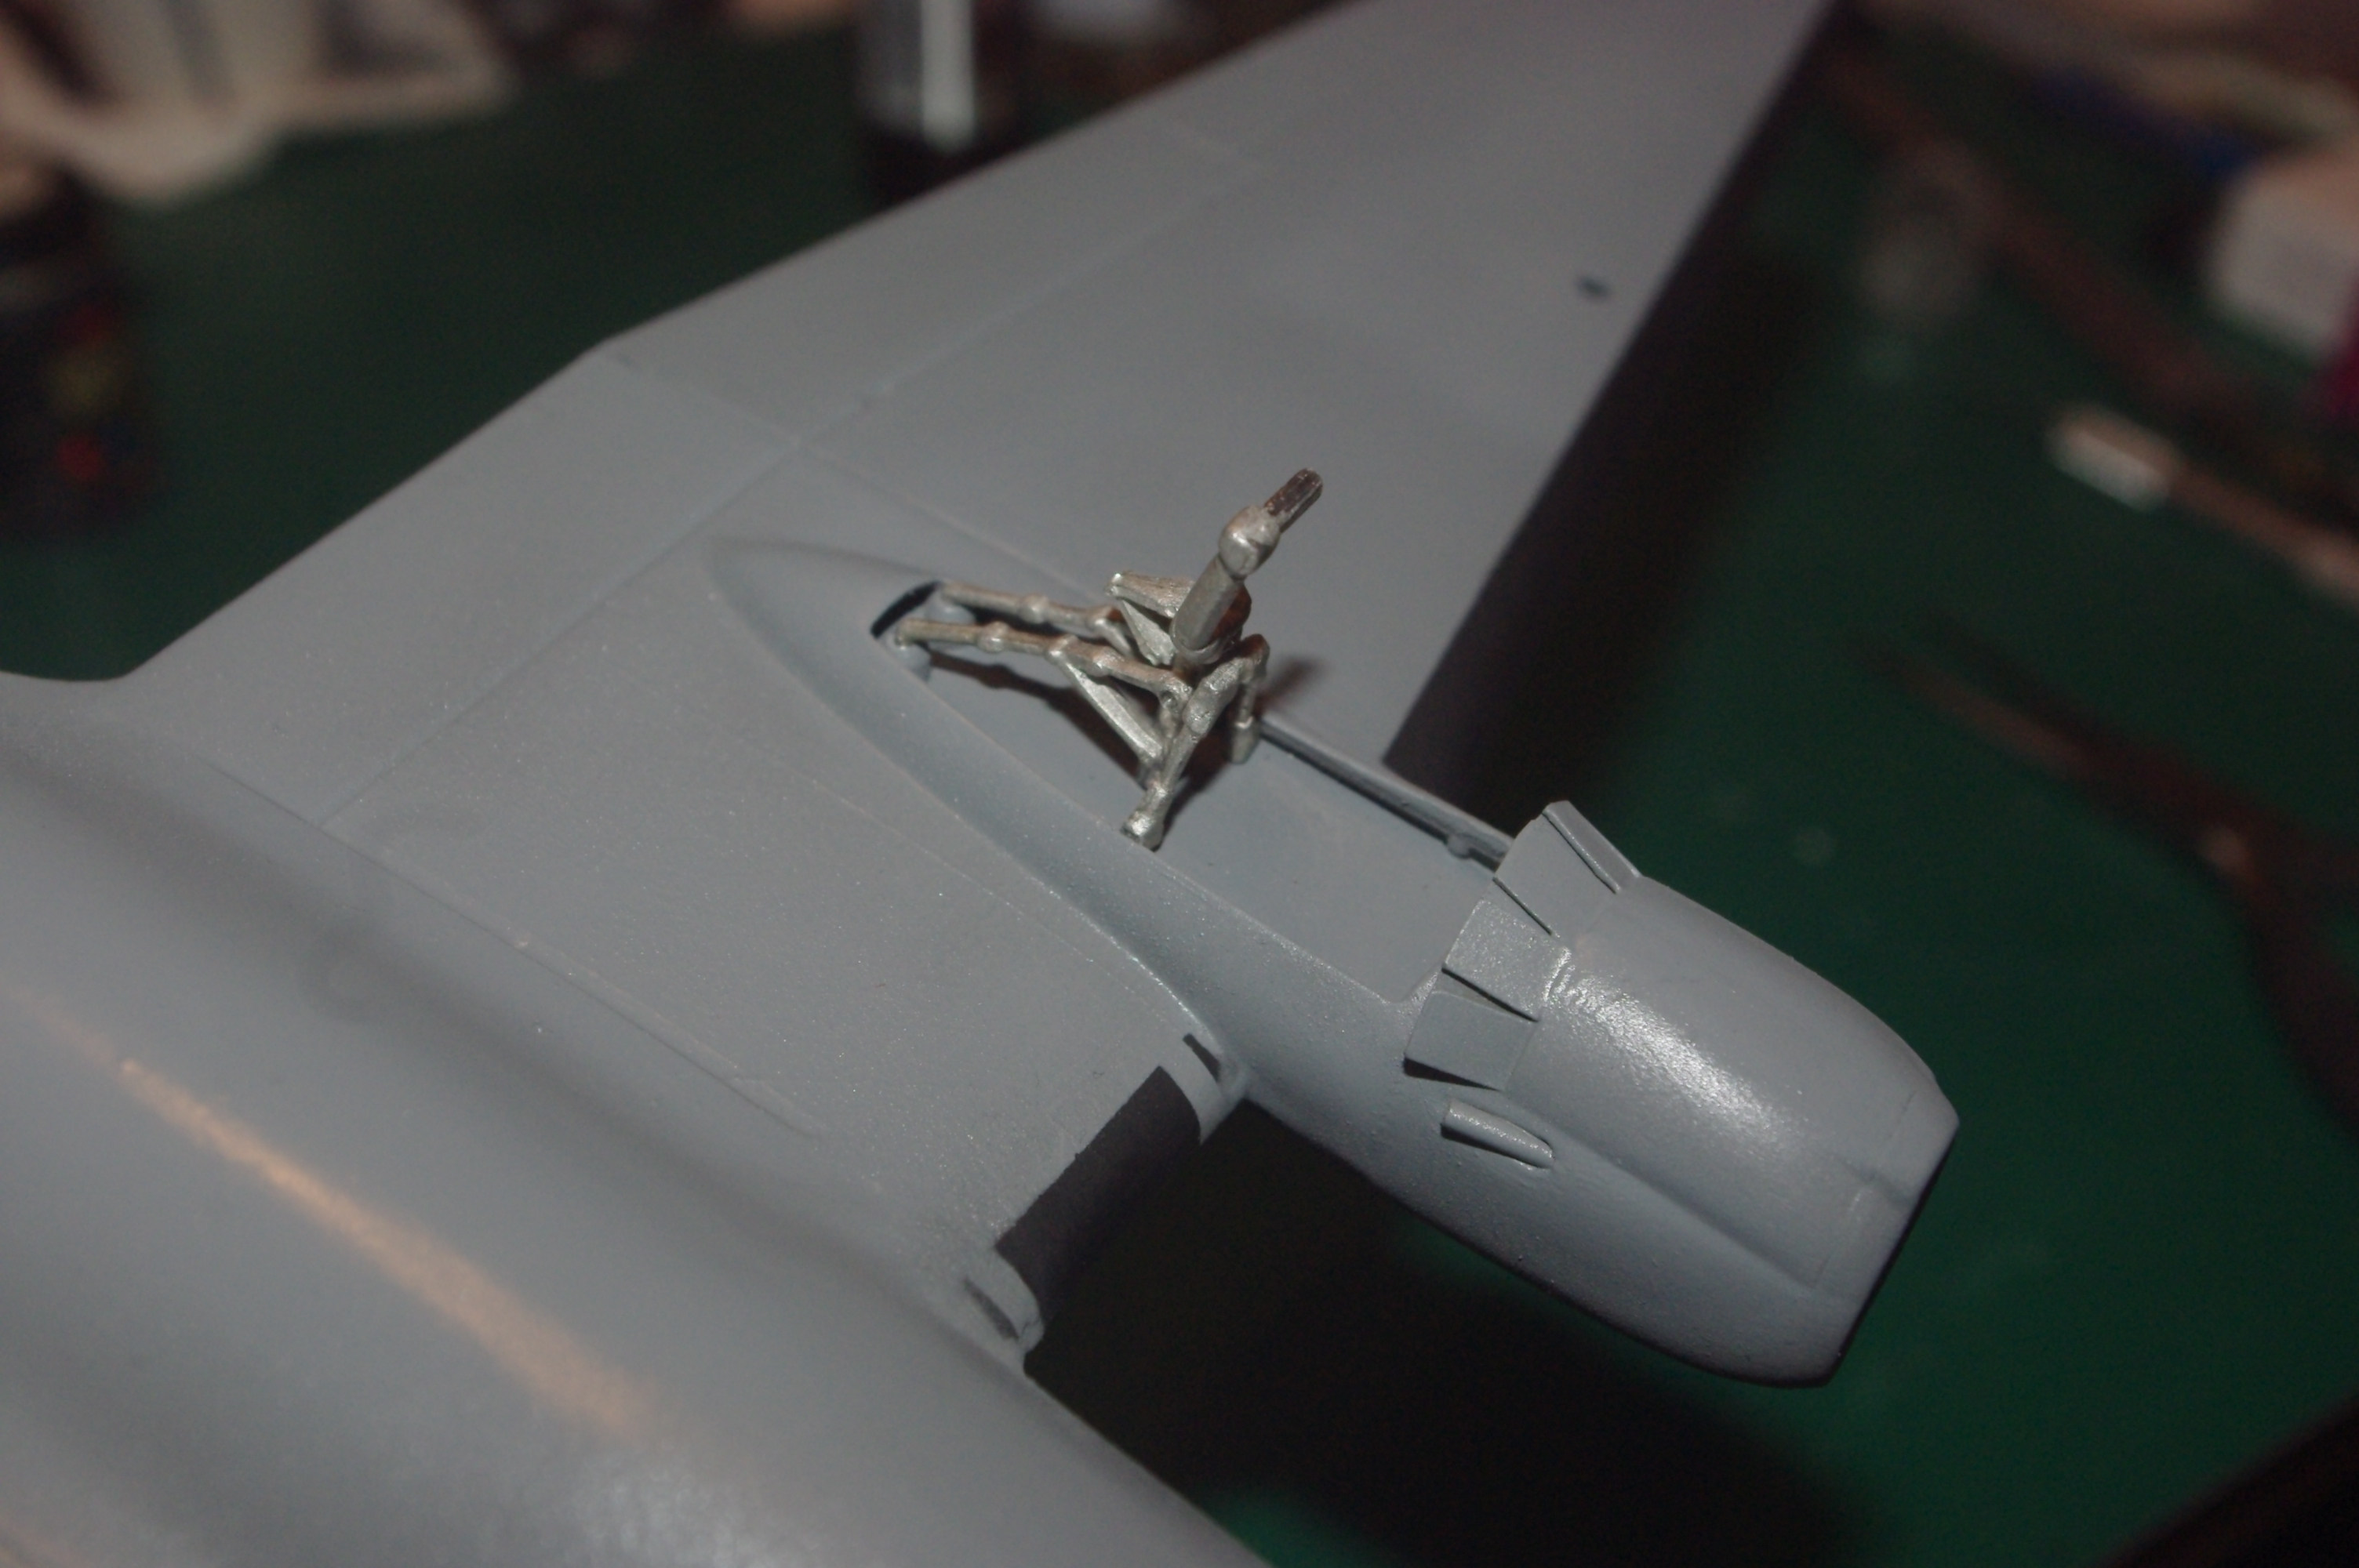
Here's the latest on the C-46: Once the Future has dried, the deice boots were masked off with blue painters tape. Depending on how you like to work, you could mask the boots on the bottom of the wing and then paint'em before... ...tackling the top, leaving the tail surfaces for last. I chose to mask all of the boots at one time and then.... ...spray'em with Model Master FS37038 Flat Black in a single session. By the way, here I'm using a Badger Patriot 105 double action airbrush that I had to buy after losing the needle cap from my Iwata HP-CH airbrush so I could keep working while waiting for a new cap to arrive. With all the tape removed, we have a very nice set of deice boots on the undersurfaces.... ....and on the uppersurfaces. Now to give her some legs to stand on. The tailwheel strut/wheel is a single assembly, so I brush painted the tire first with Pactra M-1 Scale Flat Black or any Scale Black of your choosing. Then the assembly was installed with BSI Super Gold + CA. Don't be surprised if you have to either thin down the mounting shaft or slightly enlarge the mounting hole. The Scale Aircraft Conversions main gear have been completed by the addition of the torque links. When installed, you'll want to make sure that the links point to the rear and the end of the axles to the outside. In this photo, the starboard strut is on the left and the port is on the right. The retraction link in the SAC metal set is where you'll run into trouble. The links are handed, so the mounting recess for the strut connection should be handed as well. Scale Aircraft Conversions has been notified and is checking stock to see how widespread the problem is. If you have one of these problem sets, the solution is easy. Simply drill the mounting recess all the way thru with a .031" (or 1/32") drill bit as I've done in this photo. Note that you only need to do this to two of the links. Here you see the complete SAC starboard main gear properly installed. All it lacks is the wheel/tire and doors And a very tight shot of the same completed assembly. Yet another shot of the same starboard gear from the opposite side. The gear doors laid down on a couple of pieces of tape, just prior to spraying the Model Master FS36270 Neutral Gray. When dry, flip'em over, spray some more Neutral Gray and you're done. All that's left is to install'em. Since you can't stick a toothpick or matchstick thru the axle hole to hold the tire for painting, due to the photoetch outer wheel detail, I used the same approach as the gear doors. Paint was Pactra M-1 Flat Scale Black. Incidentally, that paint hasn't been around for a very long time, but I still happen to have a 35 or 40 year old bottle that's perfectly good. But any Scale Black or Grimy Black paint will produce the same results.