Wolfman63
-
Posts
629 -
Joined
-
Last visited
-
Days Won
112
Content Type
Profiles
Forums
Events
Everything posted by Wolfman63
-
The decals are done. The decals are excellent, they conformed to the surface details very well. Next up is the weathering and canopy details. So far this has been a very nice kit to build. I have had no fit issues and everything coming together nicely. You can see all the build photo's at https://davidsscalemodels.com/build-log/1-48-academy-f-4b-vf-111/
-
The base coat painting is done. I also painted the missiles and drop tanks. I used black, brown, and blue pastel chalk to weather the exhaust. They came out very similar to the reference photo's I am using. Should be starting the numerous decals tomorrow. More photo's on my blog under the build logs page.
-
Working on the undercarriage. Landing gear almost complete. The decal for the nose gear door went on very nicely. Looking more like a phantom now with the fuselage done. Getting ready to paint the basecoat then decals. You can see more photo's at https://davidsscalemodels.com/build-log/1-48-academy-f-4b-vf-111/
-
Working on the fuselage. I have the intake ducts, resin exhaust, and cockpit installed and the rear of the fuselage together. More photo's at https://davidsscalemodels.com/build-log/1-48-academy-f-4b-vf-111/
-
One seat completed. It takes some time to build. Add details, paint add more details. You can see and follow the build on my blog at https://davidsscalemodels.com/build-log/1-48-academy-f-4b-vf-111/

-
You can now read about all the work it took to create my USS Carl Vinson Project. You can see all the build photo's at https://davidsscalemodels.com/build-log/1-350-uss-carl-vinson/ and all the completed photo's at https://davidsscalemodels.com/gallery/uss-carl-vinson-project/
-
Starting on Academy's 1/48 F-4B with VF-111 scheme. I am also using Eduard's Cockpit detail set, Eduard's Brassin resin seats, and Eduard's Brassin exhaust cans. The cockpit tub is done and now working on the seats. The seats have over 44 parts themselves! So far all is going good. Only thing I don't like at the moment is the nose gear door link is very fragile and installs early. It is now pinned as it breaks easily. You can see and follow the build on my blog at https://davidsscalemodels.com/build-log/1-48-academy-f-4b-vf-111/
-
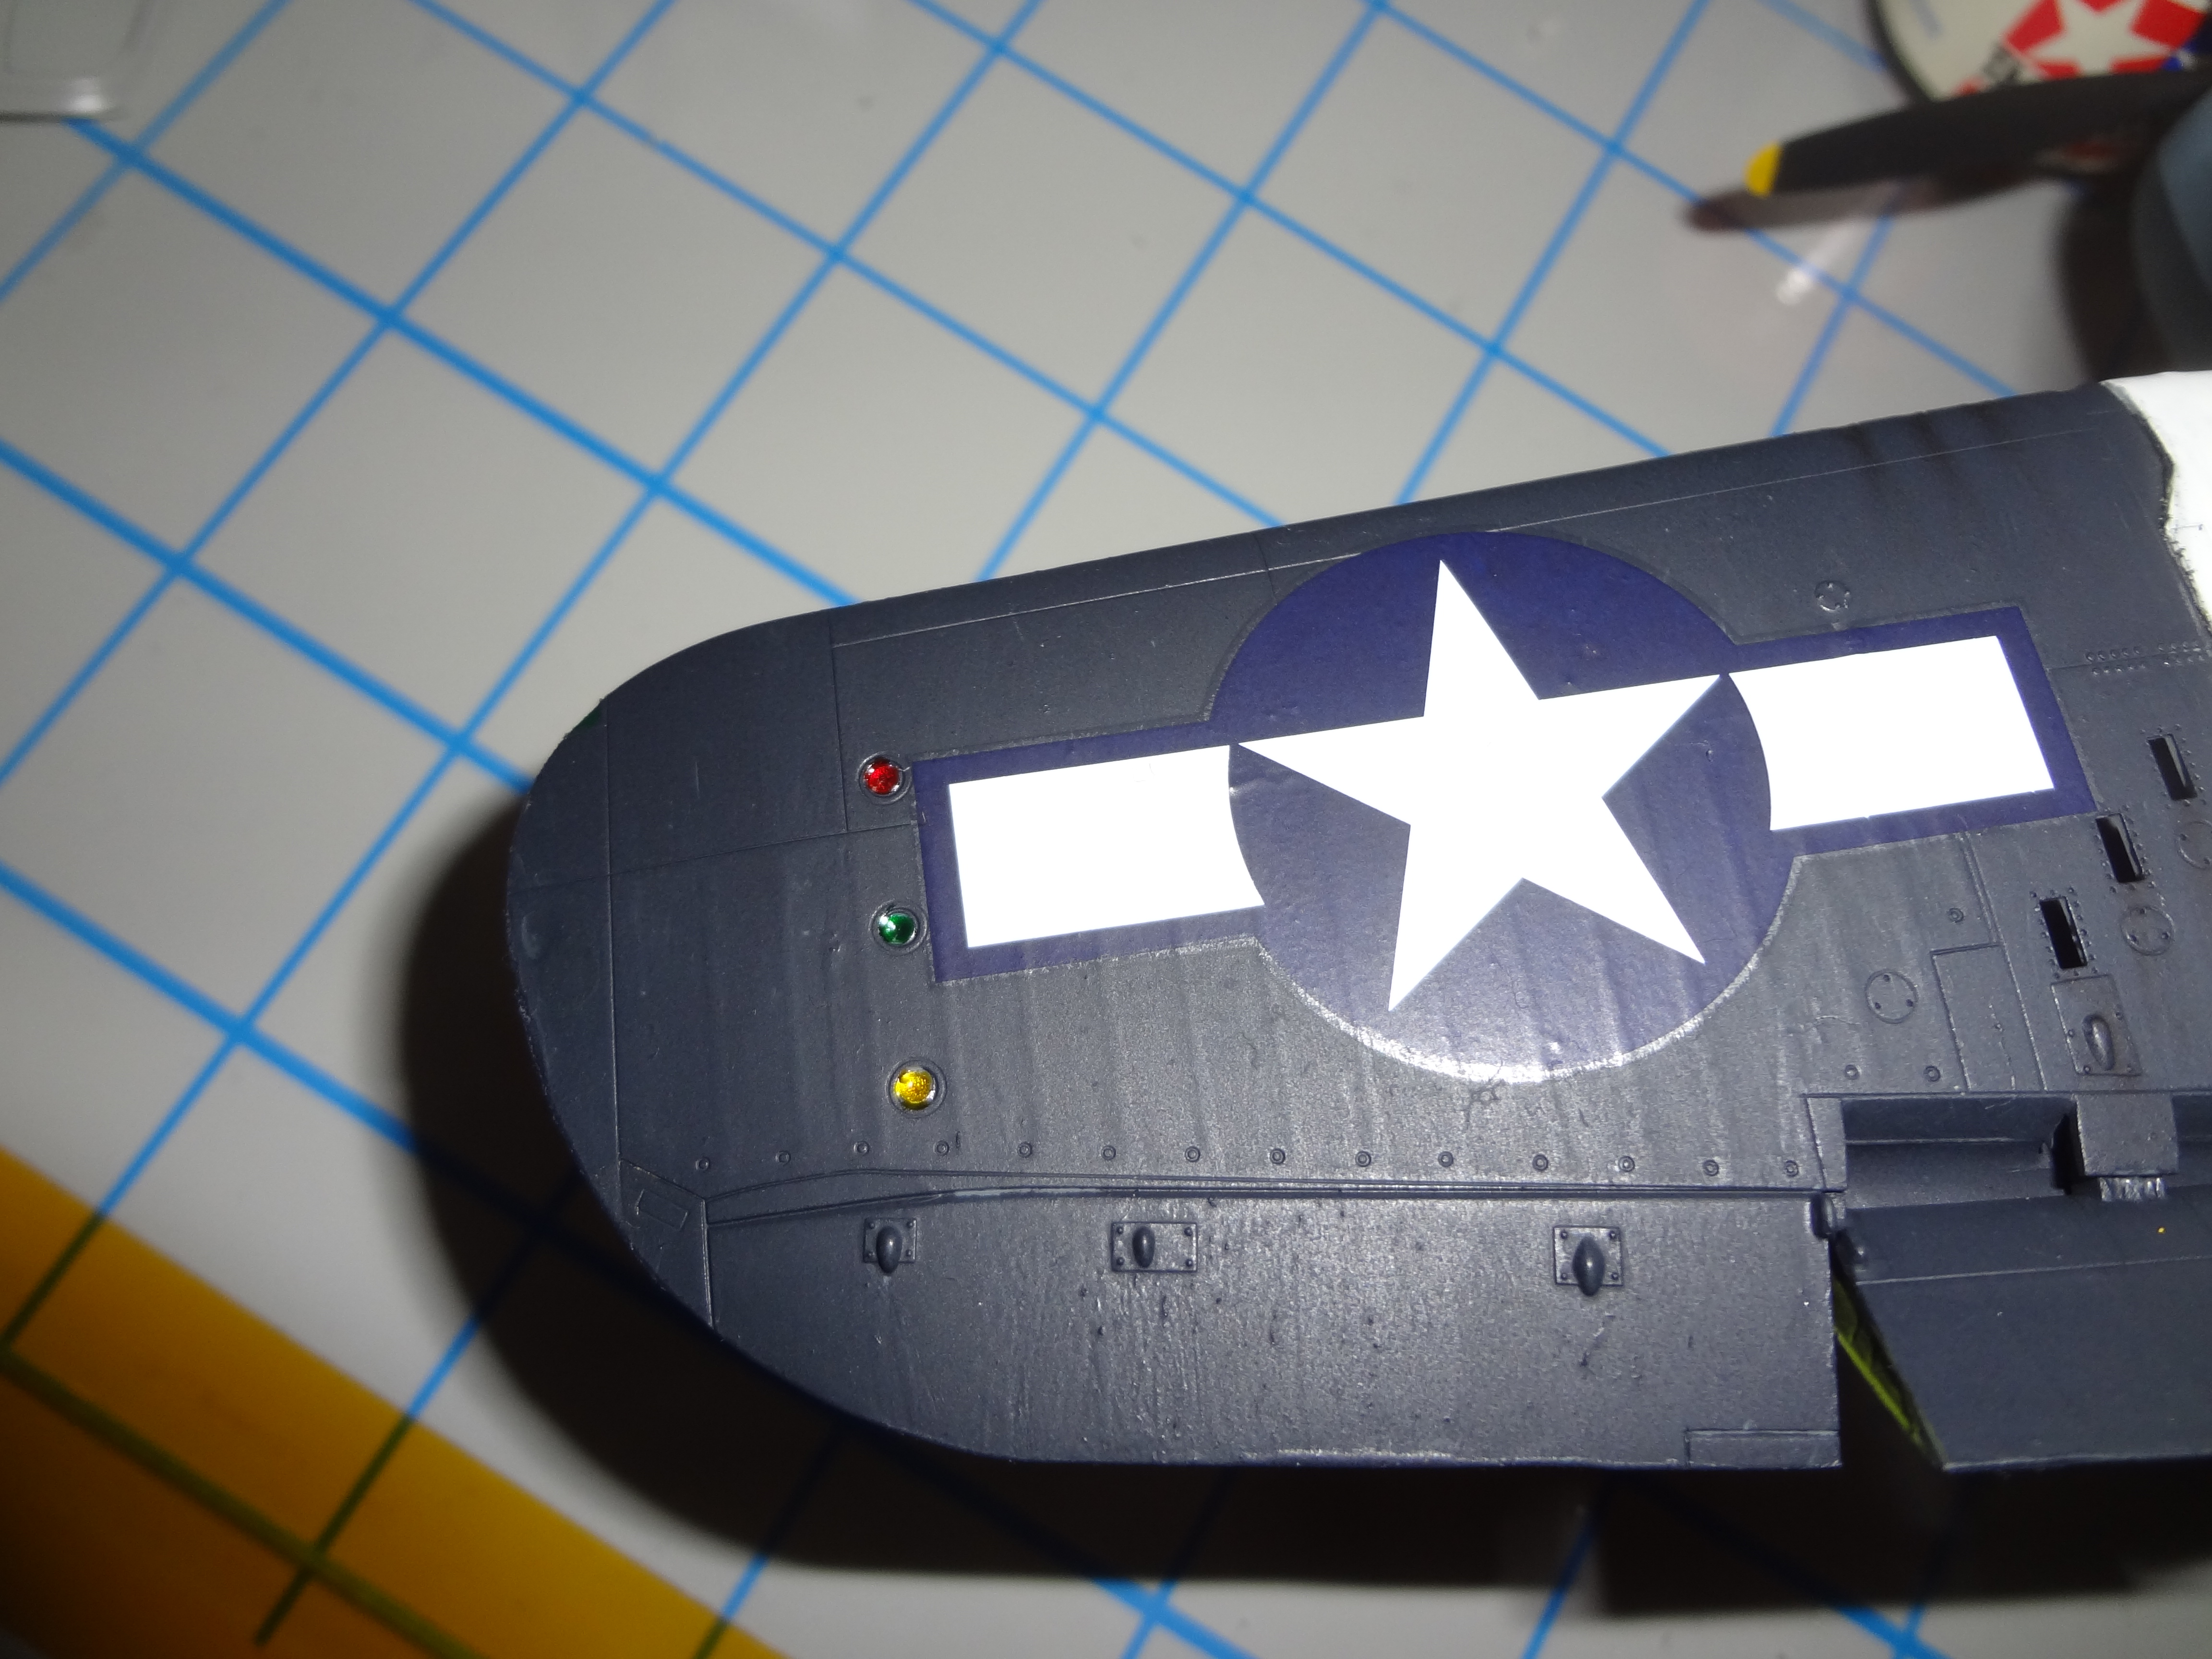
Many aircraft have lights. On WWII aircraft they used a series of lights for night time recognition and many have various lights for formation flying at night. Many times these are represented on models as mold lines or molded in the plastic. I came up with a tutorial on how to make these more realistic using Acrylic Gel Medium and Tamiya clear paints. You can see the tutorial on my website at https://davidsscalemodels.com/tips-and-tricks/recognition-lights/ Here are some pictures to see how they look:
- 1 reply
-
- 1
-

-
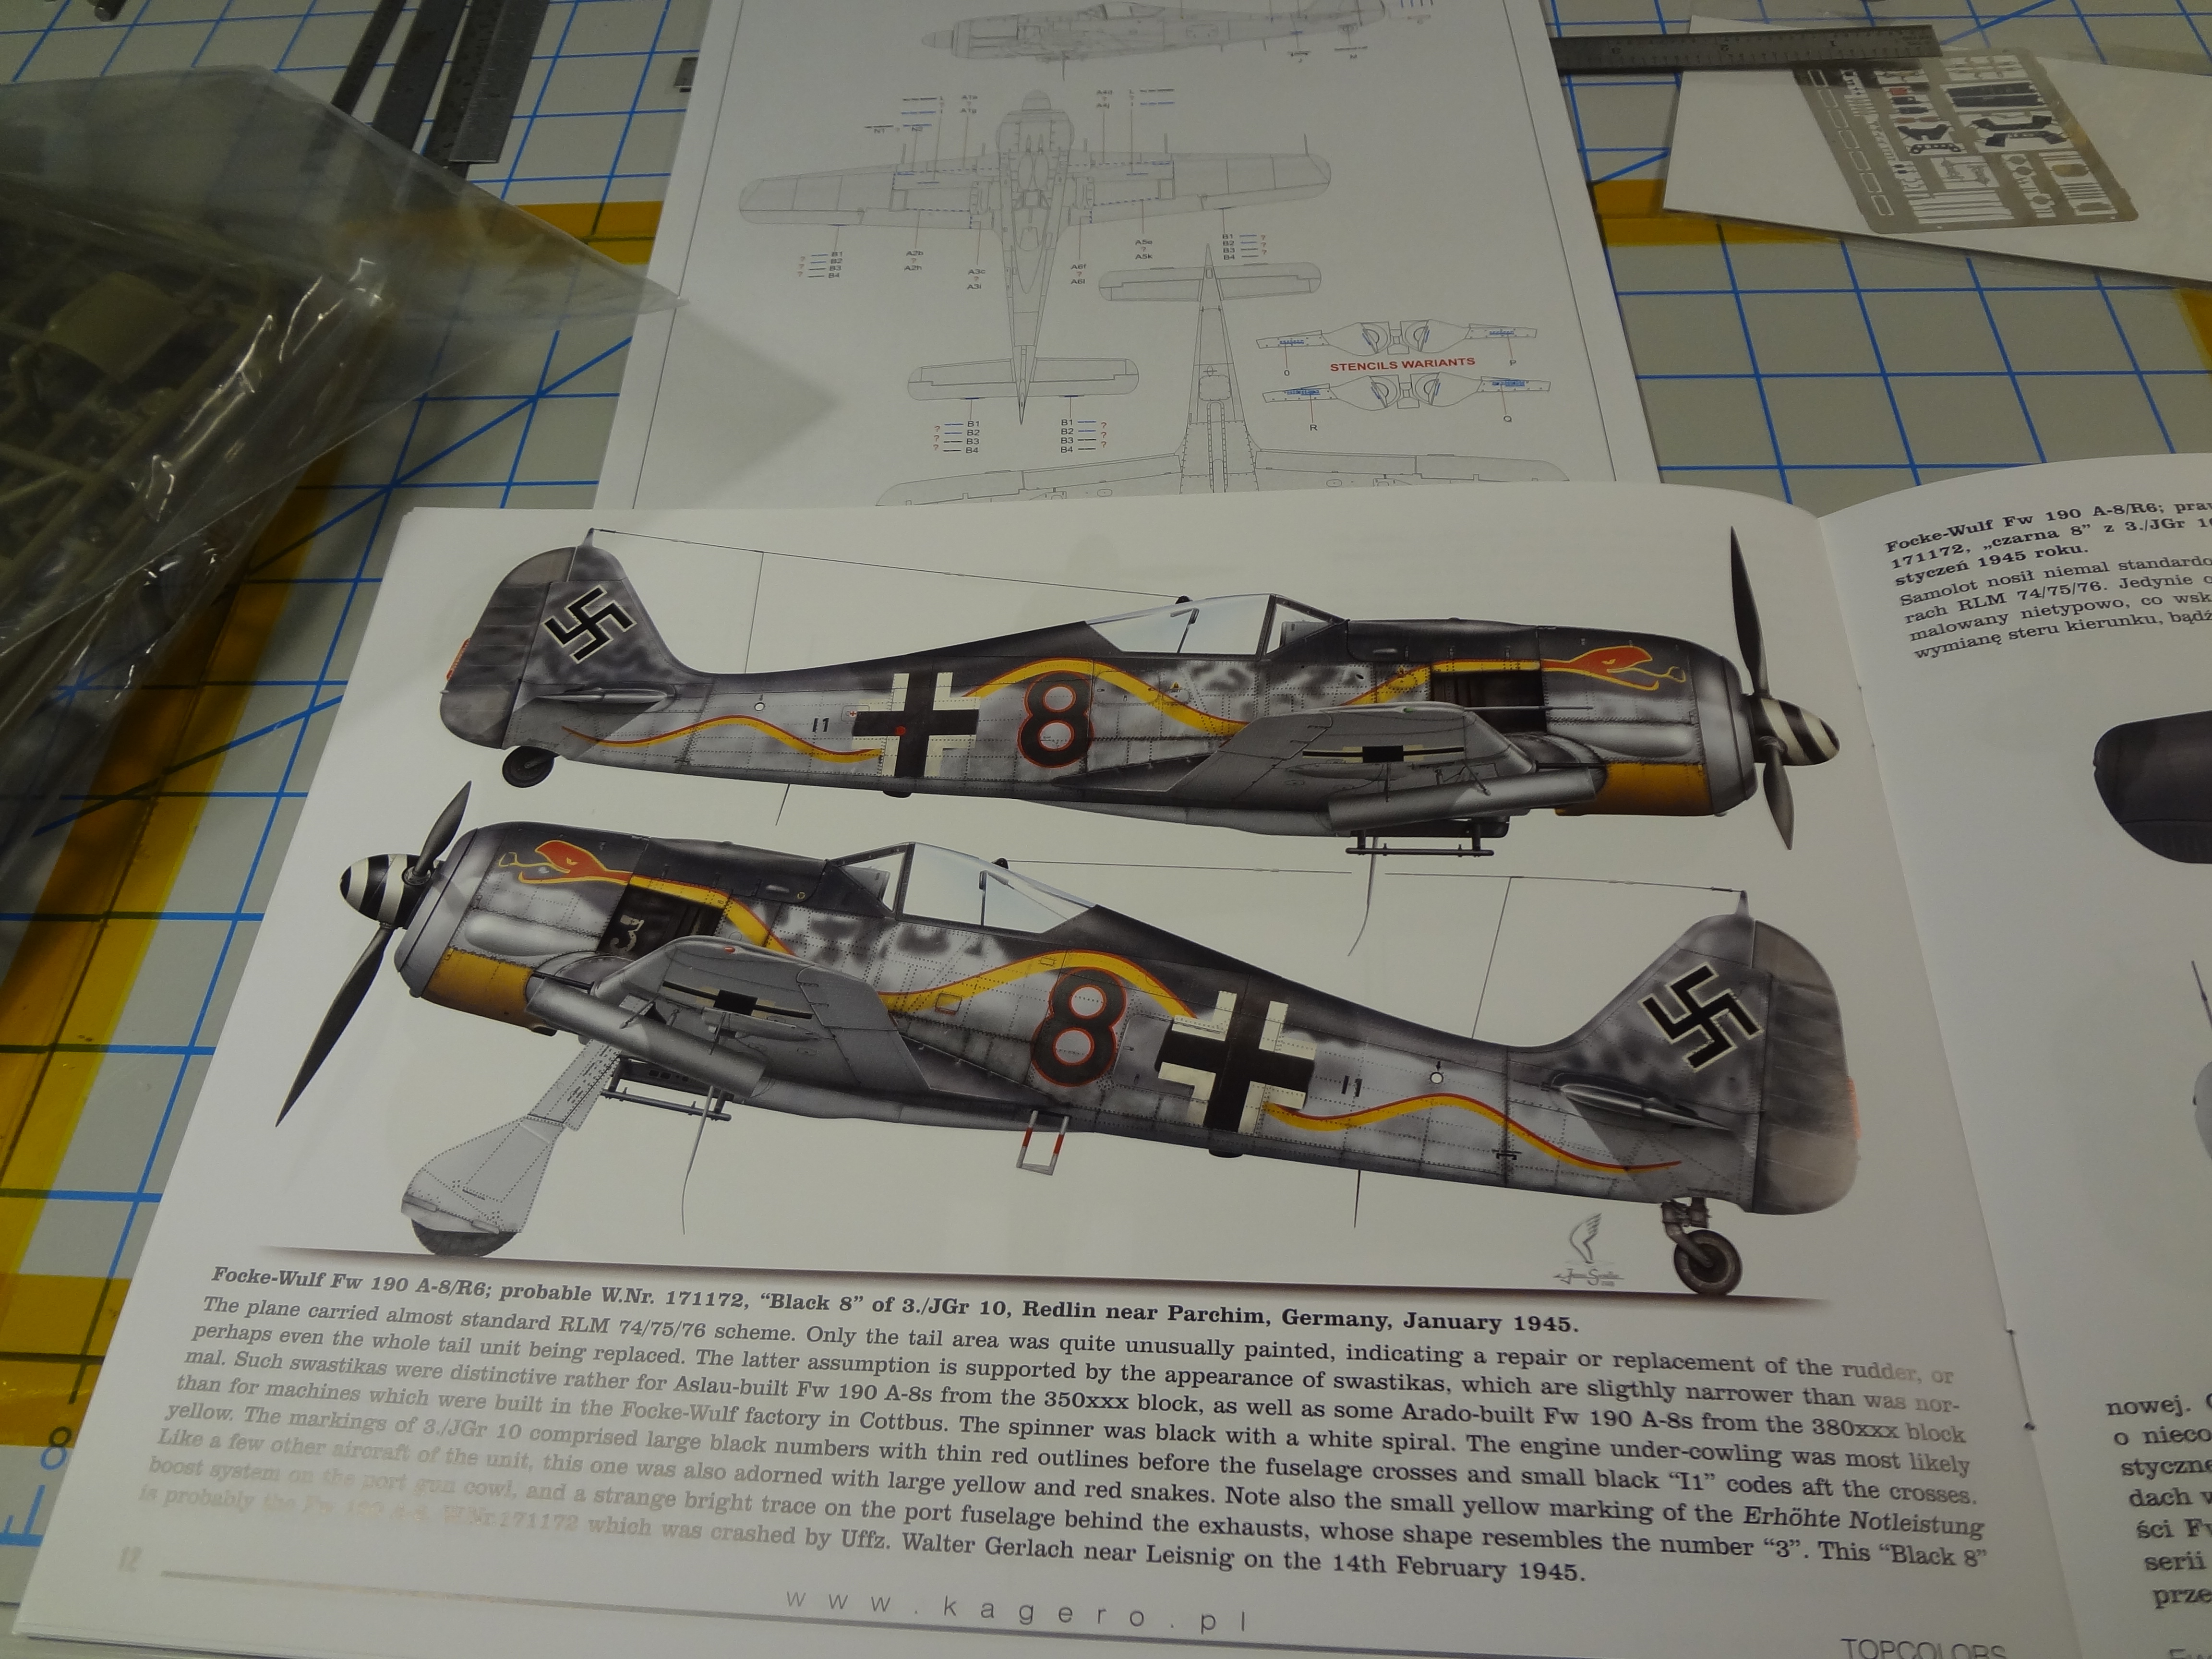
Yes you can locate them. Here is a link to one place that has it http://www.brookhursthobbies.com/Product-Listing.cfm?C=8&D=2001&N=10&M=KAGERO&S= If your Stuka is 1/72 or 1/32 I have the decals. The sets come with 8 schemes in 3 scales.
-
Well I must say this kit has been a challenge but it came out pretty good. The Cartigraf decals are awesome. Here are the final photo's. You can see the entire build at https://davidsscalemodels.com/build-log/fw-190a-8/
-
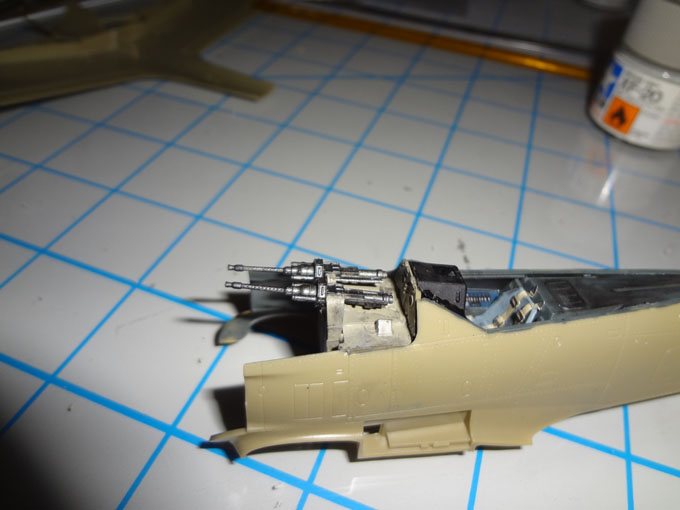
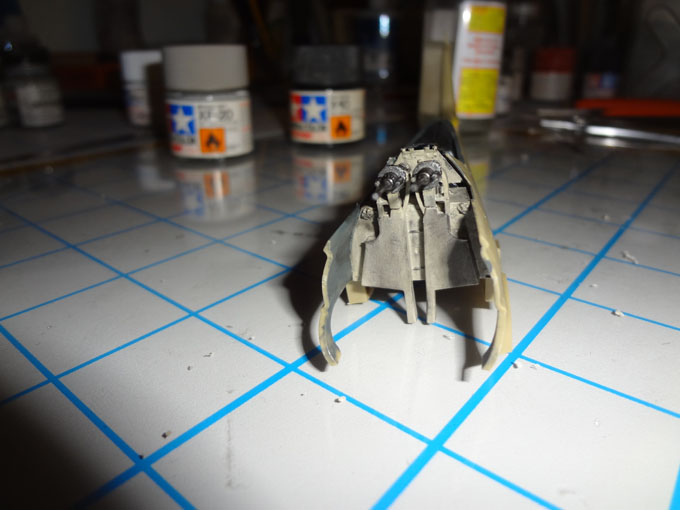
The fit issues just keep coming with this kit. I attached the wings and there were many gaps to the rear wing root. Lots if filling and sanding. The engine is now together and installed. This is turning into a good/bad. Fit issues but the detail of things appears good. Working on the cowl now. Doing a dry fit of the cowl has revealed that the cowl guns are 1.5mm too high. Need to do some trimming and adjustments to get the cowling to fit properly. More photo's at https://davidsscalemodels.com/build-log/fw-190a-8/
-
I now have the fuselage together. I would like to state a word of caution. Do not assemble the firewall/gun bay per the instructions. You need to put the fuselage together then assemble the gun bay in pieces to get it to fit. You will need to tape the lower wing so you can align the dump chute from the ammo boxes to the ports on the lower wing. I had to cut the back wall off and do some trimming to fit it properly. Still need to do some sanding and paint touch up. While I was letting the fuselage set I started on the lower wing. It does have some nice details so far. You can see all the build pictures at https://davidsscalemodels.com/build-log/fw-190a-8/
-
Started on a 1/48 FW-190A-8 from Eduard. I will be using Cartigraf's Top Color # 38 decal set. Started on the main cockpit last night. Mostly assembled, just need to do some weathering/highlighting. More build photo's at https://davidsscalemodels.com/build-log/fw-190a-8/
-
The decals did silver a bit. I bought this kit used at a swap sale and used the original decals. They were a little difficult to use due to age and they are a thick film. I should have bought a fresh quality aftermarket set.
-
The F-15E Strike Eagle has been completed. For an older Revell model it was a decent kit to build. Fit was very good. You can see all the build and final photo's at https://davidsscalemodels.com/build-log/1-48-revell-f-15e-strike-eagle/
-
Airfix 1/48 Walrus, best method for rigging?
Wolfman63 replied to ju52junk's topic in General Modeling
EZ Line is a great product for doing aircraft (and ship) rigging. Here is a link to the Wingnuts website that has a very good tutorial on rigging a biplane with EZ-Line. http://www.wingnutwings.com/ww/productdetail?productid=3046&cat=6 -
Another idea would be to take close up photo's of the model that doesn't include the tail then take a photo a distance away or at an angle where the details of the tail art is not easily defined. I would think this would be acceptable. A high resolution close up of the tail art would be different. Typically decal sets with nose art are not age restricted when you buy them and the images of the decal sets can be seen on the websites that sell them. But again it is up to the website to set the guidelines.
-
Yes, The cockpit dashboards, side panels, foot pedals, and ejection handles are the Eduard PE. There is also PE in the same set for the landing gear, canopy, and Missiles.
-
Working on the Revell F-15E Strike Eagle kit. This is my first build for my new website ( https://davidsscalemodels.com/ ). Using the Eduard cockpit detail kit, Quick Boost ejection seats, and the Ares resin Turkey Feather exhaust. The cockpit is looking good. I had to add a spacer under the resin seats to raise them to the proper height. The Ares resin exhaust cans are built and detailed.
-
Yes, I will still post threads here on my builds/completions. I just did the website so I have everything in one location and can link pictures from one source. Also so anyone new who would like to see my past work can go to the website instead of searching historical threads.
-
I post my builds on many websites and have galleries on a few as well. Since I typically build 10-15 models a year I decided to make a blog style website so that I have all the information and photo's in one location. The website is: https://davidsscalemodels.com/ So now if you follow one of my builds or see a completed build here and would like to see previous builds you can visit my website and see them. This website will also serve as a source of my methods that I use. An example would be on making recognition lights on aircraft look realistic. ( see https://davidsscalemodels.com/tips-and-tricks/recognition-lights/ ) Finally it gives me a source to link the photo's of my posts here without relying on third party websites that may have changes. (Like when photobucket changed their policies) Please take a few moments and check out my site and feel free to let me know what you think. Thanks. Photo link test:
-
It is a Sony DSC-WX9 cybershot camera. It's just a compact camera but it takes nice pictures.
-
Just completed a 1/48 A-26B as a Memorial to a friends father who passed away last month. I was able to gather information that he was a crew chief of an A-26B at the Marianna Army Air Field in Florida at the 137th Training Command in late 1944 until the command was shut down after VE day.
-
I recently acquired a 1/48 Nichimo Ki-45 Nick on Ebay for $12. I built one back when they first came out in 1979. I always like the kit and when I saw one on Ebay at a bargin price, I grabbed it up.
-
It took me about 3 weeks to build.