MWS
-
Posts
58 -
Joined
-
Last visited
-
Days Won
6
Content Type
Profiles
Forums
Events
Everything posted by MWS
-
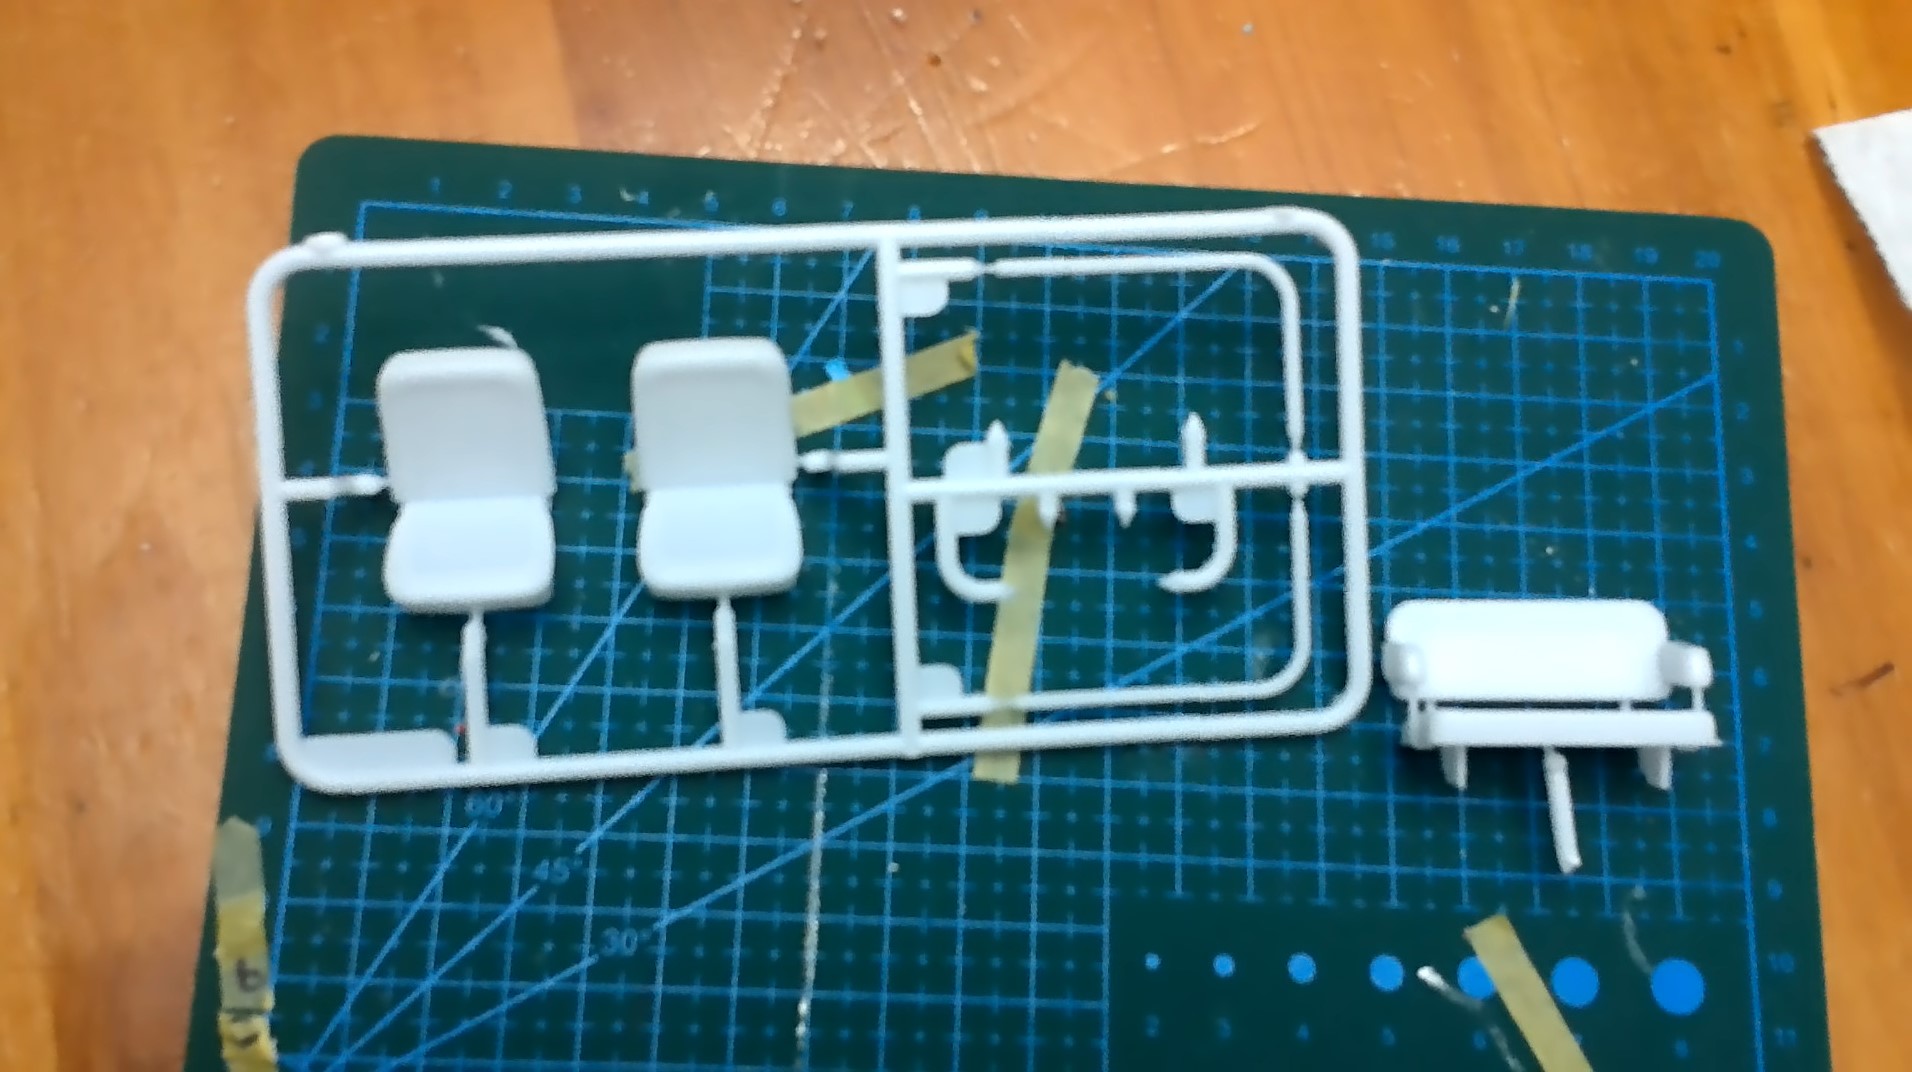
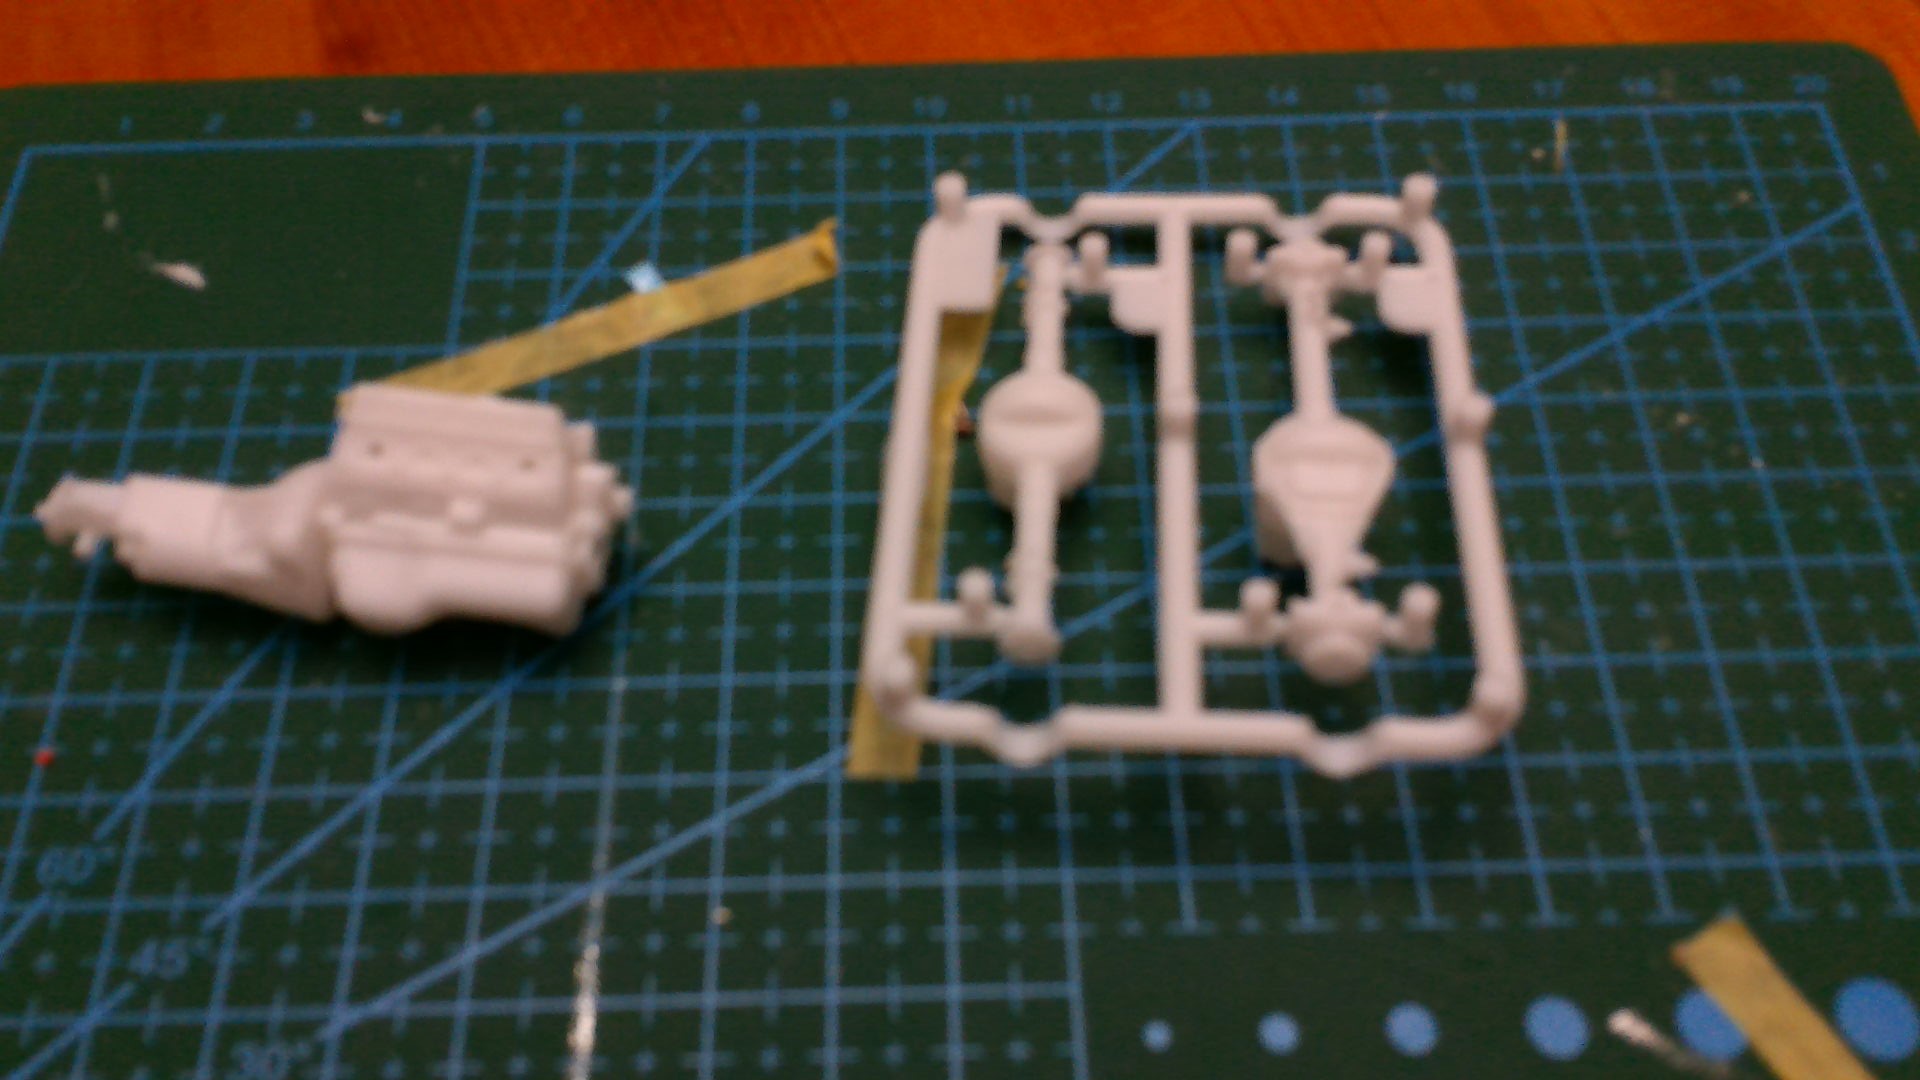
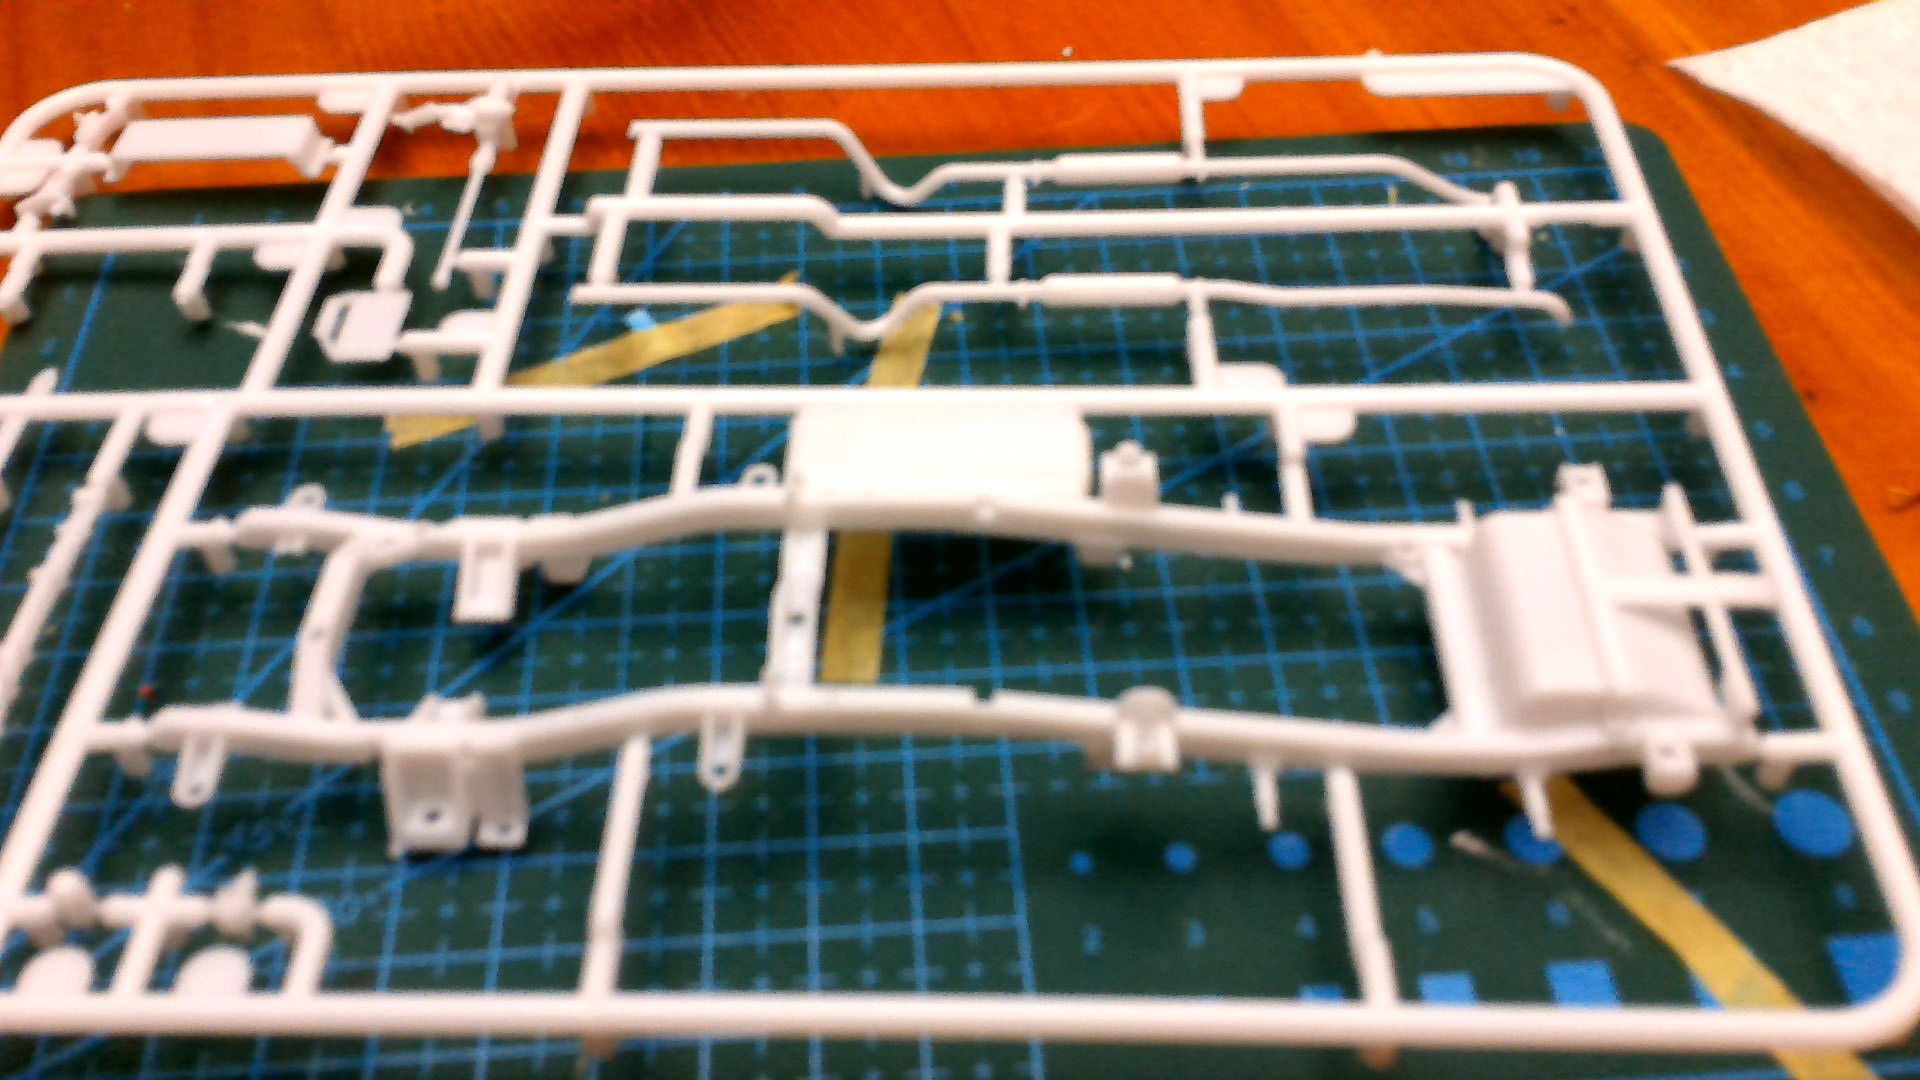
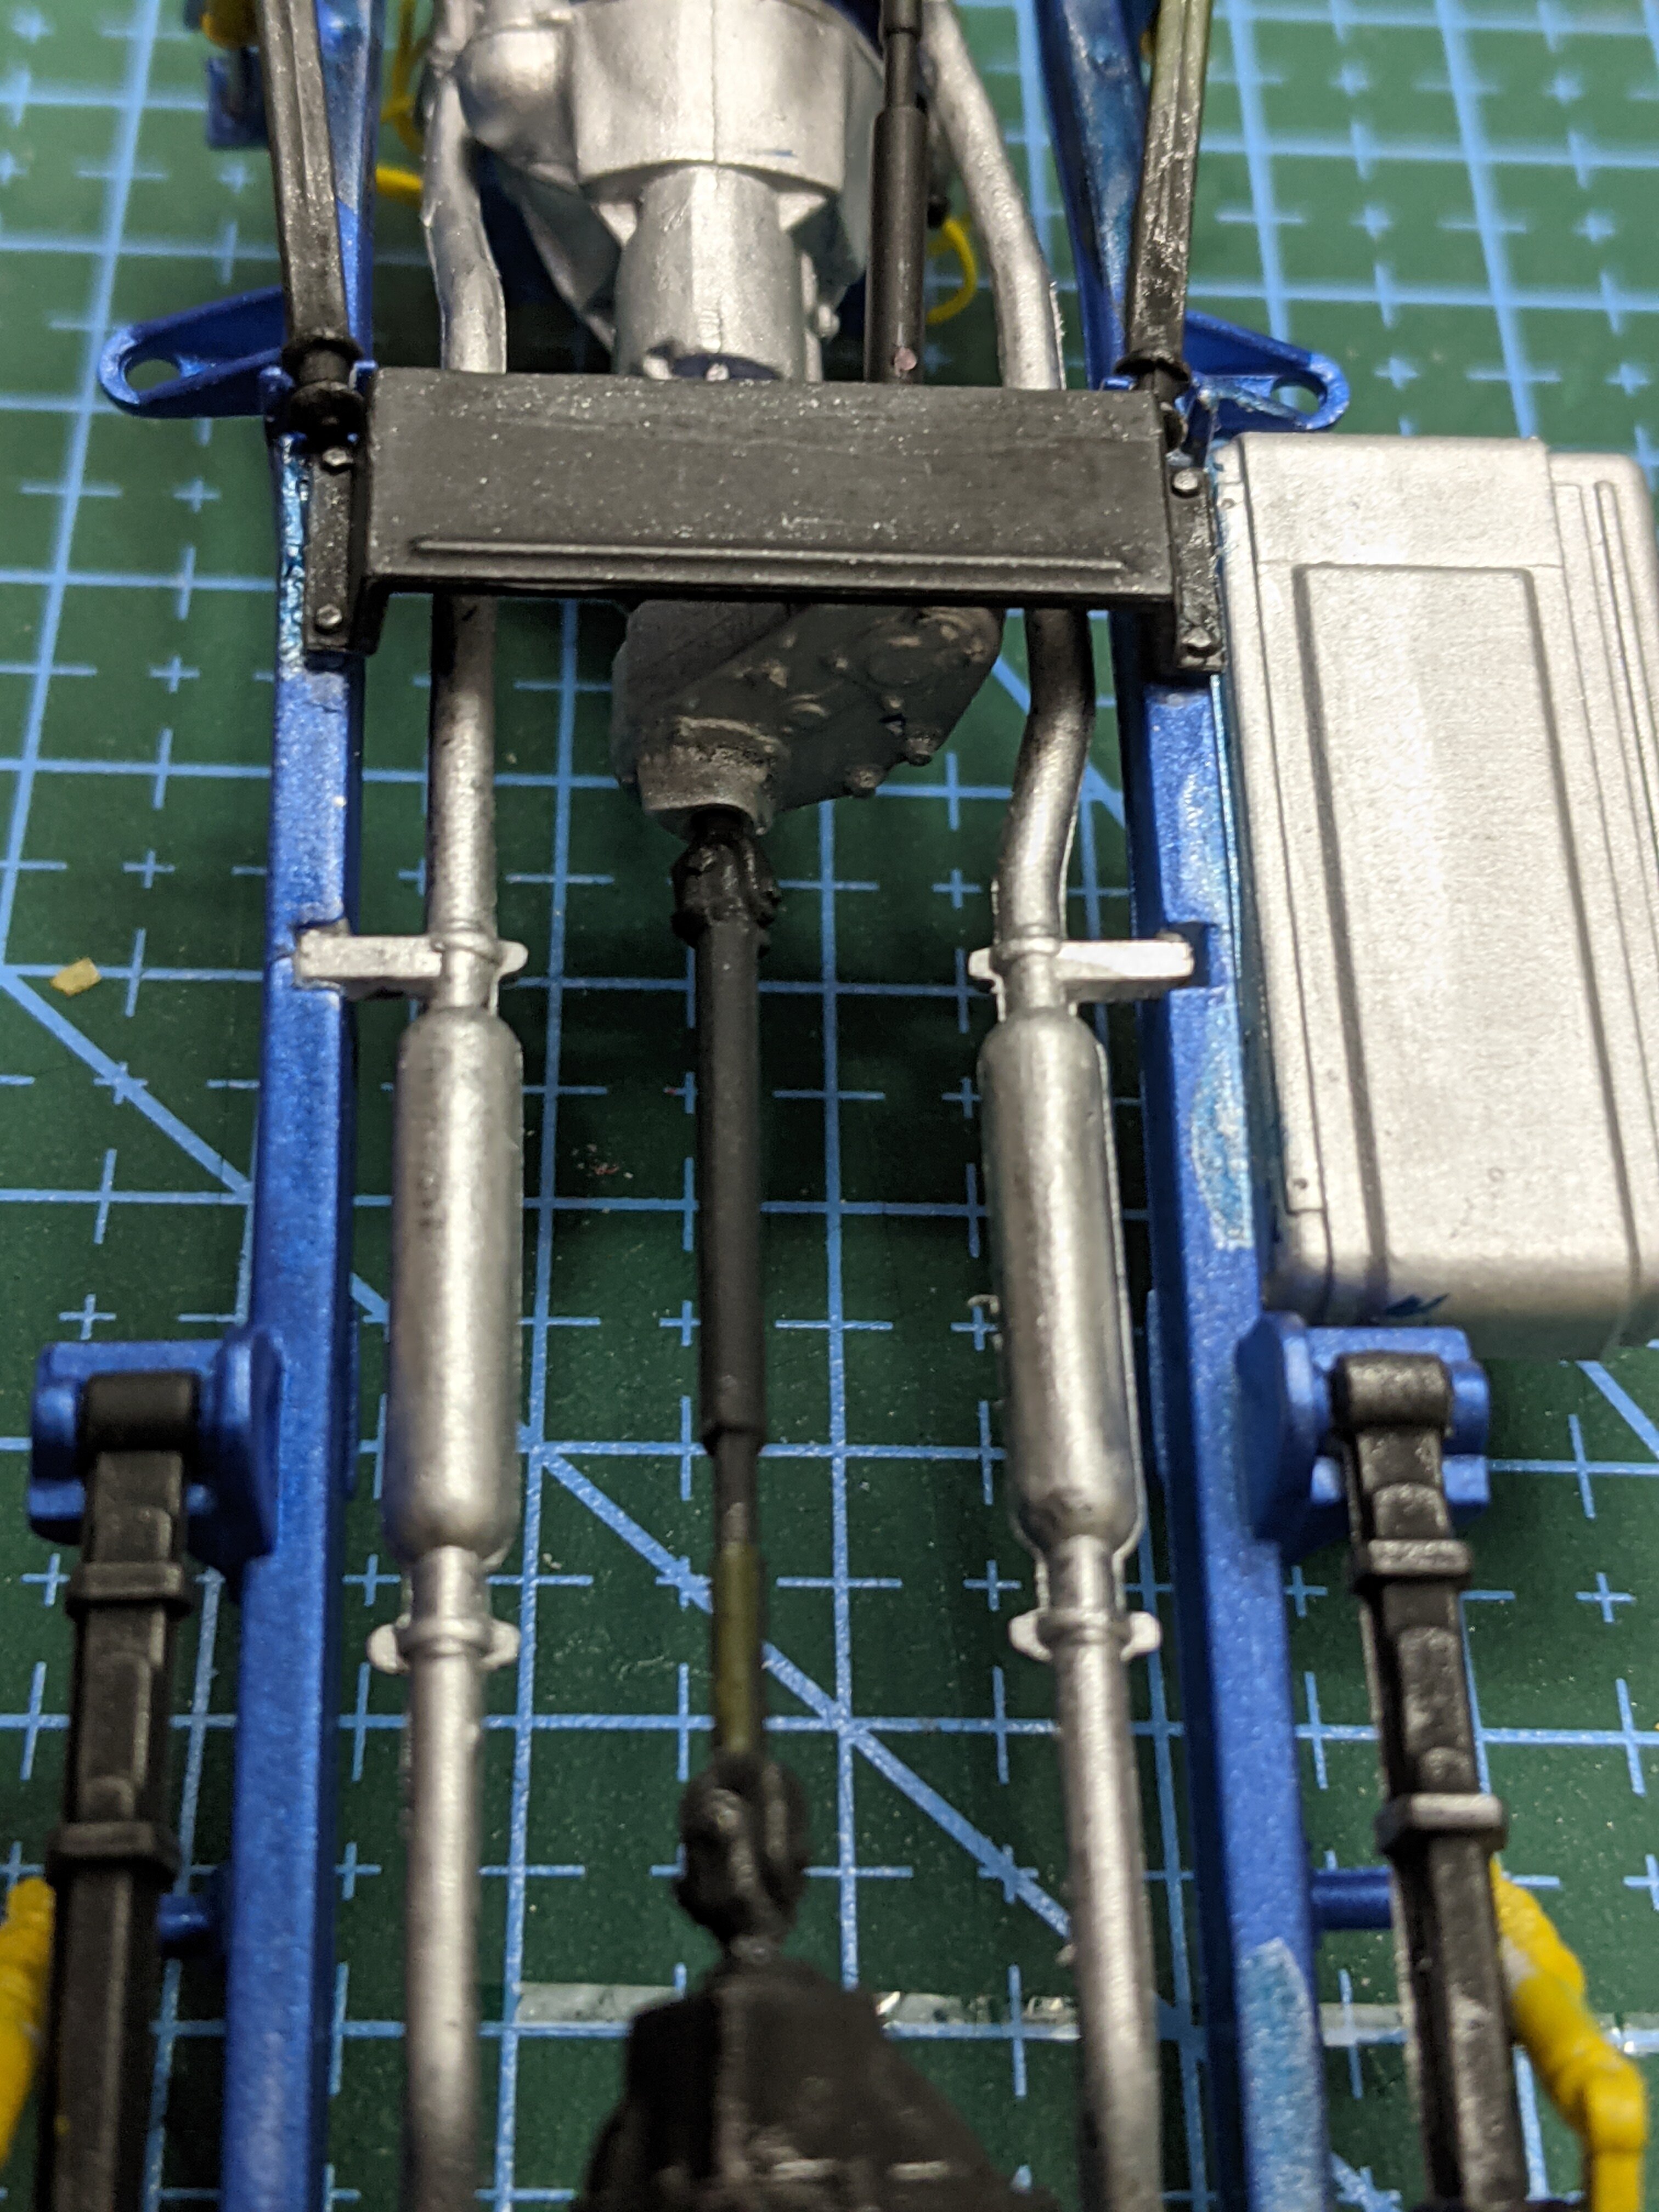
I added the pics to the original post
-
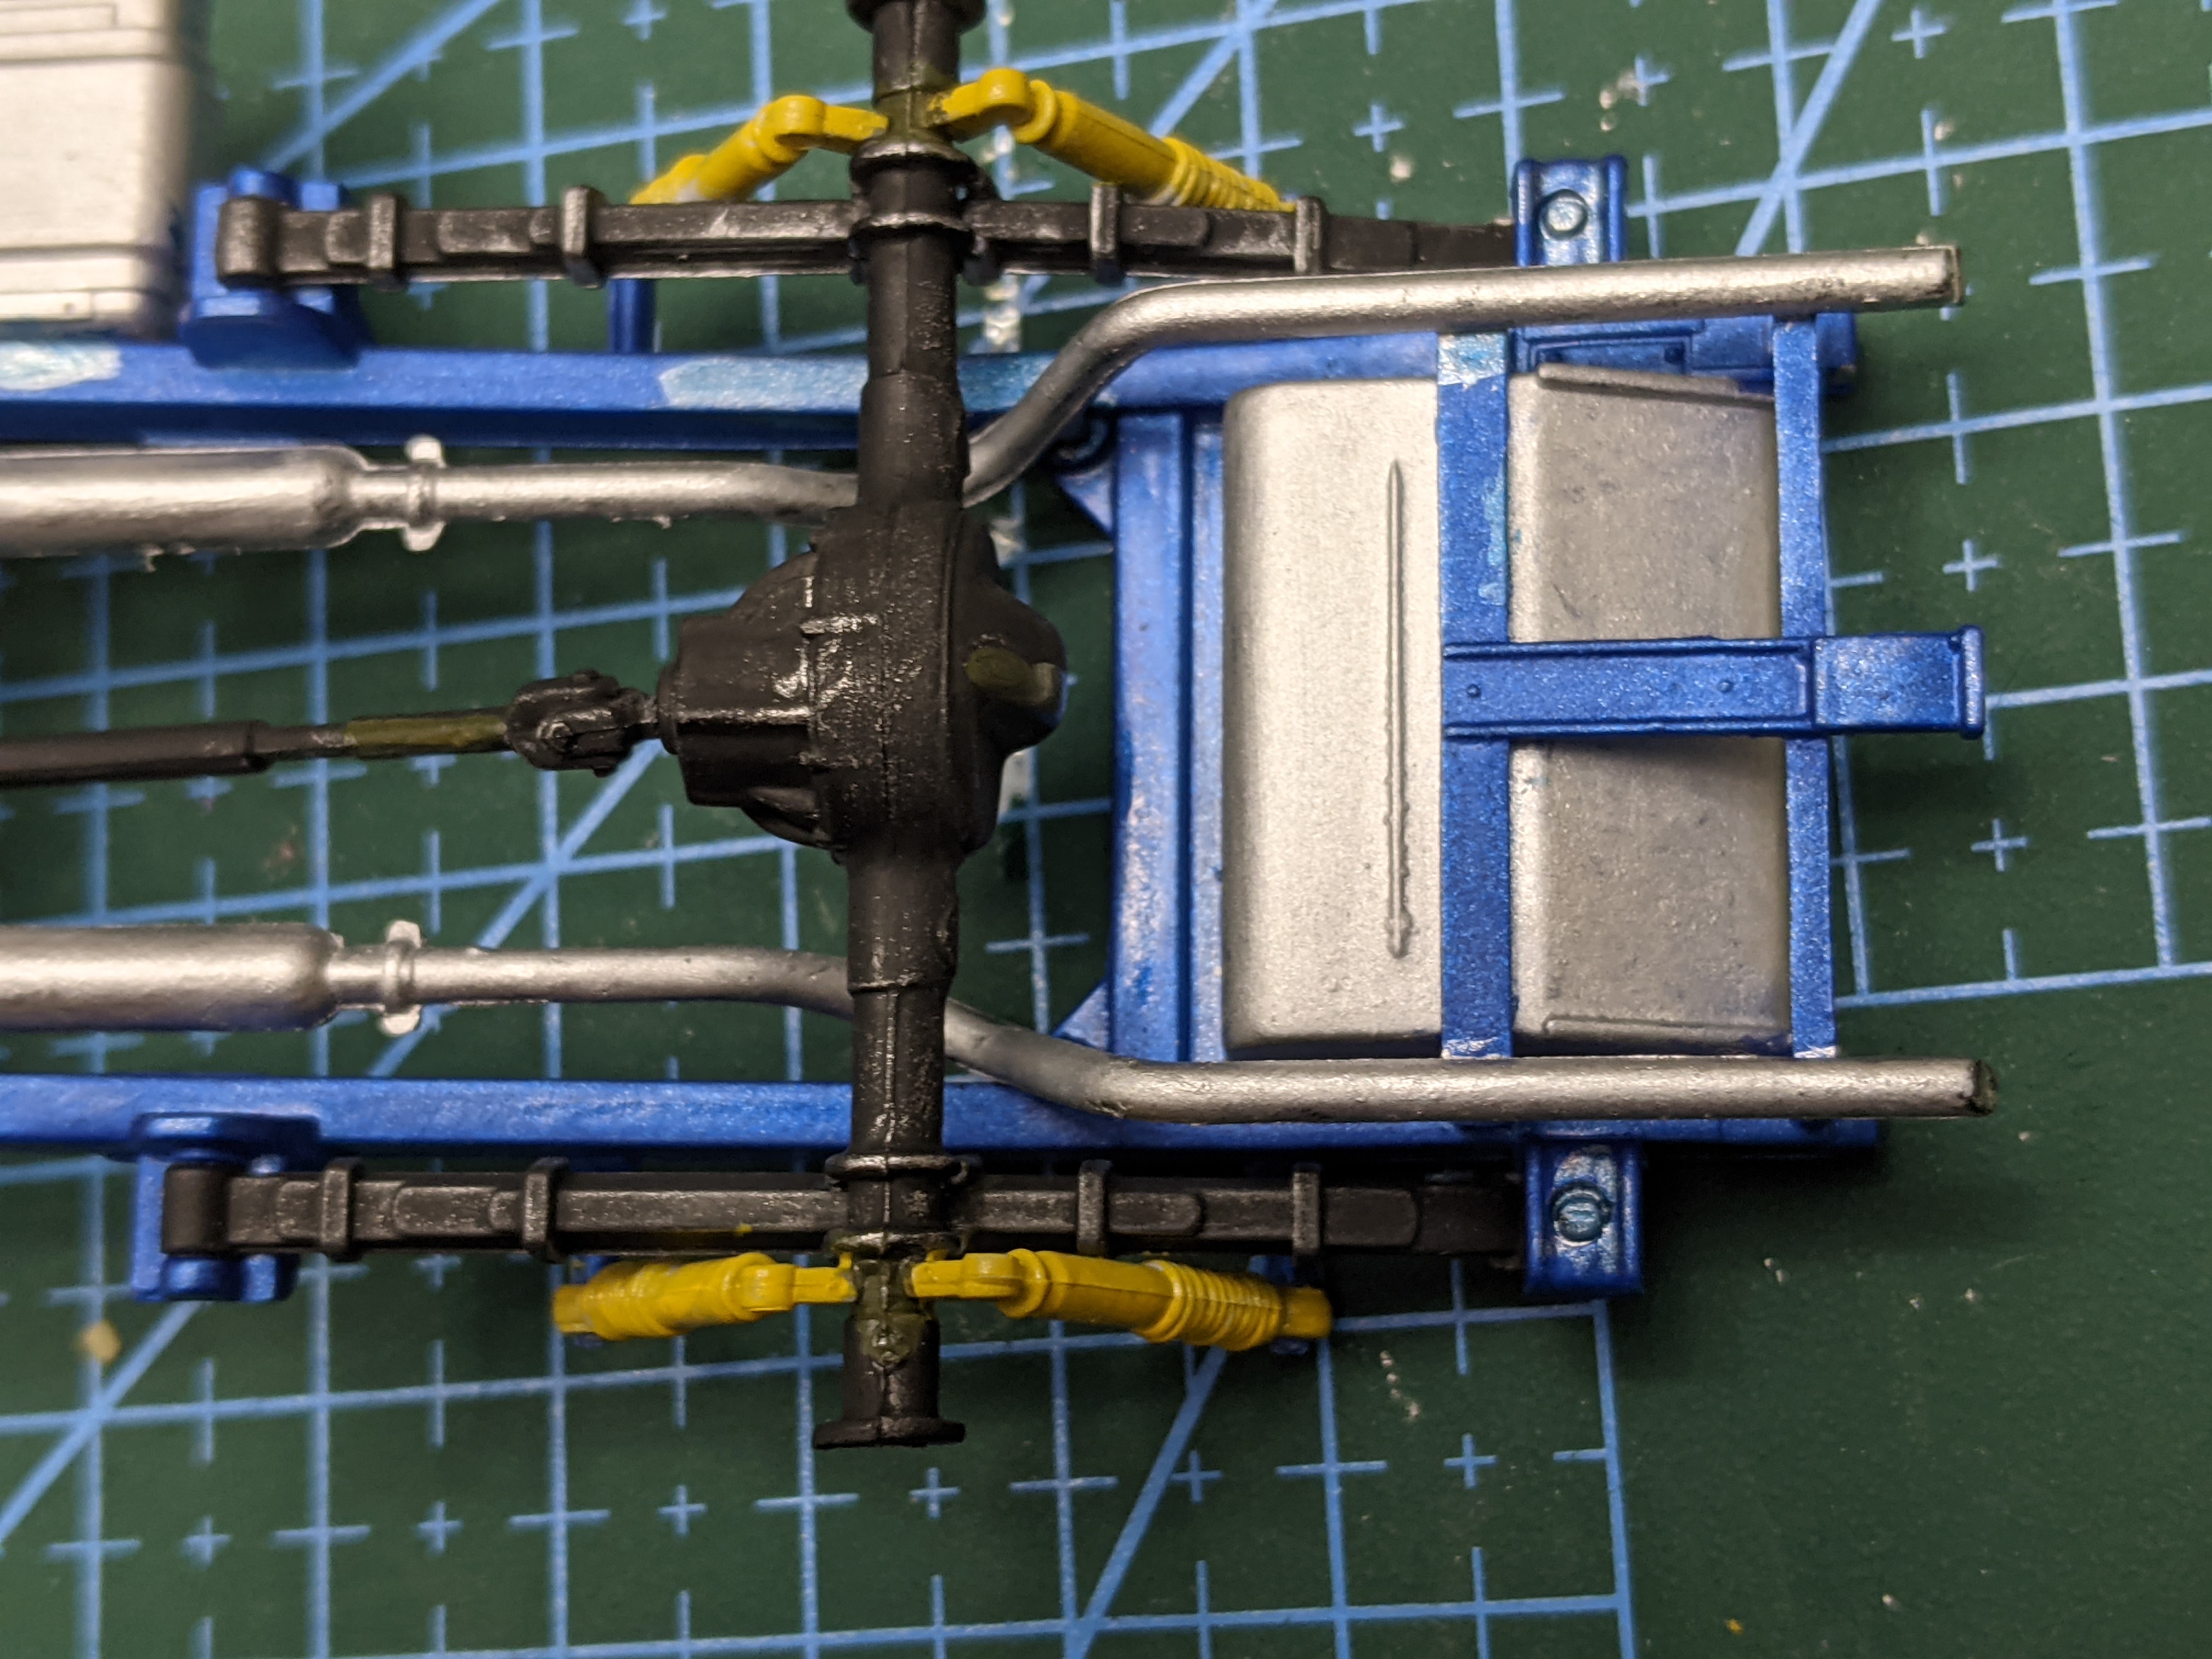
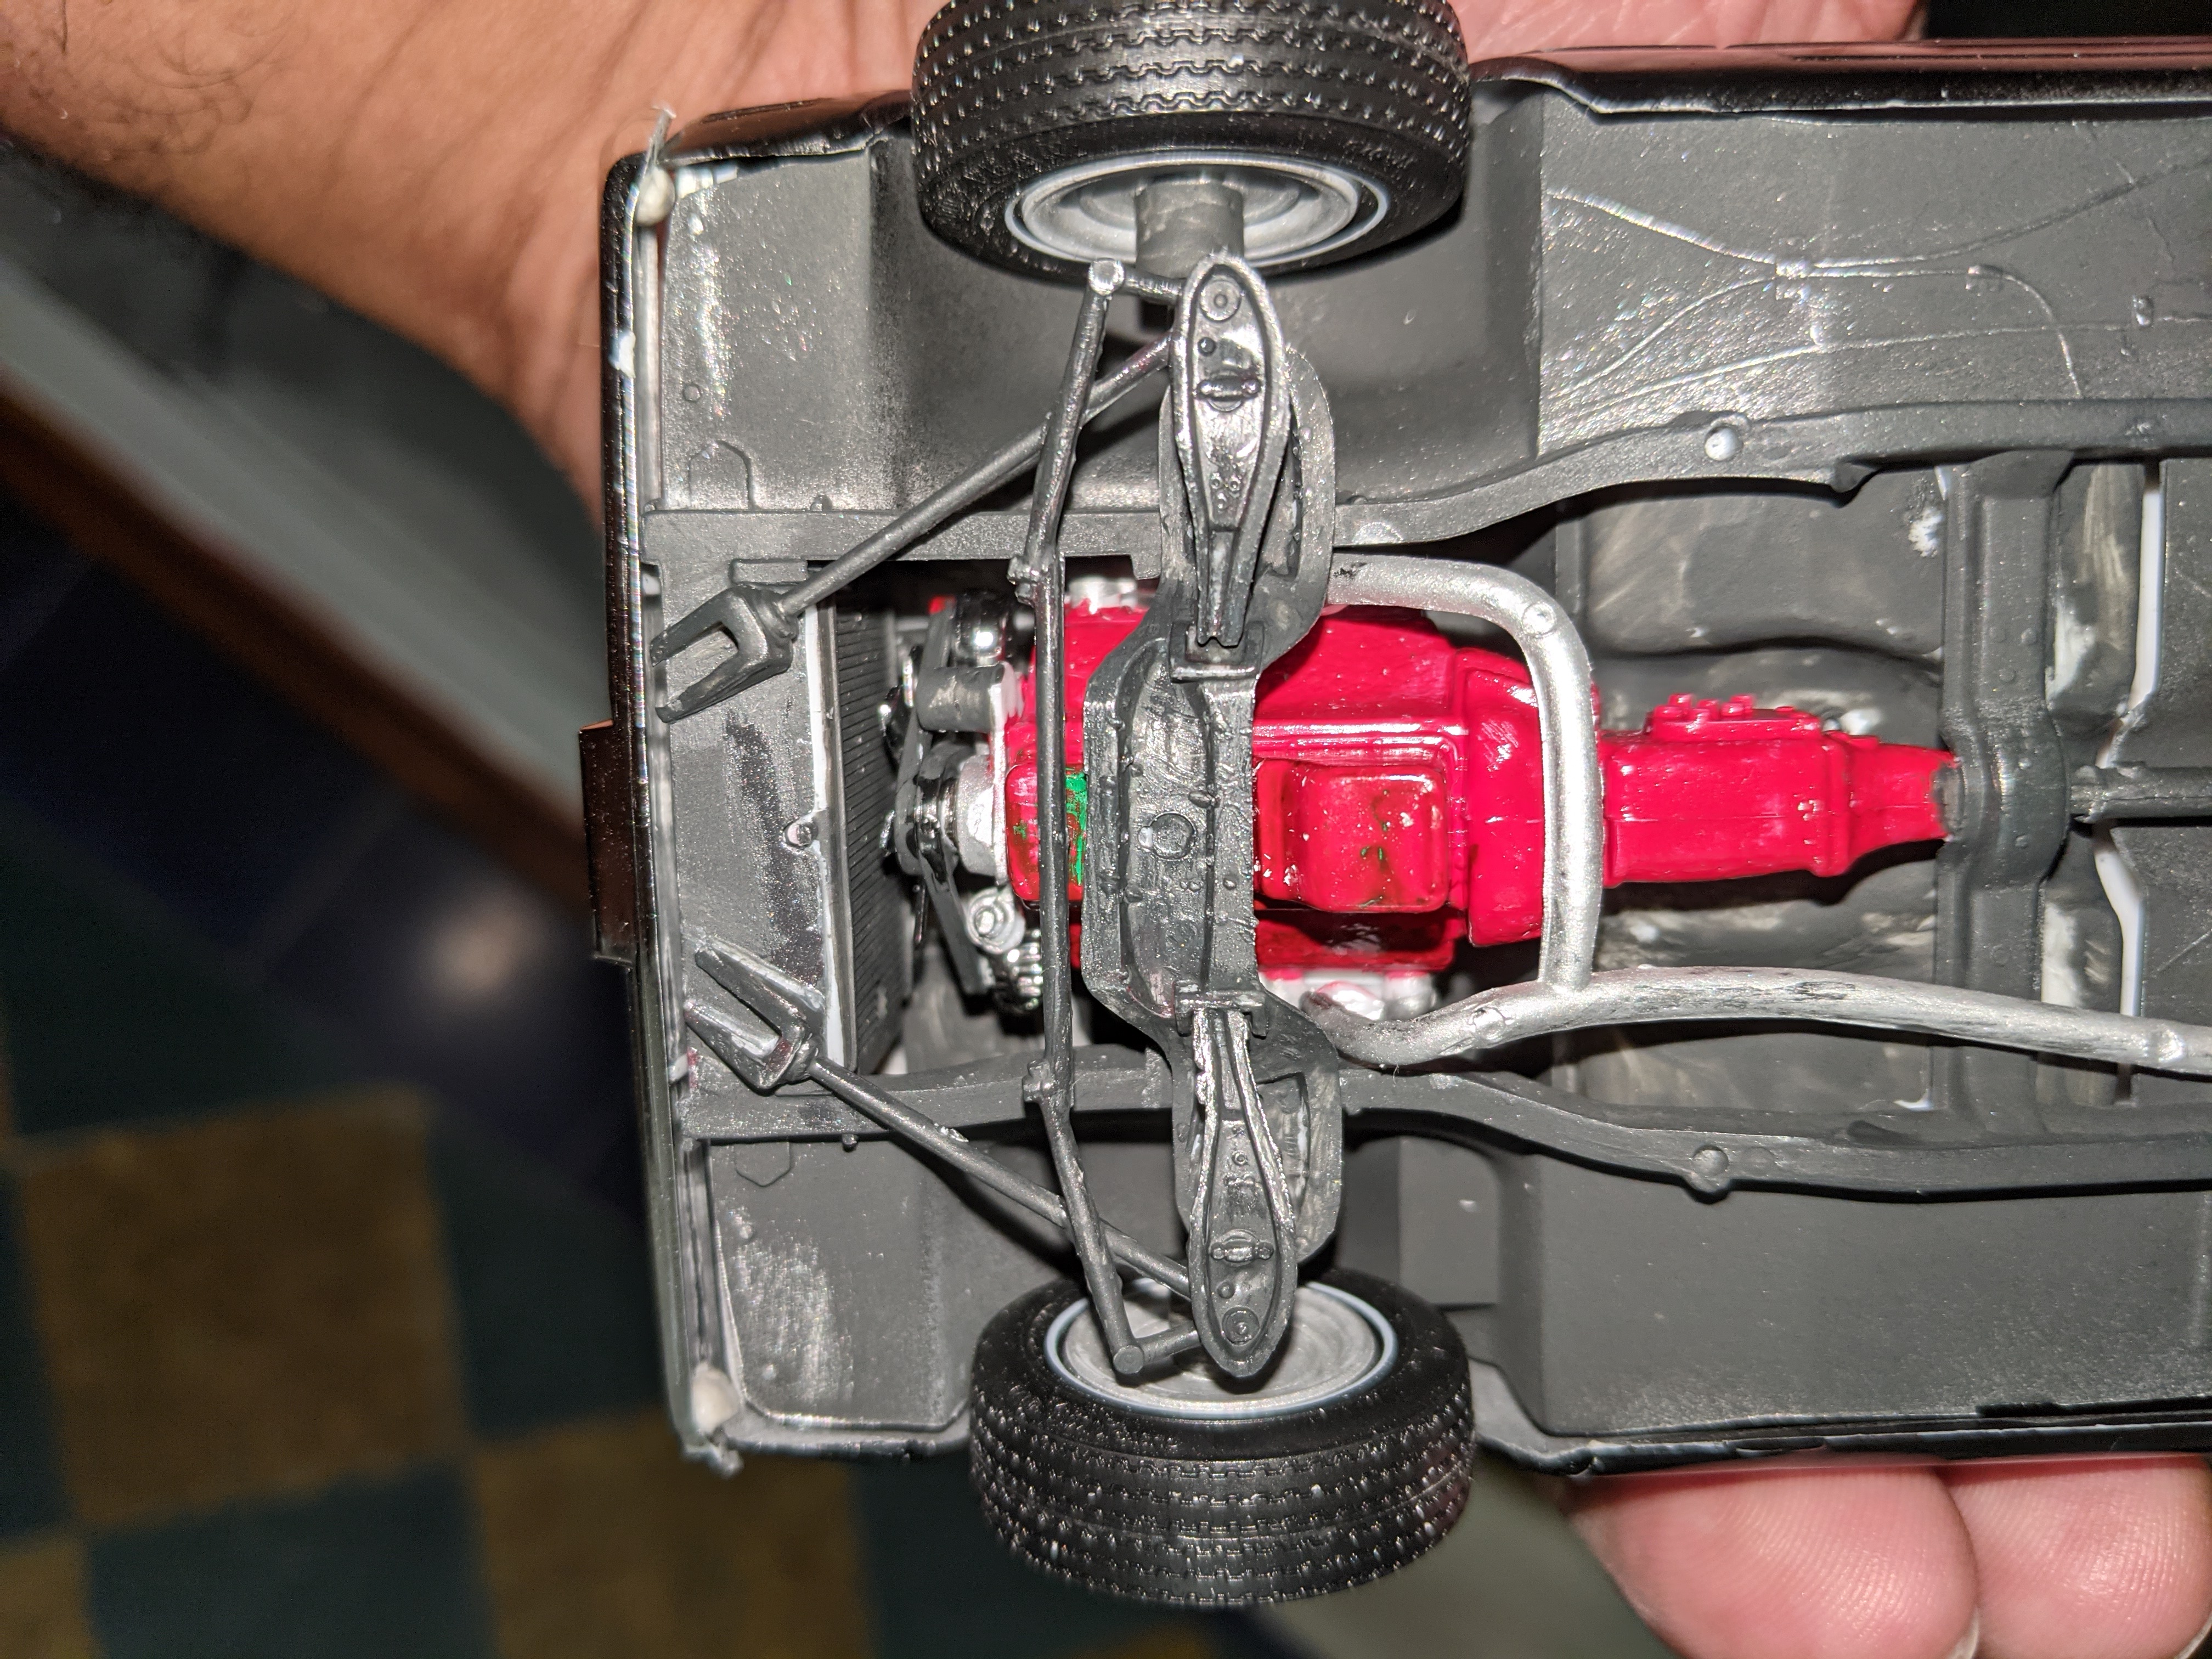
It has been a while since I have done anything on this project. A four letter word got on the way, (WORK). Anyway I decided to paint the frame metallic blue, Tamiya. Added a distributor, sparkplug wires and boots. Wired up the coil and plumbed the vacuum line from the distributor.
-
36 year old Monogram 1970 Dodge Challenger T/A
MWS replied to mustang1989's topic in Cars, Trucks, & Motorcycles
So that was the original wet paint look? man seriously got to up my finish game. it looks like a HOTROD magazine photo shoot. well deserved awards congratulations! -
I was in Michaels looking for Flow Aid and I came across this kit in the limited model section. I have done some of the sub assembly and freed the side windows from the frame. I will post more pics as I accomplish more.

-
No "Screaming Chicken" huh? LOL way nice and wet looking. All my car kits want to grow up to be like yours. The exhaust manifolds and engine details on this are outstanding.
-
Ok one more question, how did you achieve the "cast iron" look on the exhaust manifold?
-
Epic. so much to look at. It looks like you could turn the key and start it up! Did you scratch build the wiring for the plugs and the master cylinder tubes?
-
Thanks, Joseph. that Maverick you did was the inspiration for the repaint. my next project is a 71-73 bronco let's see how that goes.
-
Thank you David, can't wait to see...
-
Got this kit for Christmas in 2019. I built it but was not happy with the paint job. It looked like I painted it with a crayon. So after my last project, I took it apart and sanded it down to body in white. Original paint job was Testors acrylic blue. The new color is 1 part Tamiya flat aluminum, 1 part Tamiya flat white, 1 part Tamiya nato black, and 1 part Tamiya thinner. The resulting color, which my wife approved, was compounded then waxed. I will include a pic of the original paint job.
-
Dyno Don Maverick-1 Year Project-Finished!!
MWS replied to mustang1989's topic in Cars, Trucks, & Motorcycles
Sweeeeet. Awesome Maverick. -
Very, very nice. Look like you could get in and drive. I built one when I was a kid, and if I remember correctly MPC did it 1/16 scale. What scale is your kit
-
Thank you Joseph.
-
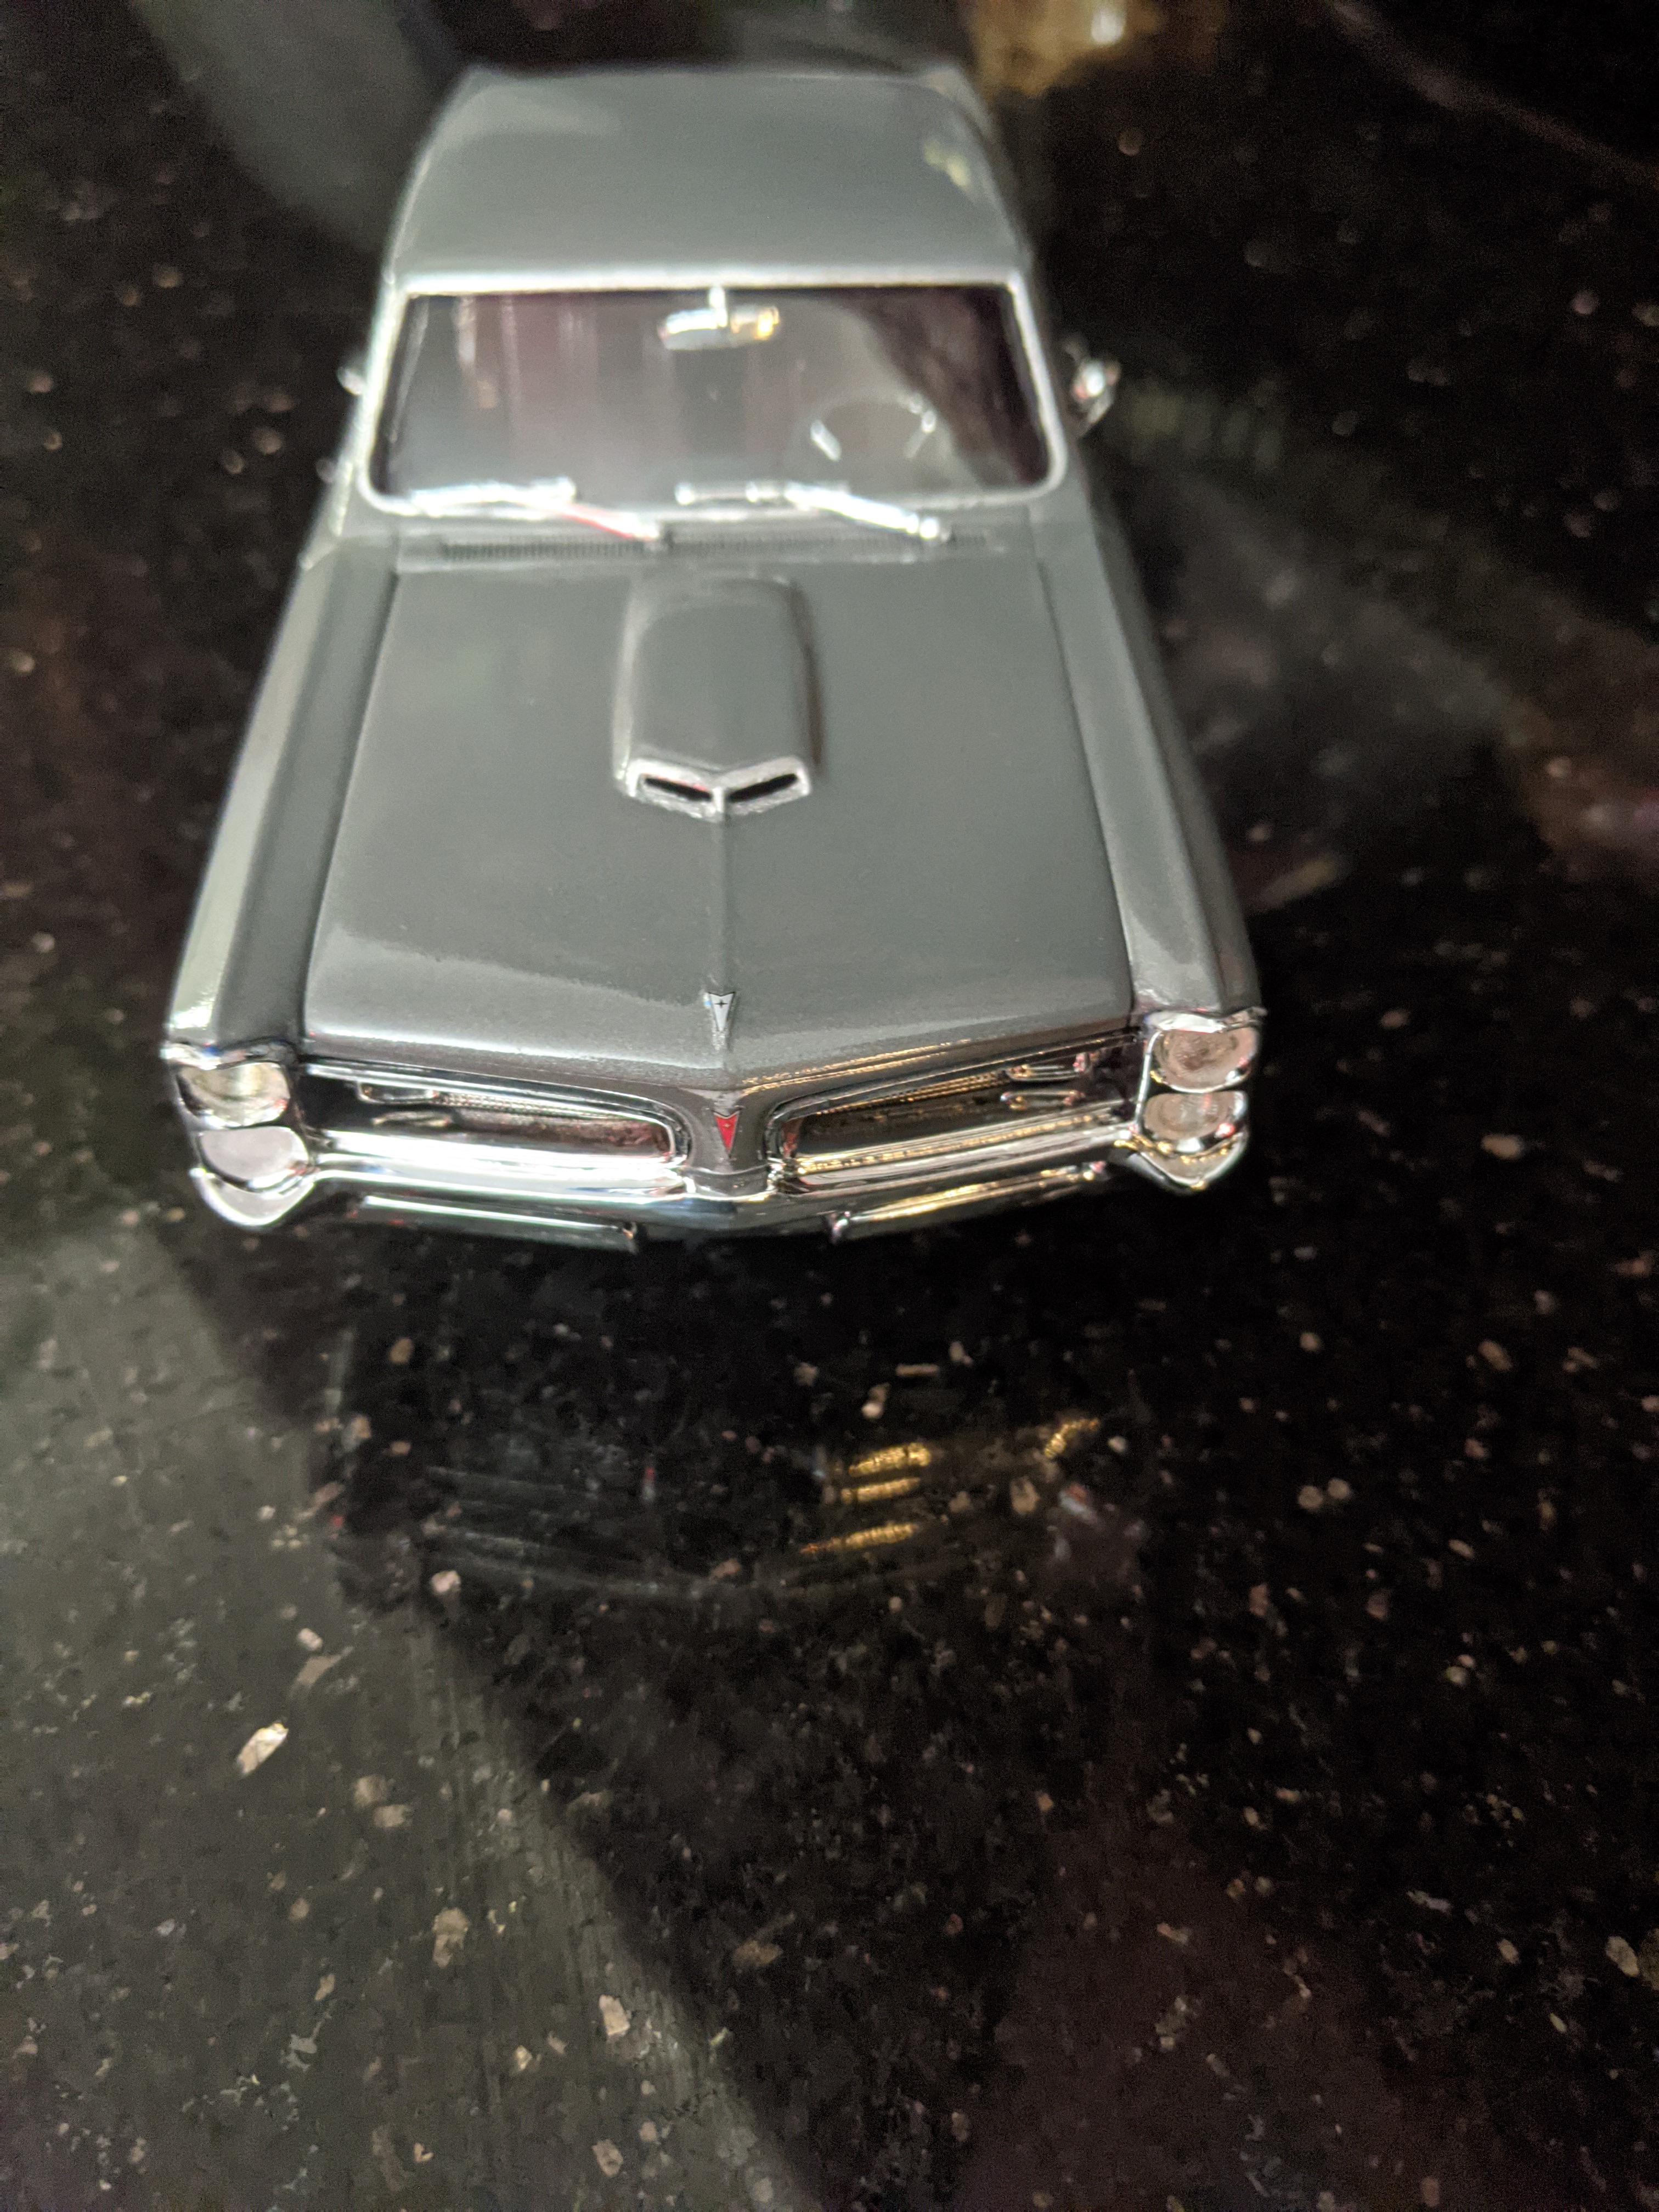
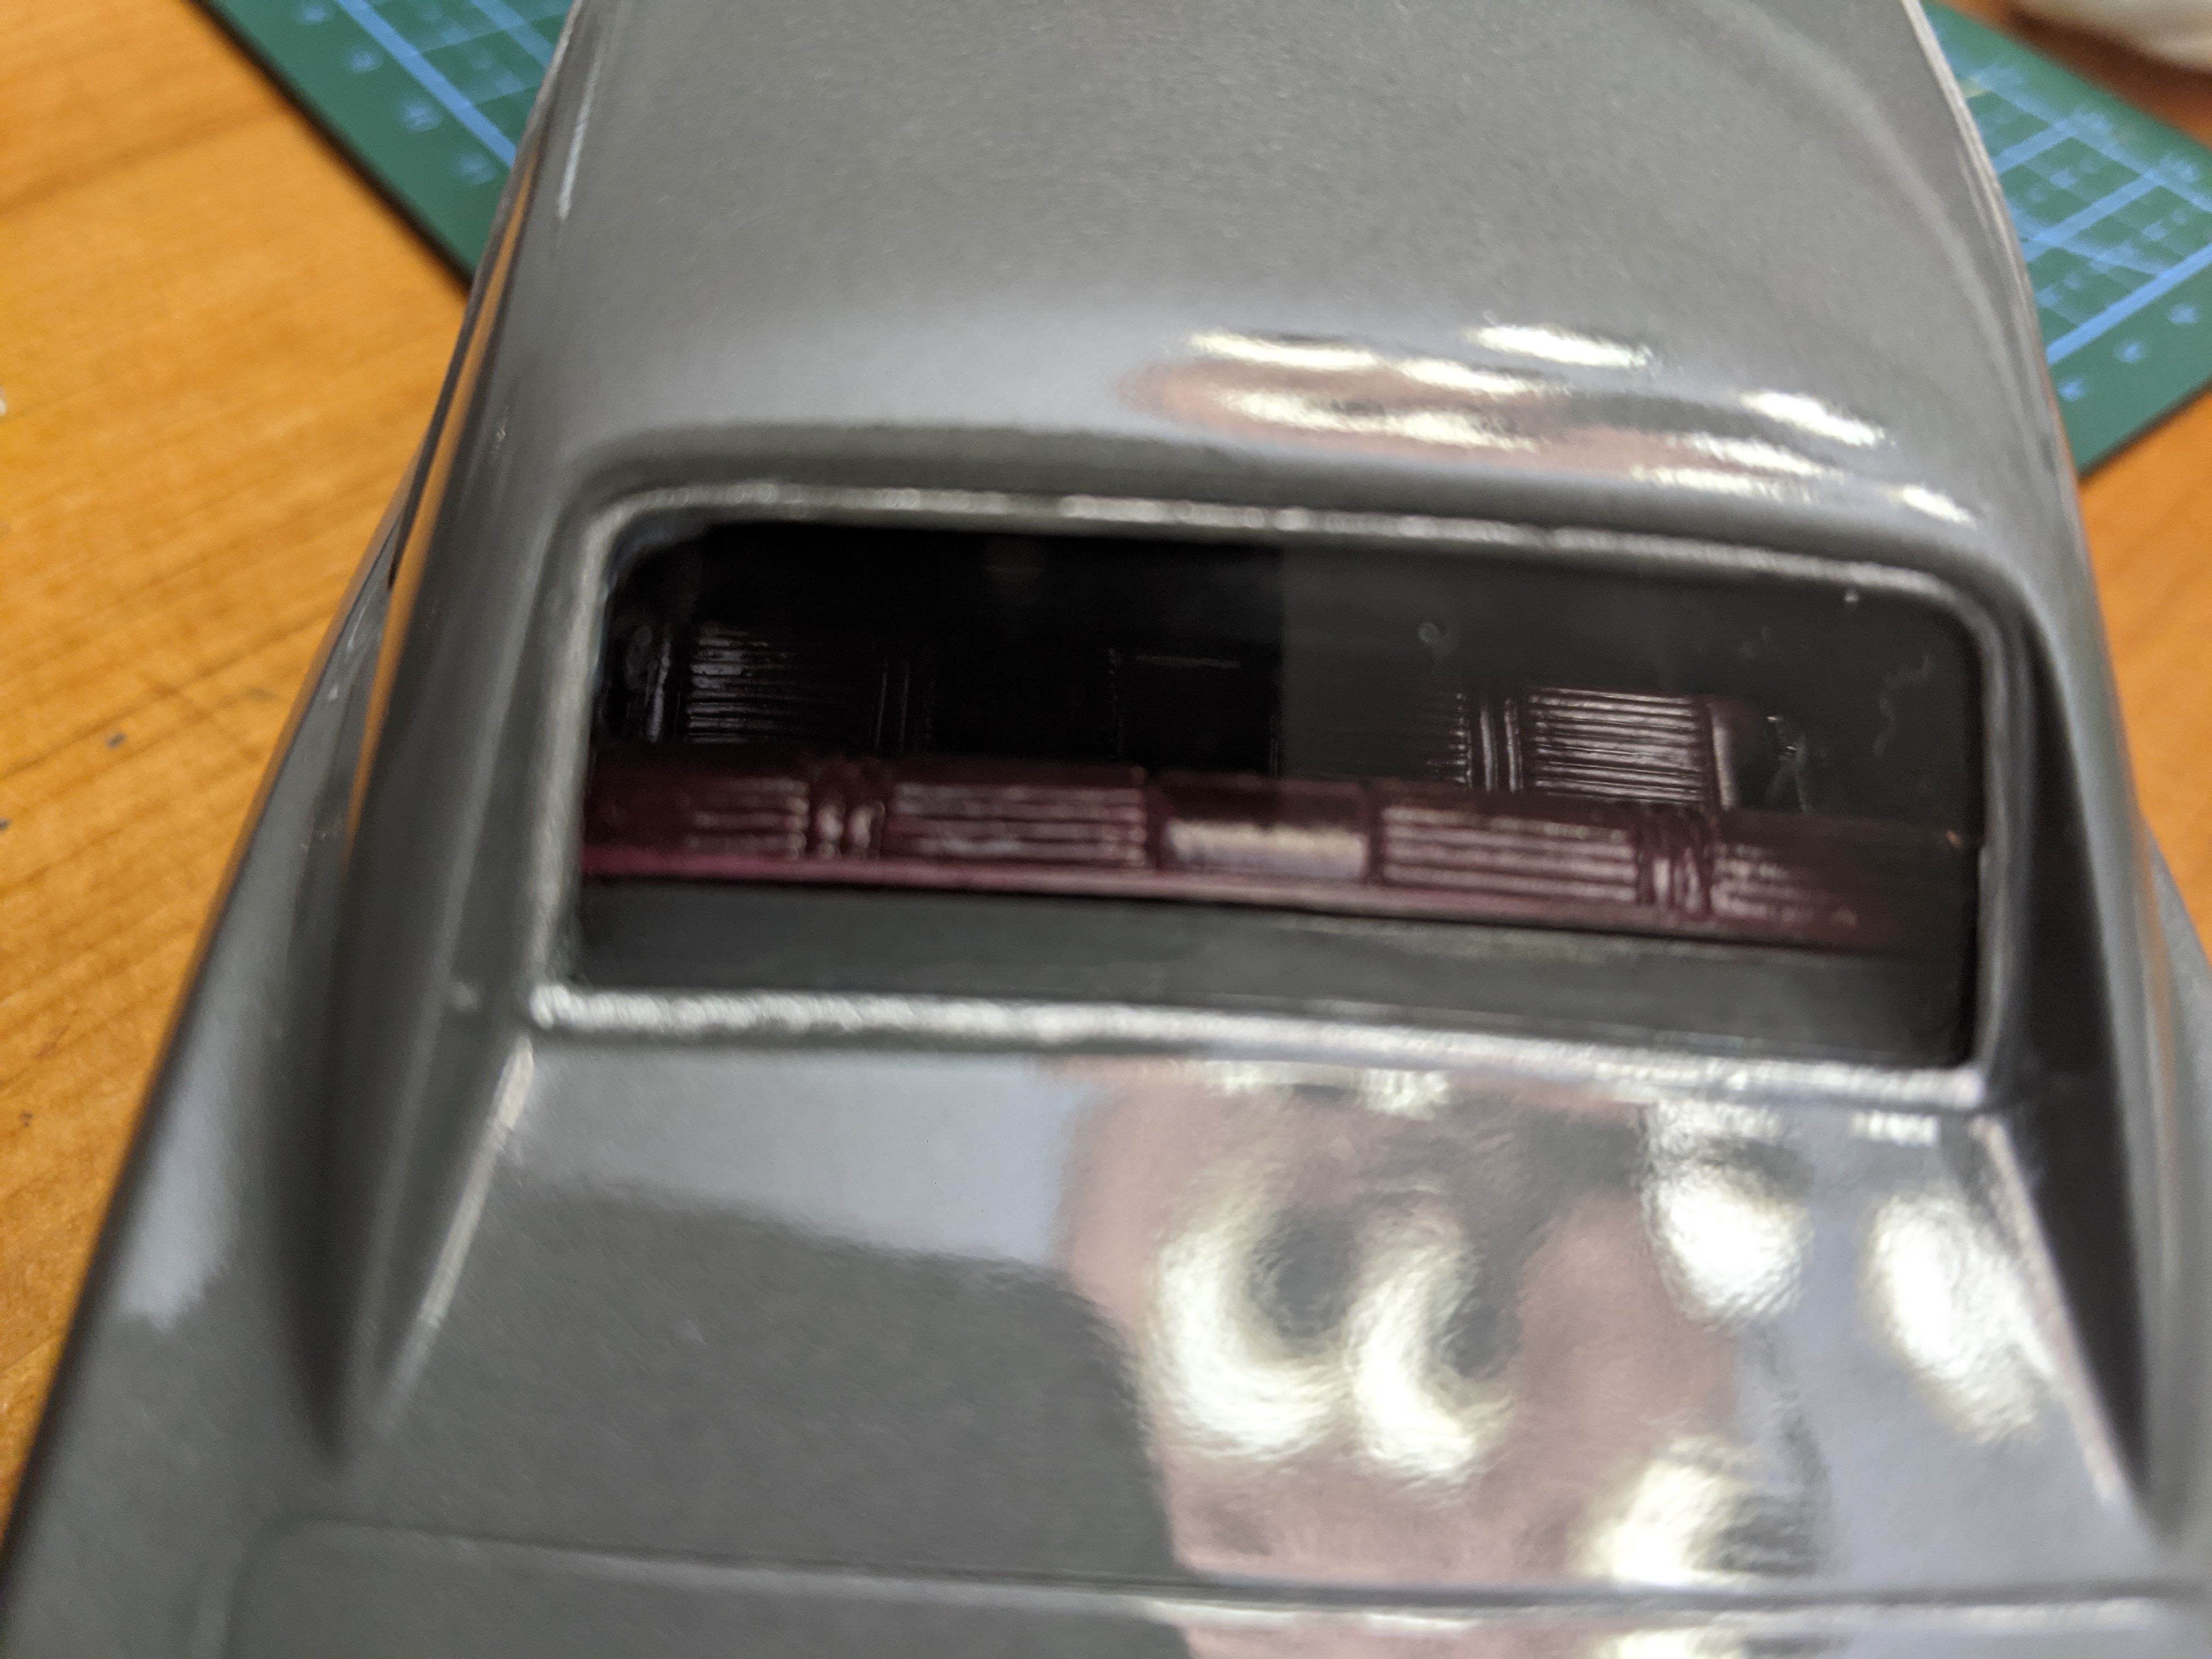
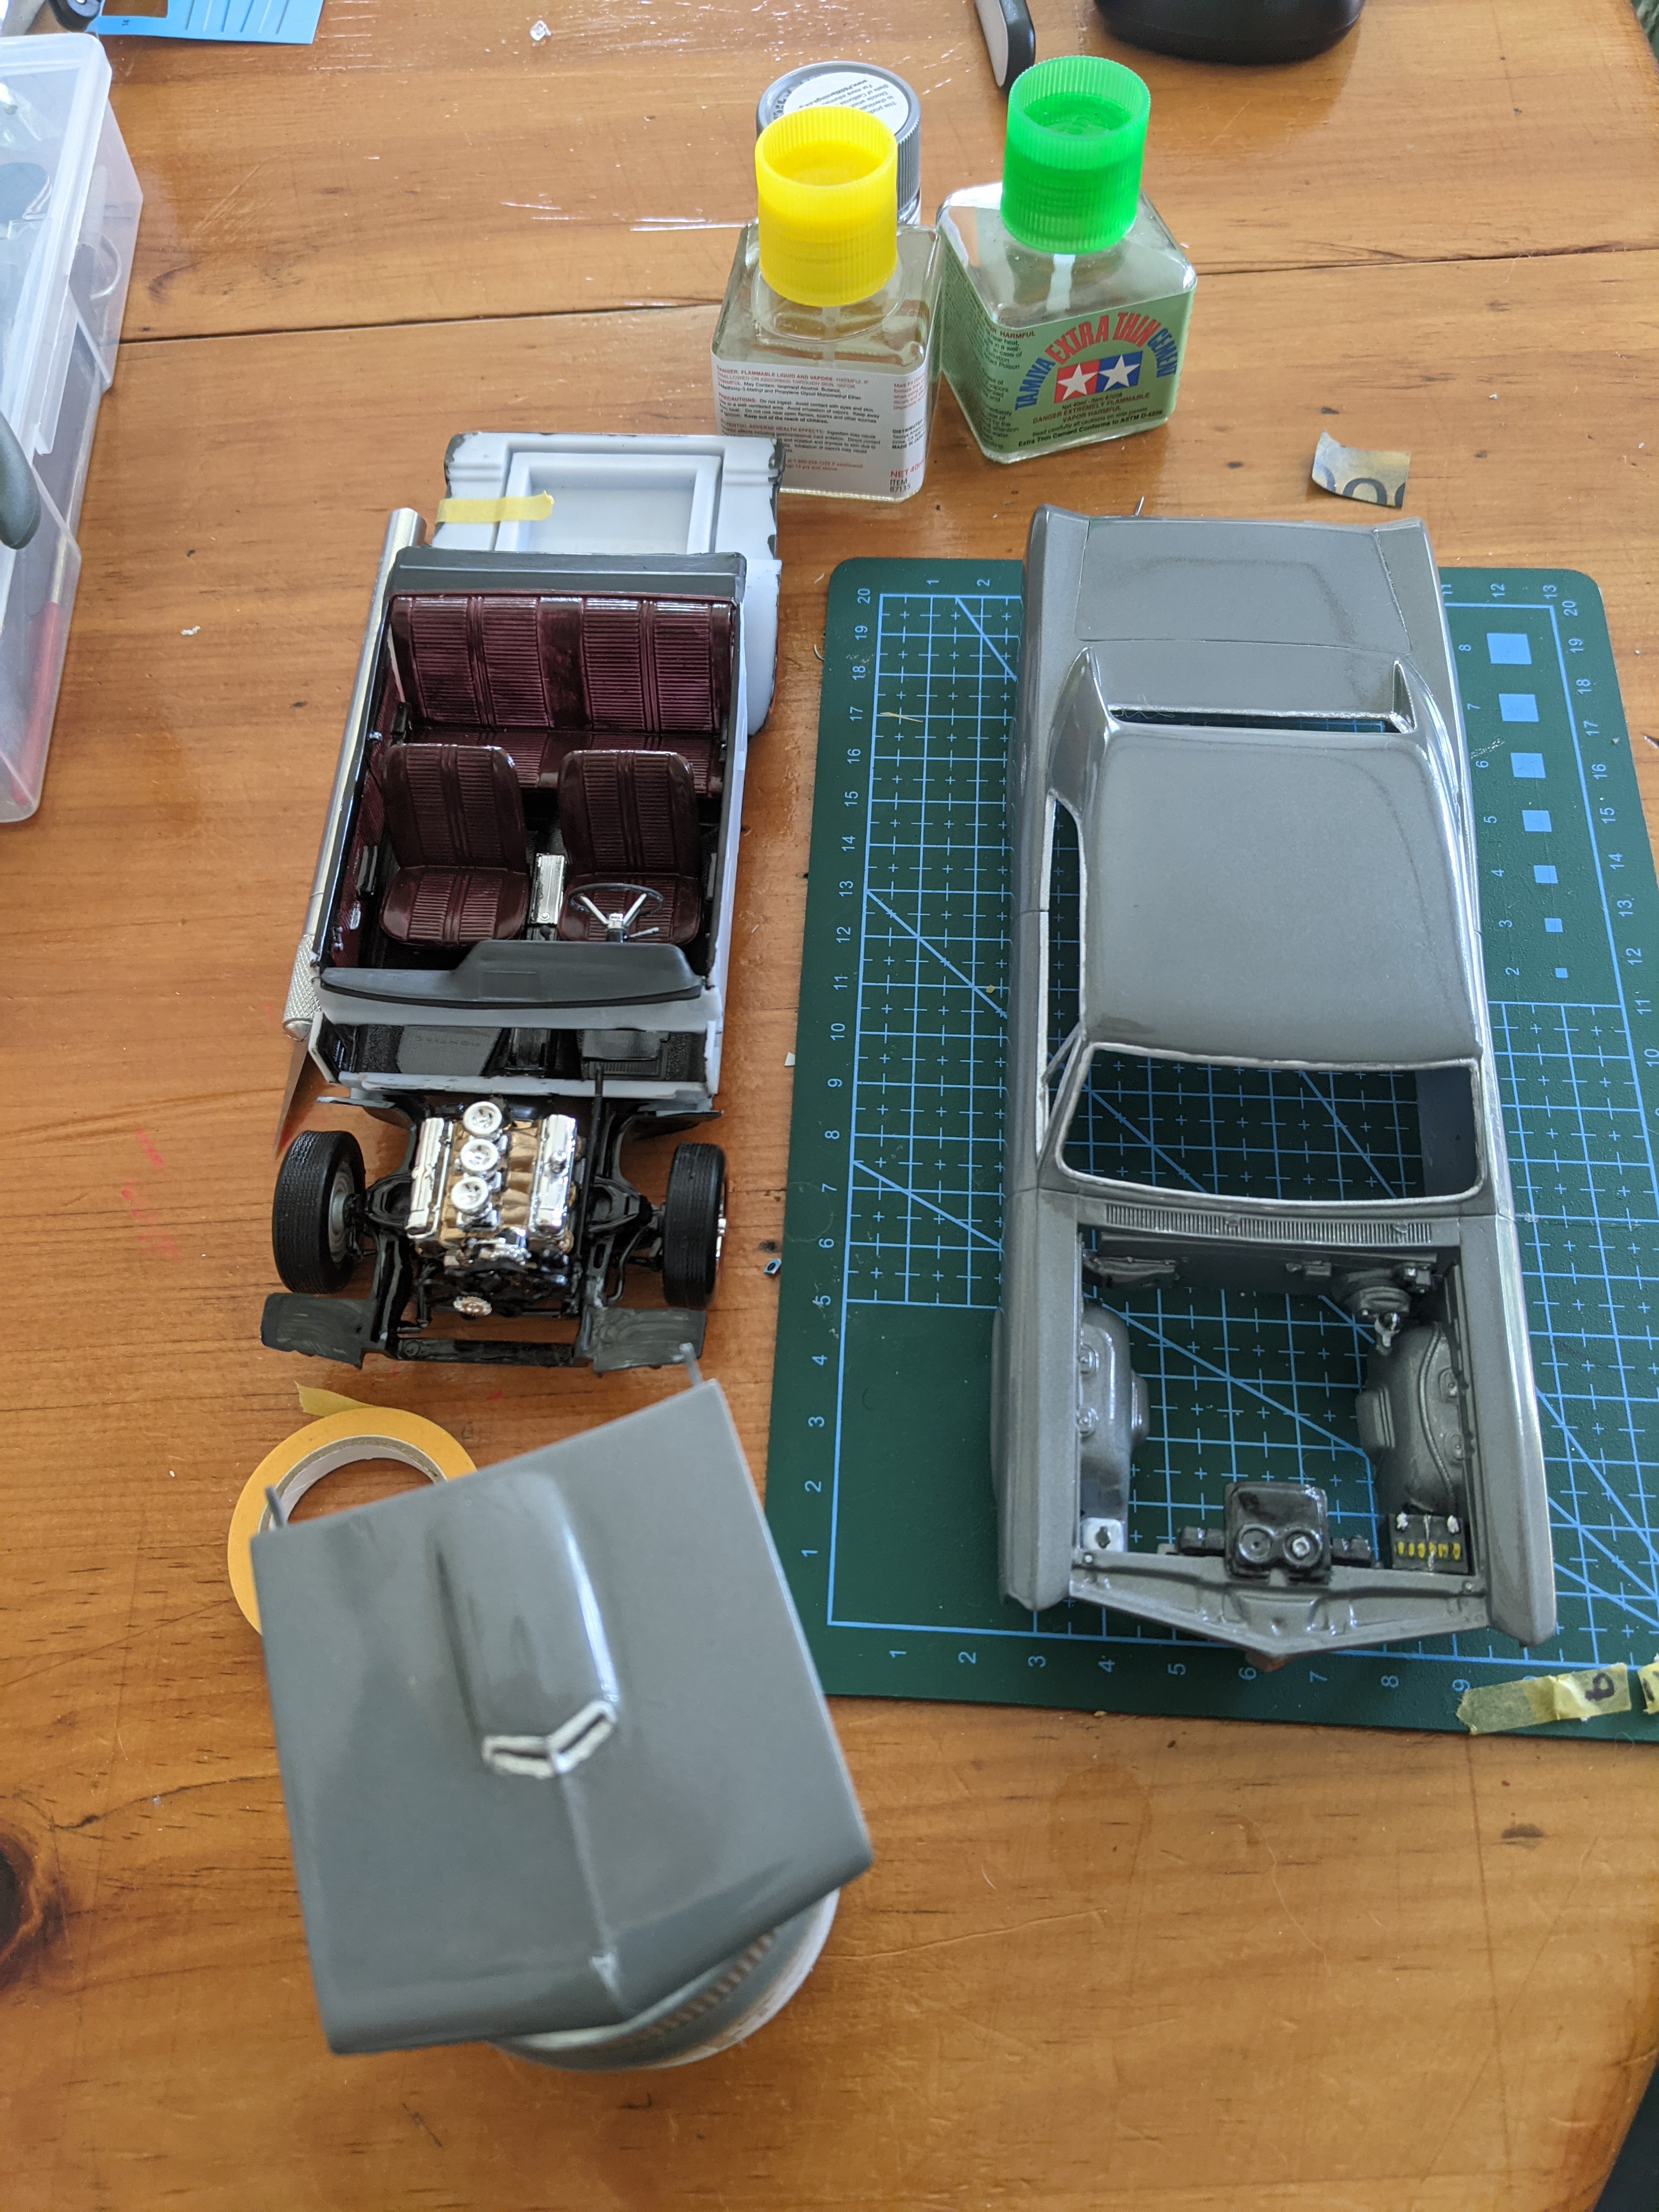
You are most welcome David. I am currently working on a 67 GTO. But shelved it after paint issues. I will sand and try again. I am thinking about a ship diorama but I don’t think I will be any good at dioramas or waterline models.
-
Here are some more pics
-
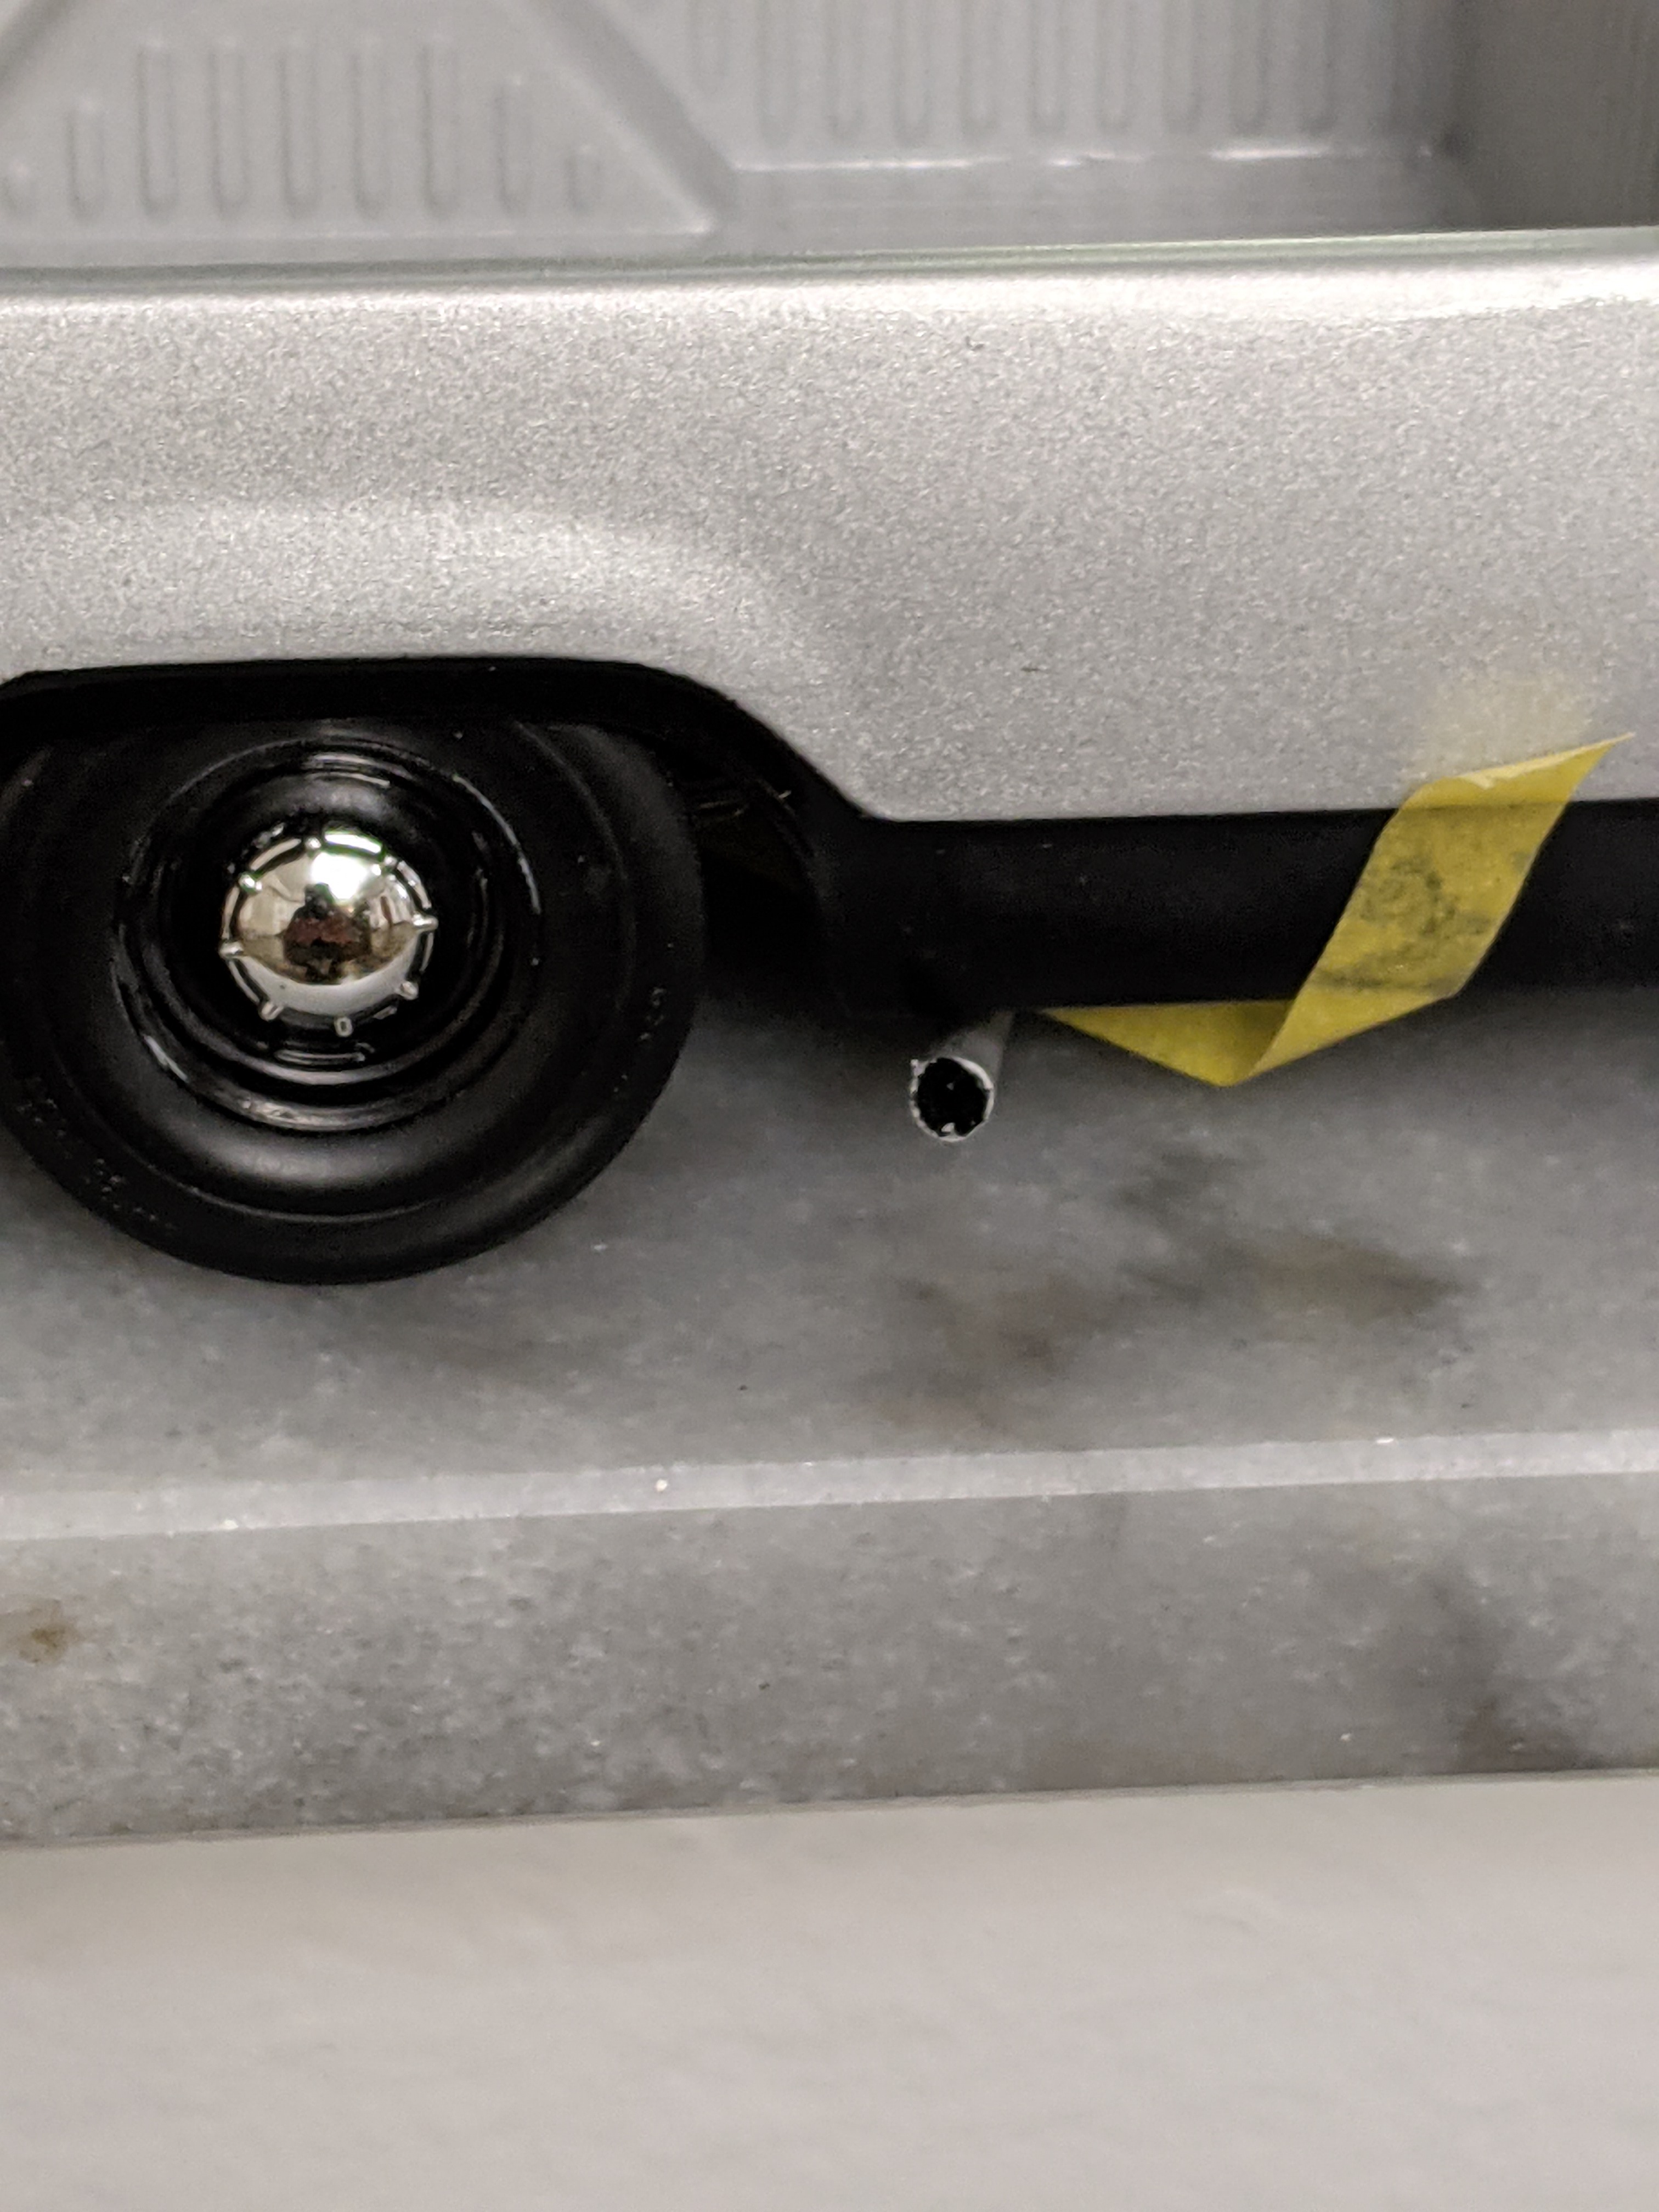
My girls got this for me Christmas. I lowered the ride height and modified the exhaust. The paint is Tamiya flat aluminum, the black is Testors gloss black acrylic, and several coats of Tamiya clear. Please excuse the paint I suck at airbrushing.
-
Maddog Manufacturing 2020 Production Line
MWS replied to Mark Deliduka's topic in Photos: On the Bench
Wow, wow, wow. Everything from parts disappearing into the ether, to glue on the windshield! Question what scale is your armor and armor transport? -
Thank you Michael
-
Thanks to all of you for the encouragement. My family wants to know how come the rest of the internet aren't as nice and positive as you guys. Thank you
-
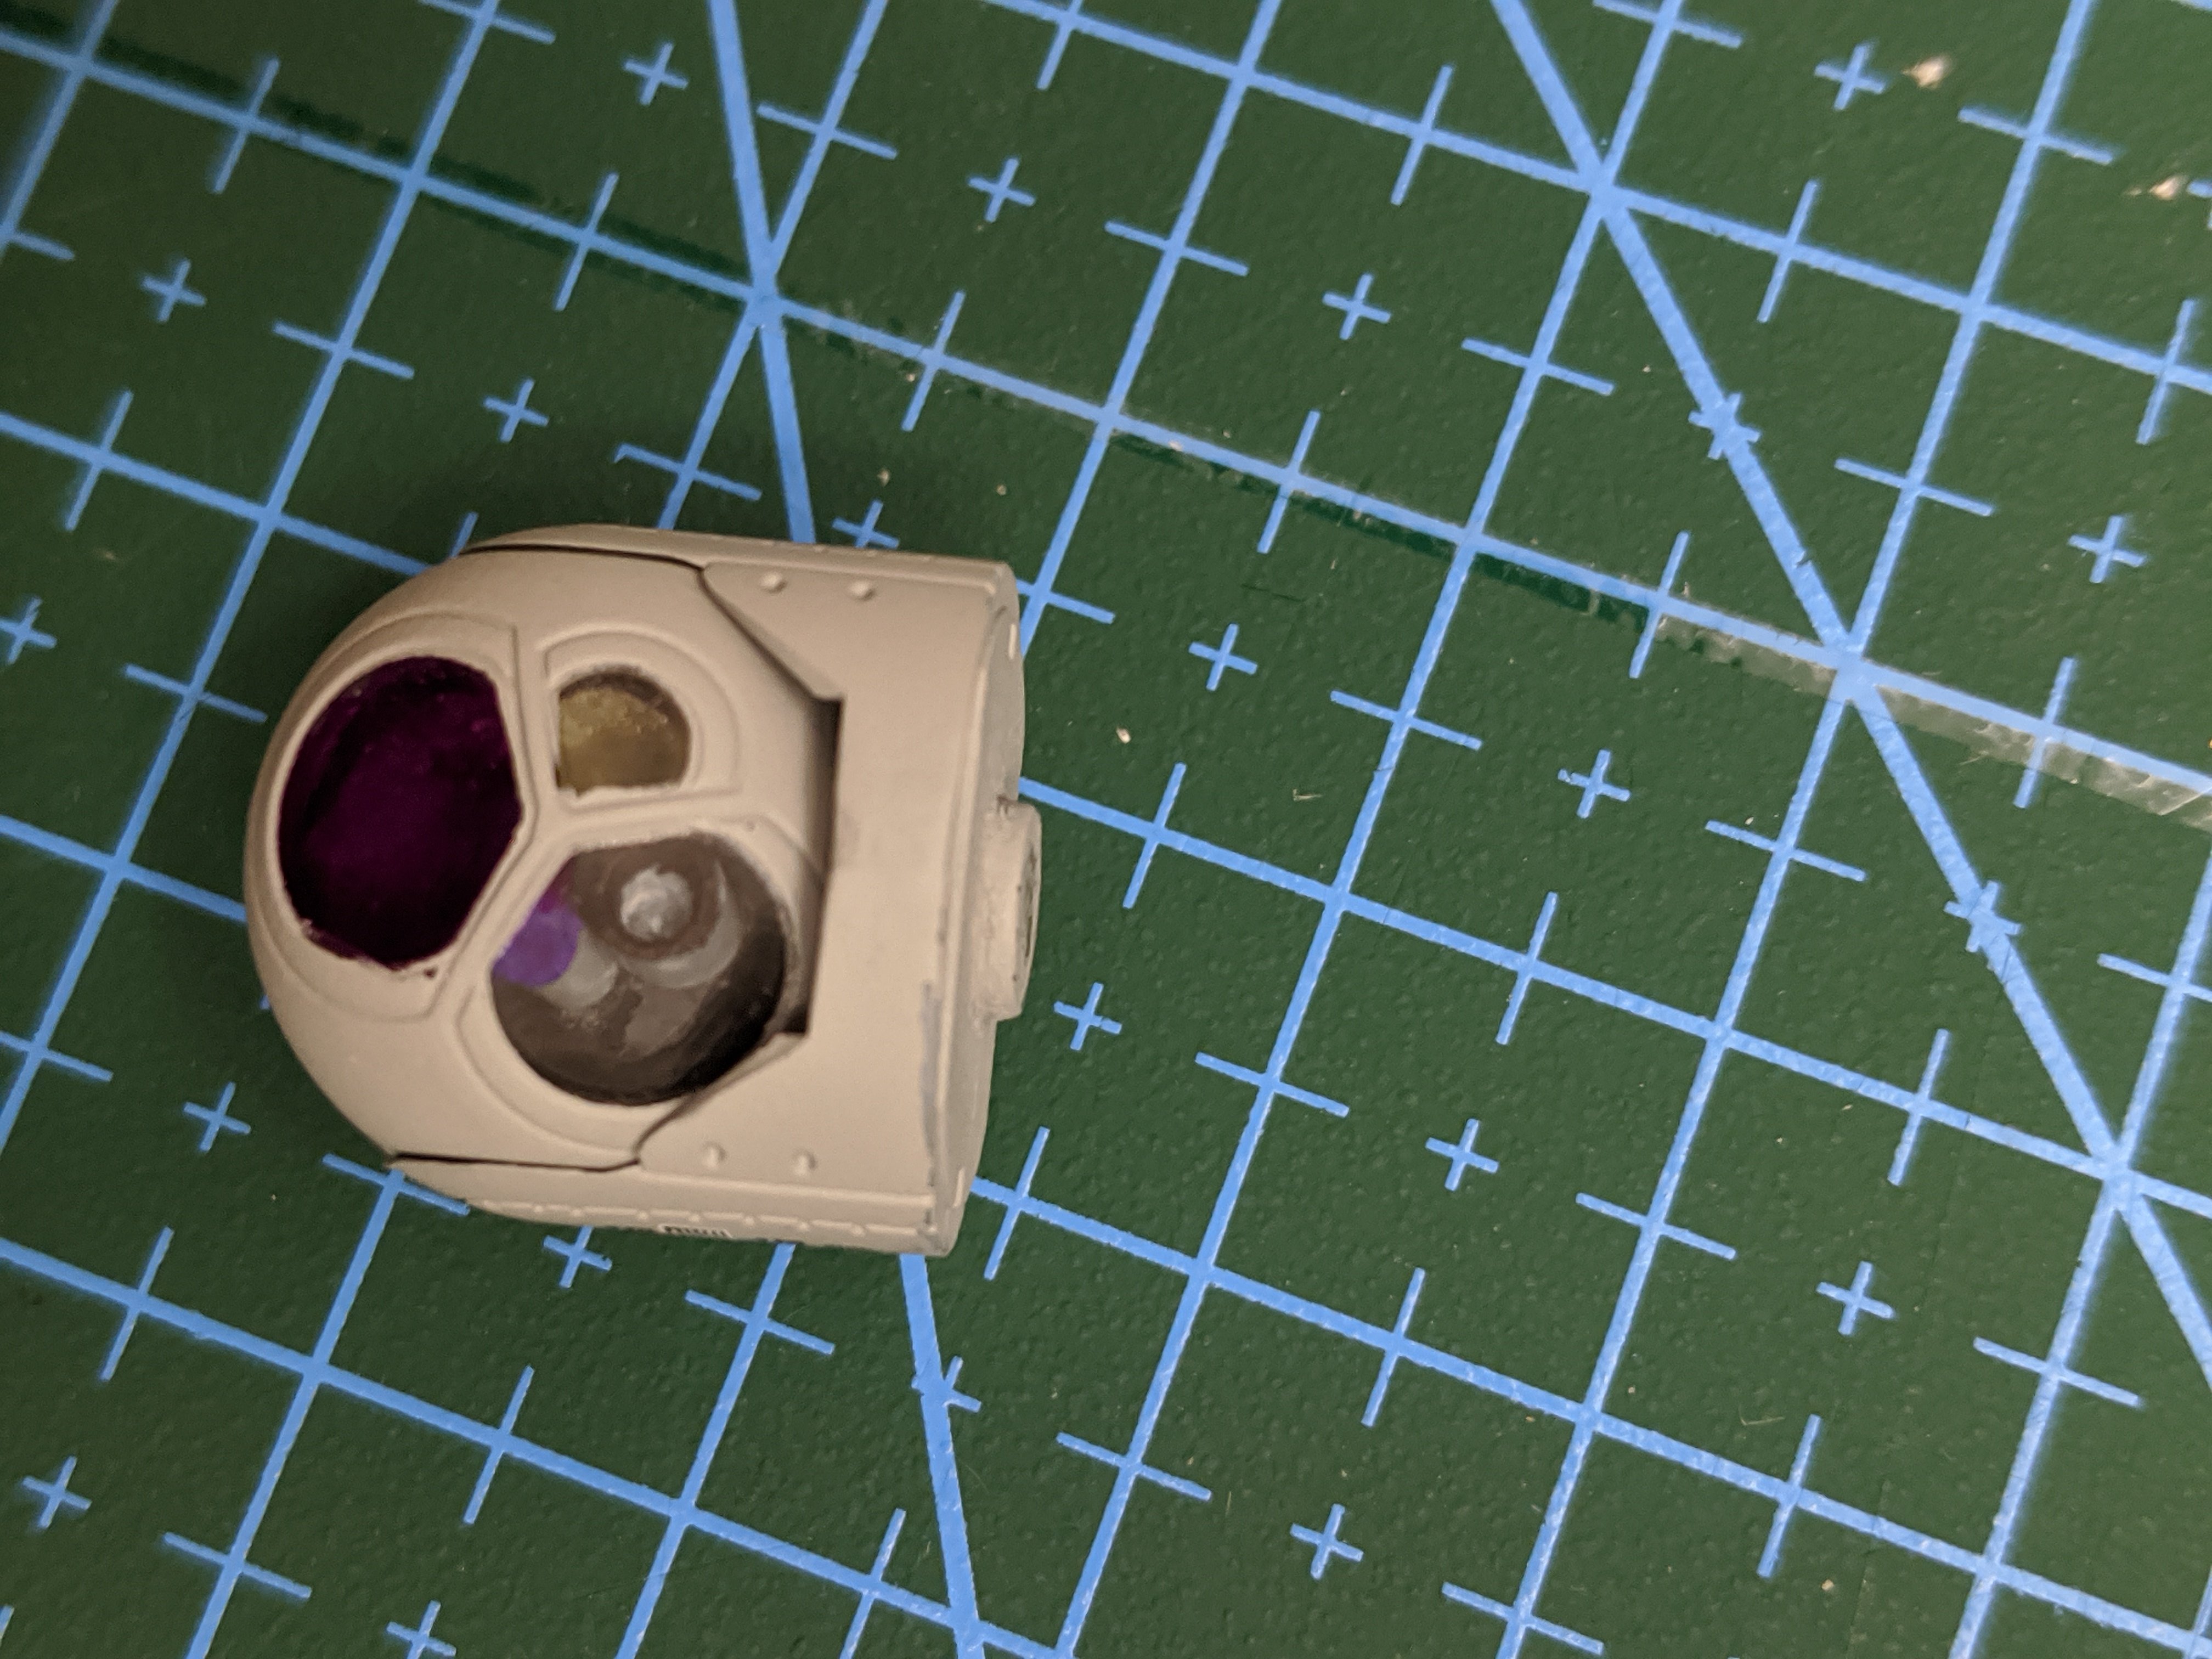
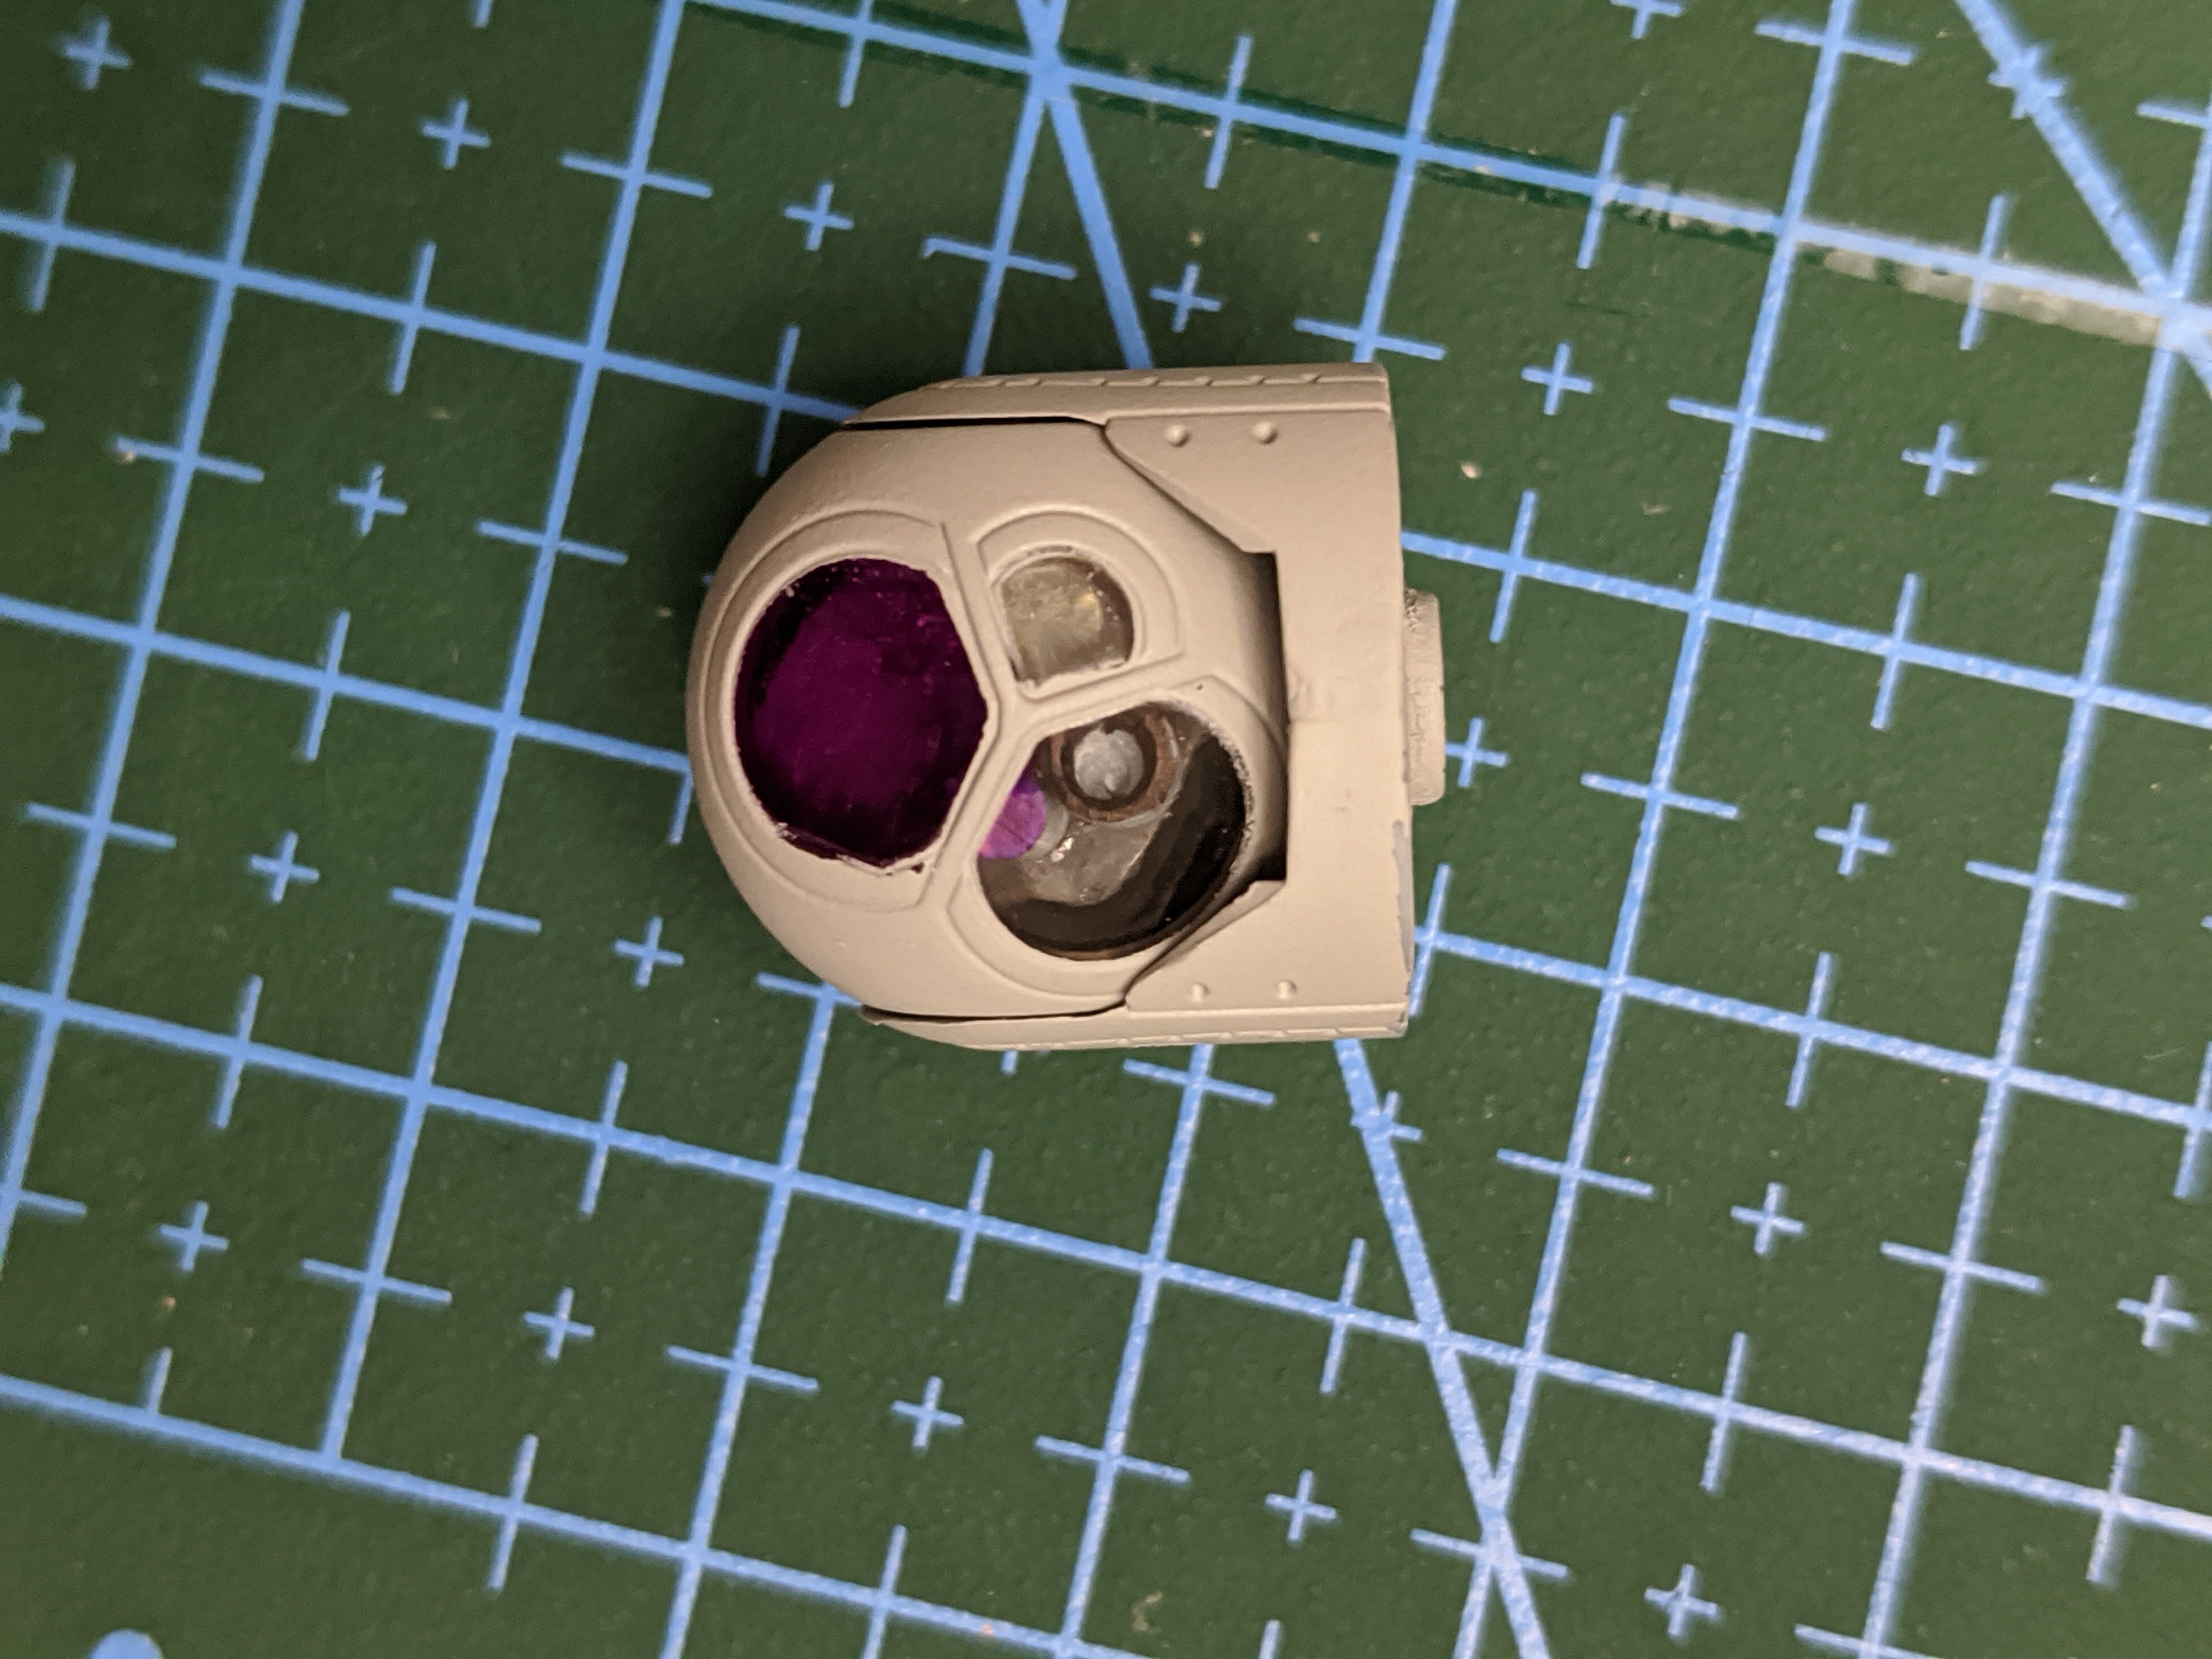
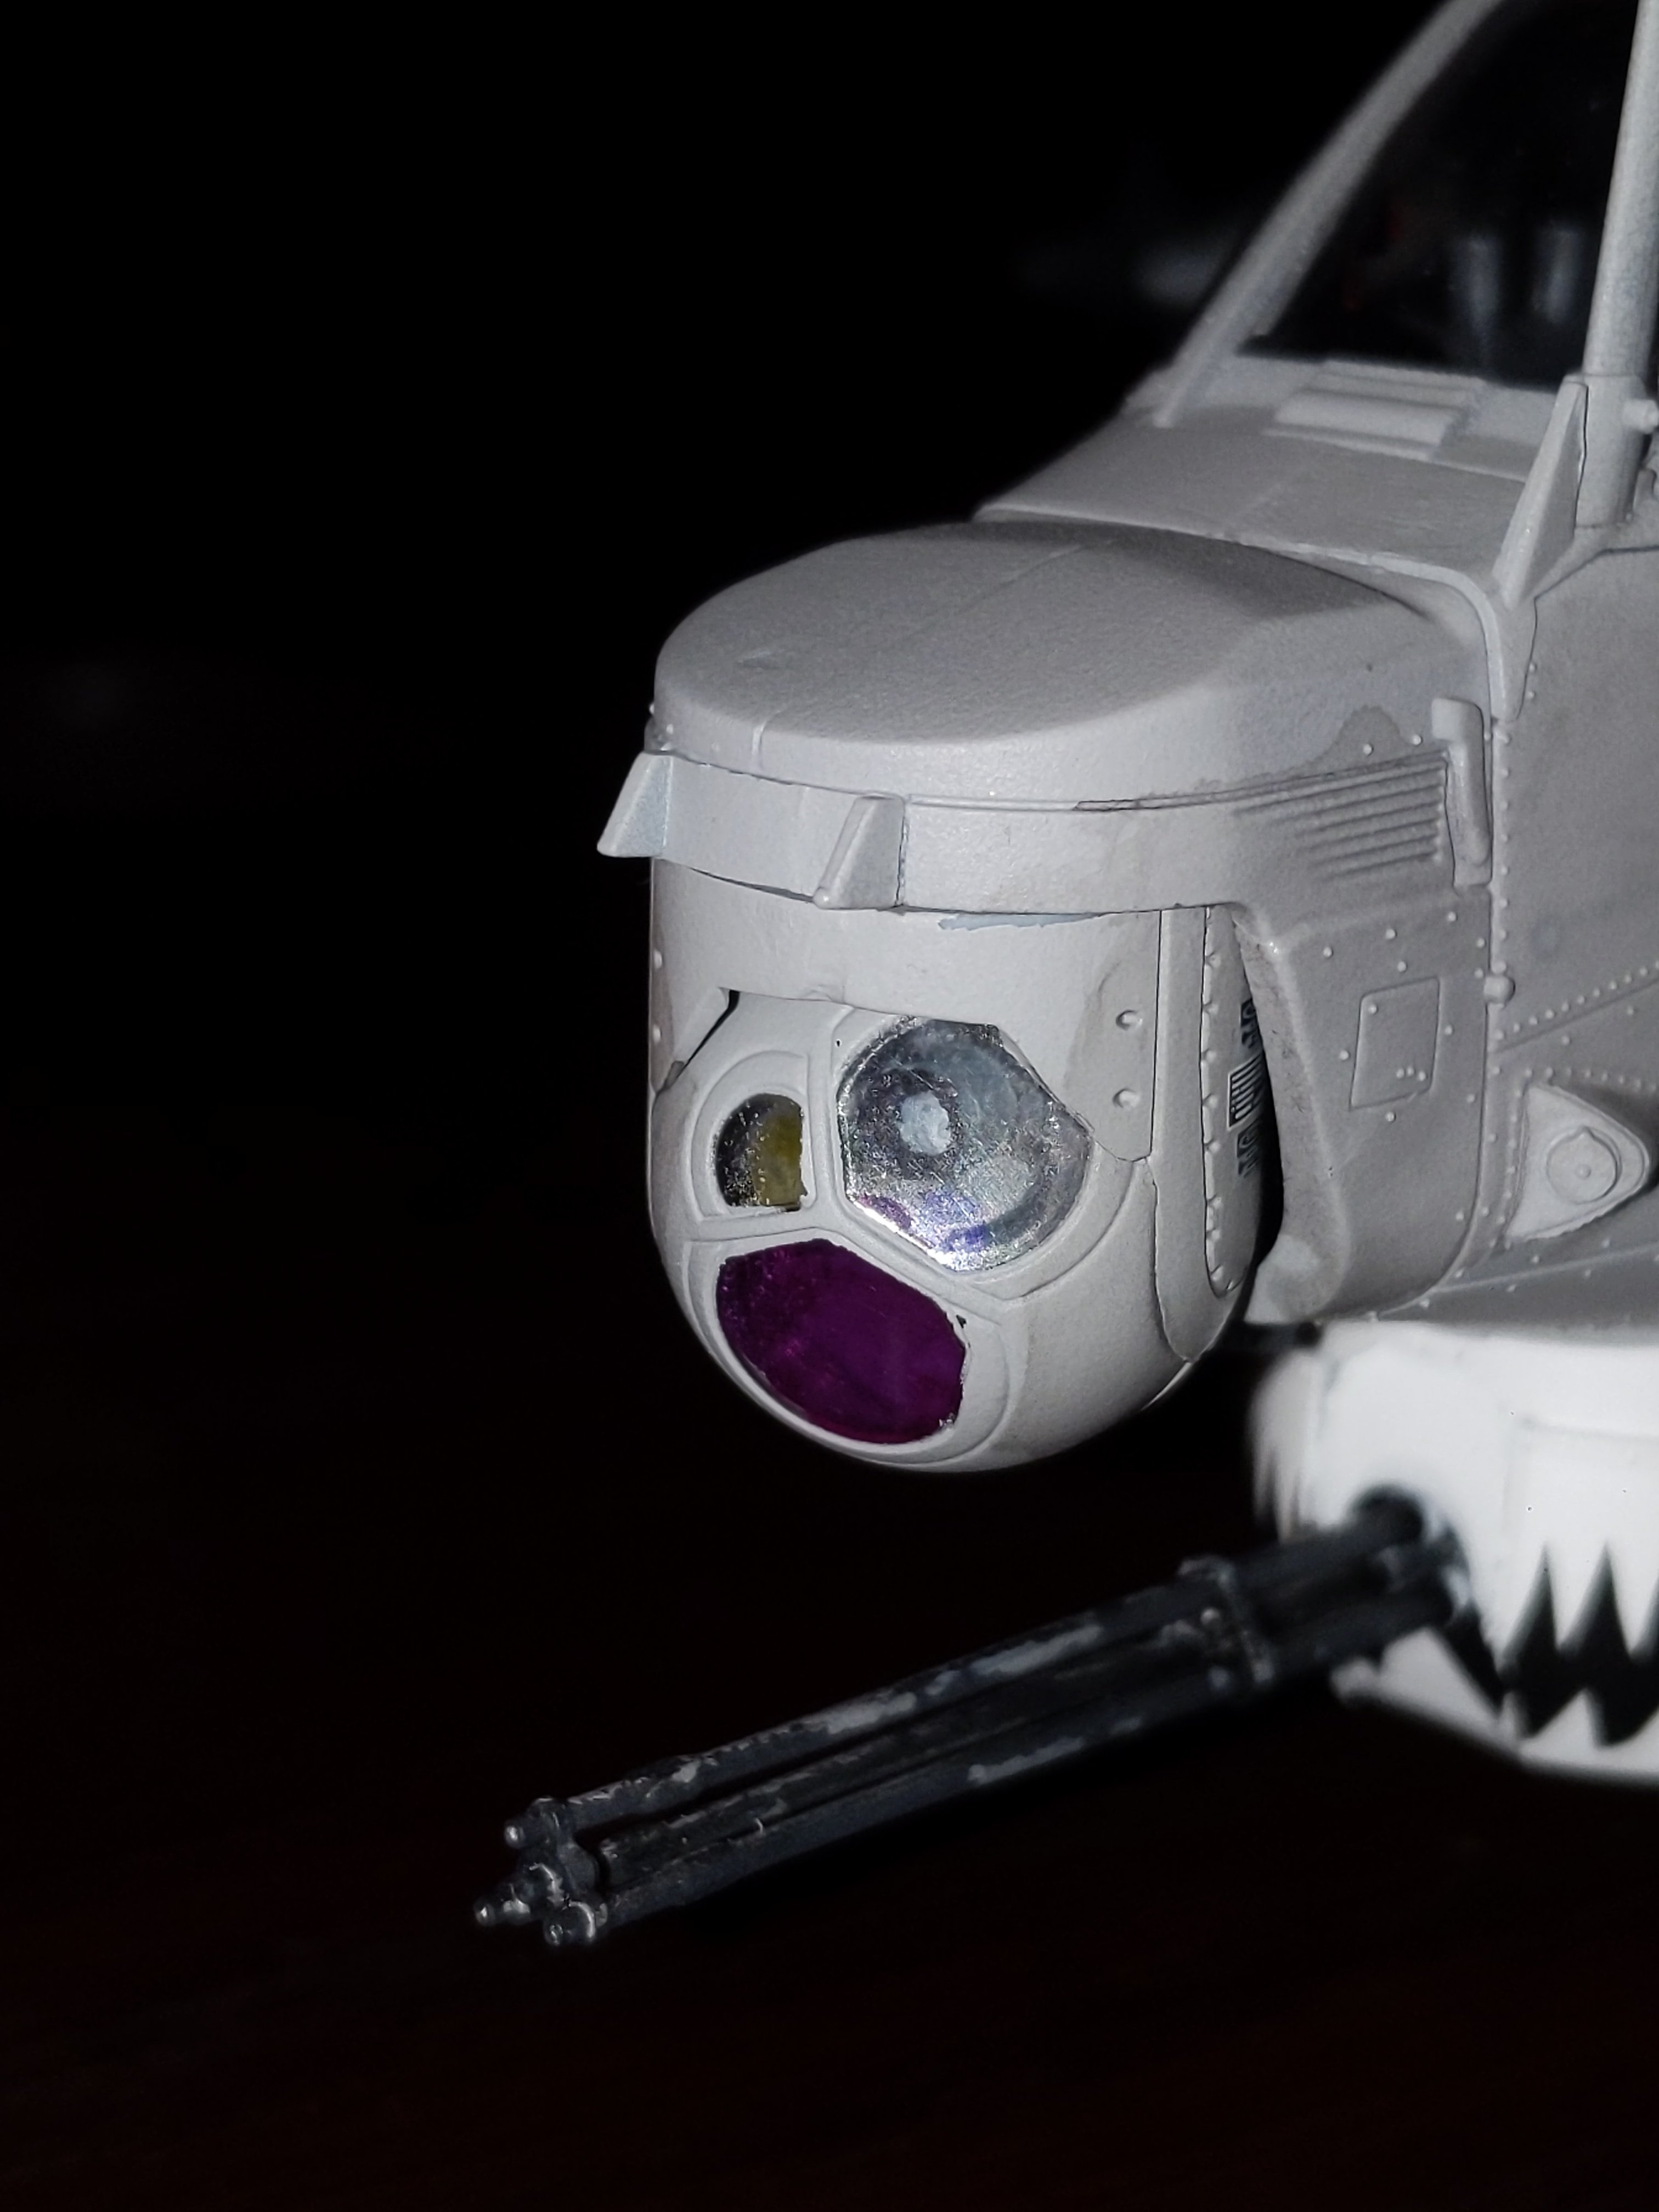
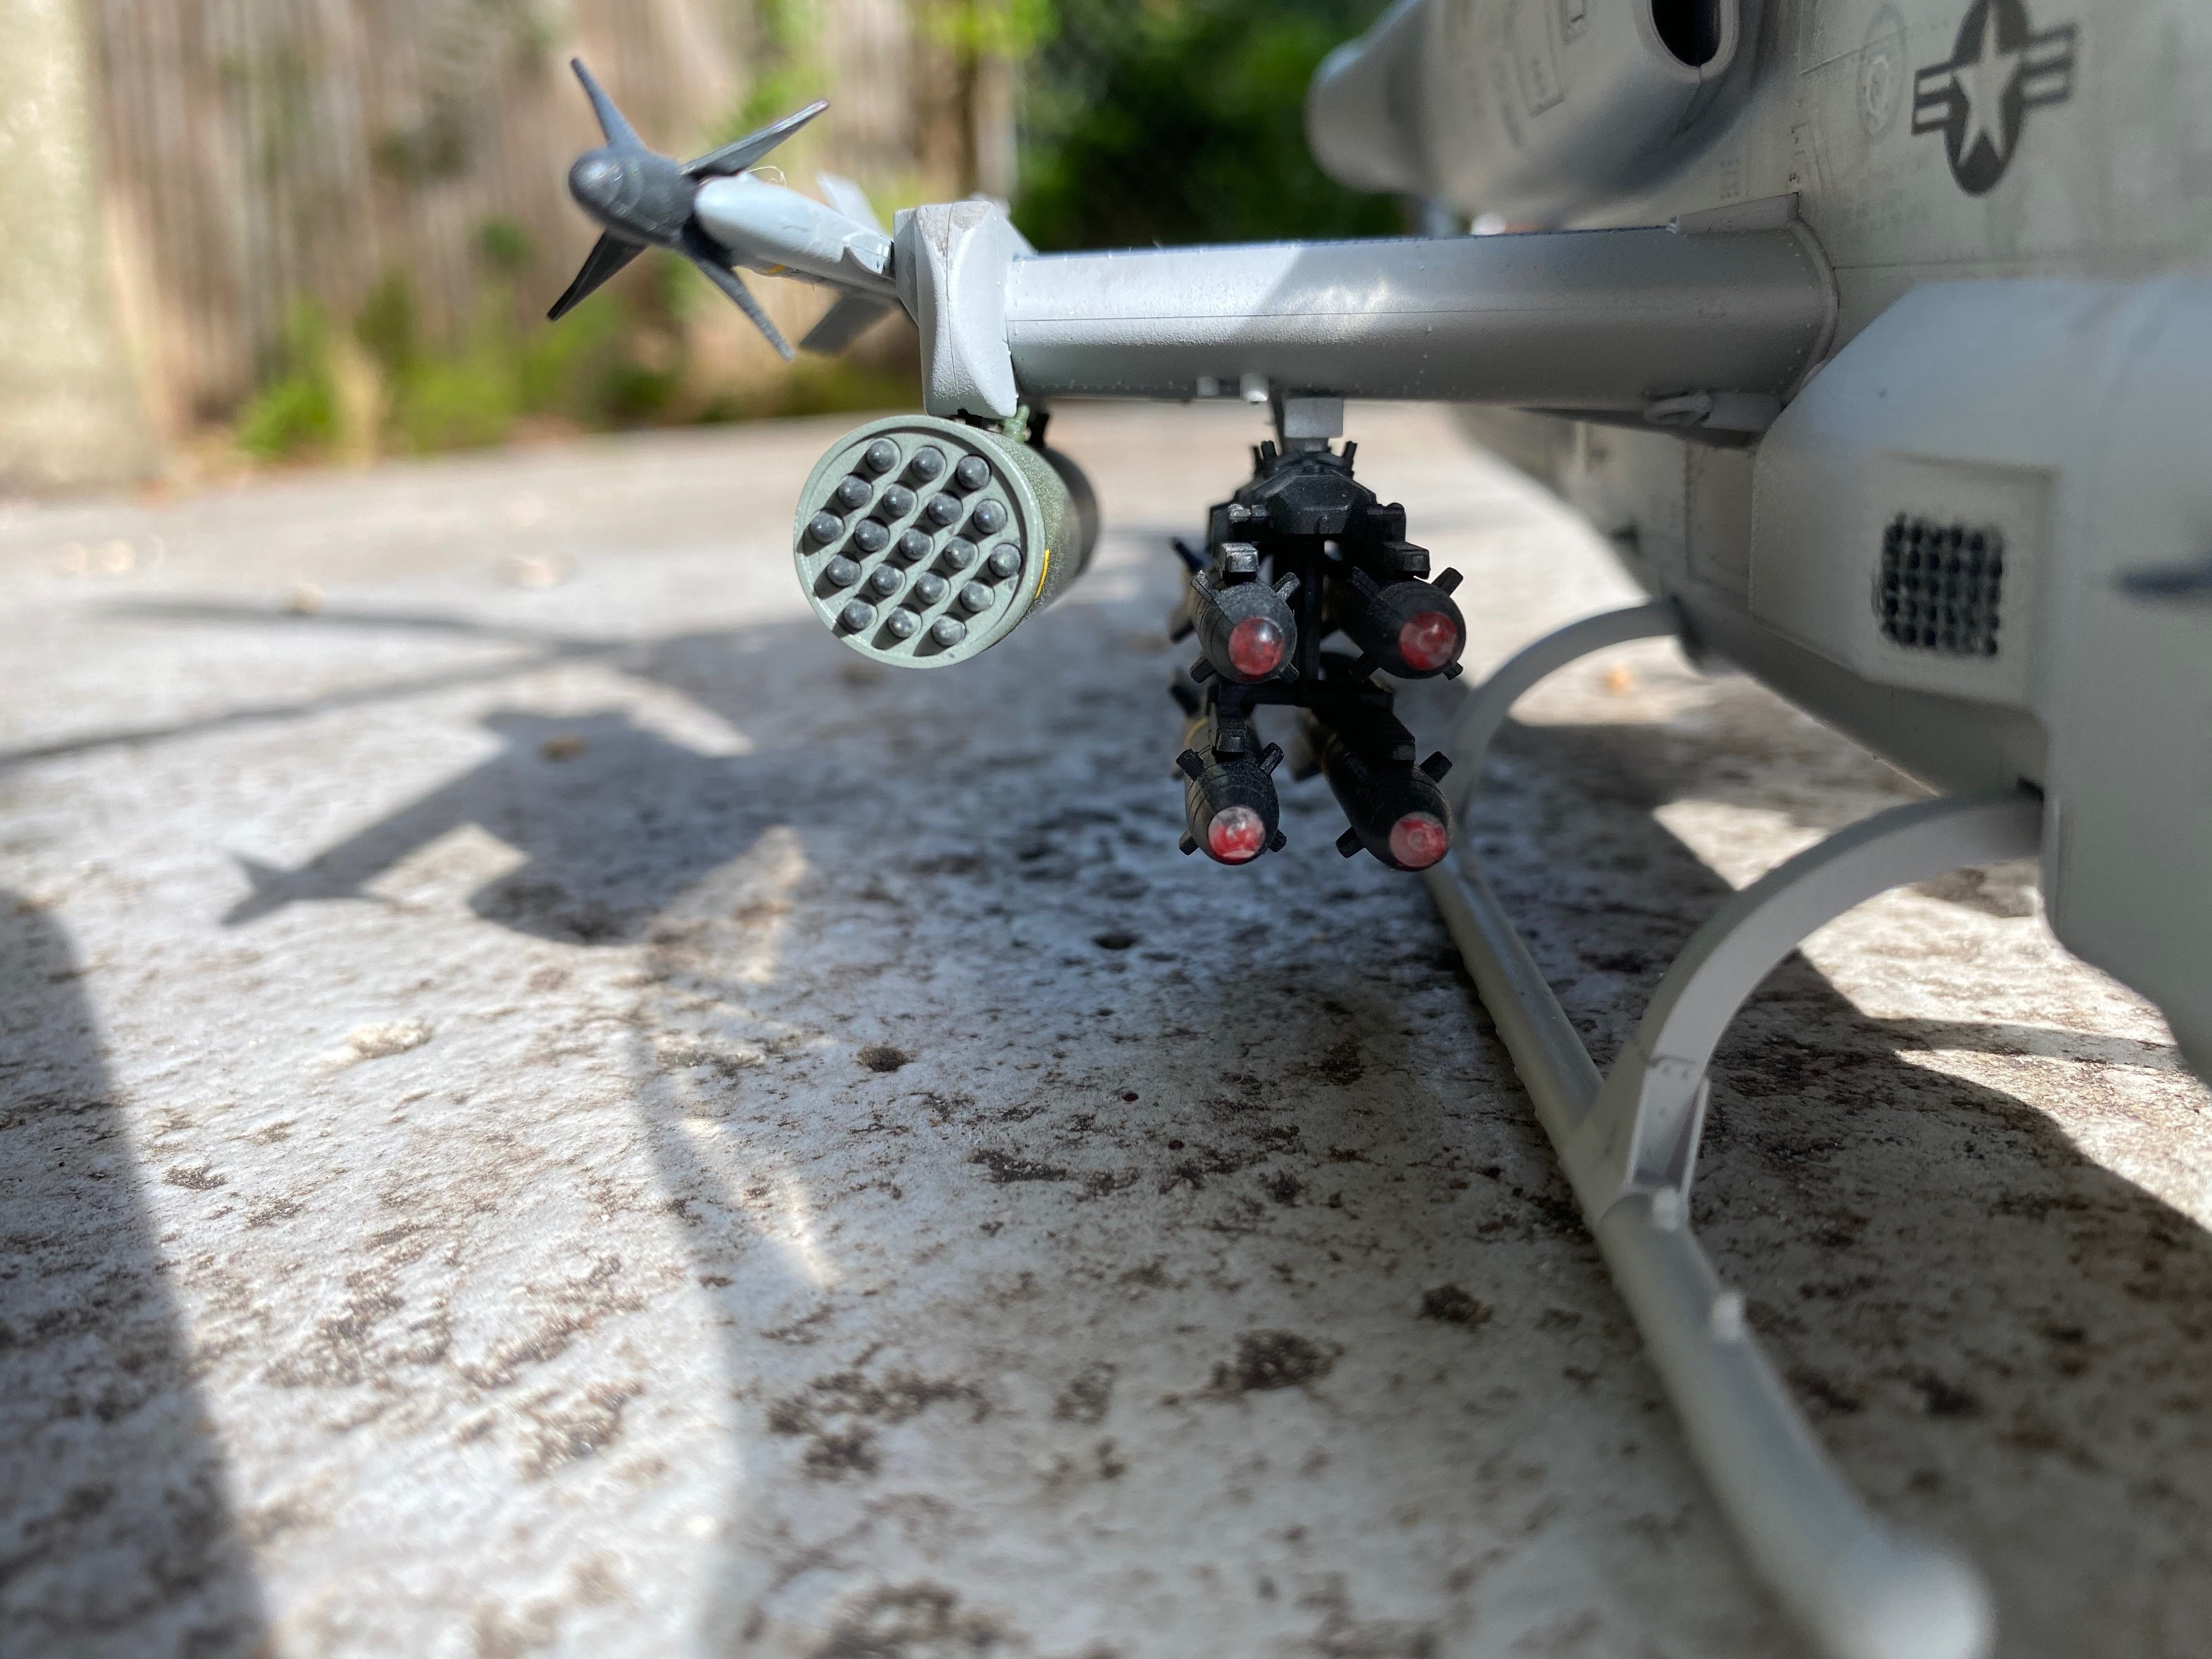
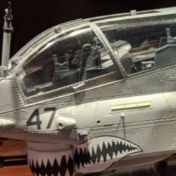
I used testor's model master guards red on the tip of the hellfires then cemented the lenses. I had used the sensor mask to cut a holographic "decal" from a holiday bag but in the end decided not to. I colored the inside with a purple sharpie on the large lens and a yellow one on the smaller lens. The guts slipped while drying so the projectors did not line up properly.
-
I am not sure if you can see the guts I put into the sensor turret. I cut some sprues and hollowed them and then cut some clear sprues and made lenses.
-
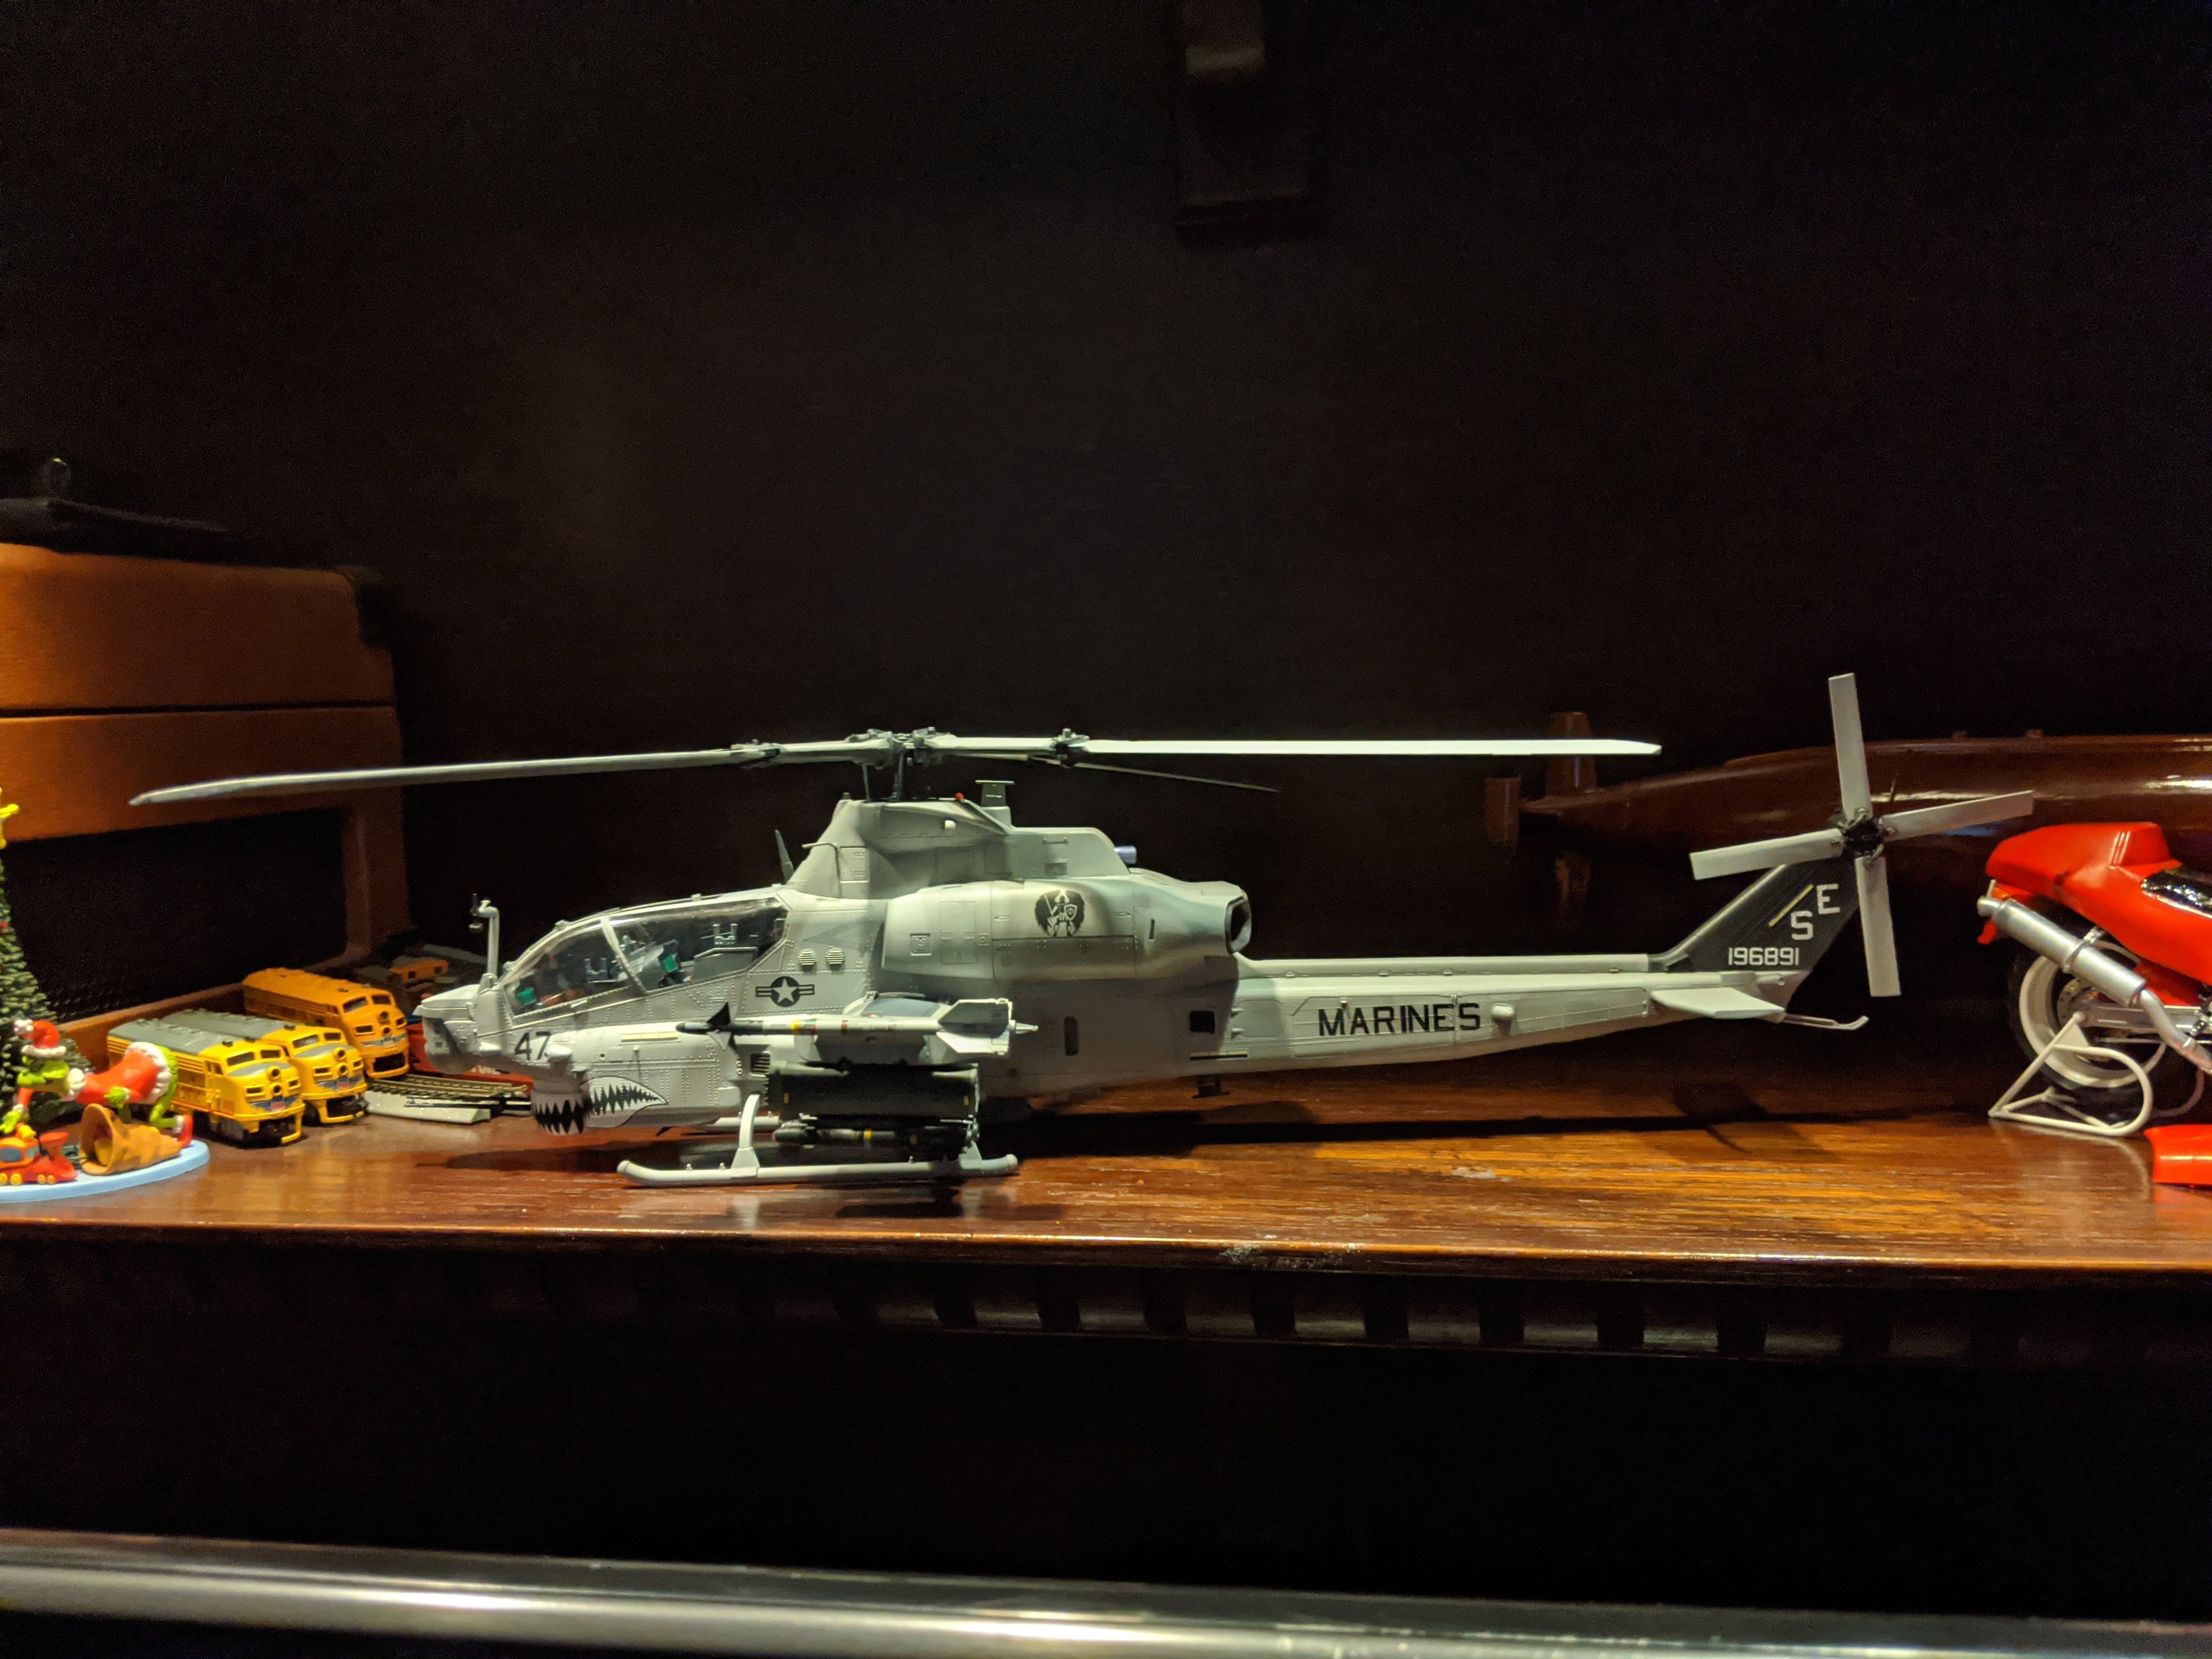
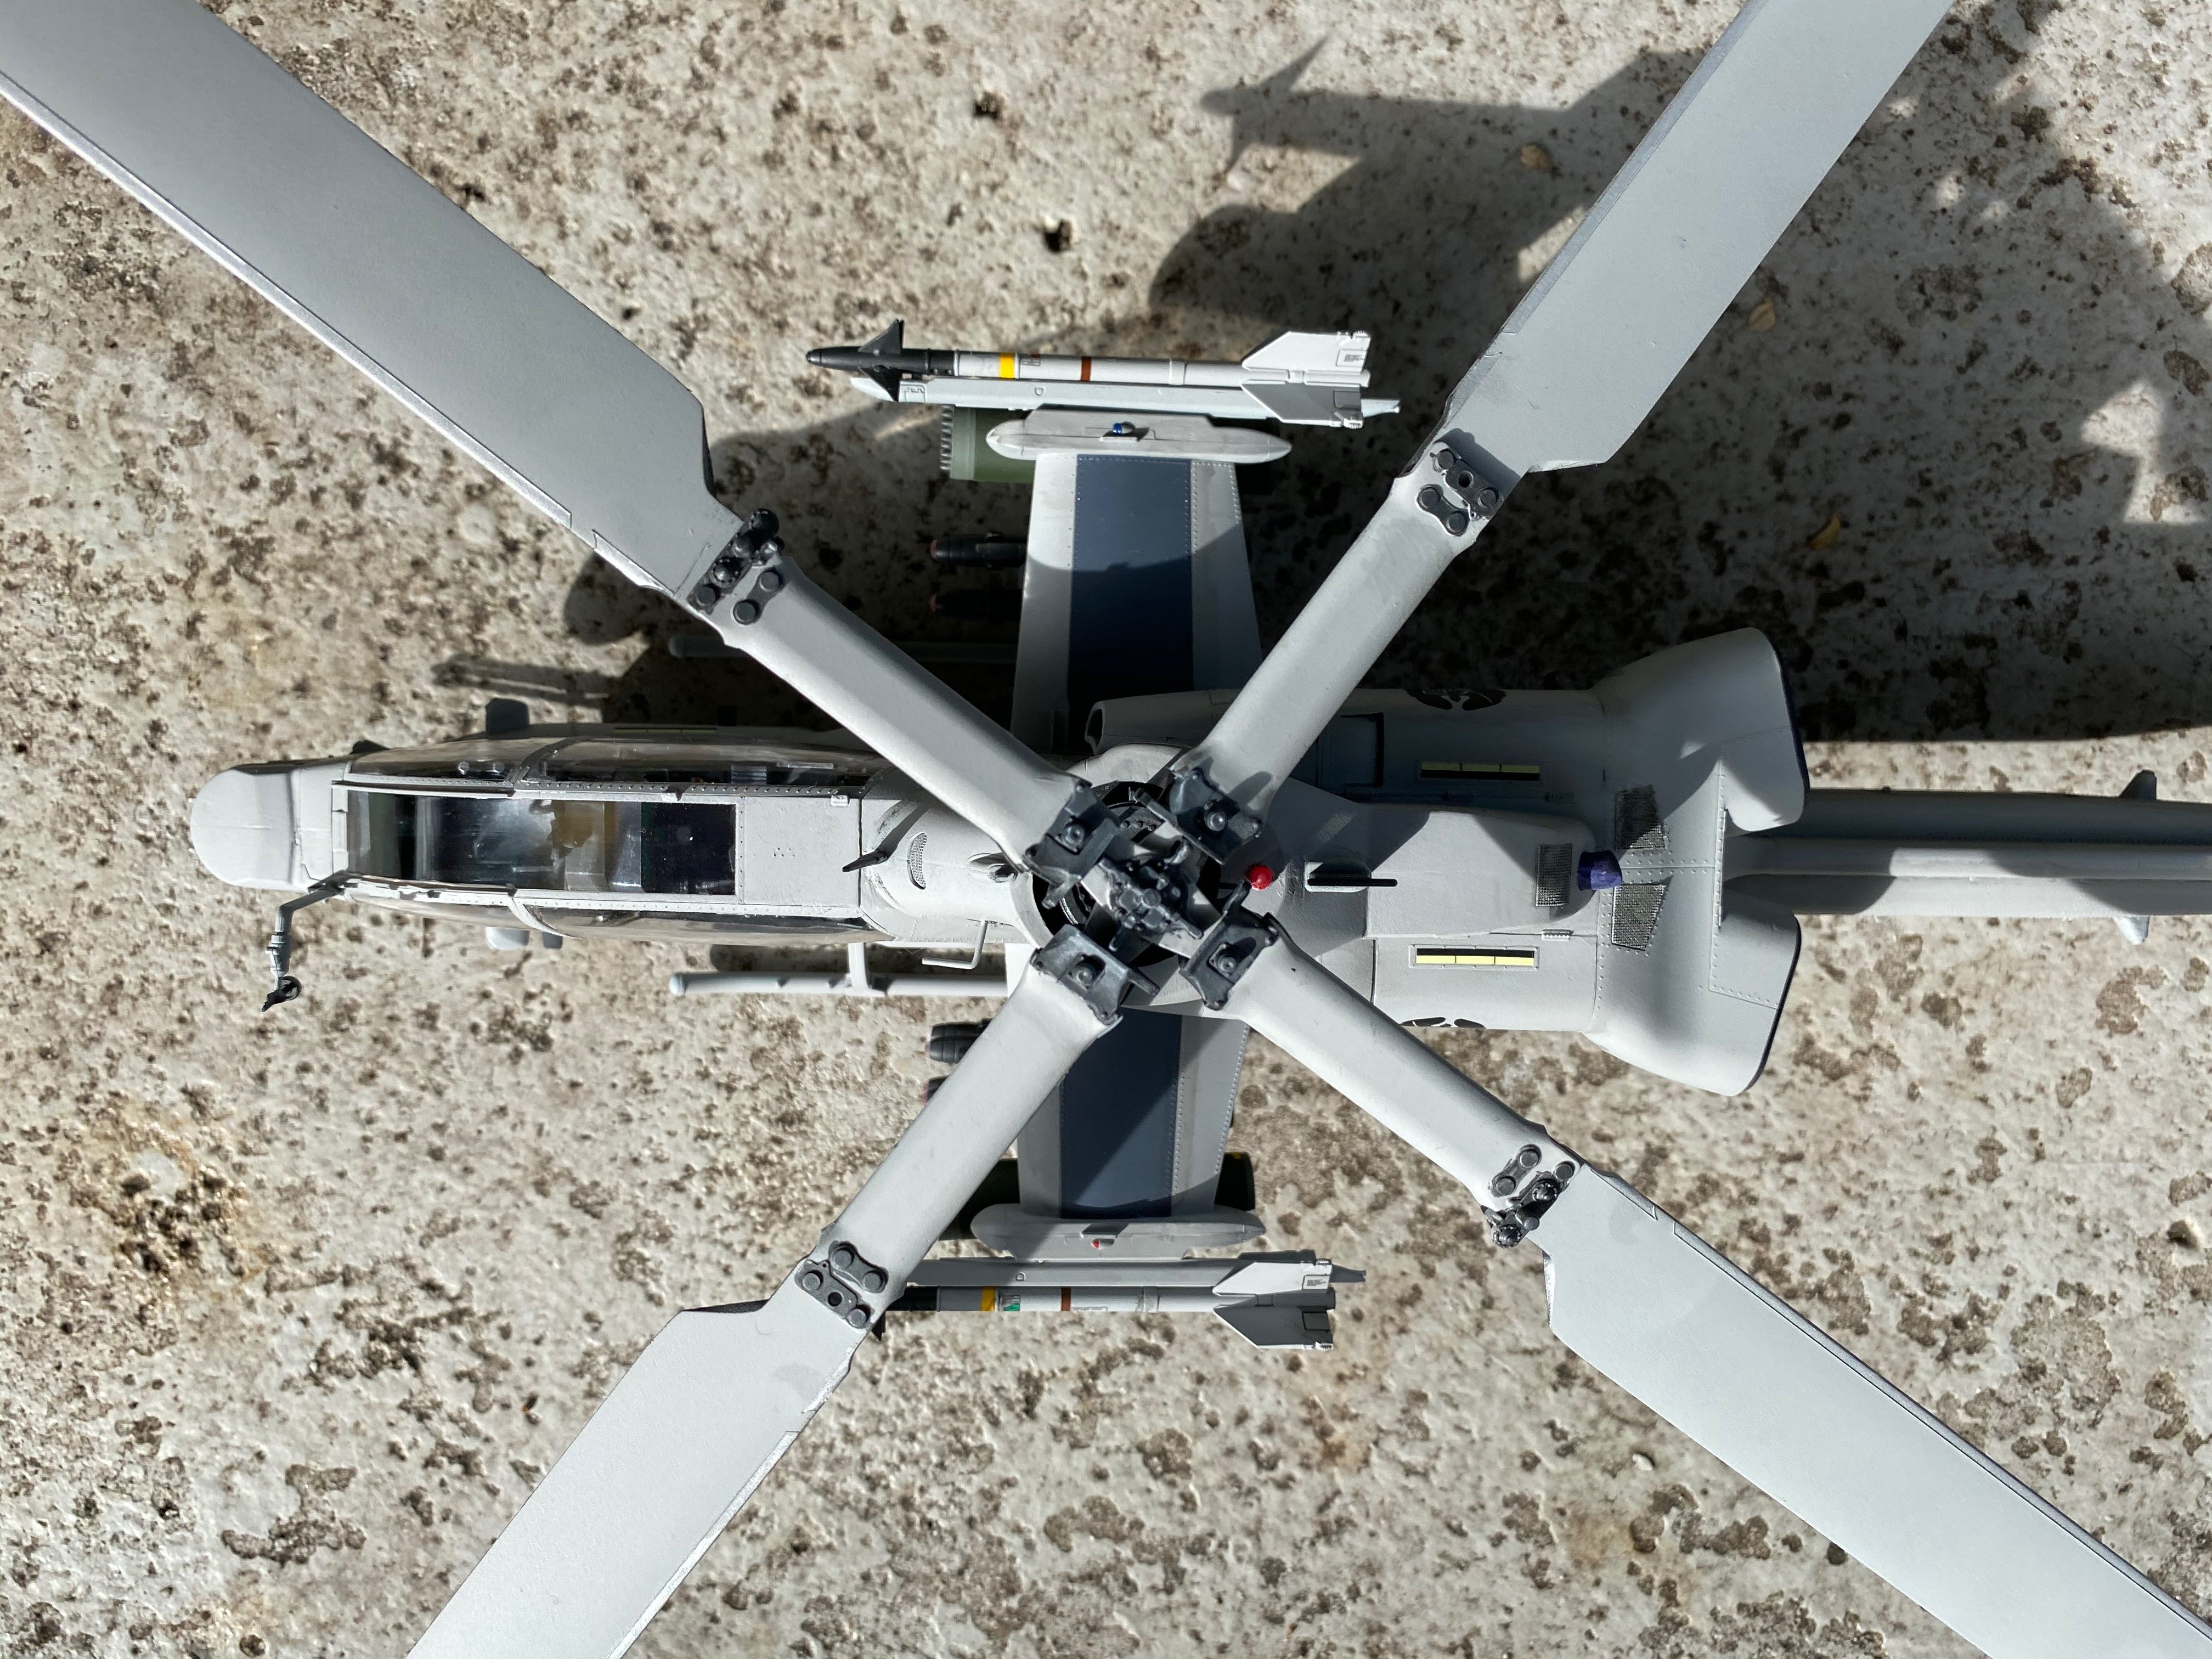
Finally finished. I now know the meaning of "fiddyly bits". Let's see I broke the hell fire assembly, the low air speed sensor, the inspection handle on the tail, the main rotor control rods, and a sidewinder. I want to thank Chris for his advice and encouragement.