


Bradley25mm
-
Posts
469 -
Joined
-
Last visited
-
Days Won
30
Content Type
Profiles
Forums
Events
Posts posted by Bradley25mm
-
-
Thanks Dick
Chris
-
Thanks again Ron and Rick. This stuff is really easy to work with

-
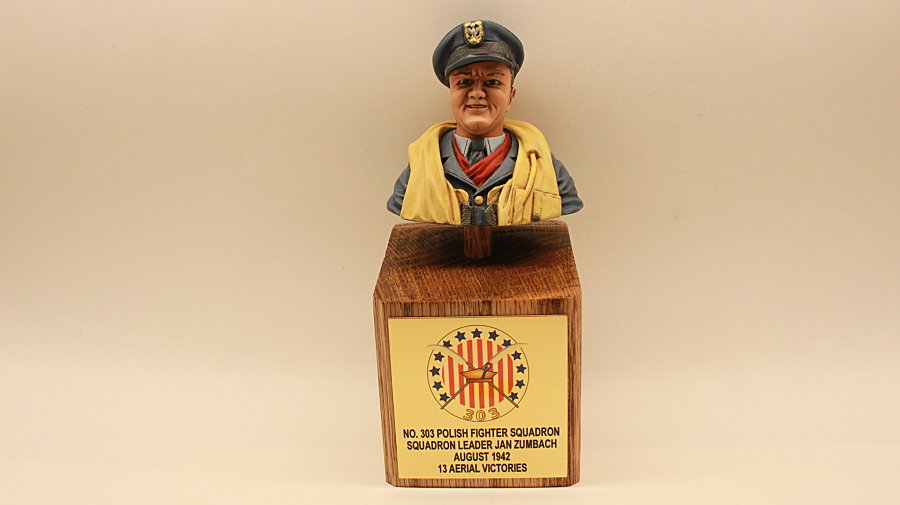
Rick,
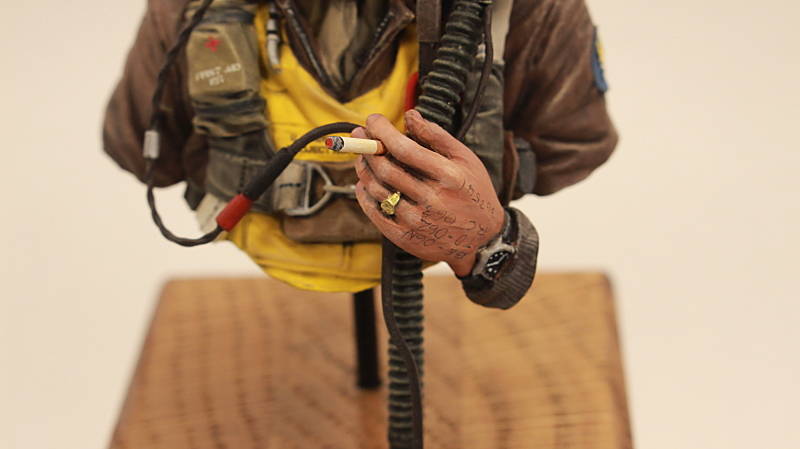
I copied these off of the box art. I’m assuming they are waypoints, or TRP,s (Target reference points).
Chris
-
Thanks a lot Tony!
-
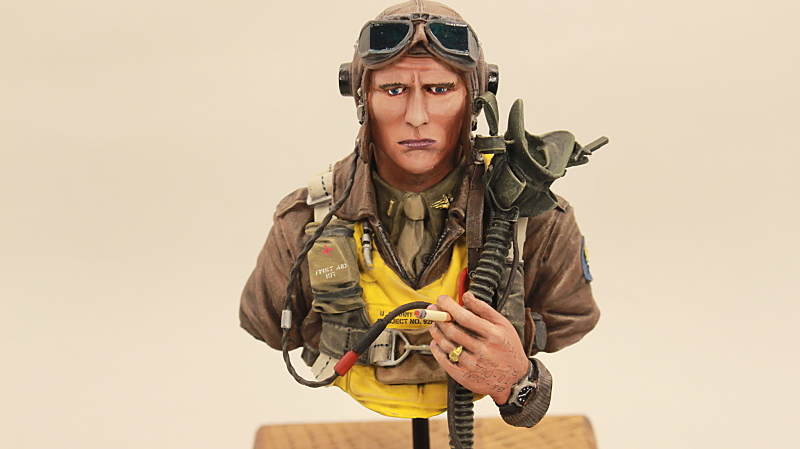
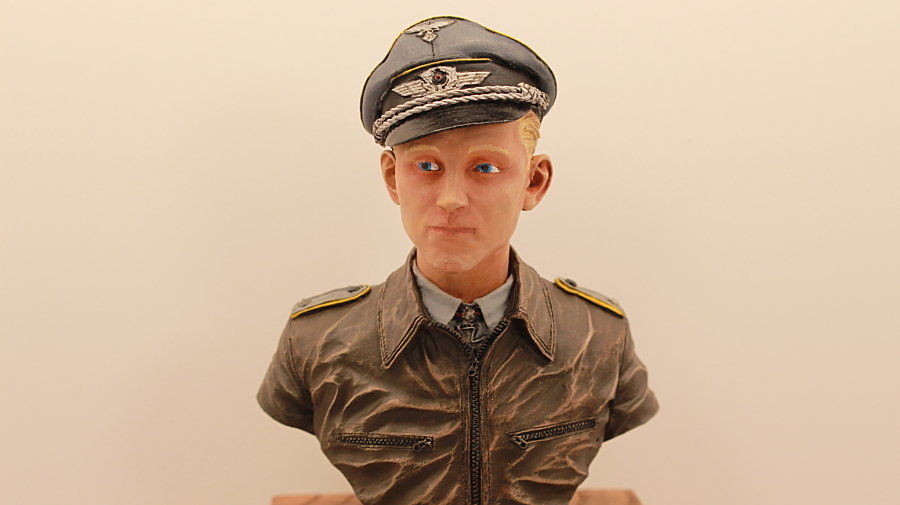
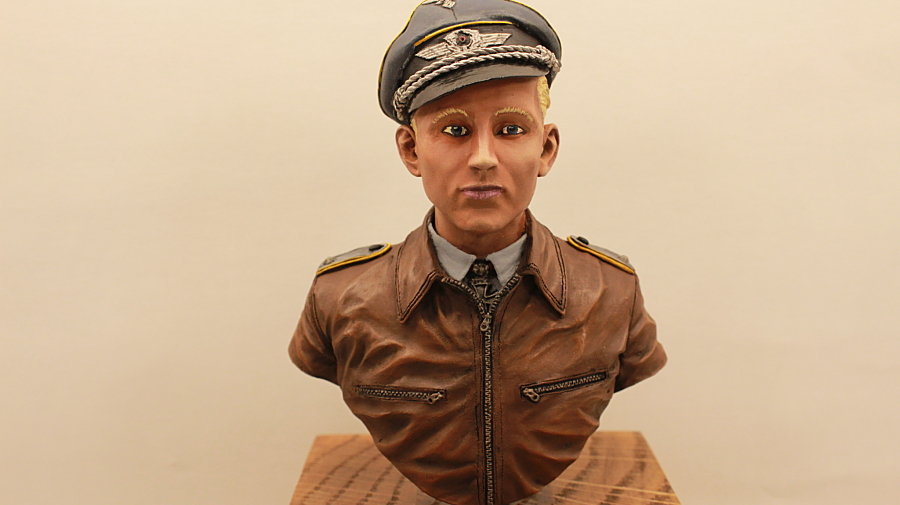
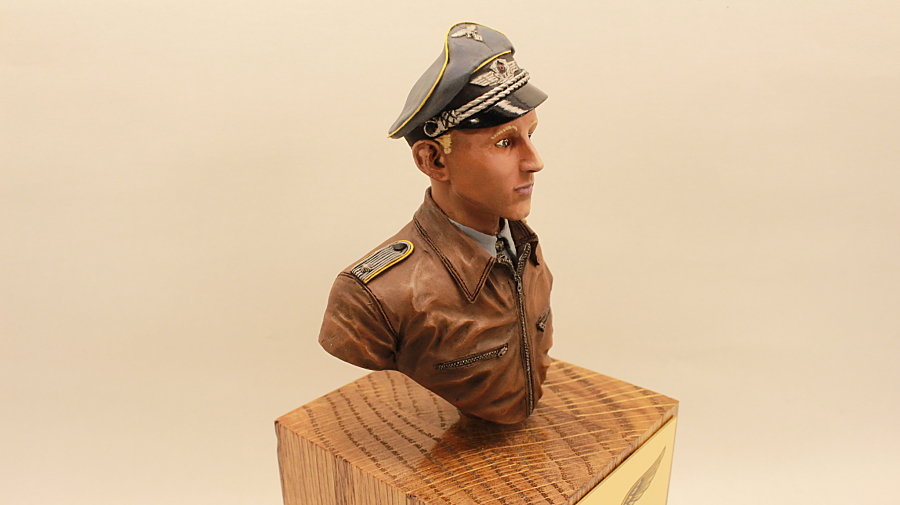
A great bust, with a lot of detail. I purchased this bust, and another one, from the SABOT Miniatures website for a very reasonable price. Went together pretty good. The headset/oxygen mask wires were a bit tricky to form. The entire bust was painted with a combination of acrylic paints (Tamiya/P3 Formula). I still need to work on painting eyes, and blending flesh tones/ 5 o'clock shadow. I used spare decals from my stash for the first aid kit, and the life vest. The stitching on the webbing was a challenge. On to the next one.
Chris
-
 1
1
-
-
Thanks Ron, and Rick.
Chris
-
Gentlemen,
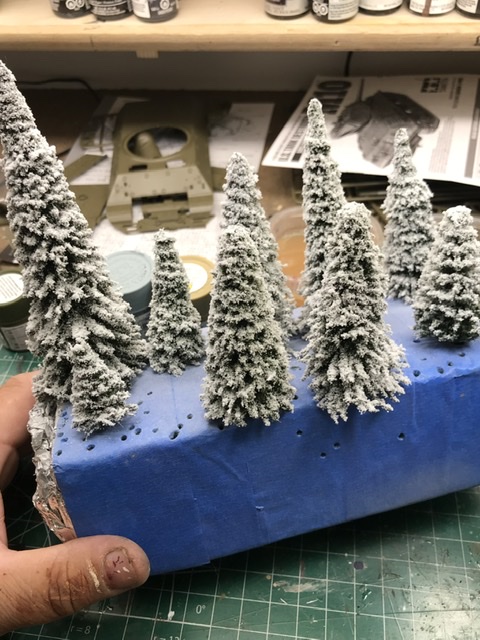
I’m going to build a rather large armor diorama depicting a scene from Bastogne. Can anyone tell me the very best medium that I could use for snow. Somethings that won’t yellow. Thanks in advance.
Chris
-
Mark,
Really interesting subjects. Very nice work.
Chris
-
Dave,
As always, your builds are amazing, especially this one. I love all the lighting that you’ve incorporated in construction process. Keep those builds coming.
Chris
-
Man, that is so cool. Outstanding job with all of the painting. Would love to build a kit like this.
Chris
-
1
-
-
Thanks Guys.
-
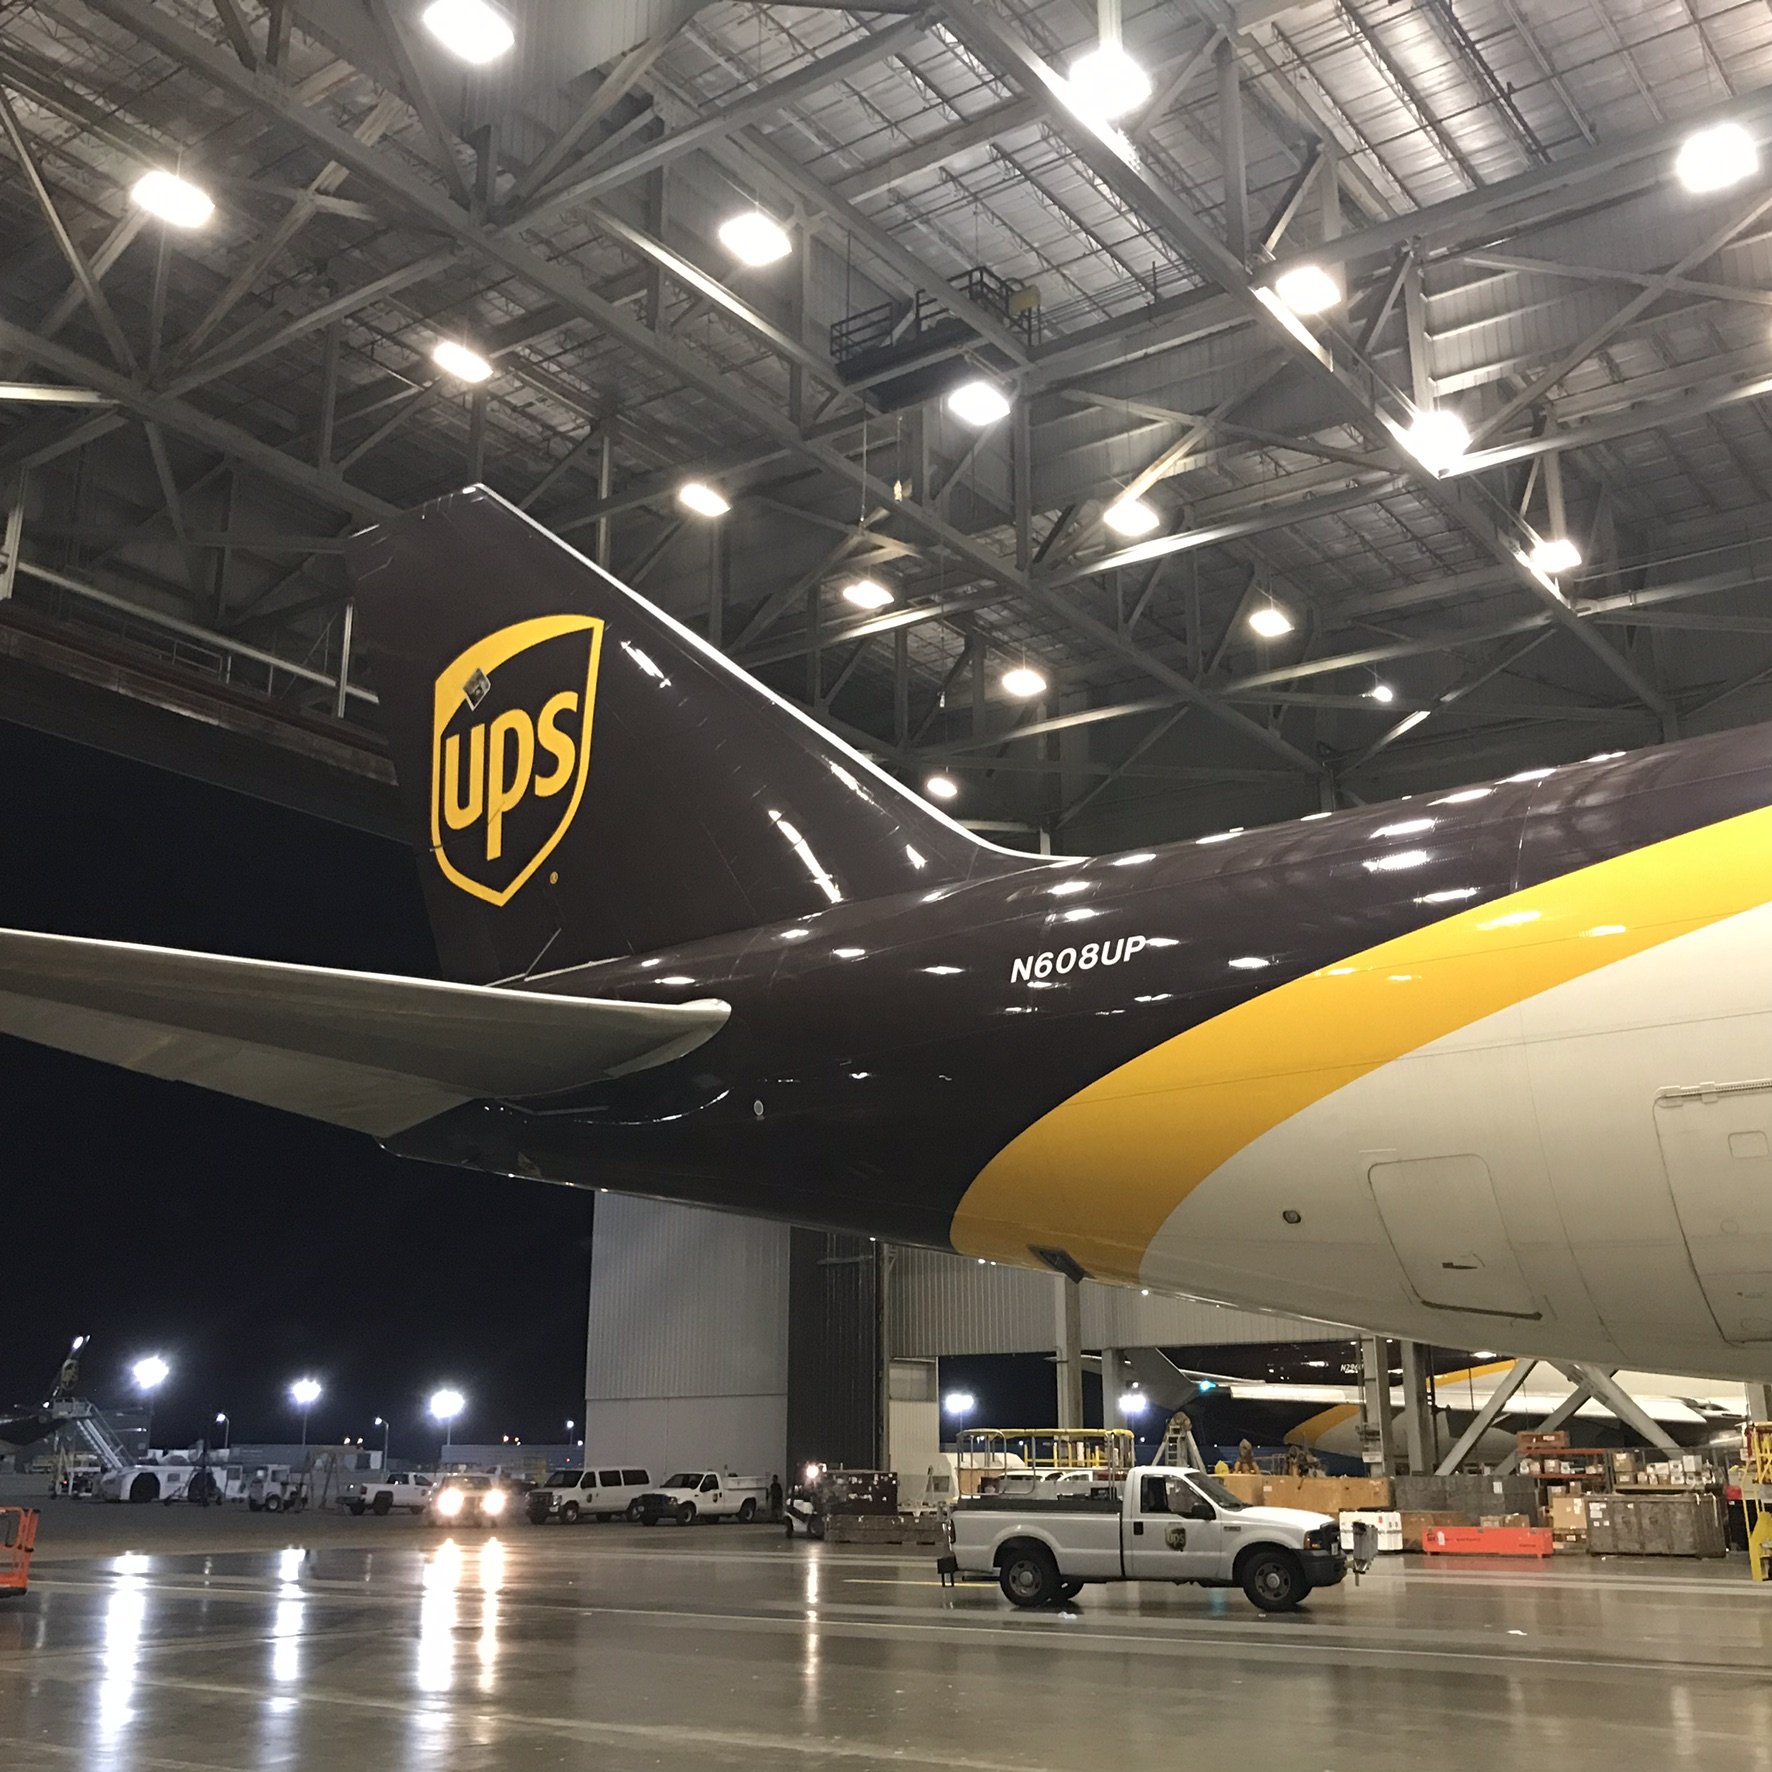
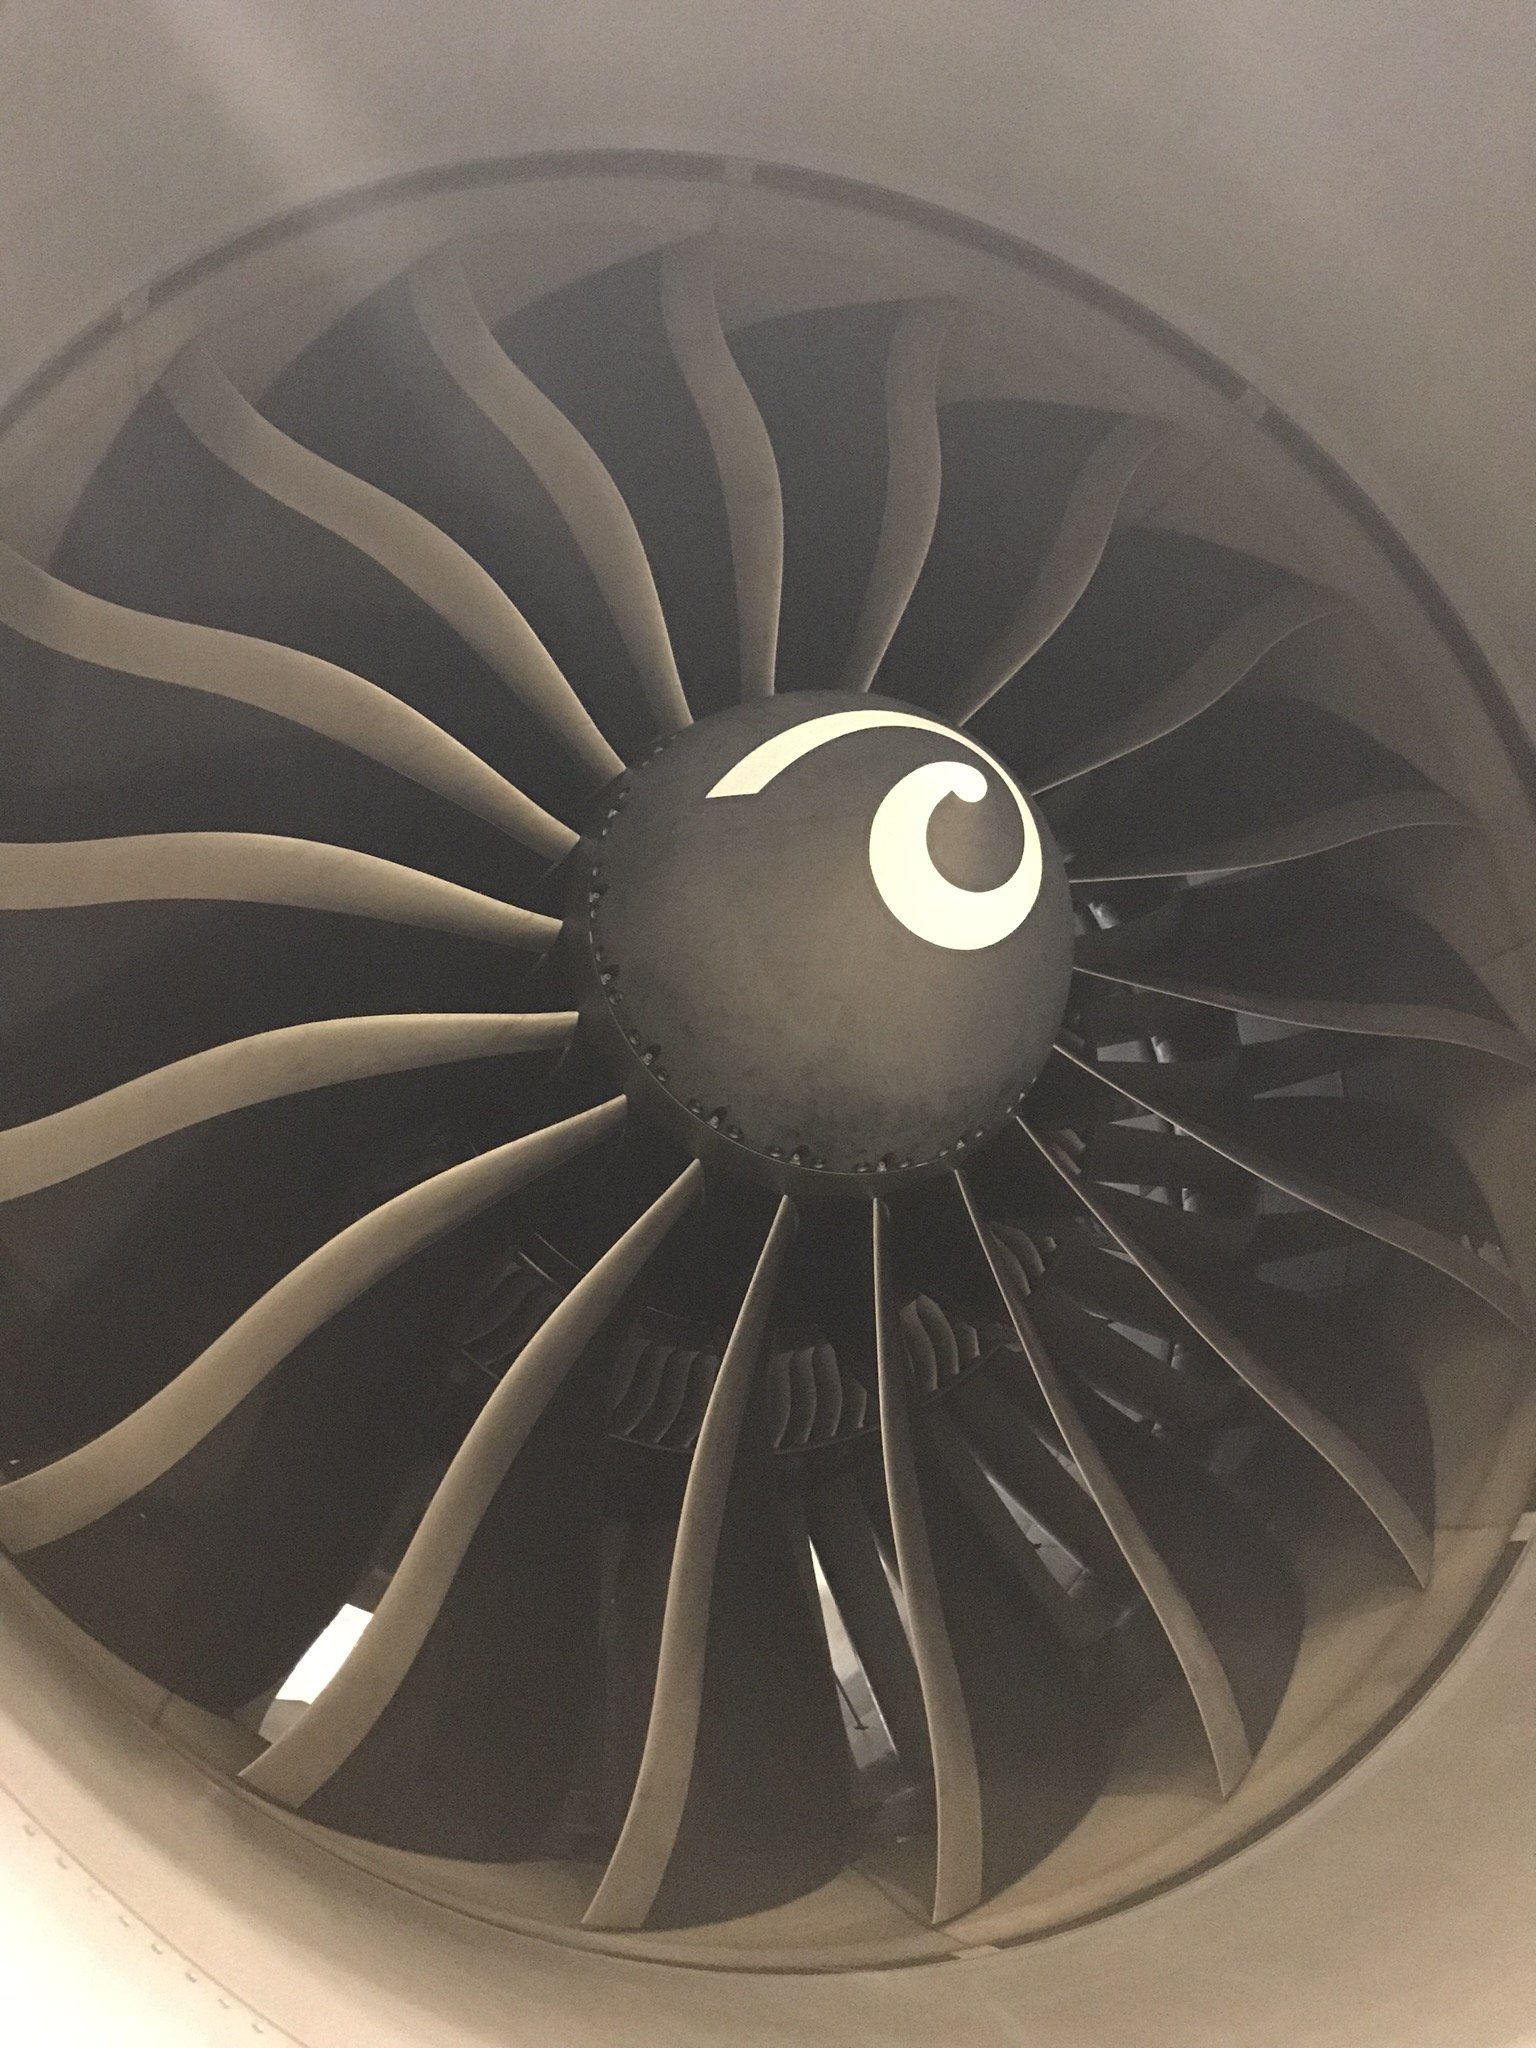
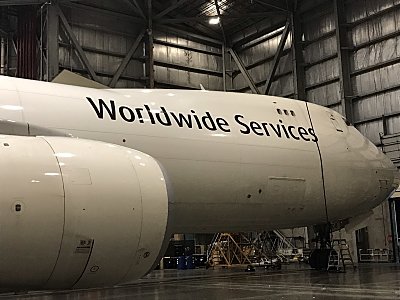
With the help of two members of our local model club (one, a UPS pilot, the other, a recently retired manager for UPS aircraft maintenance), I was able to donate the 747-8F that I had built. The photos below are of the actual aircraft (N608UP).
Chris
-
1
-
-
Beautiful work on this one Gil👍👍. Got my copy of the journal last week in the mail. Great article of yours.
Chris
-
Great work Rick. That was a very ambitious project. It definitely paid off in the end. Can’t wait to see more of your work
Chris.
-
Wow! Really love the last three figures.
Chris
-
Stunning work!
Chris
-
Thanks guys.
Chris
-
Thanks so much for the feedback Kevin.
Chris.
-
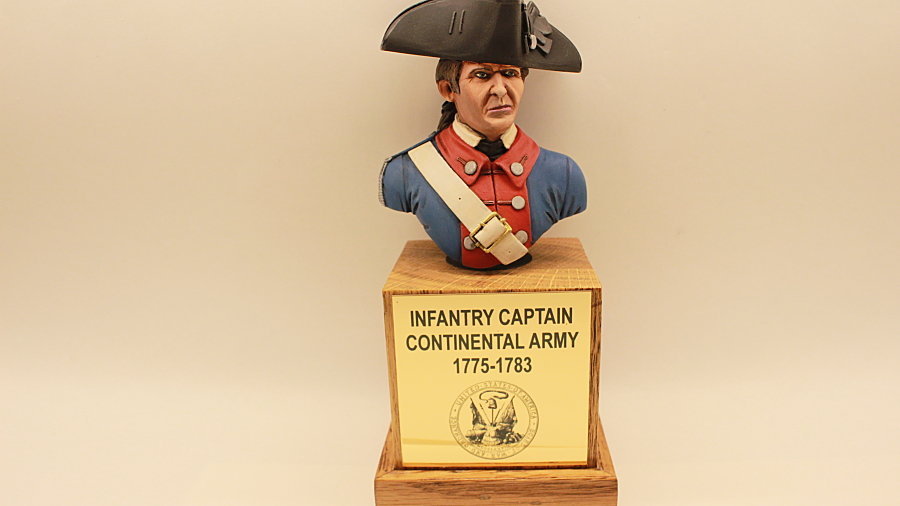
All,
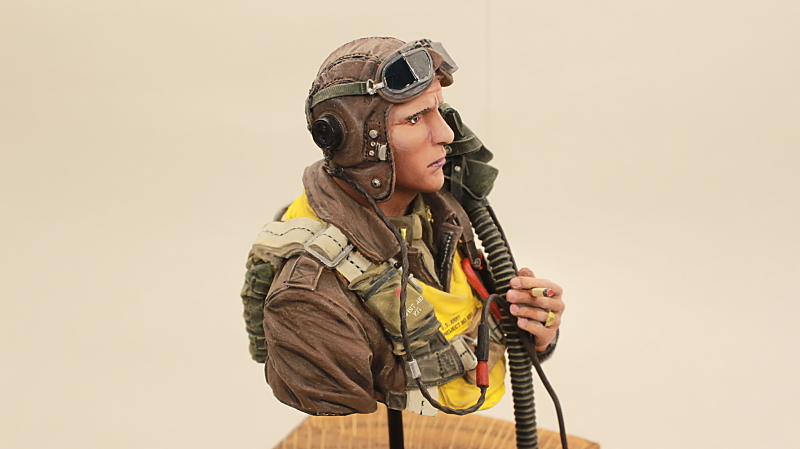
After taking the figure painting class here in Louisville, I wanted to strip, and repaint the bust. I was never really happy with the first attempt. After trying to fix areas on his face, with no improvement, I decided it was finished. After some careful disassembly, I began the stripping process. His hat was the only thing that was not stripped. In a small metal cup, filled with Lacquer Thinner, I used an old brush to start removing the paint. With my first attempt, I used a combination of acrylics, enamels, and oils. The thinner did not attack the resin. After the paint was stripped off, I let the pieces sit for about 15 minutes.
During our class, we were given a very detailed "Step by step" process on painting our figure. The first time I painted it, I used a combination of Vallejo, Model Master Enamels, and AK Products. (All, very good paint products) For the second attempt, I used the paints that we were provided in class (Formula P3). The one thing that stands out with these paints, is their pigment saturation. Even after being thinned with water( and I mean, thinned) they still retained their pigment. Brett Avants quote for the day, "Thin is in". Because of the pigment, the thinned paints, allow you to, gradually build up the layers as you go.
Granted, I've got a ways to go, but these paints have made things easier for me. Happy Painting!
Chris
P.S. In my second attempt, he seems to have contracted "Lazy eye, in his left eye.", which I'm eventually going to fix.
-
1
-
-
Rick,
The helicopter turned out great. The interior is what I’m most impressed with. Your attention to detail is top notch.
Congrats
Chris
-
Dave,
A great job, on a very rough kit. You hit this one out of the park. I built this one a few years ago. Very disappointed with the quality of the kit. I’ll probably never build another Roden again.
Congrats
Chris
-
1
-
-
Wow! Amazing work Gil. She looks beautiful.
Chris
-
Outstanding builds Rick. Really Impressive!
Chris
-
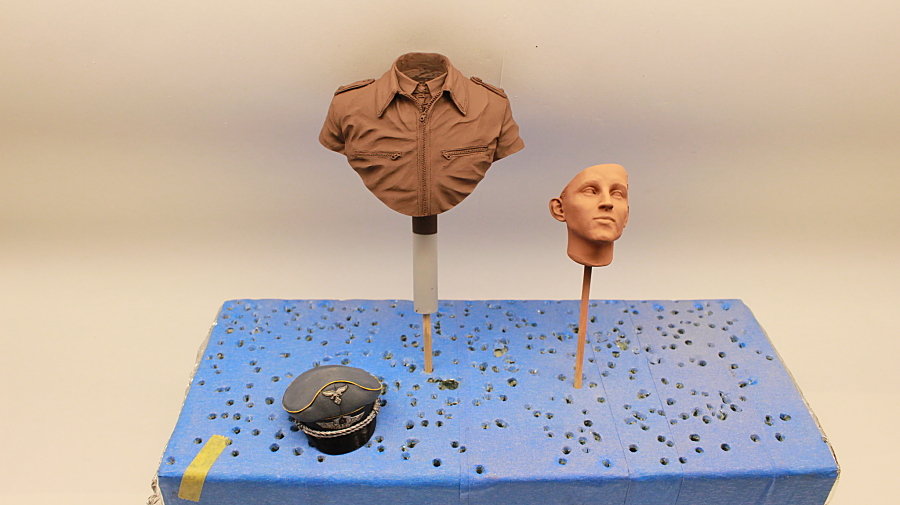
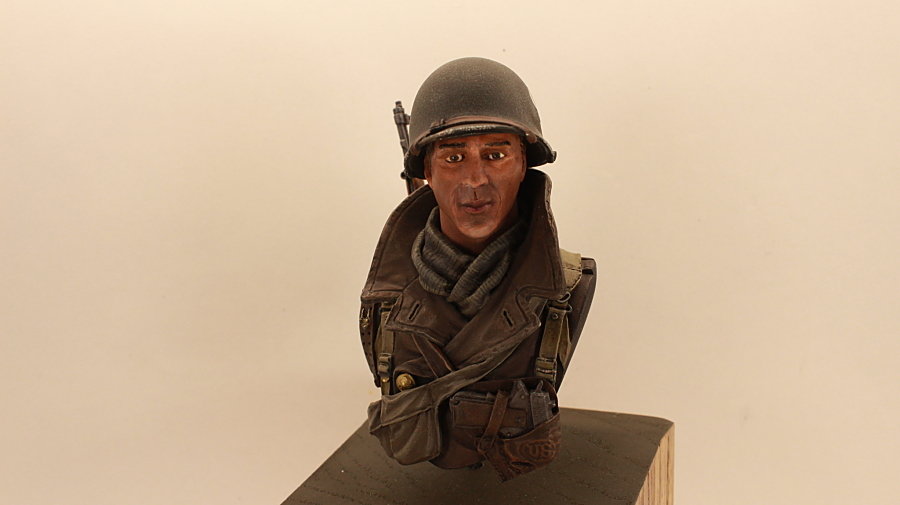
I'm giving Aircraft a break for a while, so that I can work on improving my figure painting. In July, I had the opportunity, with 8 other modelers, to attend the Sabot Miniatures Painting Academy here in Louisville Ky. Our instructor for the day, was Brett Avants. Our day started at 7:30AM, and ended around 5:00PM. If your serious about improving your figure painting, or just want to hone the skills you currently have, this class is a MUST attend. Our project for the day was Young Miniatures Siege of Bastogne bust.
We learned everything from advanced flesh painting techniques, to simulating woodgrain with different ink colors. A lot of things I had never done before. By the time the class had ended, we all had a mostly completed figure. It was an intense class, but well worth it!
Chris
-
1
-


Italian F-104 1/32 Scale real metal skin
in Aircraft
Posted
Most impressive Rick! Not sure I would have the patients that you do to apply the aluminum. From the looks of it you’ve mastered your skills applying it.
Chris