


Bradley25mm
-
Posts
469 -
Joined
-
Last visited
-
Days Won
30
Content Type
Profiles
Forums
Events
Posts posted by Bradley25mm
-
-
That is a sharp looking Mustang Paul. Congrats on a great build. Looking forward to more of your work.
Chris
-
 1
1
-
-
Wow Mike! Can’t wait to see more of your work.
Chris
-
Very nice looking bird. Sensor ball looks good with your add-one. Interesting color you used on the lenses. What did you use to color the Hellfire lenses?
Chris
-
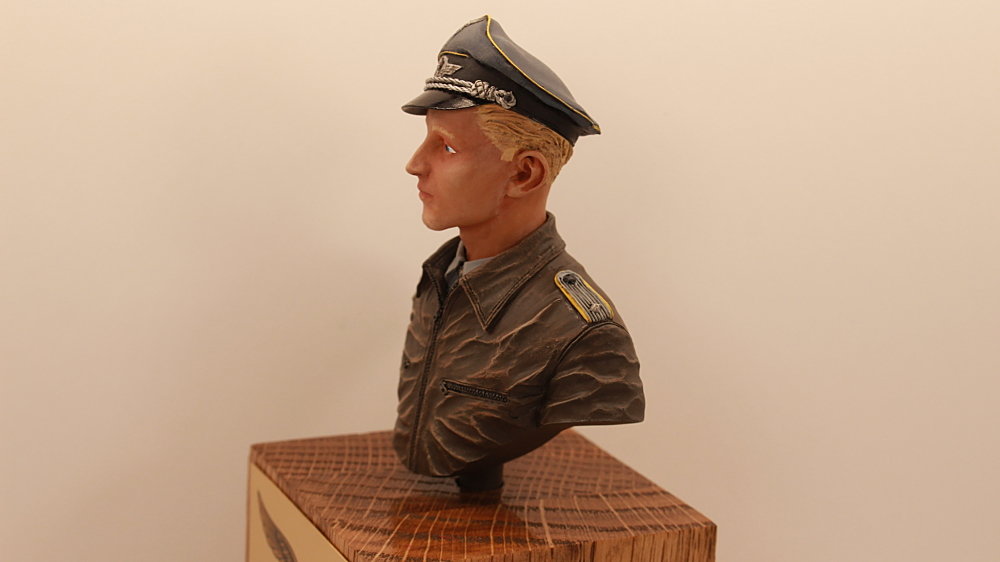
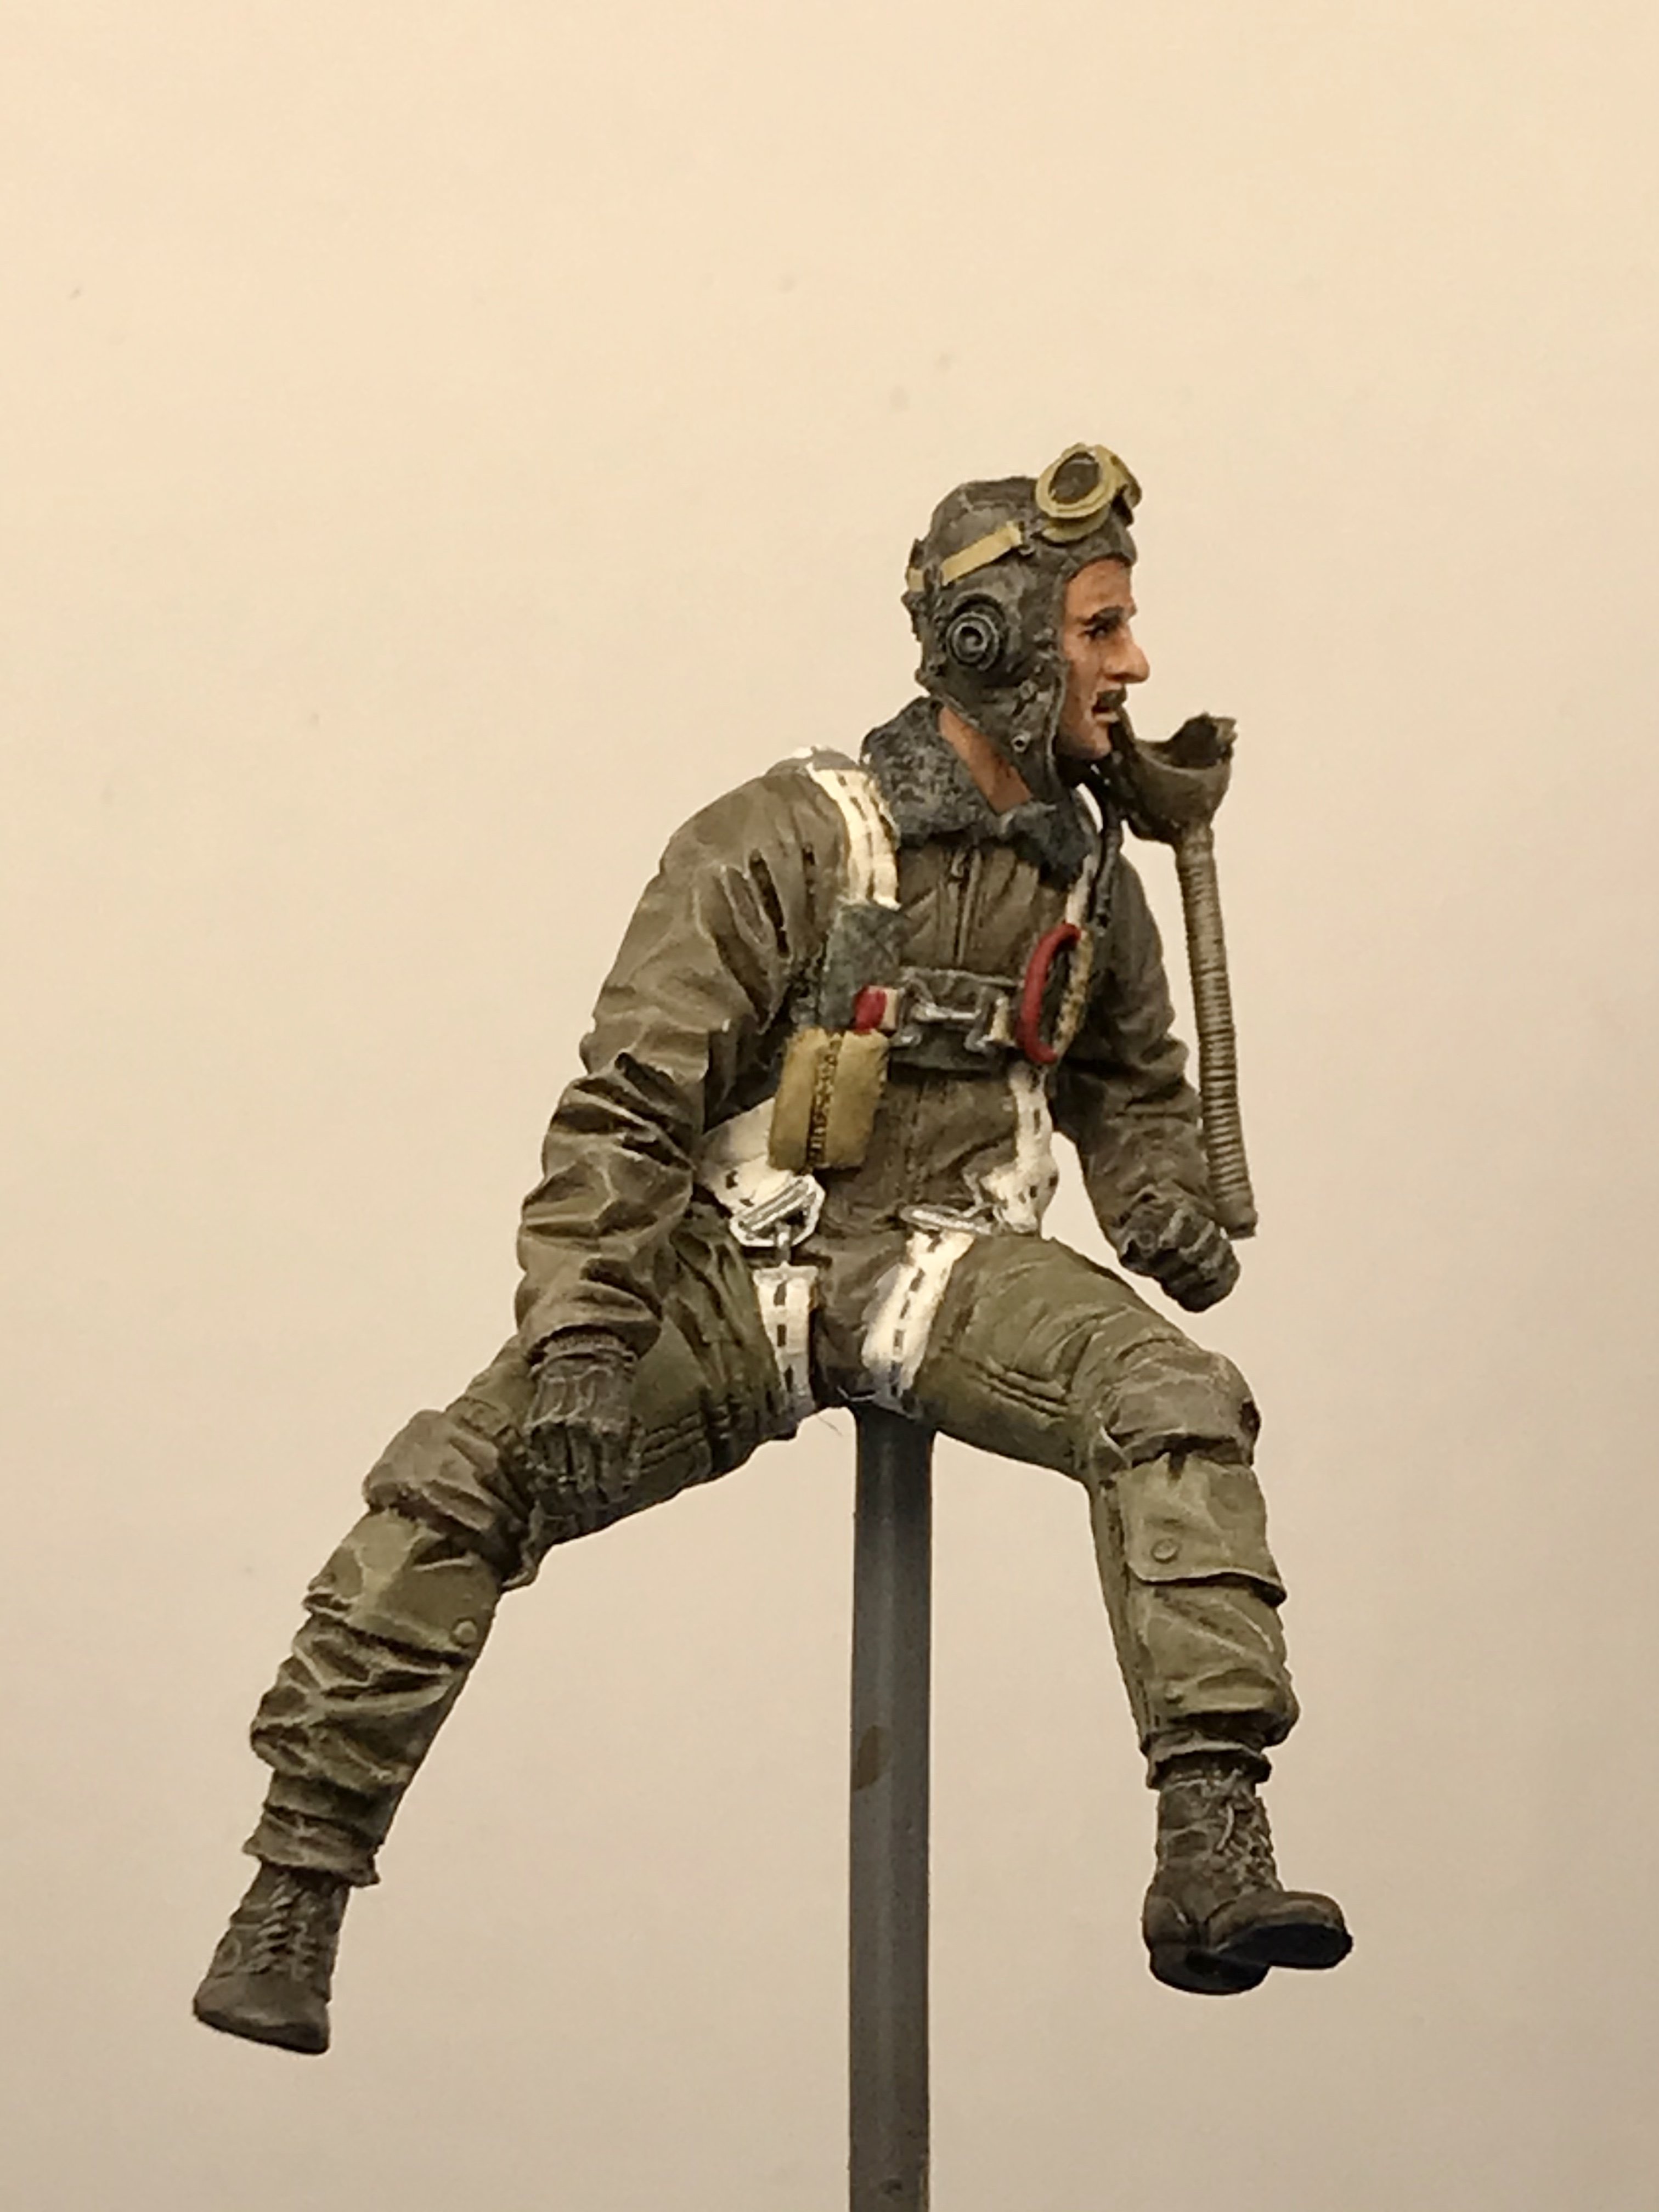
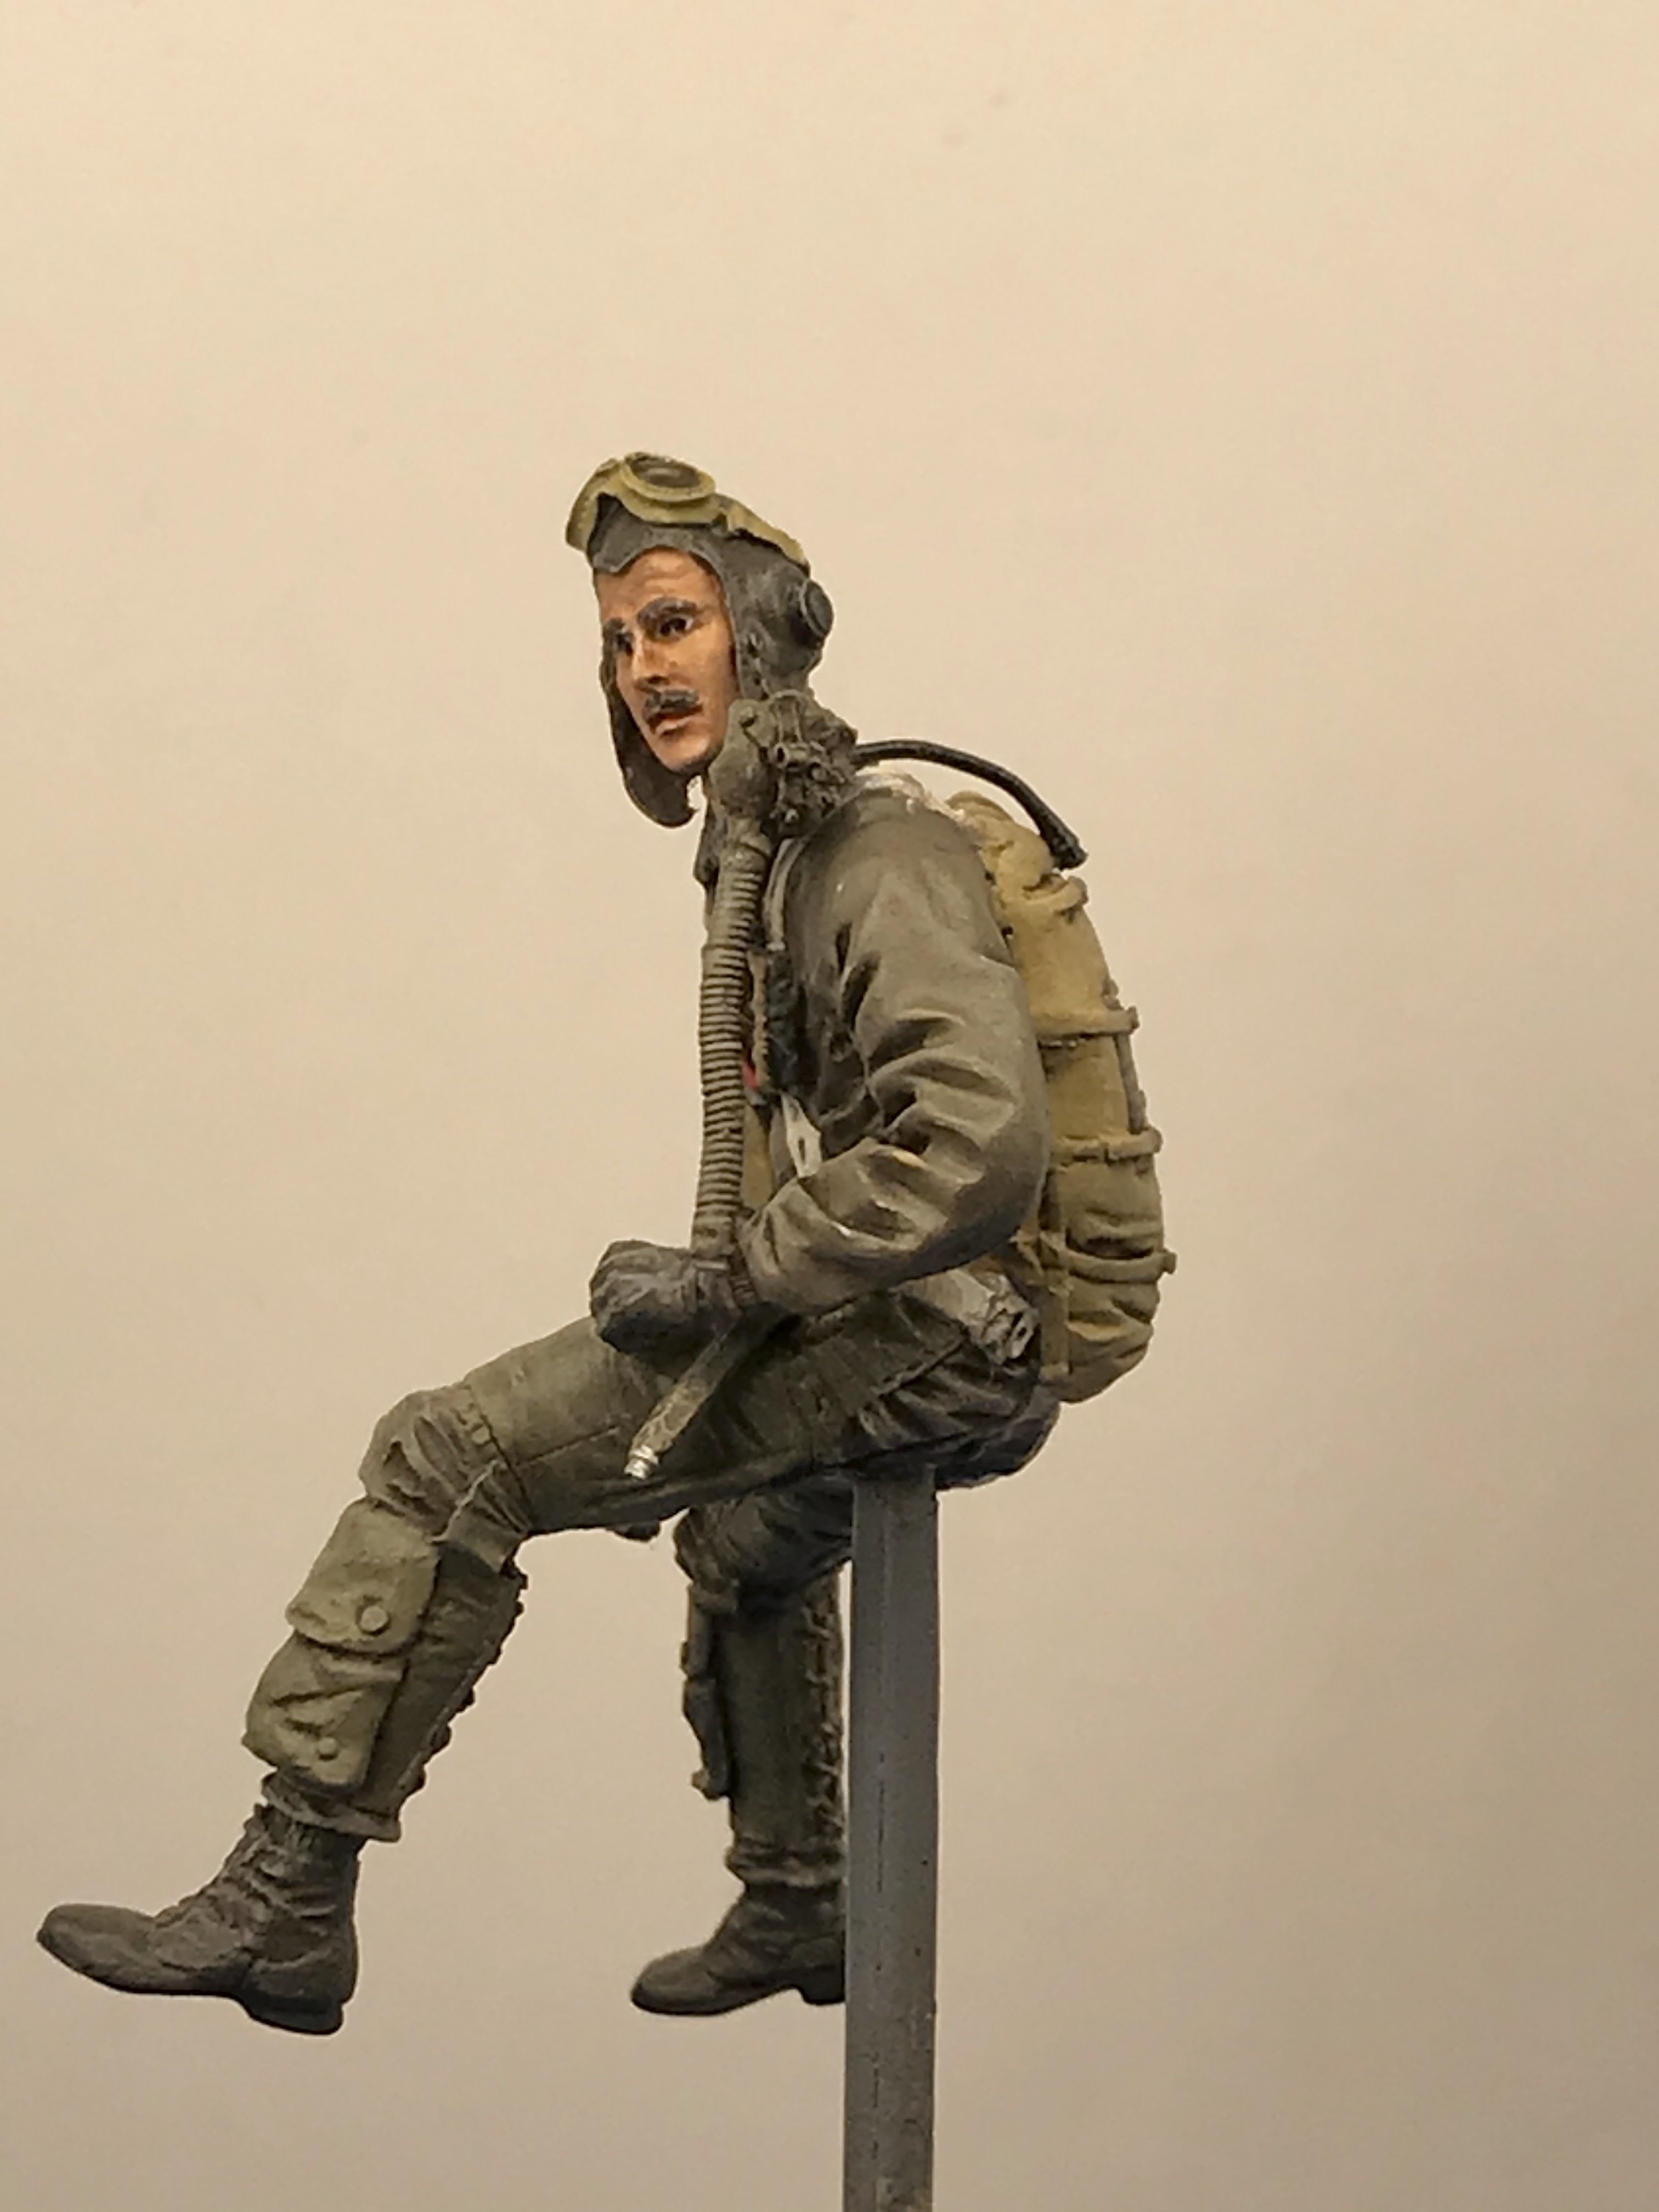
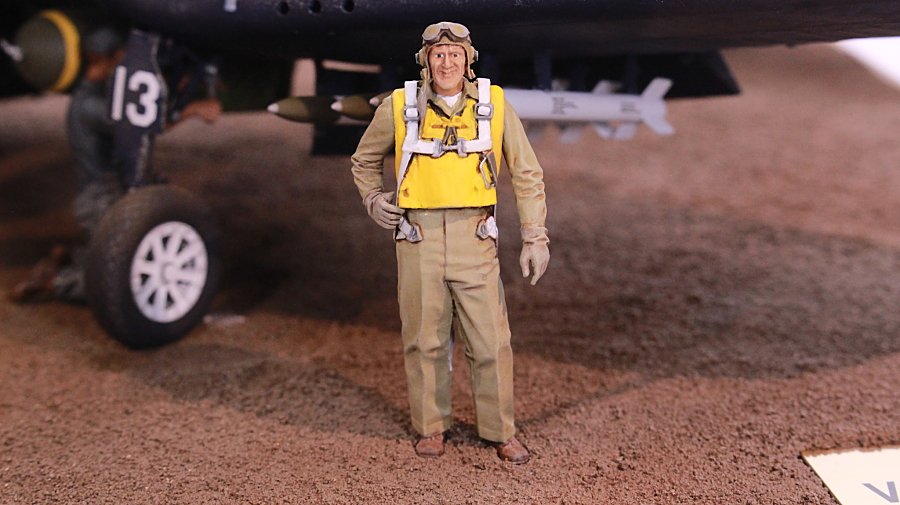
Over the years, I've pretty much stayed away from figures all together, because of painting flesh. An arm or a hand exposed was ok, as long as the face was FULLY covered. About two years ago, I started incorporating figures in my dioramas. A friend of mine, in our local club, does mostly figures, painted strictly with artist oils. His results are amazing. He's given me quite a bit of info on how he does his. His main advice was to check on YouTube for tutorials. I decided to get my "feet wet", starting with acrylics (some enamels for the eyes).
The bust was painted with a mixture of Vallejo, and AK Flesh and Skin Colors. The leather jacket was a custom mix of two different Tamiya browns. I would usually apply a wash to his jacket for depth. I instead decided to drybrush just the high areas. I used Testors Model Master bright brown first. After it dried, the high areas looked more bronze than anything. I toned it down Naples Yellow Hue (artist oils). The cord and emblems on his hat were painted with Tamiya flat aluminum. I applied a dark wash on these items after they dried. The yellow bead around his hat is Testors yellow. The brim of his hat was painted with Tamiya gloss black.
Comments and suggestions are welcome.
Chris

-
3
-
-
I normally don’t stray out of the Aircraft/ Build forum. After reading all the comments on this subject, I’d like to add my “Two Cents”. Last year was my first time attending the Nationals. I saw firsthand how much hard work went into hosting one of these. I had a great time, saw some amazing models, and met some great people. I can’t wait to go to the next one.
With the current surge of COVID cases in Texas, I don’t see how our organization could proceed forward with this years Nationals. With that said, I understand what a huge loss, monetarily , it would be to our organization as a whole. Not to mention all the work and time that the team in San Marcos has sacrificed thus far. (Thank you to the San Marcos team)
Make no mistake about it, this is a no win situation for ALL of us. Whether it’s hosted or not. If it is held, I feel the attendance would be far below where it would needs to be, to be beneficial for the organization. I could not imagine being on the board, having to make this decision.I know that it’s “Not that easy” in making a decision like this. I do however, feel strongly that we need to hear a definitive answer from the leadership, and soon. Just my “Two Cents”
Regards
Christopher
-
Thanks Gary for your explanation. I’ll be using the Vallejo paint next time I do white gear bays.
Chris.
-
Gary,
The wash in the nose gear bay looks great. It really stands out. I’m still using enamel’s. The washes that I use are mineral spirit based. They sometime don’t turn out that well. You’ve nailed it!
Chris
-
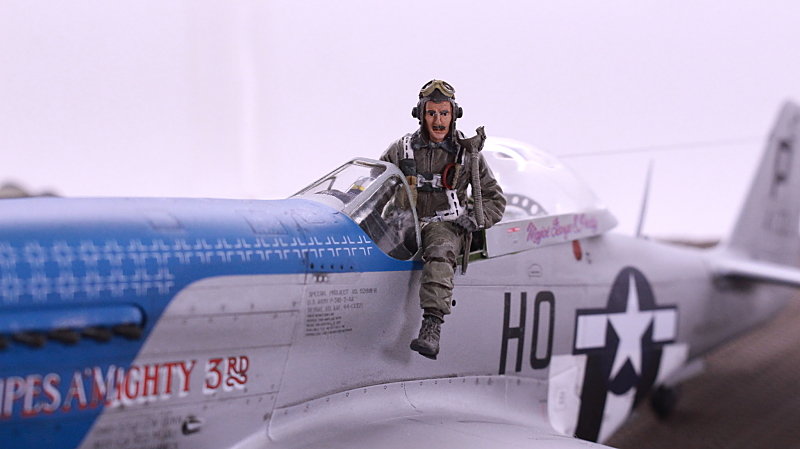
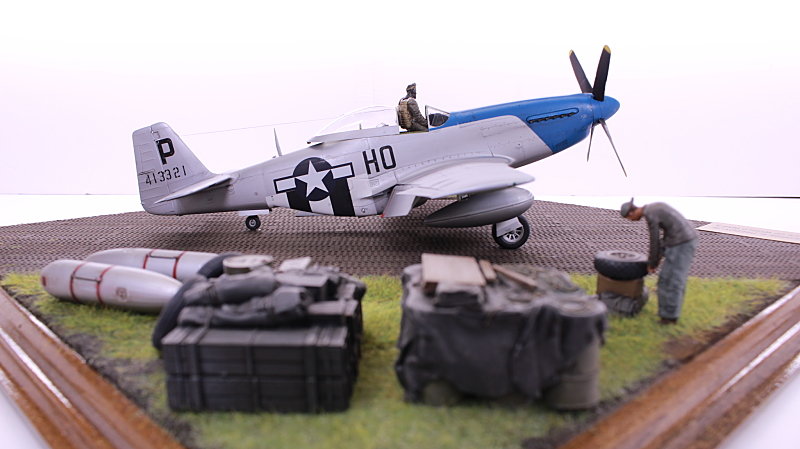
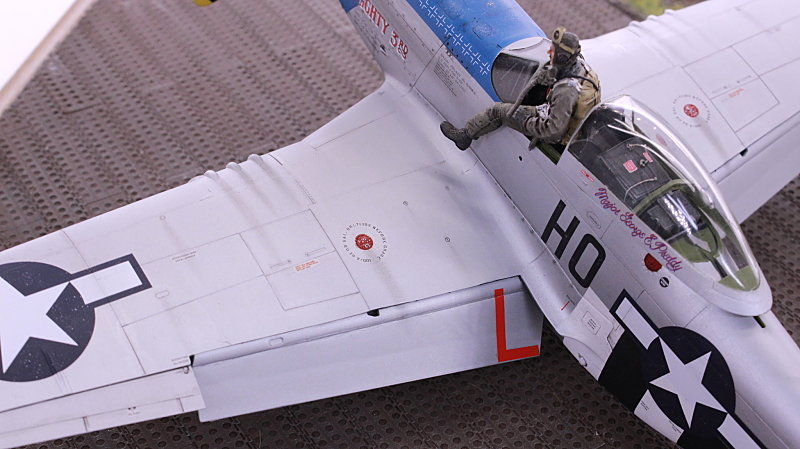
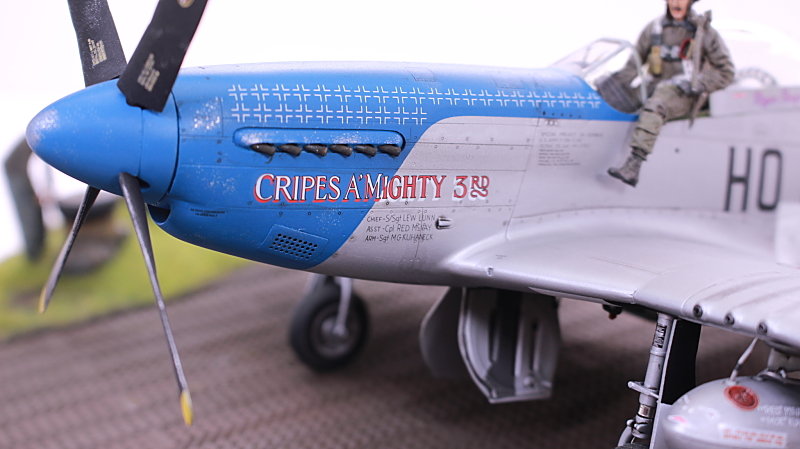
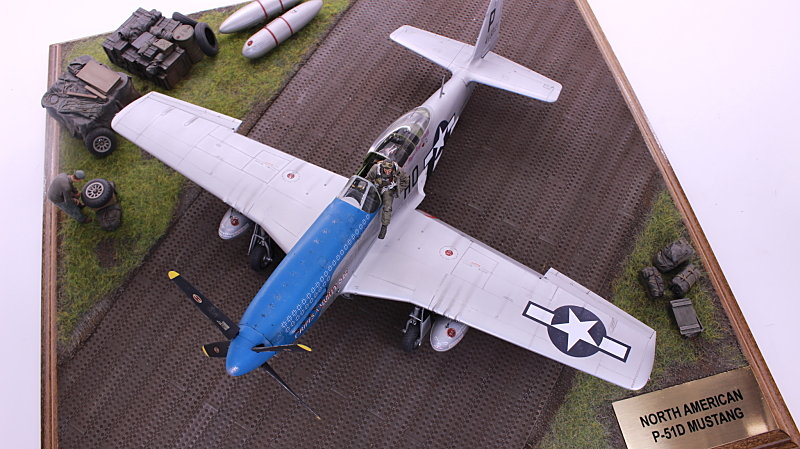
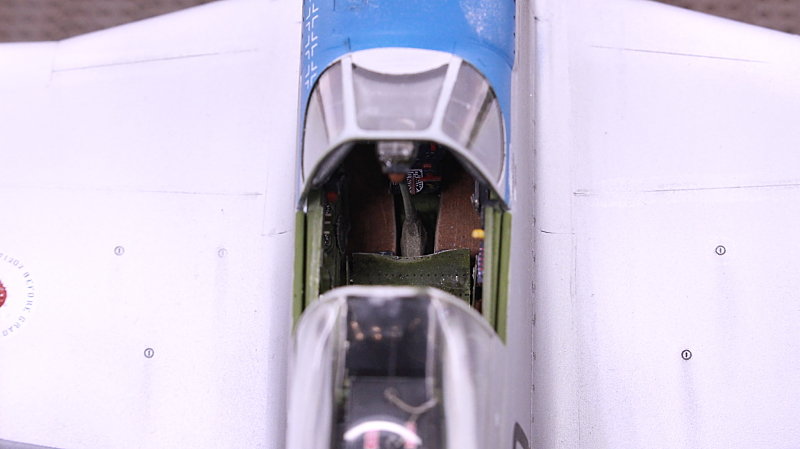
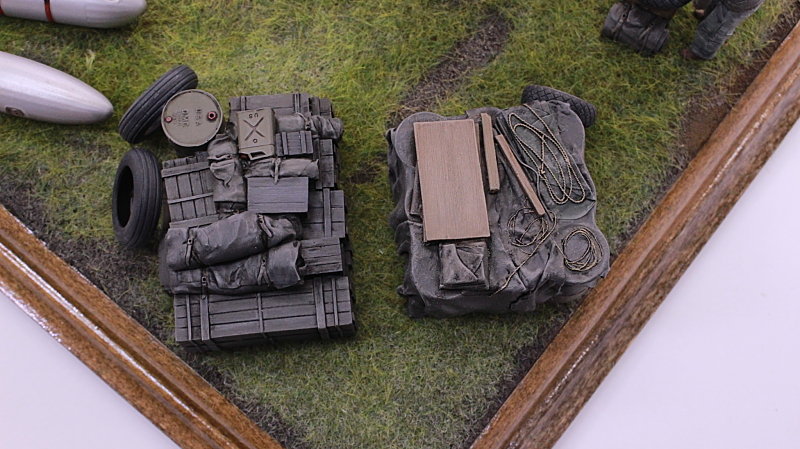
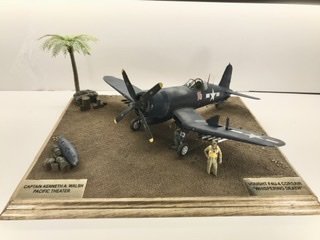
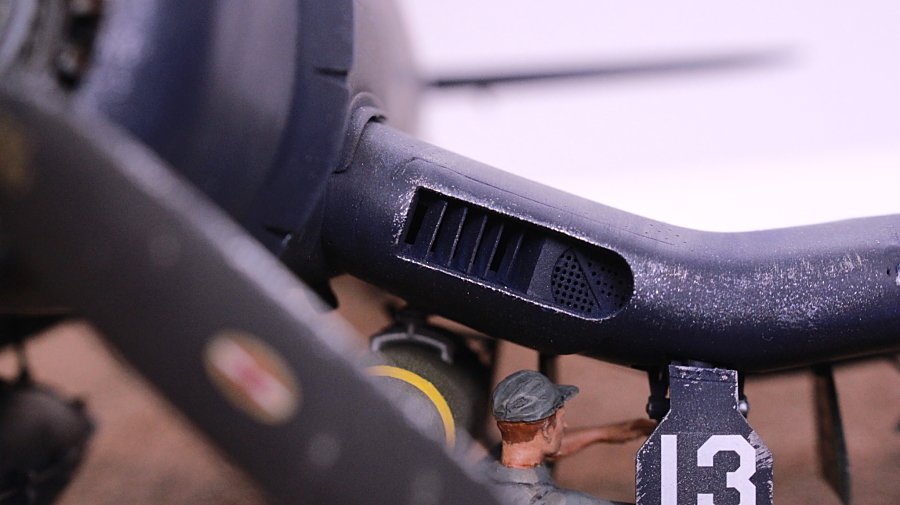
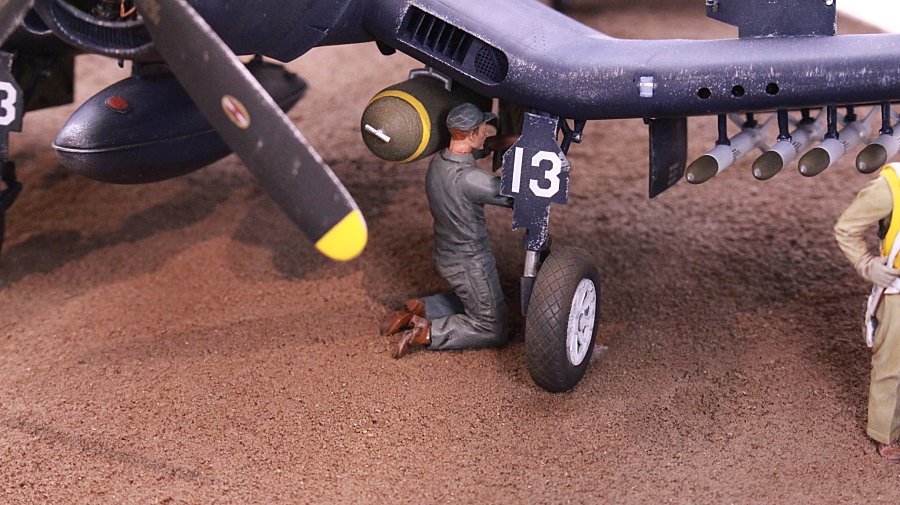
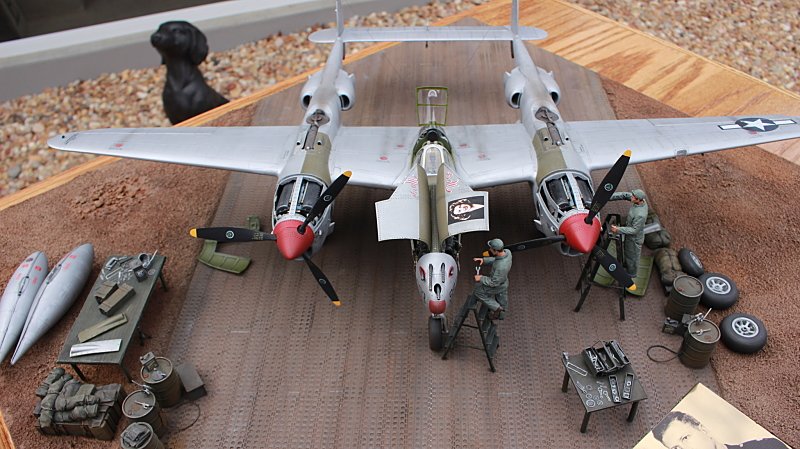
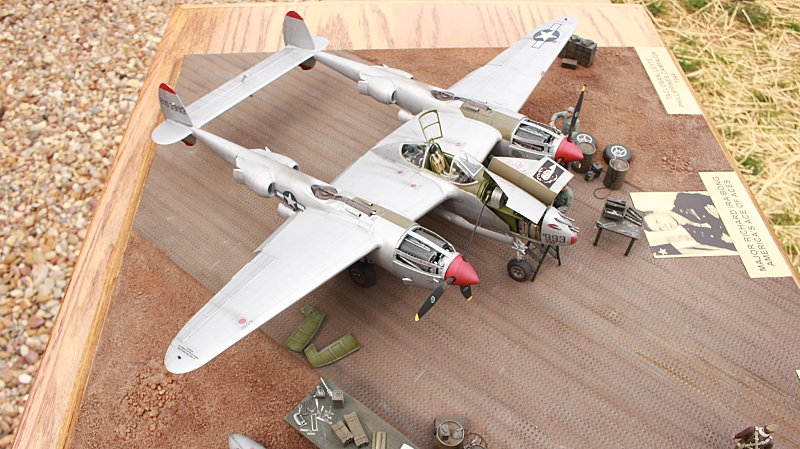
If your looking for a reasonably priced kit, with awesome detail, this is the kit to buy. All the parts fit together great. Little, if any, flashing to remove. A very nice decal sheet is included with two different build options. I did order an additional set of decals from Eagle Editions. The construction is pretty straight forward. I didn't have any problems. One thing that caught my eye when I opened the box, were the smooth wings. No need to putty those nasty rivets. I used Eduard photo etch for the cockpit, and undercarriage. I used a mix of Testors Model Master enamels, and Tamiya acrylics. The color of the plane is Tamiya Bare Metal Silver. The blue is Testors lacquer Chrysler engine blue. I used Pastel Chalk for dirt streaks, and engine exhaust.
The pilot figure is from Eagle Editions. The mechanic figure is from Black Dog models. The crates and other gear, are from Value Gear. The Marston Matting if from Tom's Model Works. I'm going to add a little more dirt and grim to the plane.
Chris
-
1
-
-
Looks great Mark. The detail painting on the rotor head is crisp and clean. The Hellfire’s and 2.75” rocket pods look sharp as well. Things are really coming together now. Your in the homestretch buddy!. I’m really excited to see the finished model.
Chris
-
Rick,
So sorry to hear about the passing of your wife. They look fantastic.
Chris
-
That looks like fantastic progress. Especially for someone who’s been away from the hobby for 30 years. Don’t worry about people being harsh. I’ve never seen, or experienced that on this forum. If anything, you’ll get all the help you need, as long as you ask. Keep those pictures coming!
Chris
-
Thanks for the kind words Mark. Looking forward to seeing your build. Glad to see your back at building again. If you have any questions at all, feel free to message me. I’d be more than happy to answer any questions you have.
Chris
-
Thanks Peter for the input. Problem solved.
Christopher
-
 1
1
-
-
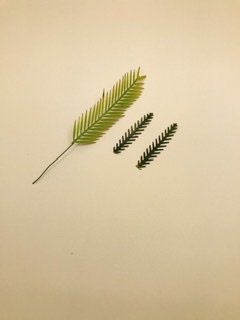
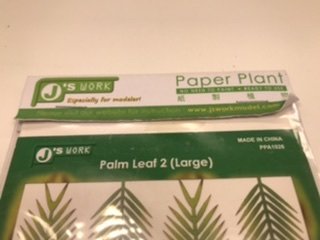
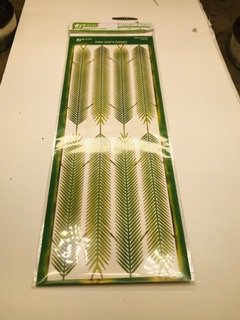
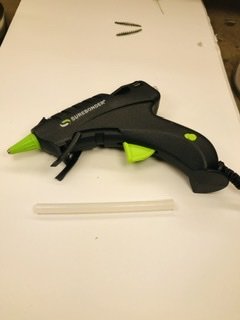
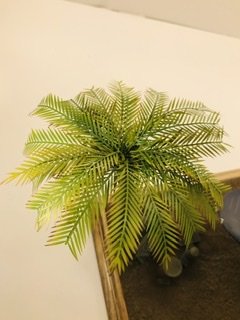
I wanted to pass this along to the group, for anyone that was interested . After looking at the Palm Tree in my Corsair diorama, I wanted to change out the Palm Leaves with something more realistic. The trunk was ok, but the Metal leaves looked hideous. I picked up J‘s Work paper plant leaves at my local hobby store . The most realistic I’ve ever seen. After cutting all the metal leaves off, I took a hot glue gun, and applied a good size blob of glue on top of the trunk to attach some green model railroad lichen. By accident, this blob of glue would act as an attachment point for each leaf.
Because the leaves drooped so much without support, I added floral wire to the back of each leaf. The leaves could be formed easily once the wire was attached. I then simply inserted each leaf into the top.
Christopher
-
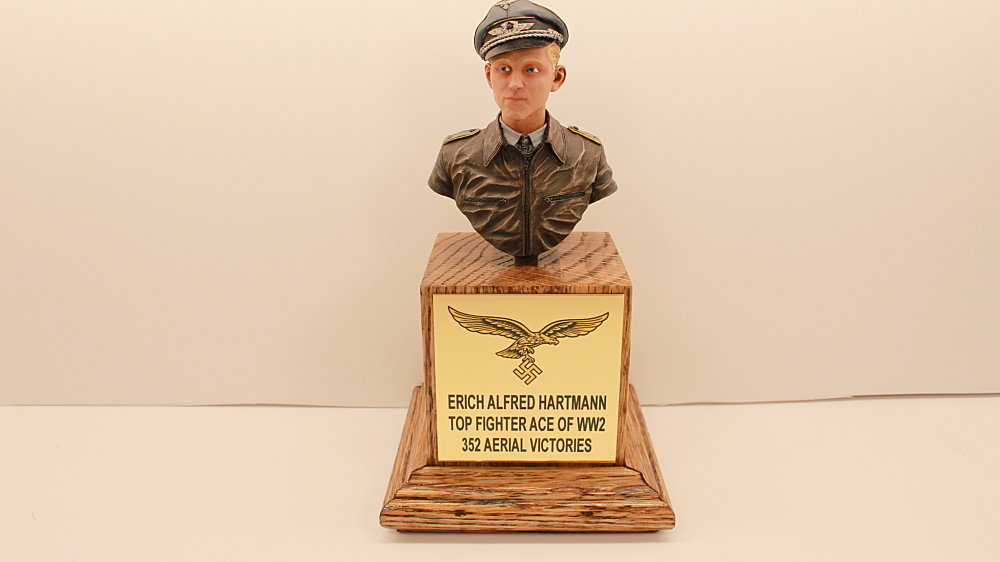
I thought the casting was great. The detail was crisp.I used both acrylics and and enamels. I did a wash of burnt umber oils thinned with mineral spirits for shadow. I highlighted all of his clothing, and gear with Naples yellow oil paint. The flesh was Vallejo paints. Base, shadow, and highlight. In an effort to dull things down, I sprayed it with Testors Dull coat. For some reason, there is still a bit of a shine on some spots. i’m looking for some help as to why this is happening. Thanks in advance.
-
1
-
-
Thanks Mark. Dave, Thanks. I wouldn’t build this kit again.
Chris
-
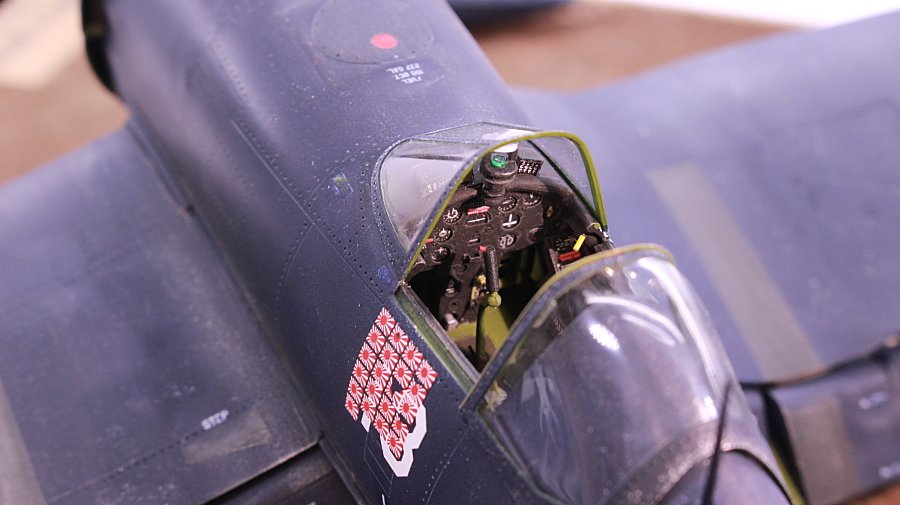
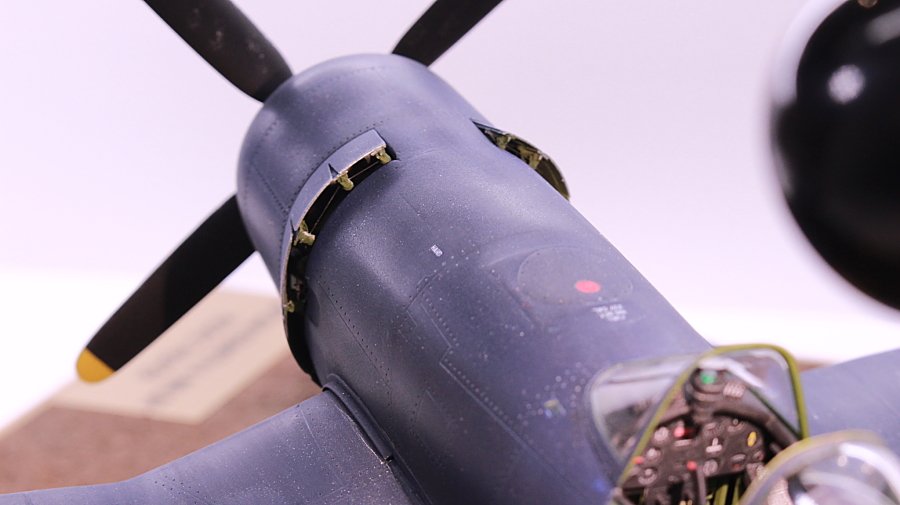
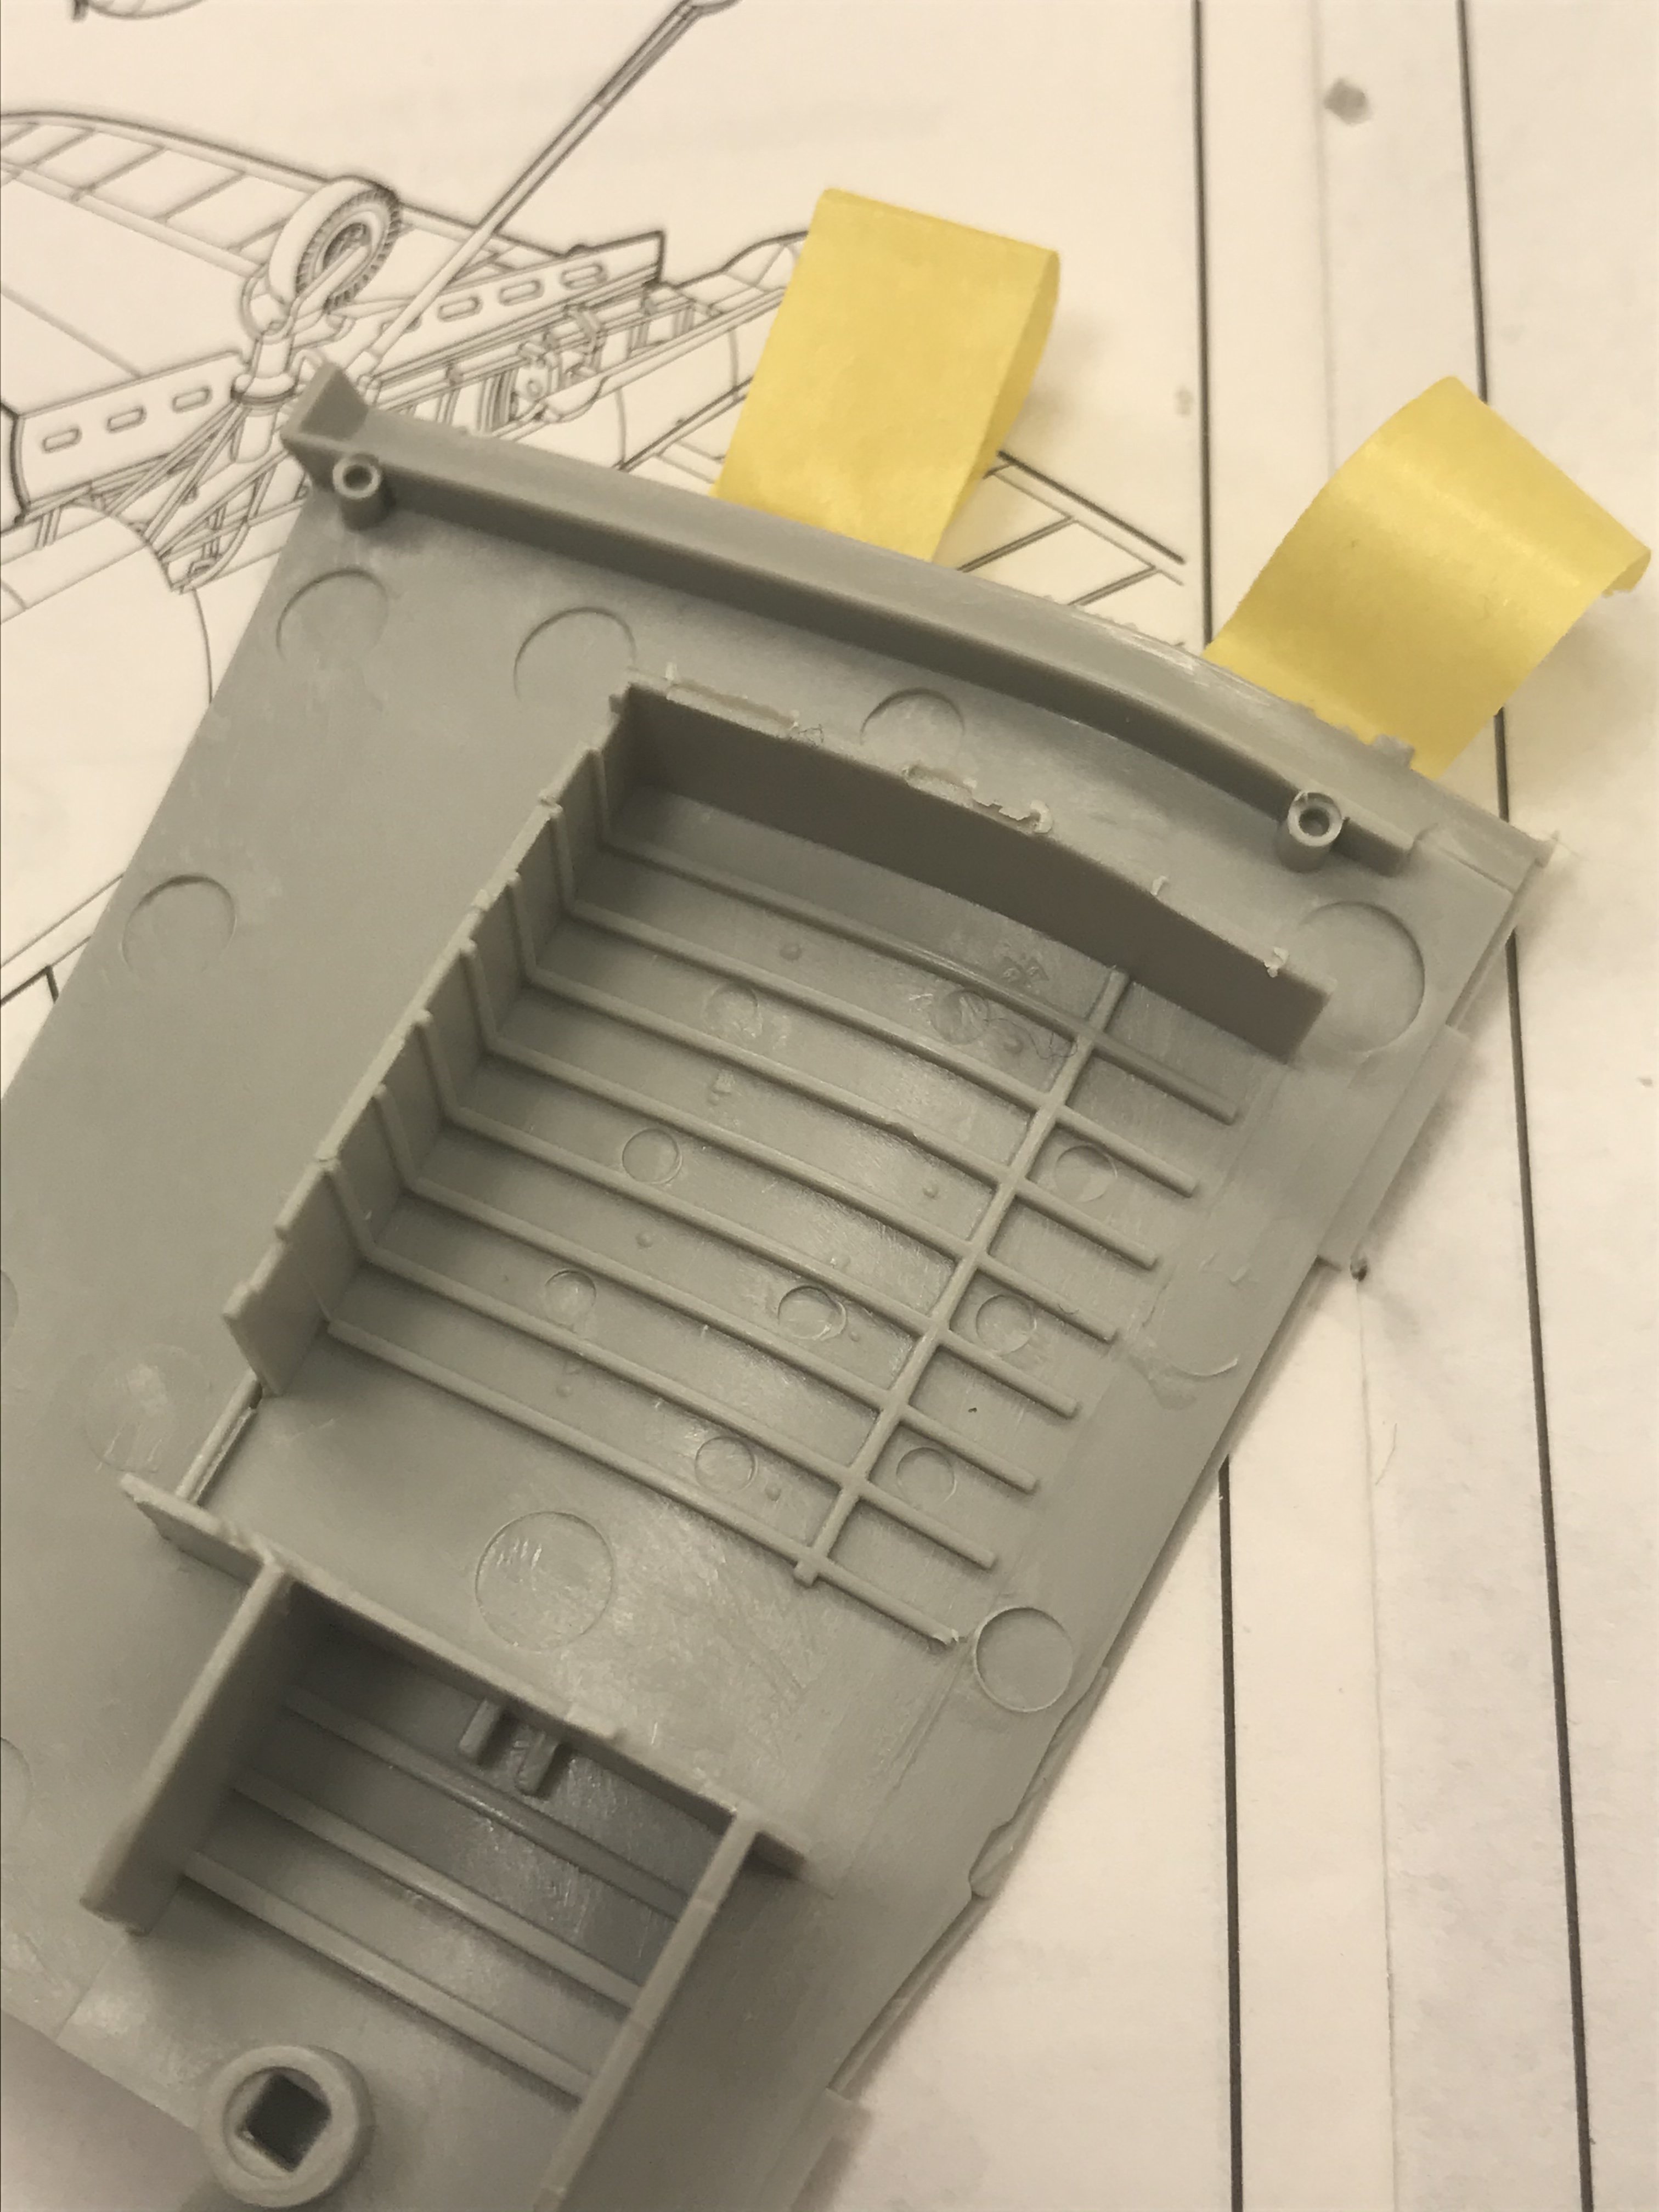
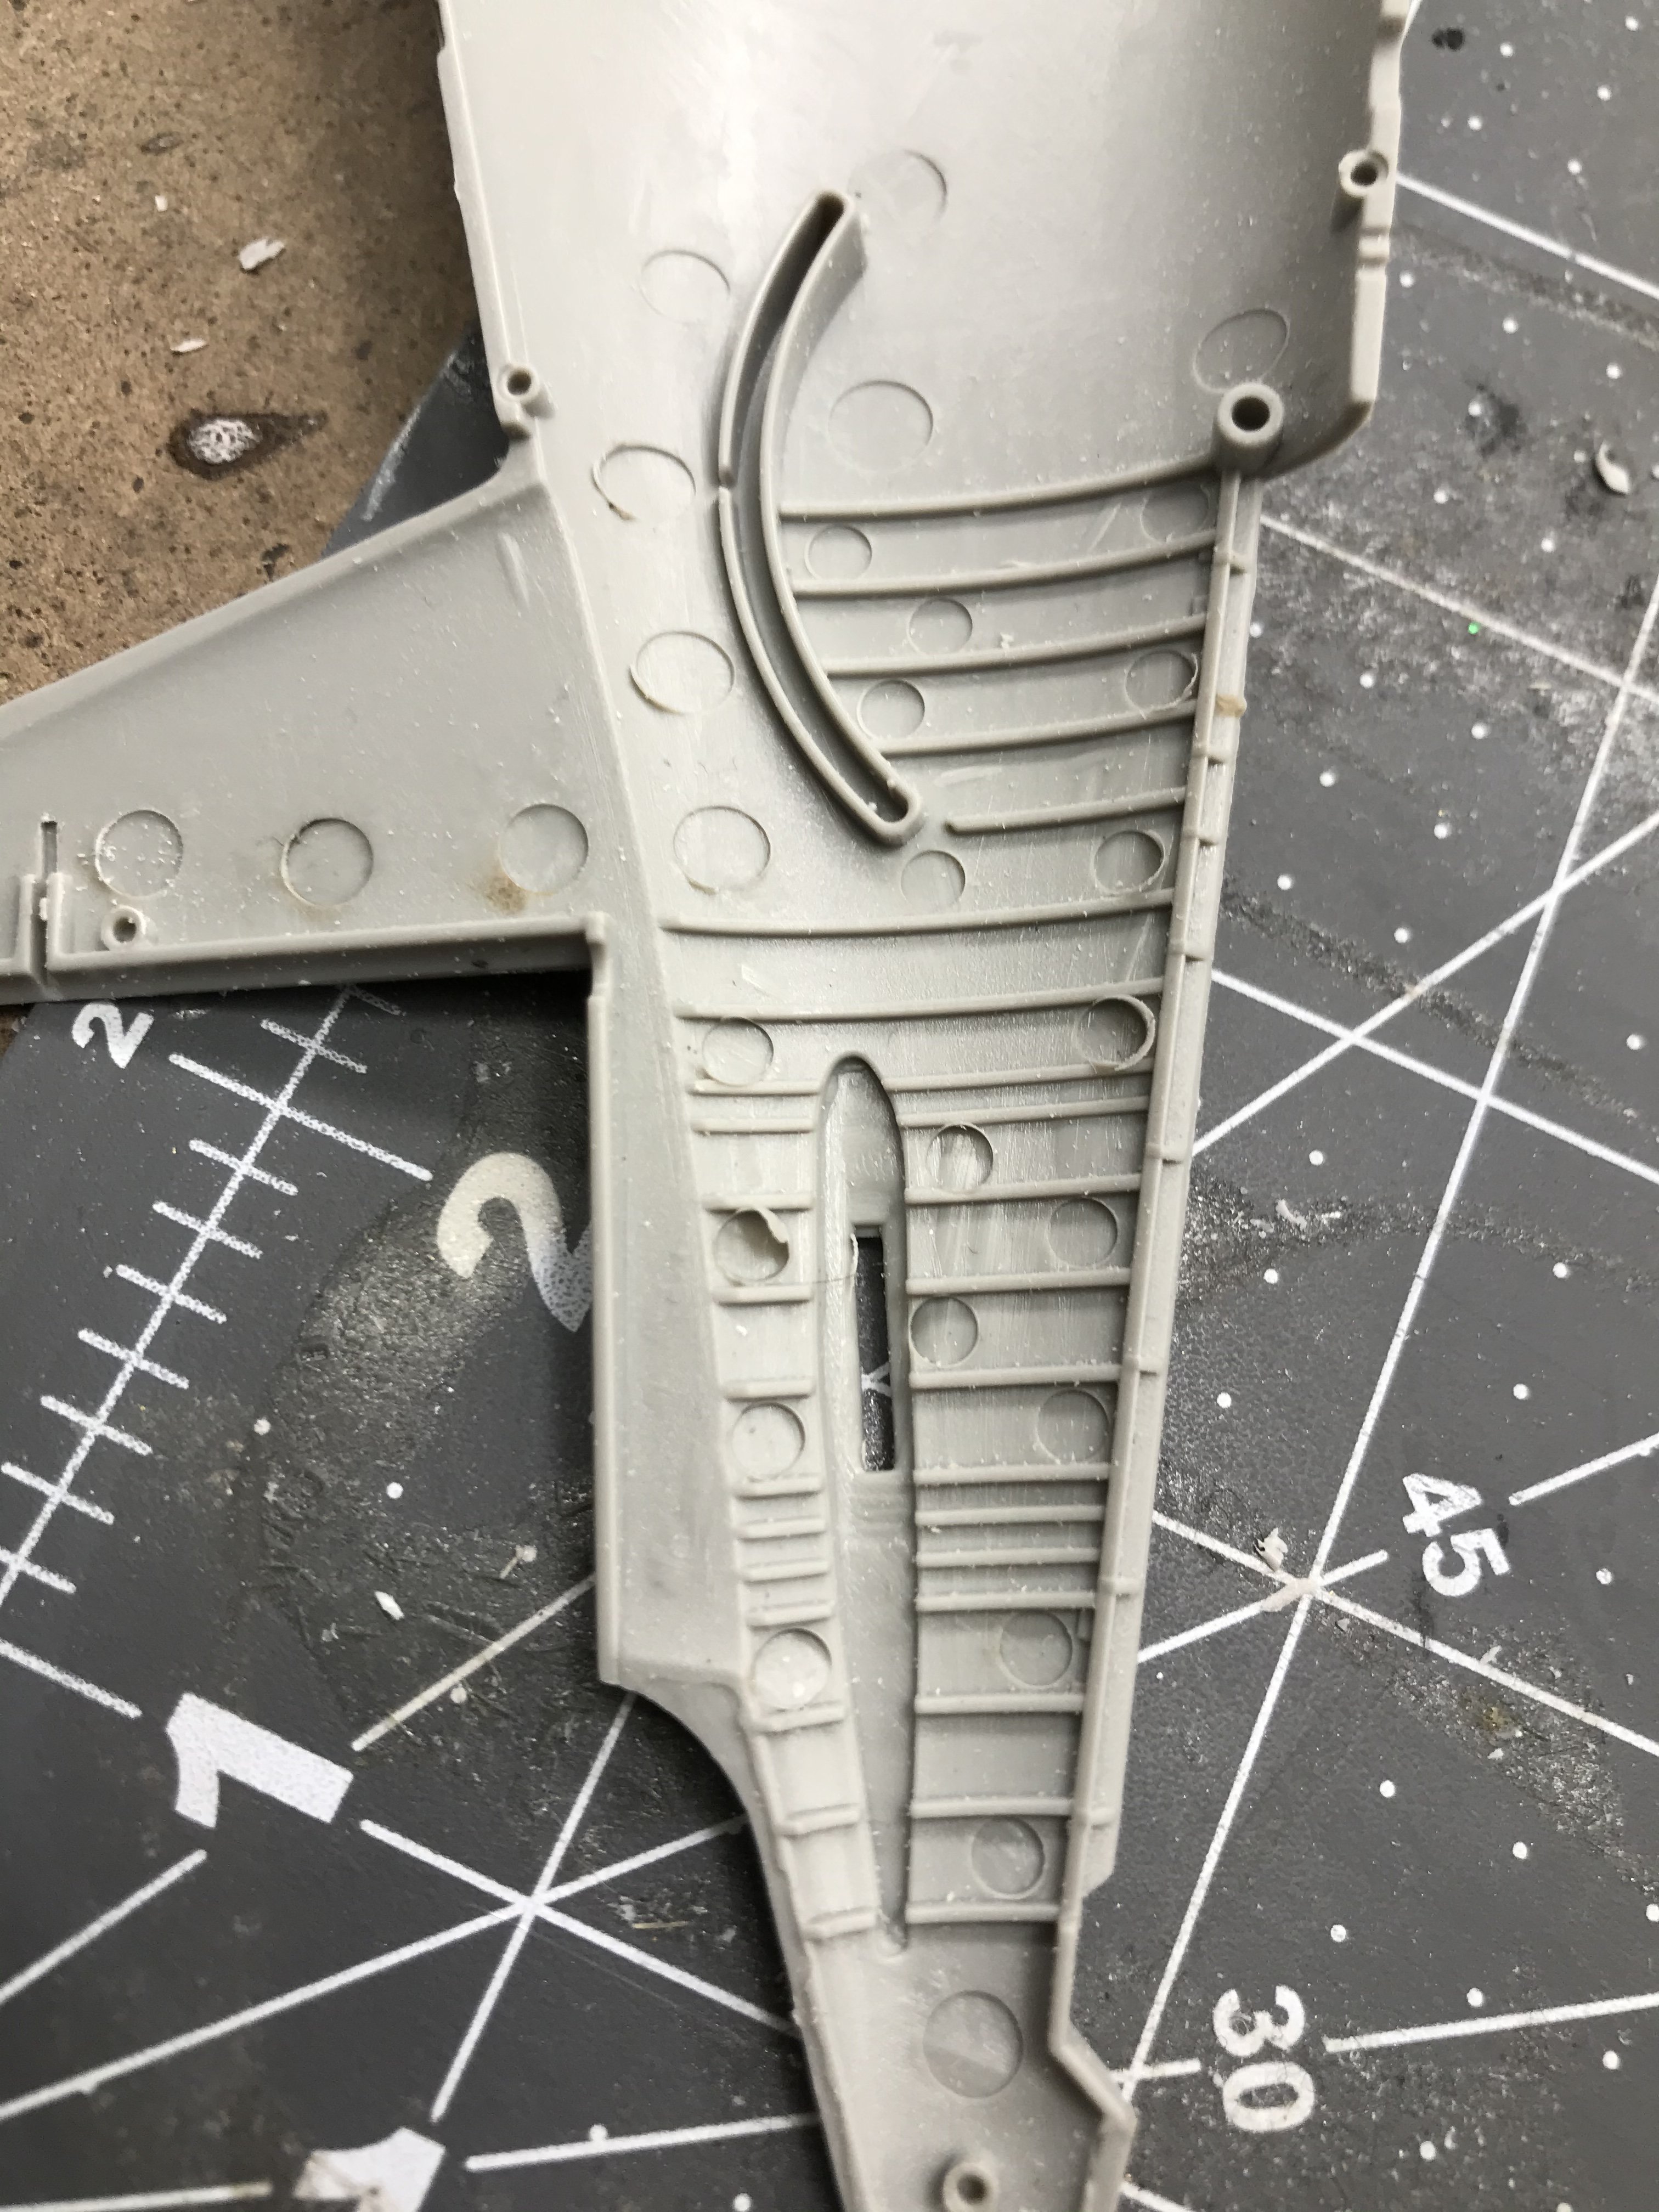
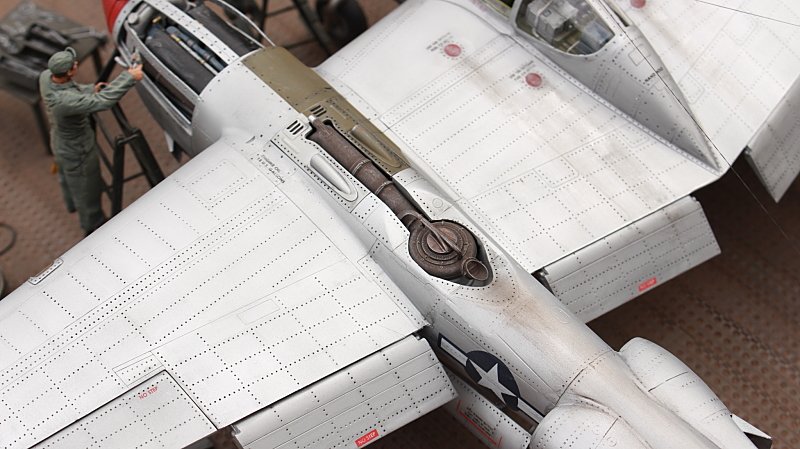
The kit had a few issues that needed some attention. EJECTOR PIN MARKS in some of the worst places.. Starting from the front, moving back, these are some of the modifications I made. 1.The propeller. I sanded both the leading, and trailing edges of each blade. They were so thick on the edges, it was funny. 2. The engine. I used Eduard photo etch to detail it. The Ignition wires took some time, but it was well worth the effort. 3. The cockpit. I used Eduard photo etch here to. 4.The landing gear. I used Bare Metal Foil on the Oleo's, and photo etch on the torque links. 5. The gun bay. I used scrap photo etch to detail the inside of each panel that was posed open. I cut open all the latched on each panel, and made new ones. I used plastic sheet, that I put rivet lines on, to line the inside of the bay. The .50 Cals were kit supplied.
6. The intakes on each wing root. I used photo etch screen to replace the kit version, and made new intake vanes. 7. The drop tanks. These were both void of any real detail. One of the big flaws, was no filler caps. I used online photos as a reference to scratch build what I needed.8. I used EZ line for the antennas. 9. The figures were Ultracast, and Blackdog models. 10. The cowl flaps. These bad boys took some engineering to make them work. I used Eduard photo etch for the Tamiya kit to dress them up. I also used EZ line to simulate cables for the pulley systems to open and close the flaps. All in all, an interesting build. Had a chance to try some new weathering techniques. The Model was painted with Testors Model Master Enamels (Insignia Blue FS35044). Any questions, comments, or critiques are welcome.
Christopher
-
1
-
-
Very clean build Dave. Great job on the exhaust, and your scratch building skills.
Chris
-
Really nice work Paul. Instrument panel..👍👍👍. Got a love a Mustang!
-
Me thinks someone on the production line fell asleep. If you want practice on filling ejector pin marks, this kits for you. 1/32nd scale F4U-4
Chris
-
 1
1
-
-
Wow, that was FAST, and looks great. Love the shading on the wings.
Chris
-
Finished.
-
The cockpit took quite some time with all the photo etch. The gun bay was not to bad. The resin propellers are extremely thin, but very accurate. I used white thread to simulate wiring. So far, the fit of the parts is really good. I’ve started building the framework around the engines with thin plastic sheets.
Chris
-
1
-
-


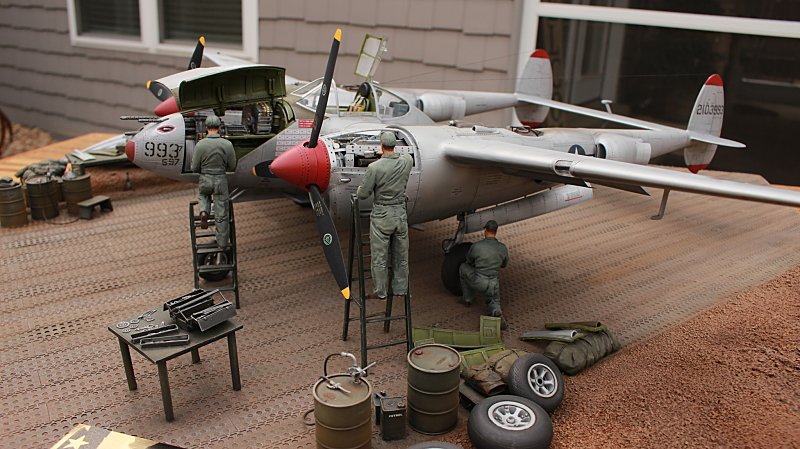


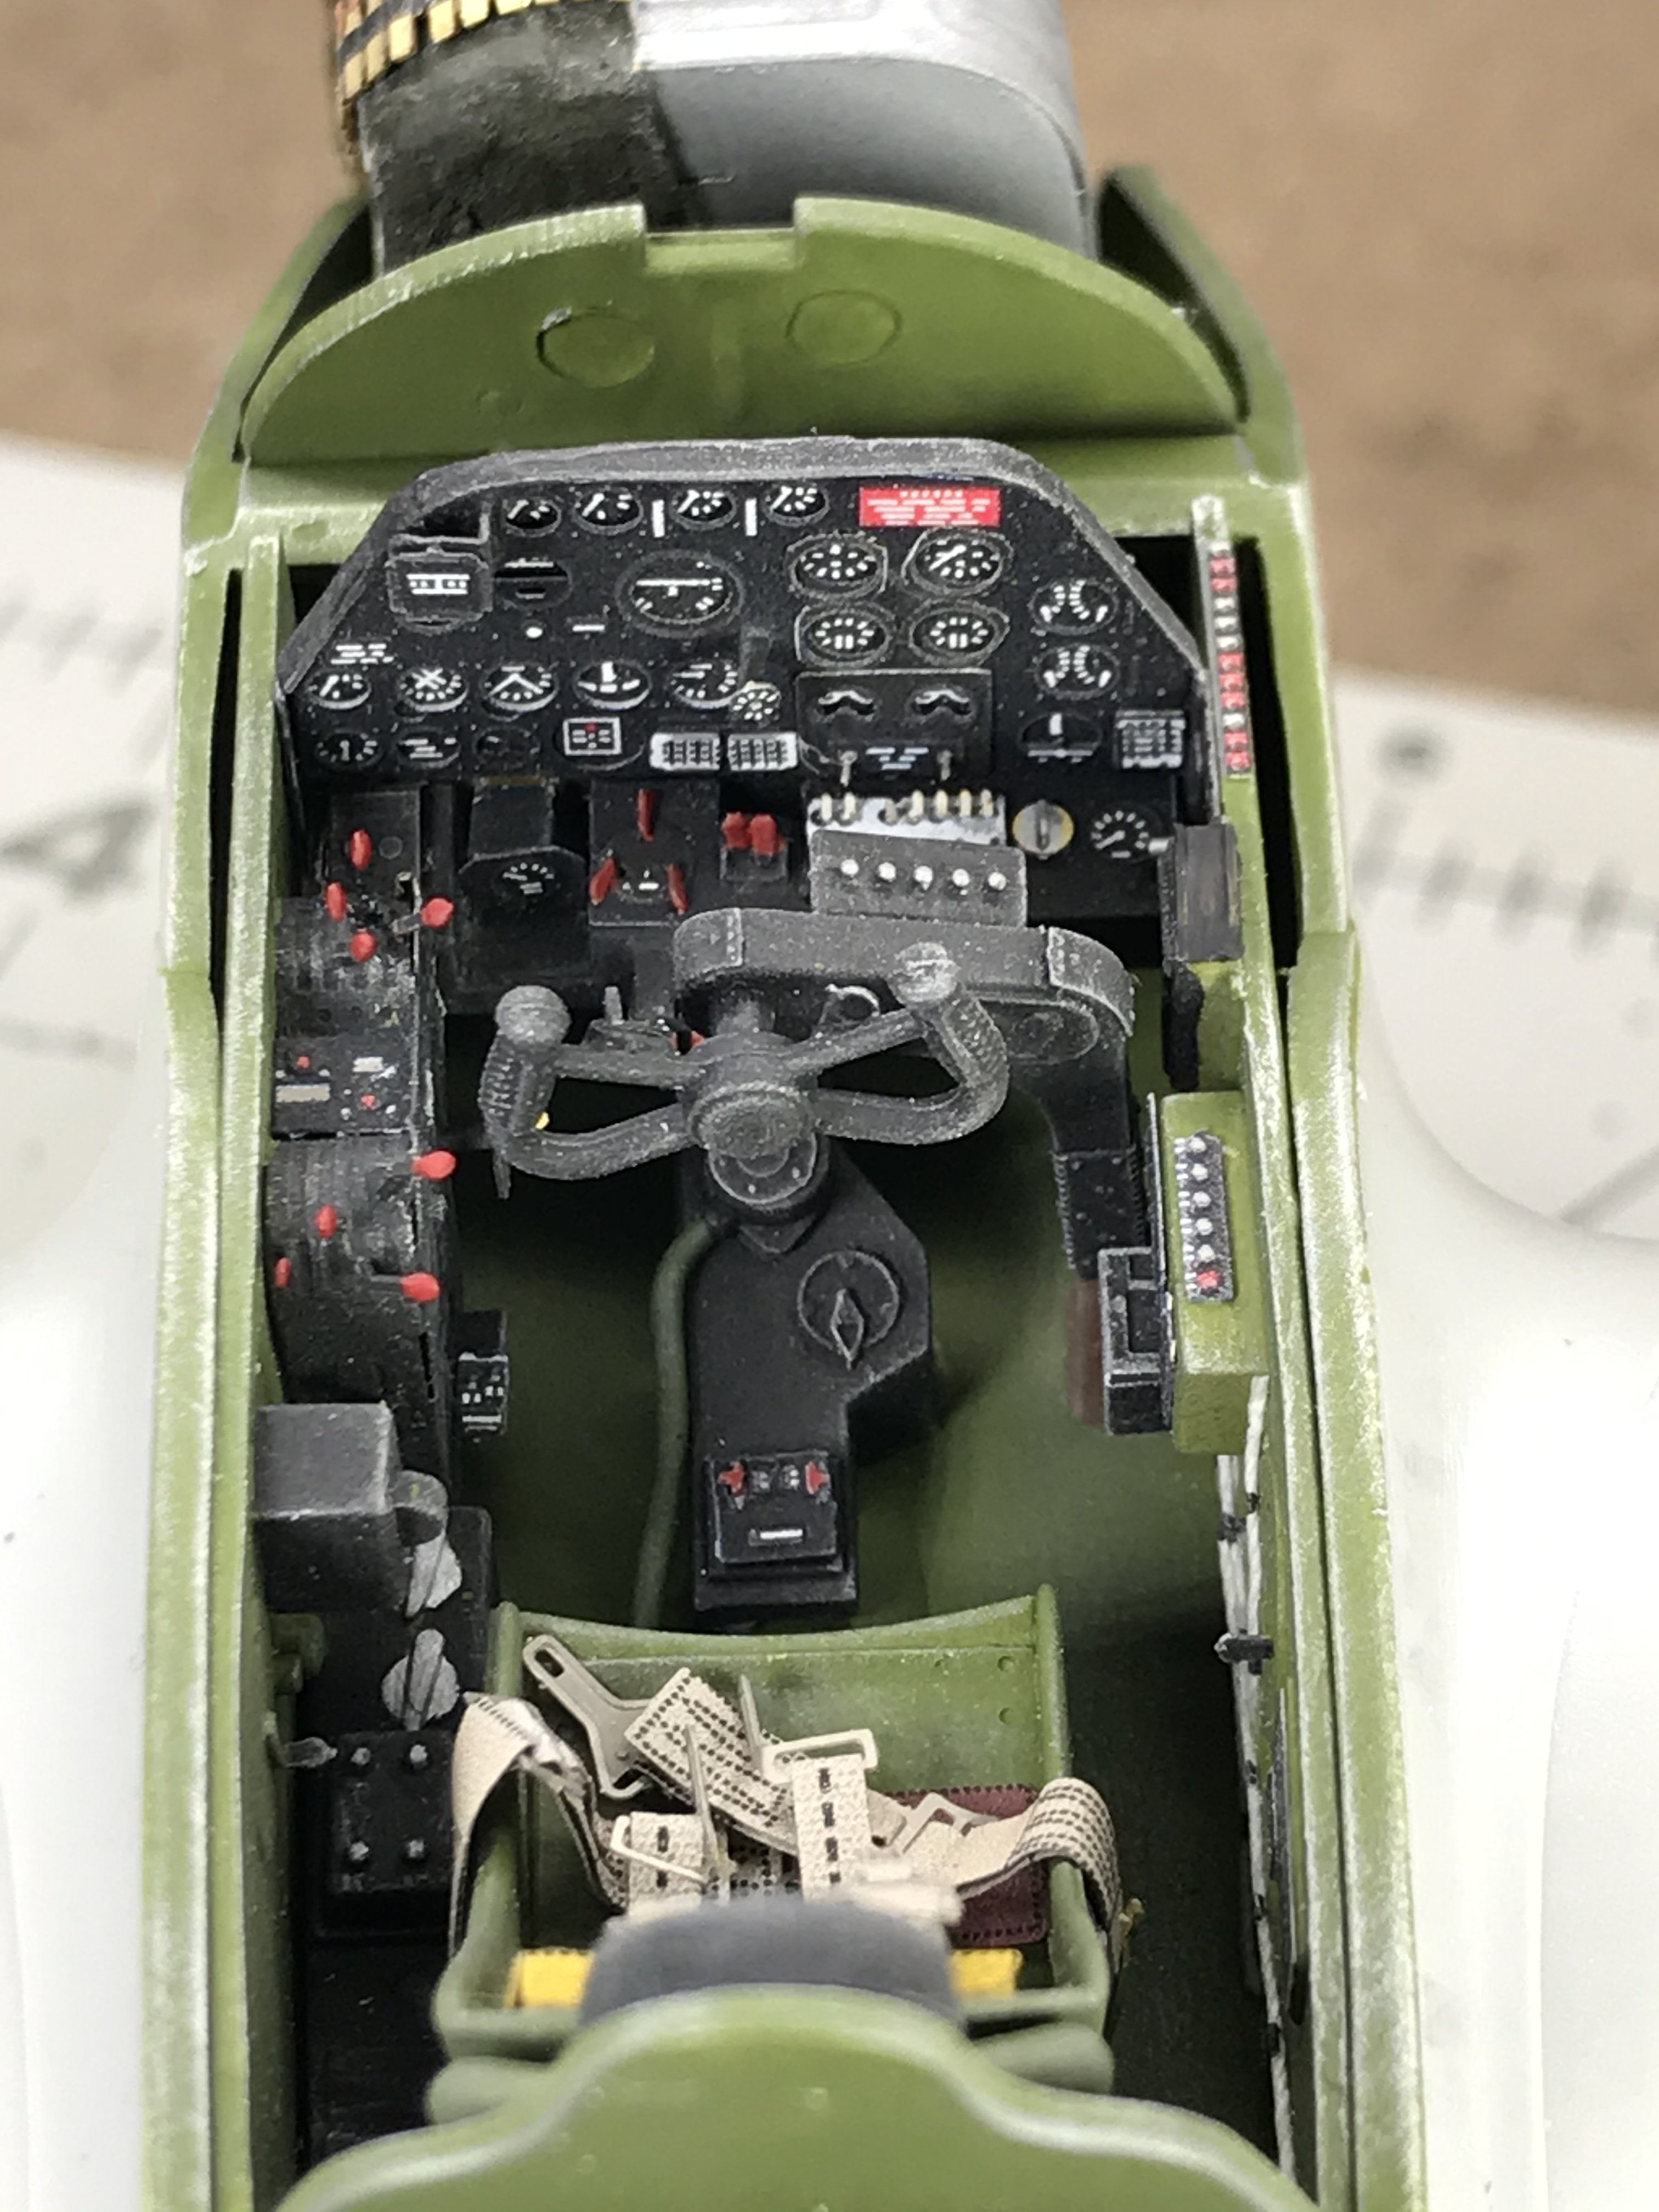
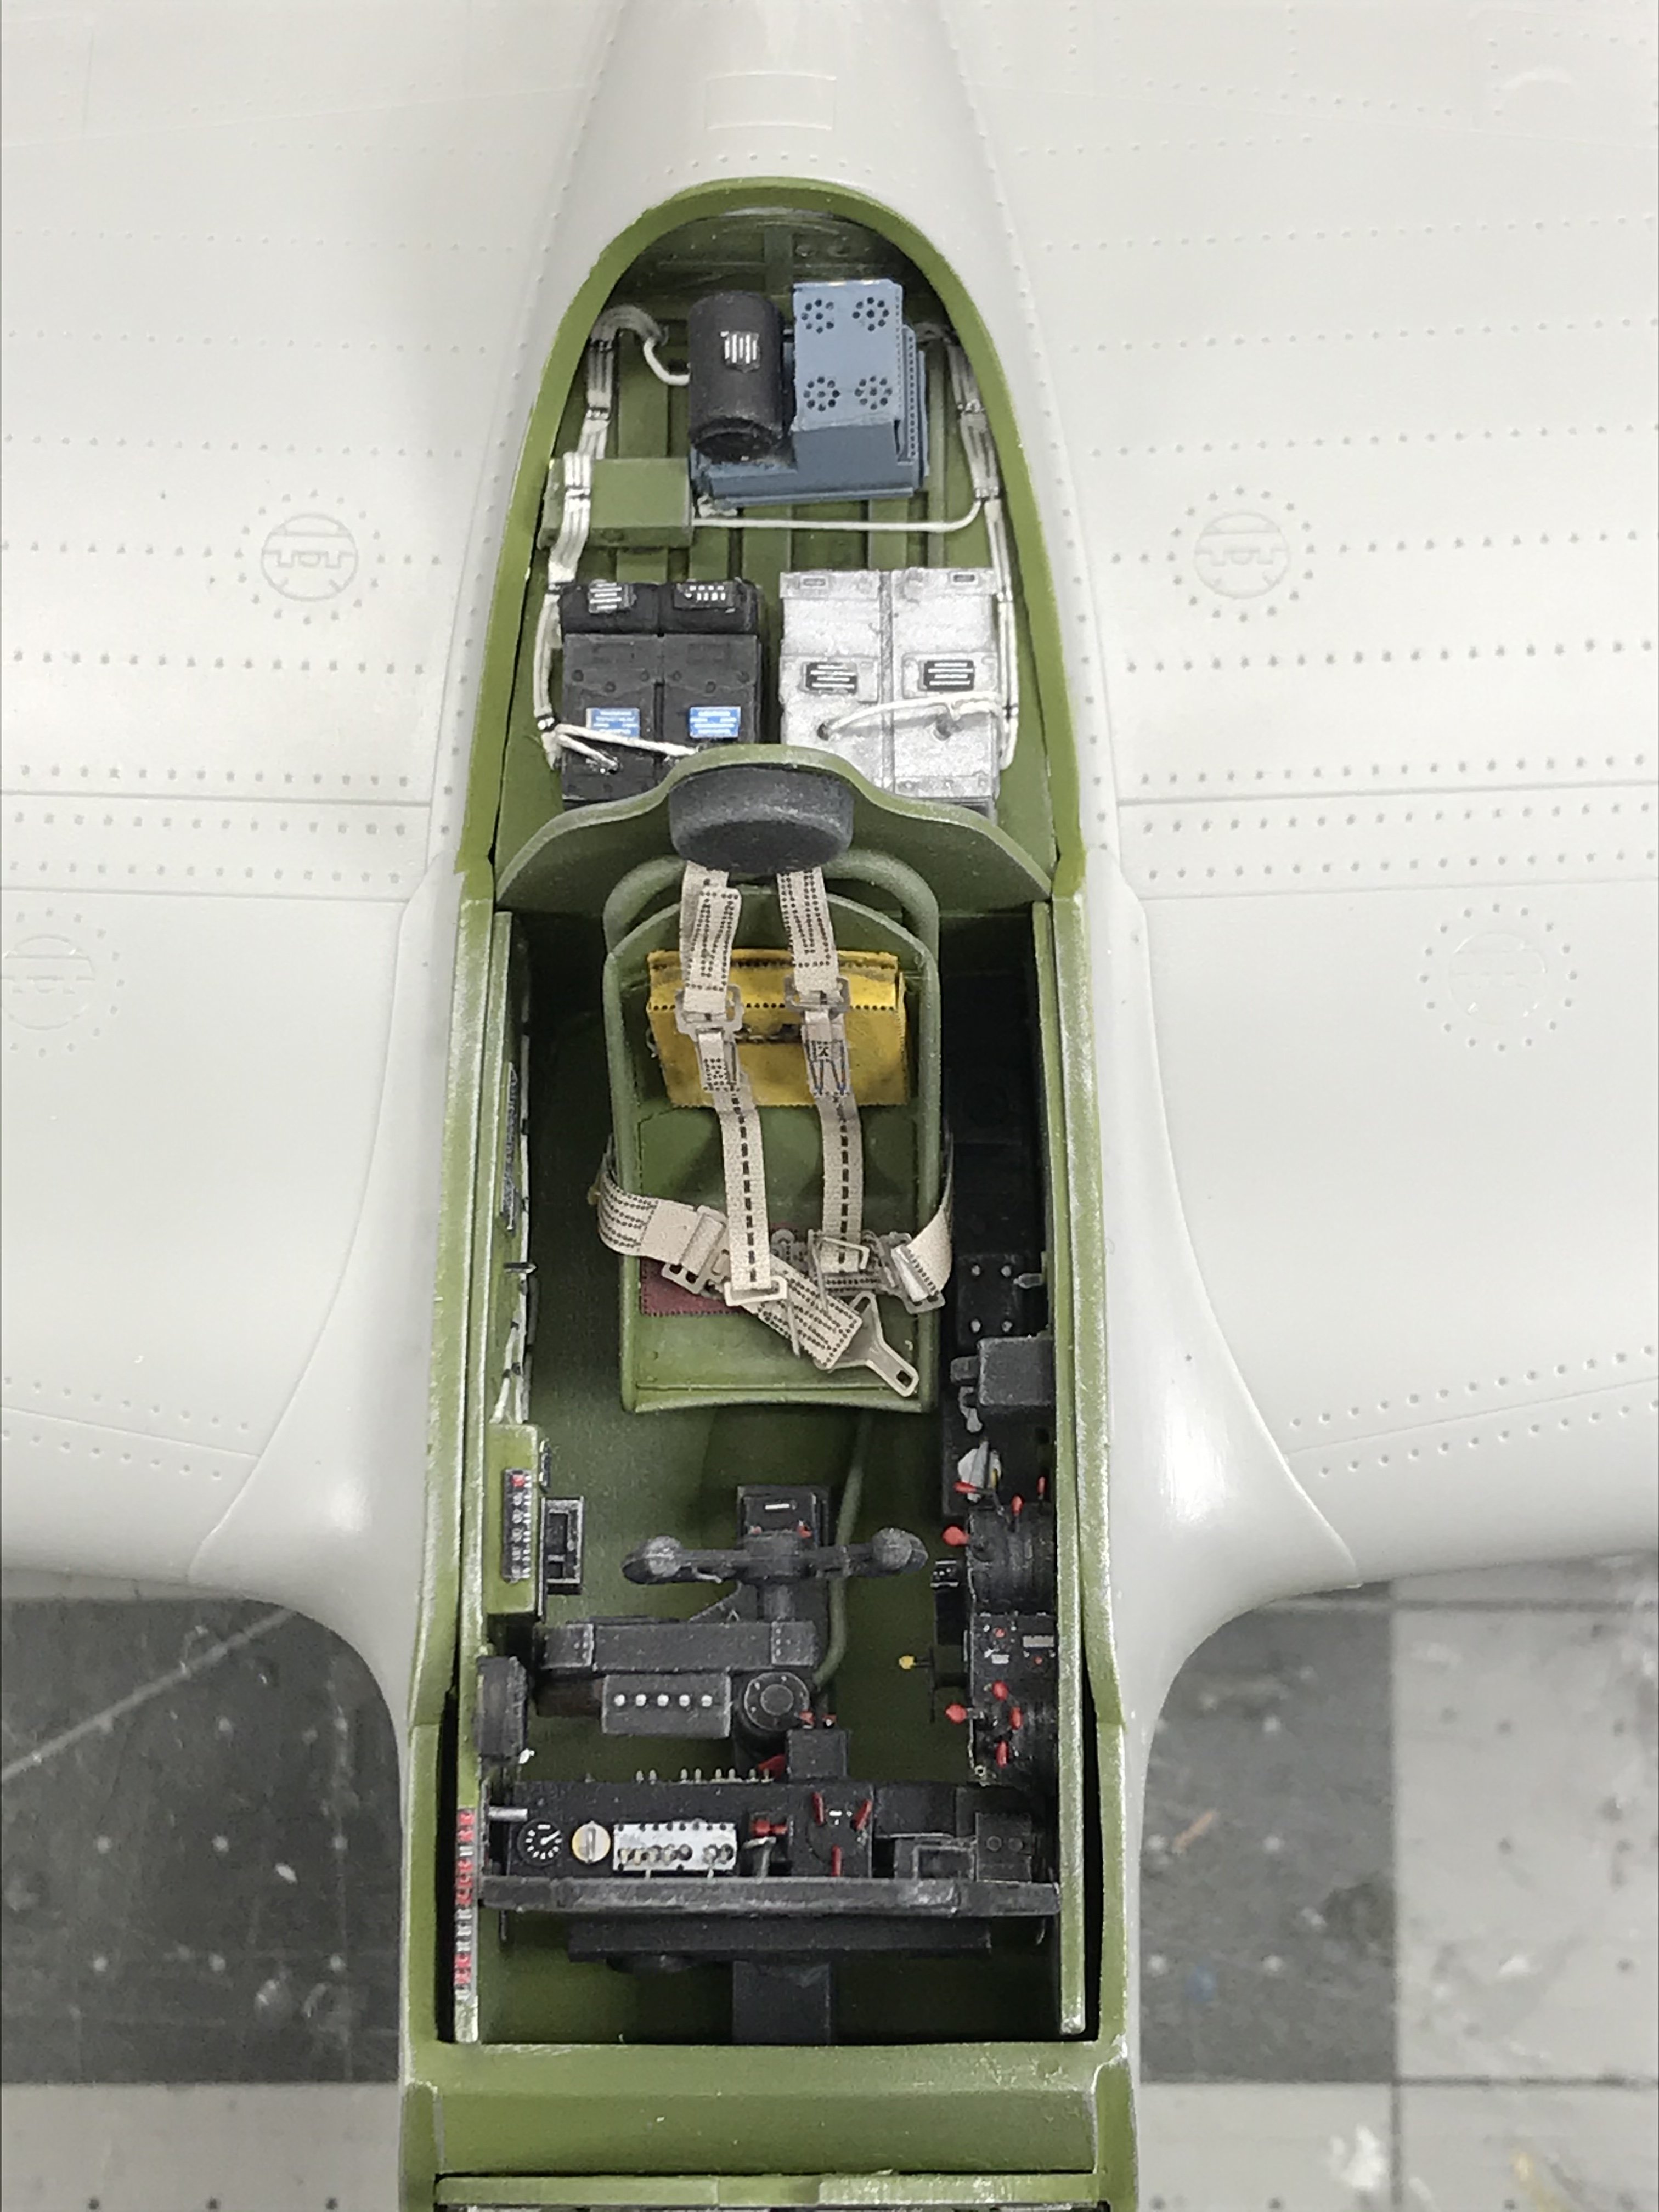

Trumpeter 1/32nd scale F-105G Wild Weasel
in Builds
Posted
Well, the last time that I built a F-105G, I was in the 6th grade. Man, she’s a BIG one. A good friend of mine in our club gave this to me to build. It came in a box the size of a small suitcase.
The assembly on this one is relatively straightforward. I’ve purchased an Aires cockpit, with all the Fixin’s.
Chris