


Bradley25mm
-
Posts
469 -
Joined
-
Last visited
-
Days Won
30
Content Type
Profiles
Forums
Events
Posts posted by Bradley25mm
-
-
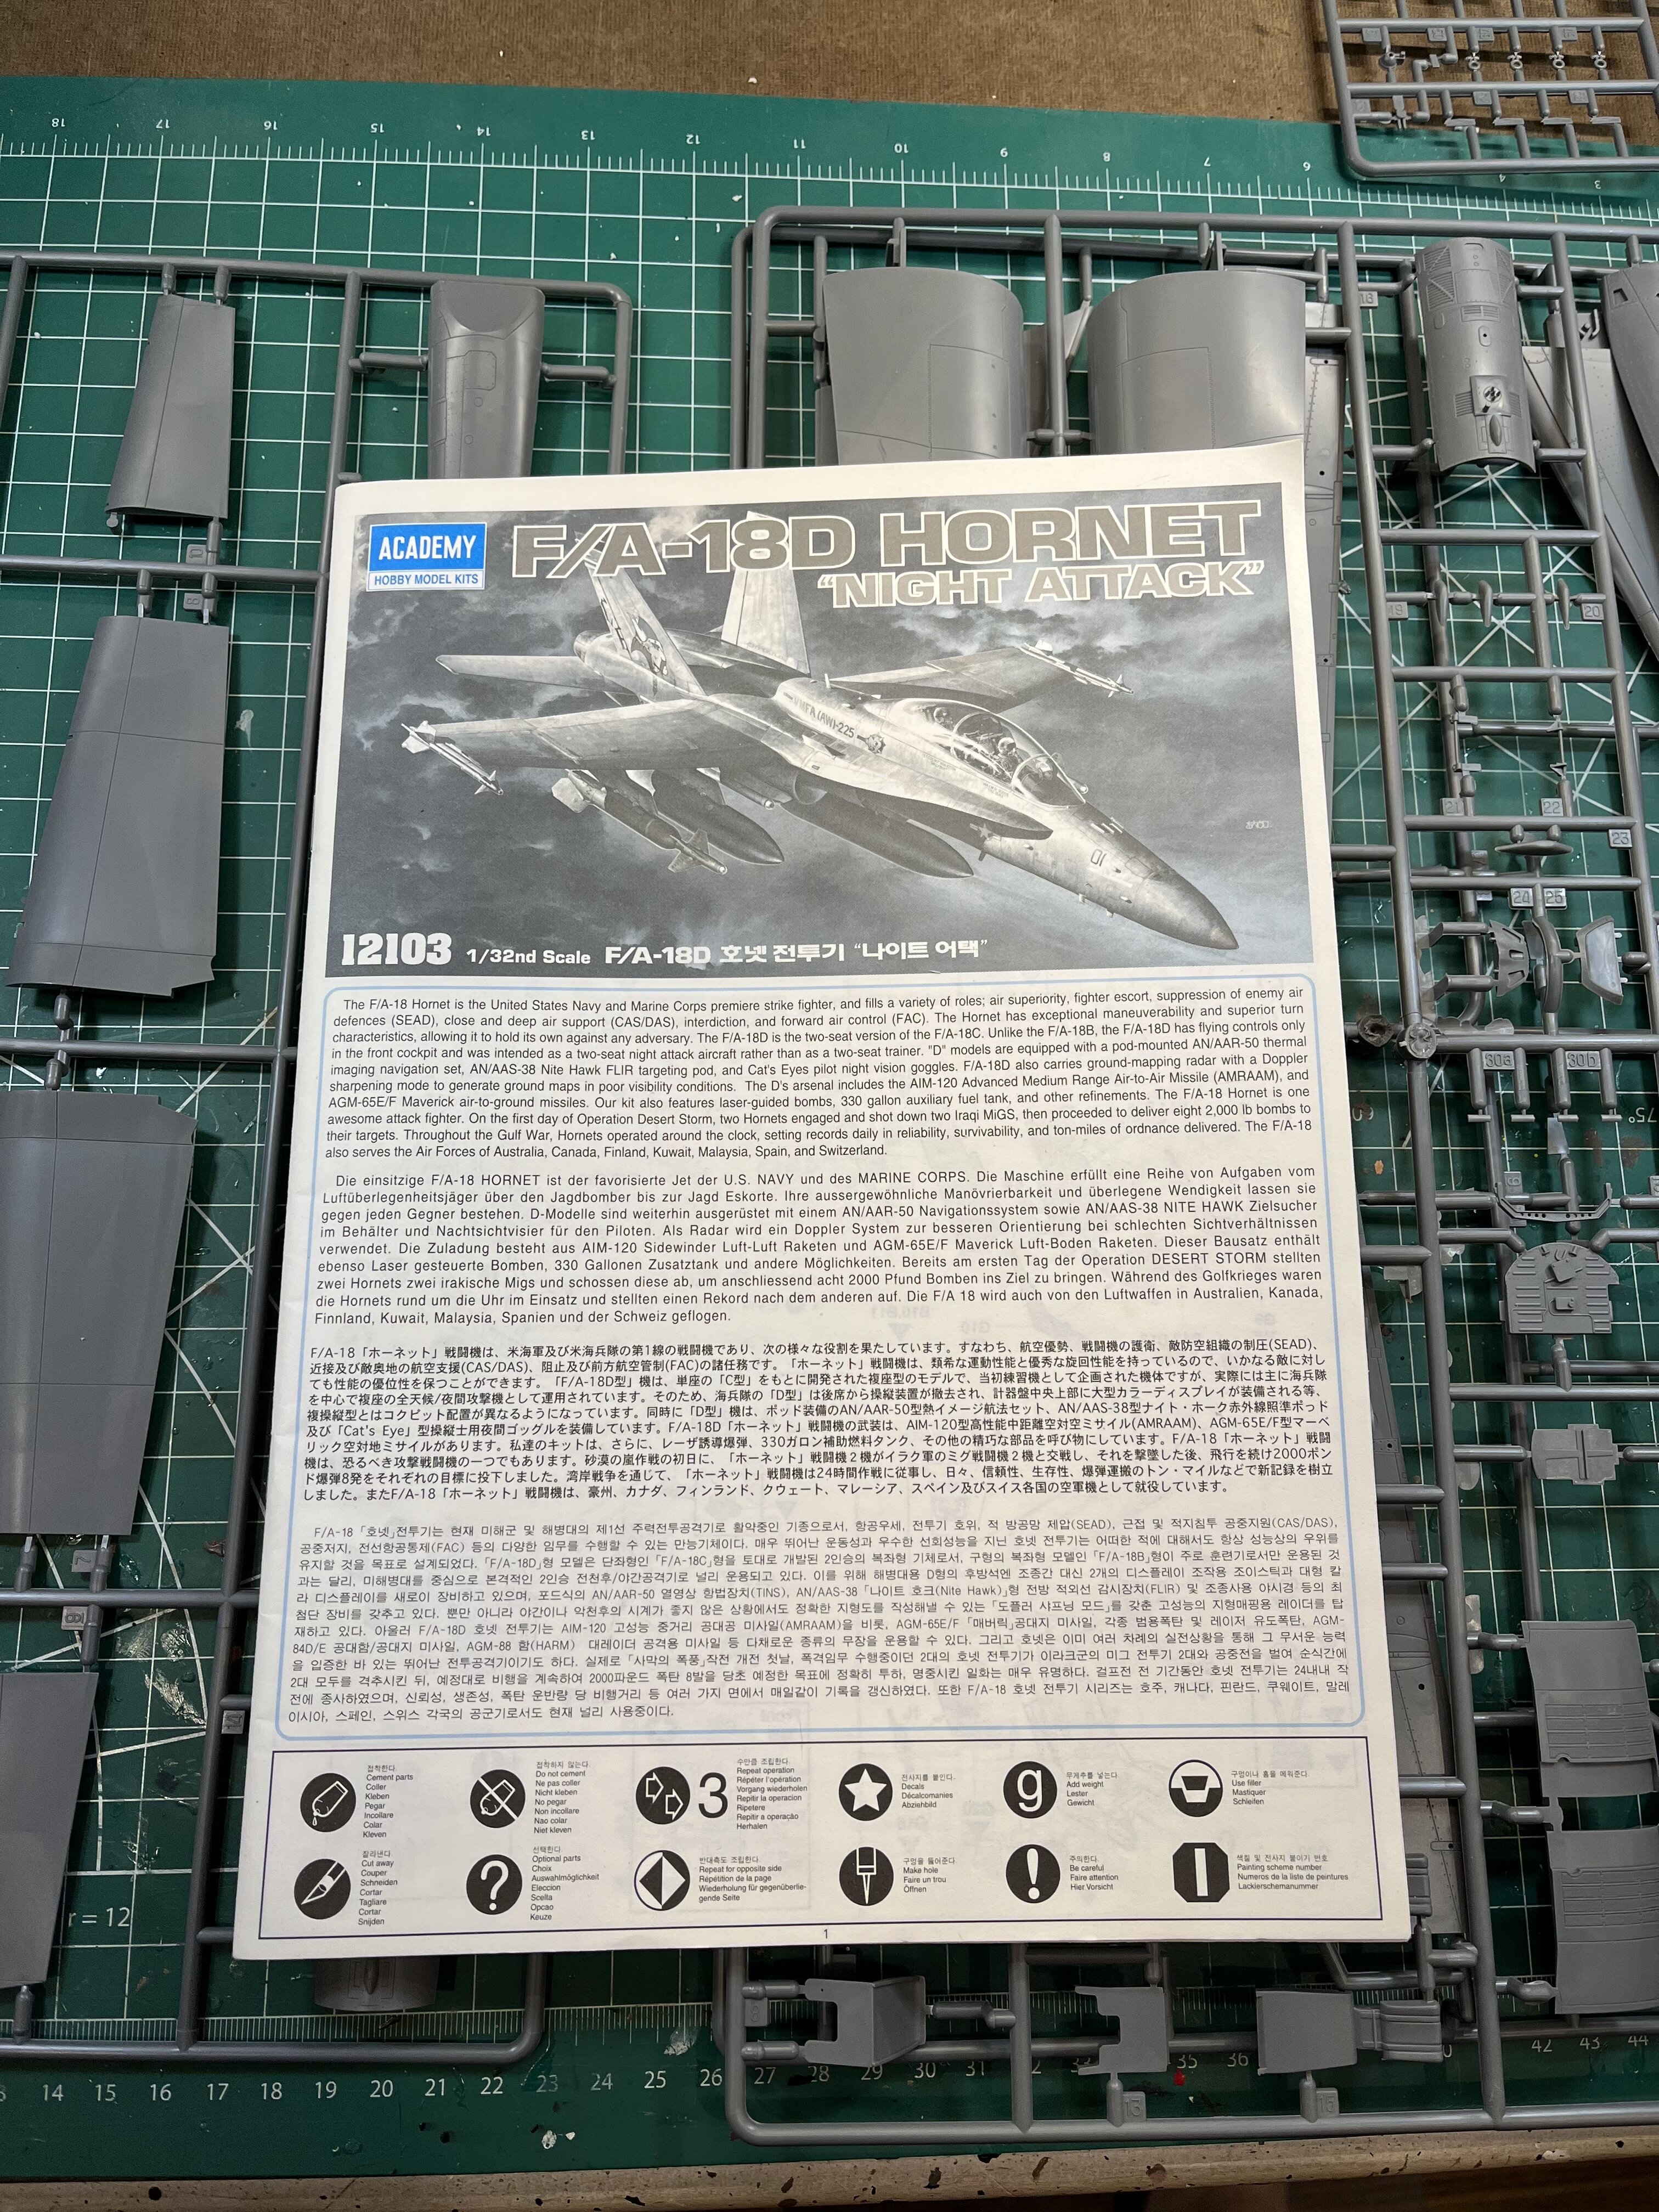
Some years ago, I built this exact same kit for my collection. I’m building this one for a good friend who worked on them while he was in the Marines. This kit has a lot of things that I really like about it. The landing gear is well designed, and strong enough to support the weight.
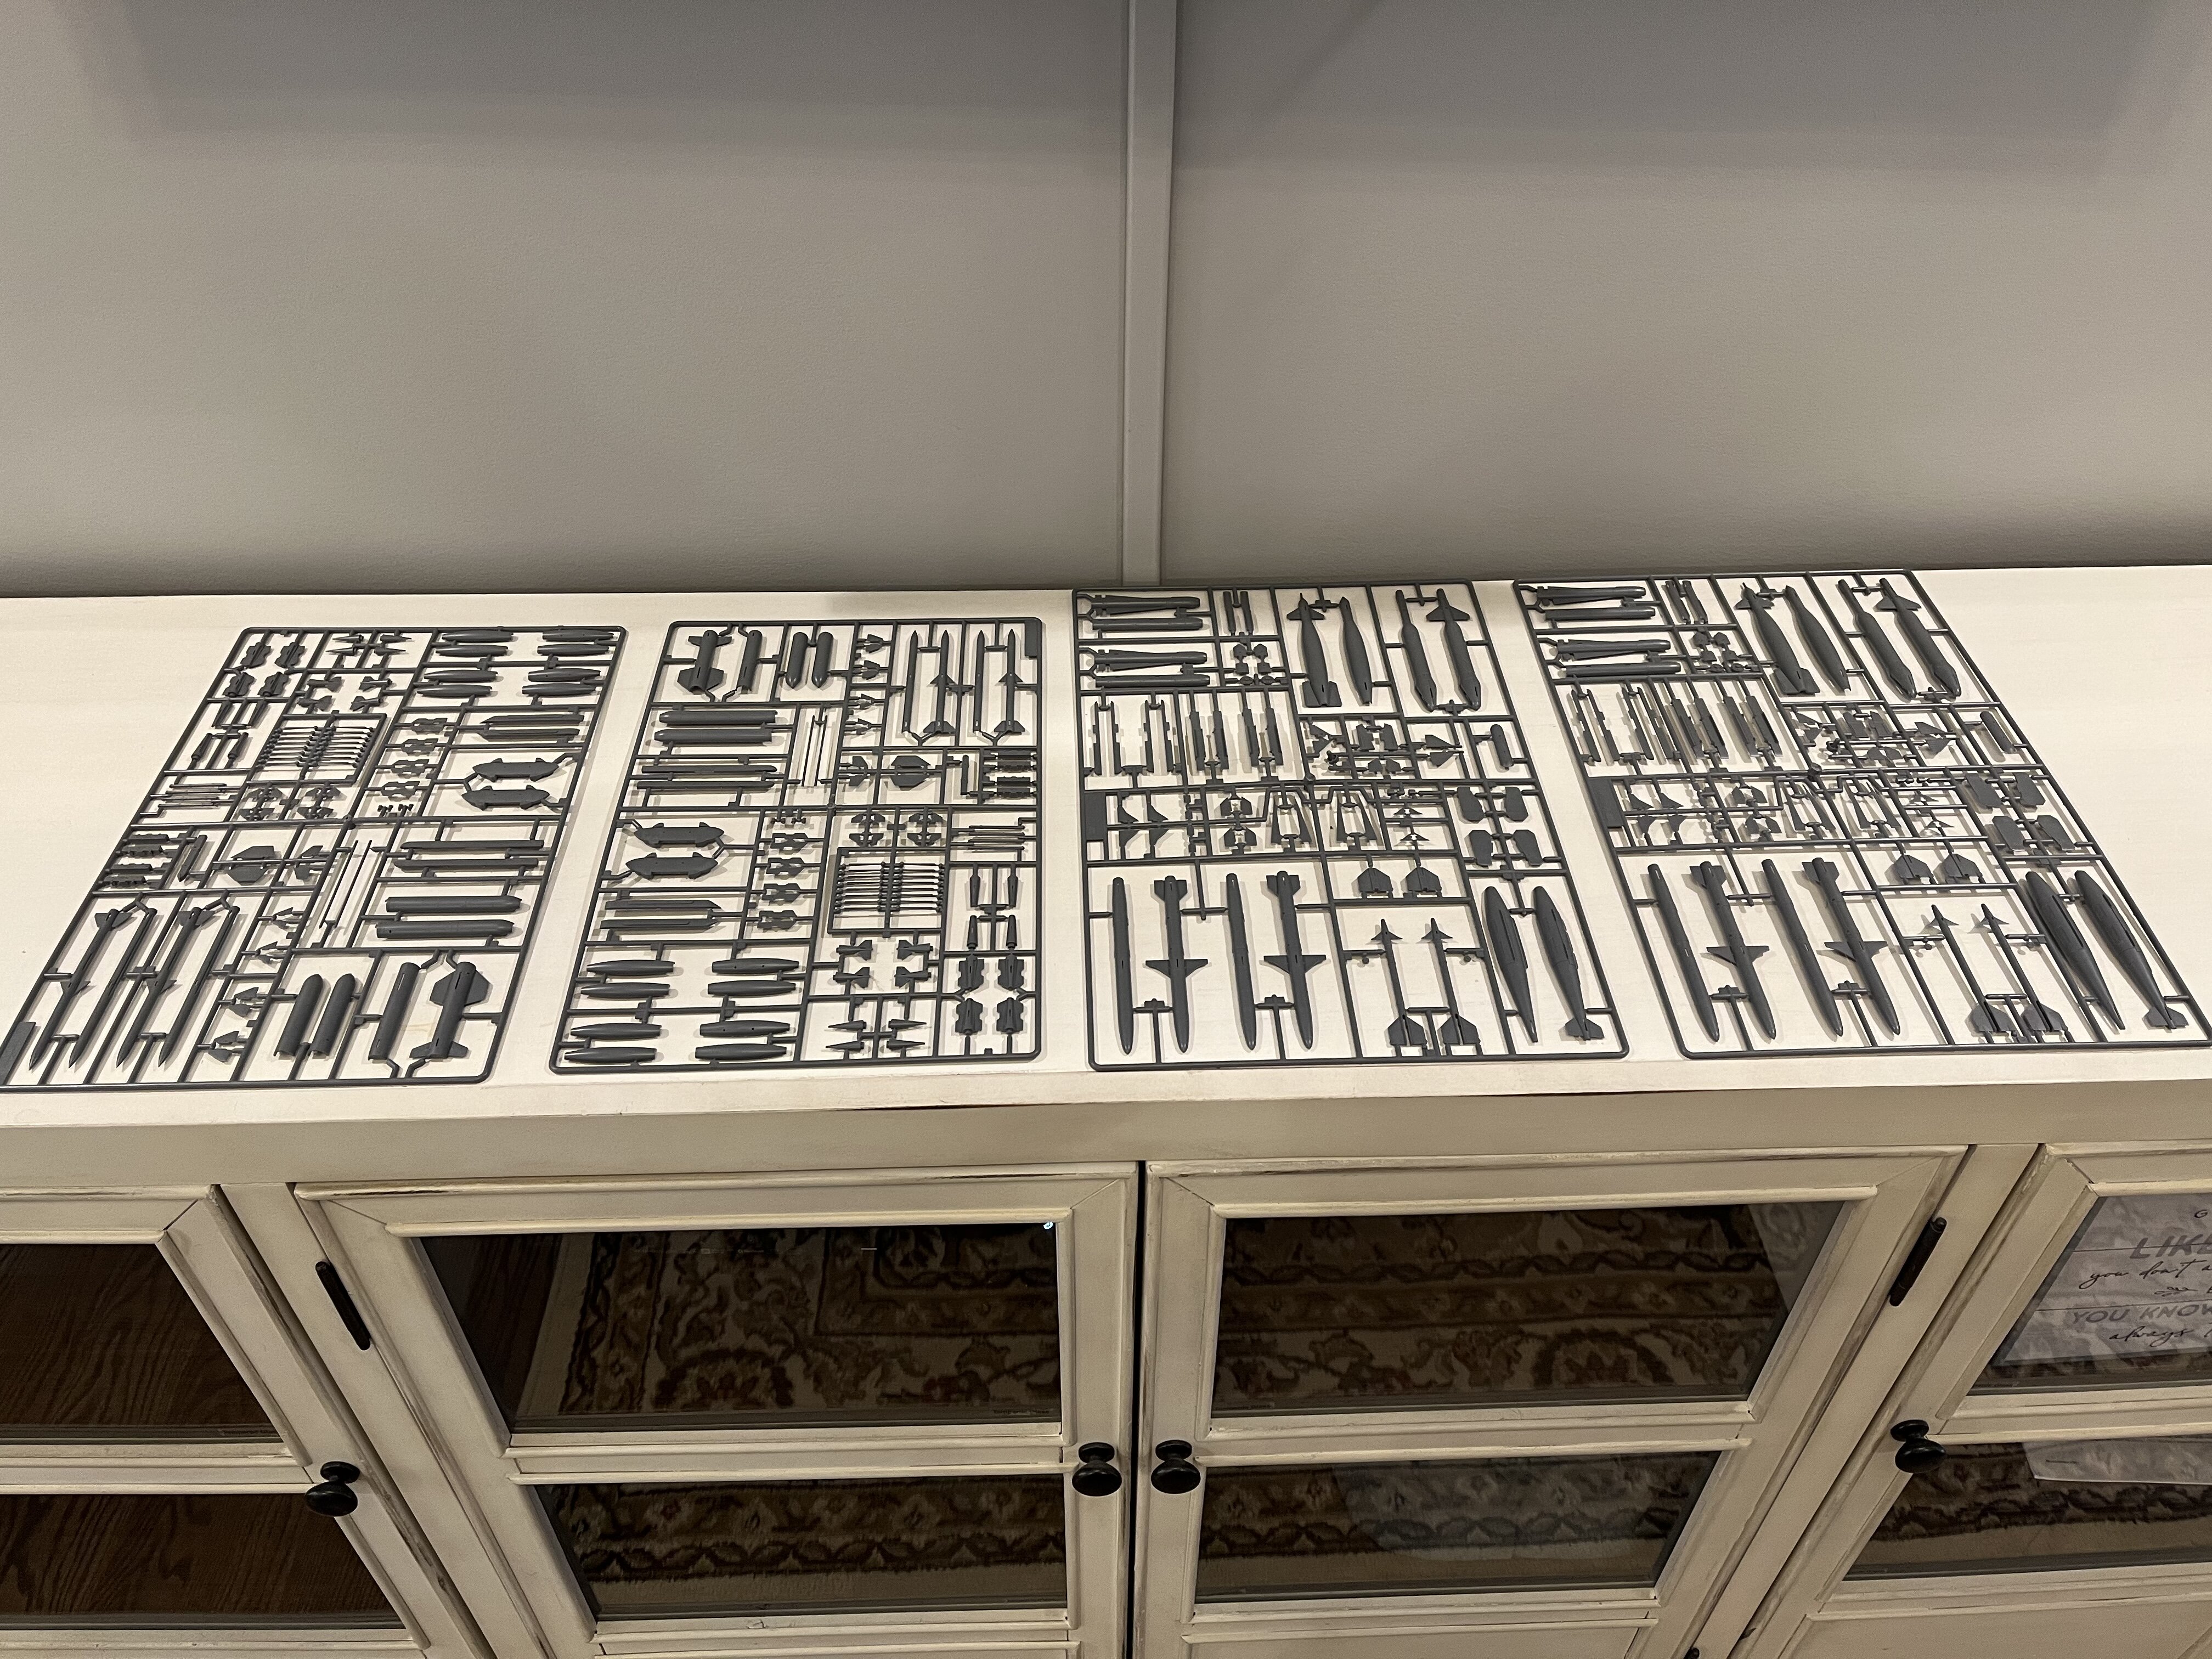
Academy has supplied metal inserts to add additional strength to both the rear and front landing gears. This one will be staged on a tarmac, loaded with air to ground ordinance. The canopy will be open. I’m looking forward to trying some of the new things that I’ve learned since the last time I’ve built this kit. Kind of like a do over.
Chris
-
 1
1
-
-
Wow, that’s amazing David. Talk about a “transformation”.
Chris
-
Great job Carlos. Not to overdone on the weathering, just the right amount. The base really makes it pop. Congratulations!
Chris
-
Gentlemen,
I’m in a bit of a pickle, I wanted to reach out to you guys to see if anyone would be able to help. My wife purchased the kit for me off of eBay, from a reputable seller. When the package arrived at my house, I did a quick inventory to make sure that all the parts were there.
Both frets of photoetch were missing. I contacted the seller and he Immediately, emailed BlackDog, notifying them of the situation. Within 24 hours, BlackDog had already shipped out replacements directly to me. That was 24 days ago. I’m in a bit of a time crunch with this build.
Would anyone be willing to sell me the kit itself, or just a photoetch?Thanks
Chris
-
Marcin,
That looks like A LOT of work. The paint job is the best I’ve ever seen. Flawless! The propeller looks amazing as well. Oh, and scratch built to. I look forward to seeing more of your work.
Chris
-
1
-
-
An awesome job on an old kit. I like the weathering that you did. For not building tanks for a long time, it’s obvious you have not lost any of your modeling mojo😜. Thanks for posting.
Chris
-
Carlos,
Looks like your in the home stretch. The use of enamels over acrylics was a great idea. I would have not thought of that. Great job.
Chris
-
She’s a stunner Gil. That’s a lot to detailing for such a large model. Thanks for the detailed updates. Do you have a hanger to park that in?😜
Chris
-
Dave,
Looks great. The weathering turned out really nice. As for the tracks, that’s the one thing that caught my eye as soon as I looked at it. Very realistic.
Chris
-
Another great start David! Can’t wait to see more progress updates.
Chris
-
Thanks Carlos.
-
Thanks Carlos. Appreciate the comment.
 The figures finally came in. This one’s complete .
-
1
-
-
Very Nice Sir!!.
Chris
-
Carlos,
Looks great. Can’t wait to see the base color go on. By far, the coolest Sherman in my book.
Chris
-
Officially complete!
-
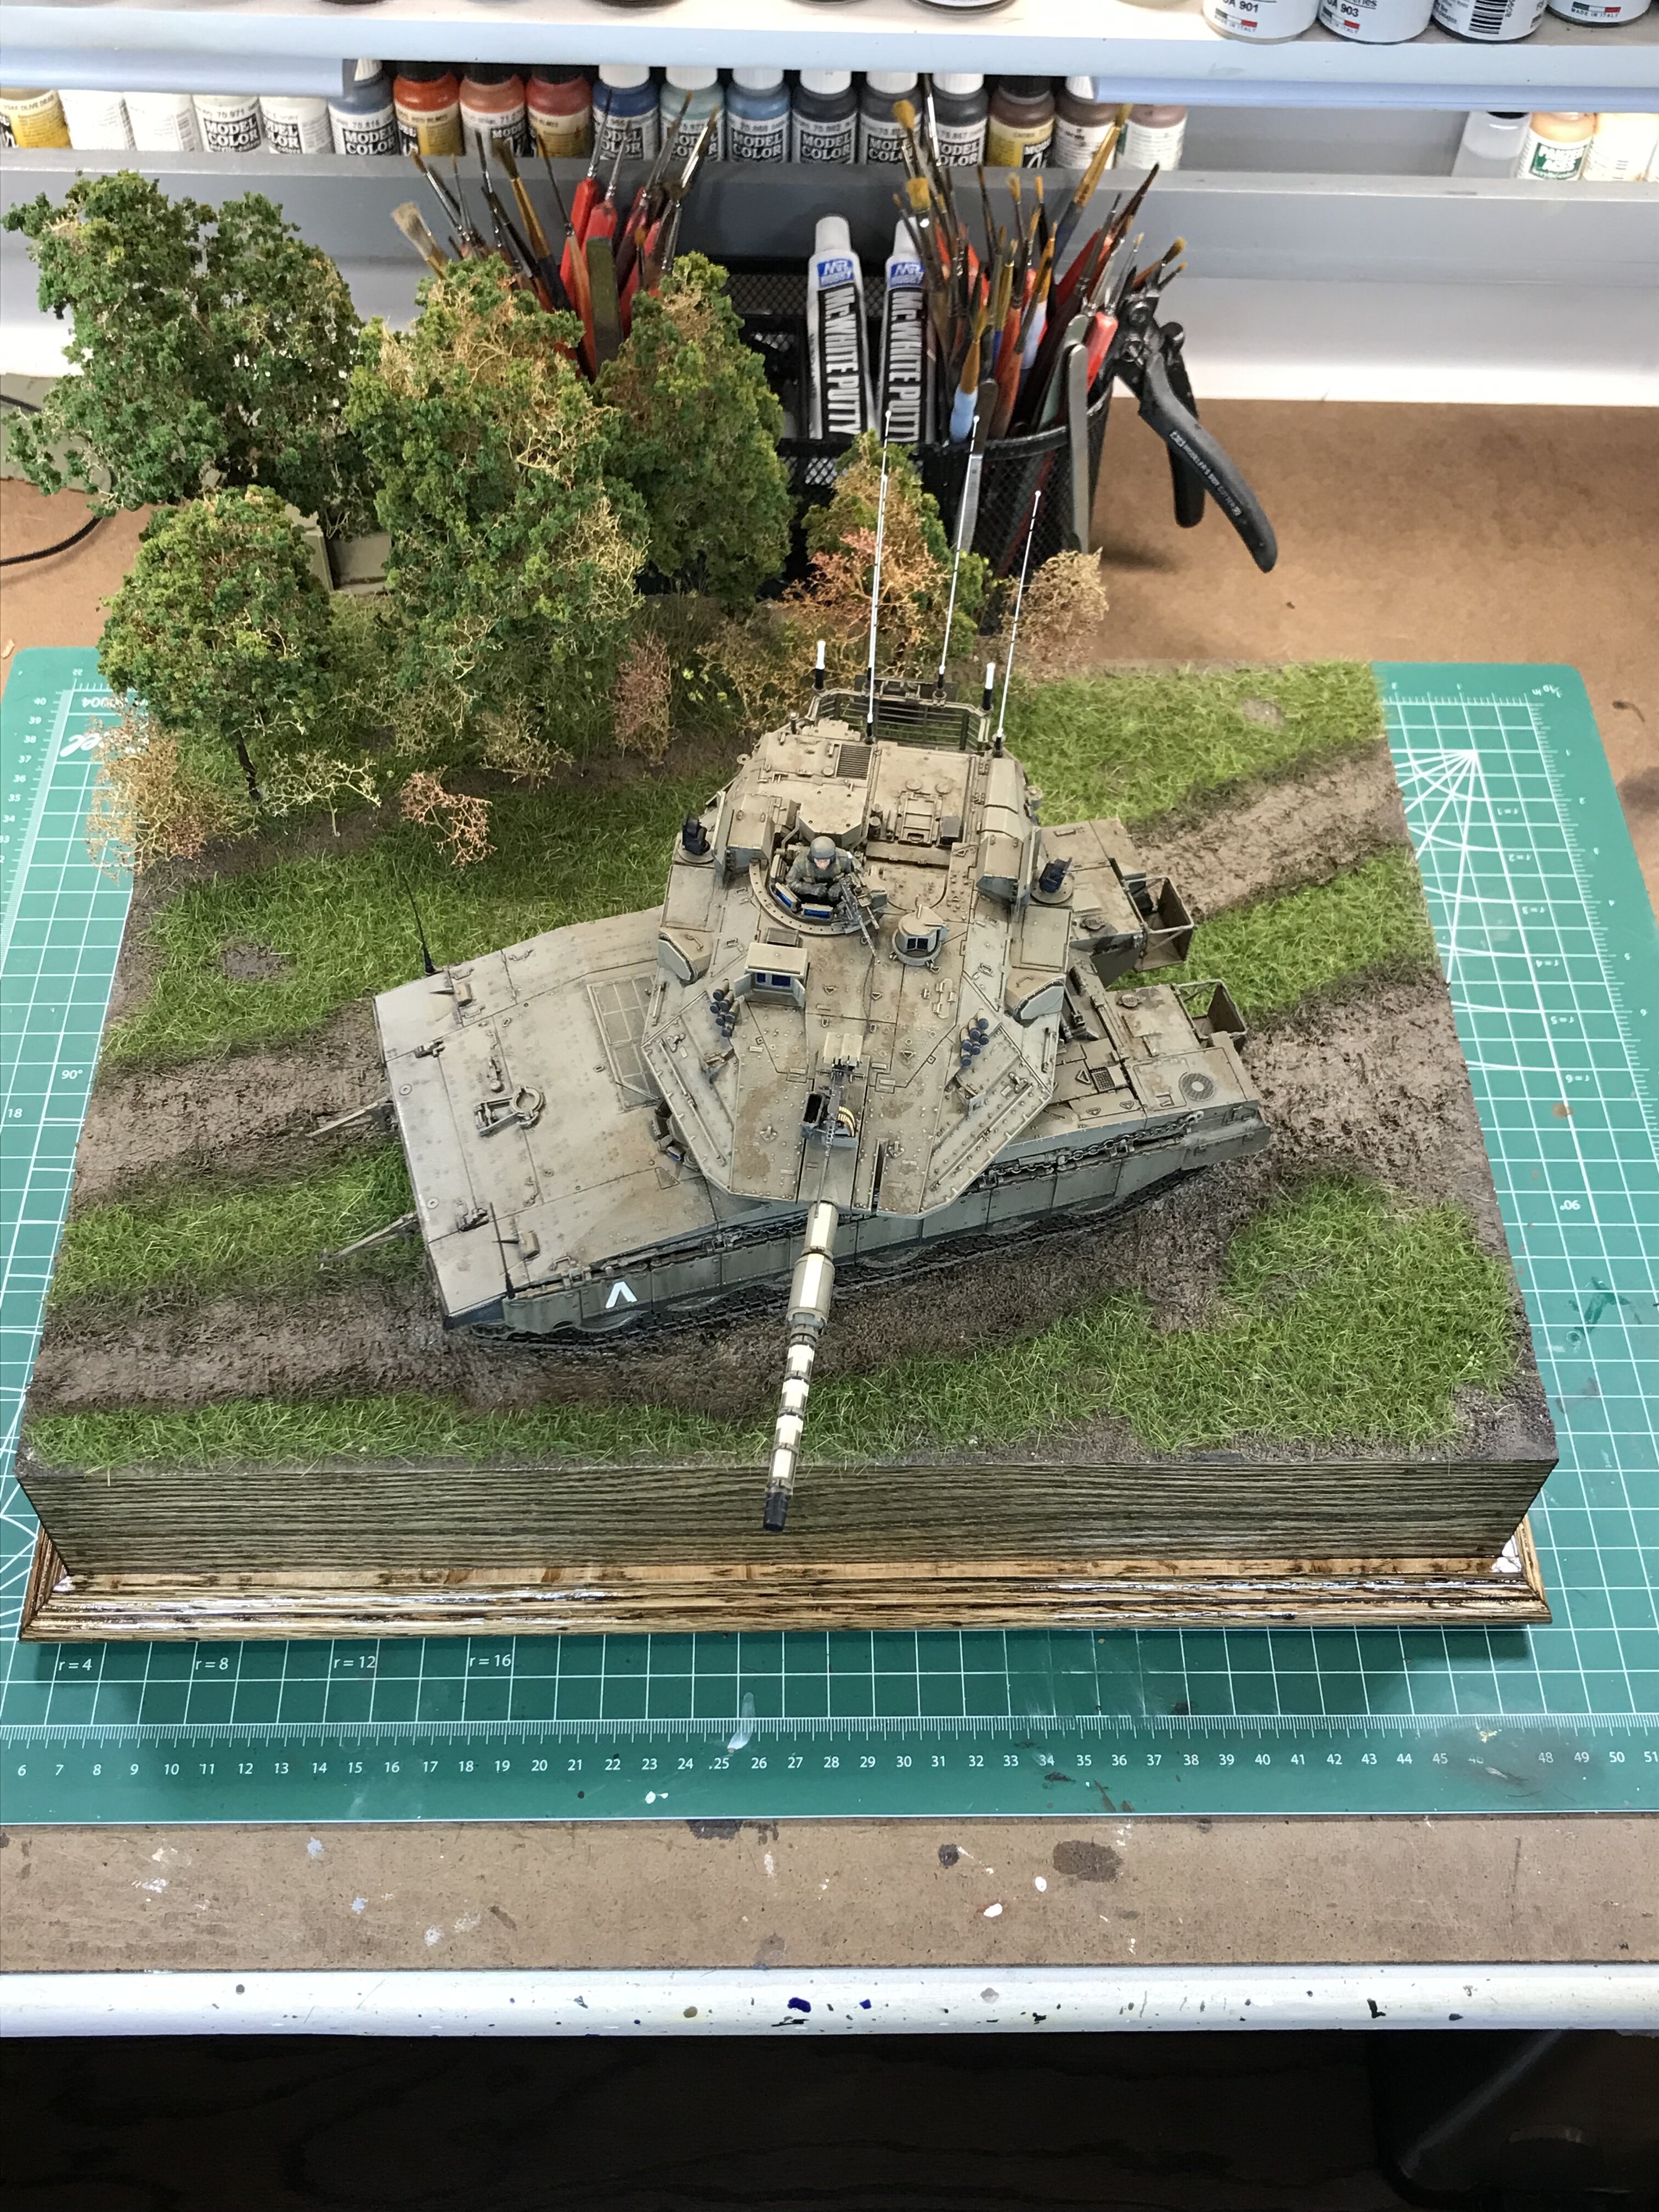
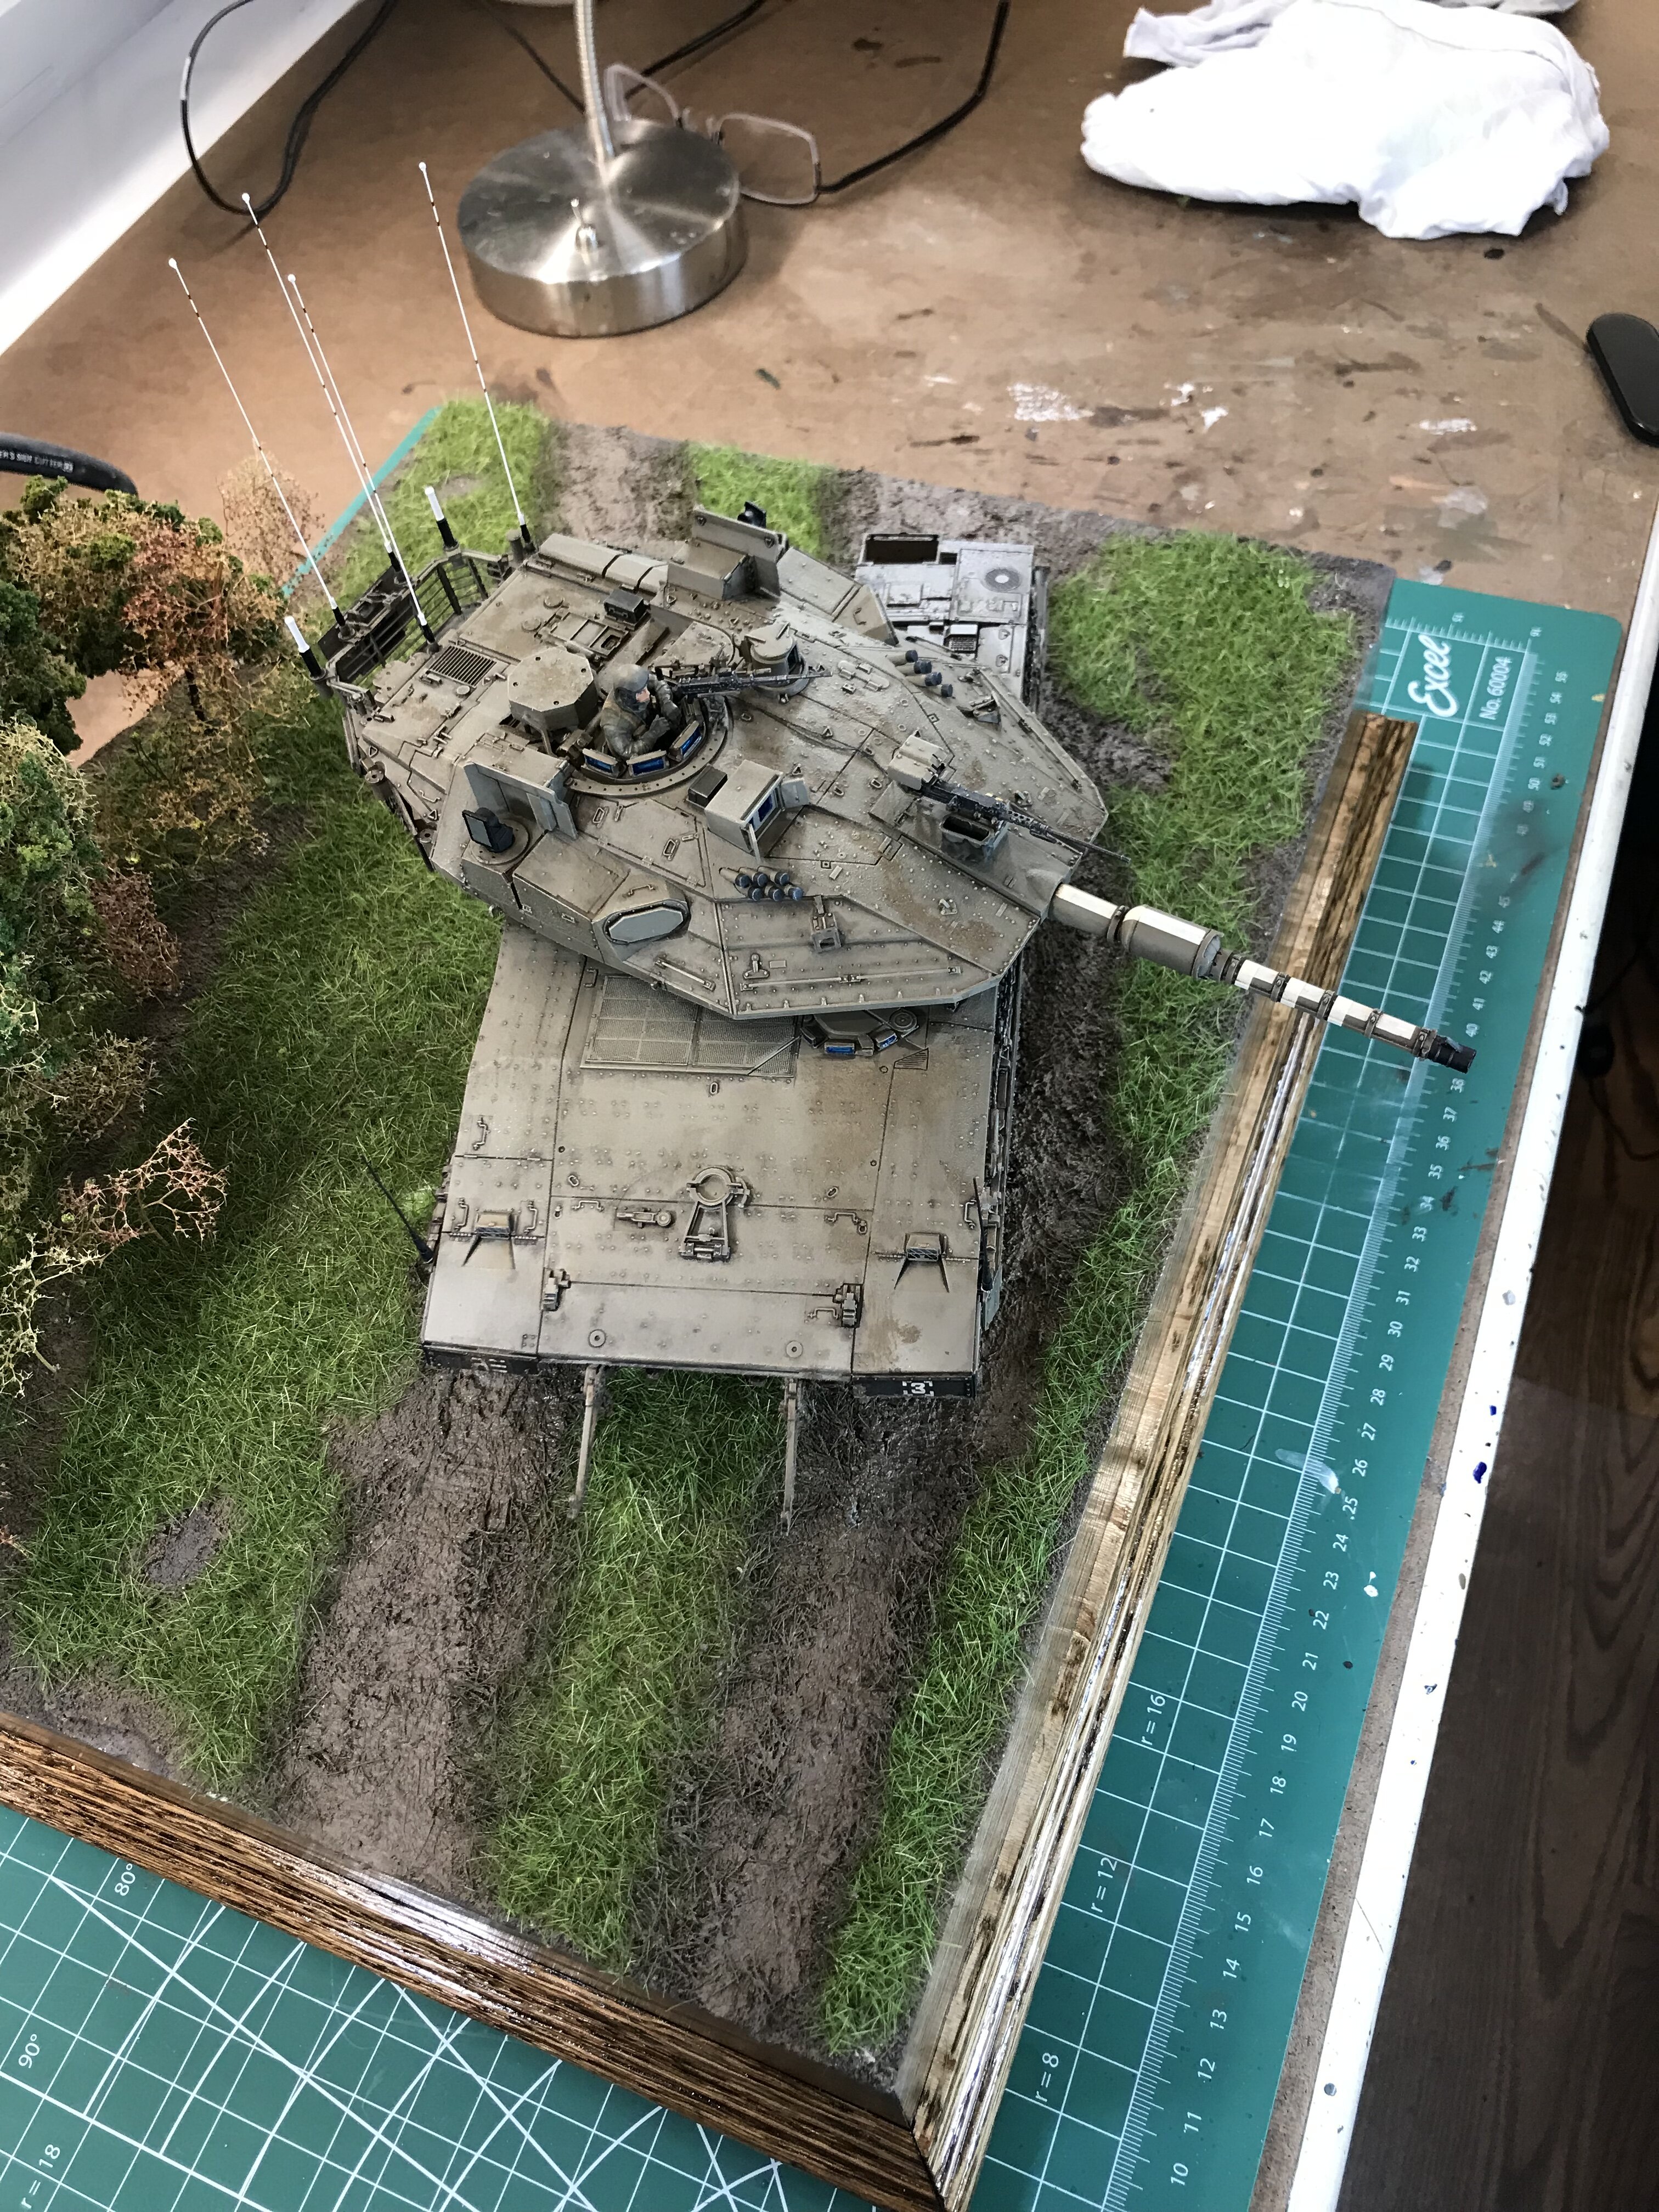
All that’s left to do is wait for the plaque to come back from the trophy shop. The diorama depicts a training exercise, in the Golan Heights, in 2016.
The turret took the longest to build. A lot of small parts. After construction, the suspension remain completely articulate. If you wanted to pose this tank in mid air during a jump over a small hill, this is Suspension would look extremely realistic.
Thanks for following. If you see anything out of place, please leave a comment.
Chris
-
1
-
-
Thank you Oliver!
Chris
-
Thank you Carlos.
Chris
-
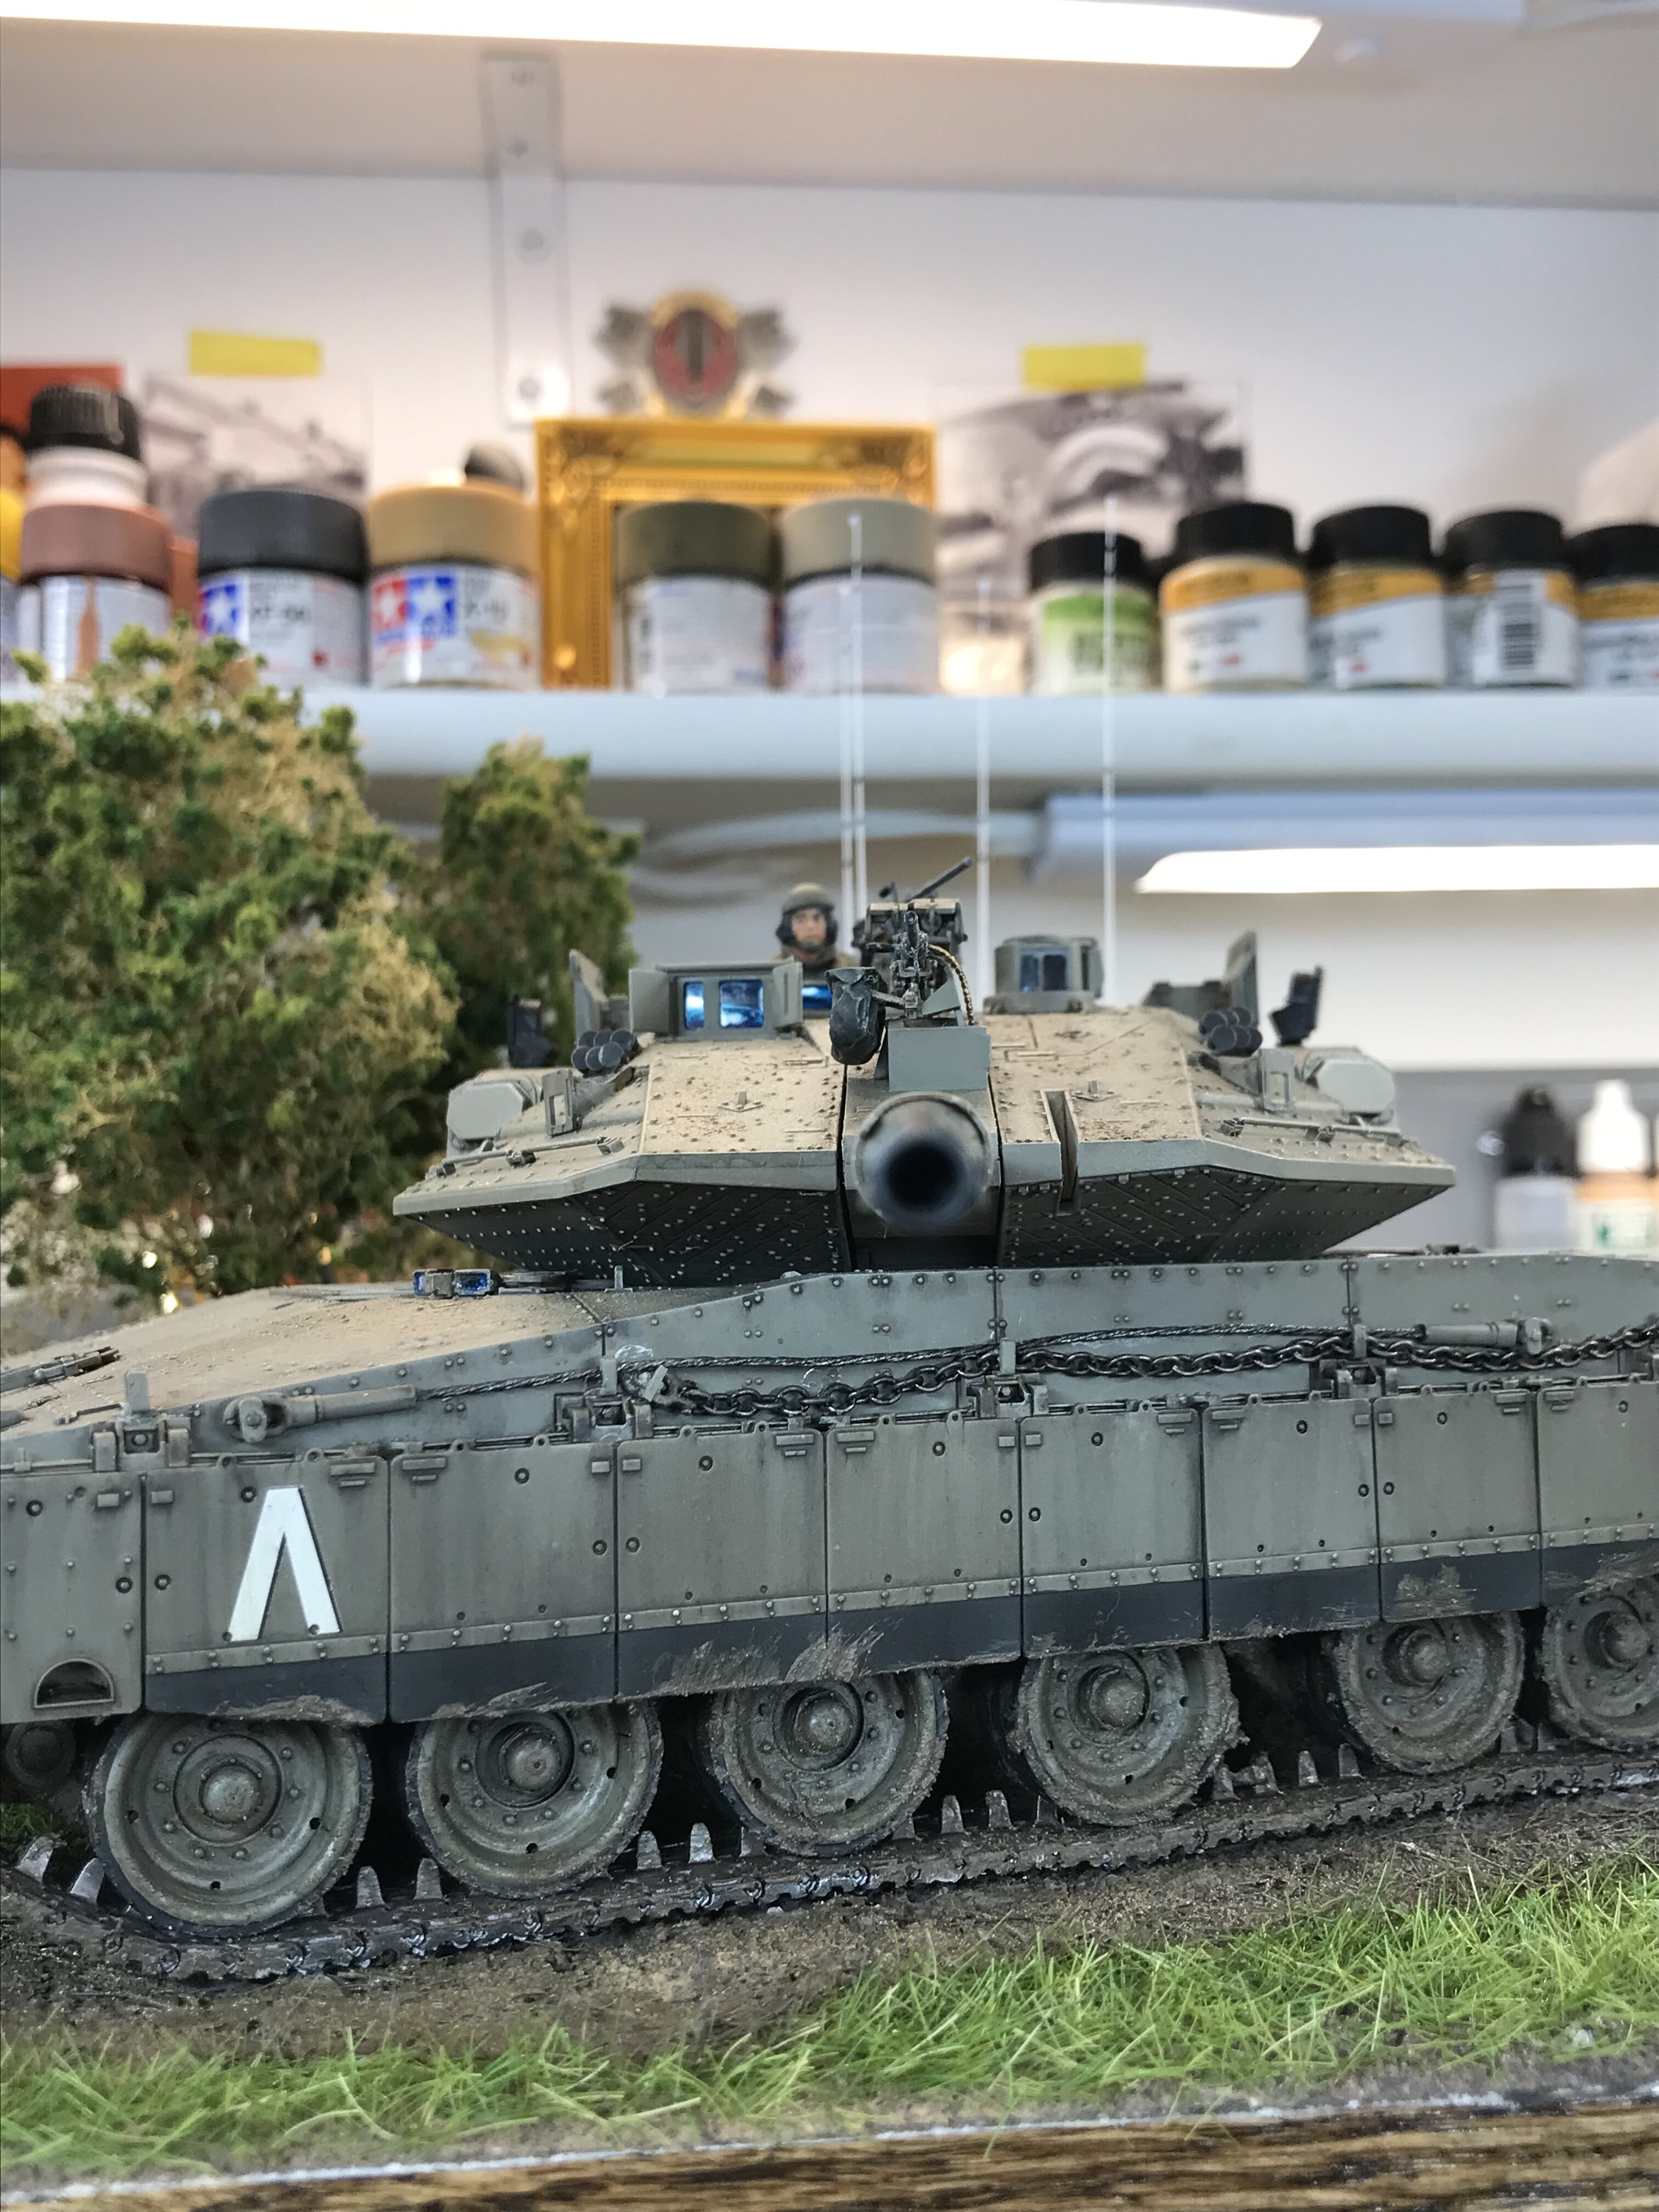
Well, I’m in the home stretch on this one. I started building the track sections this evening. I used Tamiya accent colors (brown and black). to do a pin wash on EVERYTHING!. Once everything was dry, I used mineral spirits to remove the excess. (Q-tip, small rags for the open spaces, and a stiff brush for hard to reach area’s.)
I used Naples Yellow hue oils to dry brush the high spots. I’ll hit everything with Dull Coat before the final assembly.
Chris. -
Carlos,
It looks awesome just like it sits right now. That’s one heck of a muzzle break on the end of the barrel. Can’t wait to see the finished model. Thanks for sharing your progress photos.
Chris
-
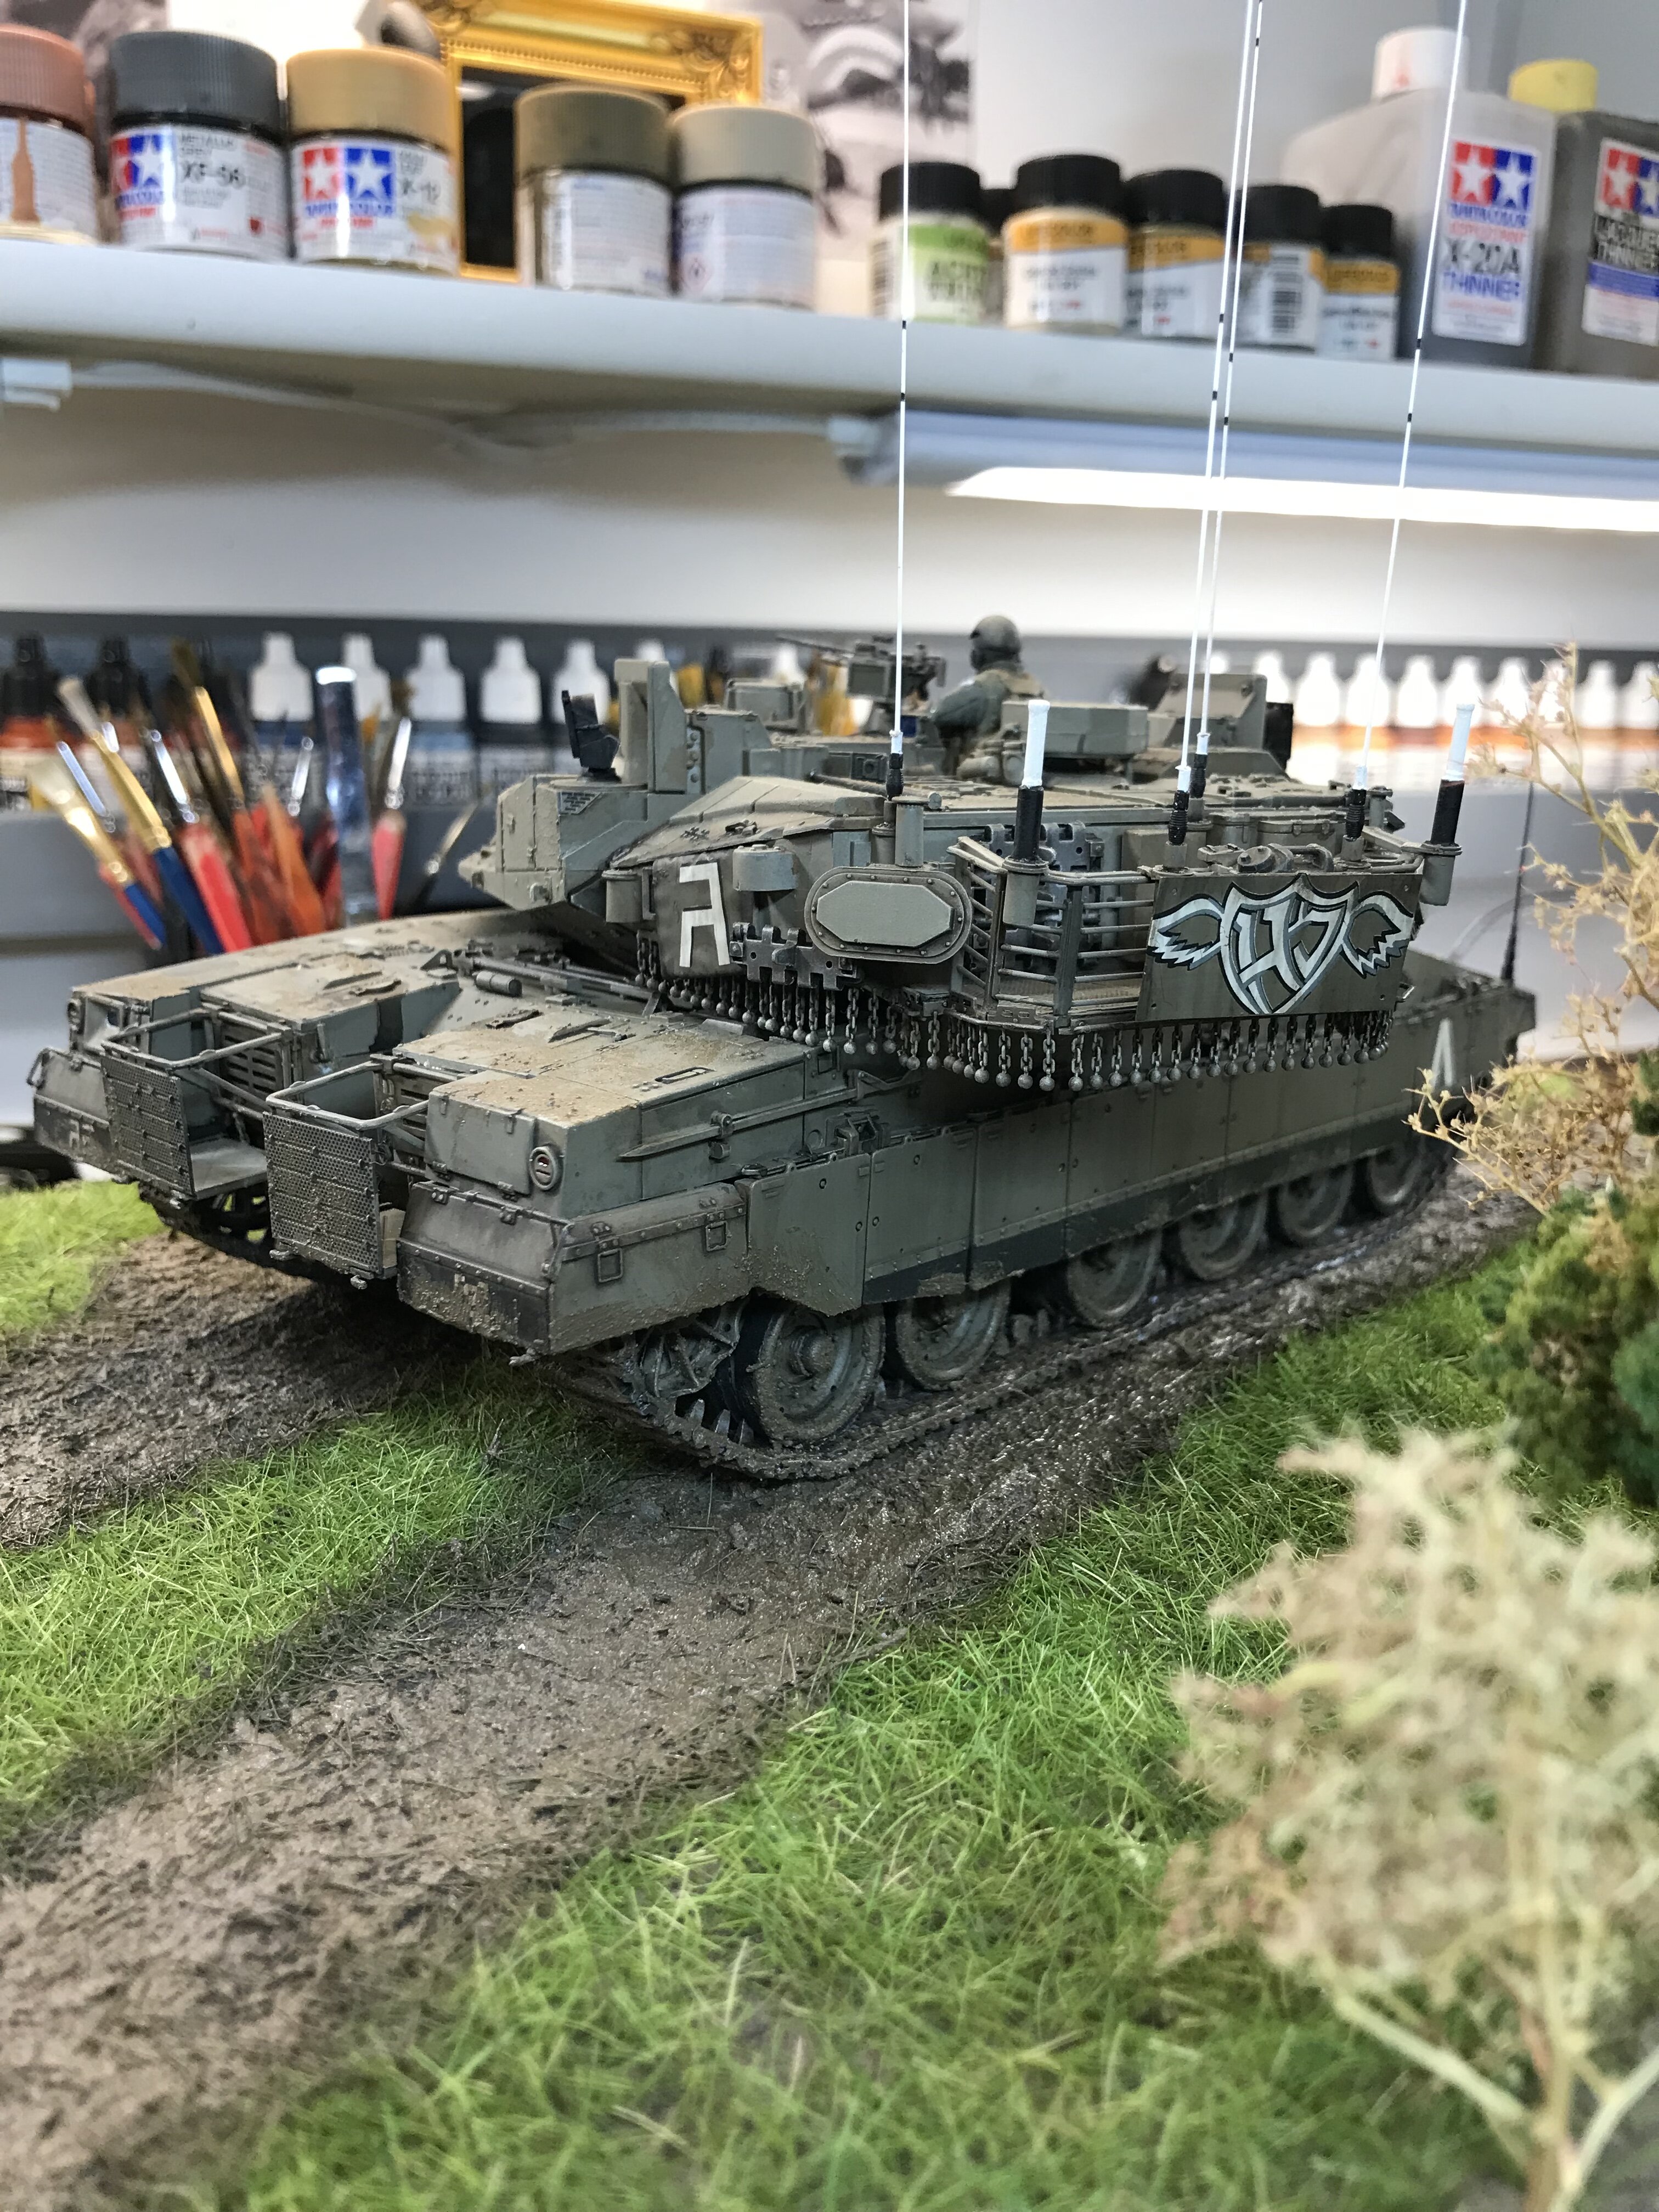
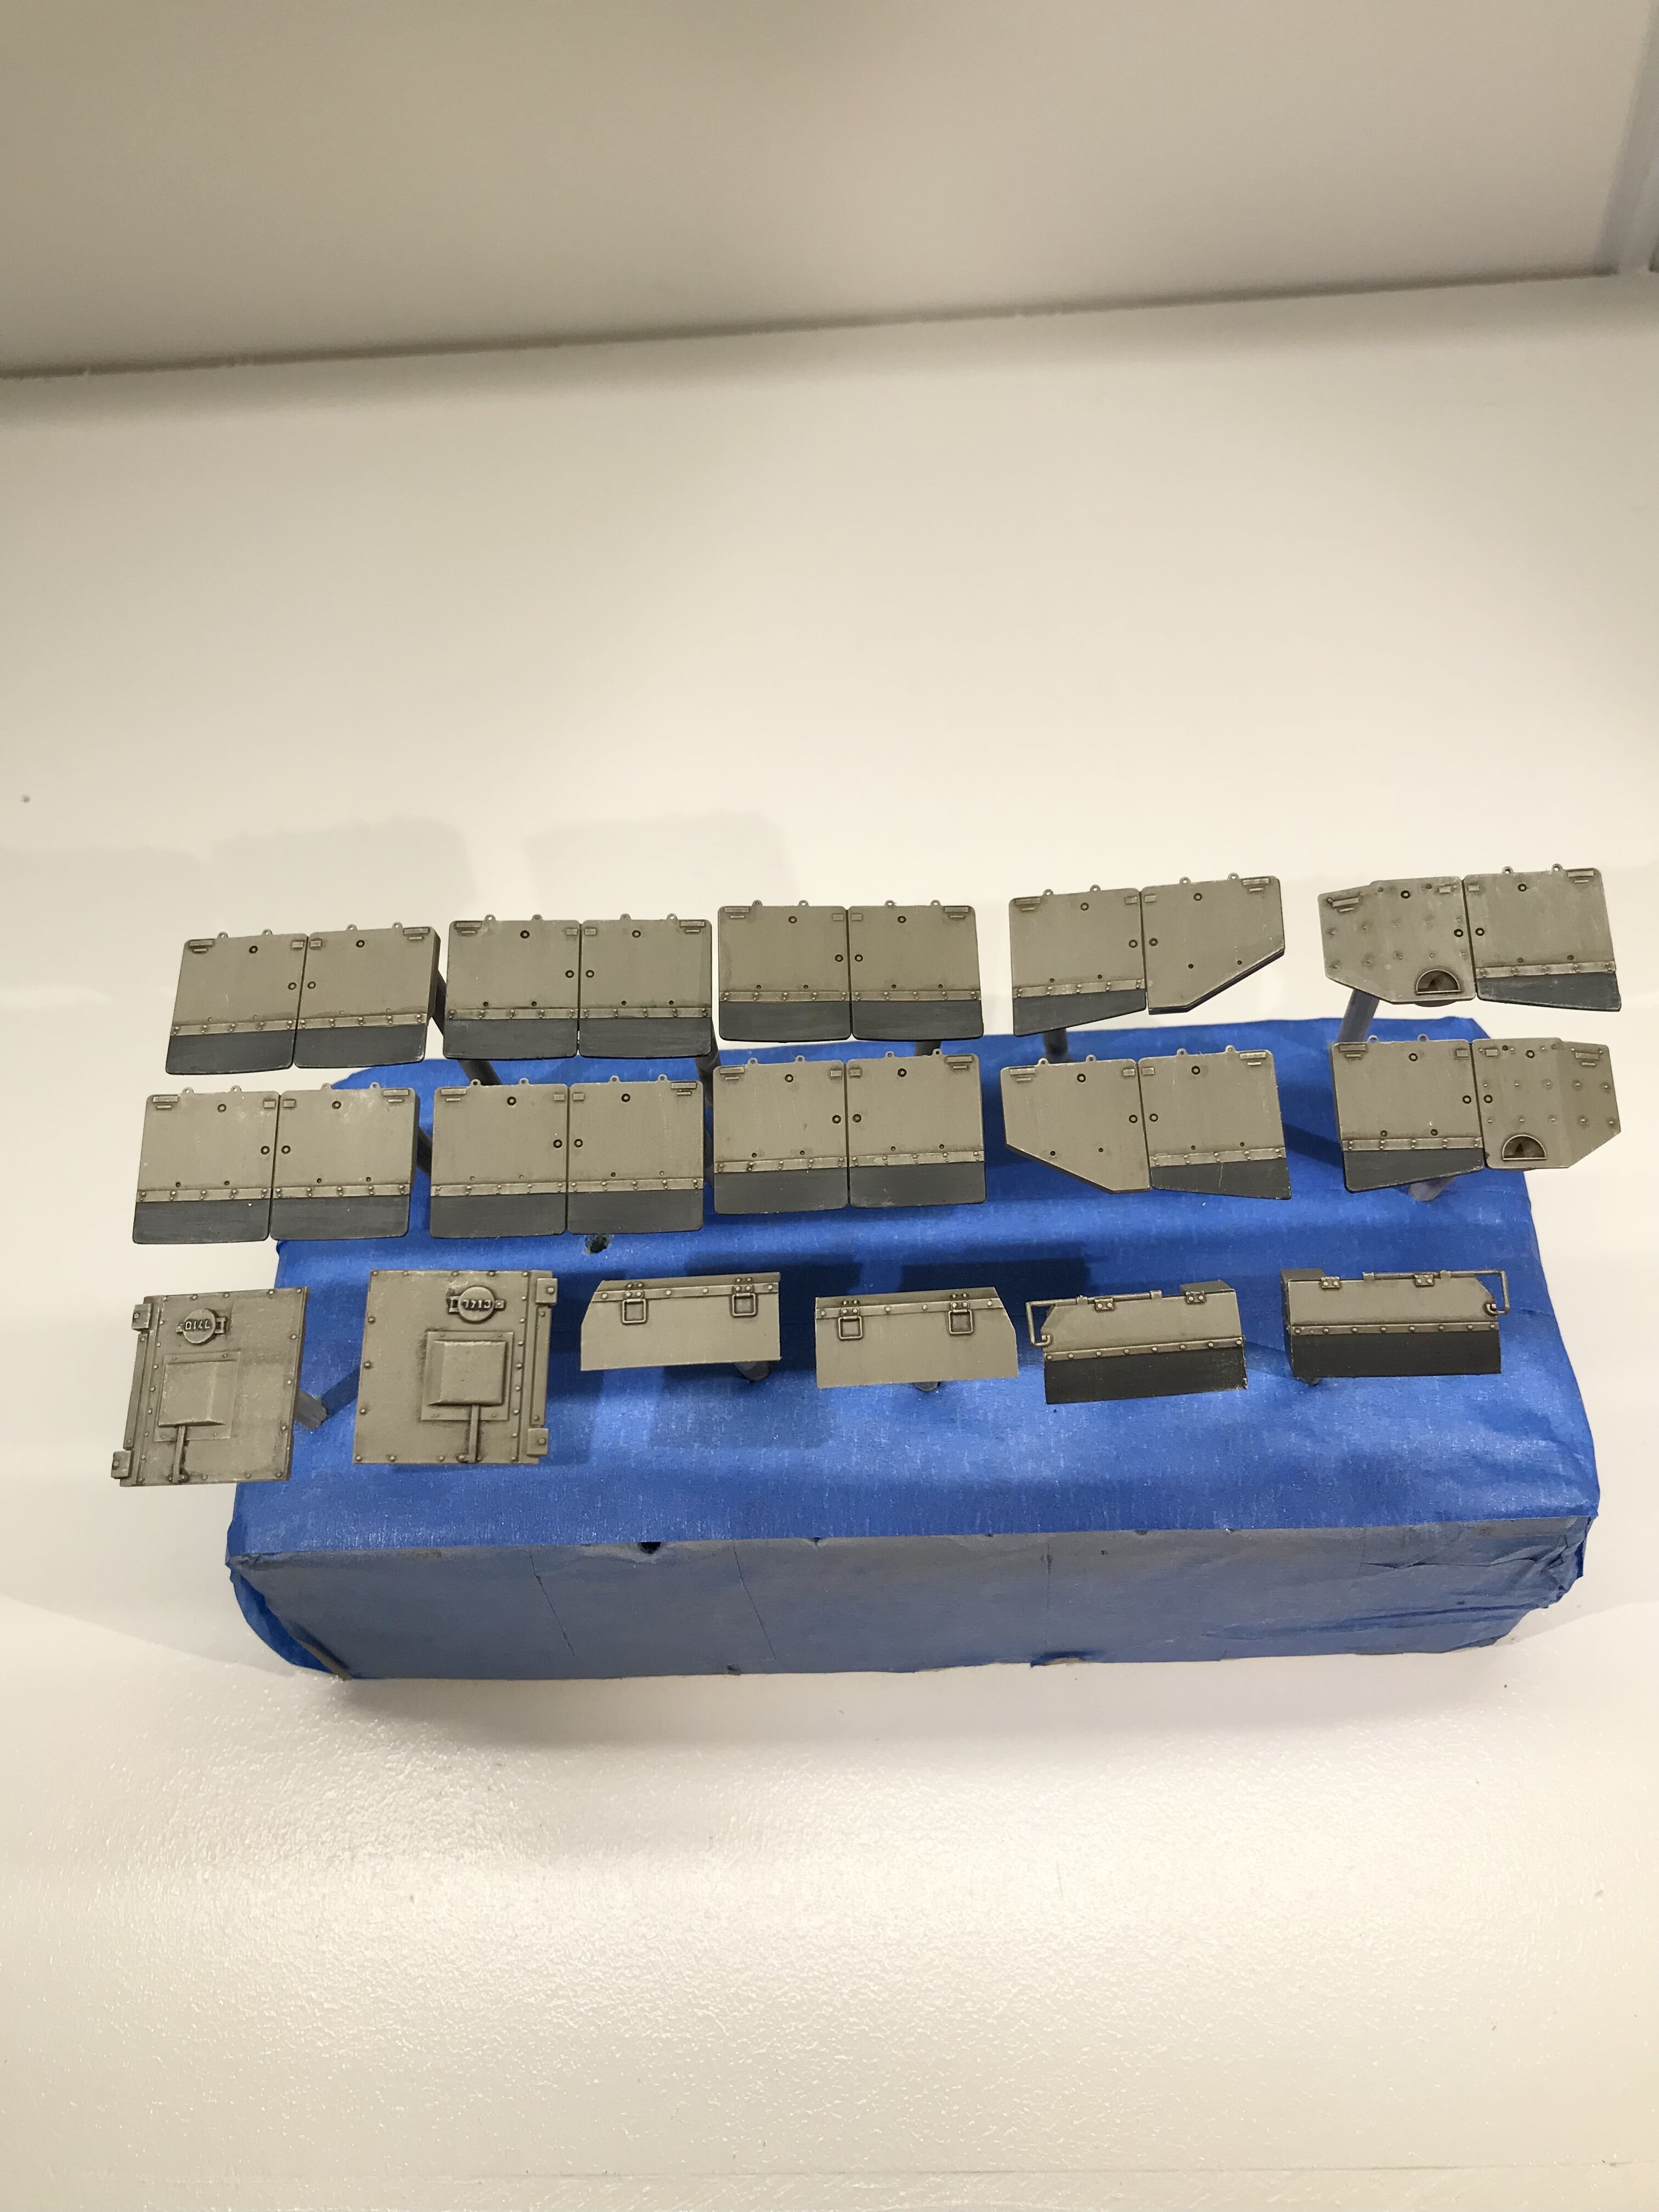
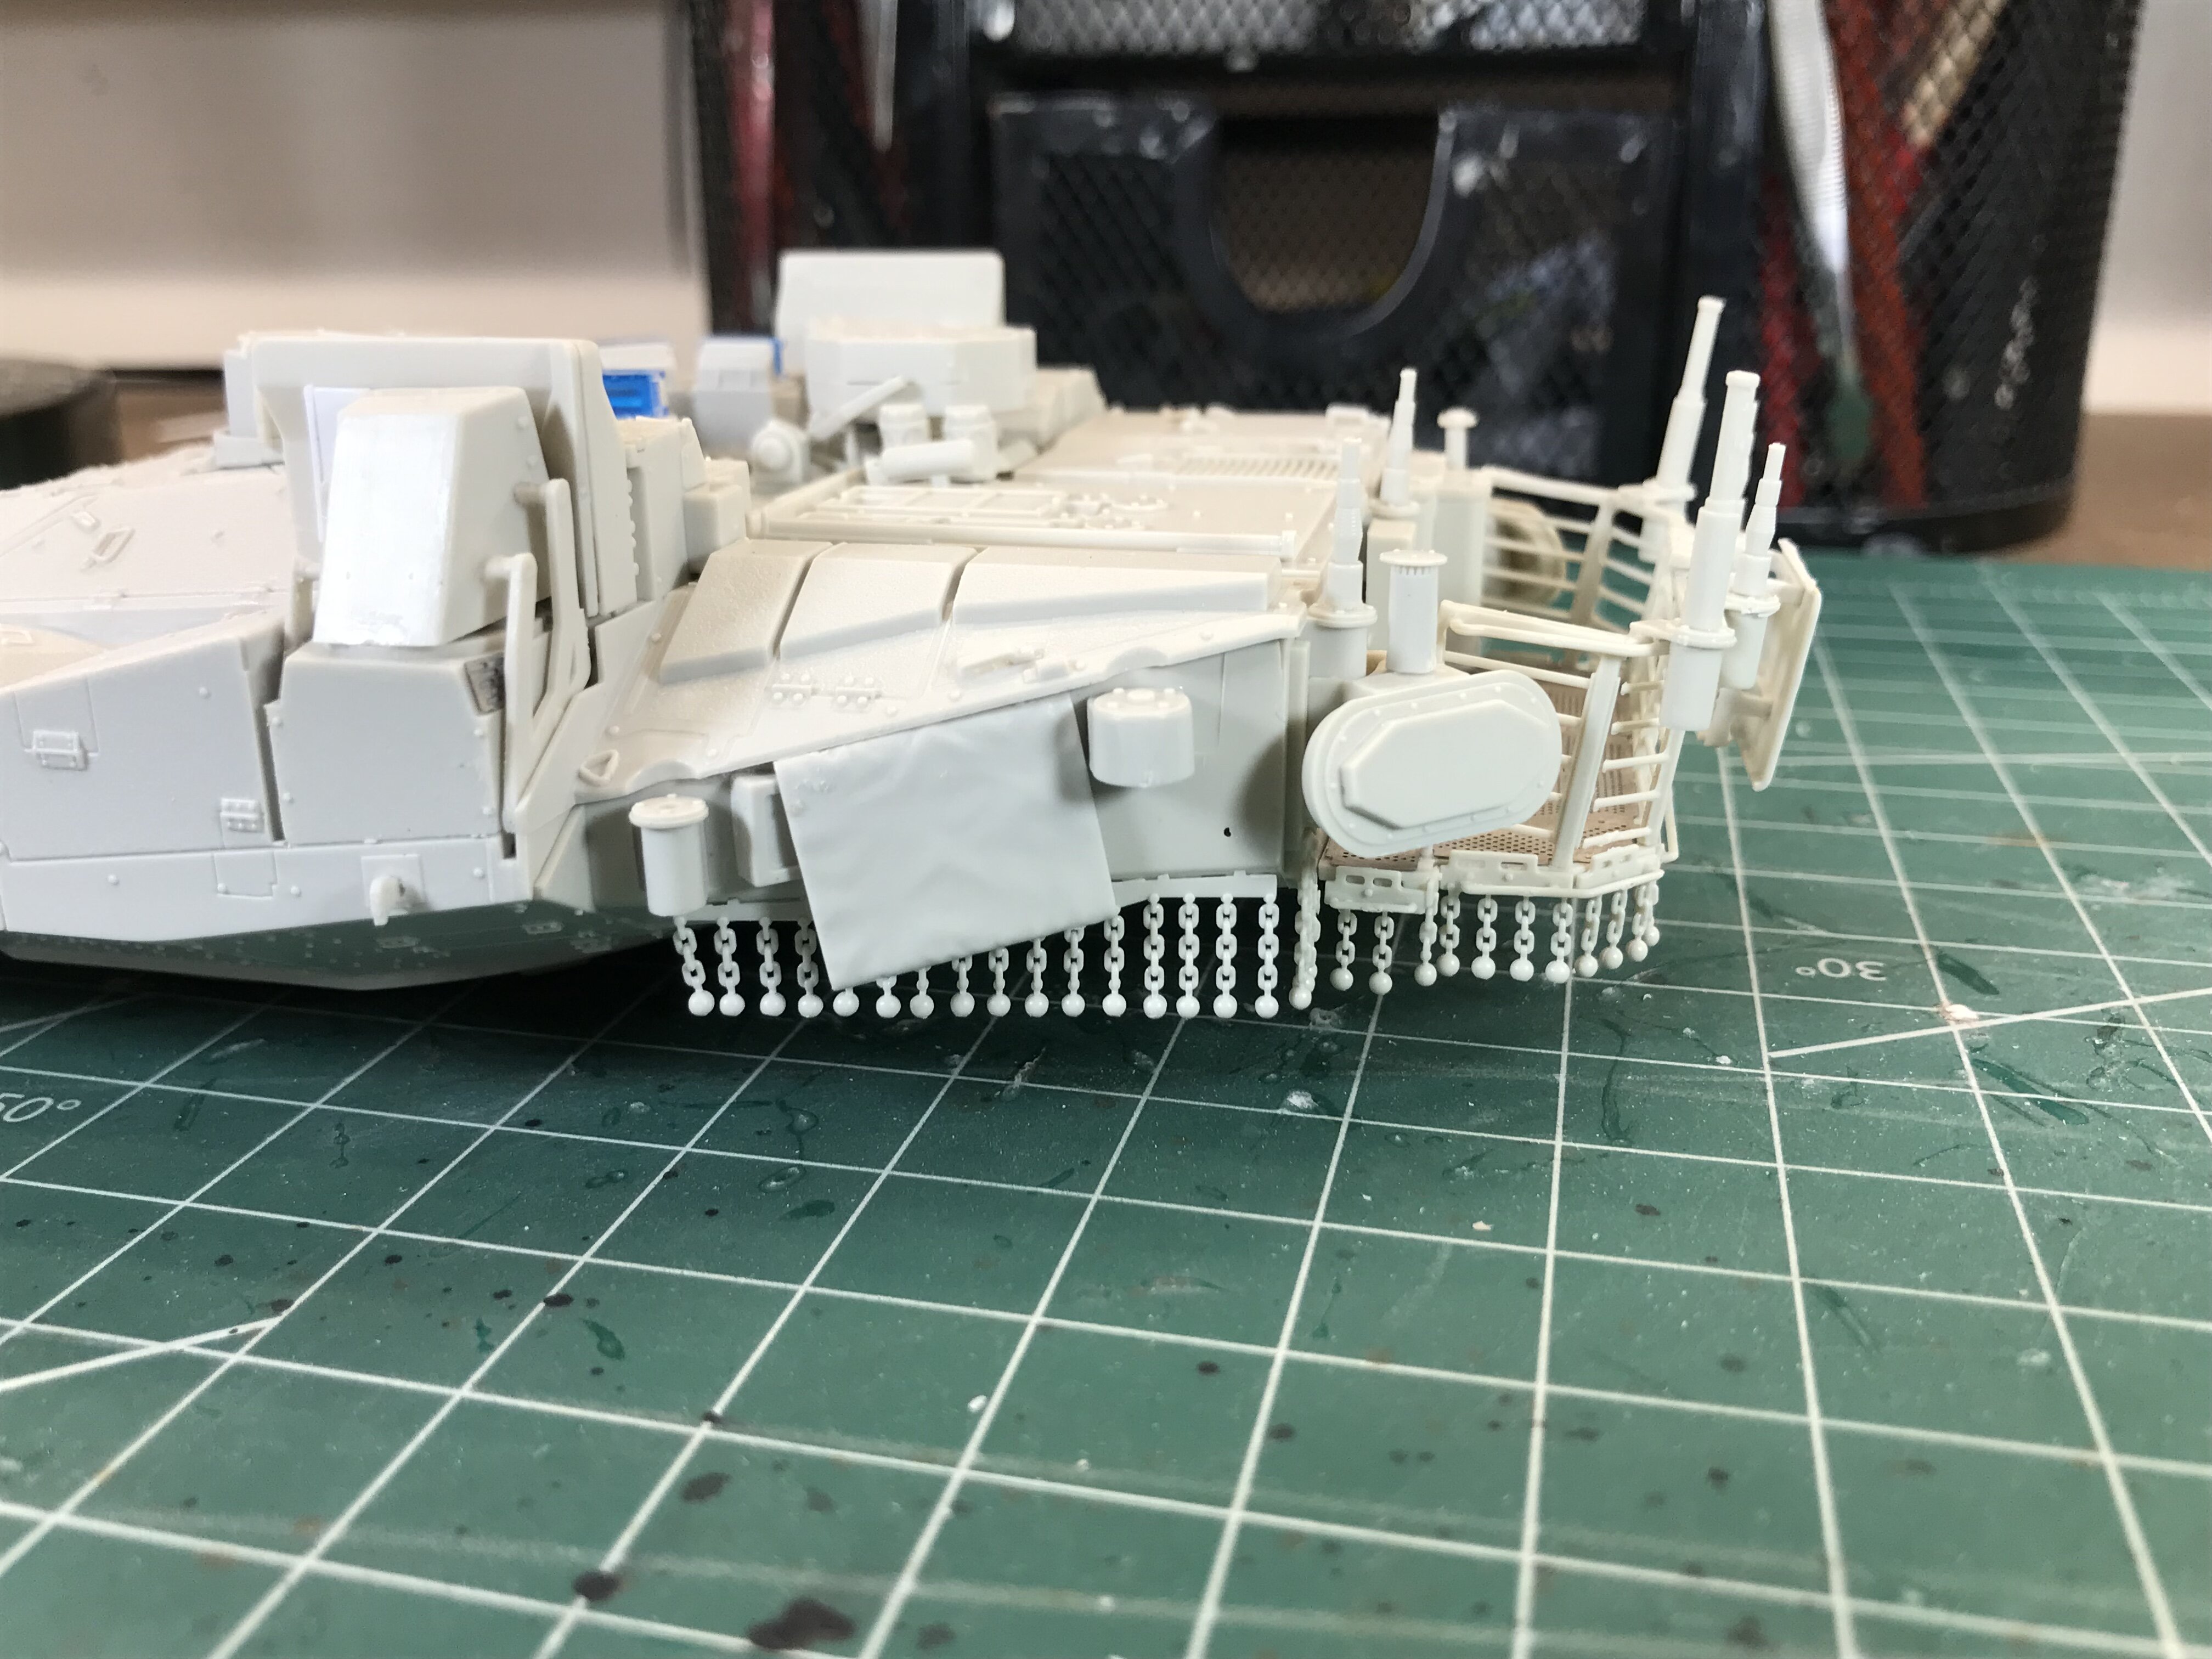
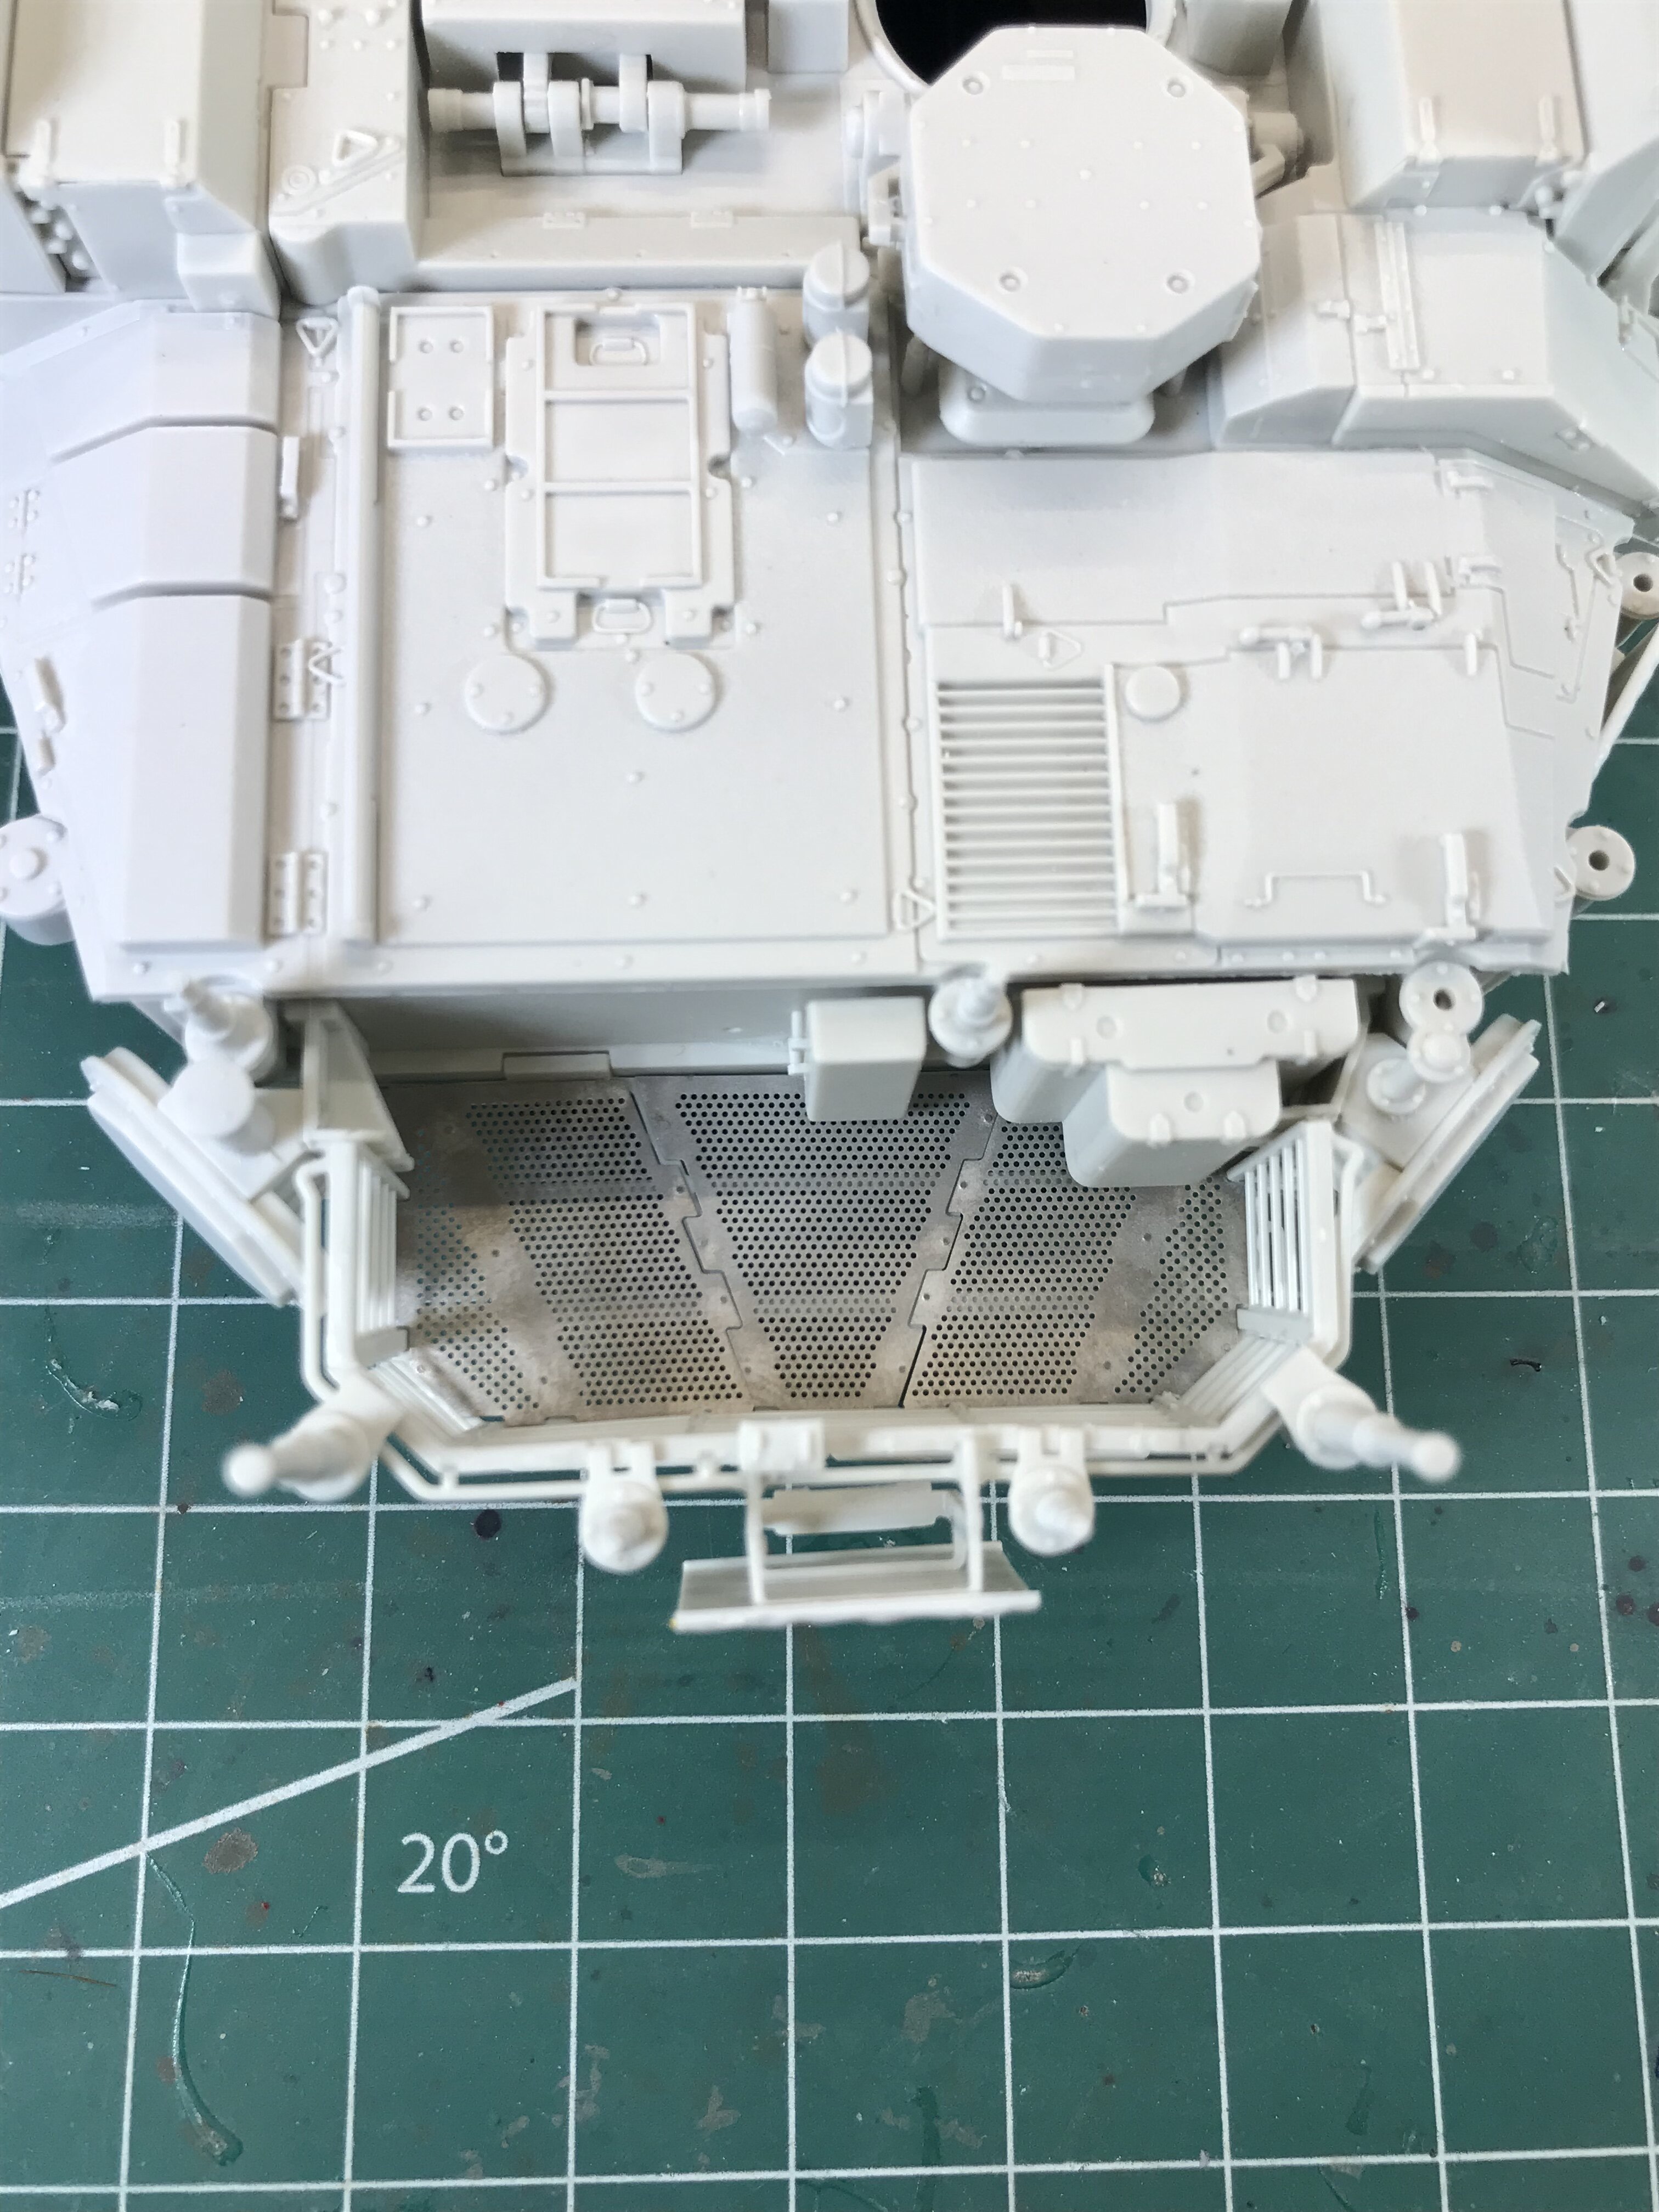
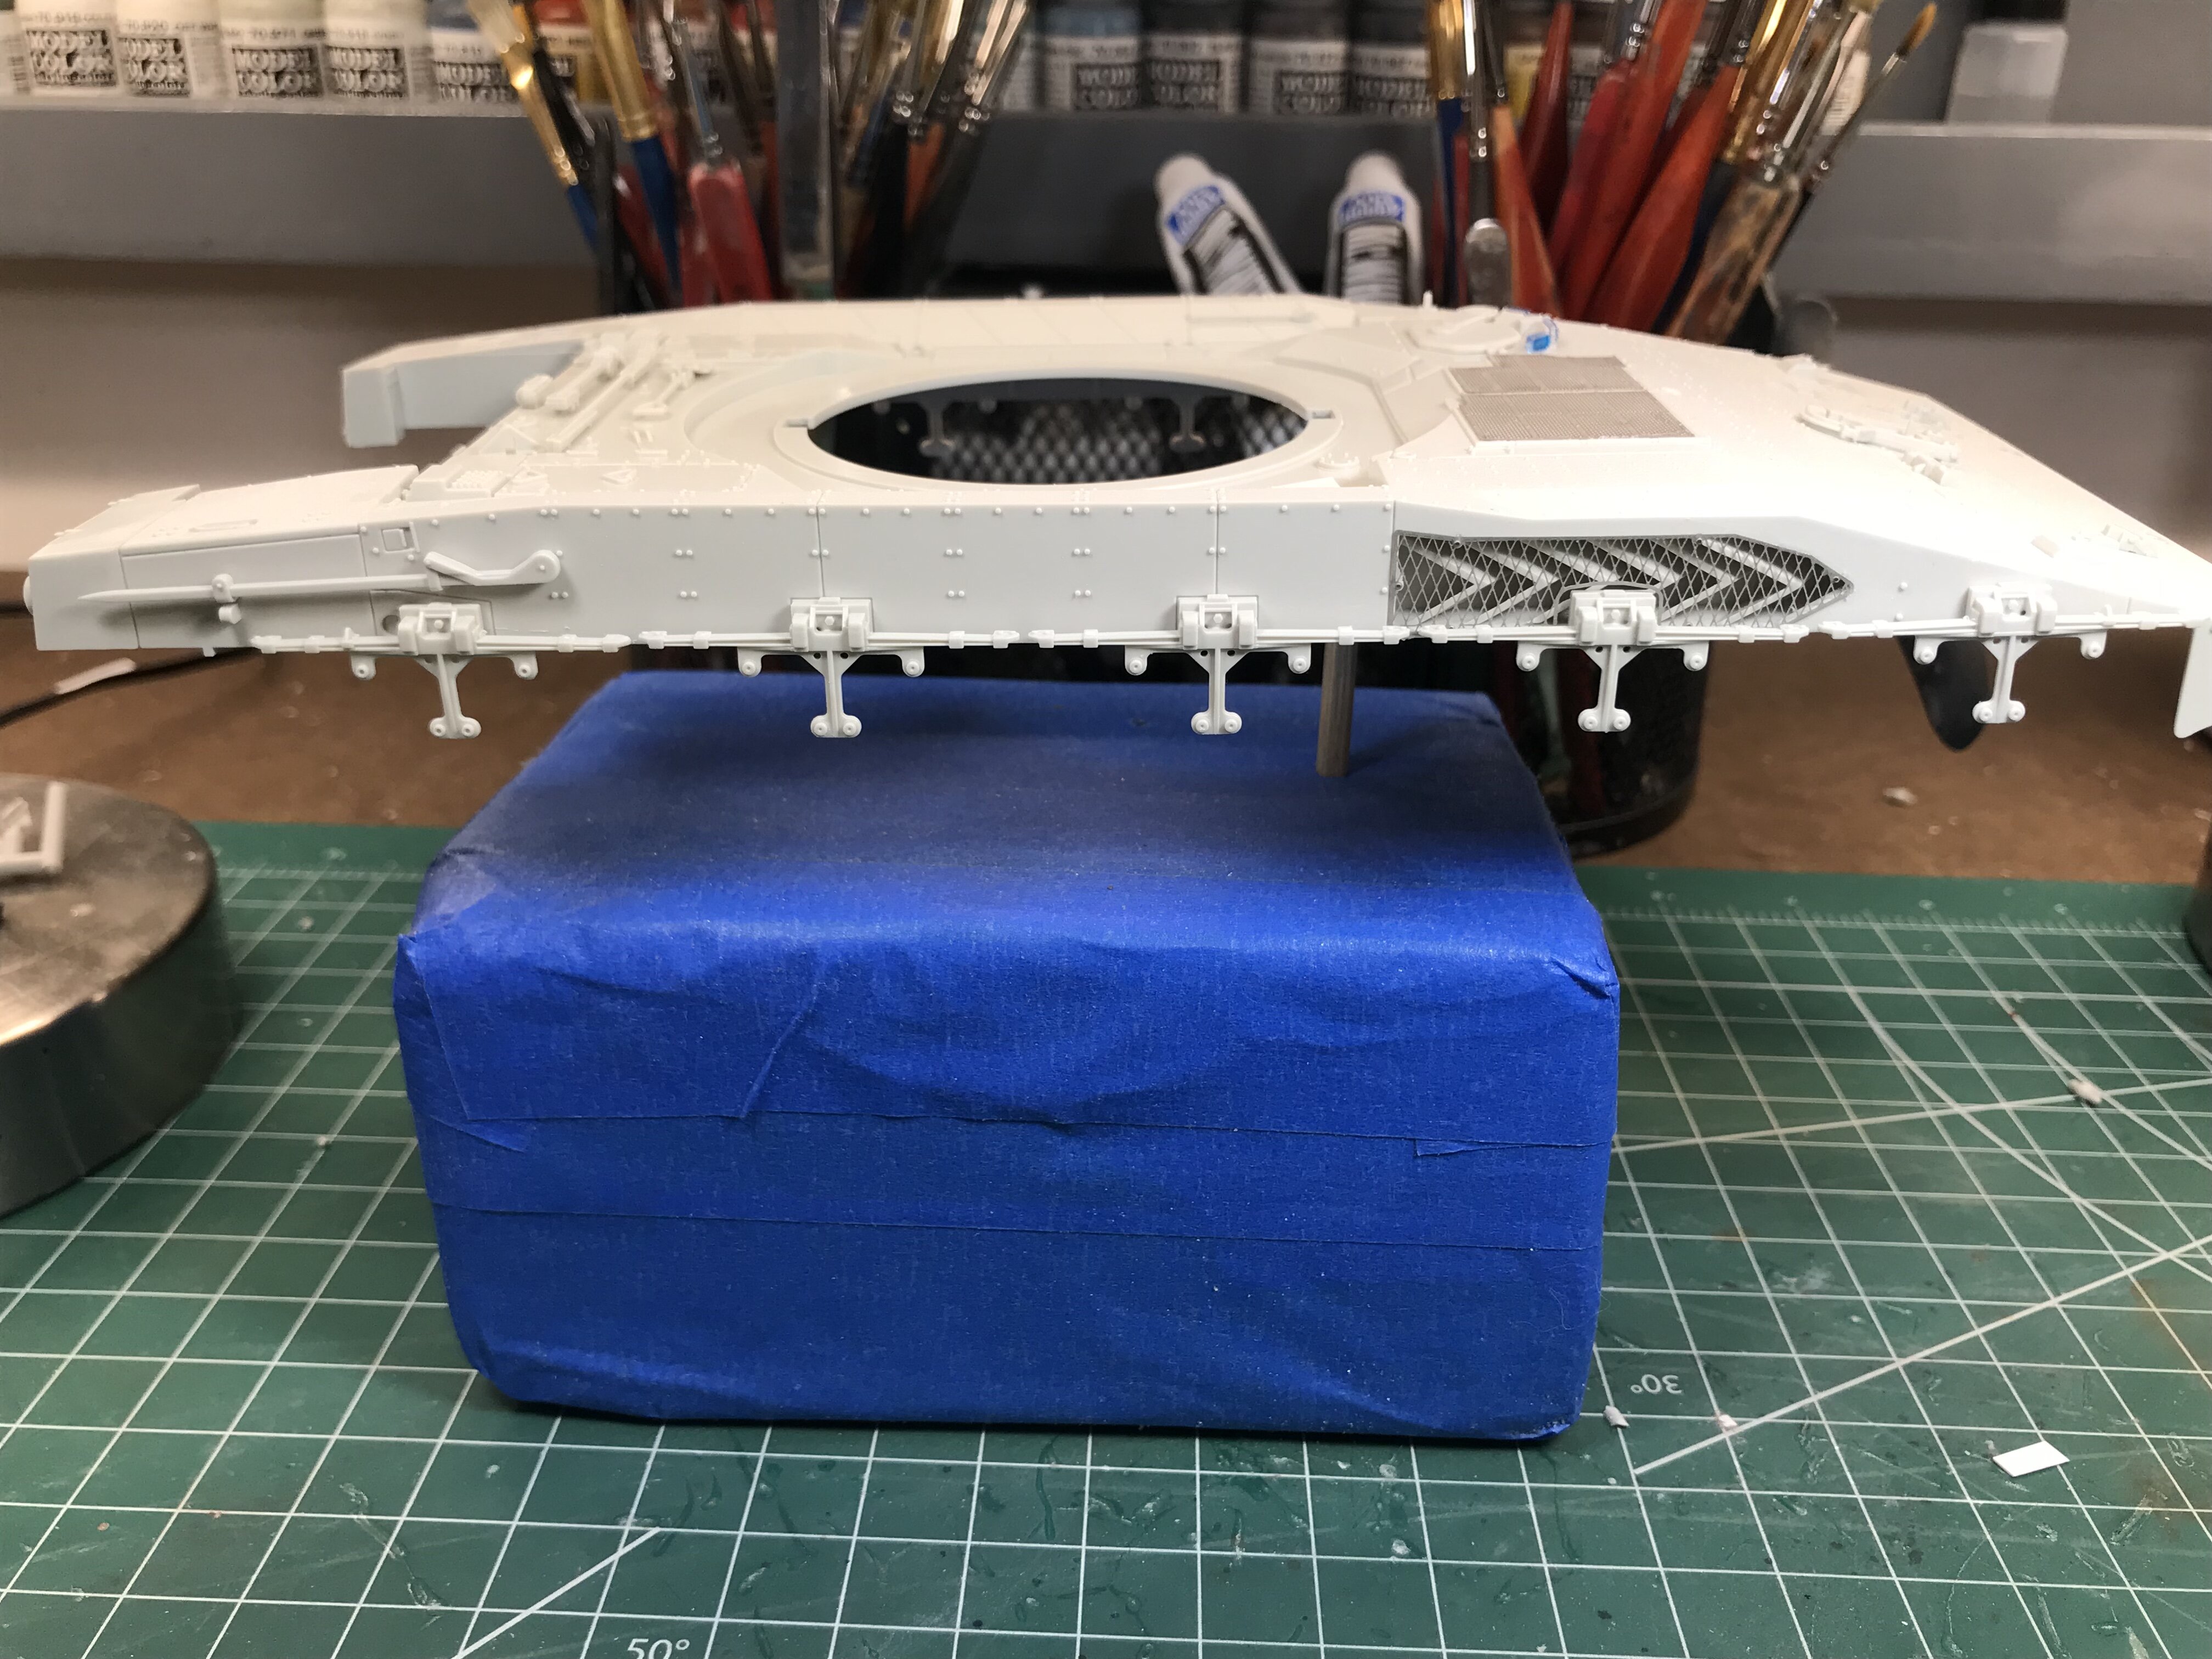
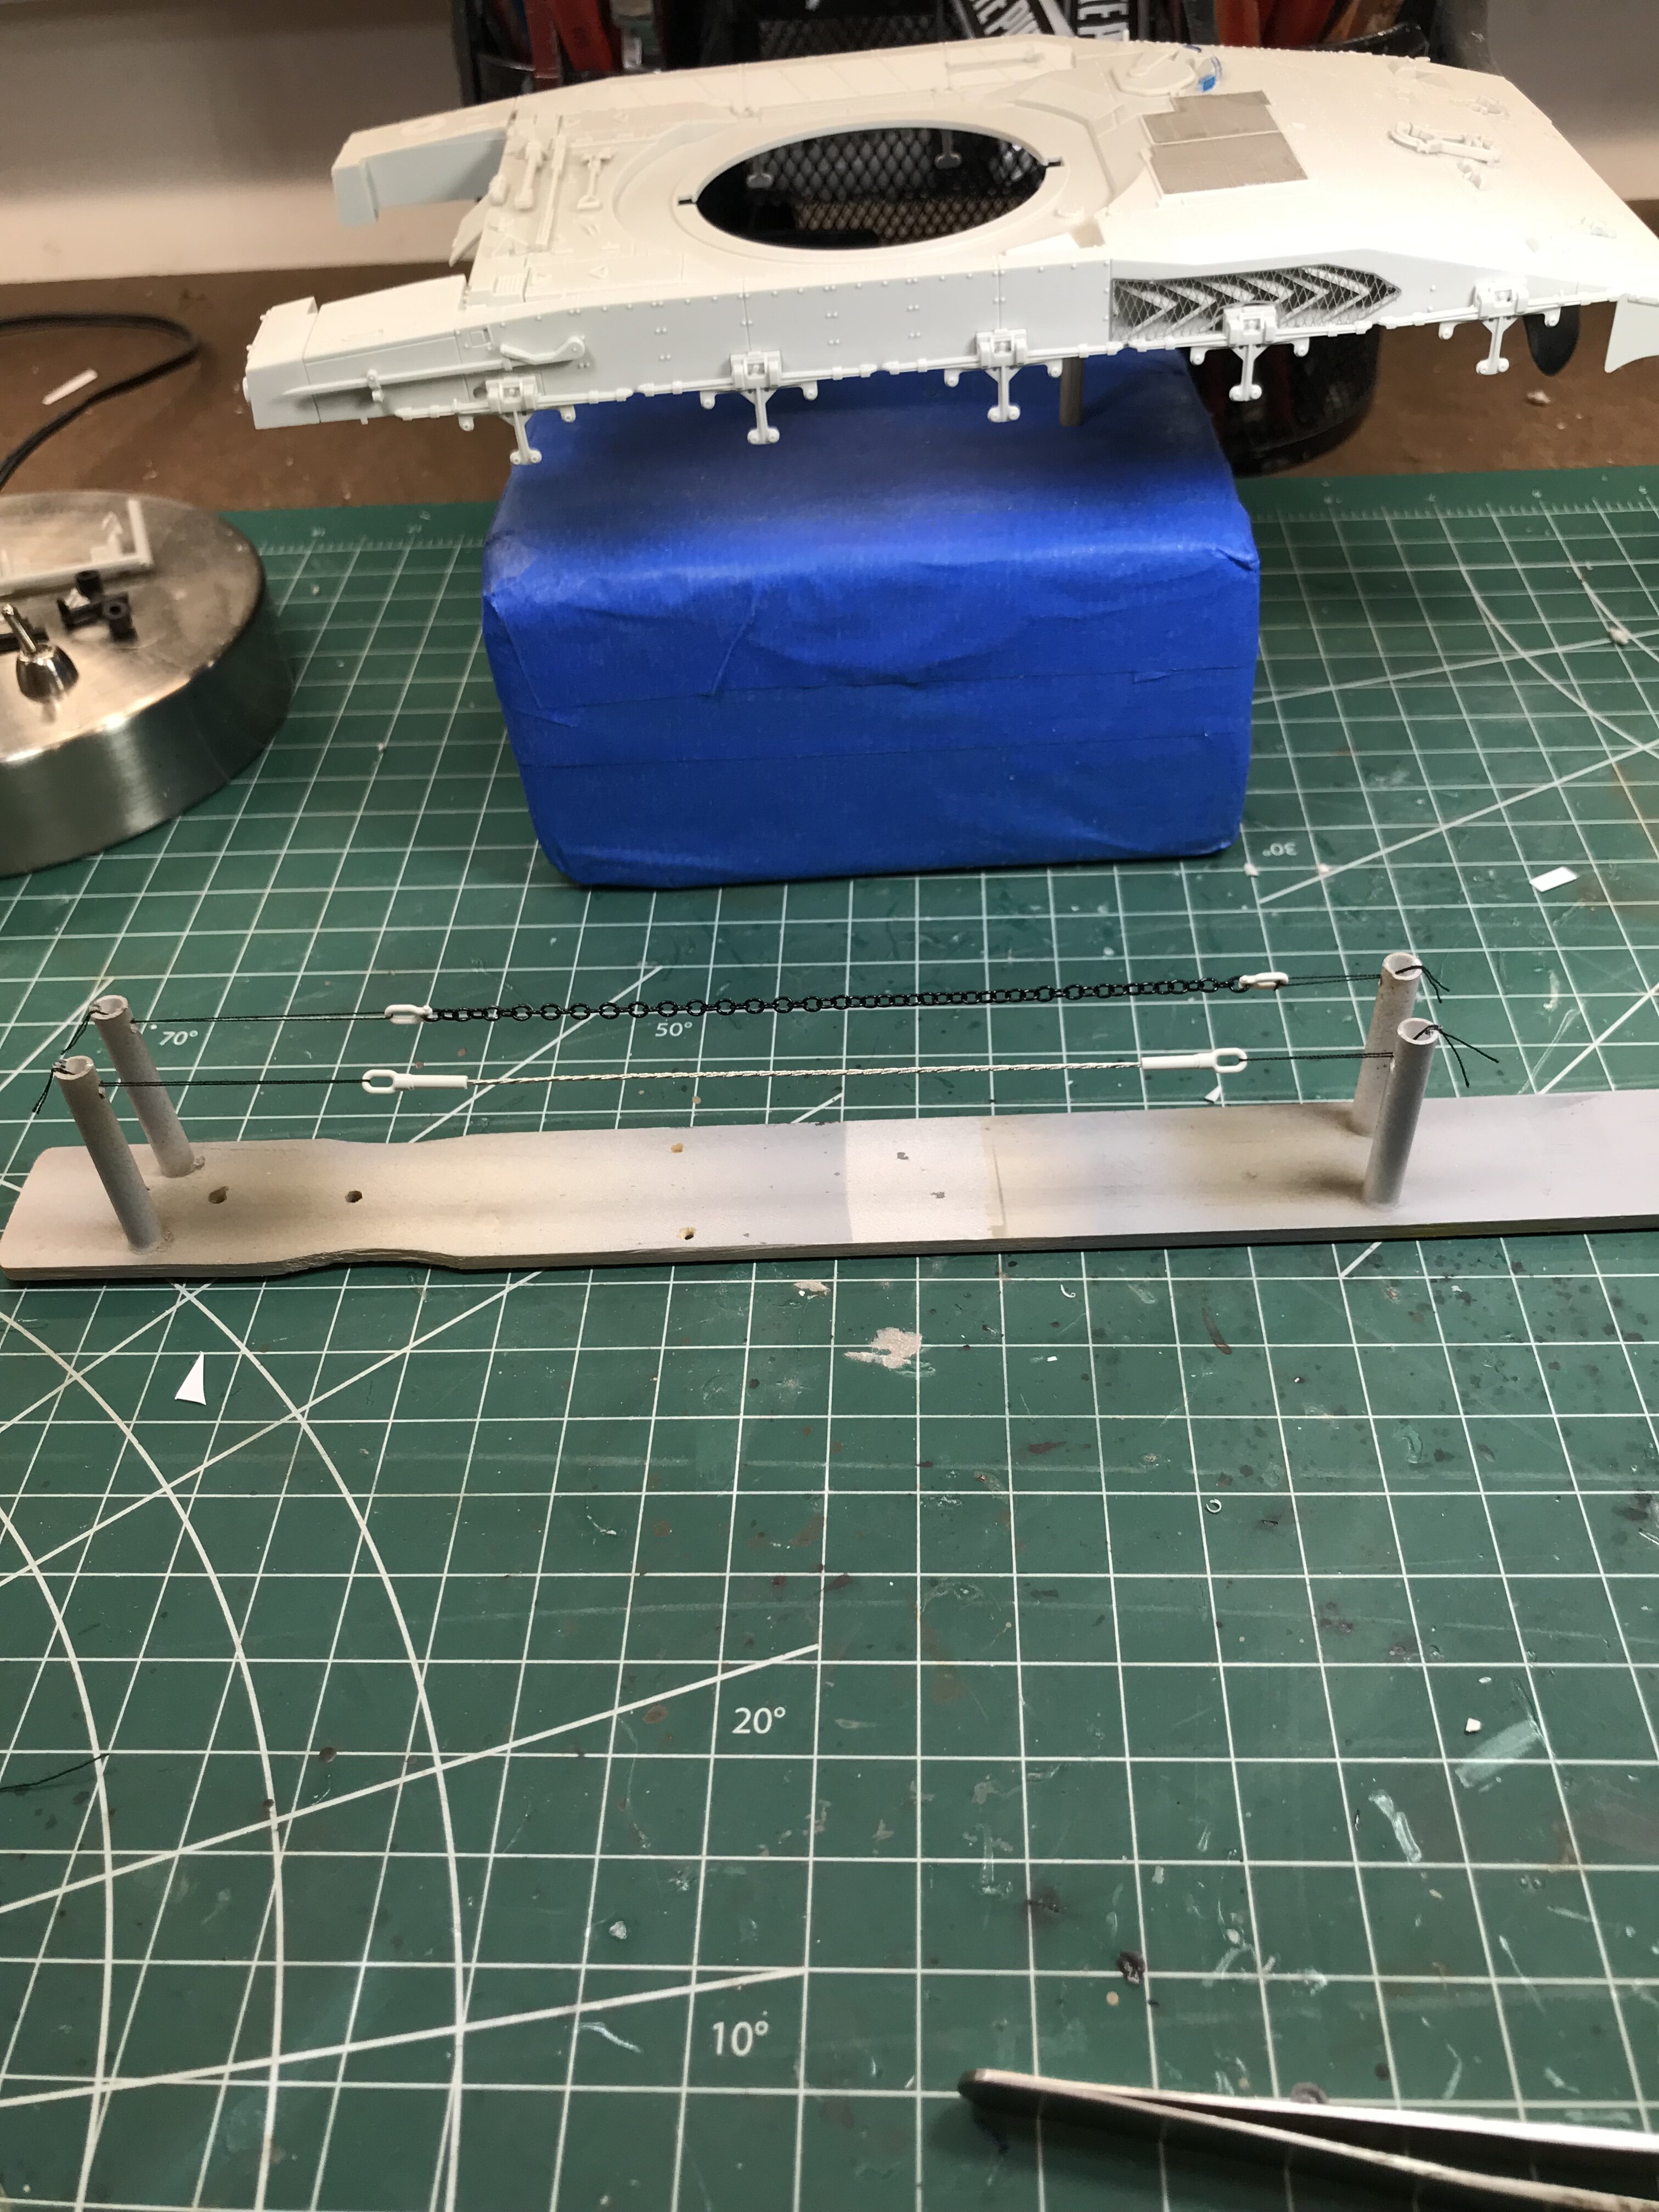
Snow day today. Worked on the turret today. A lot of stuff to put on. The upper and lower hull are complete, along with all the road wheels, idler wheels, and drive sprockets.
I’m painting the side skirts separately, so it’s easy for me to do washes, and add streaks before putting them on the model. The only things that need to be put together, are The machine guns, and Mounts. Before I prime anything, I’m gonna go back and add the rust texture to all of the walking surfaces, to make it look a bit more realistic.The tow cable is actually a real cable. Thought that was pretty cool as I don’t see this on many kits. Have a good evening friends.
Chris
-
Carlos,
I’ve only seen one of these kits built a very long time ago. I like the chunks of road wheel rubber that you removed. A great Idea. Looking forward to more.
Chris
-
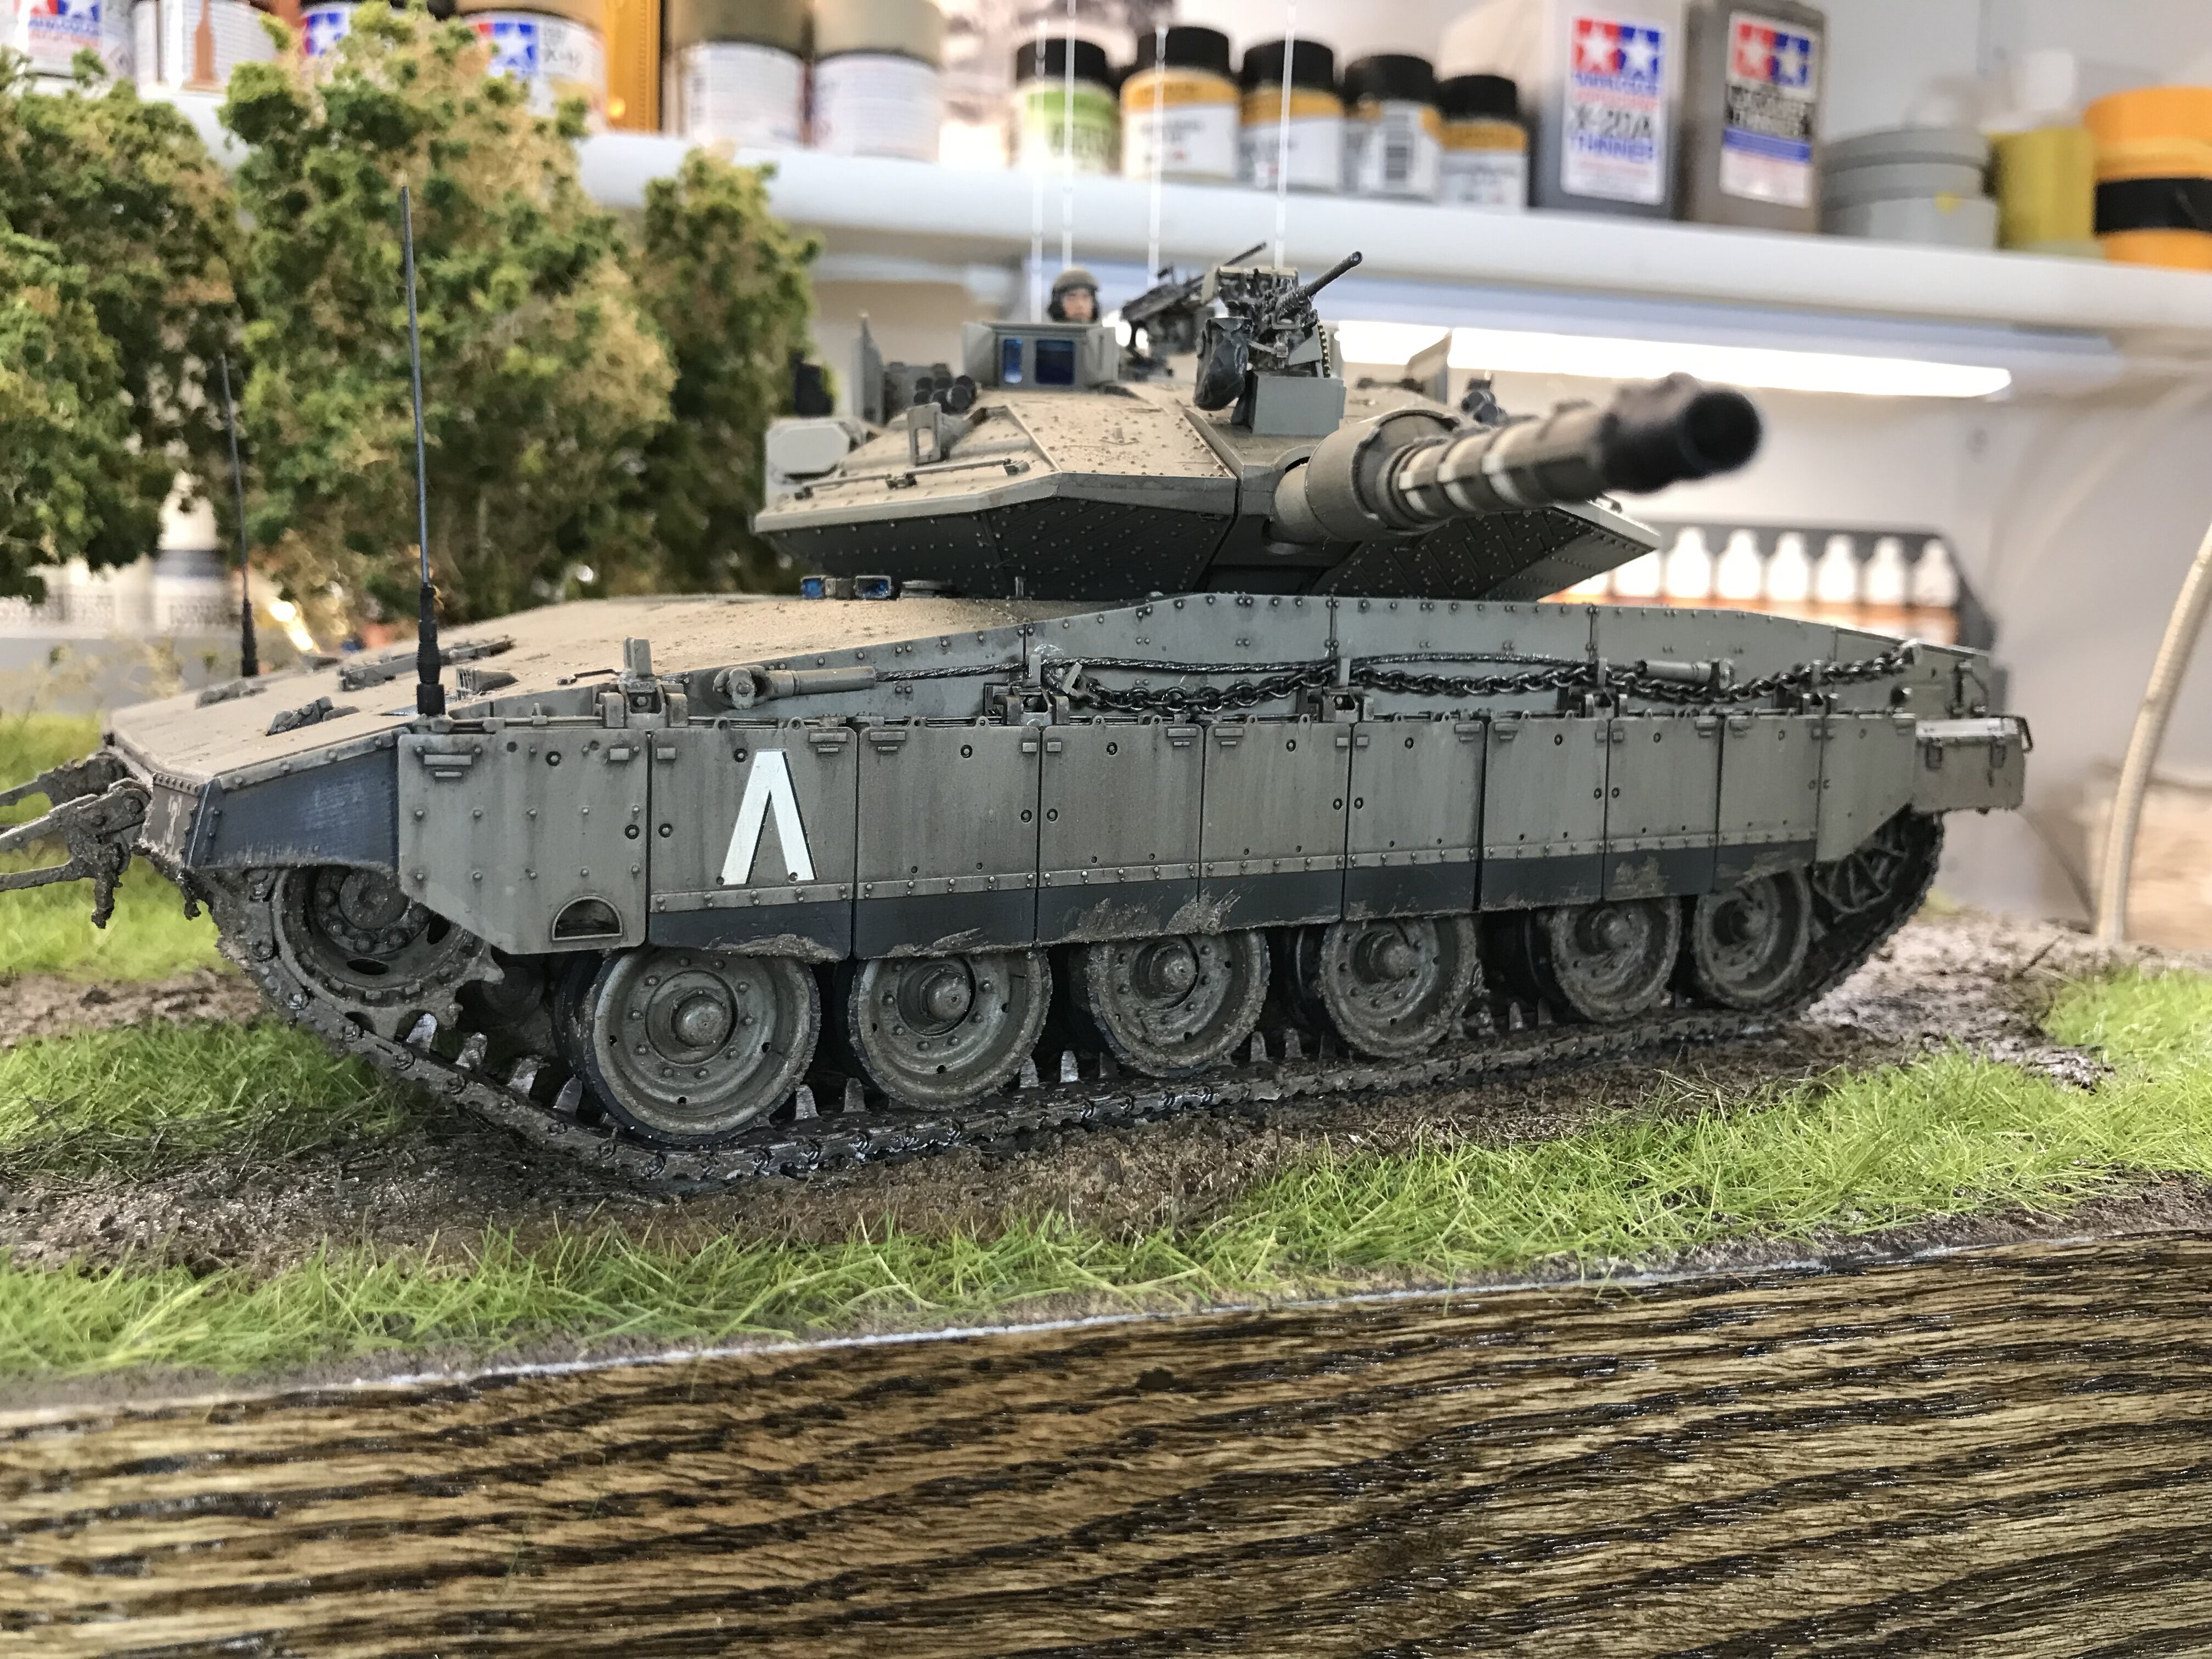
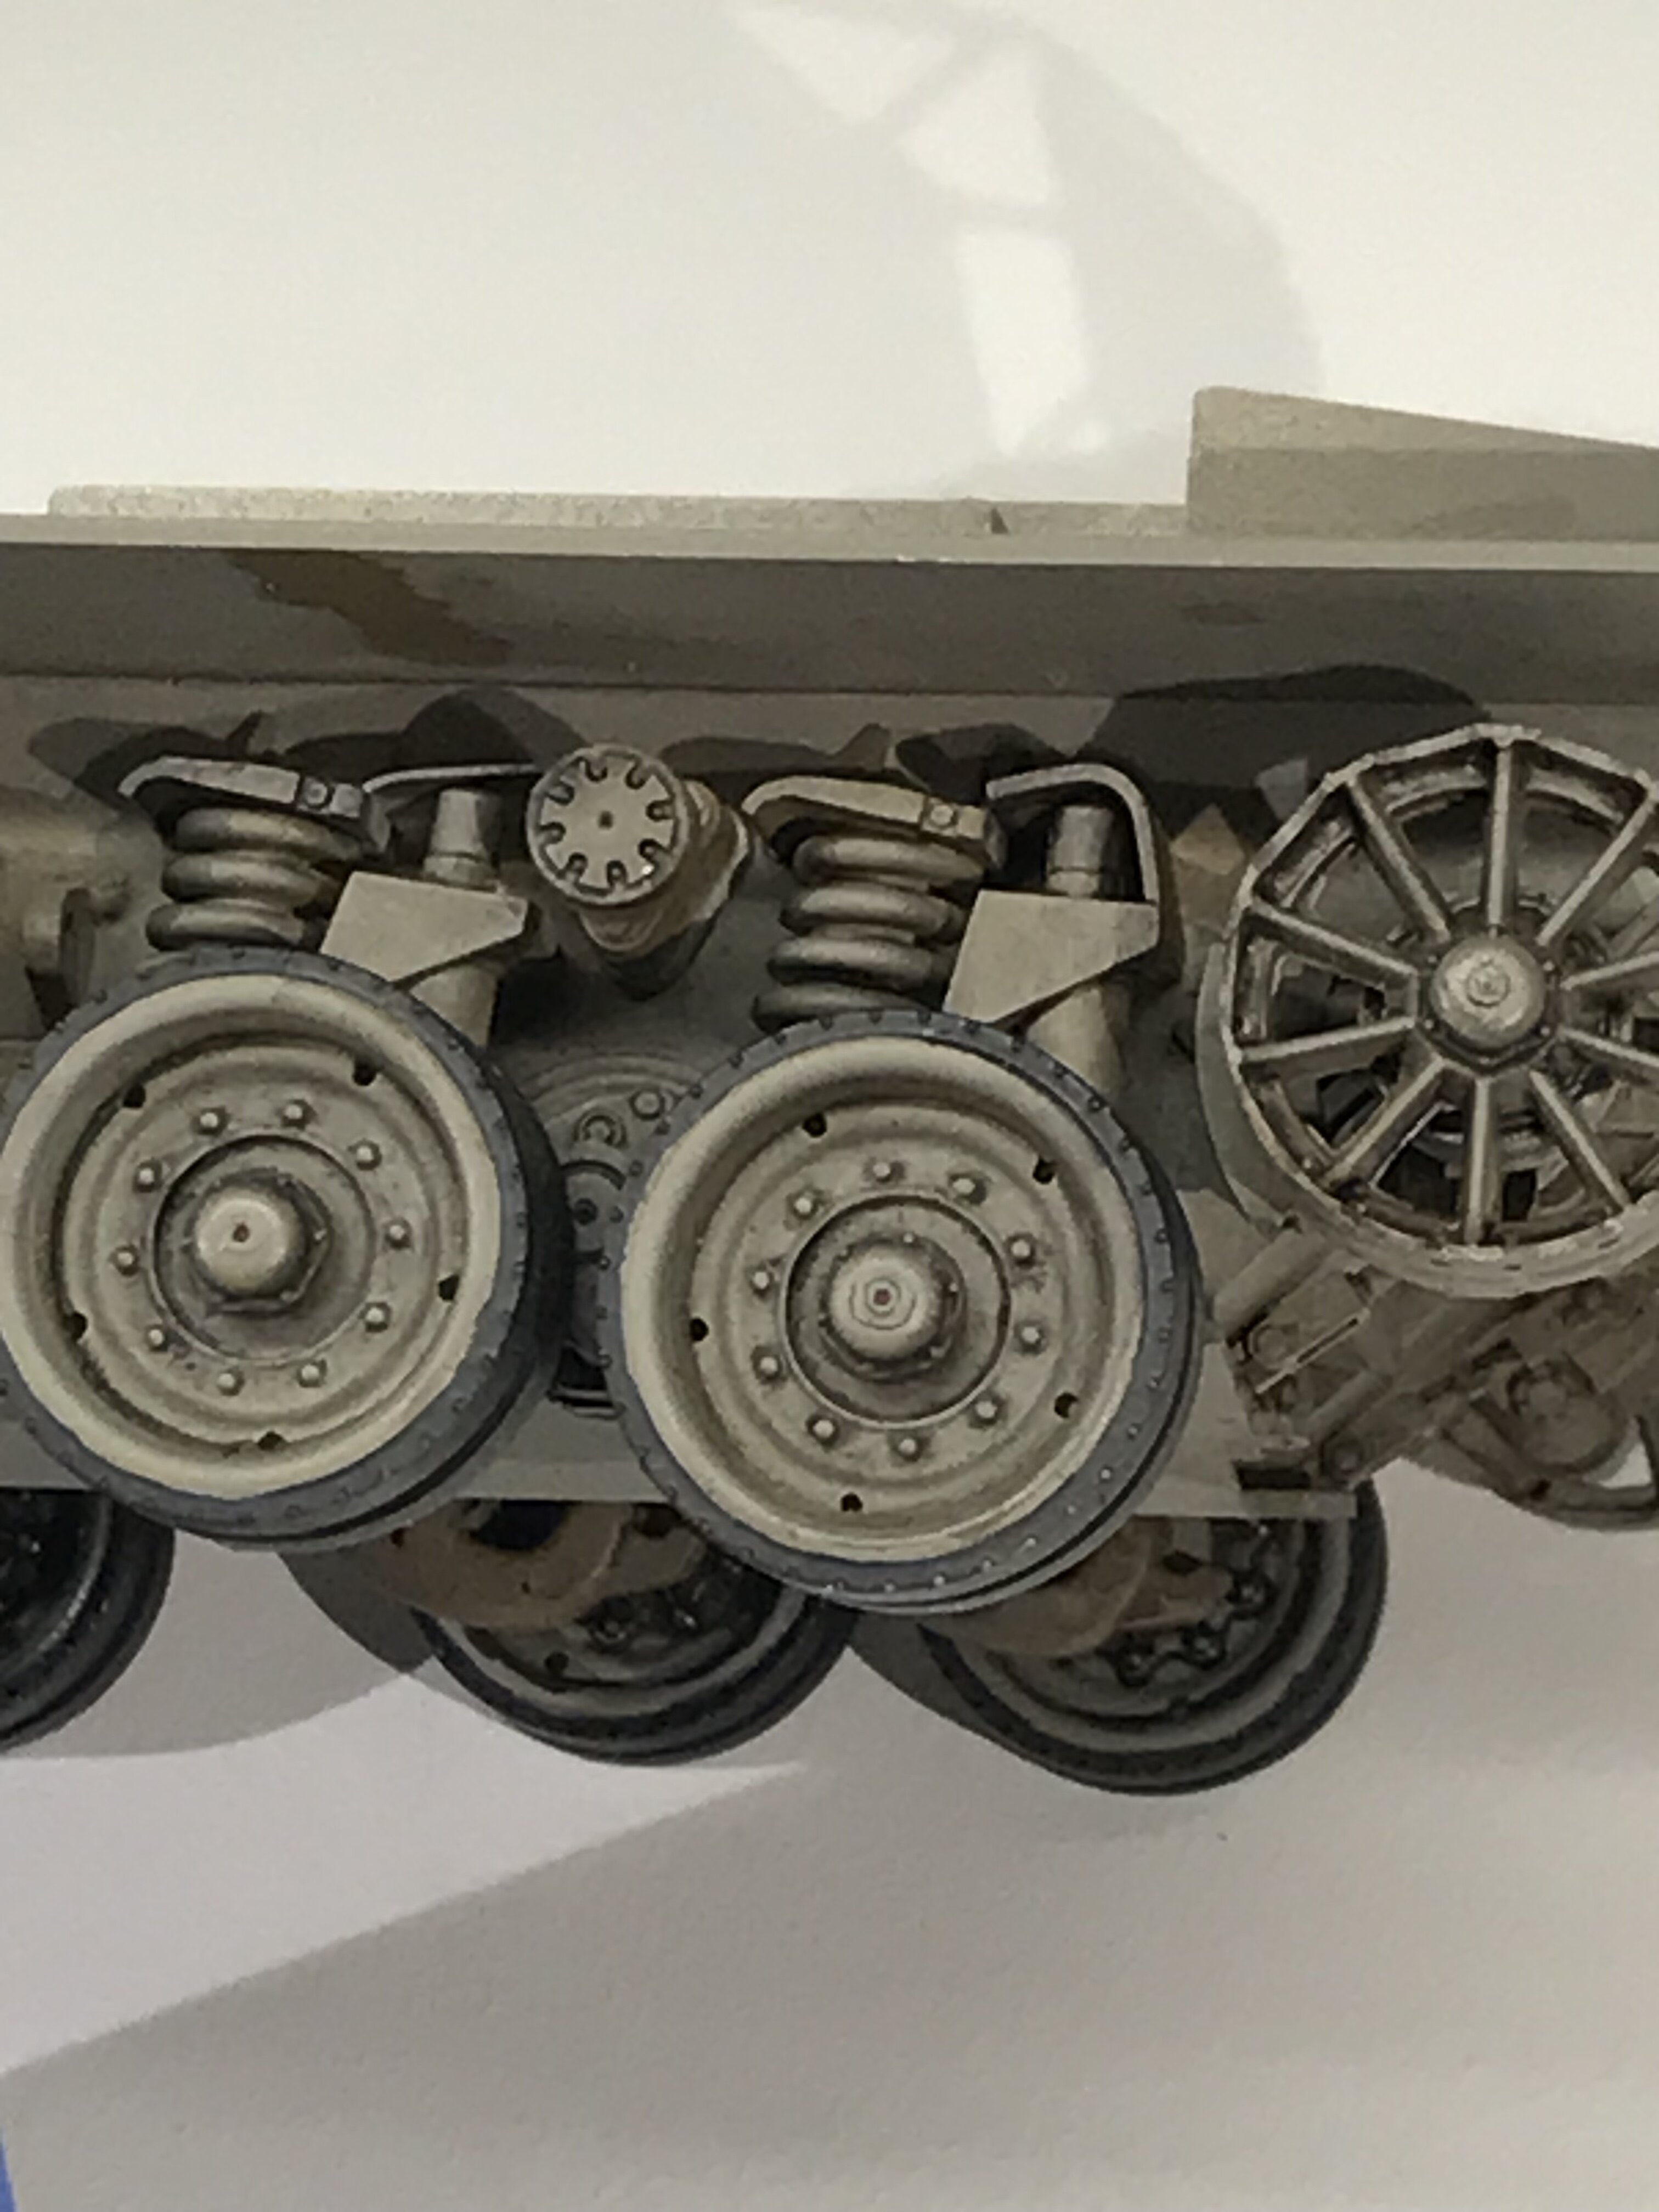
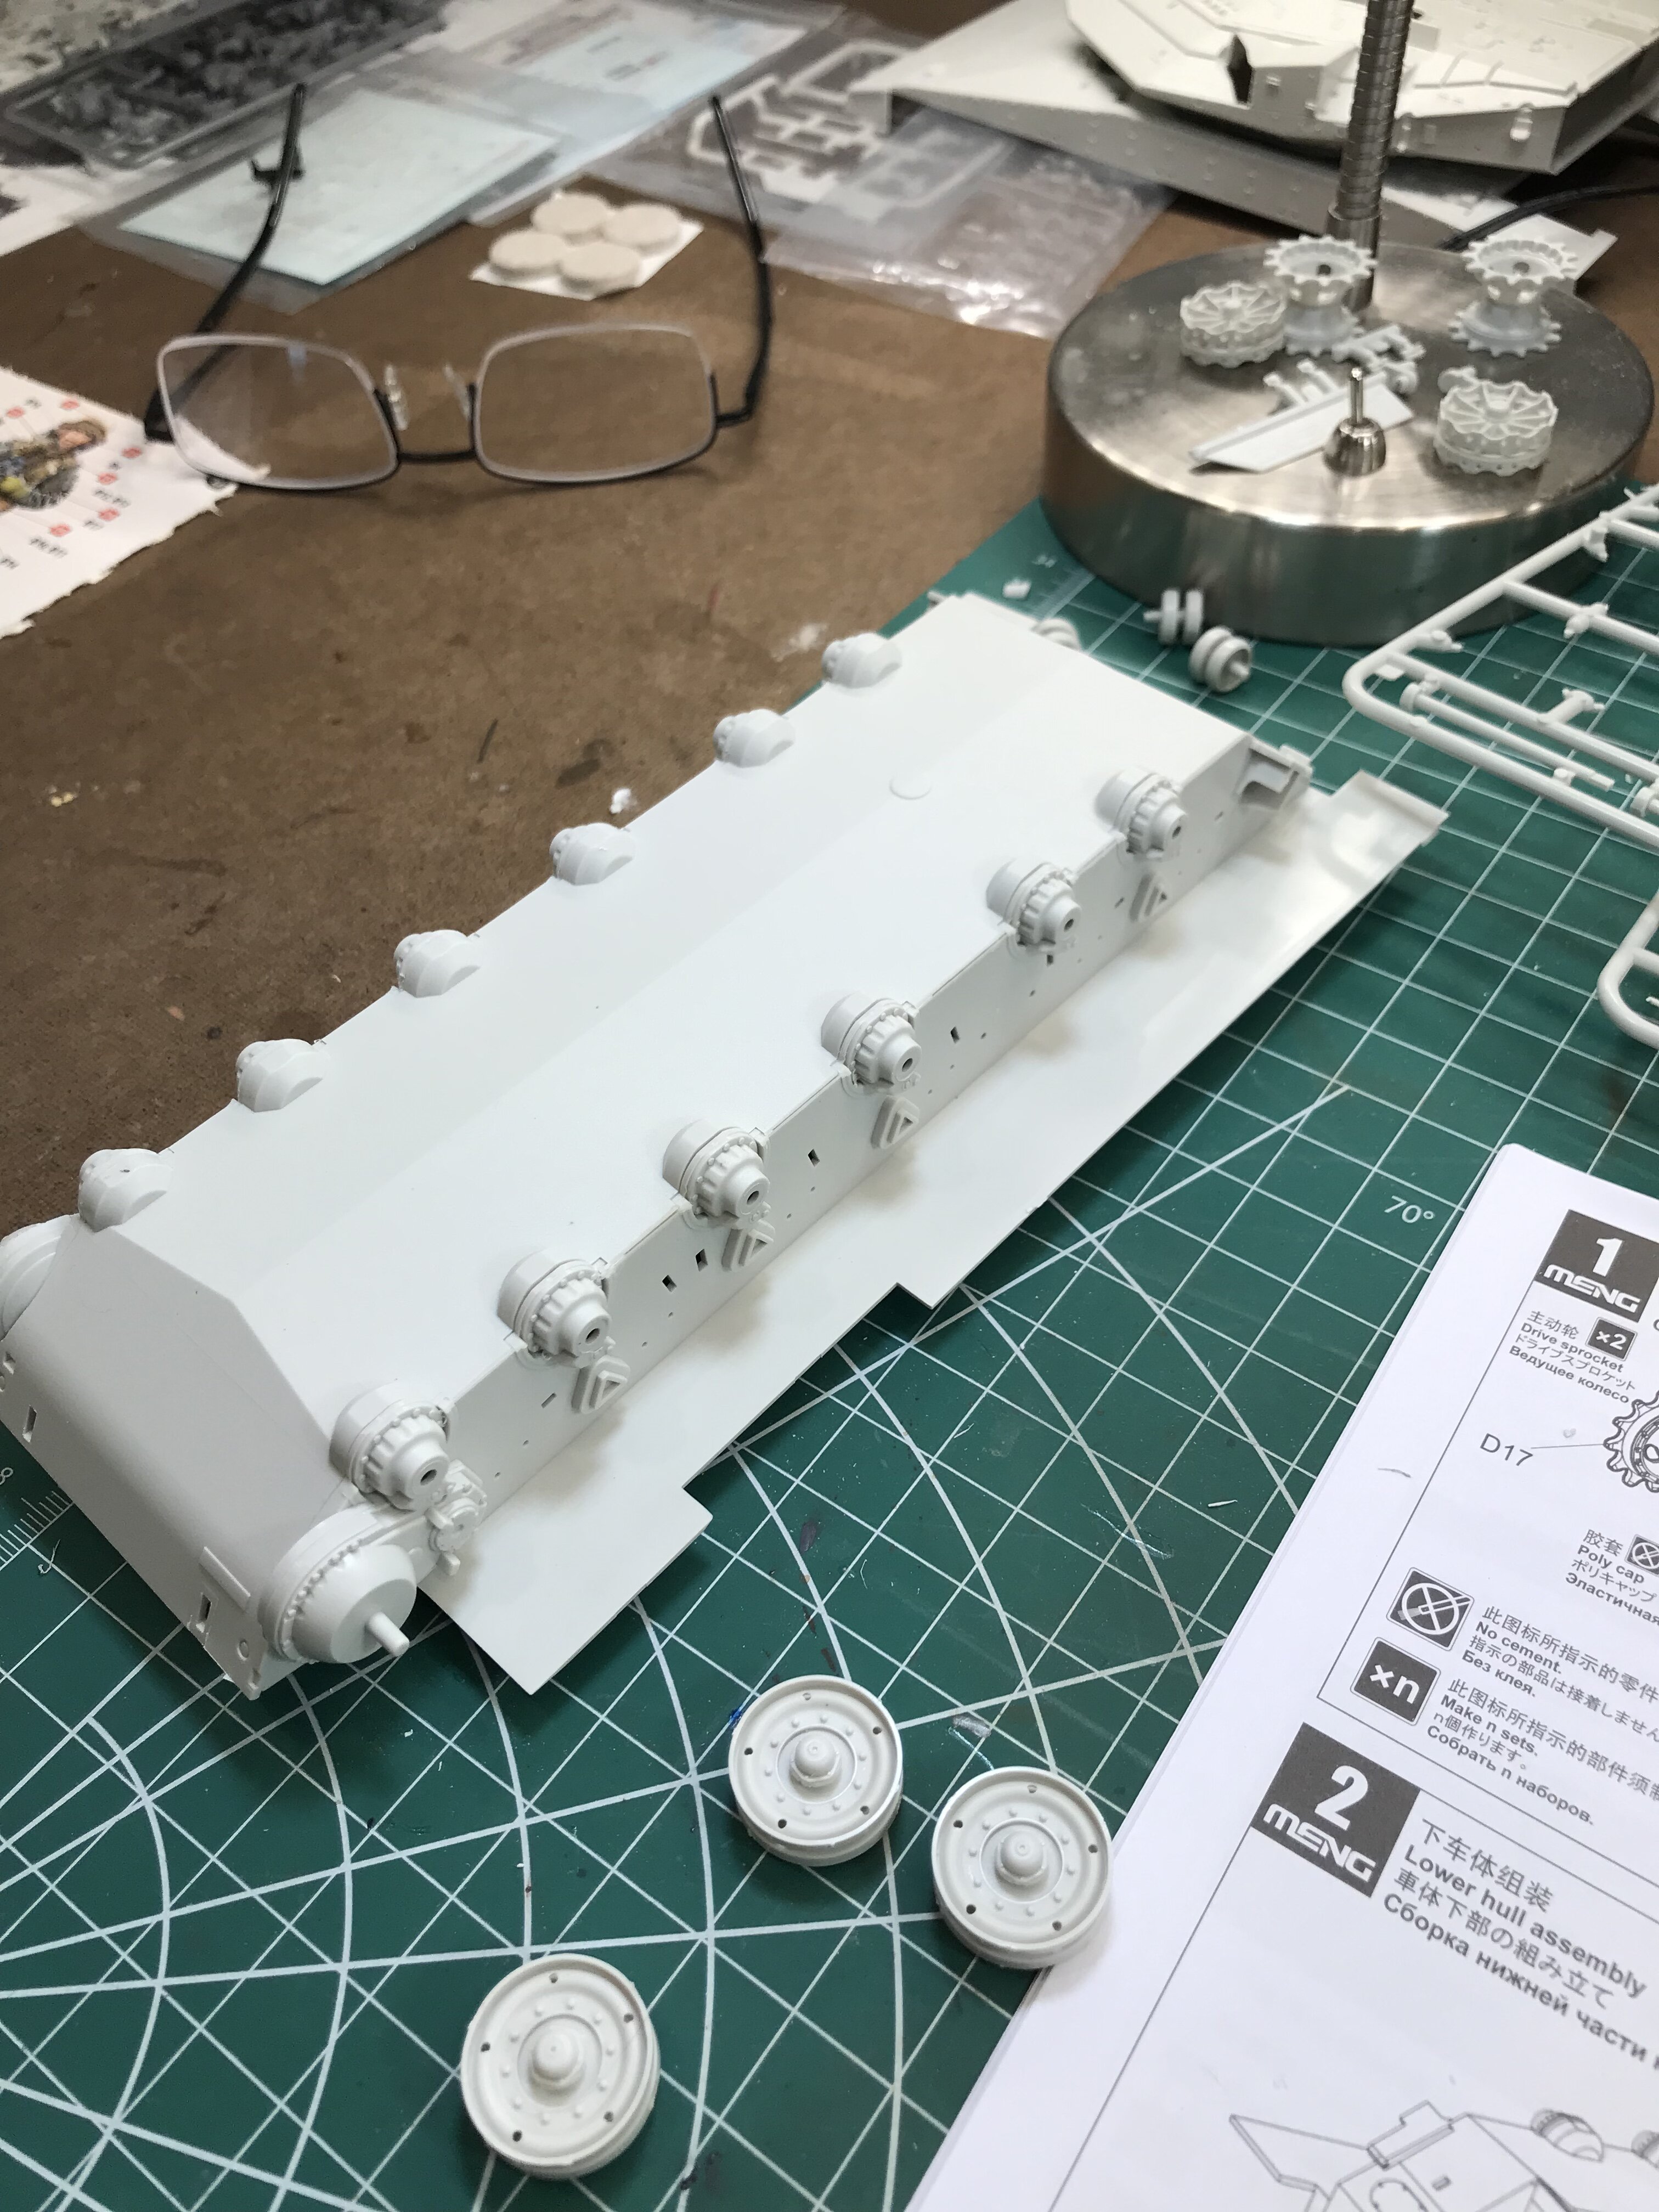
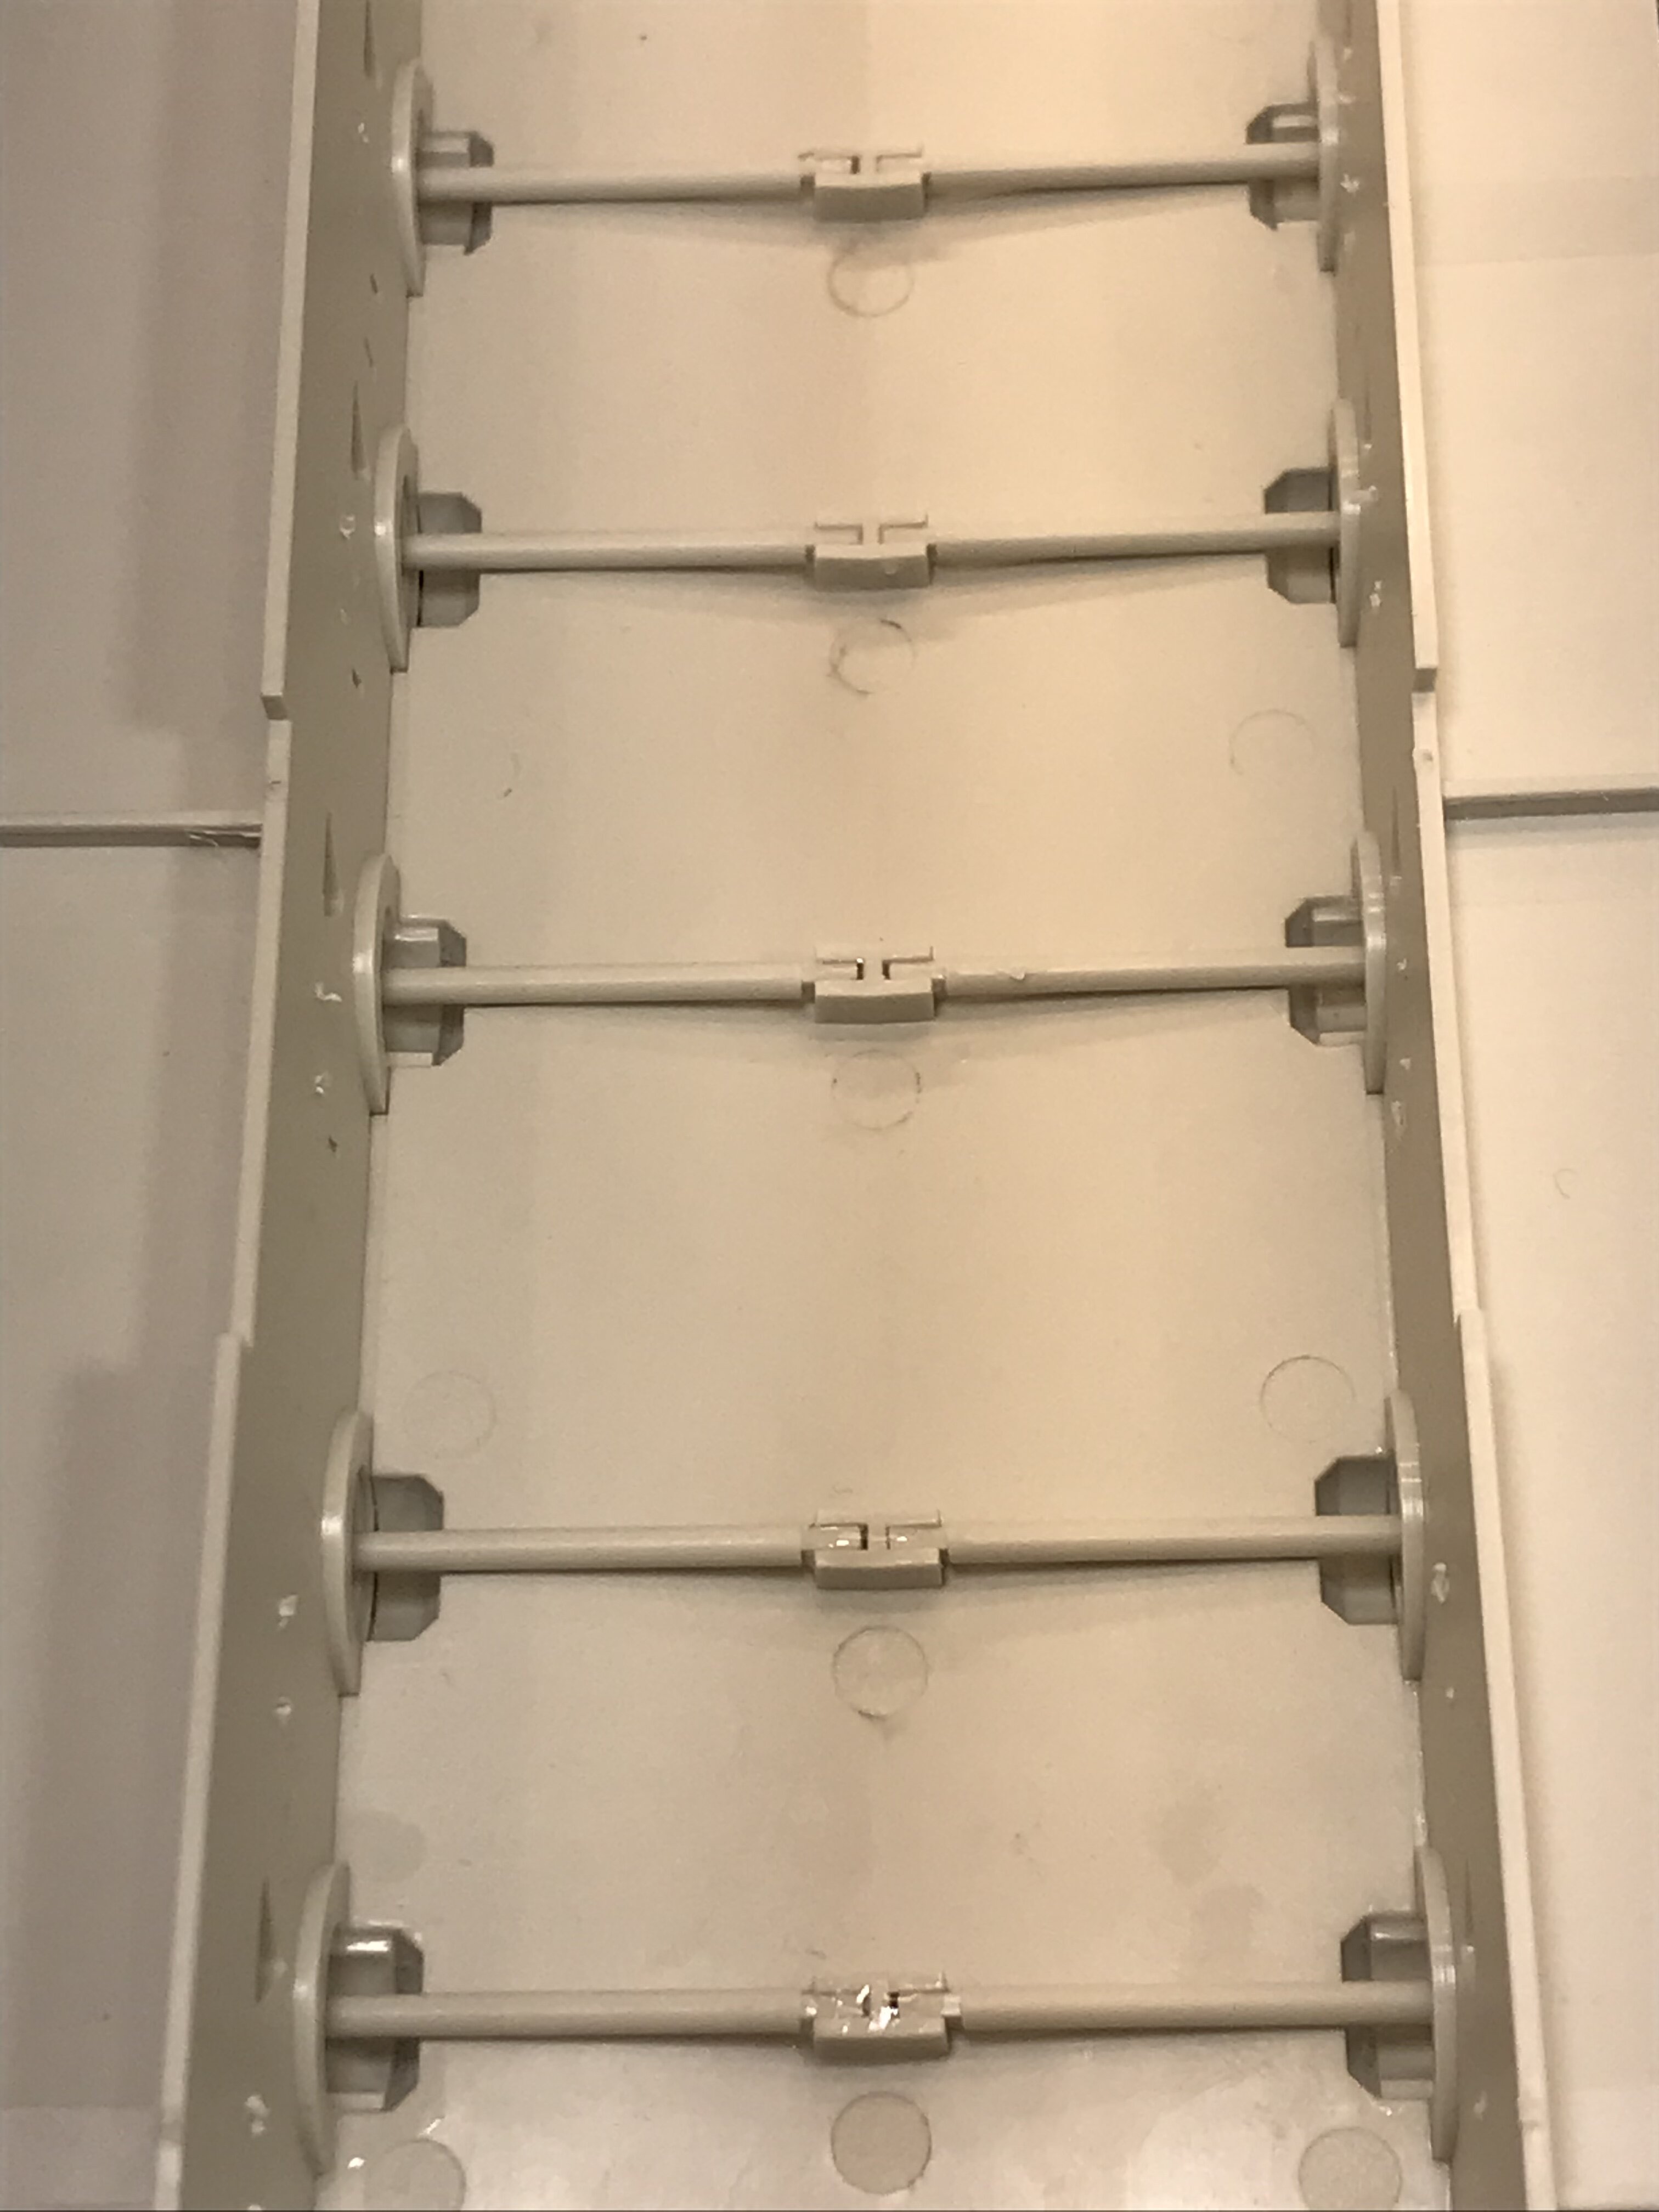
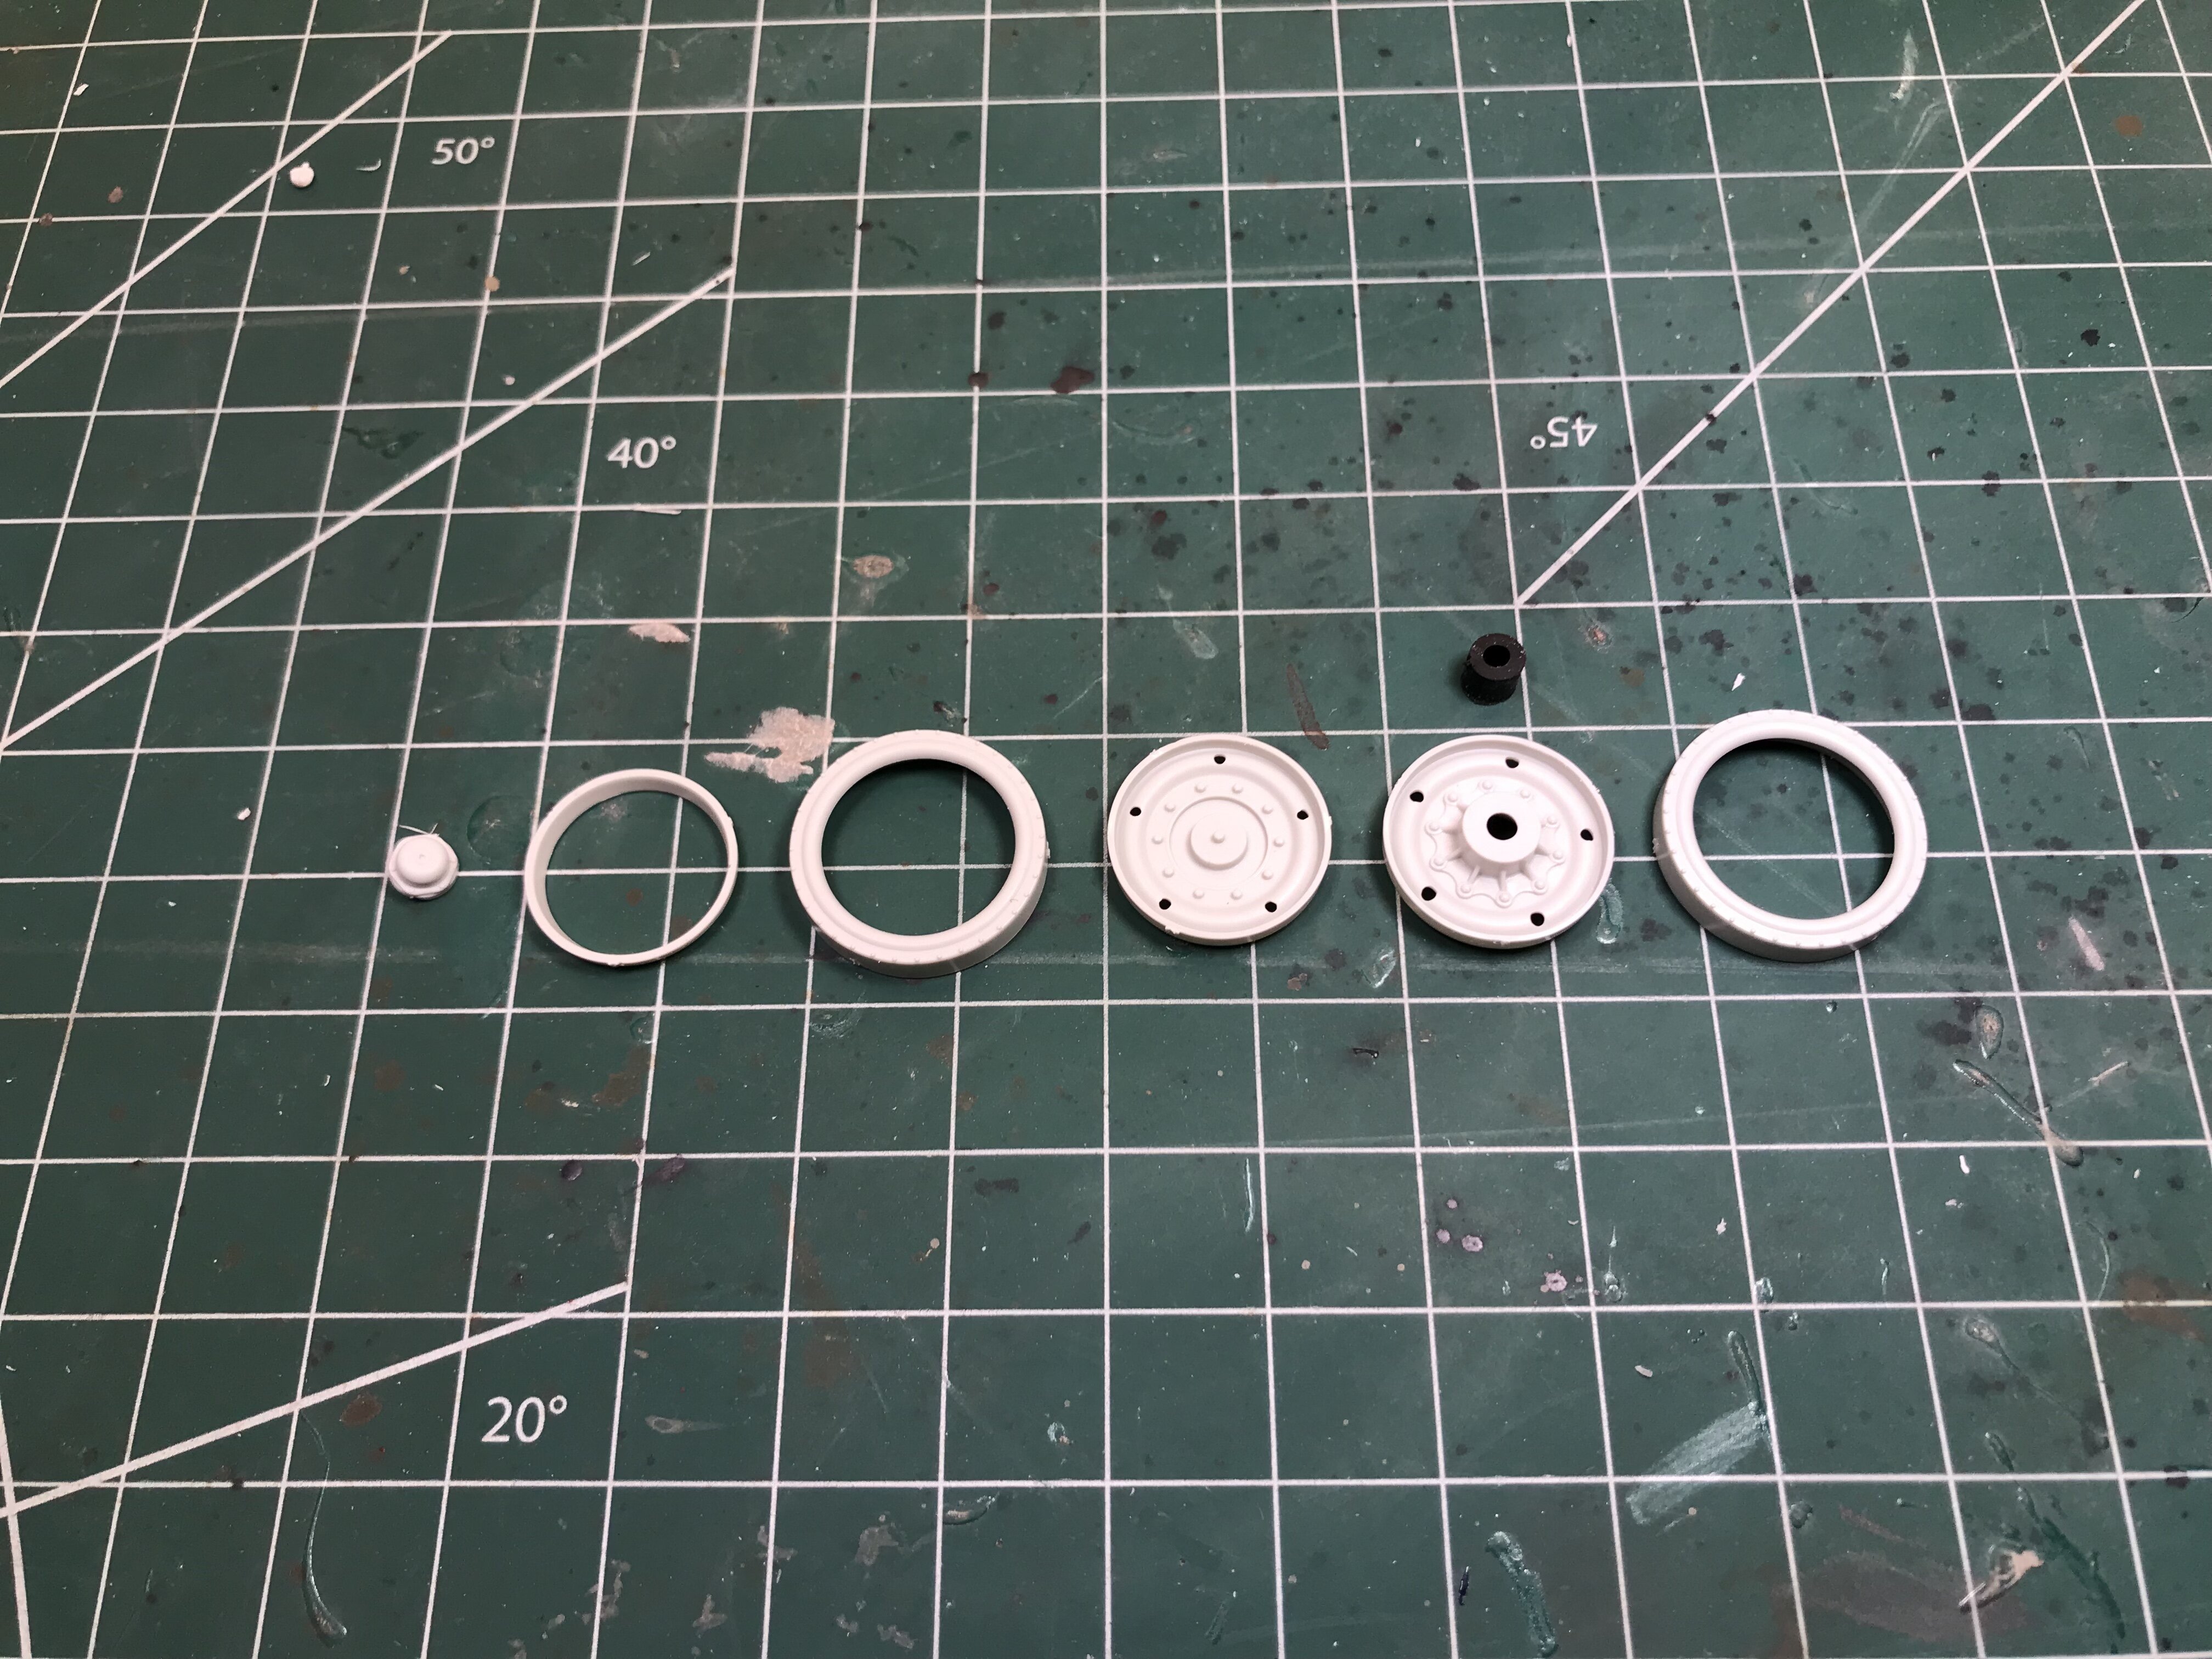
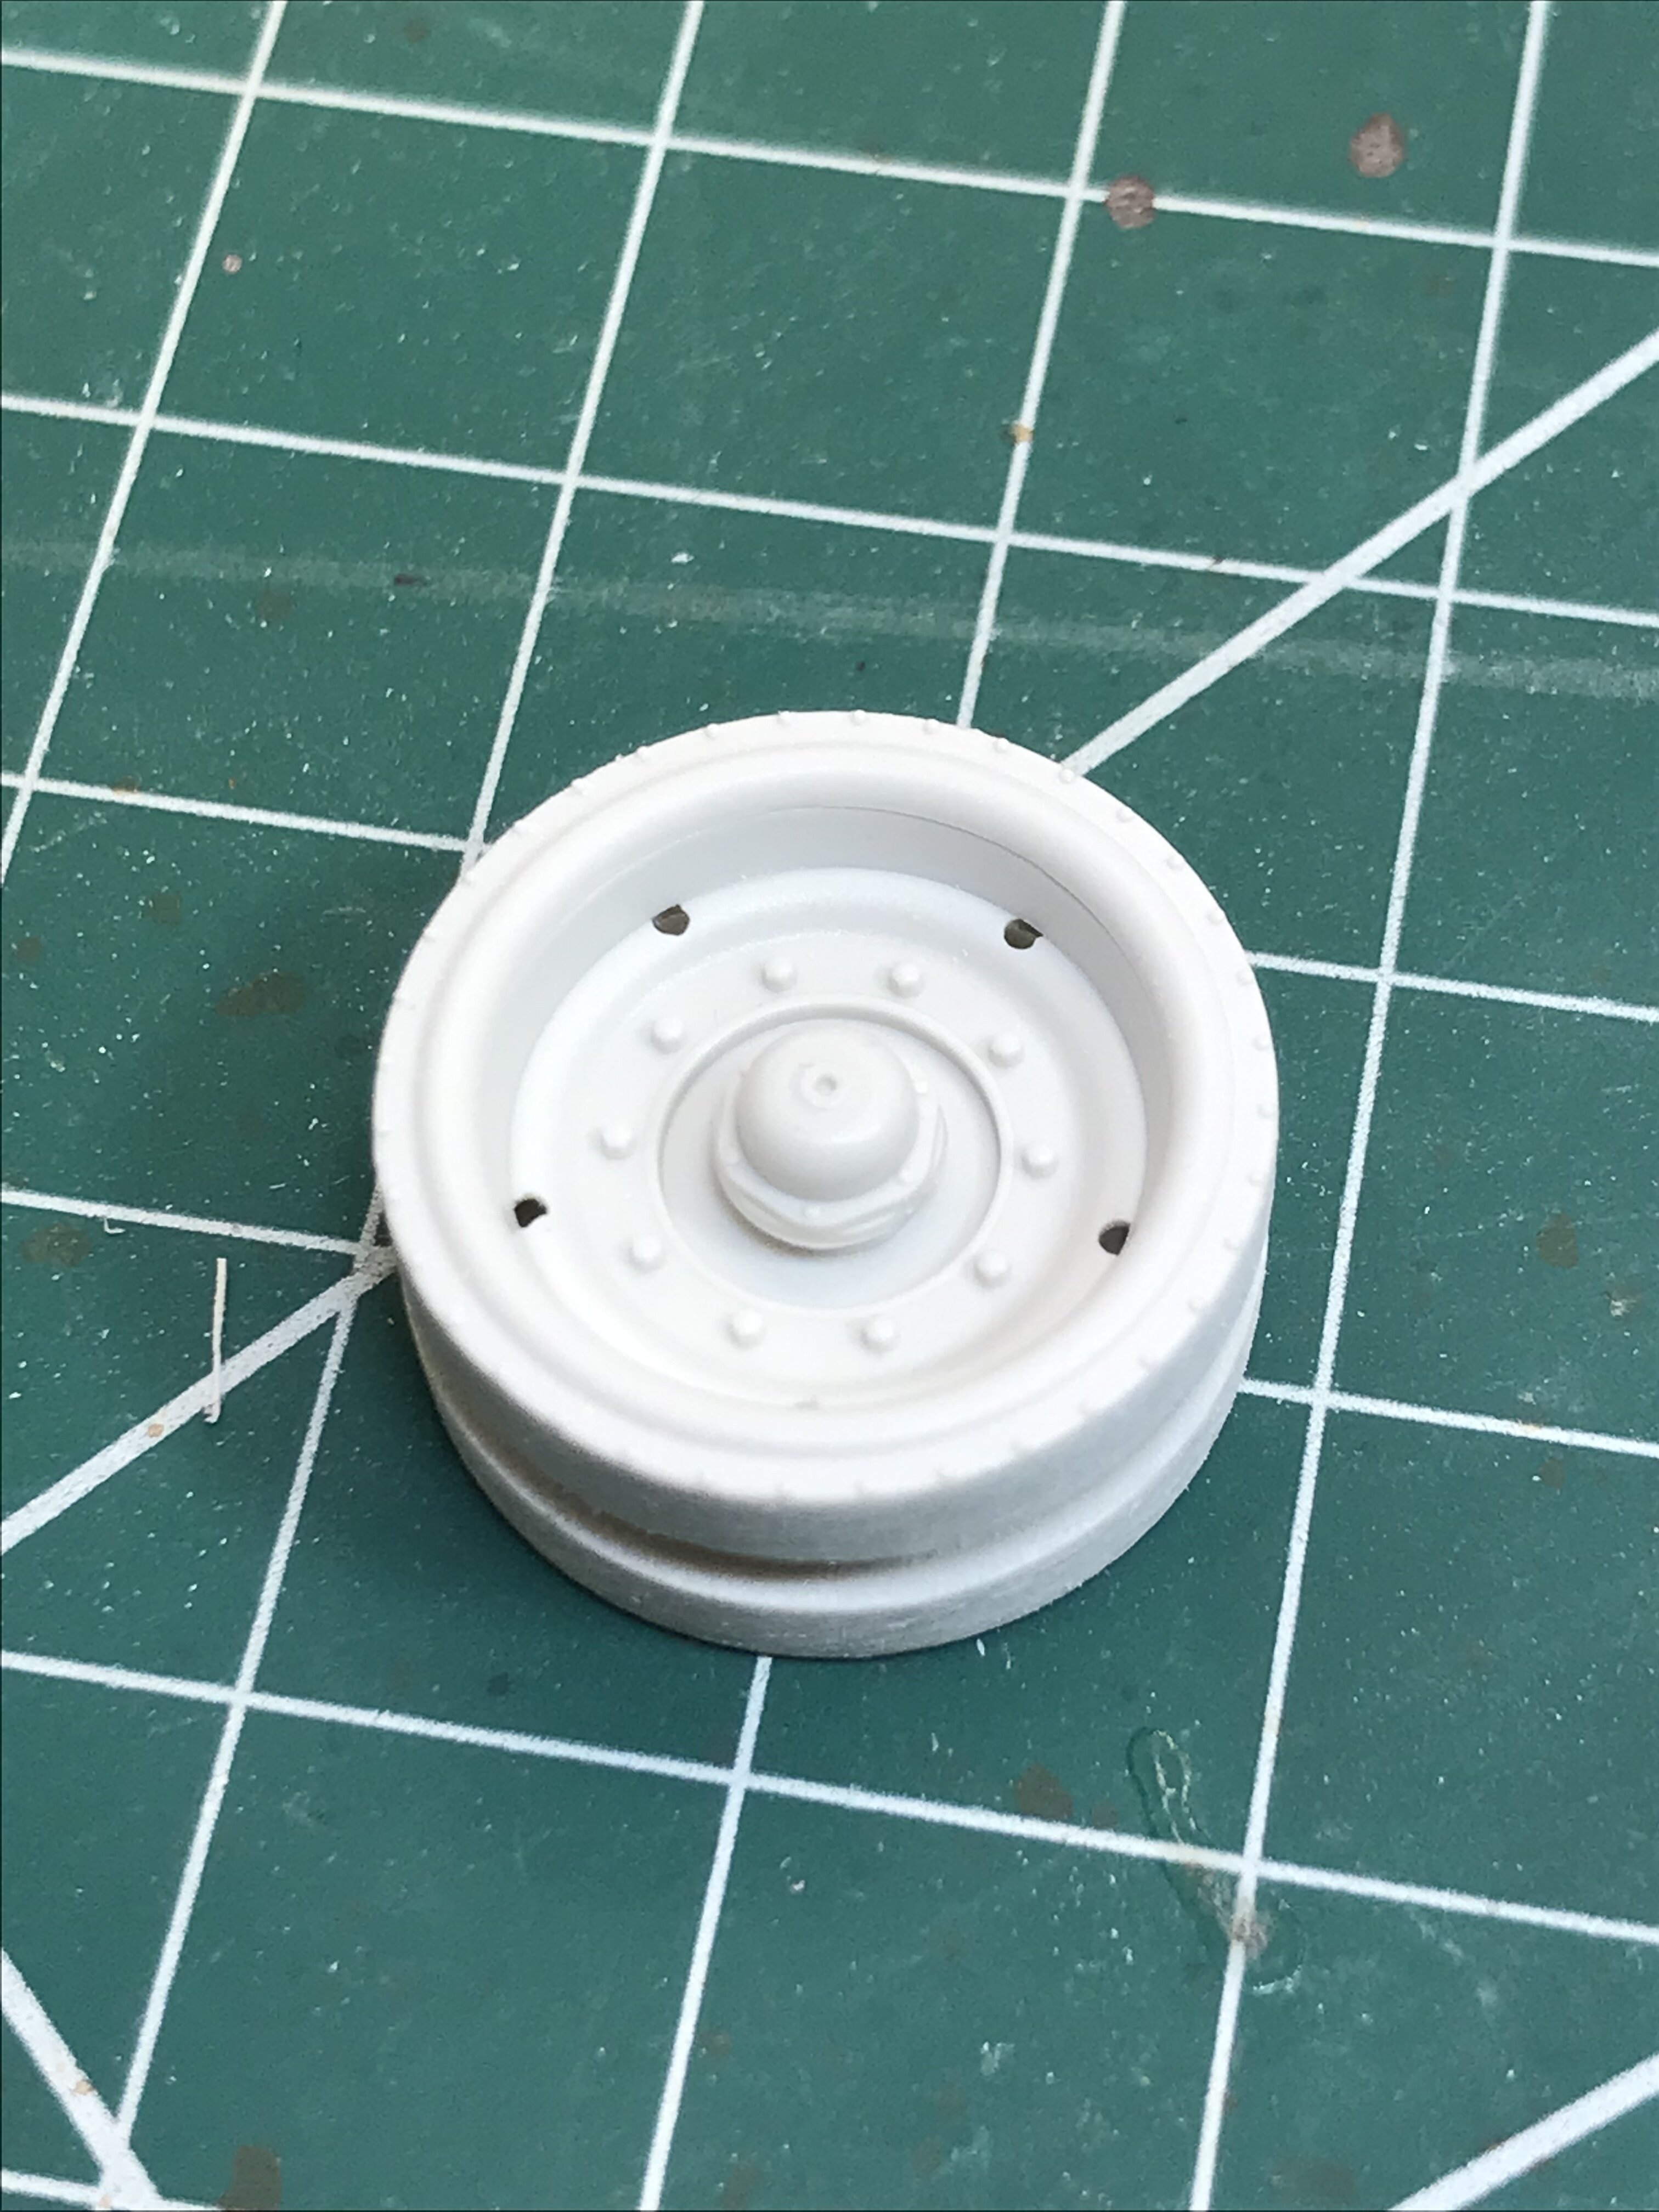
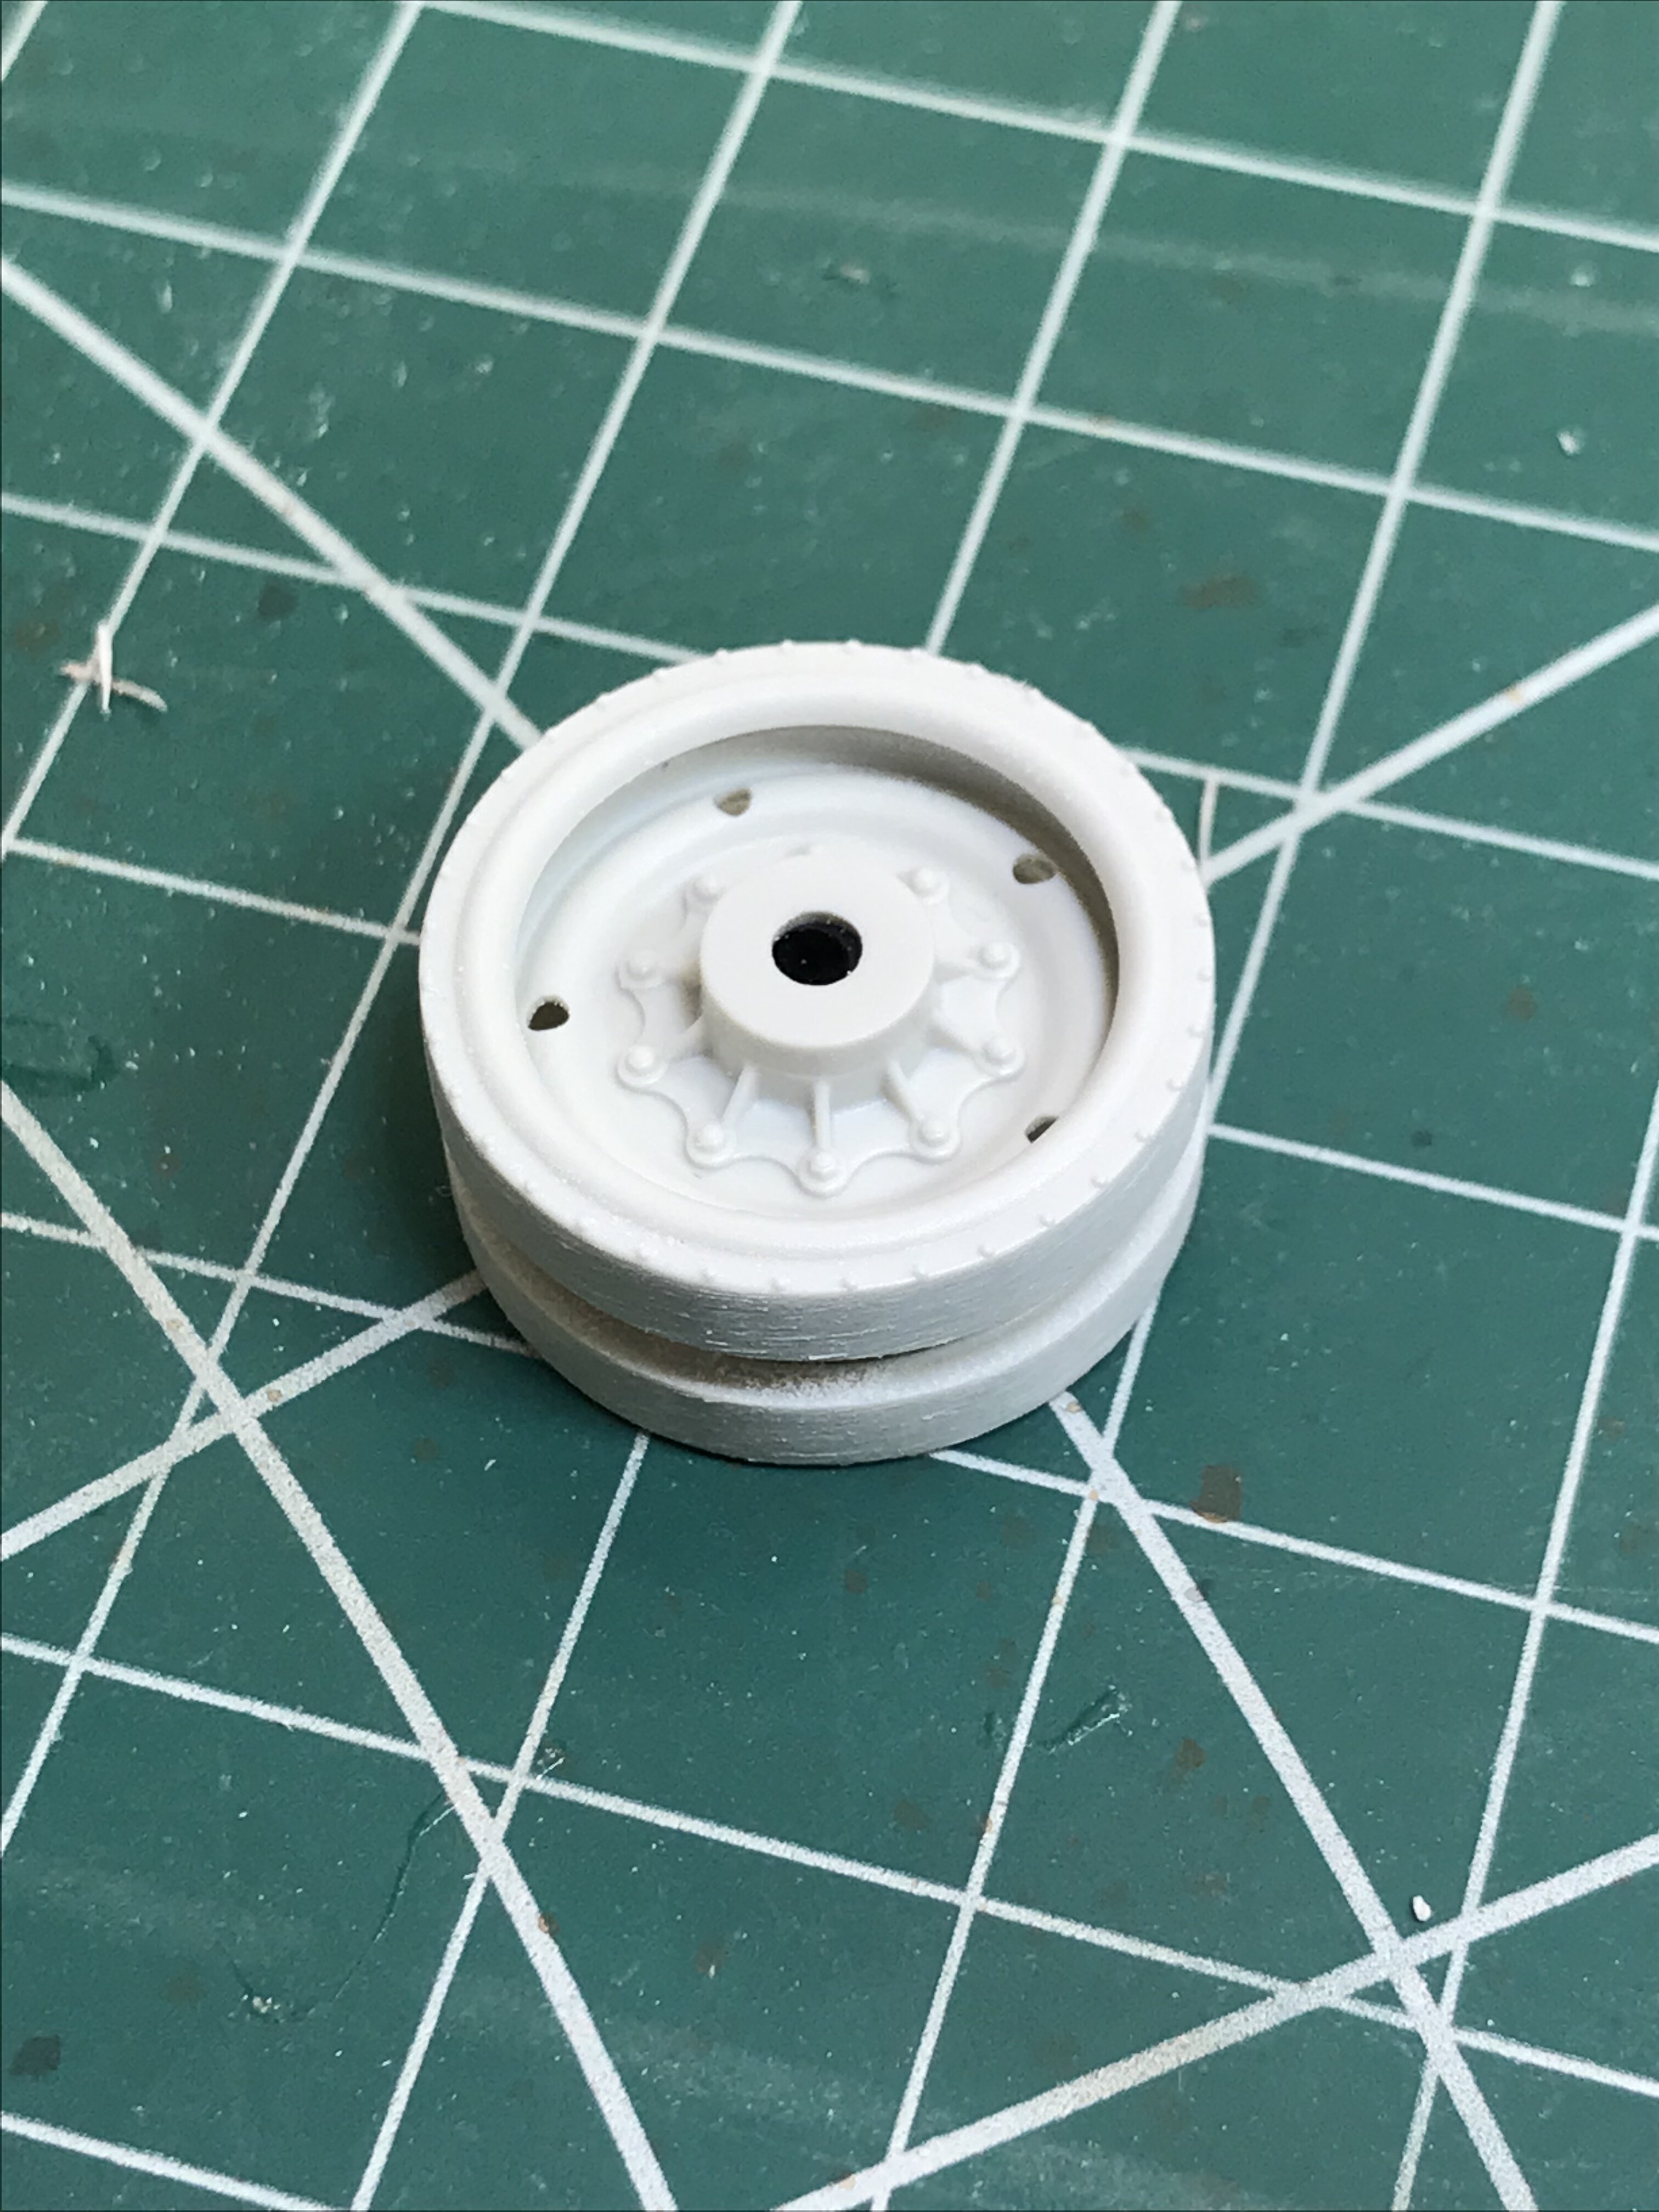
Started the hull two days ago. The suspension on this model is amazing. It actually works like the real one. Torsion bars are attached to each road wheel arm. They are glued in place in small slots in the lower hull.
I was impressed with the construction of the road wheels. There were a total of 7 pieces to construct each one. Once completed, you’ll be very happy to see the finished product.
The springs are the most impressive item on the suspension. They used slide molding to make the springs hollow in the middle. They actually compress when squeezed.
Chris -
I don’t know where to start. Your figures look awesome. That’s a lot of work, I’m sure, not just painting them, but figuring how to pose all of them. Your paint of them is top notch. Can’t wait to see the finished model.
Chris


Academy 1/32nd scale F/A-18D Hornet
in Builds
Posted