

MikeH
-
Posts
316 -
Joined
-
Last visited
Content Type
Profiles
Forums
Events
Posts posted by MikeH
-
-
I like it. Great job on the clean paint job.
-
Thanks guys. Here it is before and after spending an evening with a movie and some sand paper, files, and scriber. I had to rescribe the window molding on the windshield and a couple other spots on the rear door and b pillar. I hit it with Novus 3 and 2 tonight after sanding it all out, and held it up to bright light and nothing glared out at me. Tomorrow when I shoot it with primer I'll know more.

-
Here it is after last night. The body is together and I reinforced the back side of it with some .010 styrene. I also used some foil to assist the back side of the a=pillar. If I get time tonight, I'll start sanding it smooth and rescribing panel lines as needed.
-
Watching a fellow builder struggle with a kit and damage on another forum has inspired me to join him. I bought this from Japan and along the way, it endured several games of floor hockey it would seem. Cracked A and B pillars, and the pillar for the small side window. Cracked front fender that runs up to the A pillar, and the side's cracked from the back wheel well forward. I may shoot a how-to video with the decals on this one too.
-
Clean build up.
-
Great piece of work. These things just have a ton of cool vibe.
-
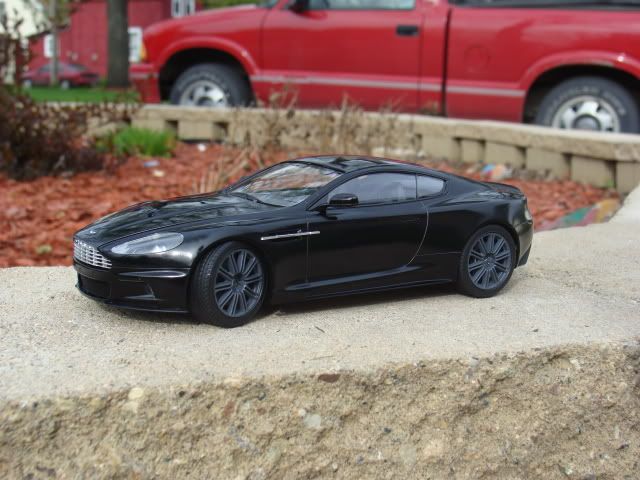
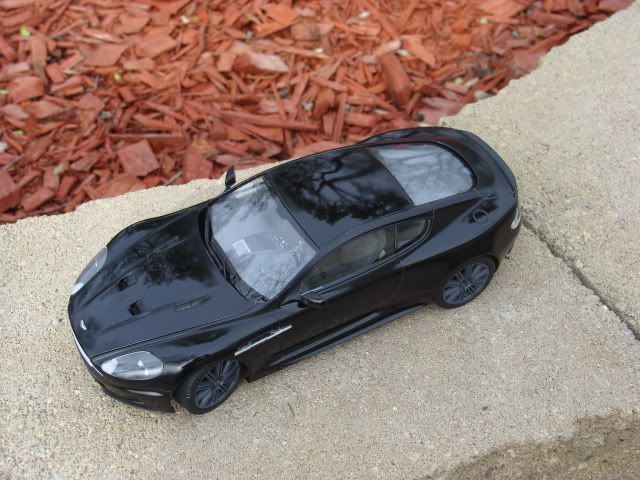
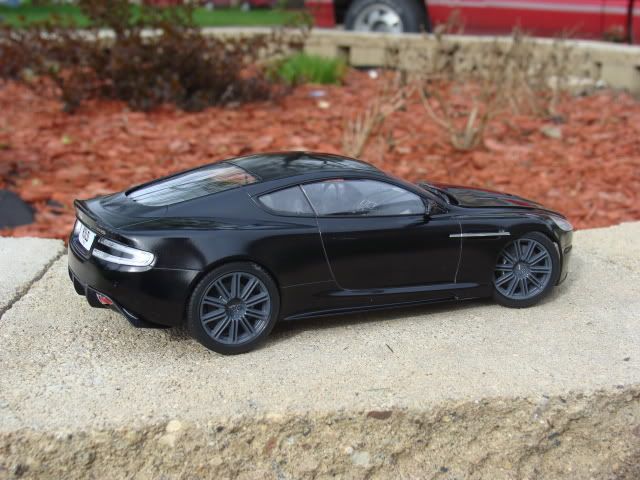
I got the paint polished out. Here's a couple of outside shots during a slim ray of sunshine between this week and the forthcoming week's rain and crap.
-
Good topic. Best kit would be the 1/24 Tamiya Nissan Skyline GTR35 that I recently completed. The worst kit (and one of my most successful builds) is the Polar Lights Carl Casper Undertaker show dragster.
-
I'm in love! Beautiful car. Nice clean build you have there. Not sure about the wheel color, could you elaborate on that?
Looking forward to mine!!
Chris
Thanks guys.
Hind sight being what it is, I should've gone with a darker gunmetal gray, realizing it after I'd put the decals on the center caps.
I was trying to replicate this car after I found it on the net - -
Just completed, watch for the review.
Thank you Tamiya! I'll be buying two or three more to make the white one, the silver one, the .... -
nice work. !
-
Nice work James.
-
Great paint job!
-
Very nice detail Jay. Can't wait to see the body color.
-
Outstanding... oh wait, the last guy said outstanding so I shouldn't but it is... i'm confused.
I hope the next one comes out a bit shinier. wink wink
Thanks for the compliments guys. And on that note Jay, guess what showed up in the mail today...
-
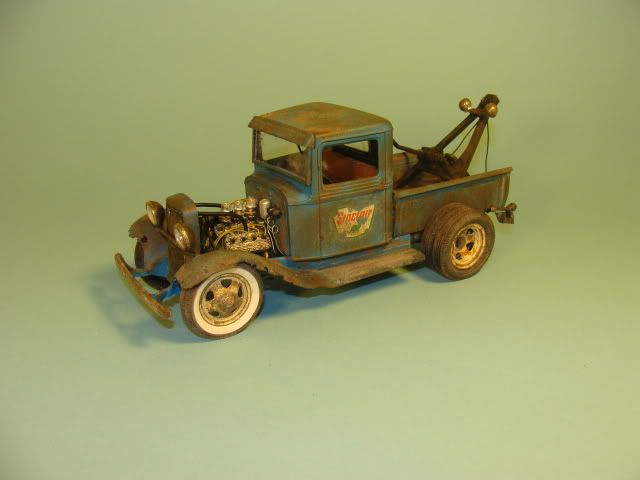
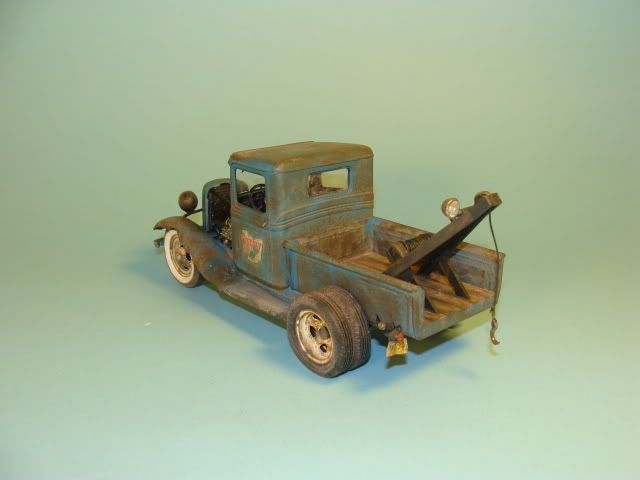
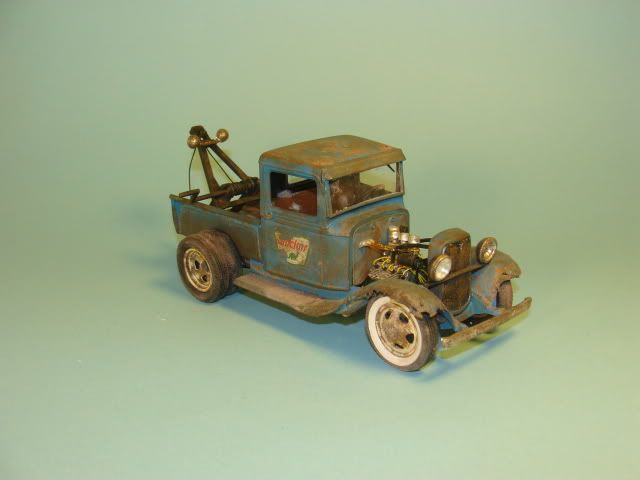
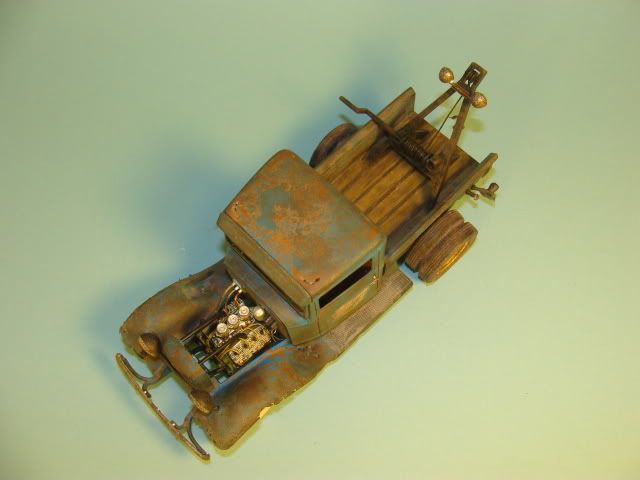
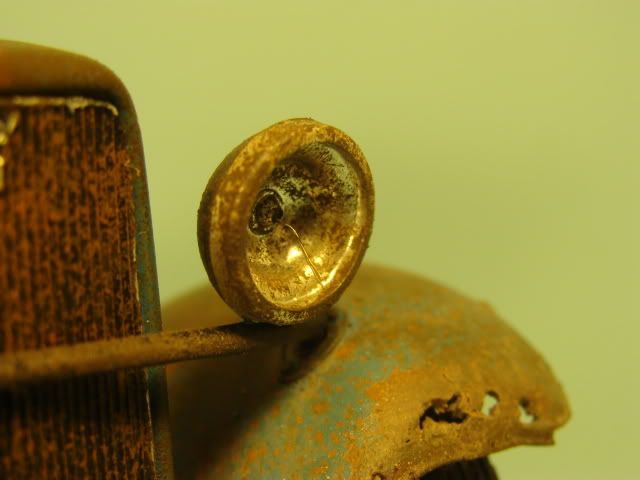
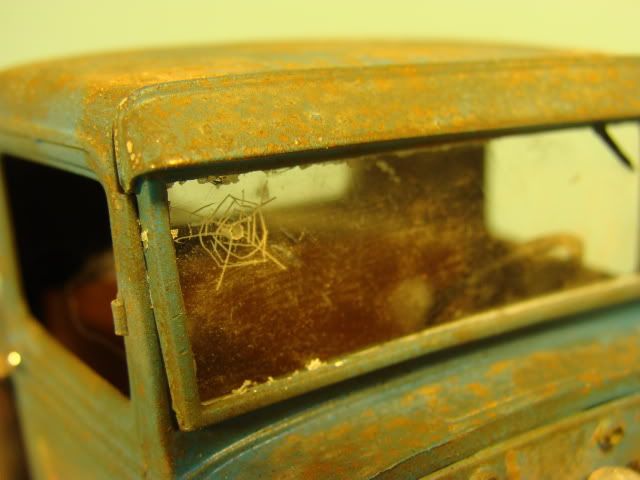
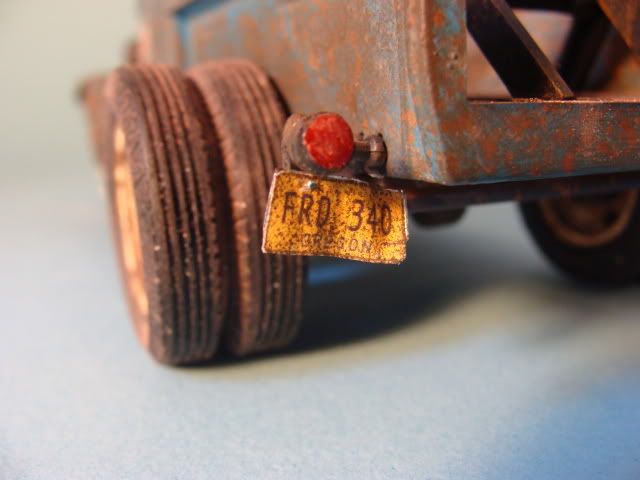
Well, I've got some things to throw in the empty bed yet, but "Mater's Daddy" is getting called done. A fun build and really enjoyable. The AA wheels and tires are from Alan Raab/Ma's Resin. I robbed the flathead out of the Revell 32 Ford kit, spliced the transmission from the Lindberg kit on to it for the running gear. Other than that, it's all the Lindberg 34 Ford kit. Parts box lenses on the spotlights and I used the Acme license plate maker to create the plate. I glued it to a piece of aluminum foil and bent it. Other little "added character" things I did were leave out one headlamp with the wires hanging out and a bullet hole in the window. Thanks for following the build -
-
Good gracious! Very cool. I myself don't build larger scale subjects, but that's just got lots of eye candy to keep you looking for more. Nice clean build. B)
-
Great work. What type of paint/how many coats/etc. do you use so you don't polish through and ruin the decals?
-
It is coming along nicely. Those Pro-tech parts are nice but I always cringe at the price and I'm one who is not shy about throwing $200 at a hi-tech kit. A few less of those and you could fit that Model Factory Hiro DBR easily in the budget.
Keep it comin'
Thanks Jay. Pro Tech parts aren't high priced IMHO. No more than Detail Master or any other aftermarket company. I paid $30 with shipping for radiator hose, plug boots, hex nuts/bolts and more. A 2 year supply essentially, so it's not bad. And I needed hex bolt heads for the resin wheels as they're molded to have holes. There's a Revell Germany Phoenix Man kit that I want and know of someone that has it. $70 plus shipping is really hard for this kid to swallow for one kit much less $200. Then again, I paid $150 for two Forge World kits from Europe. I guess my priorities are skewed some days. LMAO.
Maybe when I don't have a daycare bill this fall, I will be able to afford $200 for MFH kit. LOL -
Time allowed me to get the bed painted, wheels done, and the radiator and hoses installed. I'm also half way done getting the wheel hubs done. Thanks to Charlie at PRO TECH for the hex heads and bolts and radiator hose products.
-
Wow that thing's gonna POP when you get it painted. Never seen the kit myself, but it's great. I love the top. It's got a great shape to it.
-
Is that the brand new tool that's out? Nice looking factory ride. White is a hard color to pull off, and yours looks great. I used to be able to get aftermarket Aoshima wheels here, but all the sources I've used have quit or they're not available. Where did you get your wheels?
-
Interior and engine bay are done. I have no mechanical intelligence at all, so if something's glaring wrong...
At any rate, I had to use the beehive oil filter to add more life to the otherwise scarce engine bay (also for some cool factor). Stretchy beading wire painted clear orange represents the fuel lines. -
Looks great James!


 I was trying to replicate this car after I found it on the net -
 Thank you Tamiya! I'll be buying two or three more to make the white one, the silver one, the ....


 Maybe when I don't have a daycare bill this fall, I will be able to afford $200 for MFH kit. LOL

 At any rate, I had to use the beehive oil filter to add more life to the otherwise scarce engine bay (also for some cool factor). Stretchy beading wire painted clear orange represents the fuel lines.

need some instruction plans fellow members.
in Cars, Trucks, & Motorcycles
Posted
Is that the Pontiac Ram-Air firebird? If so I have one I can scan and send you.