-
Posts
316 -
Joined
-
Last visited
Content Type
Profiles
Forums
Events
Posts posted by MikeH
-
-
That kit will be added to the get list. That's my kind of motorcycle. Love the old-school stuff.
-
Now that one's got cool factor galore. Great work on an old school bike.
-
Not a bad looking daily driver.
-
This one was a project for a friend of mine. It's a gift for his father-in-law this Christmas. I was shown four pictures of a graffiti and toilet paper covered car post-wedding, and told it had gray interior. Through many hours of research and some help from the 60impala.com site, I was able to produce an approximation of the interior and convert it to the Bel Air trim from the Impala. I also re-worked the tail light section from the Impala to Bel Air. Now I hope he likes it...


-
-
Cool factor for sure!
-
Nice, I like the way the colors are bright without being too "cartoonish".
Thanks. Ironically, the ship is based off of the cartoon Gundam which is a Japanese anime series.
 I dialed the colors back a lot with dull coat, otherwise it really popped.
 -
This is my most recently completed commissioned piece for a local customer. I hope he's as happy when he gets it as he is excited to see it.


-
Thank you guys. I am still trying to figure out how to write an article on this whole process.
-
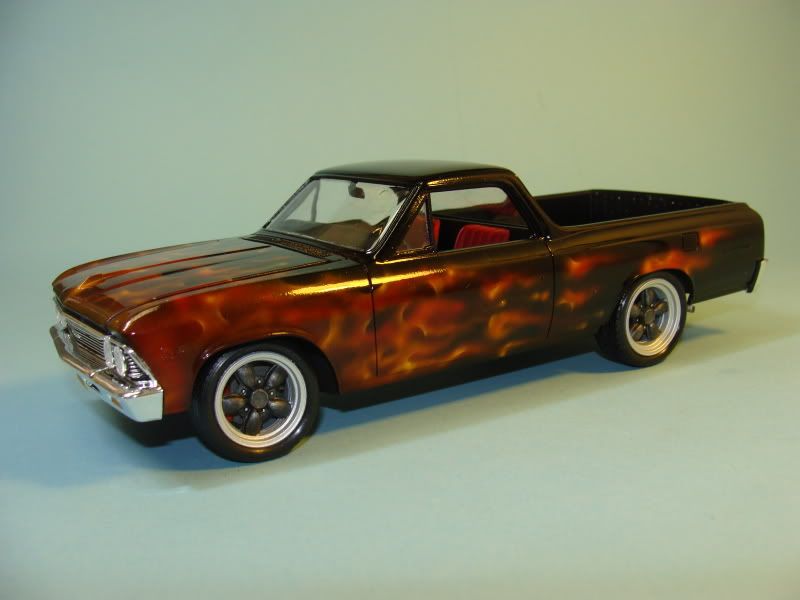
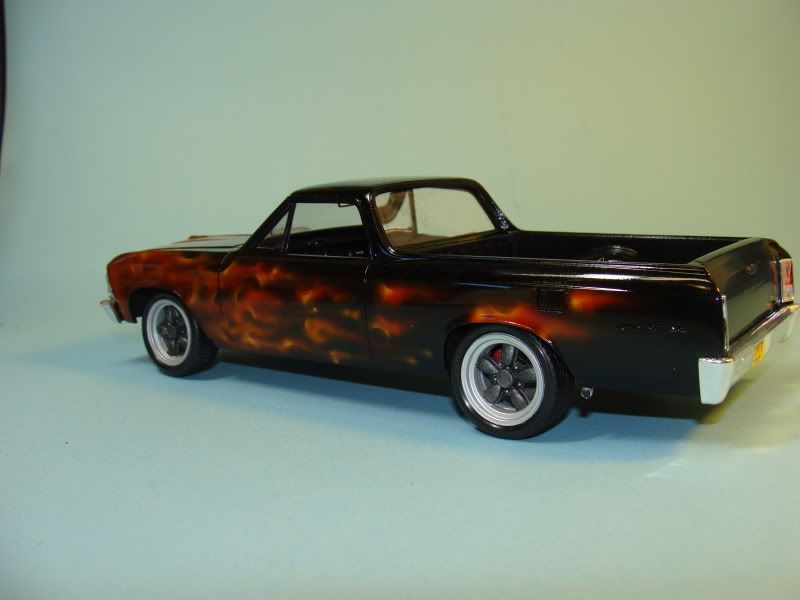
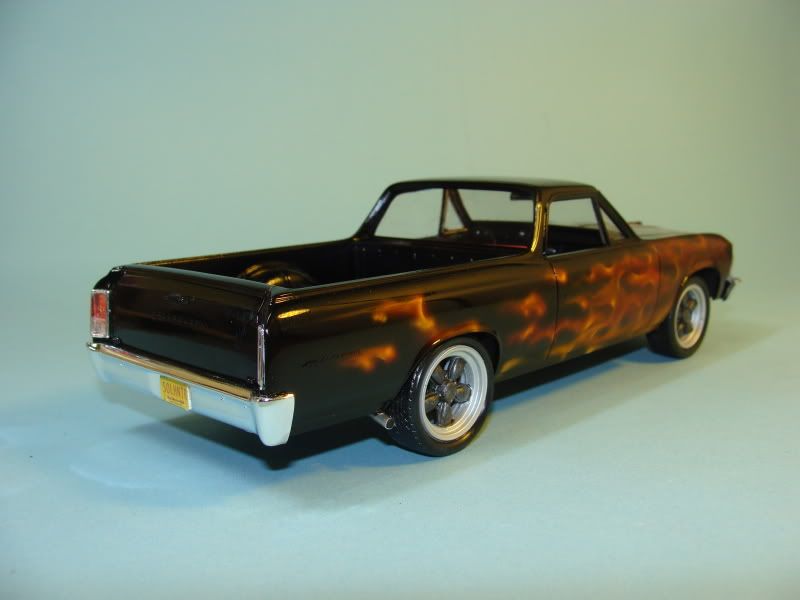
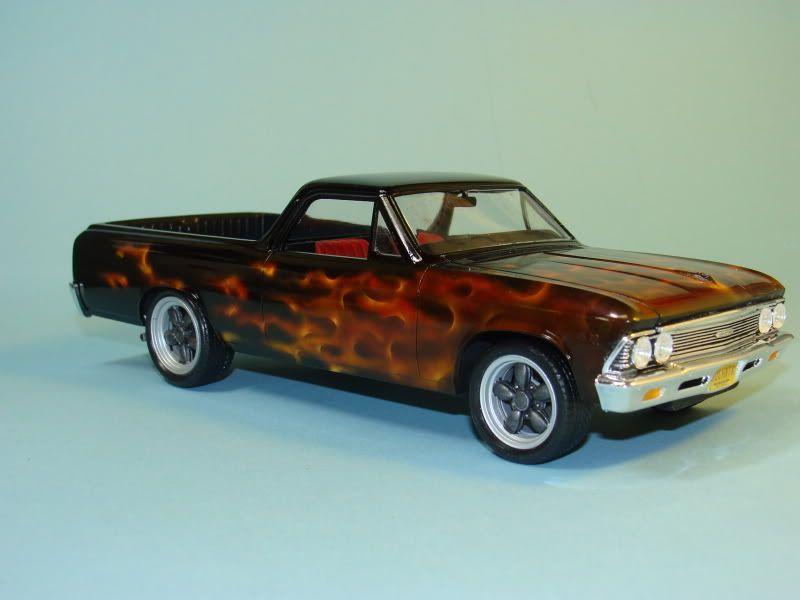
I'm sticking a fork in it and calling it done. I tossed around adding the chrome trim and foiling the window and bed etc. but it would've taken away from the main focus of an intimidating vehicle. I'm looking forward to the next one.


-
Dude, that is a fantastic flame job. You definitely need to do a tutorial on how to do those licks. I can't do them as a paint job so mine are all decal. But I would love to see them to maybe, someday give it a try. I love the work you did on the interior of that truck. Did you use flocking on the floor or is that just a paint job?? I'm really liking how it is coming.
Dave
Thank you for the compliment. The interior is flocking courtesy of Martha Stewart Crafts. You can buy the stuff at Michaels for dirt cheap and it's really good. Ironic that Martha Stewart items end up in a Hell Camino.


 As for the tutorial, I'm scratching my head per two requests for an article/tutorial on how to do it. A lot of pictures would be needed.
 -
Thank you guys for the kind words. It feels great to be building again. I got her standing tall tonight. A few minor touch ups to do yet. The first picture is in natural light. The last three are with the flash which makes all the colors pop out. A memory stick error killed off the chassis shot. rolleyes


-
We got home from the lake with our friends and I knocked out the interior this evening in air-conditioned comfort. The seats were painted flat red, and then shot with semi-gloss clear to give it the leather look. A couple of small touch-ups are needed. The red carpet flocking is courtesy of Martha Stewart Crafts. LMAO


-
Hi Mike, nice work! What paint did you use on the flames and what psi for the airbrush?
I used Kustom Kolor automotive urethanes. The airbrush I use is a Harder & Steenbeck Infinity Solo with a .15 needle with an H&S oil-less minicompressor. I usually run about 8-10psi. You can contact Brad at Idle Hands Hobbies for the airbrush and compressor. Great guy to deal with. http://www.idlehandshobbies.com
If you use this paint MAKE SURE YOU WEAR A RESPIRATOR! Not one of those cheap dust mask things either. A good particulate filter with charcoal canisters from 3M. Nasty bad stuff for you to breathe.
-
Wow! That's great work! How about a "How to" article for the Journal!
I would love to Dick. The trick would be to convert something that needs to be a video in to text and pictures.
-
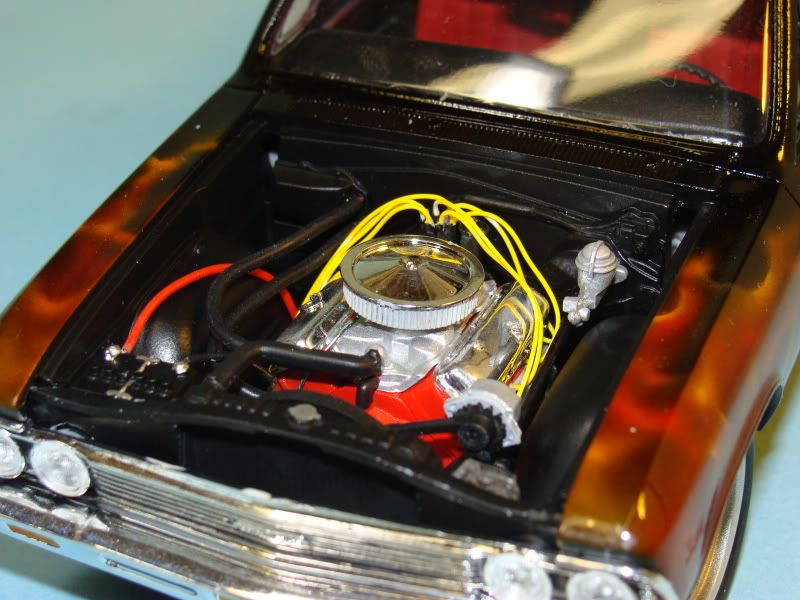
I'm back at the bench again and feeling great. I took quite a good chunk of time away from the bench to work on new airbrush techniques with figures and other stuff. My return trip to my comfort zone is my "hell camino". I've got the engine complete and the paint is on. I airbrushed everything.


-
Imagine if model companies had these. Scan a car or whatever, shrink it down to scale, and print = done.

http://www.wimp.com/functionaltools/
-
Our club hosted a Make & Take in conjunction with a local library's summer program. We had 40 kids sign up and there was a waiting list!
 I took the 20 kids that were kindergarten - 2nd grade. Two of my fellow club members had the room with the 3rd-5th graders. Fortunately the library has local youth volunteers that were present to assist. I must say that I was very surprised at how engrossed my young group was in building the models, and how well they did. No fits and they helped each other out all the time.
  I've still got pictures to come from the other guys, but these are what I was able to snap in the minimal time I got.
http://s22.photobucket.com/albums/b349/mhoekstra/IPMS%20Make%20and%20Take%202011/
-
What type of paint was it? Most liquid masks are water based from my knowledge. I've used liquid mask for many applications in my automotive builds, and never had a problem like that.
-
My personal favorites in no particular order that were a joy to build IMHO =
Revell's 66 GTO kit
Revell's 69 Daytona
Revell's 69 Camaro
Tamiya Aston Martin DBS (most any Tamiya kit for that matter)
AMT Chevy C1500 454SS pickup
-
After a few weeks away from this project due to commissioned builds, paint jobs, and other, I got the the man complete. I just need to go back and dry-brush the bandages, and detail paint the gloves and goggles. The pictures are in natural light and with the flash from my camera. Everything on the Invisible Man thus far has been airbrushed with the mentality of airbrush art in "paint what you see". So the traditional figure painting method has been set aside.


-
I got a bit more progress done tonight. I used some doctors office tape cut in to strips to line the inside of the bandages so it has a better effect. I also got the skull, shoes, jacket, and head piece done sans detail painting and washes. There's a fit issue with the head and chest piece, but it'll be easily resolved with some trimming along the neck line. Again, more mixture of colors to accent shadows and wrinkles.


-
I finished up the vest/chest piece also tonight.

-
I got the pants done tonight. I took the gamble and scribed in the pants seams on each side. I went in after the base color and accented the wrinkles with a darker color and my airbrush.





Research
in Cars, Trucks, & Motorcycles
Posted
It really depends on the car. 1:1 forums are a good place. I also frequent Ebay Motors for research and ideas too.