cgutzmer
-
Posts
35 -
Joined
-
Last visited
Content Type
Profiles
Forums
Events
Everything posted by cgutzmer
-
Just got back from long vacation to france :) glad to see this is still going along well! Hope to get back to building soon :) Chris
-
Why hang up the xacto? I am nowhere near his level either but maybe one day! :) Chris
-
thats amazing! thanks for sharing the link :) Chris
-
Peter - question for you, I know how painful it is to hide the canopy - have you ever considered making a section of the fuselage over the cockpit be liftoff so it could be viewed? :) Chris
-
I have this build going elsewhere but decided to post it here as well :) I am using this build to work on a couple new skills I plan on using in my p-51 build in the steeds of the aces group build! This will be a few posts wrapped into one.... Everything fit together guite well. I had to make a couple of the slots a bit longer for everything to flush up and I have to trim the cockpit walls a bit shorter for some reason. I dont know how you guys cut out stuff as small as the yoke handle.... I tried twice and wrecked it both times. I ended up using my paper drill and made a 1.5 mm hole then used the 2.5 mm bit to make a donut that I squashed a bit worked well for me! I used water color pencils for edge coloring. I am very happy with it. here is my main issue with it though... its WATERcolor. Glue is WATER based. Get a bit of glue on the parts you "painted" and its easy to spread it around. I am particularly pleased with the edge coloring on the instrument panel - see how well it matched up with the color of the parts. I am thinking black here may have made a better deliniation on the panel though Also the last two pics show the thickened top of the fuselage. I showed a pic from the top to show how well the water colors matched up and I showed a pic from the bottom so you can see how well it covered. cockpit and former pics These next two pics show the nice coverage I got from the watercolor pencils - note how the edge looks nice and red even though its 1mm cardboard under there And here is where I currently am with the build. I have the skin on.... First I cut off the tabs on the bottom part - I figured I could get a better clean edge along the bottom by doing an edge join. Result - passable. I did not do a great job on the edge join. I think the result would have been better had I left the tabs on. But this is the kind of practice I need Second and more advanced upgrade was replacing the gray area with red river silver paper. This had the same failure point as the remainder that I did not get the edge glued very well. particularly noticable where it rounds up into the front forms (see pic 3) I will be able to trim that a bit and use the silver sharpie to cover it up I do believe so nothing major there for me to fix. As noted by Billy (on papermodelers.com - RR paper is EXTREMELY susceptible to the slightest bit of glue on the printed (silver) surface - its definitely different to work with than other types of paper. Chris
-
Thats awesome peter! One of the best cockpits I have seen! What weight paper did you roll that out of? My build is on temp hold while I make a quick turkish fokker to hone my skill set a bit - I am rusty. Chris
-
Looks great Gil! Thanks for showing us how you masked it off :) Chris
-
GREG! PLASTIC! :) that will be a new sight for me :) looking forward to it! Hey peter that is an excellent cockpit and I really like how you made those pics to highlight the subject. Chris
-
Thats amazing! Those are great tips for adding super details :) thanks for sharing with us :) I am kinda on hold following a how to match paint colors to a model for coloring edges :)
-
Thanks Gil and Peter :) I catch enough flak from the family for cutting bits of paper let alone if I wore magnifiers! For cutting at a 45 degree angle I hadnt thought of that but its a good idea worth trying! Thanks! Chris
-
OK - The proof is in the pudding they say :) Here are some pics with some commentary. I cut out everything round with my paper drill - thank goodness for that! Next steps and other mods I will be doing following the pics! The main cockpit page pre cut This is the radio box - please note there are TWO of them. This will be my first test. I am going to paint one after it glued and one before its glued to compare results. Just showing a bunch of cut parts Here is a shot of the instrument details - please note it looks much more uneven in the cut than it is.... darn macro.... Closeup of a couple levers I am going to paint up and possibly add another layer to the knobs for additional effect Next steps - 1. cut out another instrument panel to overlay - I will cut out all the instruments so the ones behind look recessed. I will likely but some shiny scotch tape in there to simulate glass in front of the instruments. 2. Use Swampfox's color technique to find the right colors (this also entails learning how to use the guoache properly) 3. Test paint radio boxes 4. possibly scratchbuild a small cushion for the pilots seat - I dont quite understand the seat how it has a rather large curve on the front like there shold be a cushion in there.
-
OK! Its time to get this ball rolling :) all supplies on hand - I will likely do some painting experimenting along the way so might be a bit slow to start. Cockpit will be first up but forgot to include it in the pics below :( anyhow - just to show you I am ready here are some opening shots! This first pic shows the various prints - why so many you ask? The first is the standard card printout. The second is the metallic on Red River Silver. The third is just one page on glossy photo stock. This will be for the blue nose and nose cone only to maintain the shiny look of the metallic paper. The fourth is printed on standard 20lb paper and will be used for making pseudo decals on the metallic paper. These will be sprayed with Krylon gloss coat or something similar eventually. This also includes what I will be edge coloring with and a shot of the engine parts to show the expected detail level. another angle to show the metallic vs standard this shot shows the sheen differences a bit closer shot of the engine parts. should be cutting today! Chris
-
i think that hose was the first thing I noticed so great detail add! :) Chris
-
interesting! had no idea you could fix stufff like that. I would go for the seatbelts - they are great details that make a model stand out a bit more :) Chris
-
Good to see ya tazman :)
-
great details! thanks for the good pics :) they help a lot!
-
graet finish to the salem representative and looking good on the start there peter :) Chris
-
No photo update cause you cant tell I did anything but all my pages are scored and ready to cut out :) Quick update is I plan on adding an ultra detailed engine to one of the builds - most likely the one in metallic paper. The parts count of the engine is only a couple parts short of the same count as the entire airplane :) it will be a detailed model all by itself! Chris
-
yer in! :)
-
ok - you are in! even though you said you have never been interested ;) heh heh
-
Sweet! Got ya on the list Peter and looking forward to your sumission mark! Thanks Chris
-
Hey Peter! Glad ya made it :) Throw a post in the group build and I will get you added to the list! Thanks man! Chris
-
Hello Nick :) He would be referring to me. I think our two hobbies brought together would really improve them both for the better! Right now my main focus is to get more paper guys to attend regional events. I am sponsoring as many trophies as I can afford and when possible get a vendor table setup for demonstrations and such if I can find people in the area. Our main area of discussion is at www.papermodelers.com where I have teamed up with Jason (the site owner) and Rick (the head admin) to create an IPMS SIG virtual meeting room. I hope to get lots of people here and anyone is certainly welcome there that wants to learn more about paper modeling. I am encouraging people to post builds and build threads here to increase participation. I have also started a group build topic Steeds of the Aces to get things moving :) Feel free to give me a shout anytime, I am not hard to find ;) Chris
-
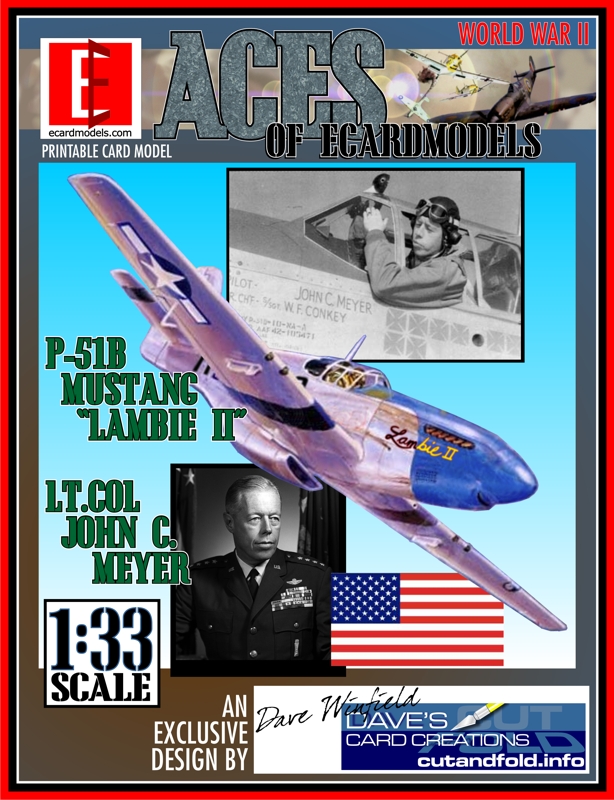
Sounds like a great one! I too am joining the fray - its my group build after all, it just took me a while to decide. I will be building John C Meyer's P-51B Lambie. This will be a 1:33 scale build. I will be trying a first for me and using red river silver metallic paper for this build. Chris

-
Hey buddy! Glad to see you made it :) I didnt even see anything to download.... Chris