


Mike Delano
-
Posts
425 -
Joined
-
Last visited
Content Type
Profiles
Forums
Events
Posts posted by Mike Delano
-
-
What's wrong with this?
Just use an "I" (not "i") instead of the "1"

I thought about doing that, but I still wanted a small tag on the '1' - the standard '1' has a tag that is way too long.... I might go with the 'l' instead - I'm assuming what you did was in Cad, correct?
I went ahead and did mine in Adobe Illustrator, though even though I'm using Microgramma Med. it still looks heavier than what you have. I'll have to keep playing around with the stroke weight until I get what I want....
-
Looks like a good coupling to the Primary Hull, well done! There are sites that sell very nice decals which allow you to designate a Starship in any letters, and numbers, all in the proper font style and scale your looking for.
Federation Models has various sets available for all sorts of different kits. I believe Starship Modeler's store has many as well. There is also JT Graphics, and many others.
If you do a Google search for "Star Trek decal vendors", or something like that, you should get plenty of sites.
However, if you can create ones your happy with, for less money, that sounds good too!
I know that Fereration Models used to let you purchase JT Graphics Decals with an option to specify your own name and registry option, however I do not see that option on their site anymore. I've also looked at the JT Graphics Website and his links for decals appear to be broken....
-
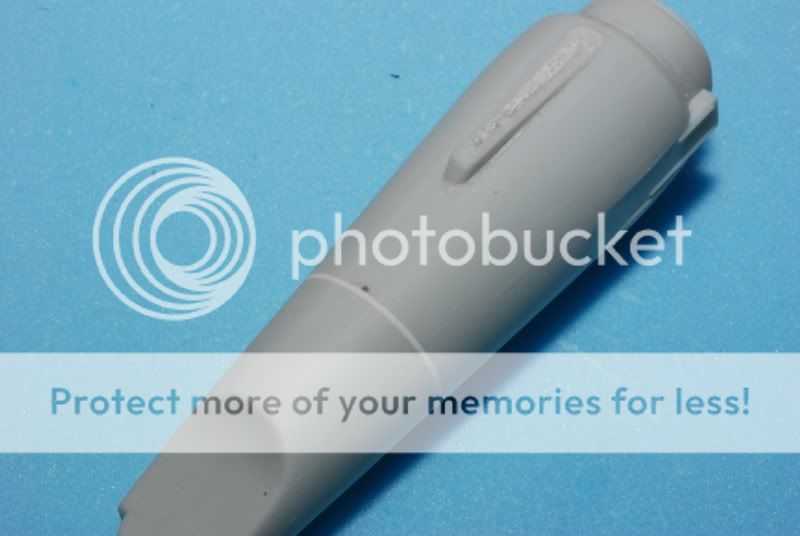
I haven't made quite as mnuch progress in the past few days as I'd hoped, but I have gotten as far as mating the nacelle and pylon to the underside of the saucer section. I also added a few pieces of strip styrene here and there for detail and strategic seam / gap coverage. The next steps will be to fill some more gaps, paint the inner portion of the bussard collector, and primer the entire piece - hopefully I'll be able to get some of that done tomorrow...
I'd still like to go with the original premise of this project, which was to build a TOS style 'Kelvin' - as of yet, I've been unable to get all of the letters necessary to complete that name. I'm at the point now where I have begun working on my own set of markings in Adobe Illustrator to get printed on decal paper - the only problem is that the Microgramma Medium Extended font (used in Franz Joseph's Starfleet Tech Manual) I want to use does not contain the correct style of the number '1'...
-
A little more progress was made this evening - I mated the secondary hull to the saucer section via the upper pylon - since I used 4 sheets of .6mm sheet styrene, it gave me quite a bit more leeway in terms of shaping and having a manageable gap to fill....
Before...
After...
The next item on the agenda is to mate the 'neck' (removed form the secondary hull halves at the beginning of the project) to the nacelle. On the first attempt at this conversion, I made the mistake of sawing off the neck after I had cemented the secondary hull halves together, resulting in an uneven cut. This time, I was able to achieve a \n even cut, thus making for less of a gap where the neck meets the nacelle...
The real challenge, oddly enough will be to eliminate the gap where the neck meets the saucer - this doesnt require any scratch building or shaping as the neck natrually fits into the saucer when the kit is built out of the box, but since it's a snap together kit, the fit isn't great....
-
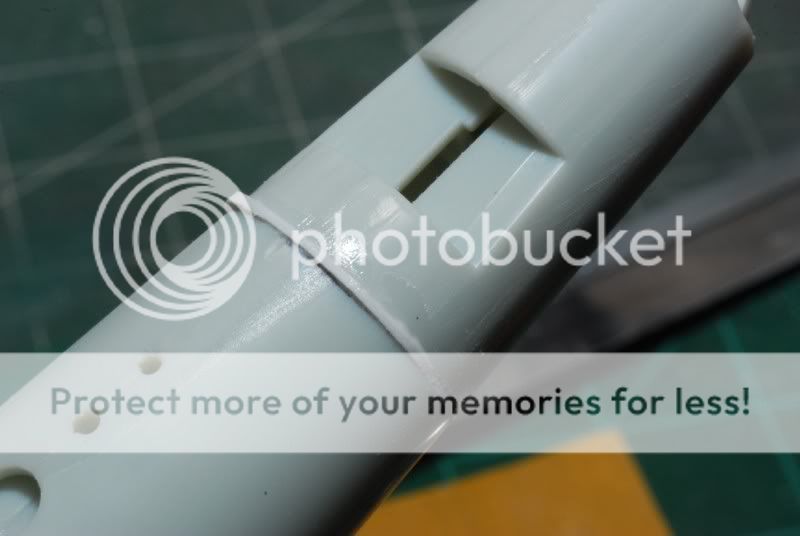
With the cuts for the reversal of the shuttlebay made, I went ahead and assembled the forward and rear halves of the hull - once dry, I ran them both over 200 grit sandpaper to ensure a fit that would be flat against each other. To make up for the material that was lost in both the cutting and the sanding of the parts, I used .6mm sheet stryrene as a spacer between the forward and rear sections of the hull - once assembled, trimmed, and sanded, the transistion between the two was nearly perfect...
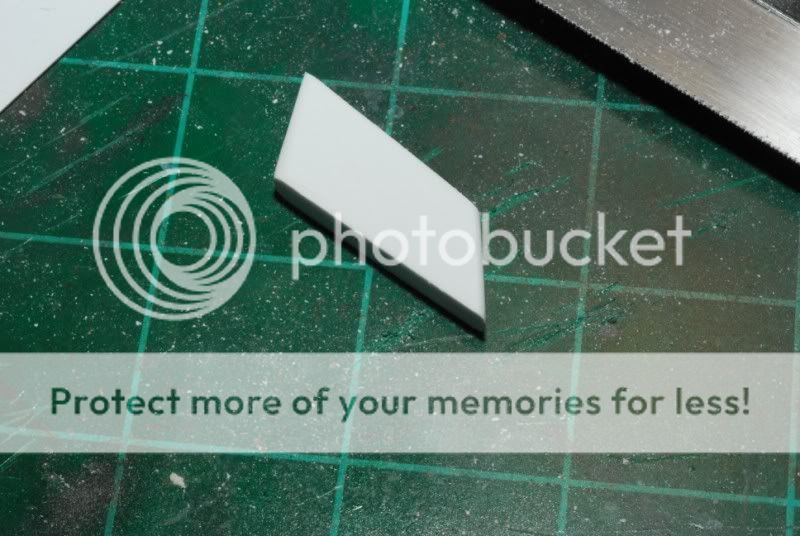
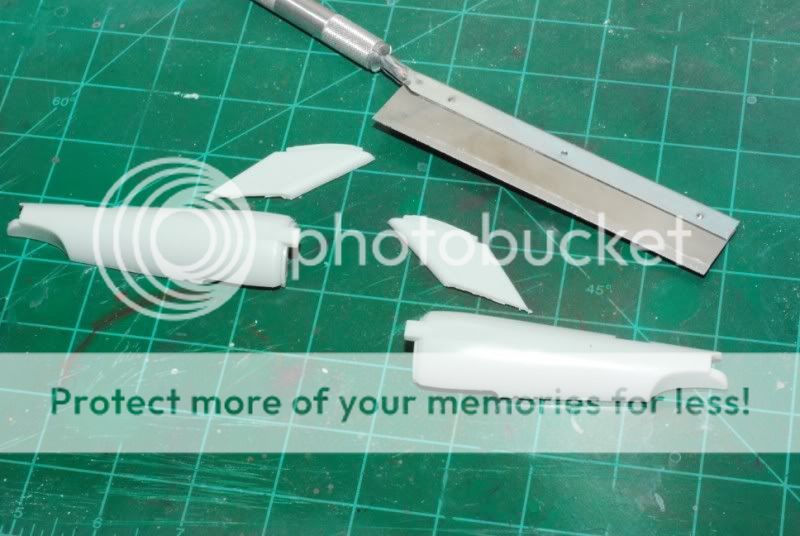
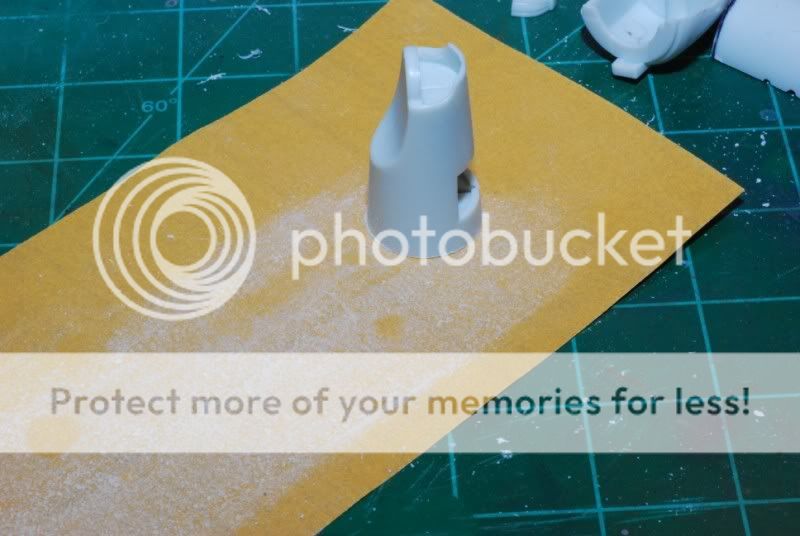
The next problem to tackle was the pylon I plan to use in connecting the upper saucer section to the secondary hull - in my previous try at this, I used the kit supplied pylons with a little bit of shaping and cutting. This time, I decided to use sheet styrene - 4 pieces of .6mm sheet styrene laminated together with ambiweld, then cut and shaped to suit...
By using the sheet styrene, it gave me a little more leeway in terms of height of the upper pylon and a little more thickness to work with in shaping. Additionally, I wanted to make the transition between the secondary hull and the upper pylon a little more graceful. For that, I cut off a small sliver of the "neck" (remember, the neck was originally removed from the secondary hull halves) and blended it into the secondary hull whenre it will be mated to the upper pylon.
This is all I have for now. More pictures to follow as I progress...
-
As promised, some pictures from this project I've restarted. As I mentioned before, this time I decided to make use of outsourced materials in the interest of more sound construction.
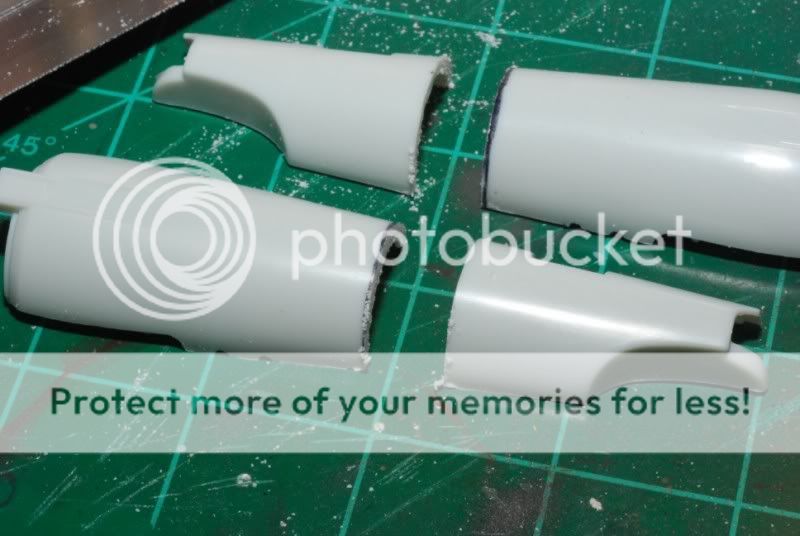
I began by sawing off the interconecting dorsal neck on both halves of the secondary hull - on the first go-round, I didnt perform this step until after I had assembled the hull halves, which resulted in a slightly crooked neck... With the way I did it this time, it allowed me to get a cut that was more flush with the surface of the secondary hull halves.
With the neck removed, dry fit the secondary hull halves. I used a circle template placed around the entire assembly, leveled it, and made my cutting mark. The reason I did this was so that I could reverse the secondary hull in relation to the saucer section - to accomplish that, I obviously needed to rotate of the shuttle bay by 180 degrees... Again, my mistake in my first attempt at the conversion was in eyeballing the cut on both hull halves which resulted in the need for quite a bit of gap filling and ultimately, an asymatrical hull once everything was said and done...
With the cuts for the reversal of the shuttlebay made, I went ahead and assembled the forward and rear halves of the hull - once dry, I ran them both over 200 grit sandpaper to ensure a fit that would be flat against each other. To make up for the material that was lost in both the cutting and the sanding of the parts, I used .6mm sheet stryrene as a spacer between the forward and rear sections of the hull - once assembled, trimmed, and sanded, the transistion between the two was nearly perfect...
-
So, in the process of this whole build, the nearly finished product magically flew off the workbench and across the room..... (what's that old internet addage? "EPIC FAIL"?)
Essentially, I was unhappy with the results - specifically the finish and some of the errors I made in shaping certain parts. So, learning from what I did incorrectly the first time, I actually started the project over. I also got several inquiries as to how I was engineering some of the parts, so in rebooting this, I will also include some progress pictures with instructions if anyone cares to follow suit. Additionally, the initial gimmick to this was to use no outside parts (minus decals) to make the conversion - that will no longer be the case as I learned from the previous incarnation of this process.
I'll be posting build photos later this evening - if the completed project is worthy, I might even submit it to the Journal (barring, of course any run-ins with the wall across the room)
-
I've made a little more progress on this project, though it has really turned into more of a 'can it be done' type thing thatn what I would consider a display worthy model. Between my sheet of JT Graphics kitbasher decals and the kit-supplied decals, I didn't have a 'K' necessary to spell 'Kelvin'. Instead I just went with 'Endeavour' for the ship name as that is one of my favorite names for any type of vessel.
The decals are a mix of the kit-supplied markings and the JT Graphics marking. Unfortunately, there was damage to the 'N' in the registry of the JT Graphics Endeavour markings - I with I had had the presence of mind to run them over with another flat coat pripr to using them... oh well, next time, I'll know better - this time, I'll have to try some "Sharpie Magic" before the next coat of Future.
Either way, I'm mildly please with the progress, though it's still pretty rough. I still need to do more work on the upper and lower sensor domes - I didn't realize until I had put the firs coat of Future on there that I had inadvertently sanded a flat area into the lower sensor dome. Additonally, I'm probably going to replace the bridge with one from the spares box as well.... Until then, a little more decaling for windows, impulse deck, and some other details.
-
I've already noticed that the new pricing is reflected in alot of the newer ebay listing for Friul tracks
-
Interesting show, wish they'd built one that could fly.
Who knows - if they had brought alot of their prototypes to fruition, we might all be speaking German now and calling it the 'War of Allied Aggression'.... It's frightening ti imagine how different things might have been had the German war machine been able to bring some of their exotic designs to fruition.
-
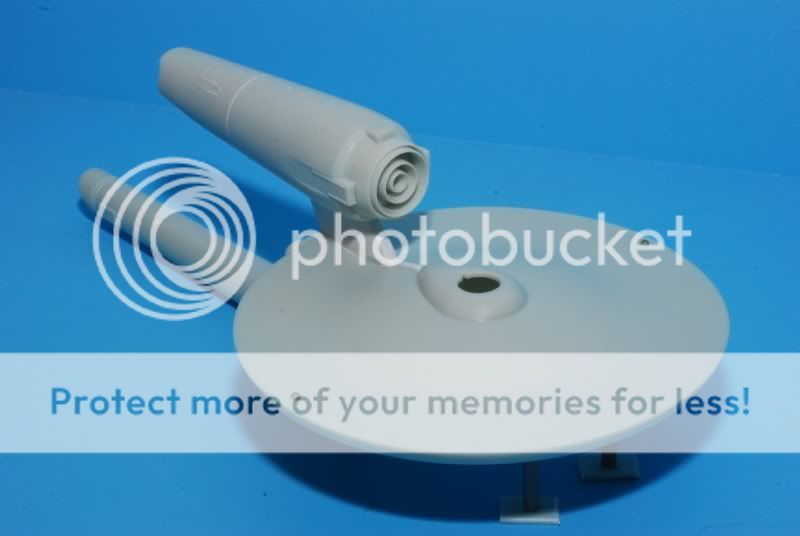
This is a project that is in the very earliest stages - it's a conversion of the 1/1000 Polar Lights U.S.S. Enterprise into my interpretation of what a TOS (Original Series) style U.S.S. Kelvin would have looked like. For anyone not familiar with the U.S.S. Kelvin - this is the ship that is featured in the opening scense of the reimagined Star Trek film that was released this past May.
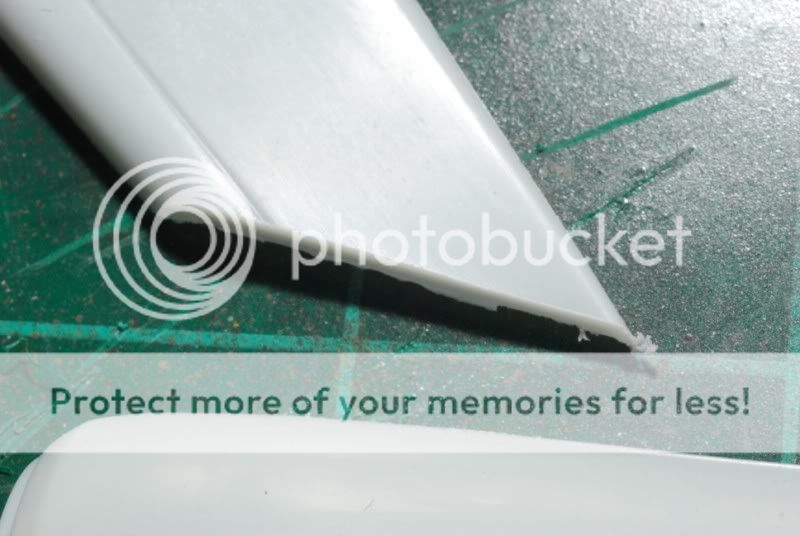
To do this conversion, I am not using any third party products or any scratch built components - everything you see is fabircated from parts included in the kit. What I decided to do was to mount the secondary hull above the saucer section and the single nacelle below. The pylon connecting the secondary hull and the saucer was actually fabricated from one of the nacelle pylons - the kit parts are not hollow inside, so this made a perfect situation where I would assemble the two halves of the pylon, then use a razor saw to cut and shape the neck.
I wanted to reverse the orientation of the secondary hull in relation to the surface of the saucer section - obviously, you can't do this with the as-is orientation fo the shuttle bay. What I did was assemble the entire secondary hull, then used a razor saw to cut off the final 2 or so inches from the shuttle bay back. This part was then turned 180 degrees, glued, filled, sanded, filled, sanded, filled.... (you get the idea) until I had a smooth transition on this part of the hull.
There is still quite a bit of gap filling that needs to be done where the dorsal pylon meets the saucer and where the ventral pylon meets the nacelle - I'm doing this essentially in layers with thick CA. It looks ugly now, but it will smooth out and blend nicely.
More to come as the project progresses...
-
That being said, and this has most likely been mentioned too:
What would be the best way to do the patterns on the "A" and the "NX" in terms of what colors and material?
In all honesty, I'm not terribly sure - I was lucky enough to pick up a 1/350 NX-01 at the Atlanta Model Expo this weekend for 25 bucks - I have already decided that the colors I'll be using for that will be Alclad Pale Burnt Metal for the slightly reddish / copperish tones and a darkenned aluminum for the darker tones.
As for the Enterprise A, really dont know what the best colors are because it's so subjective in terms of how much you want the Azteking to stand out - in the movies, the differences and subtleties in the Azteking were so slight that it looked more like a difference in sheen rather than a difference in actual color. I guess it's similar to the dilema of an aircraft modeler - "Do I want the panel lines shown to scale, in which case, they would be barely visible - OR do I want to make them stand out to give the piece some effect?".
I remember a few years back looking at a guys scratch built Enterprise A (1/350th, If I'm not mistaken) and he did his Azteking by some sort of process where he didn't change the colors, but used a specialized metallic paint and changed the direction from which he applied it in order to change the way in which the metallic particles in the paint were aligned in relation to the other panels - this had the effect of changing how light reflected off the different panels.
-
Is there a point and purpose behind the aztec markings on the ships? Surely it can't be camo of any kind.
I haven't taken the time to read all of the reply posts, but in short it's a nice way of showing different sheens to the hull surface (whether due to differences in material or finishing) - if it were all one color, it would be a little boring on the big screen. I think, however, that the idea of the Aztek pattern has come to be all encompassing of all of the color variations on the hulls of Star Trek ships when originally, it just referred to the perceived difference in sheen of different panels on the ships.
If you look at the new R2 1/350 Enterprise, they tout coming with 4 sheets of Aztek decals (which are beautiful, by the way - worth half the price of the kit alone), though those sheets also include the light blue color highlights that go in different areas of the ship - those in my mind aren't technically part of the Aztek pattern, though I'm sure some will disagree.
-
RC2 has announced that they are working on a kit of the new Enterprise..
E
I hope it comes with lens flare!
-
I'm hoping beyond hope that the new Enterprise will be released in kit form (and the lights and sound toy that's out right now doesn't count...)
-
Is this what you're talking about? If so, it's from Casino Royale
http://www.airliners.net/photo/Untitled/Bo...236B/1257474/L/
http://www.flightglobal.com/articles/2006/...ied-boeing.html
http://dansdata.blogsome.com/2006/12/06/jumbo-of-mystery/
-
Stupid question - enamels, lacquers, or acrylic? Any ill effects with the thinner and the press n seal? I had thought about trying this before but was afraid the press n seal might turn into a lump of goo if it came into contact with enamel or lacquer based paint / thinner
-
I got a little more done on this one over the weekend - shot some future on the dorsal and ventral halves and applied decals - I've also masked off the ventral half of the ship to do some panel detail and the border stripe that follows around the edges of the underside. I'm still masking off the control tower and rear bulkhead and 'tail' portion to finish the panel detail there as well. I've really enjoyed this kit so far and it has re-ignited my passion for Sci-Fi kits. I think I'd like to do another one of these Republic Star Destroyers using blue accents instead of red to denote a ship of the 501st legion. I don't think I've seen anyone do that yet...
-
OMG! Welcome to decal "Hell" Mike, honestly, I'd rather airbrush the Aztec patterns, less agonizing. But if your going to do it this way, I am rooting for you to succeed!
The kit has some very nice decals, and do give PNT's website a look a well, nice brass laser-etched after-market parts for this kit there, you will want those as well!
Is that the same PNT models website that used to be linked from the old Thomas Models website? Have your dealings with them been pleasurable? I've just heard anecdotal mentions of poeple being ripped off - ordering products but never receiving them, etc...
-
Just picked up the 1/350 PL U.S.S Enterprise today - admittedly just for the new Aztec paneling decals. I have to admit that the new decals that come with this kit are absolutely beautiful and HUGE! The Aztek paneling decals are spread amongst 4 different sheets that measure 15" X 15". The rest of the decals are on a 8.5" X 10.5" sheet that contains the lettering, shuttlecraft markings, and other miscellaneous markings. Pictures below for anyone that was as curious as I was... The first picture is a shot of all 4 Aztec paneling sheets - that's an 18" ruler for scale context! The second post contains shots of the regular markings sheet.
-
Just picked up the 1/350 PL U.S.S Enterprise today - admittedly just for the new Aztec paneling decals. I have to admit that the new decals that come with this kit are absolutely beautiful and HUGE! The Aztek paneling decals are spread amongst 4 different sheets that measure 15" X 15". The rest of the decals are on a 8.5" X 10.5" sheet that contains the lettering, shuttlecraft markings, and other miscellaneous markings. Pictures below for anyone that was as curious as I was... The first picture is a shot of all 4 Aztec paneling sheets - that's an 18" ruler for scale context!
-
Never before seen rainfall amounts in my 35 years here by the coast, can you say "Global Warmimg"?
Careful! You might get tagged as a lunatic left-wing socialist for even hinting that human activity might somehow have lead real consequences on our surrounding environment.... It's a Trap!!!!
-
Annouced at Wonderfest
"Round 2 has the license for the new Trek movie, and had a mockup box for the new Enterprise. They said expect it next spring."
Papa- thought that might be tyour Enterprise there- looked great
Dave
I'd love to do that review.....
-
It looks an awful lot like a Stinson - as a matter of fact, I looks an awful lot like the model that appears on a book about the Stinson AC Co.
That's a starting point, at least


TOS Style U.S.S. Kelvin (REDUX) - DONE!
in Space, Sci-Fi & Fantasy
Posted
I don't know why I wanted a tag either - I'm not sure what I was thinking, but I thought that for ship numbers there was a small tag in the SFTM, but after going back and checking it, I was dead wrong... That's good now, because I can go ahead and finish designing my decals!