


Mike Delano
-
Posts
425 -
Joined
-
Last visited
Content Type
Profiles
Forums
Events
Posts posted by Mike Delano
-
-
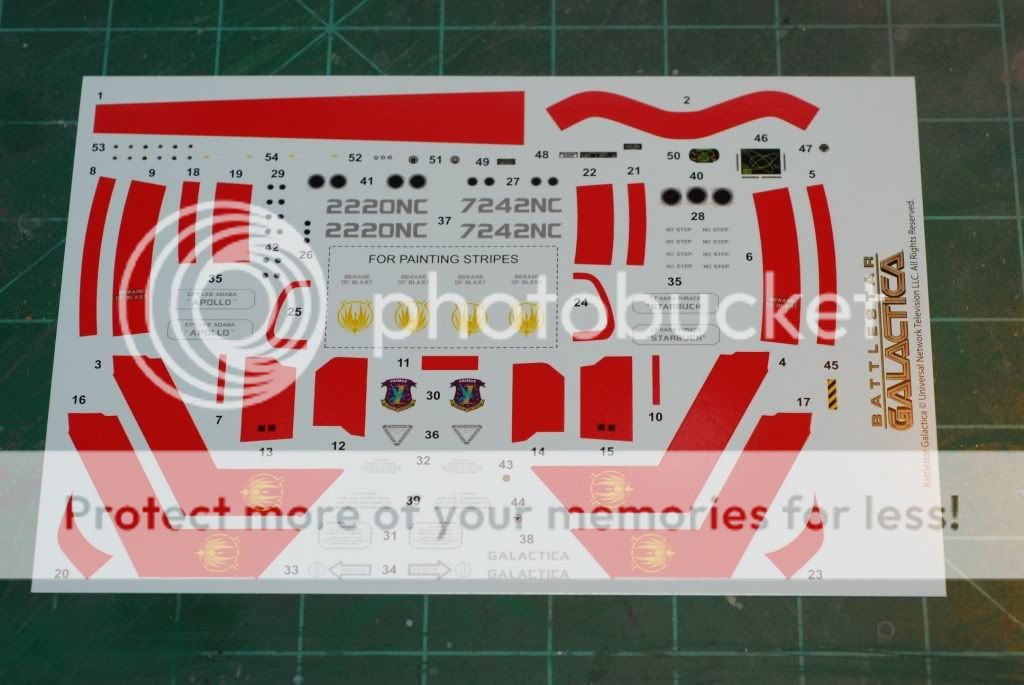
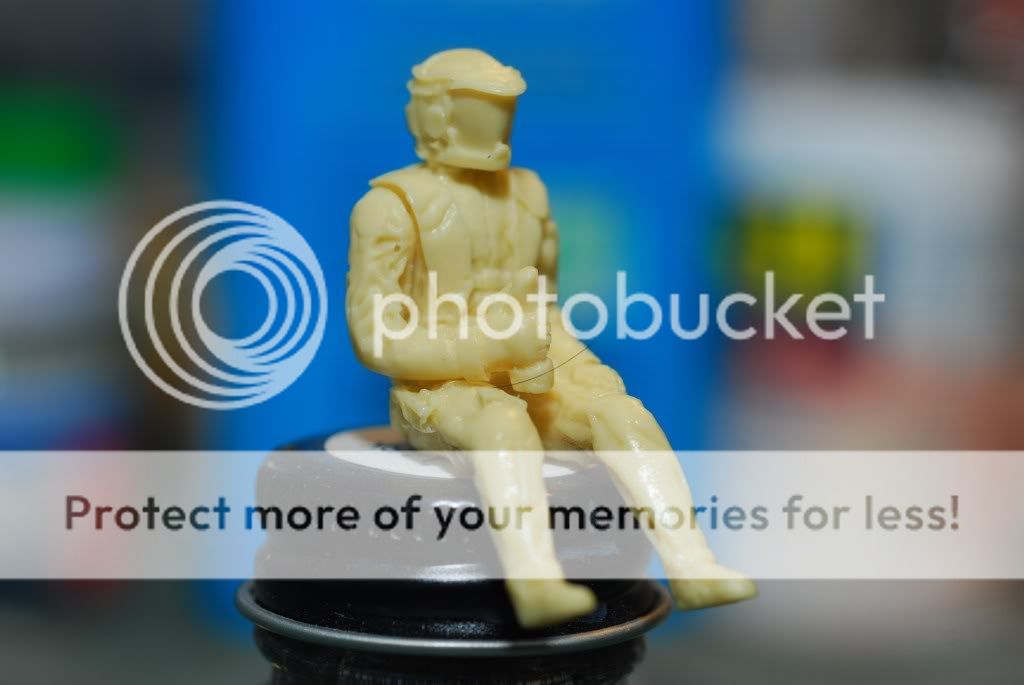
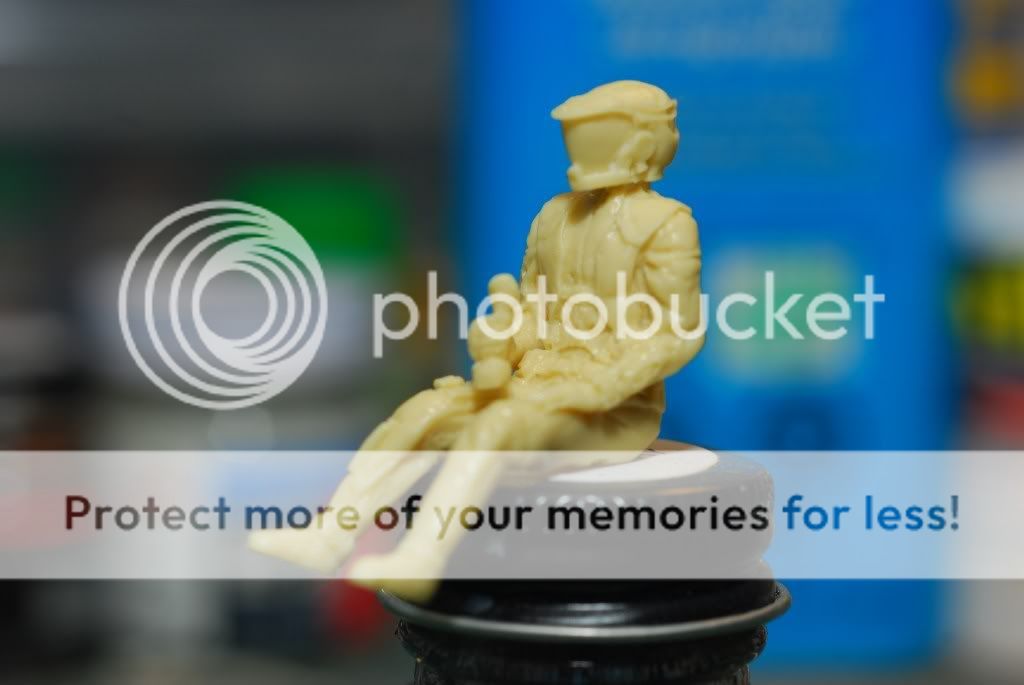
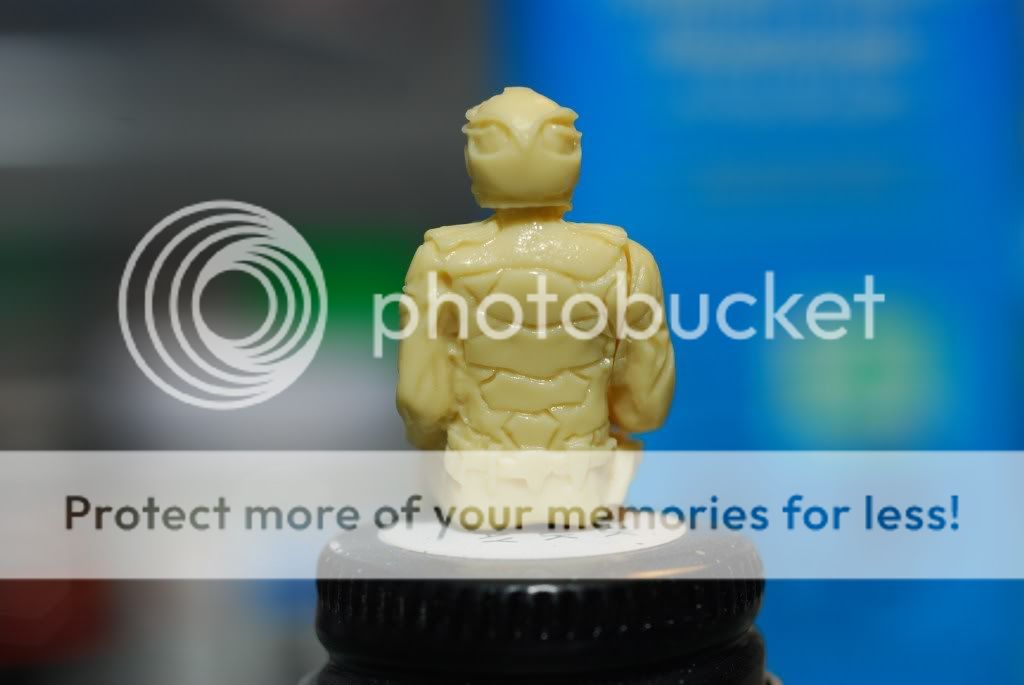
Viper Mk. II Kit Photos (Cont'd)

-
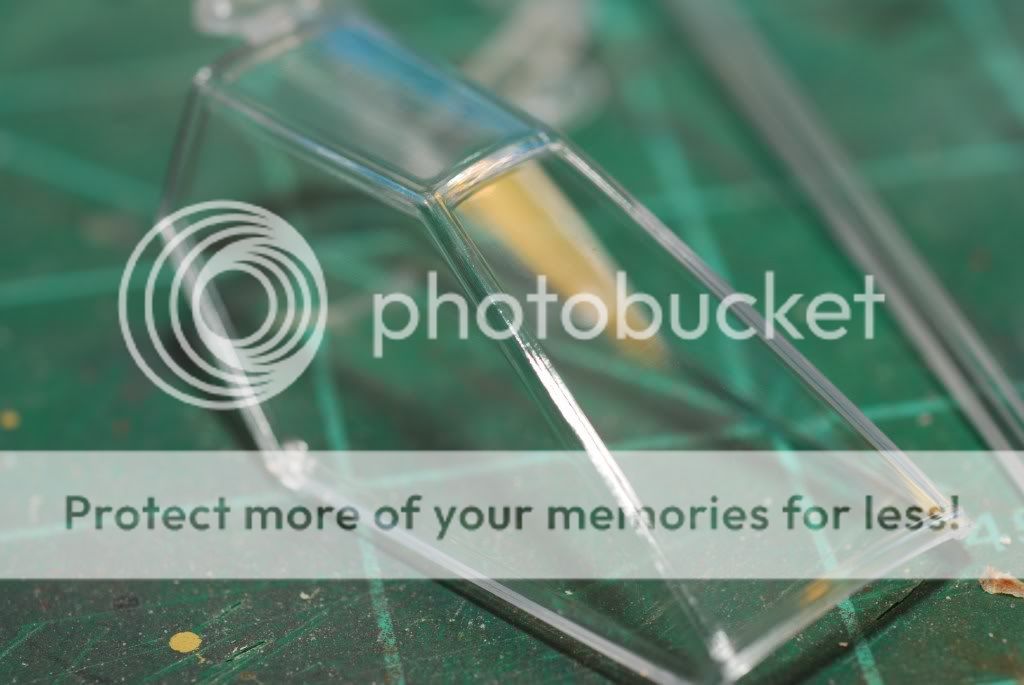
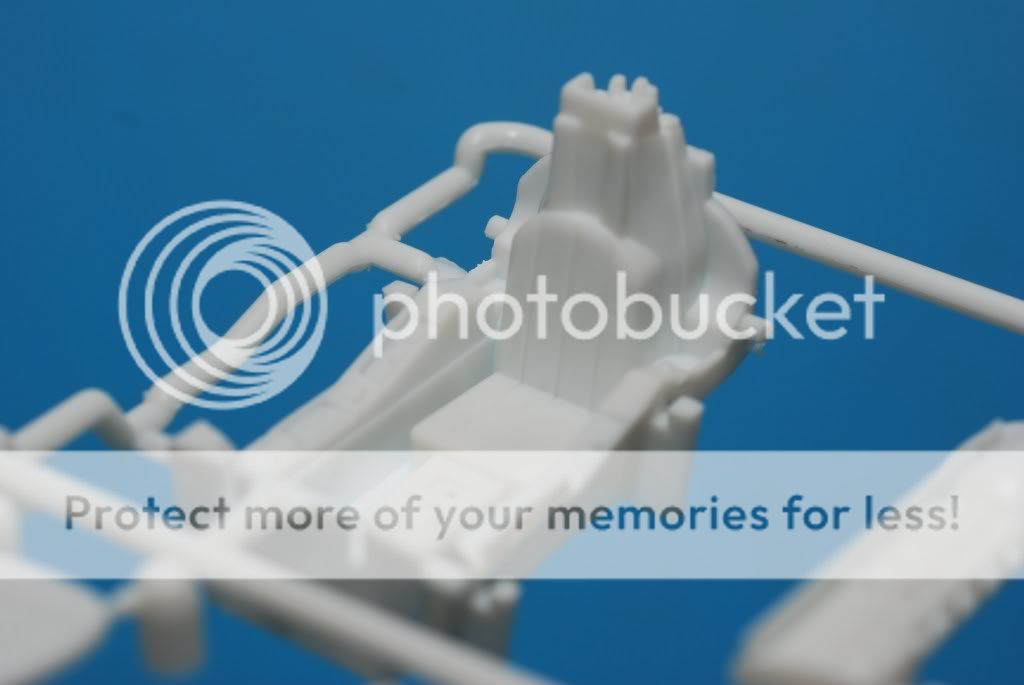
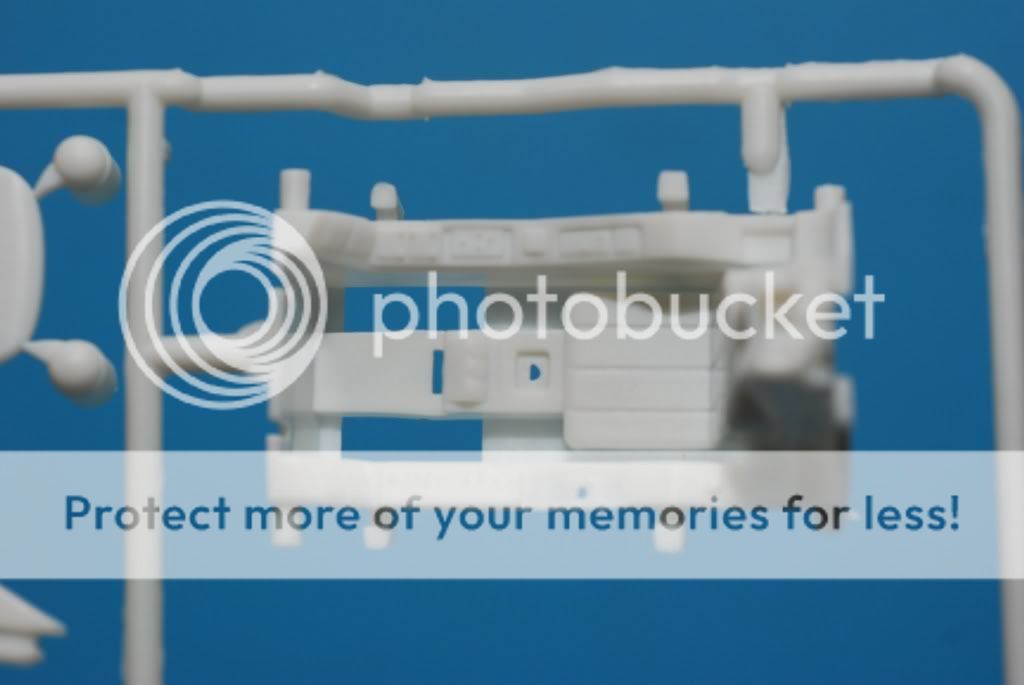
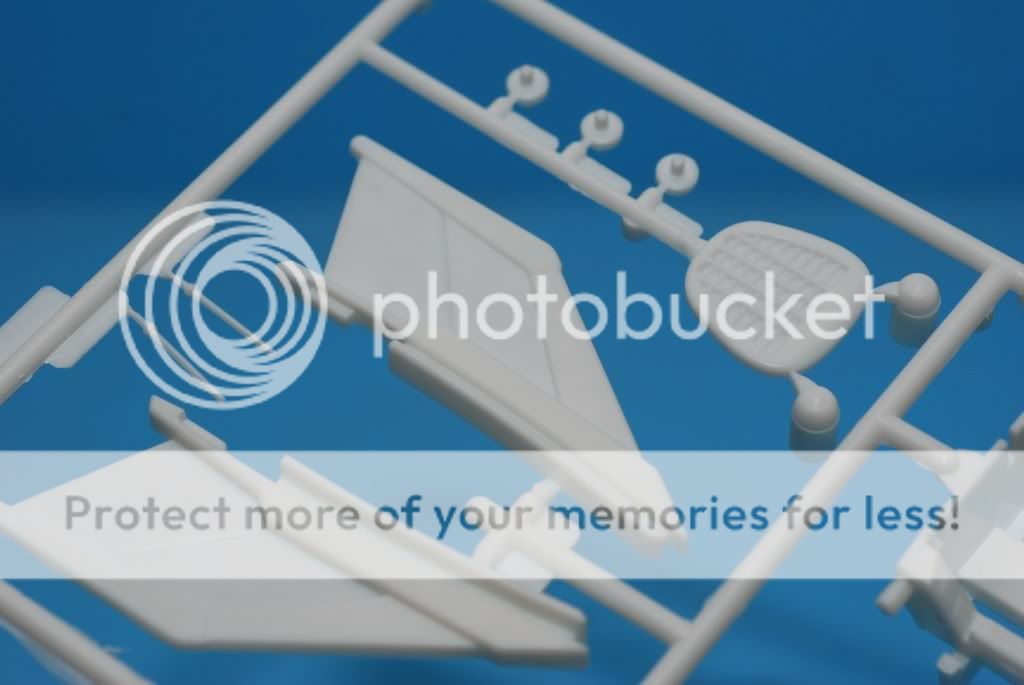
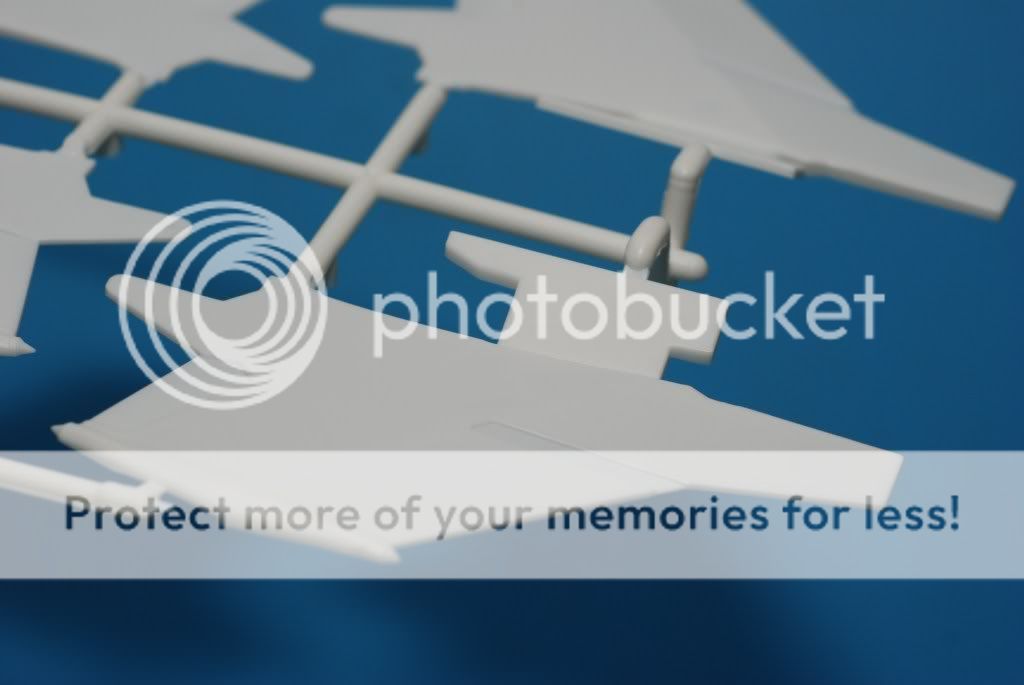
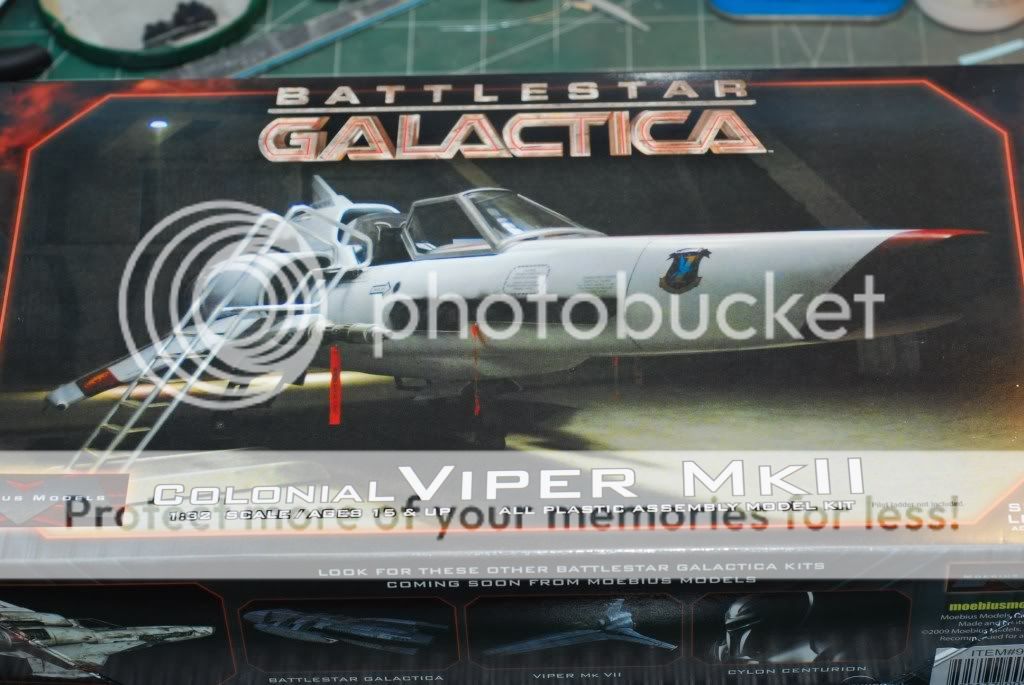
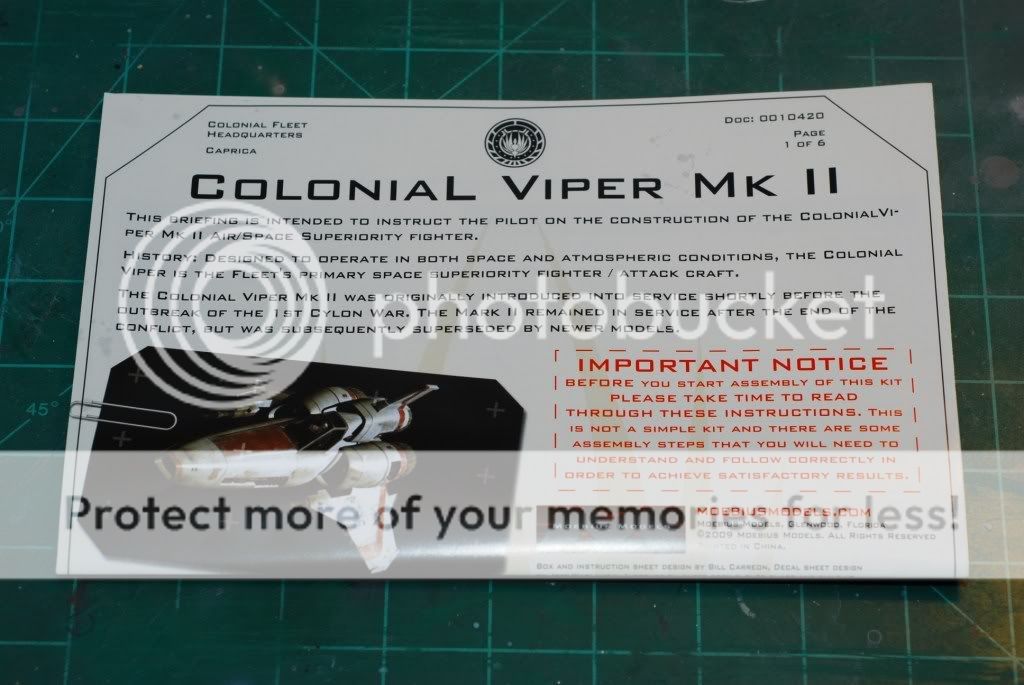
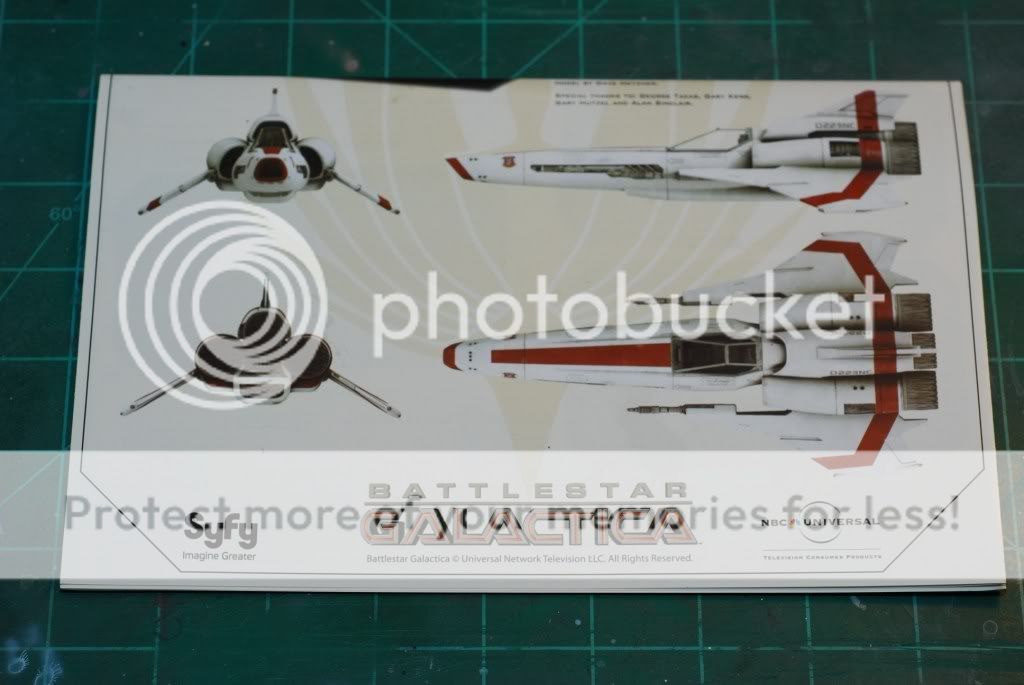
I figured I'd share some photos of my Viper Mk. II I picked up today.... Very nice kit - the instructions are in full color printed on very nice quality paper. The decals are quite nice as well... The details are nice too, though there will be some cleanup needed. The Paragrafix Photoetch detail set is a must - Even though it costs as much as the kit itself, it's well worth it! Because of the pictures per post limit, I'll break the photos up into several posts...
-
Guys -
A friend of mine contacted me with the below question. Frankly, I've never dealt with 'yellowed' clear parts, so I don't really know of a resolution but I thought someone here might have an answer... I have pasted the question below:
I need some advice. Perhaps you can help me. I am building a Masudaya 16 inch Robby the Robot with my son. Everything is perfect, except; 2 of the small clear plastic parts that go inside the head have yellowed. How? I don't know, as the parts have been sealed for years. The rest of the clear parts are fine. They were originally all clear. Do you know of anyway at all to bleach these two small parts back to clear again without damaging them? I didn't want to try anything until I got some expert advice. Any help would be greatly appreciated. Jimi
-
Nice - it's good to see you back on the forum again Simon.
-
What I've also found to work well is a base coat of floquil red oxide, followed by a dusting of floquil engine black followed by Testors Gun Metal Non-Buffing Metalizer and dry-brushed with some metallic gray. When followed by an oil wash, it looks pretty good...
To reviewer Ken.I thought your kit construction looked very good; even more so, if you are a newer modeler or new armor builder. Nice Job.
However, although I know your point was not to weather your kit too much, the color of the tracks looks "off". When I do tracked armor, I usually use a base coat of a dark drown/rust ish colored paint to simulate the look of tracks that has been out of the factory for even a few hours. I used to use Humbrol's "Scenic Track" color (I forgot the number), but it is either hard to find or out of production. Now I use a base coat of Tamiya Red Brown (XF-64?) and do some dry brushing with gun metal, rust and other colors.
Keep up the nice work.
-
Finally completed.... except for a few final touches and final coat of Future. The hull color is Tamiya IJN Light Gray spray lacquer. Hull graphics are from the 18" AMT re-release. Registry and name decals as well as the under-saucer doors (some references state these as subspace antennae) and docking ports are all custom made using Adobe Illustrator and printed to decal paper...
-
Just to throw my experience into the ring - I am running Win. 7 Ult. and have viewed and used the board in ie7, ie8, FireFox, and Google Chrome without issues.
-
Have you tried Tamiya's orange cap cement?
I've got an AFV halftrack and was planning to use the orange cap stuff. Anybody try this cement with AFV plastic?
I don;t believe I have ever seen Tamiya cement with an orange cap. I'll have to see if I can find it.
As far as the AFV kits, I tried ProWeld, Mr. Cement, Mr. Cement Deluxe, Tamiya Extra Thin, and Testors liquid (the stuff form the bottle) - all yielded similar results. And as someone pointed out below, Tristar kit plastic seems to react the same way. I would have to imagine that since they are lower volume companies, they probably use a cheaper plastic.
-
I had precisely the same problem with the AFV Club M18 Hellcat. I use proweld most of the time and when that didn;t react well, I switched to Tamiya thin cement which was still too hot and Testors liquid was no better.
-
I was very pleasantly surprised to find today that the accurizing parts I had ordered for this project arrived already - I just ordered them Thursday...
I struggled with how to do the navigation lights on the upper saucer - I finally realized that with a little bit of modification, some parts from the 1/1000 Polar Lights Enterprise would work quite well! I've still got a bit of work to do on the lower neck where it meets the lower saucer surface as well as some seams in the secondary hull / shuttlebay assembly as well.
-
-
So, everybody who followed my postings late last year on my 1/1000 Polar Lights Enterprise to TOS style U.S.S. Kelvin conversion now probably know I have an odd infatuation with the 'U.S.S. Kelvin' that was featured fairly prominently in the first 10 or so minutes of last year's Star Trek film. Once I had completed my 1/1000 conversion to my liking, I decided I wanted to go a little bit biger. My initial though was to convert the 1/350 Refit Enterprise, however it just wasn't working out for me.
Instead, I decided that since I had a few of the 18" AMT / R2 Enterprise re-release kits in the closet, I'd give it a shot in that scale. Obviously, the 18" AMT kit has a significant number of inacuracies (though I'm glad that R2 didn't rerelease the version that had the horrible grid lines on the upper saucer...), It's still a kit that is very well engineered for conversions. The only glaring inaccuracies I will be correcting will be the lower sensor dome and the deflector dish which will both be replaced by resin parts courtesy of Accurate Parts and Federation Models.
I scratch built the dorsal 'neck' out of laminated square tube covered in sheet styrene, the under-saucer cargo doors are sheet styrene as well. Other than the ungodly amount of filling and sanding, this has been an enjoyable project. once I'm ready to decal, I'll be using a combination of the kit decals (which are worth the price of this re-release kit by themselves) and my own custom made decals using the Microgramma font hull numbering scheme made popular by the Franz Joseph Starfleet Technical Manual published in the late 70's.
-
Do these two brushes use Iwata fittings? They look to be the same size from the picture and I know that there is quite a bit of compatibility between Grex and Iwata.
-
Anyone started or completed this kit? Any thoughts on it? I'd heard of these Panzer IV turreted rail cars before, but had never seen it in kit form until now. It looks like a quite interesting kit!
-
Well, it looks like my prayers have finally been answered - Dragon has DS Track for the Panther A/D on their site for sale:
http://www.dragonusaonline.com/item_detail...temCode=CHC3860
-
What I do is cut about a 6 inch long section of wire coat hanger and bend a small loop in the end of it - it works great, especially for Floquil paint which always seems to clump down to the bottom of the bottle.
Picture below:
-
Here's what I'd like to see:
In the realm of Sci-Fi:
1/350 Scale TOS Enterprise (I know this has been rumored to be in the works)
1/350 Scale U.S.S. Reliant
1/350 Scale U.S.S. Excelsior / U.S.S. Enterprise-B (c'mon guys, it wouldn't be THAT big)
All Others...
I'd like to see Tamiya do an AFFORDABLE 1/350 Scale U.S.S. Arizona....
A 1/72nd Fletcher Class
-
Just saw in the new FSM that R2 will be re releasing the old Star Trek Deep Space Station K-7 kit among others. There was also a shot of the box art for the reimagined Enterprise from the 2009 movie....
-
Jay -
Out of curiosity, are you using the on-camera flash or a separate flash unit?
-
b. Tamiya. Use 91% Isopropyl Alcohol. That's basically what the Tamiya Thinner is, minus the fragrance. You can add some Future to the mix if you wish, for the same purpose as above. The same also works for the older Gunze Aqueous Hobby Paints.
Good luck!
Ralph
Isopropyl works great with Tamiya Acrylics and so does Lacquer thinner. But be careful if you're planning on using Glass Tamiya acrylics - 91% Isopropyl for some reason dulls them out. So if you do use gloss acrylics, I'd use the actual Tamiya brand thinner.
-
I've been tempted to try it, but I'd have to wonder if it would have any kind of reaction to solvent based base coats like styrofoam has with lacquer
-
NEal -
You can also go to Starship Modeler - they have several reviews of Starcrafts kits available
http://www.starshipmodeler.com/trek/trekship.htm
-
They are actually pretty good kits - I have completed a few of them (tears ago) including the Akira, Stamrunner, and Saber class. They were very well detailed and molded and I didn;t have any problems with air bubbles or any other casting defects. And from what I see, their prices are still the same as they were 7 or 8 years ago.
-
Ok I've got the gear right in front of me. My Nikon D70 came with a 18-70mm 1:3.5-4.5G telephoto lens and I have a Nikon Speed light SB-600 flash. Does that help?
Chris -
I had a very similar set of gear I was using in the early days - here is the problem - to get a good close up shot of your model, I would bet that you're standing a ways back and have your lens all the way out to 70mm. The problem there is that the flash, while giving more even coverage is going to give you a less intense coverage, so your photos will be slightly darker...
Again, I use a 60mm Micro Nikkor lens specifically for taking close up shots (down to 1:1 if need be). That lens at around 450.00 can be somewhat cost prohibitive.
What I would suggest at a much cheaper alternative is to invest in a 50mm f/1.8 lens (around 130.00 or so new, but even cheaper if you can find a used one in good condition on ebay or at KEH.com) as well as a 'Close Up' lens set (around 50.00 for a good set - 20 bucks for a cheap one). A 'Close Up' set is usually a set of 3 filters of varying magnification power (usually +1, +2, and +3) that screw into the lens thread at the front of your lens. You can use the close up lenses each by themselves or in combination with each other until you get the desired magnification you want. A Nikon 50mm lens thread is 52mm, so you would need a 52mm Close Up set. Now, you're not going to get the same quality of photo you would get with the Micro Nikkor lense, but the average person isn;t going to know the difference between the two.
Once you have the 50mm lens and your close up lenses, you can set your camera to full manual mode and try playing around with different combinations of aperture and shutter speed with your SB600 - try setting your aperture to f/16 or so with a shutter speed of 1/100 sec as a baseline.... you can just keep playing with it until you get what looks good to you. One thing - I never use Nikon's 'P' mode when I take model photos because it's almost always going to give you the widest aperture and when doing close up shots, you want as much depth of field as possible to get the entire subject in focus. I never use aperture or shutter priority either - always full manual ('M' on your camera dial).
Mike


Moebius BGS Viper Mk. II Kit Photos
in Space, Sci-Fi & Fantasy
Posted
Viper Mk. II Kit Photos (Cont'd)