TheMongoose
-
Posts
78 -
Joined
-
Last visited
-
Days Won
3
Content Type
Profiles
Forums
Events
Everything posted by TheMongoose
-
One of the guys in the Akron/Canton IPMS club likes to sponsor a King of Battle themed build. In anticipation of the next one I bought something special, AFV club’s Long Tom in 1/35. I built the Renwal Atomic Cannon for the 1st build I joined in on! So i love the kit, beautiful detail imho, tho I’m not an armor modeler normally. This kit hates me tho lol I assembled the whole wheel carriage backwards…should have used CA. Out came the razor saw. Fortunately there is a nice flat spot along the leaf springs where it can be taken apart with minimal visual damage. Broke one of the fine rods while trying to put the rifle in. Broke the top off those tension posts on the rear axle while putting the leaf springs back on…I’m sure there were a few more gaffs lol not a bad recovery. Ohh looking at this, i put the main arms on opposite sides. Gads i feel like I’m 8yrs old again. So, to distract your eyes from any errant glue let’s add some distractions and do some weathering yay! Funny story…my wife was trying to call me, I wasn’t answering so she called my 18yr old daughter to locate me. She comes out the garage door and sees, me. She says to her mom, Dad is holding a plastic cereal bowl full of dirt mom, what the heck is he doing! She laughed even harder when i explained I’d dug up some earth in the 30 degree weather to add reality to my dio 🙂 what did she find so funny? Lol so here’s where Tom stands now. next week when I’m back from traveling I’ll finish up the artillery crew. Then I’m just waiting on the shells and crates i ordered after consulting Bradley25mm. See you downrange in a week 🙂
-
Those are crazy sneaky! I looked at each pic and couldn’t figure out where the wires were. Thought for sure you had to have drilled thru that strut lol
-
Hey Chris, Did you rifle bore those LG struts or run the wire down it simulating a brake hose? hard to tell when I look at the pics. If you bored them can you share how? Very cool.
-

Bill Dedig 2020 Covid Bubble Build efforts
TheMongoose replied to wdedig's topic in General Modeling
Man you've got some serious talent in the natural metal finish category! -
Super cool. Sounds like a year of growth for you as the awards kept getting bigger and bigger! Congrats and thanks for sharing your builds 🙂
-
super looking cockpit. i especially like the map half off the table. adds realism.
-
looking good stik! Does he hang them from the ceiling by chance?
-
you're welcome Gil. thanks as well for stopping in 🙂
-
Long time modeler, first time on these forums
TheMongoose replied to modelcrazy's topic in Welcome to the Forum!
Welcome ole buddy! It's a small but interactive crew over here 🙂 Chris -
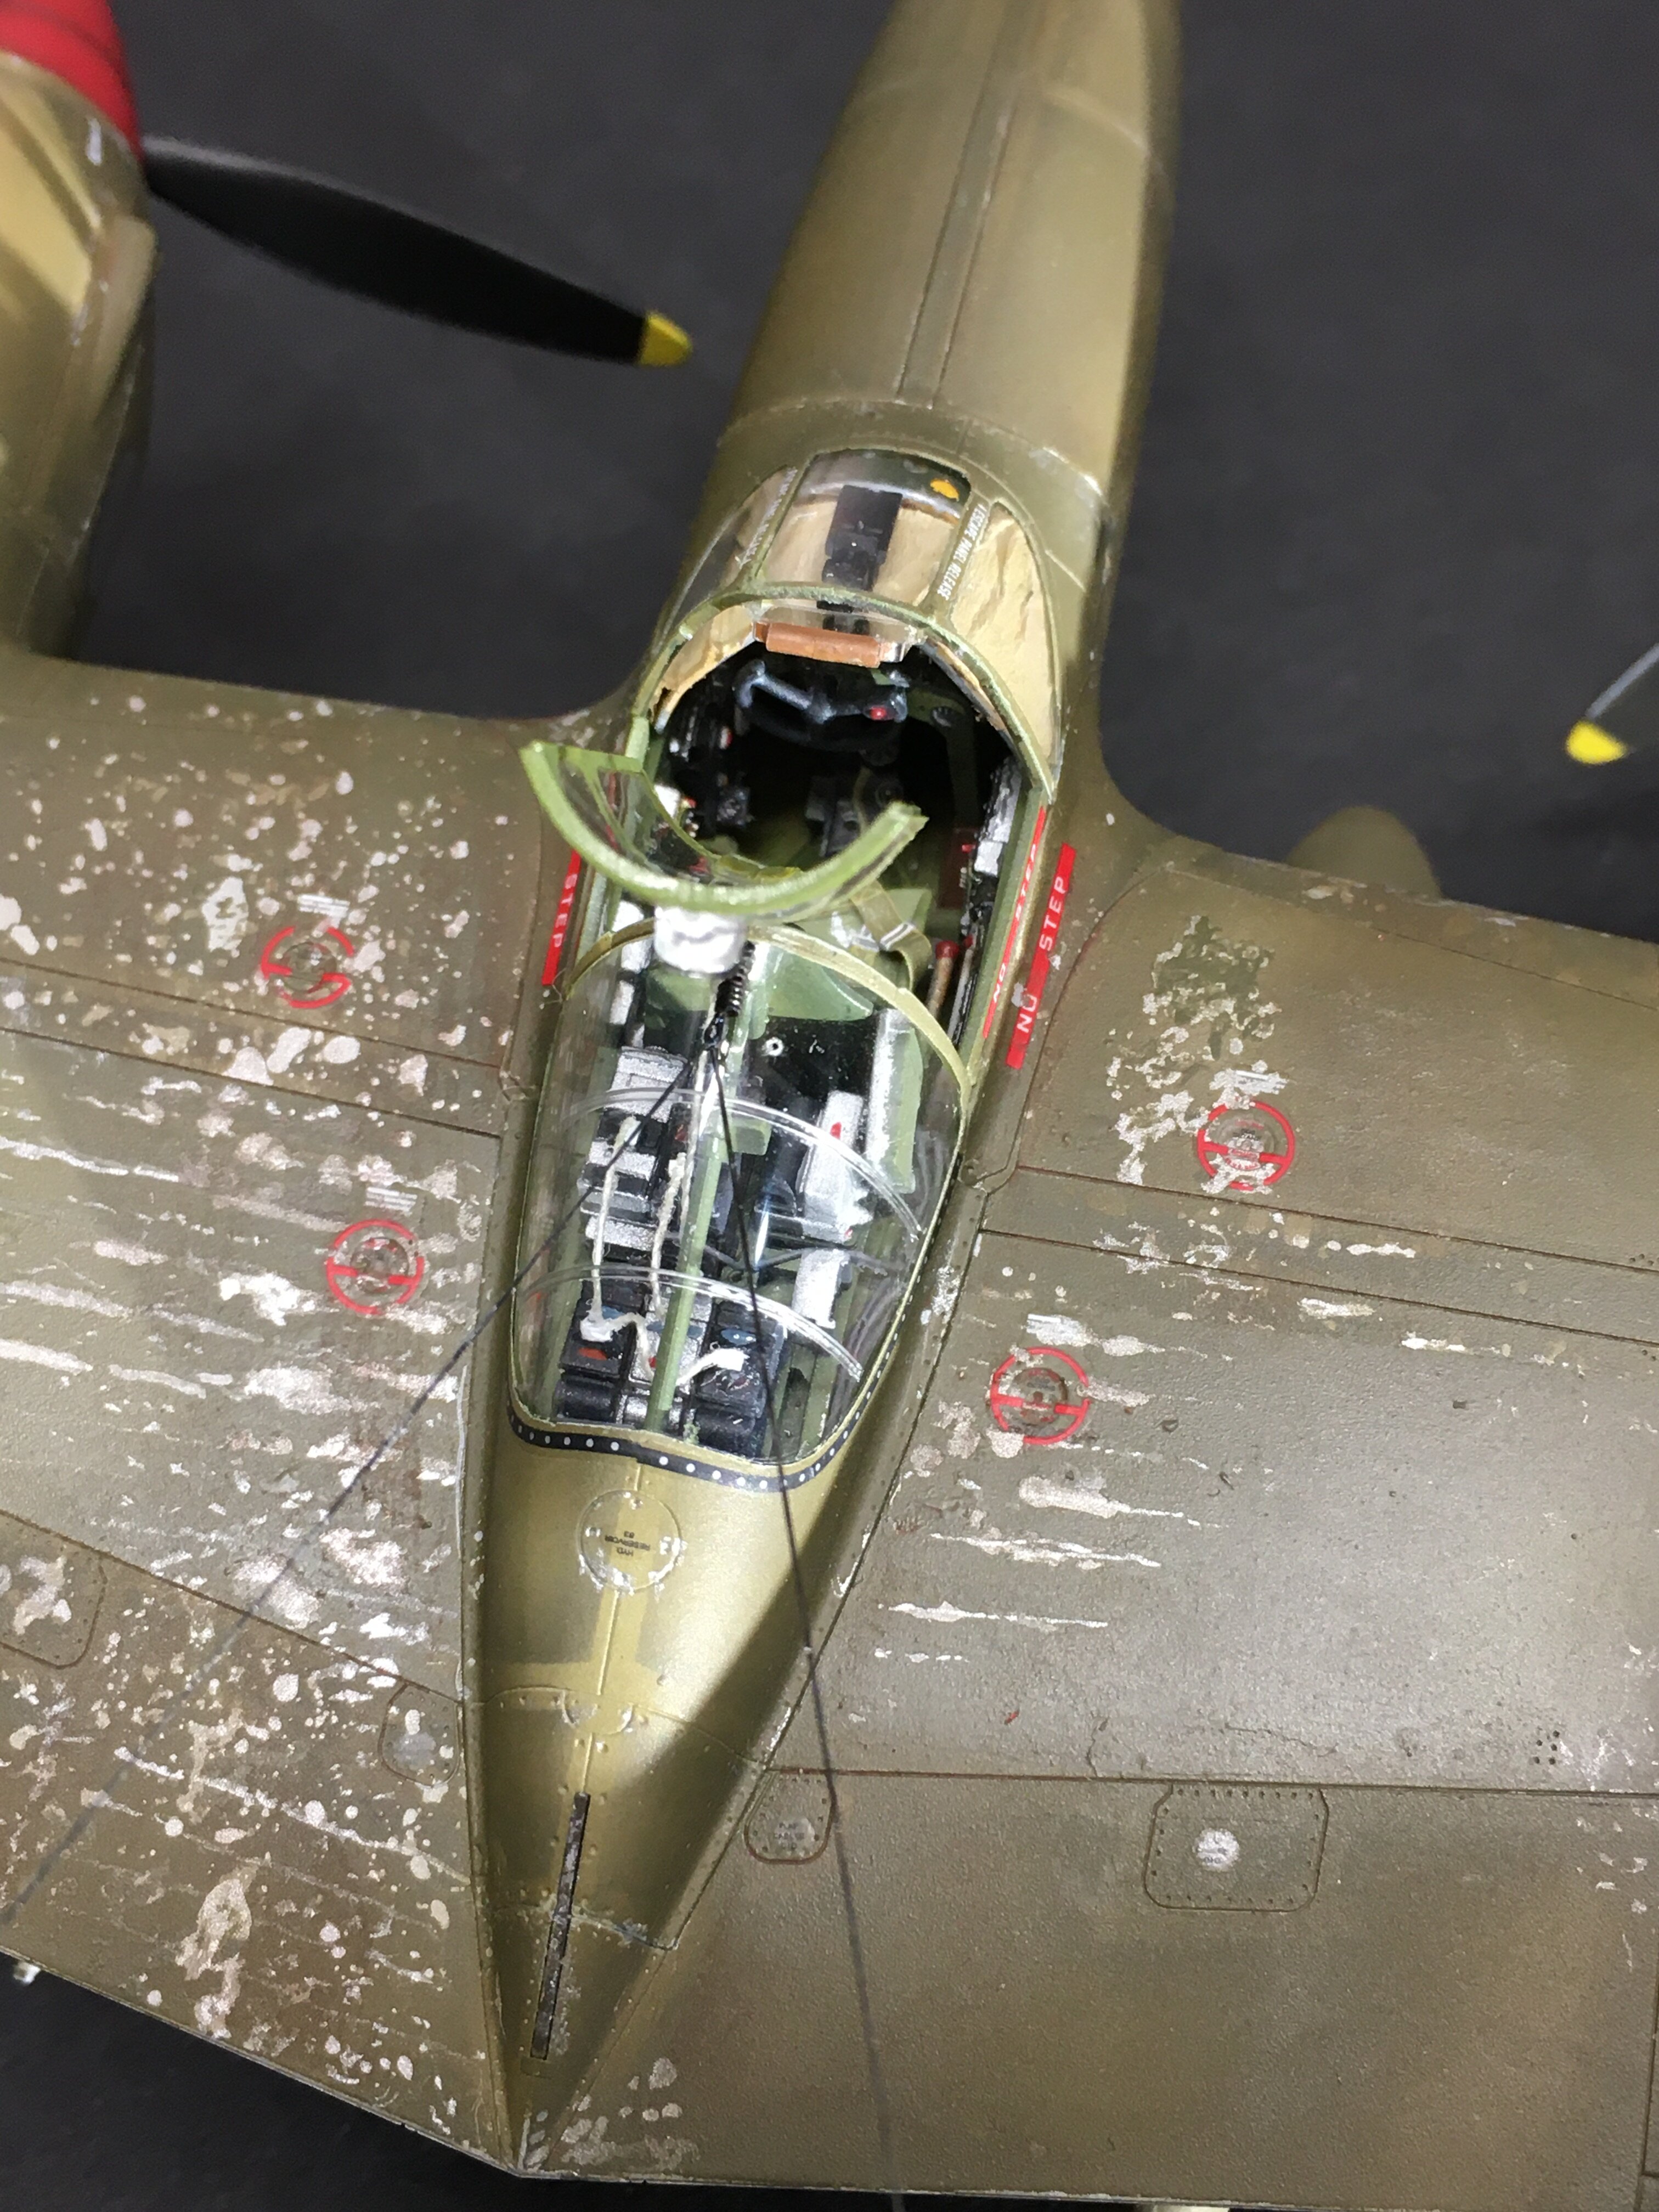
Thanks man! can you believe that Quinta studio IP is near invisible! And…In what is probably a classic experience for all of us...once i took final wip pics I saw something I missed lol spent all that effort to drill a hole in the glass and then forgot to put the wire thru
-
Excuse the semi-double post. I'm learning to use the forum tools and get the pictures to go with the text 😅
-
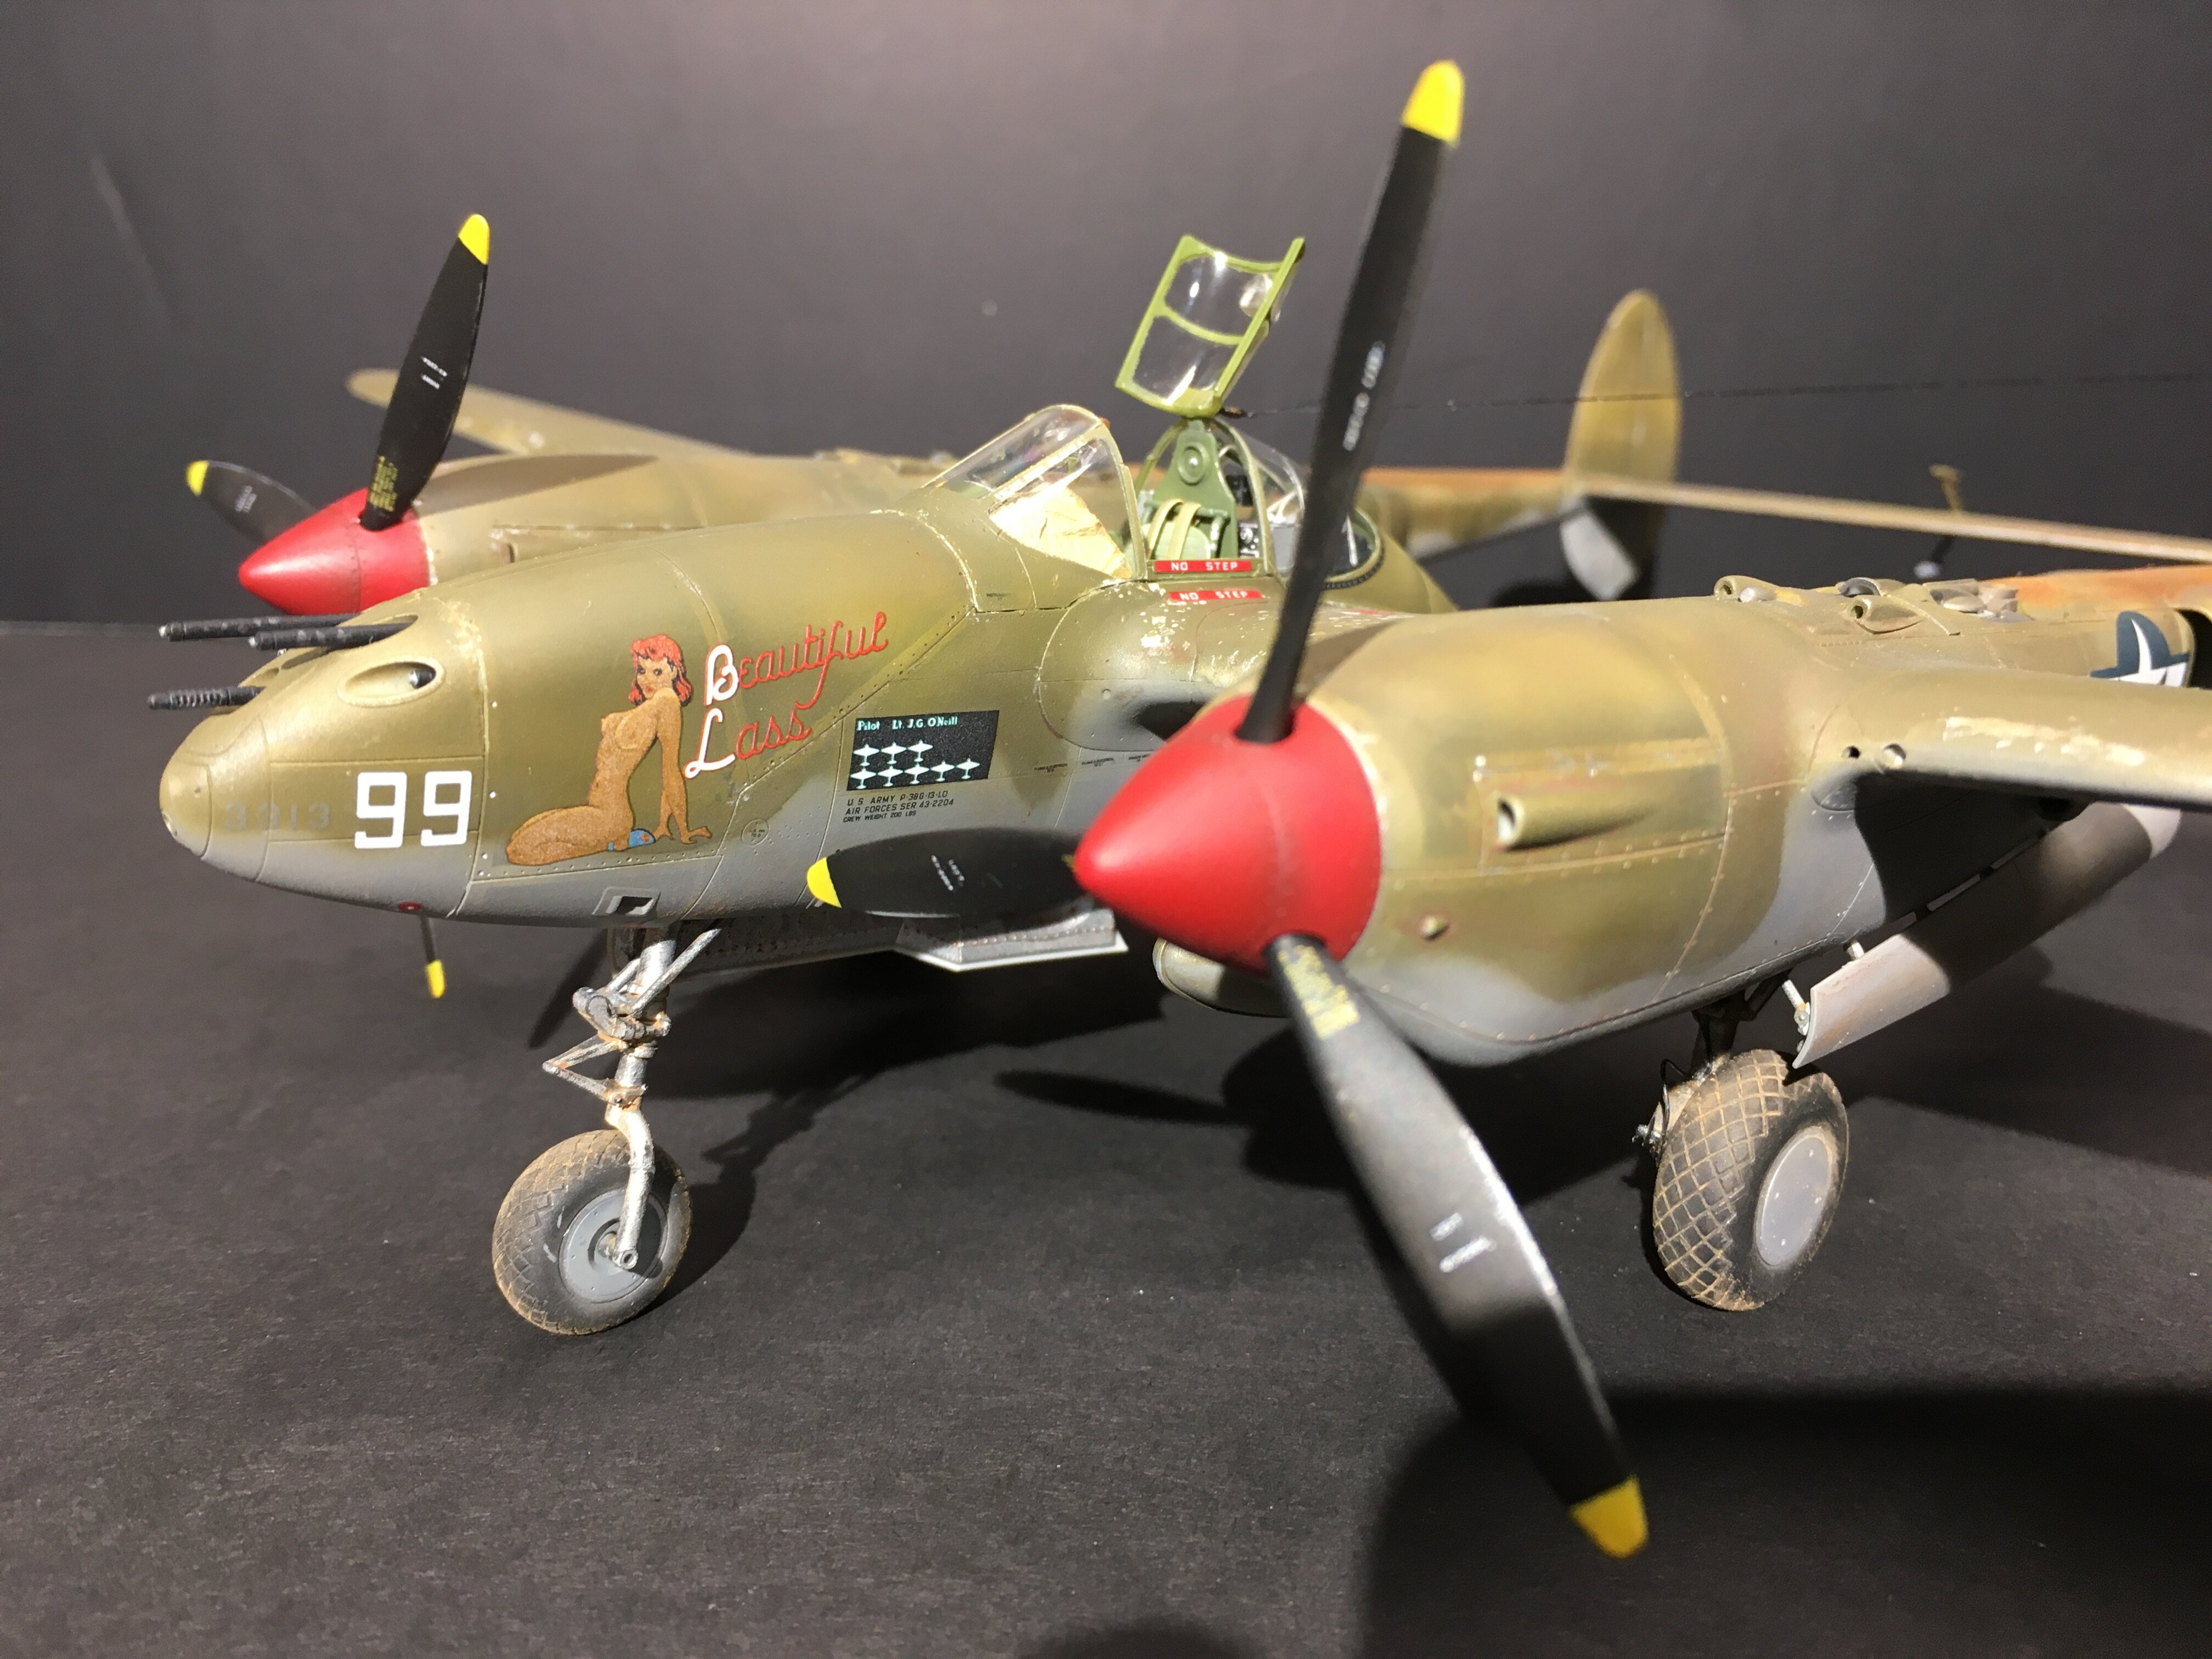
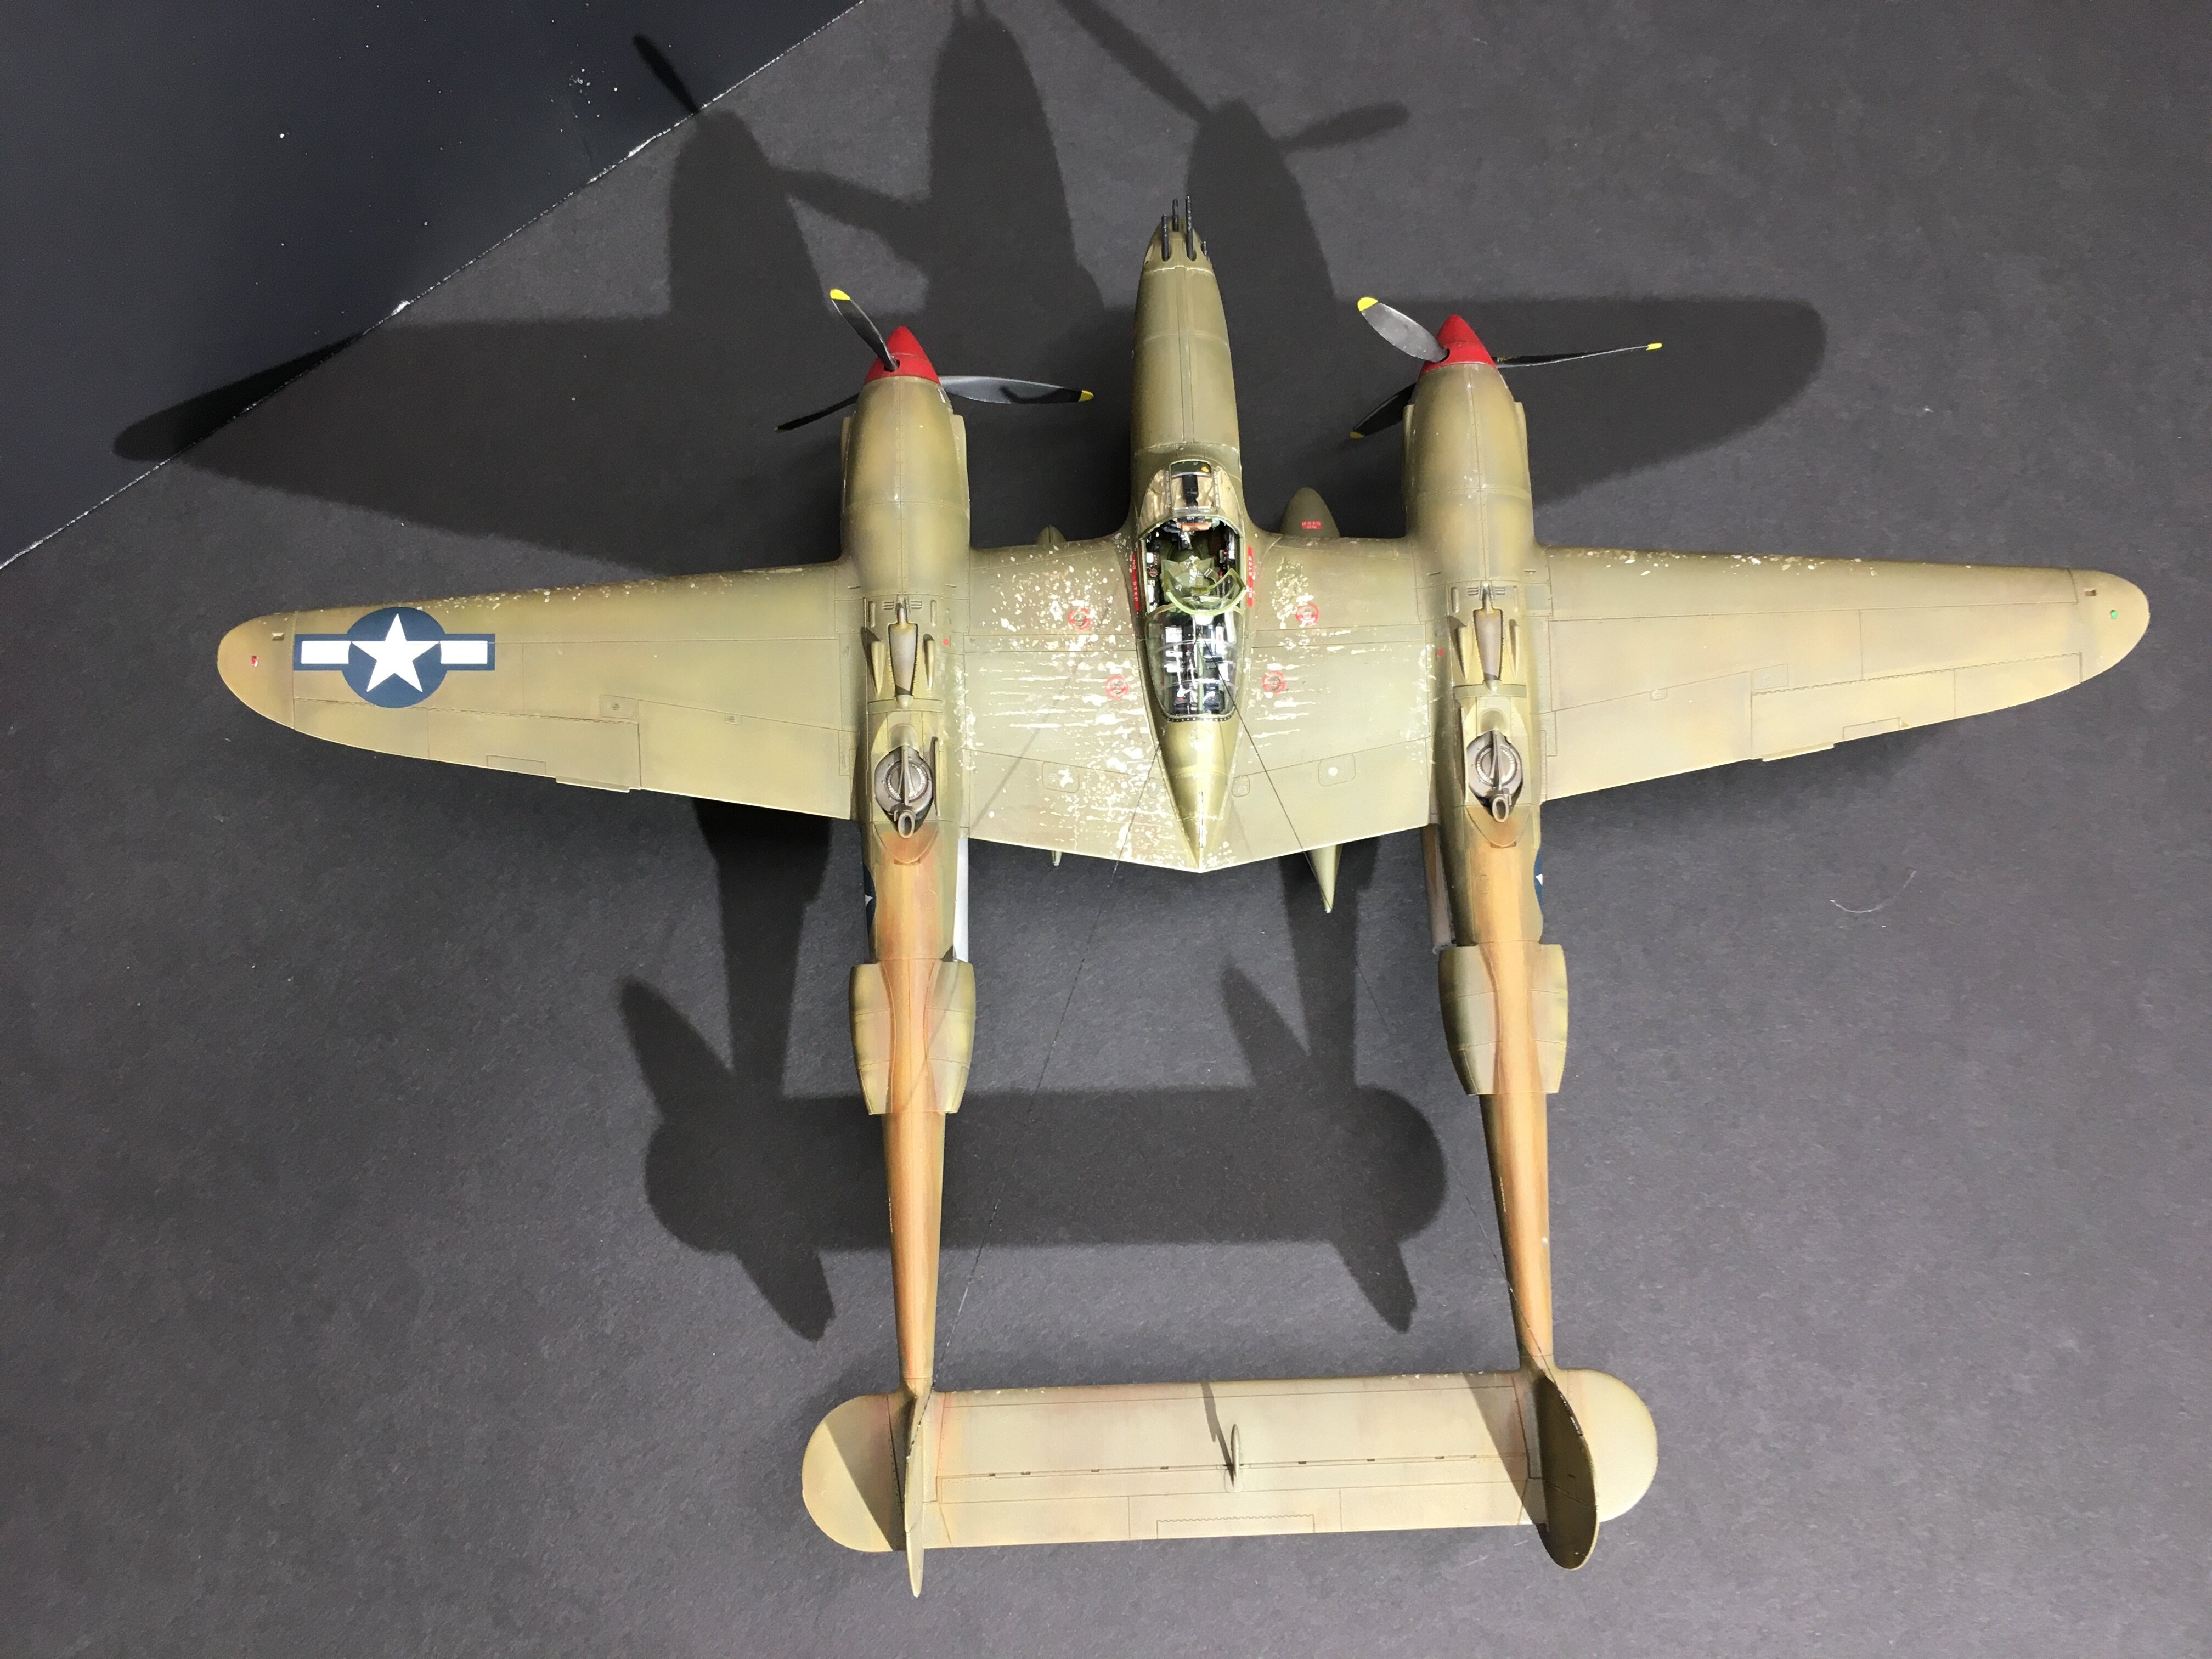
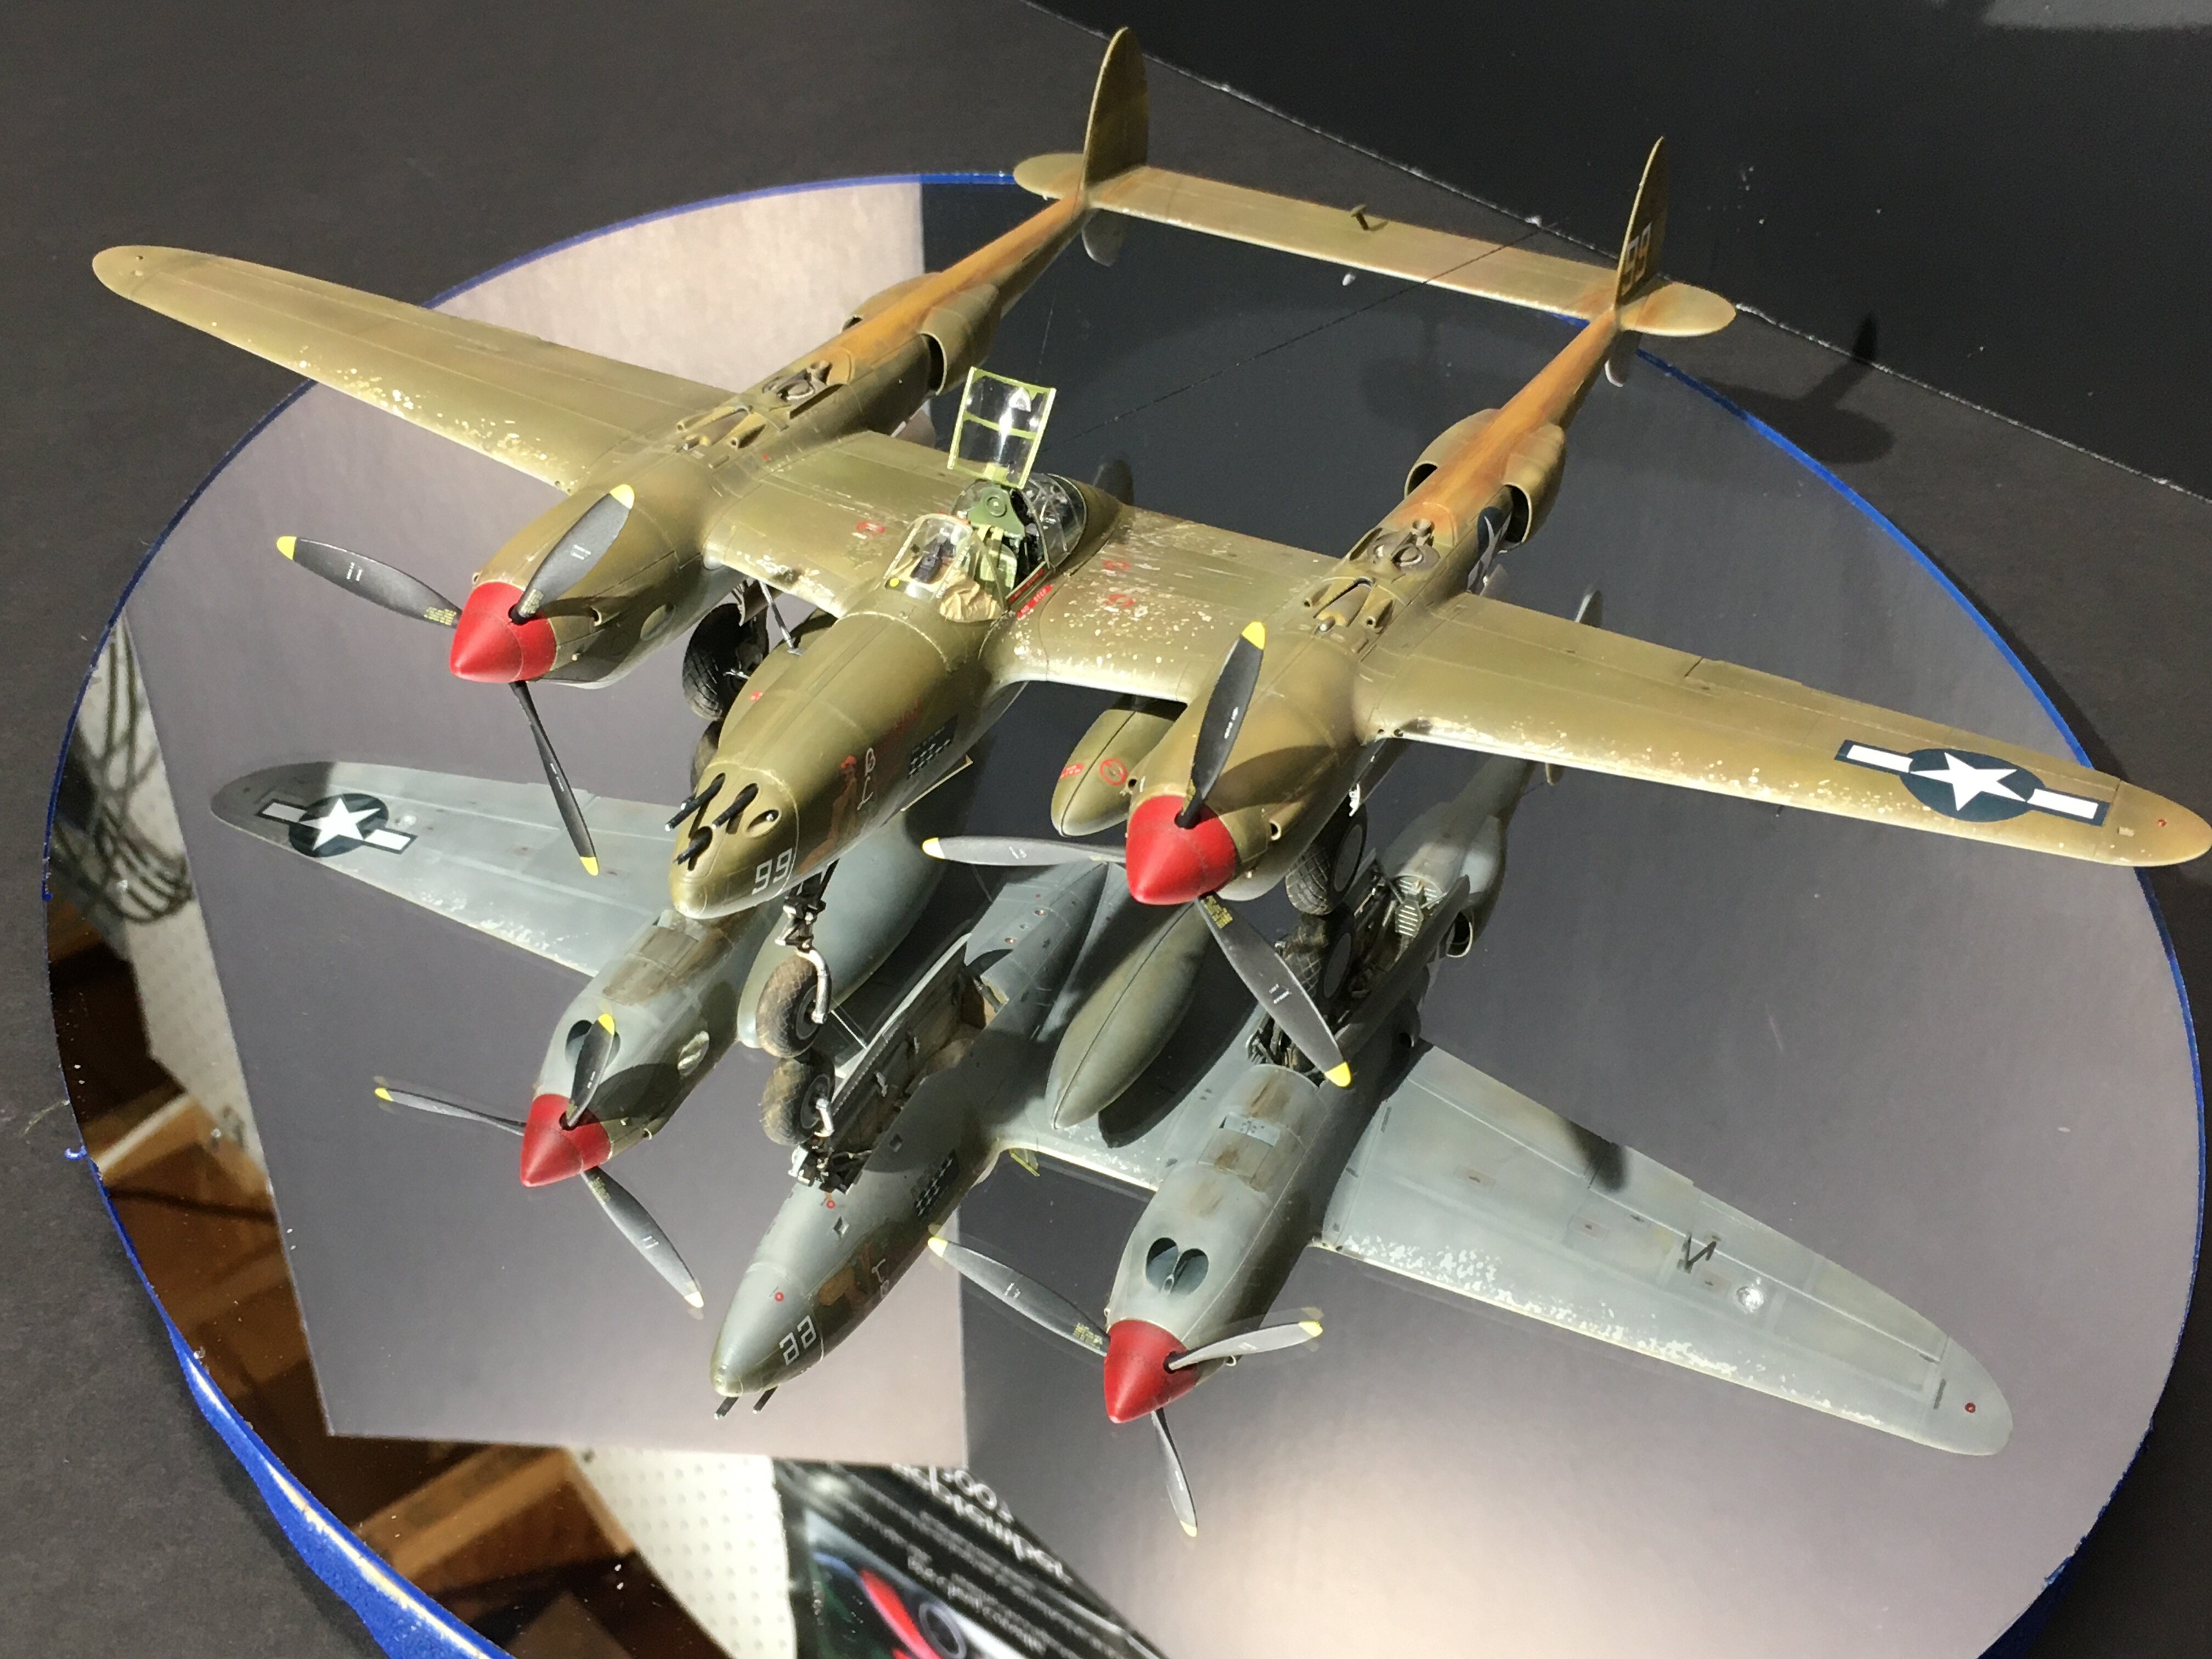
Finito! The Akron Canton IPMS club has a nose-art theme coming up this winter and I was psyched to find something to use! I've had this P-38 in my stash since the Chattanooga Nats and this was the perfect reason to pull it out. I found the Exito decals for Beautiful Lass and it was all the extra graphics they provide that sold me on purchasing them. 5 coats of gloss clear, then rolled some 4000 grit paper on a dowel to sand down the edge of the decal all around to make sure it was perfectly smooth and you couldn't feel the lip from the decal (they are just a tad thick). Then I applied 2 coats of flat clear. By the time it dried the decal edge had totally disappeared. Super happy with this because it was so obvious to start with. I preshaded in a lightened olive drab (used yellow zinc chromate) and then edged it all in black mist to get the varnish effect from the taped seams to show clearly. I modified a brush so it had just a few bristles and did the panel lines in aluminium. Tamiya leaves this center section smooth but the pics show lots of wear so this seemed to create the right affect. I did the exhaust staining with rendered oils. I used ochra, burnt sienna, and raw umber added some oil stains down under as well And a final closing shot. I'm pretty darn happy with this [t$t] I still have some work to do on my assembly methods. Fortunately a little chipping goes a long way to hiding that haha
-
Finito! The Akron Canton IPMS club has a nose-art theme coming up this winter and I was psyched to find something to use! I've had this P-38 in my stash since the Chattanooga Nats and this was the perfect reason to pull it out. I found the Exito decals for Beautiful Lass and it was all the extra graphics they provide that sold me on purchasing them. Here's a little background on the aircraft as well. The plane was built by Lockheed in Burbank and shipped overseas disassembled and then reassembled. Lt. John O'Neill piloted Beautiful Lass from March to November 1943 on missions over Rabaul and New Guinea, claiming eight aerial victories during this period. The aircraft was lost on December 28 1943 when pilot Lt. Ormond Powell encountered foul weather and was declared MIA when he failed to return to base. 5 coats of gloss clear, then rolled some 4000 grit paper on a dowel to sand down the edge of the decal all around to make sure it was perfectly smooth and you couldn't feel the lip from the decal (they are just a tad thick). Then I applied 2 coats of flat clear. By the time it dried the decal edge had totally disappeared. Super happy with this because it was so obvious to start with. I preshaded in a lightened olive drab (used yellow zinc chromate) and then edged it all in black mist to get the varnish effect from the taped seams to show clearly. I modified a brush so it had just a few bristles and did the panel lines in aluminium. Tamiya leaves this center section smooth but the pics show lots of wear so this seemed to create the right affect. And that final closing shot…I'm pretty darn happy with this 🍺 I still have some work to do on my assembly methods. Fortunately a little chipping goes a long way to hiding that haha

-
“Most excellent “ comments guys ! working on closing the cockpit tonight you know are used Elmers glue on that thread but the macro lens really detracts from it don’t you think ha ha
-
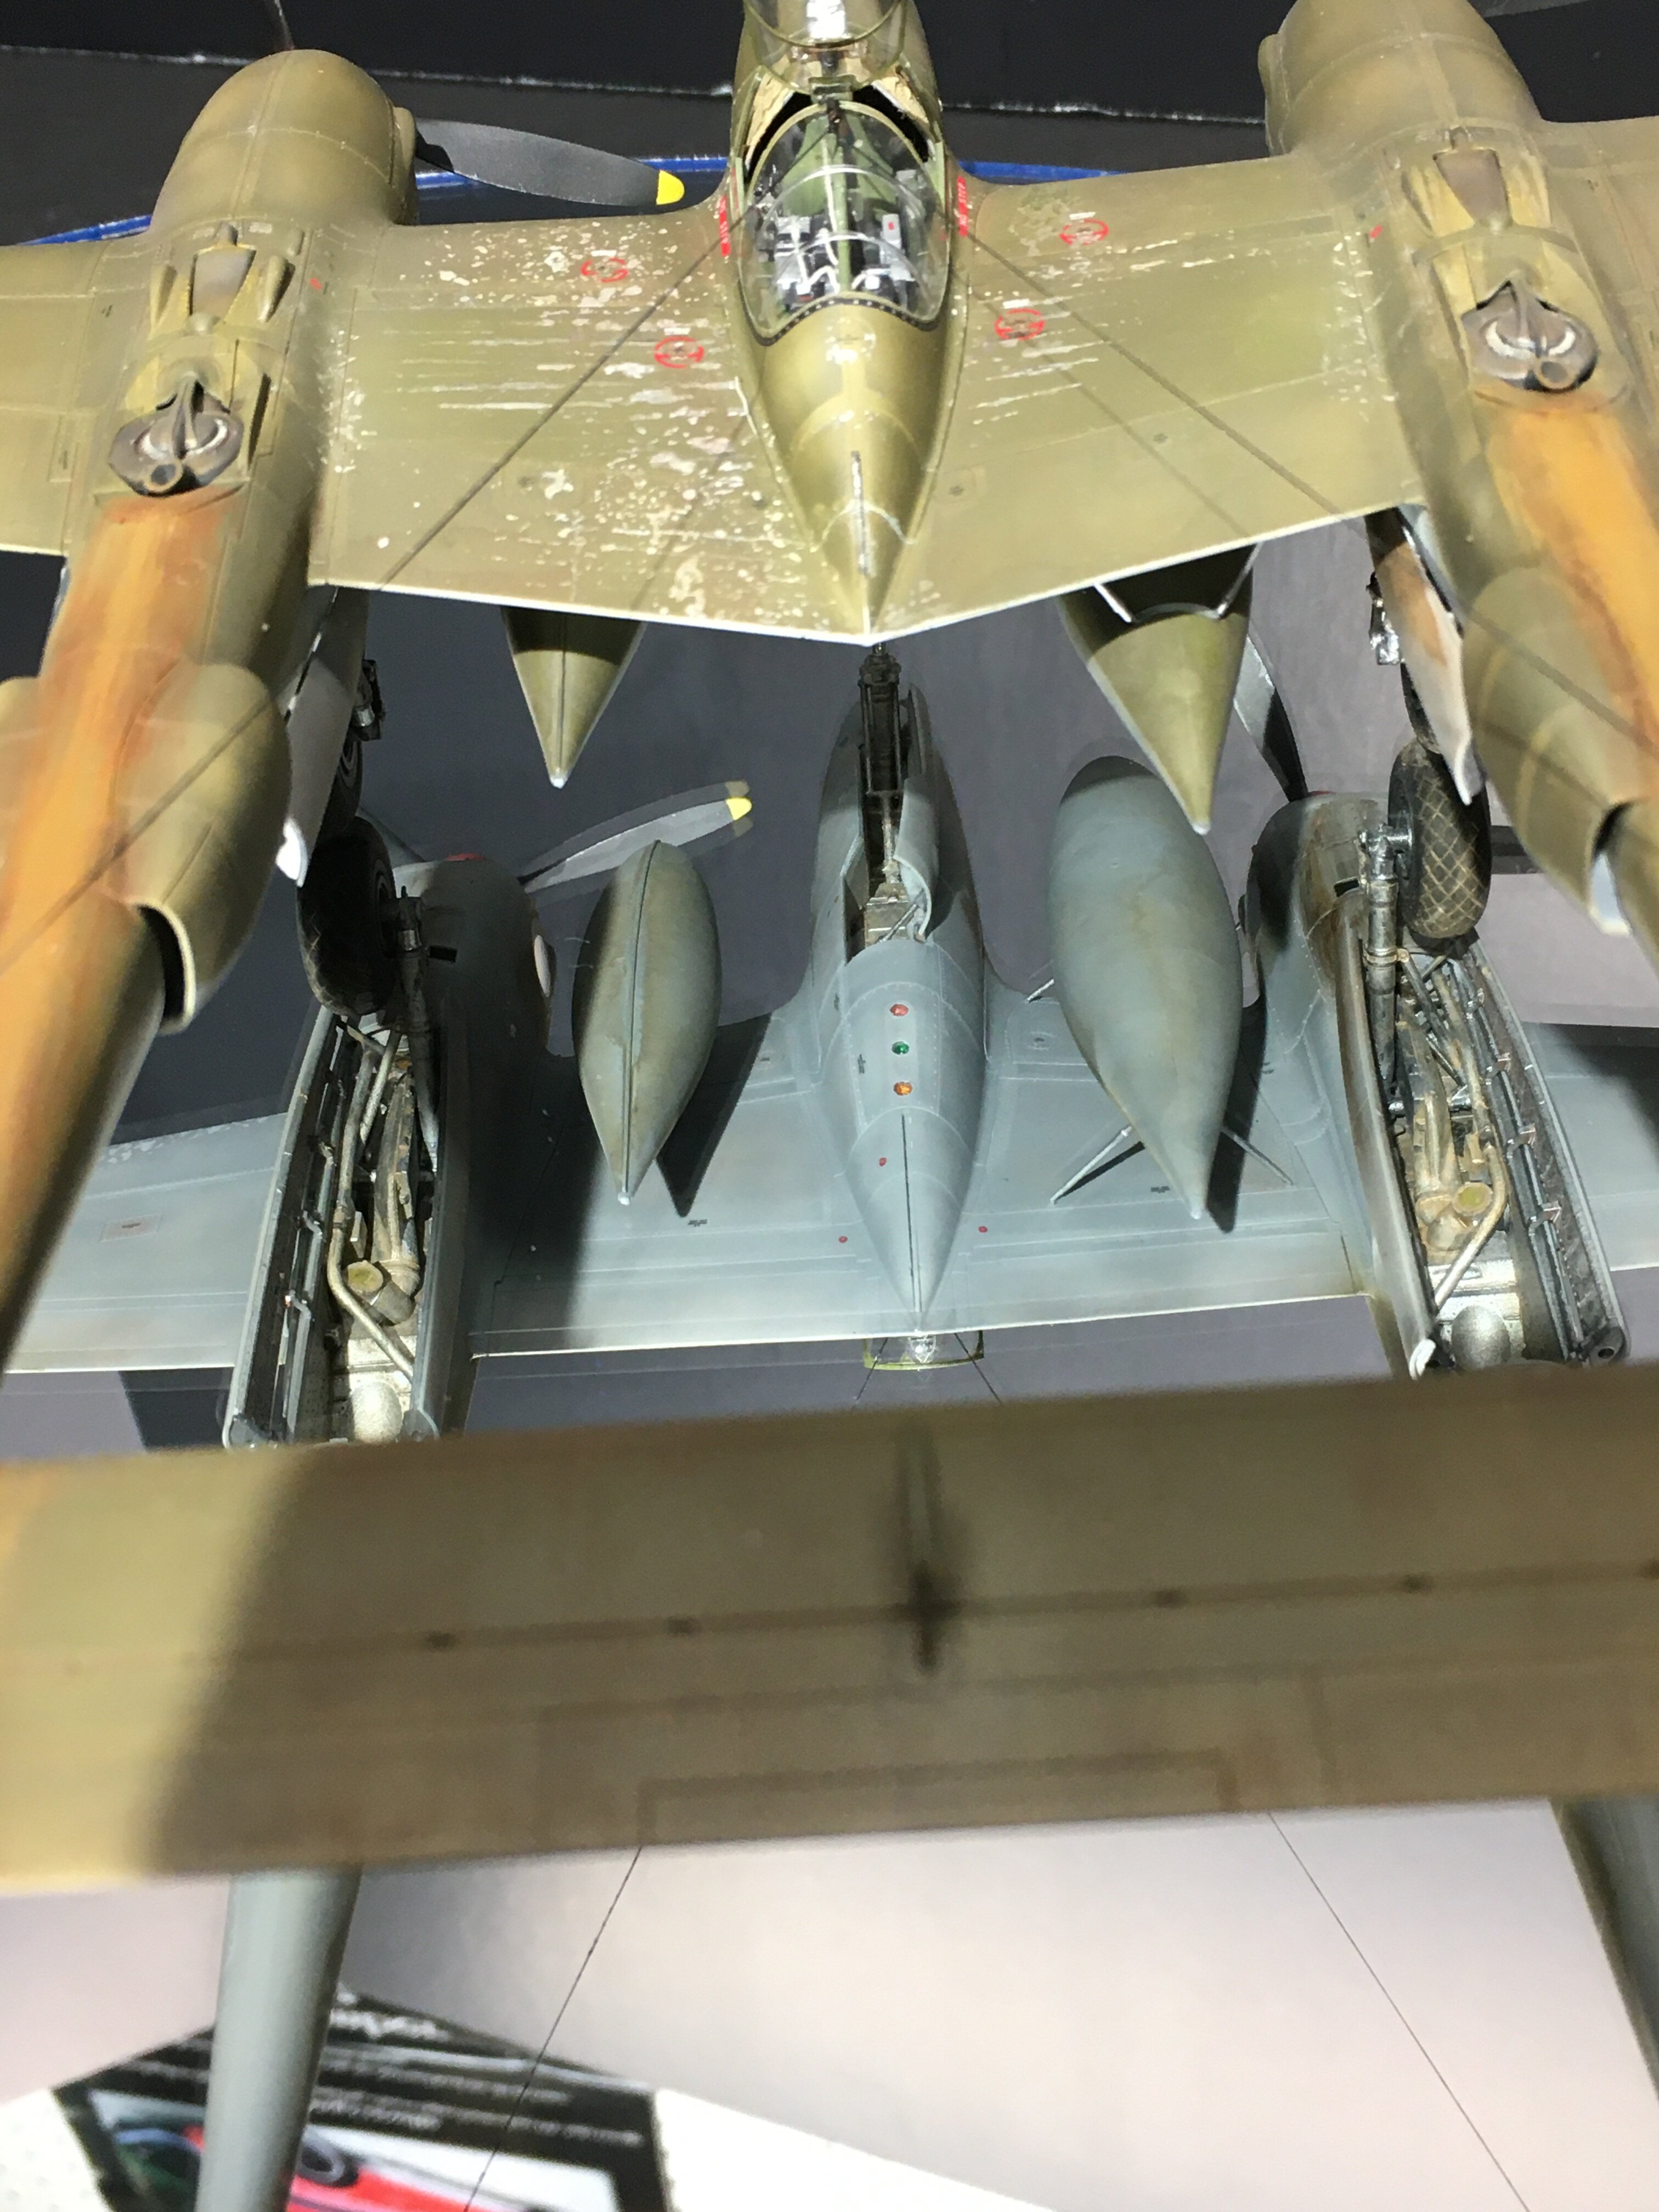
My buddy Bradley25mm likes how this is coming along so I thought I’d post it up. Really really taking my time with this one. working tonight on lots of weathering. This 1st set is all about a new technique. I read a 3 part article by john miller on model paint solutions for the P-38. Before I left on my last trip I squeezed out a dollup of oil onto cardboard and left it for 10 days. Came back to "rendered" oil pigment. Blend some with odorless turpenoid, put a drop in the center of a panel and let it spread. use your hair dryer and then repeat till the color is as dark as you want. i finished off tonight using a dark brown flory wash on top. The underside went so well and it drys right away compared to when i use the straight oils that i tried it on top. Then rendered oils for the exhaust staining. I wanted one darker than the other. Not sure tho if it's toooo different. Let me know. btw it's not this bright or coppery in person.
-
Here you go, Burke Lakefront Airport in Cleveland Ohio!
-
I’ve got you covered. Will send you a text
-
Cool idea on the mixing balls! Glad you’re up and running again. Hope everything works out for the best. chris
-
For sale, 72nd, 48th, 32nd, 35th, 20th, 24th and others
TheMongoose replied to philp's topic in Wanted/For Sale (public)
How much is that pink F3000? and for grins how about both battlestar galactica models? Built those as a kid but they didn’t survive the purge. -
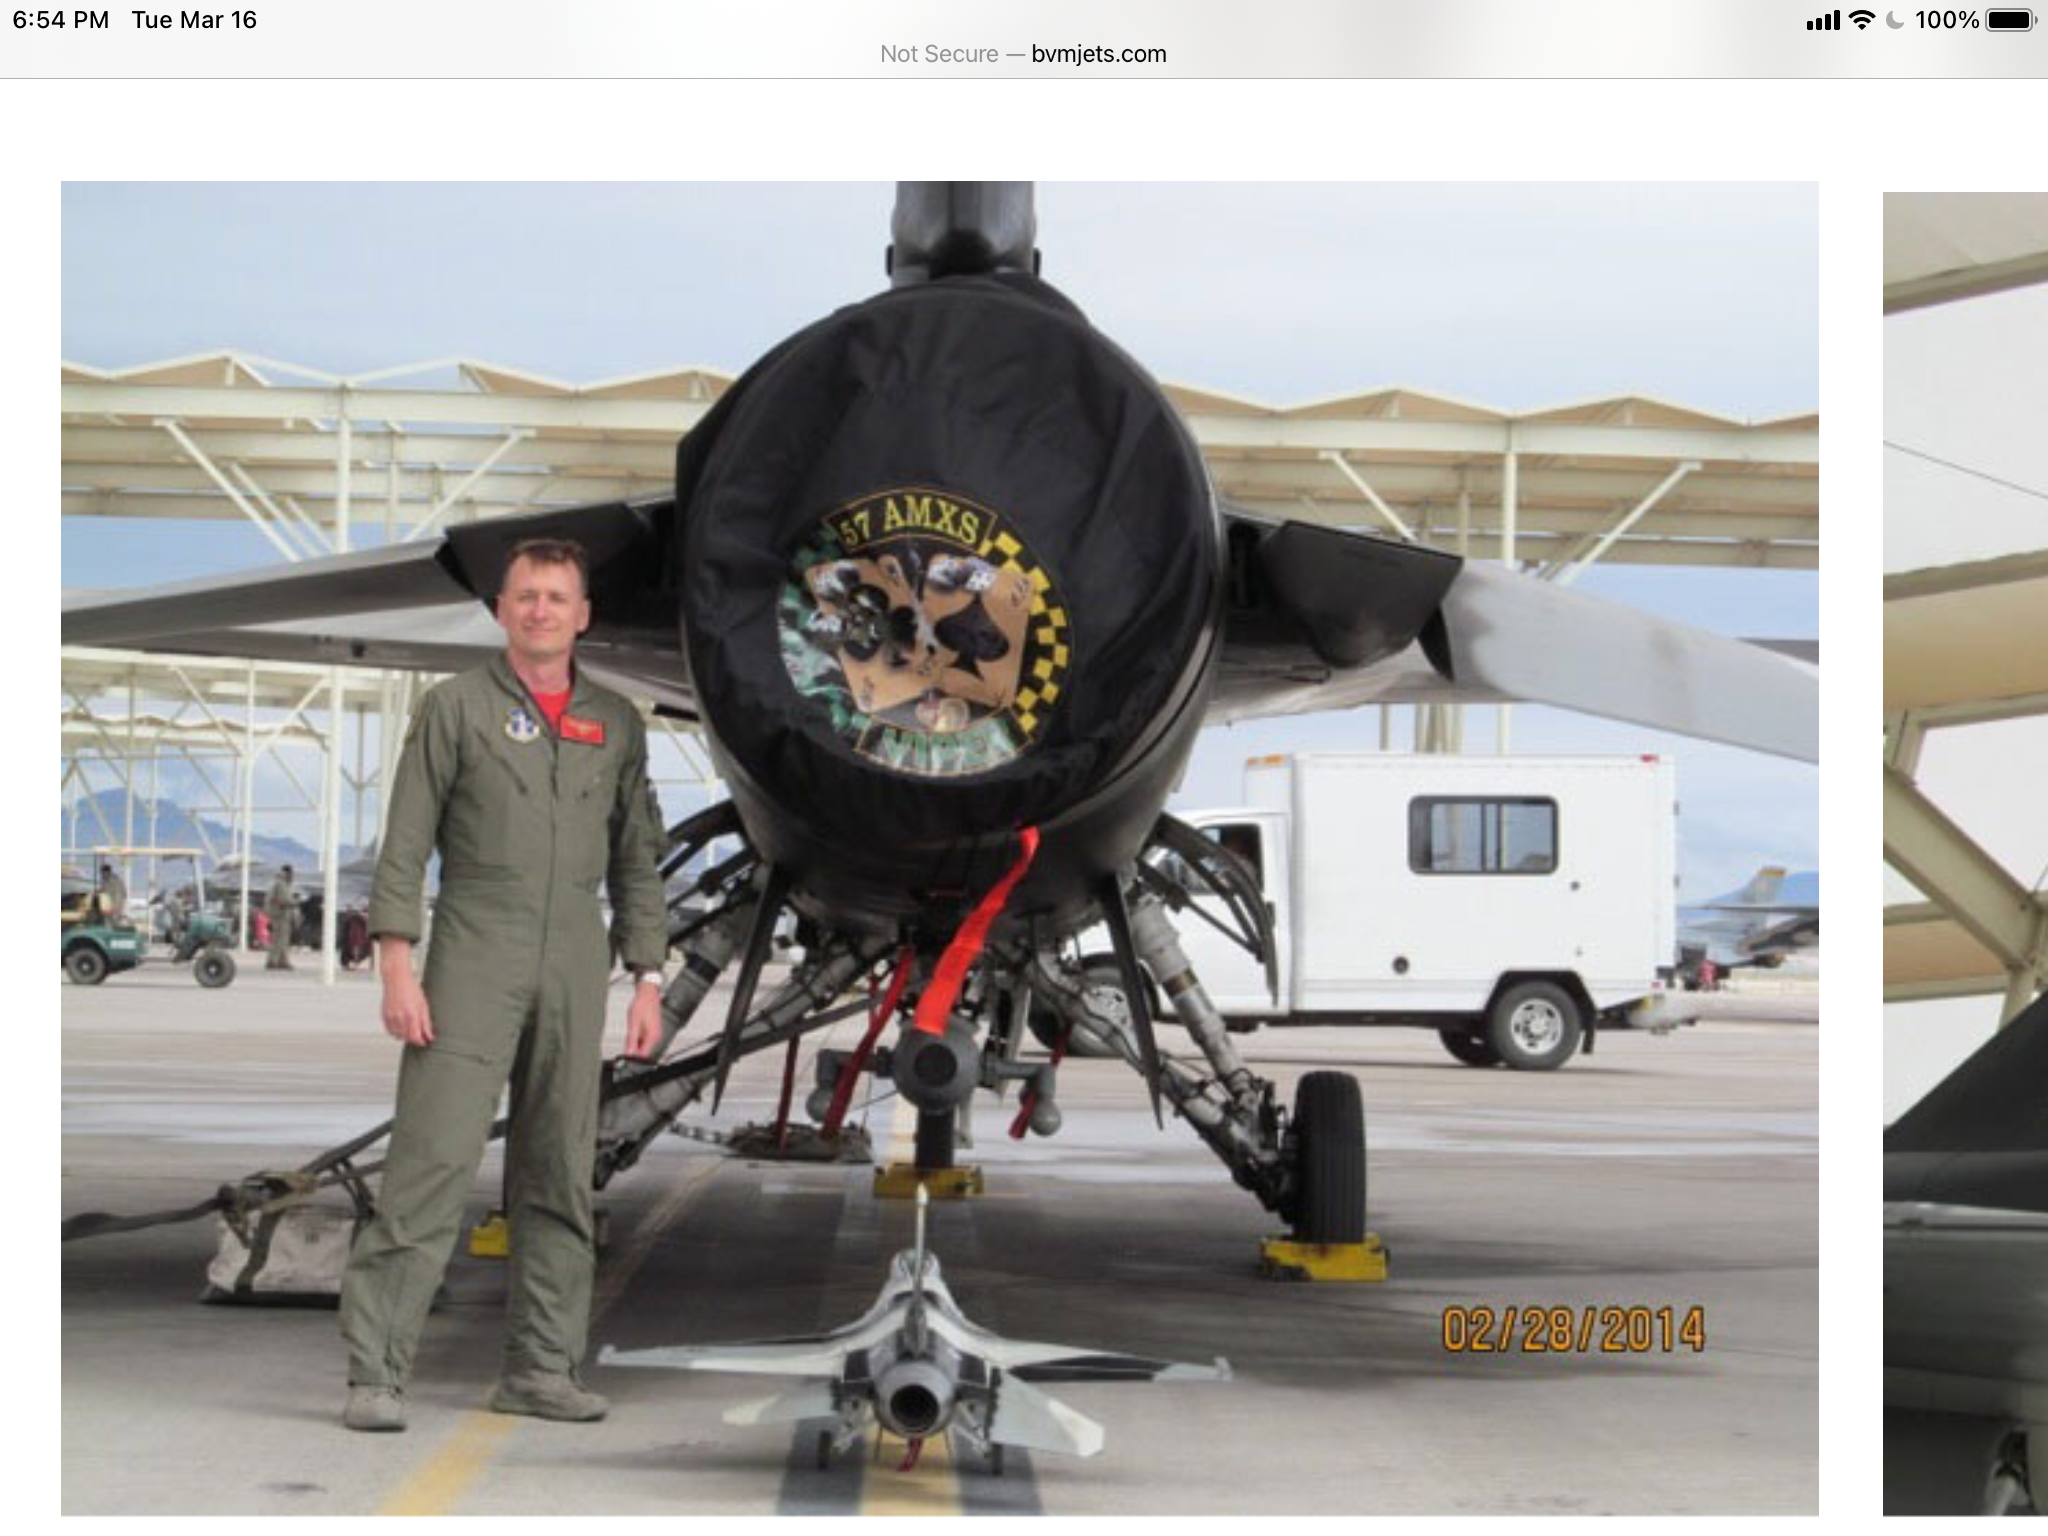
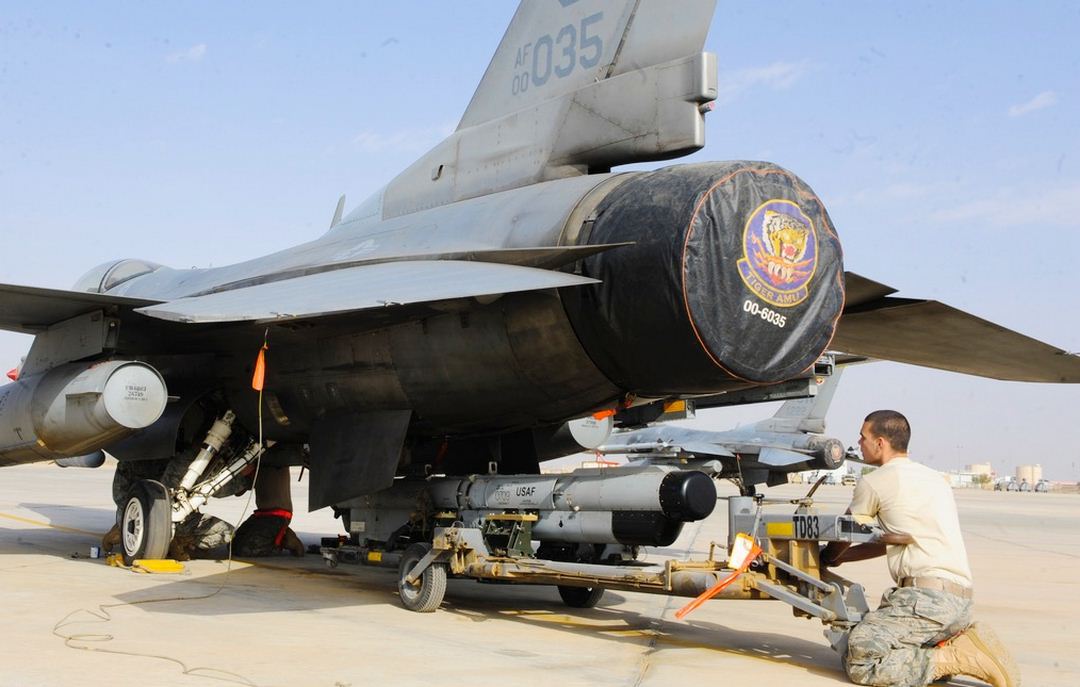
1:32 F-16, suggestions requested
TheMongoose replied to StuartMont's topic in Tools, Tips & Techniques
Looks like they pull a cover over it. Here are 2 pics I found for you. In terms of paint I try to assemble as much as possible before priming and painting. Anything that will be affected by glue I assemble 1st. I did this for my F-16 in Thunderbirds motif. I put the engine halves together 1st then did all the filling, then add components and paint. chris
-
Have you tried taking a pic and loading into google translate? It’s pretty good.
-
Ryefield Models 1/35th scale M4A3 76W HVSS Sherman
TheMongoose replied to Bradley25mm's topic in Armor
Going to be a show stopper! I don’t know why others haven’t added lighting to armor before. This will be a world apart from the traditional build. -
Wow, great advice gang! I had tried to get back on here last weekend and ran into the forums being down and my ipad doing the same thing to me haha thrilled with all the responses once i got back online. ok off to try an outline since my thoughts truly are all over the place on what to include in the article. I finished up Tamiya’s 1/350 Enterprise complete with hangar bay and full lighting. I’ve seen quite a few of these and alot of them have tons of aftermarket on them and lighting has been talked about. I think what my buddy likes is the focus on out of the box with lots of painting techniques to set it off and modernizing the lighting to a full led package withadvice on how to do it. See... I think you guys got me started on a direction already!
-
So my buddy says I “have” to write up an article for IPMS 😂 I finally told him I’d give it a shot. Haven’t found anything yet on how to do that, although I have to admit it’s been a casual search. 😉 How do I go about submitting an article for the journal? I could also use a guide on the requirements for an article.
-
Hey everyone, my daughter loved the B2 Stealth bomber at the Air force Museum and got me one for my birthday. It’s a 1987 Revell model so you can imagine the state of the decals. I saw on Scalemates that the Nationals had a set of B-2 decals. Would love to use them if anyone has a set and would part with them. Let me know 😃 Chris IPMS USA 2006 National Convention [Kansas City] Decal Northrop B-2 Spirit Stealth Bomber IPMS USA - No. 2006 - 1:72