


stefanwest
-
Posts
122 -
Joined
-
Last visited
-
Days Won
4
Content Type
Profiles
Forums
Events
Posts posted by stefanwest
-
-
Wings are done and attached. Drilled out the exhaust ports and adding exhaust stains. Last piece is the main rotor which I test fitted. Plus the model is not a tail sitter. But not by much.

-
 1
1
-
-
Added the tail.
-
1
-
-
Having to build and paint this kit in sections because of its weird shape. Next I will work on the tail section.
-
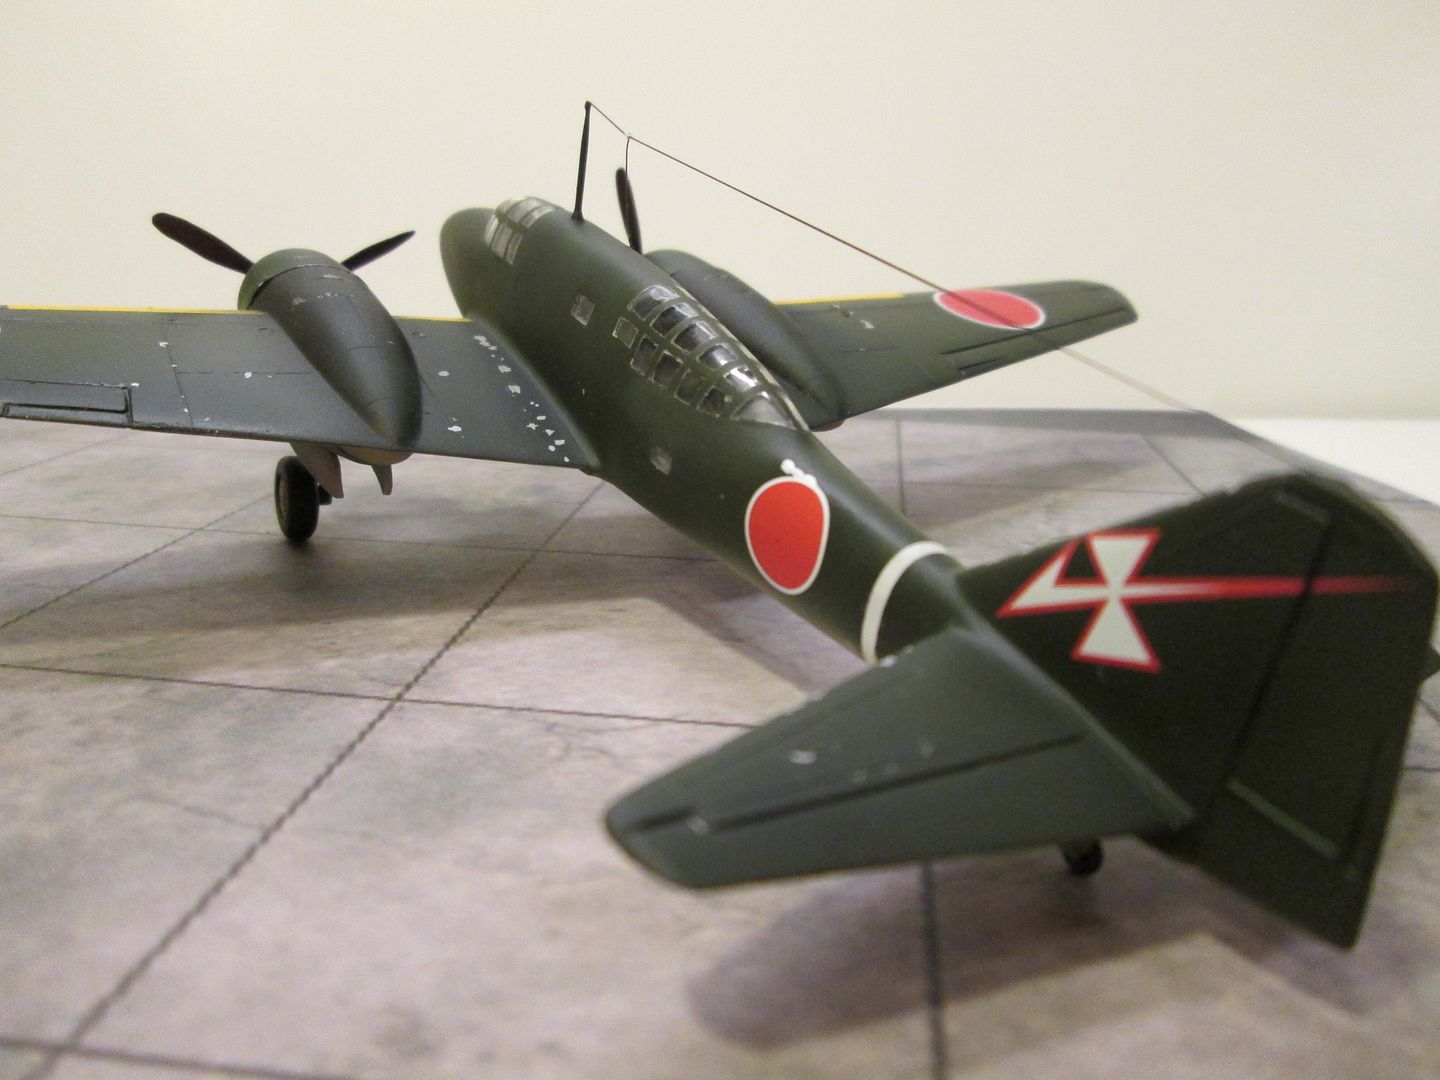
Aotake was done by applying Alcad Duraluminum first then spraying a 50/50 mix of Tamiya clear blue and clear green on top of it.
-
-
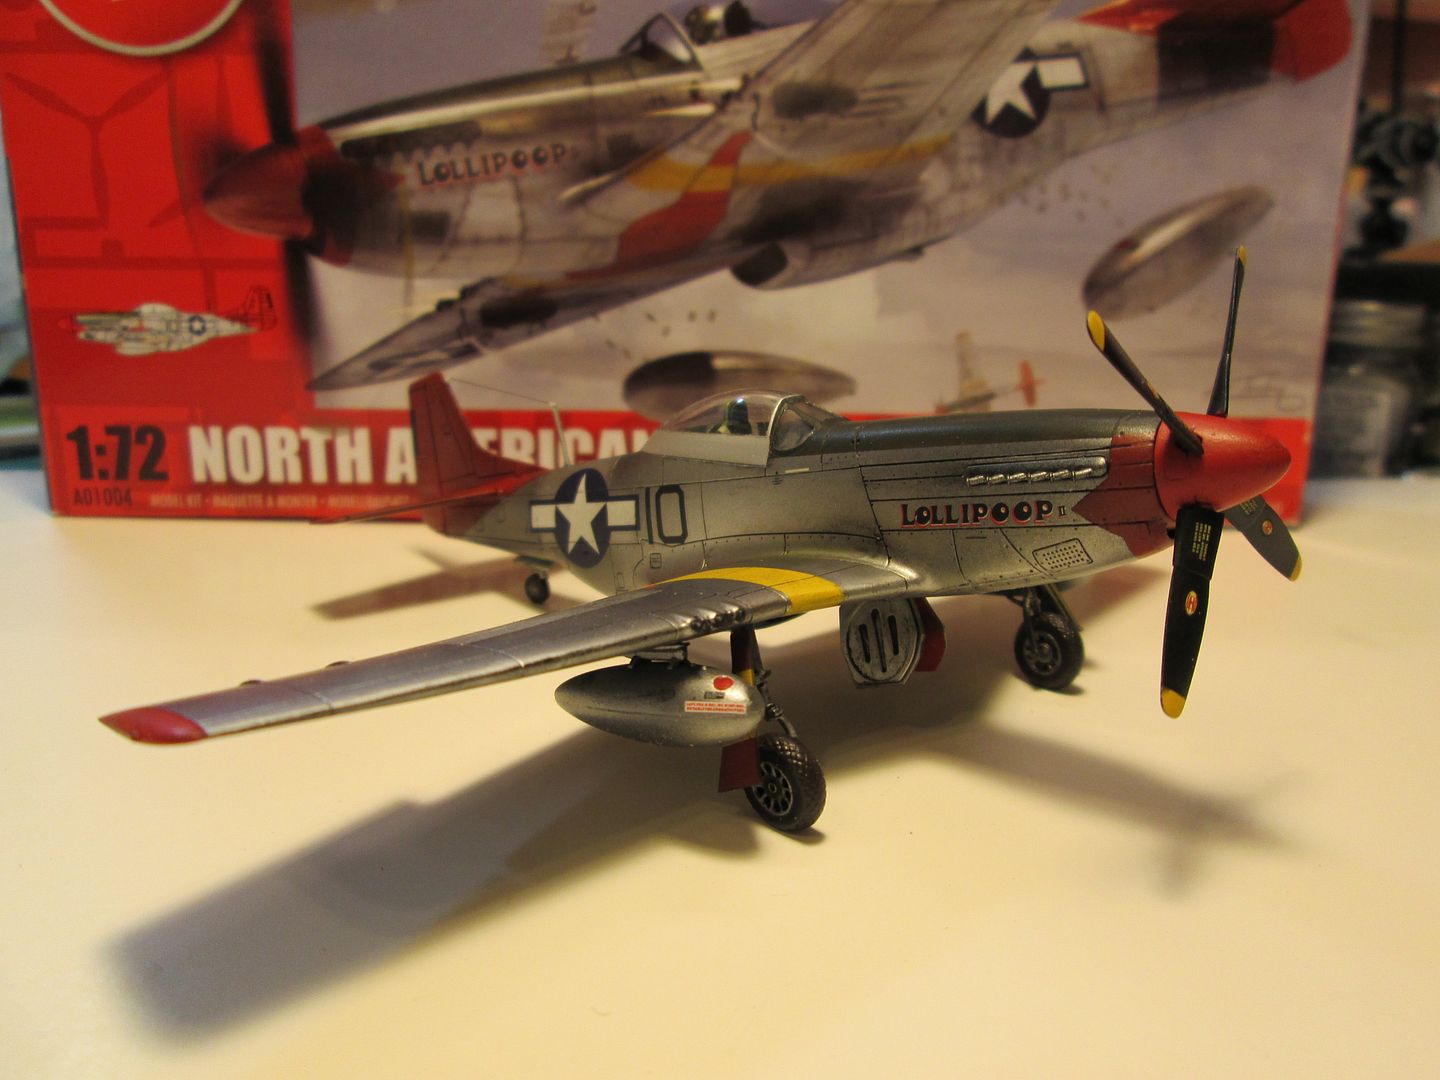
My first 1/48 kit. I mainly work in 1/72 scale but was challenged by my fellow club members to build a kit larger than 1/72 and a kit than was not 50 years old.
-
No. This is rebox 1965 model kit.
-
-
You can see how my method worked on my Wellington I posted here. The bottom panel lines are all created by my method. Also to can see them on top of the nose area.
-
I use method similar to using tape and mr surfacer. I use one piece of tape and airbrush some primer at a 45 degree angle at the tape edge. Takes practice put it goes very fast.
-
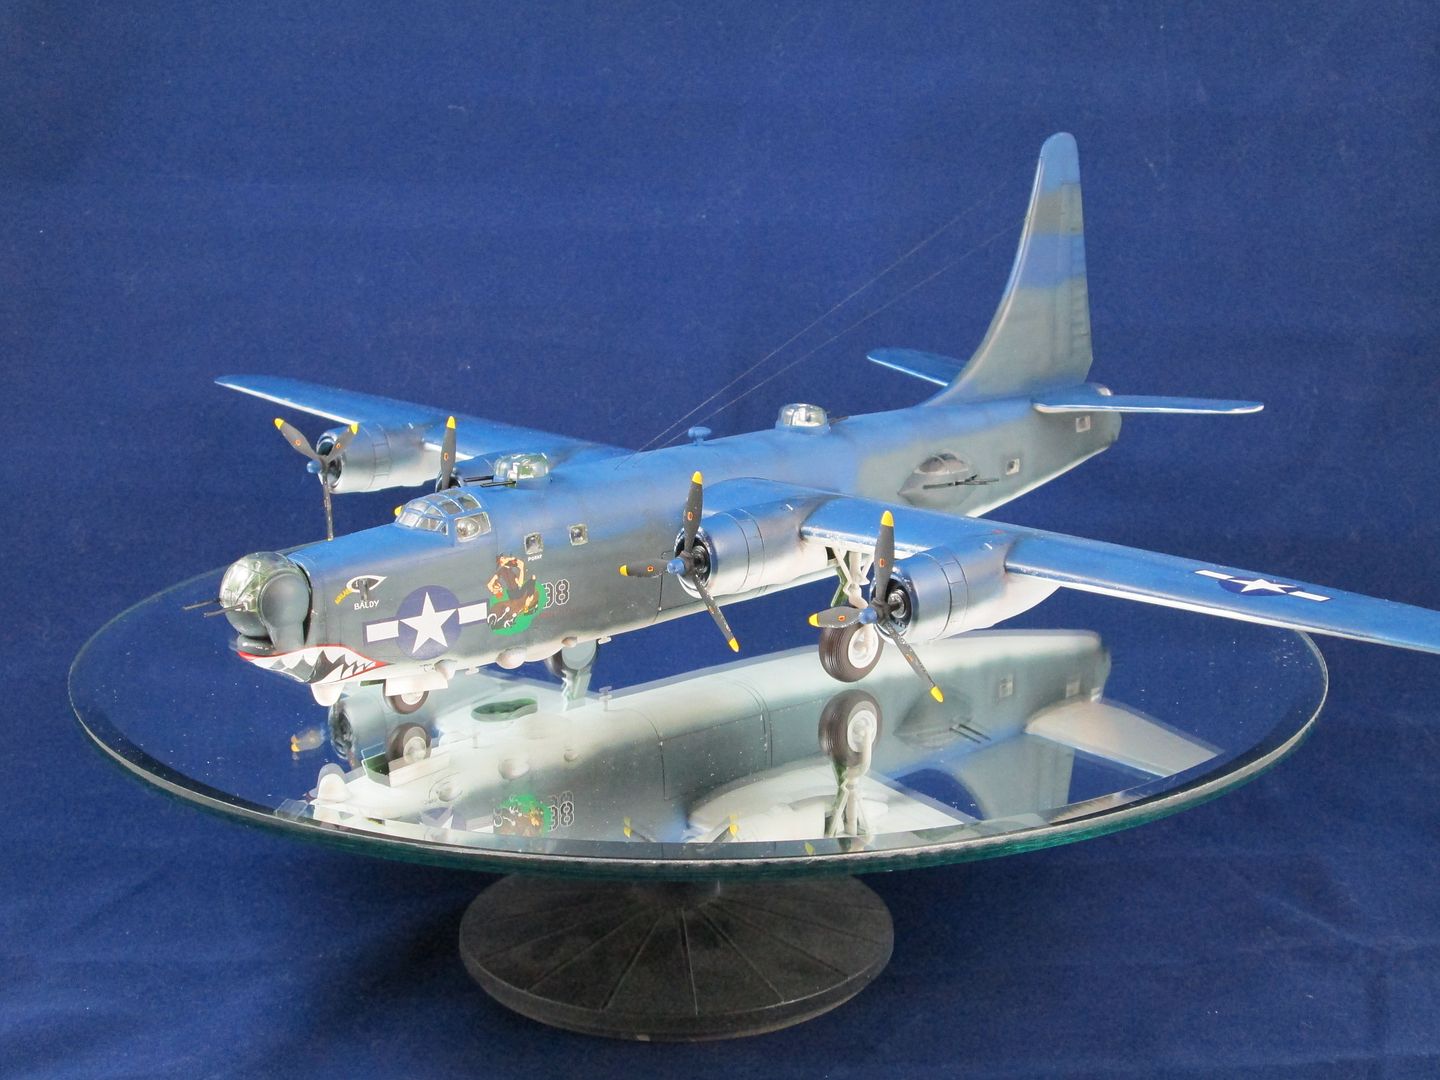
Another British bomber to go with my Short Stirling.
-
1
-
-
Those are decals from the kit.
-
My latest project.
-
1
-
-
The brass tubing has the same feel amd strength as the flexi-file I have. Course this was my first attempt and I could have bend the first curve alittle wider and not have suck a kink in it.
-
Total cost of the materials not counting the benders and the cutter is about $6.00 and I can make 2 to 3 sanders depending on size. The flexi-file costs about $18.00 for one file.
-
I have in my tool chest the flexible sander to help sand curved surfaces. But for me this tool is too wide. I saw somewhere where someone made there own custom flex sander. So I cannot take credit for this idea. But I gave it a try and made my own. Only difference is the one I made is narrower so it would be more comfortable in my hand and I am able to get into tighter places.
First I bought tubing benders, cutter, tubing and small leather rivets. Tube sizes are 3/16 and 5/32.
Started the bending.
Add CA glue and let it run into the corner to give some extra strength.
Made my cuts to even out the arms.
Clean out the cut and enlarge it.
Cut smaller pieces off the smaller tube and selected couple rivet heads.
Glued the rivet heads to the short tube sections.
Using no glue I just forced the smaller tube sections onto the ends of the sander.
Cutting my own sanding strips.
Add couple drops of CA glue. When gluing the other end I slight squeeze the sander so it can get a tight grip on the sand paper.
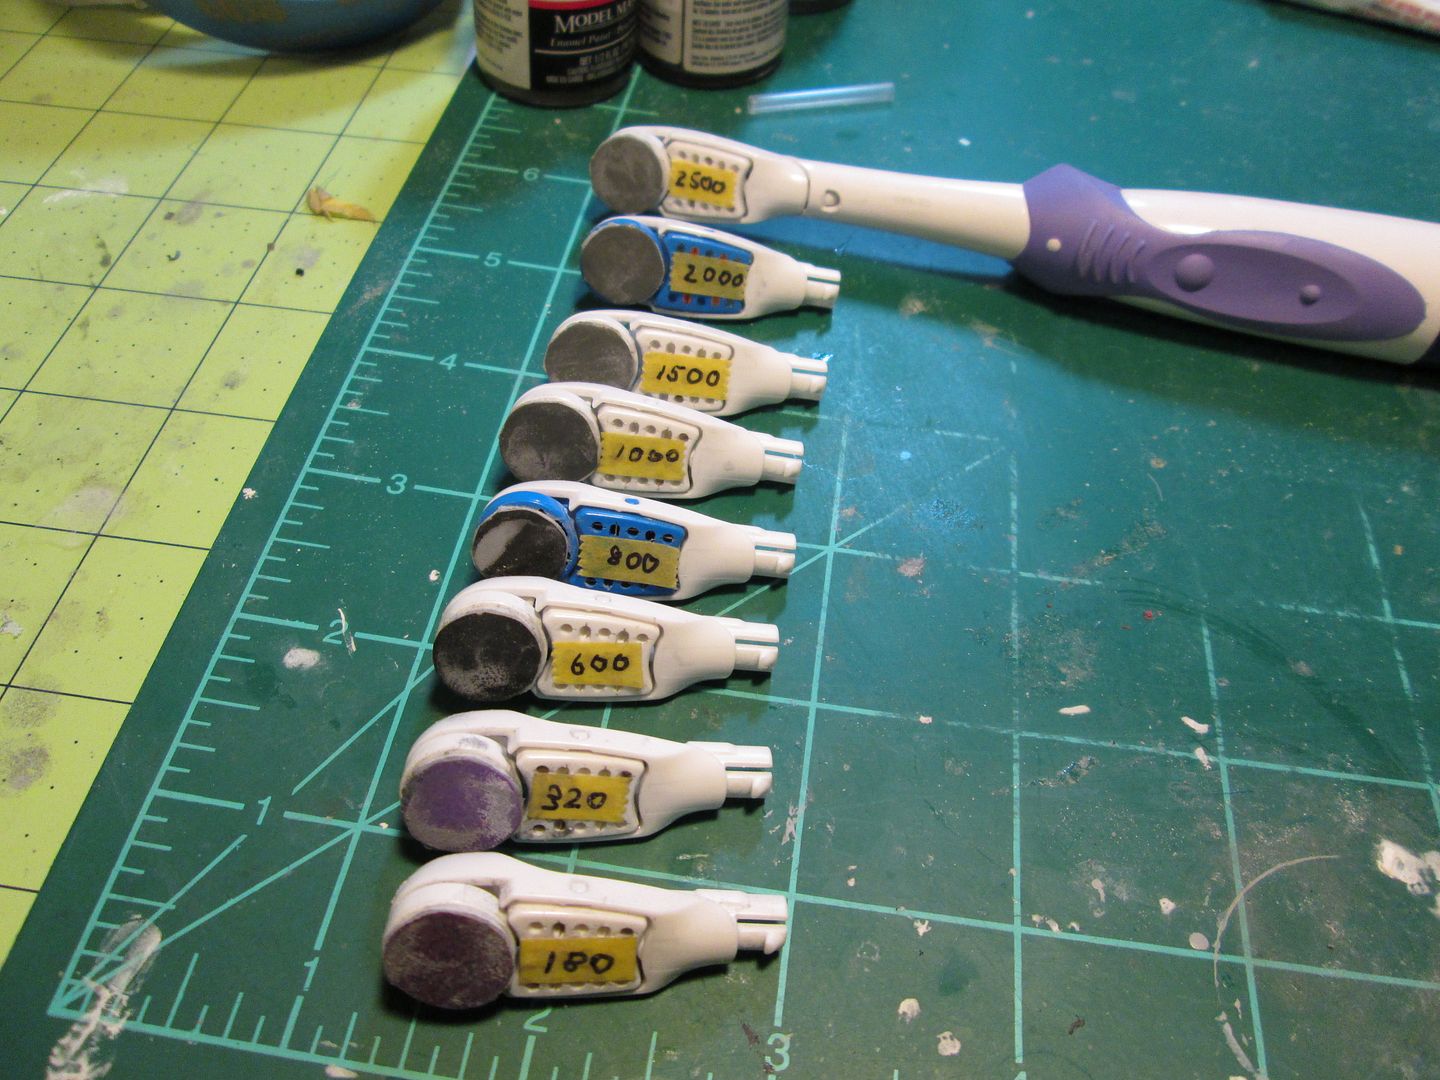
Write the grit number.
Sander is done.
Testing it out. Works great.
-
Oops. Not all the pics posted.
-
All together about $30.00.
-
-
Bought an Oral B Cross Action Powered Toothbrush with interchangeable head that has one set of bristles that vibrate on a circular motion and another back and forth.
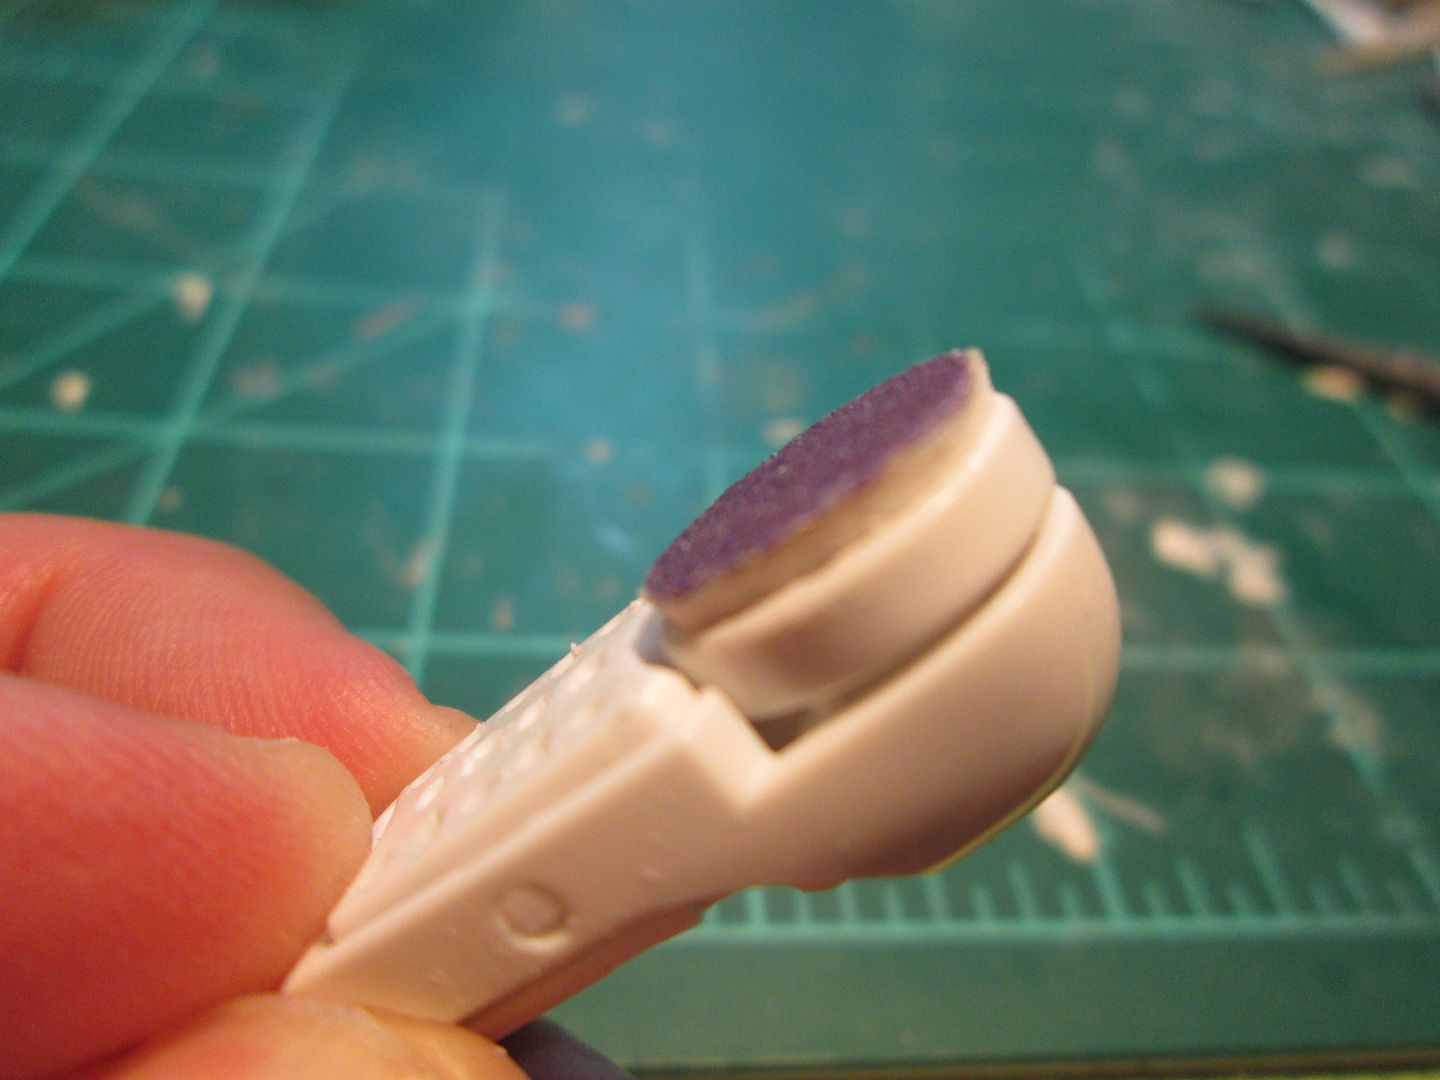
1. Remove the bristles.
2. Draw half inch circle on the back of sandpaper.
3. Cut out the circle.
4. Get some double sided foam tape.
5. Place smooth side of sand paper on one side of double sided foam tape and trim it.
6. Stick on the spinner head.
7. Use piece of tape and write down the grit.
-
EZ Line was used for the rigging. Was an experiment. Was hard to work with so tradition rigging would be better.
-
-
They made a full sized 1:1 Spitfire from a custom made replica if the kit. Sprue and all. They cut pieces and glued it and turn it into a full size Spitfire. You can see the video on YouTube.
-
This is the model James May from Top Gear had made into a full size kit for the Airfix episode for Toy Stories TV series.


Airfix 1/72 Fairey Rotodyne Completed
in Aircraft
Posted
Calling it done.