


guaguachong
-
Posts
183 -
Joined
-
Last visited
Content Type
Profiles
Forums
Events
Posts posted by guaguachong
-
-
wow, what a great work. i like the looking of this one, so interesting. :)
-
yes, right now i can find some time. we work 12 hours a day, usually very busy and no time to stop. but then we get one day off with one day work.
so i can have some time for modeling :)
thank you for your comments.
-
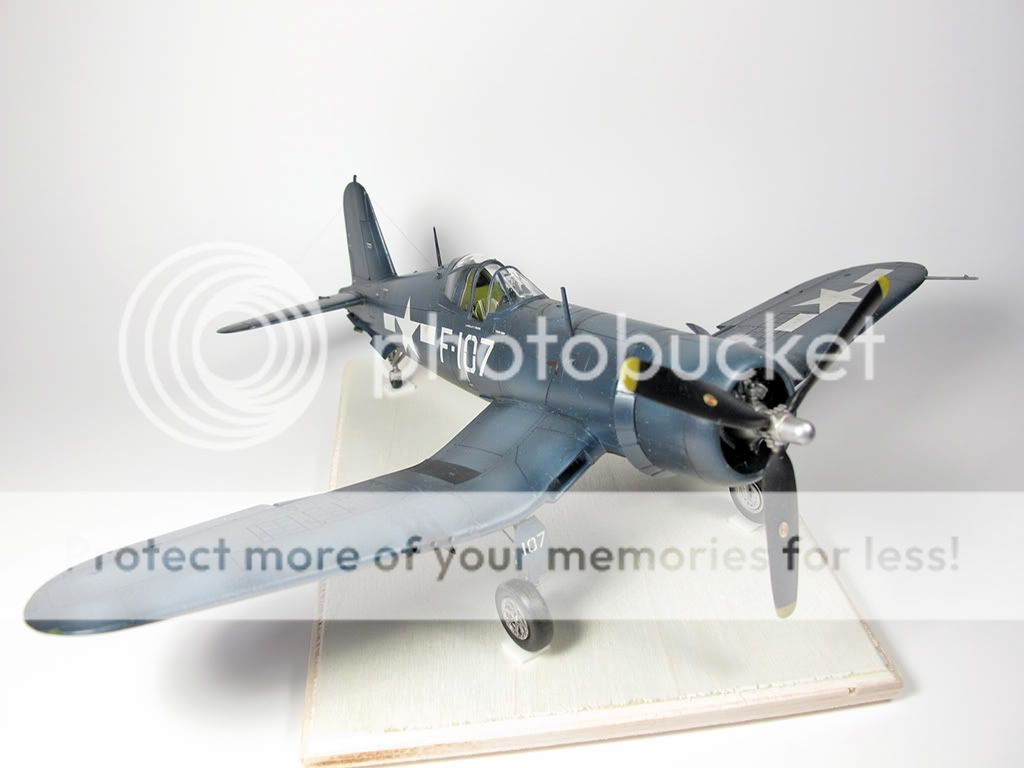
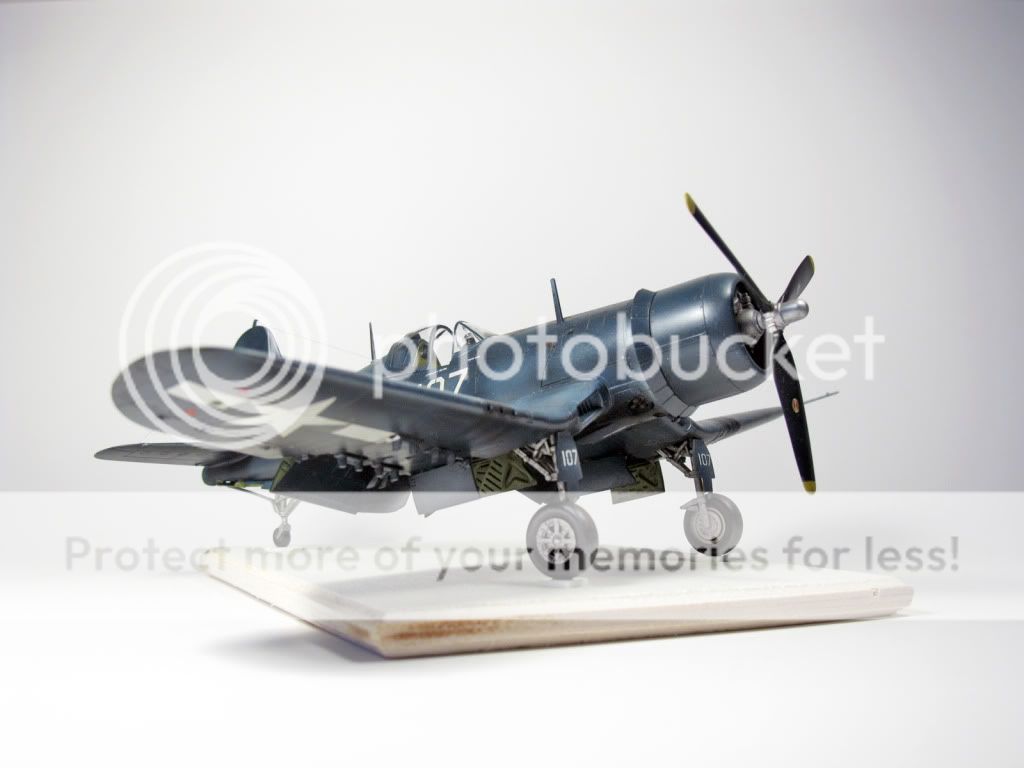
have been here for a while, too busy looking for a job and work. now i start doing modeling again.
this is my first finished one.
hasegawa's kits, pretty good, add eduard seatbelt.
paint, weathering, and wash the panel lines
these are pictures, enjoy :

thank you for watching, comments are welcome
-
-
thank you. the shadow was too heavy last time, so i did some more weathering to make this model look better. i am glad that you like her. i think she becomes more beautfiul, too.
-
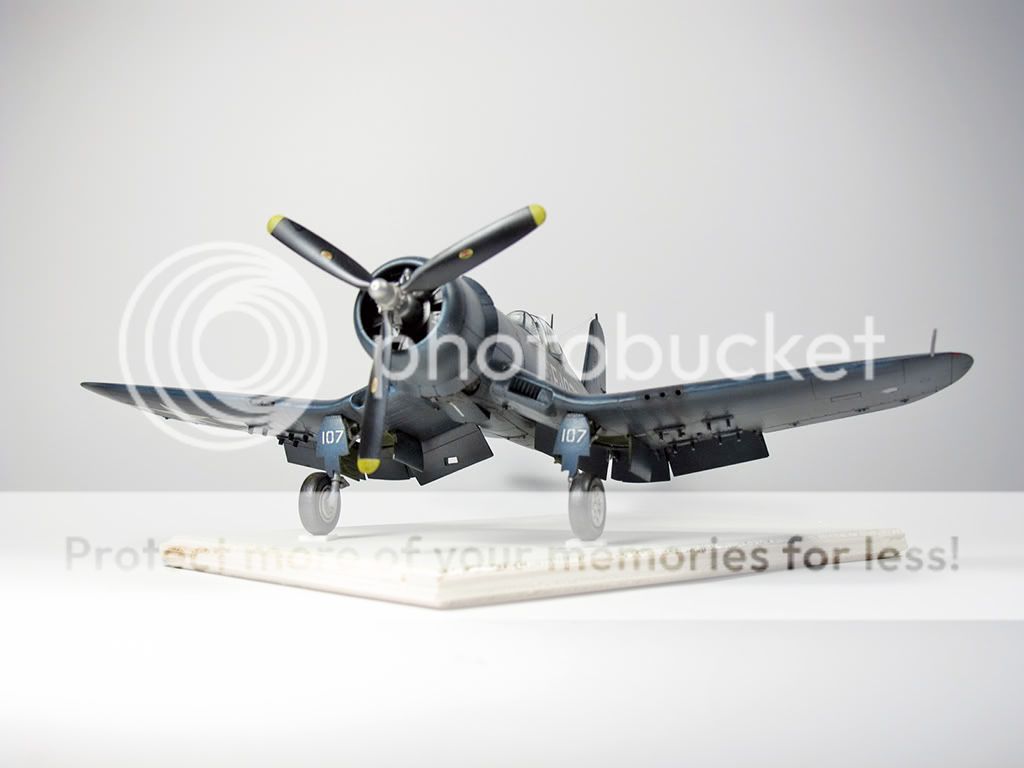
did some extra weathering to make this model look better. :)
these are new pictures, enjoy :)
-
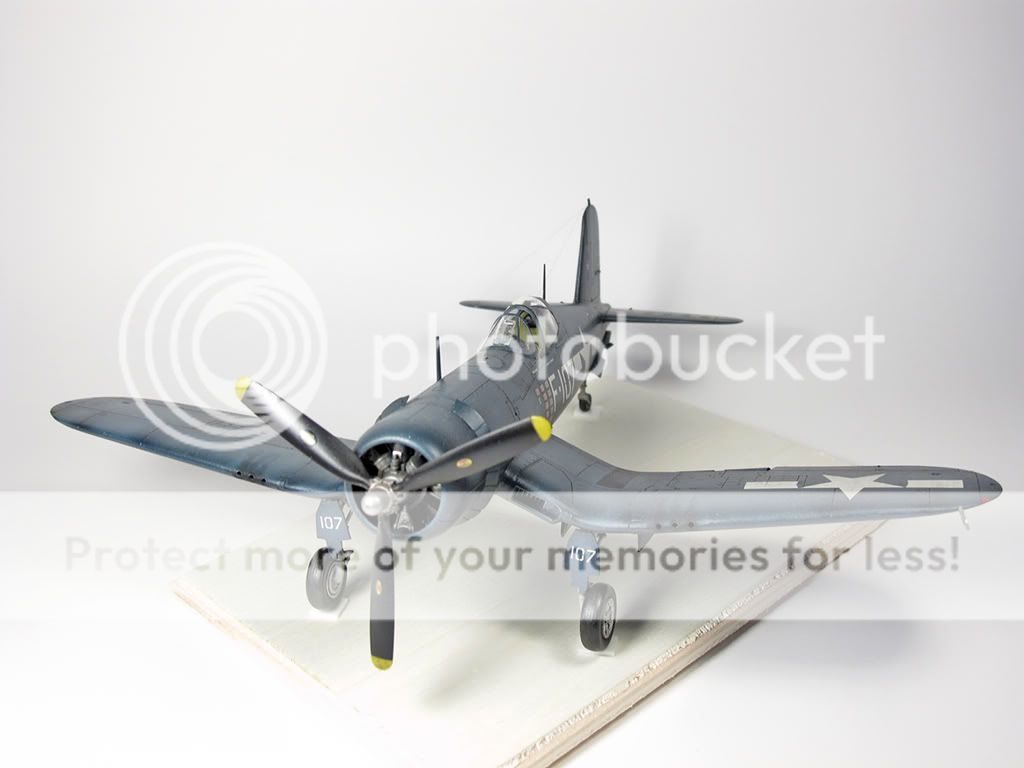
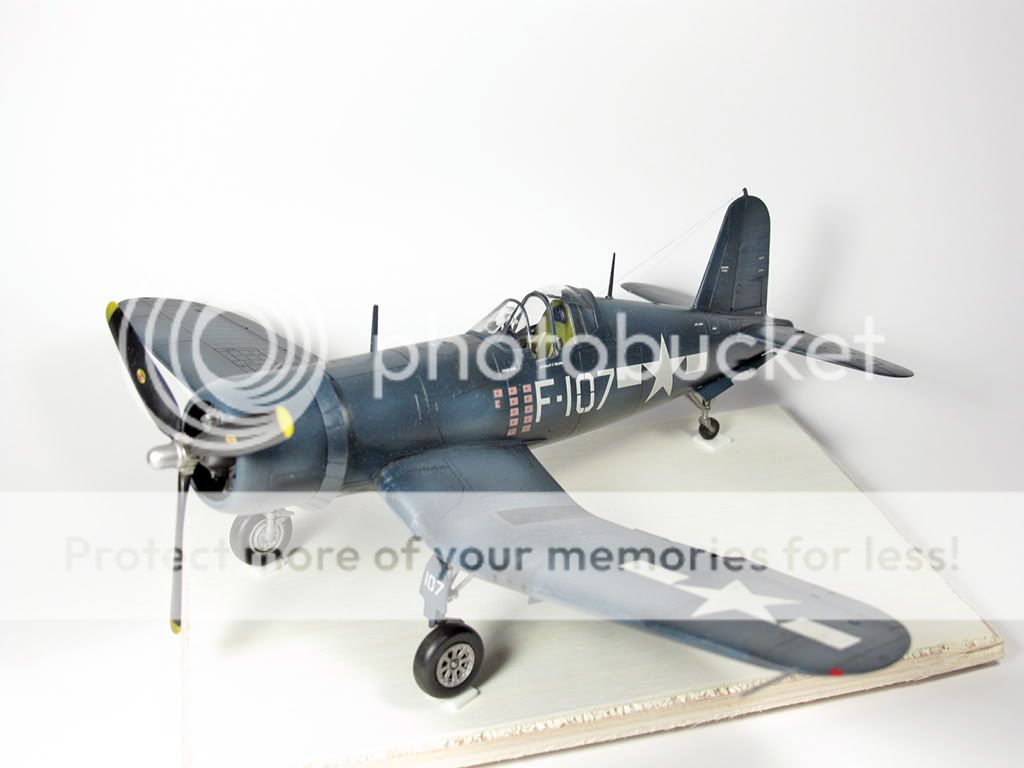
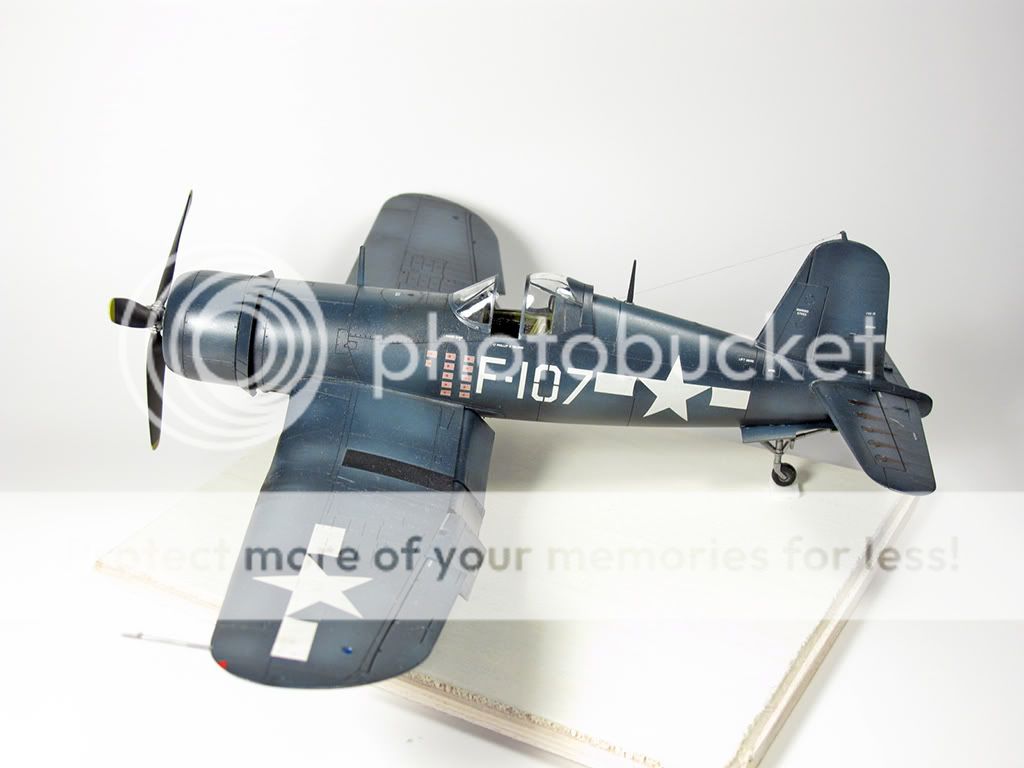
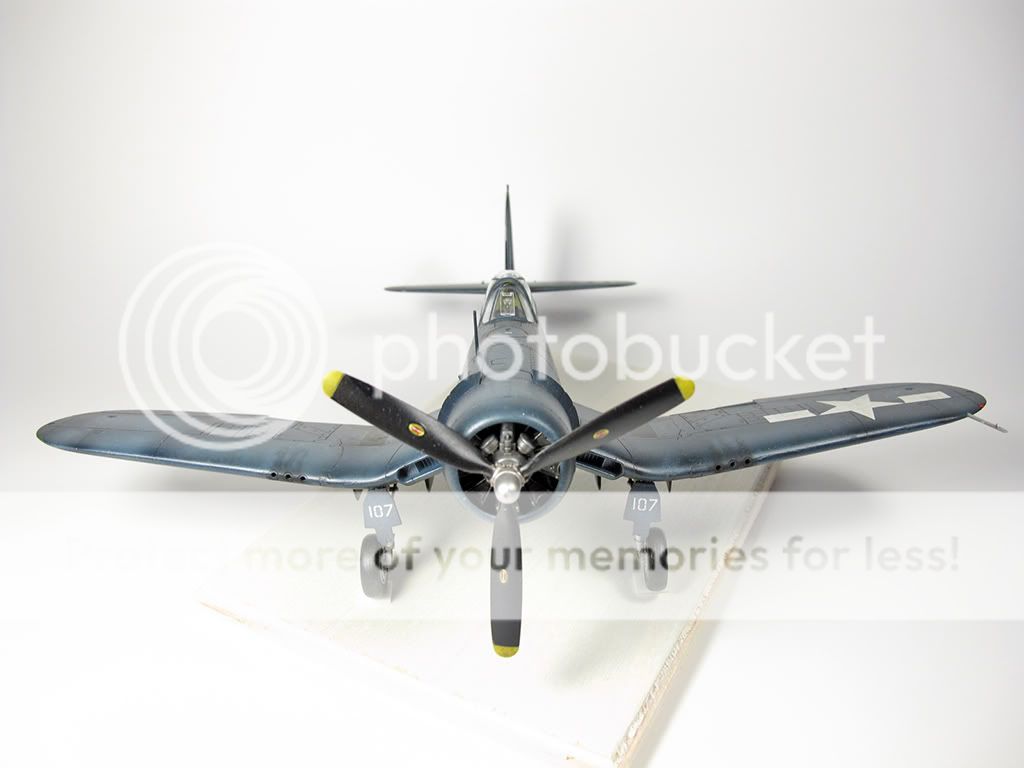
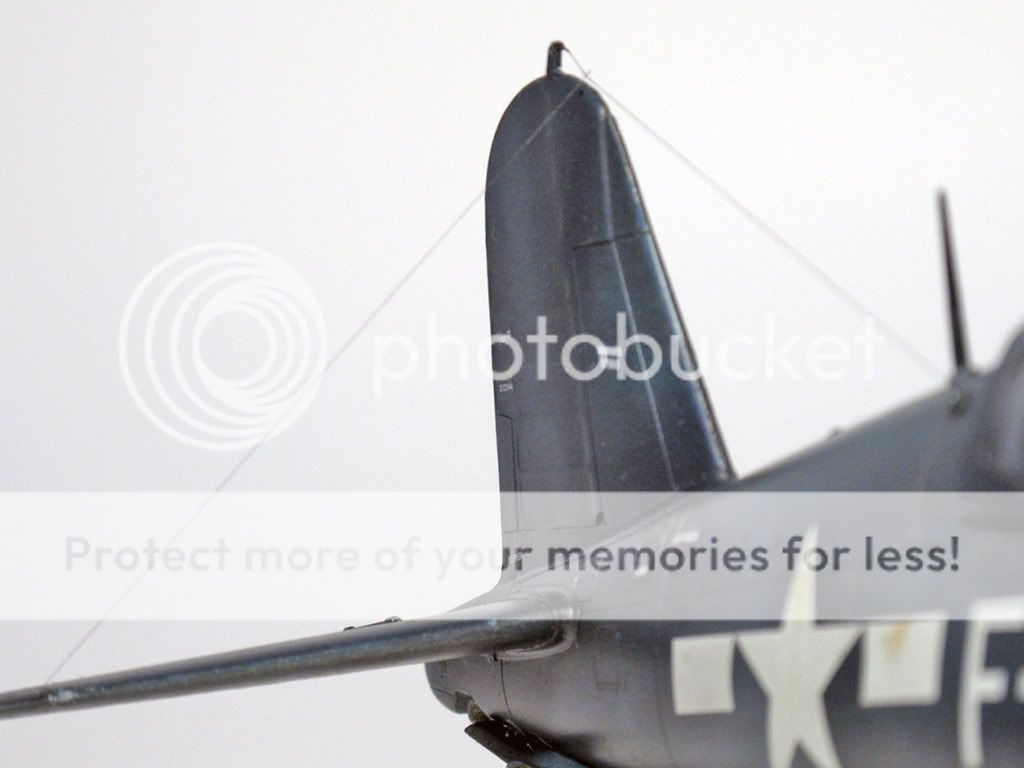
i went o brass pro shop today, searched for 30 min to find the thinnest fishing line which is 0.07 inches equal to 0. 17 mm. i saw somebody use 0.03 inches but i could not find any in this store.
actually, some of them indicated that 0. 18mm but they were so large than 0.17 mm one, i do not understand what happens. but we have to open the box and check.
-
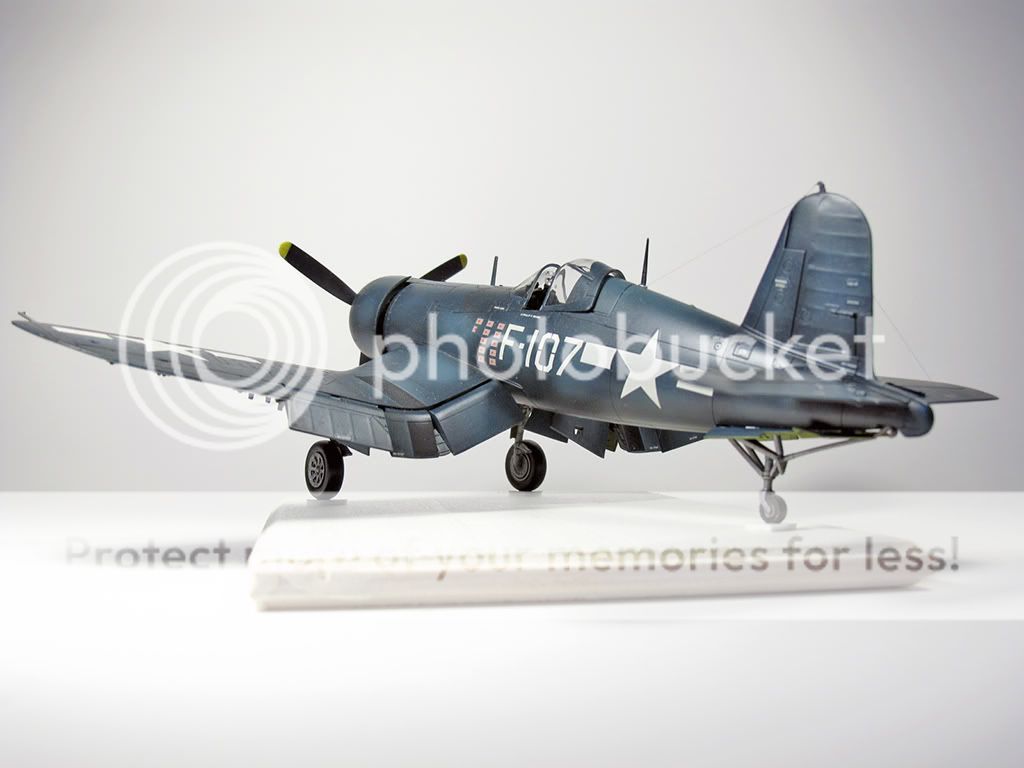
add two radio lines and did some other little revises.
these are pictures. enjoy :)
-
oil paintings white with little black. what is yours look like. would you mind show me :)
-
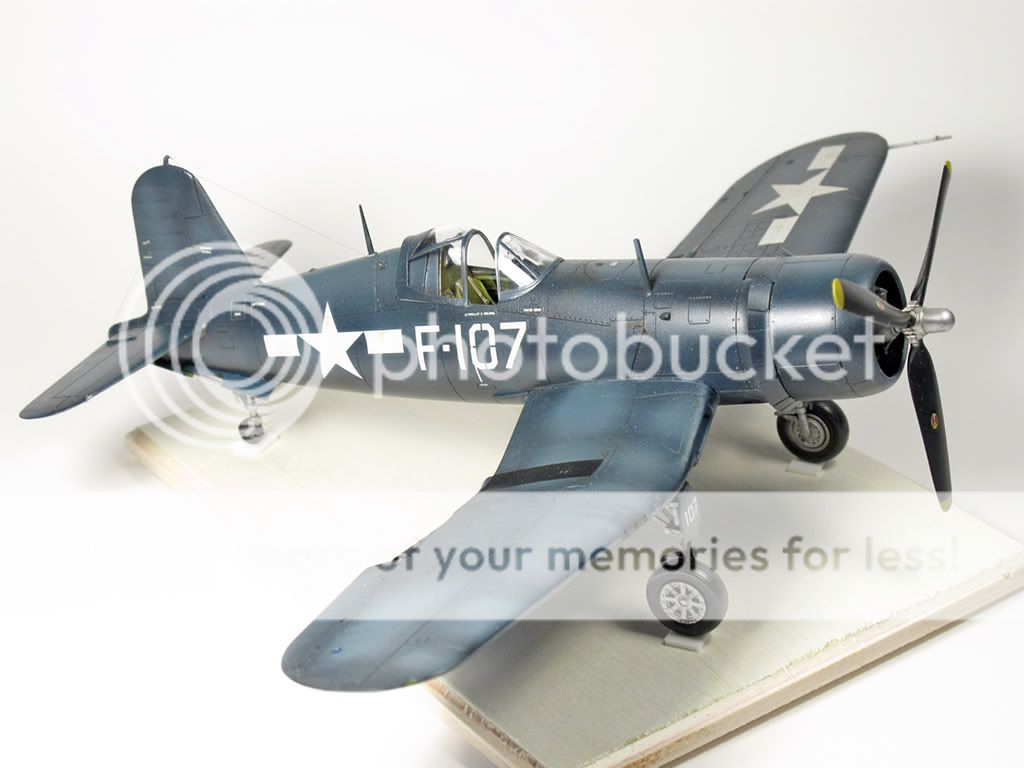
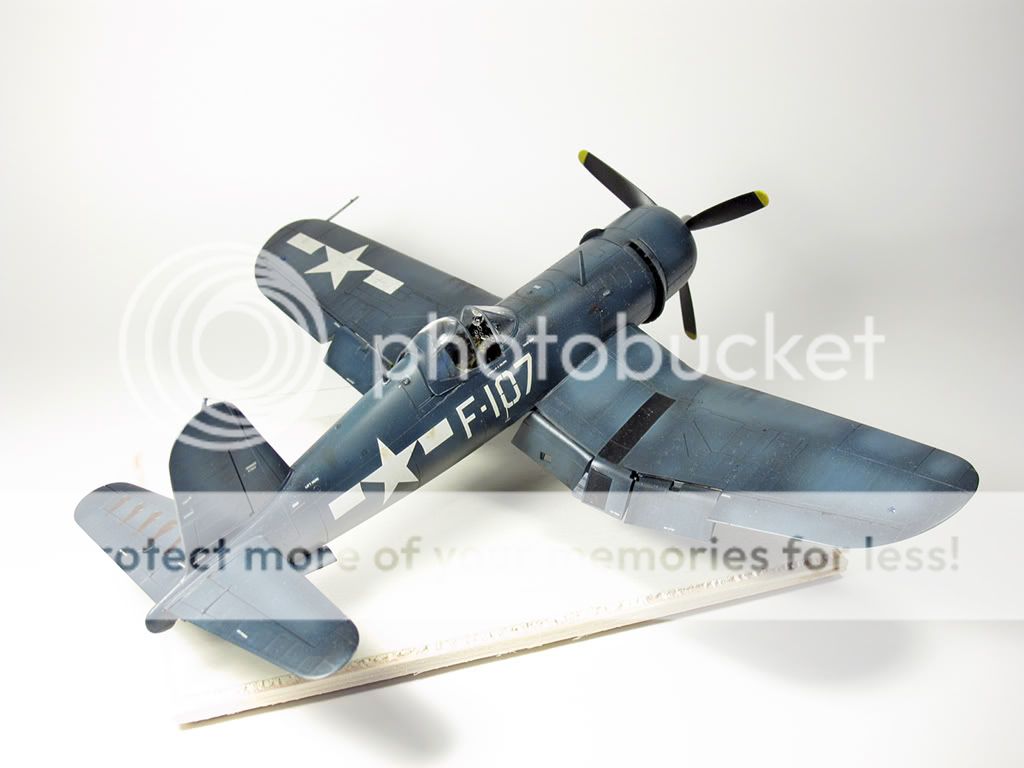
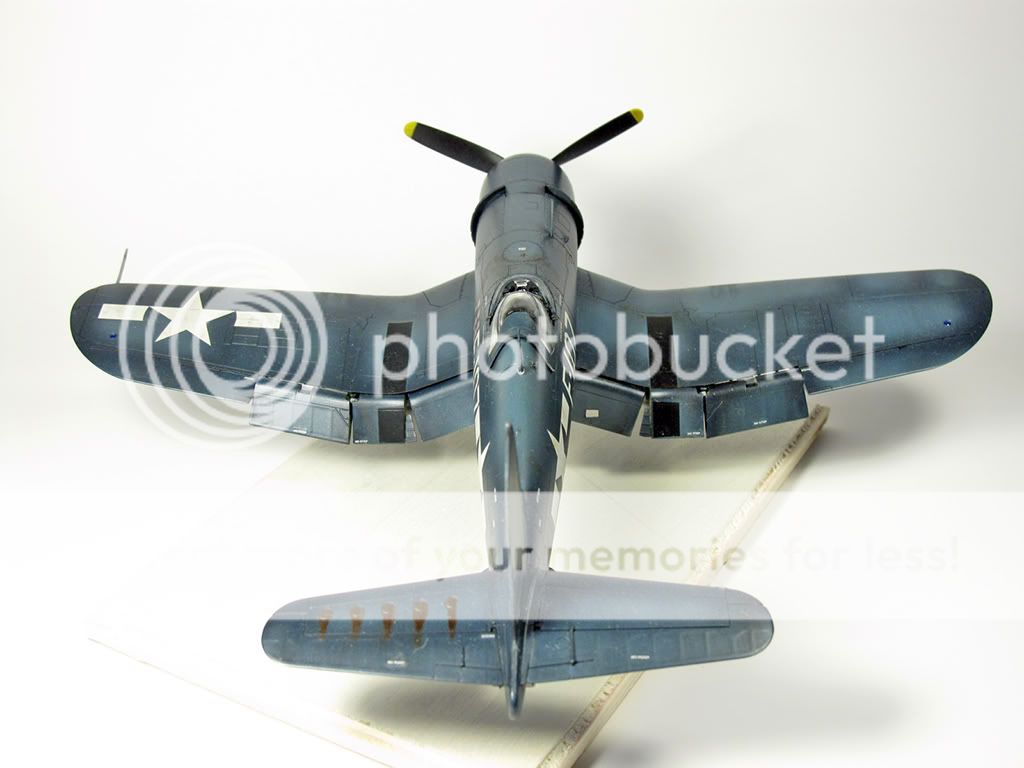
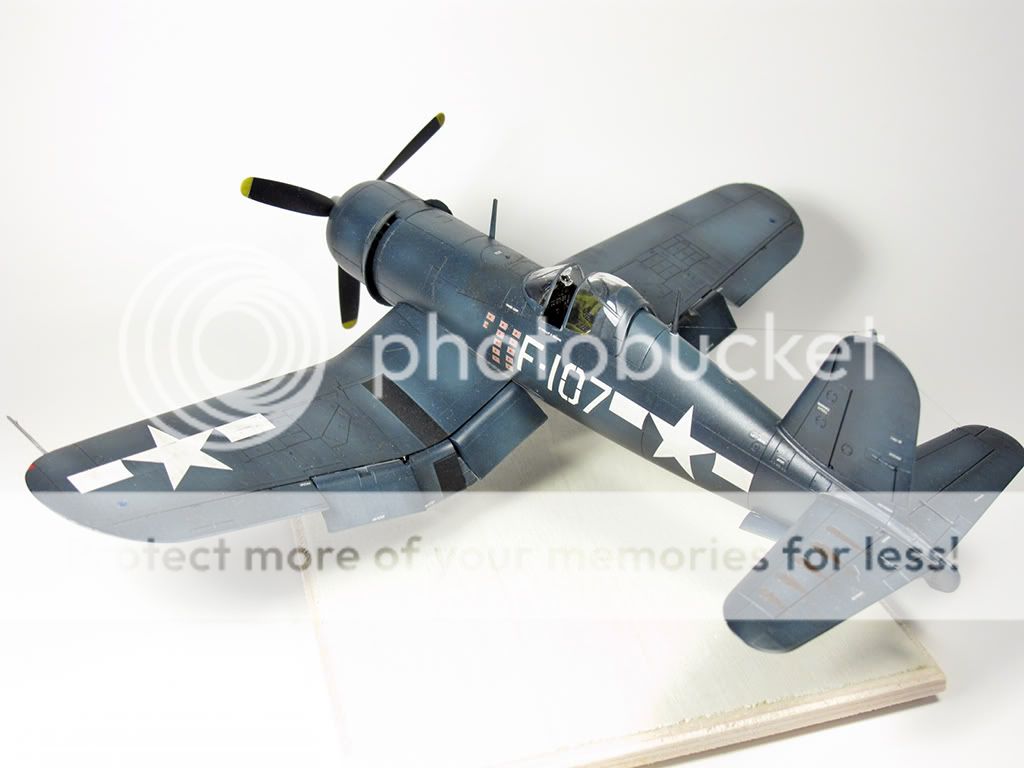
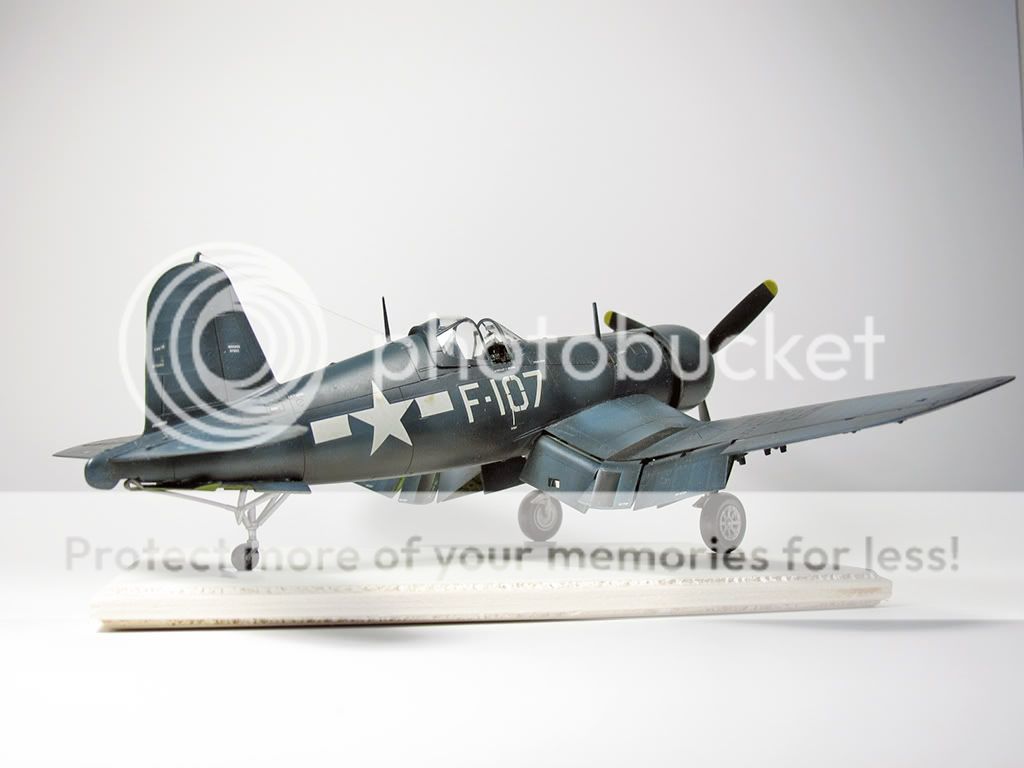
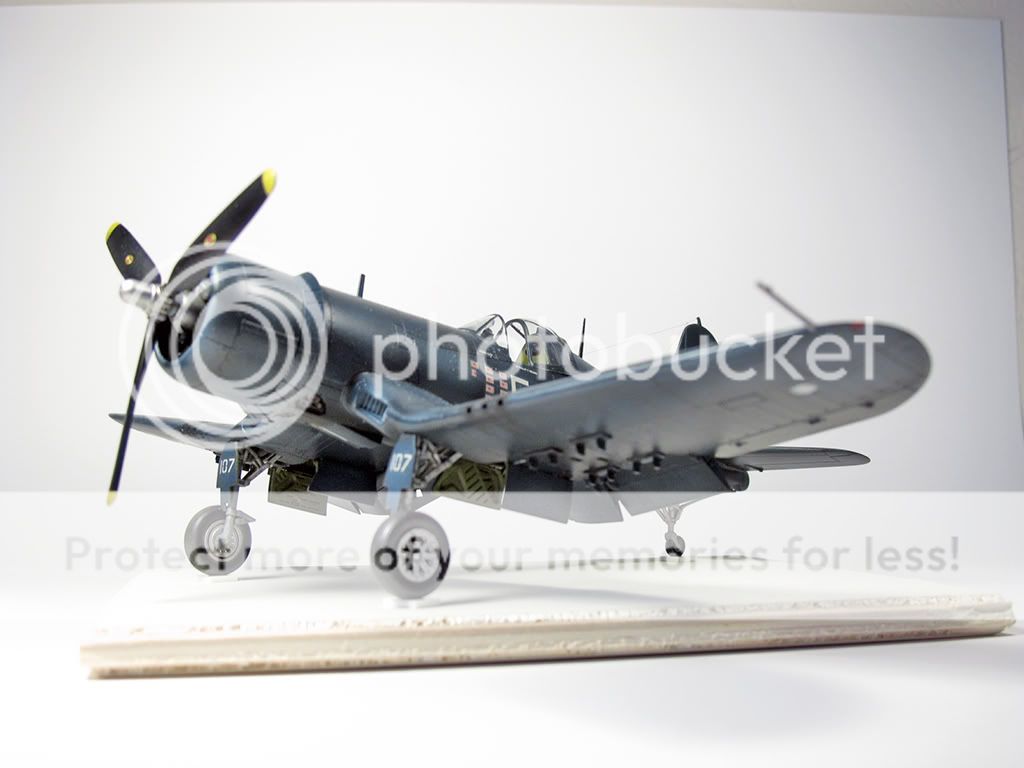
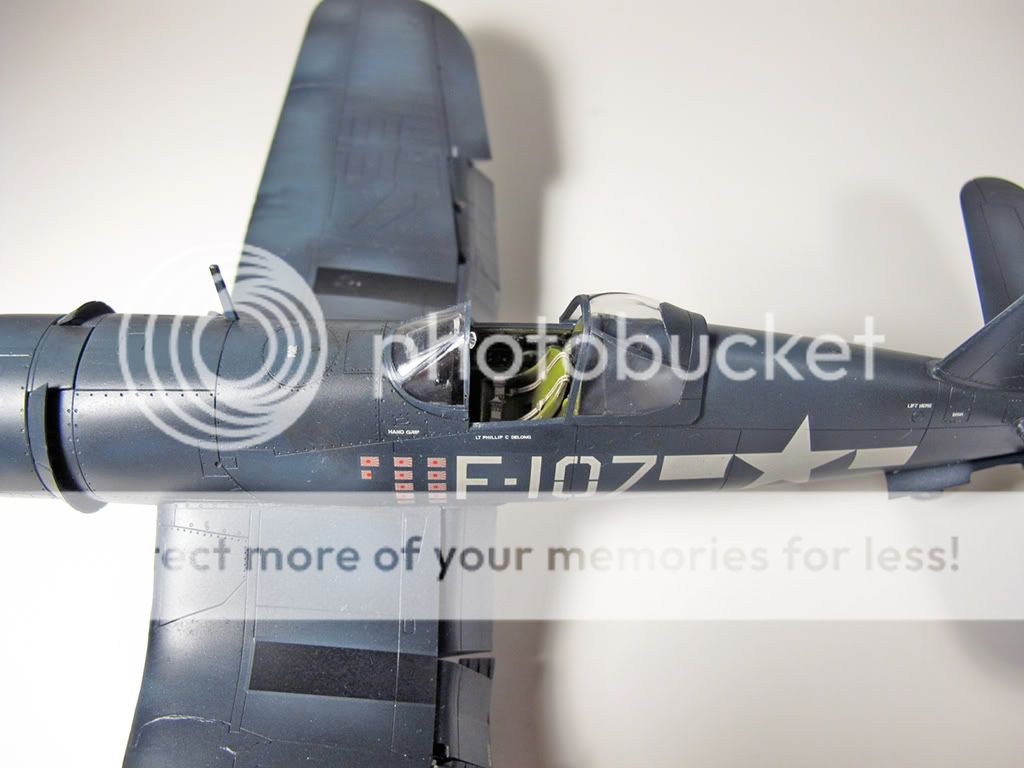
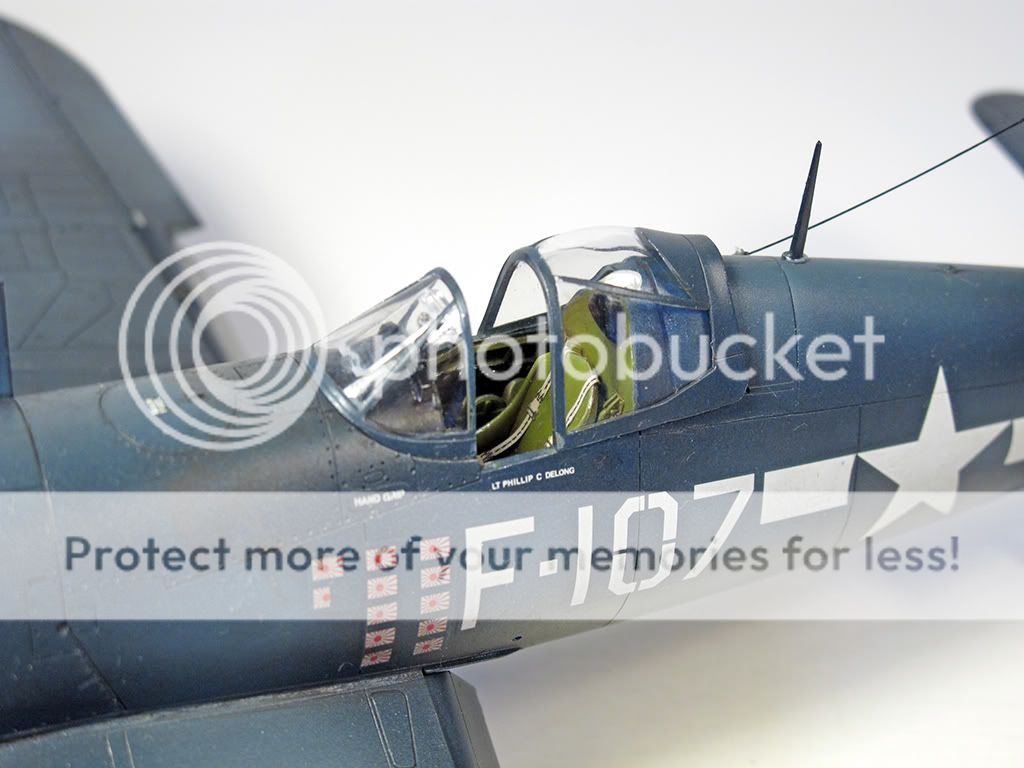
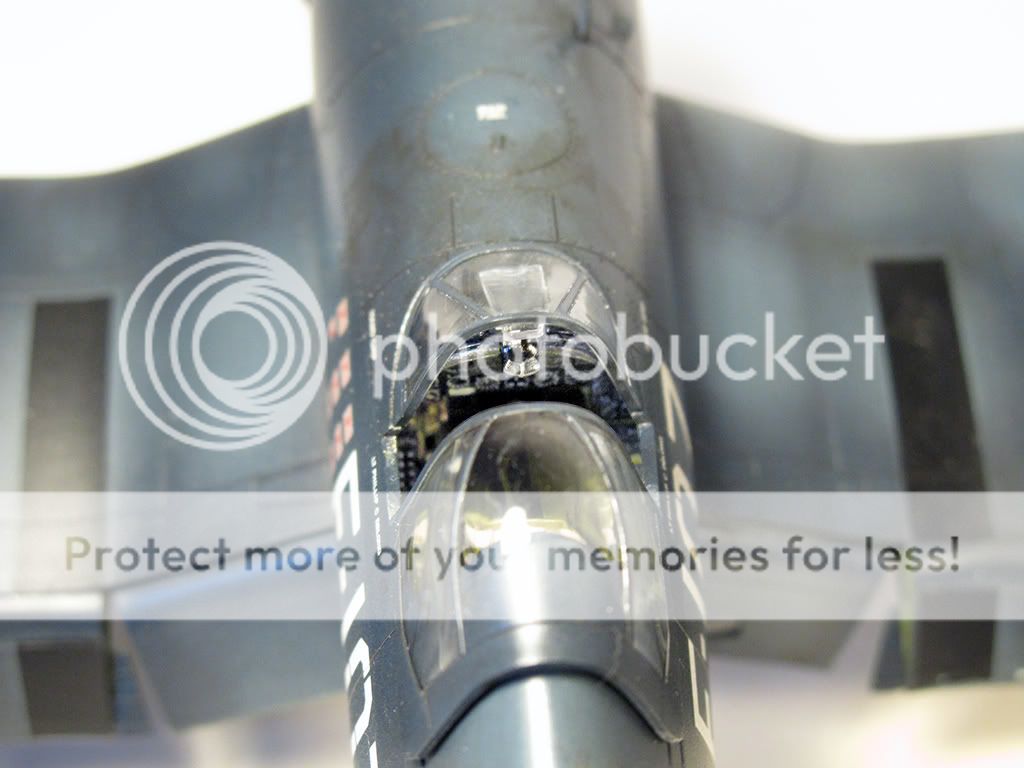
This is hasegawa's F6F5 pacific Aces kits.
decaled as "minis III", Flown by Capt. David McCampbell, Commanding officcer of Carrier Aire Wing 15 on the USS Essex.
this plane is on glossy sea blue and i tried to emphasize shadowing and color fading.
made some modifies:
1. eduard seatbelts
2. drill out gun barrels.
3. drill out engine pumps.
4. brake wire.
5. cushion on the seat
6. drill out rockets.
these are some pictures, enjoy:
thank you for watching, comments are welcome
-
this time i build one of the most famous and most successful AMerican fighters in WWII. the Gruman's Great F6F.
this is a hasegawa F6F3 decaled as one of the most successful pilots, Lt. Alexander Vracius. noticed the mark of his plane, coming from the same group with Edward O'hare who was a legend.
he shot down 6 japanese bombers in one mission ALONE!!! with his old F4F wildcat. he was the first Ace of US navy in WWII.
Lt. Alexandera Vraciu is just as successful as his CO and mentor.
i did some modifies:
1. eduard seatbelts
2. drill out gun barrels.
3. drill out engine pumps.
4. brake wire.
5. cushion on the seat
shadowing and weathering with different colors. one day i worked until four in the morning :)
the result is ok for me. hope i can do better in the future.
these are pictures, enjoy:
thank you for watching, comments are welcome.
-
Thank you, David. i use tamiya acy painting. i tried to buy some Gunze paints but they are out of sell and the problem the thinners are all out of sell. i wait for a few weeks and could not see anything.
so i am still using my tamiya's. and i feel that it is ok and just need more experience of how to mix these colors to get what i want. :)
sounds pretty interesting. but i will change to Gunze color in the future some times.
the plane is decaled as Lt Kanno which was a top ACE in INJ; leader of 301st in 343rd. unfortunately all three leaders got killed in the battle.
-
thank you. when you are building this model, i can tell you the whole proces of this model and hope it will be helpful for you. :)
-
i used heavy weathering on this one.
still hasegawa's kit, great kit.
decal for 301st fighter squadron 343rd naval flying group Sqd Ldr Kanno.
Lt. Kanno was a Naval Ace with more than 25 vicotries.
modifies:
1. eduard seatbelts.
2. drill out gun barrels.
3. brake wires,
4, engine wire,
5. drill out wholes of the seat.
thank you for watching, comments are welcome
:)
-
thank you. i think i did do better this time. i will try to improve step by step in the future.
-
thank you for comments, guys. i try to do better this time :)
-
interesting series from hasegawa.
cockpit has been finished. so post one picture first. i changed some process and i think it looks better this time
did these modifies:1. add eduard seatbelts2. add brake wires.3. add engine wires.4. drill out gun barrels.
engine cowl can be taken off and show the whole engine which is pretty cool
these are pictures.
enjoy, comments are welcome
-
nice build. i thought you already did one :)
wish i will make one in the future.
-
great job. i wanna know how do you do these different colors. do you use tap for covering? i still do not sure how to do this correctly and which material is good for covering curve lines. thank you
-
Greeat job Ying. I love the various aces schemes with the Russian aircraft. How did you do the star on the spinner? Was it a decal or hand painted? It looks perfect.
Clare
decal, i thought it is pretty cool for that mark :)
if you have time, you may use tamiya tape to cover and paint it. it would be better than decal i think.
but decal is already good. coming from AM's original decal.
-
Looks great Ying! I think you nailed the weathering on the bottom. Russian stuff was heavily used on grass fields, and your Yak looks the part! Congrats!
GIL
thank you. i thought about that, :) i am glad you like this weathering.
-
Another nice one Ying! Congrats!
GIL
thank you. i will try to do better. :)
-
built the same time as yak 1. different colors.
AM's decal is not so good and costs me long time and energy to deal with them :) the decal is beautiful in design but hard to handle.
modifies:
1. drill out exhaustions.
2. add gun barrels.
3. add seatbelts.
weathering is hard call here b/c i try to make her look like fighters in eastern front. :)
these are pictures, enjoy:
-
Yak 1 is a very important fighter in WWII and she is beautiful.
AM's kit is great in detail but has some difficulty for assembling.
i did all these modifies:
1. drill out all exhaustions.
2. add gun barrel
3. add seatbelts.
spend long time for weathering until i felt ok. according to the environment in eastern front, the plane looks kina dirty. :)
these are pictures, enjoy.


Robert L. Scott's Thunderjet AND C-47 hack
in Aircraft
Posted
great job. i have a tamiya's but still waiting to build. F84 and F86 are my favorites planes. :)