Leaderboard


Popular Content
Showing content with the highest reputation on 12/12/2022 in all areas
-
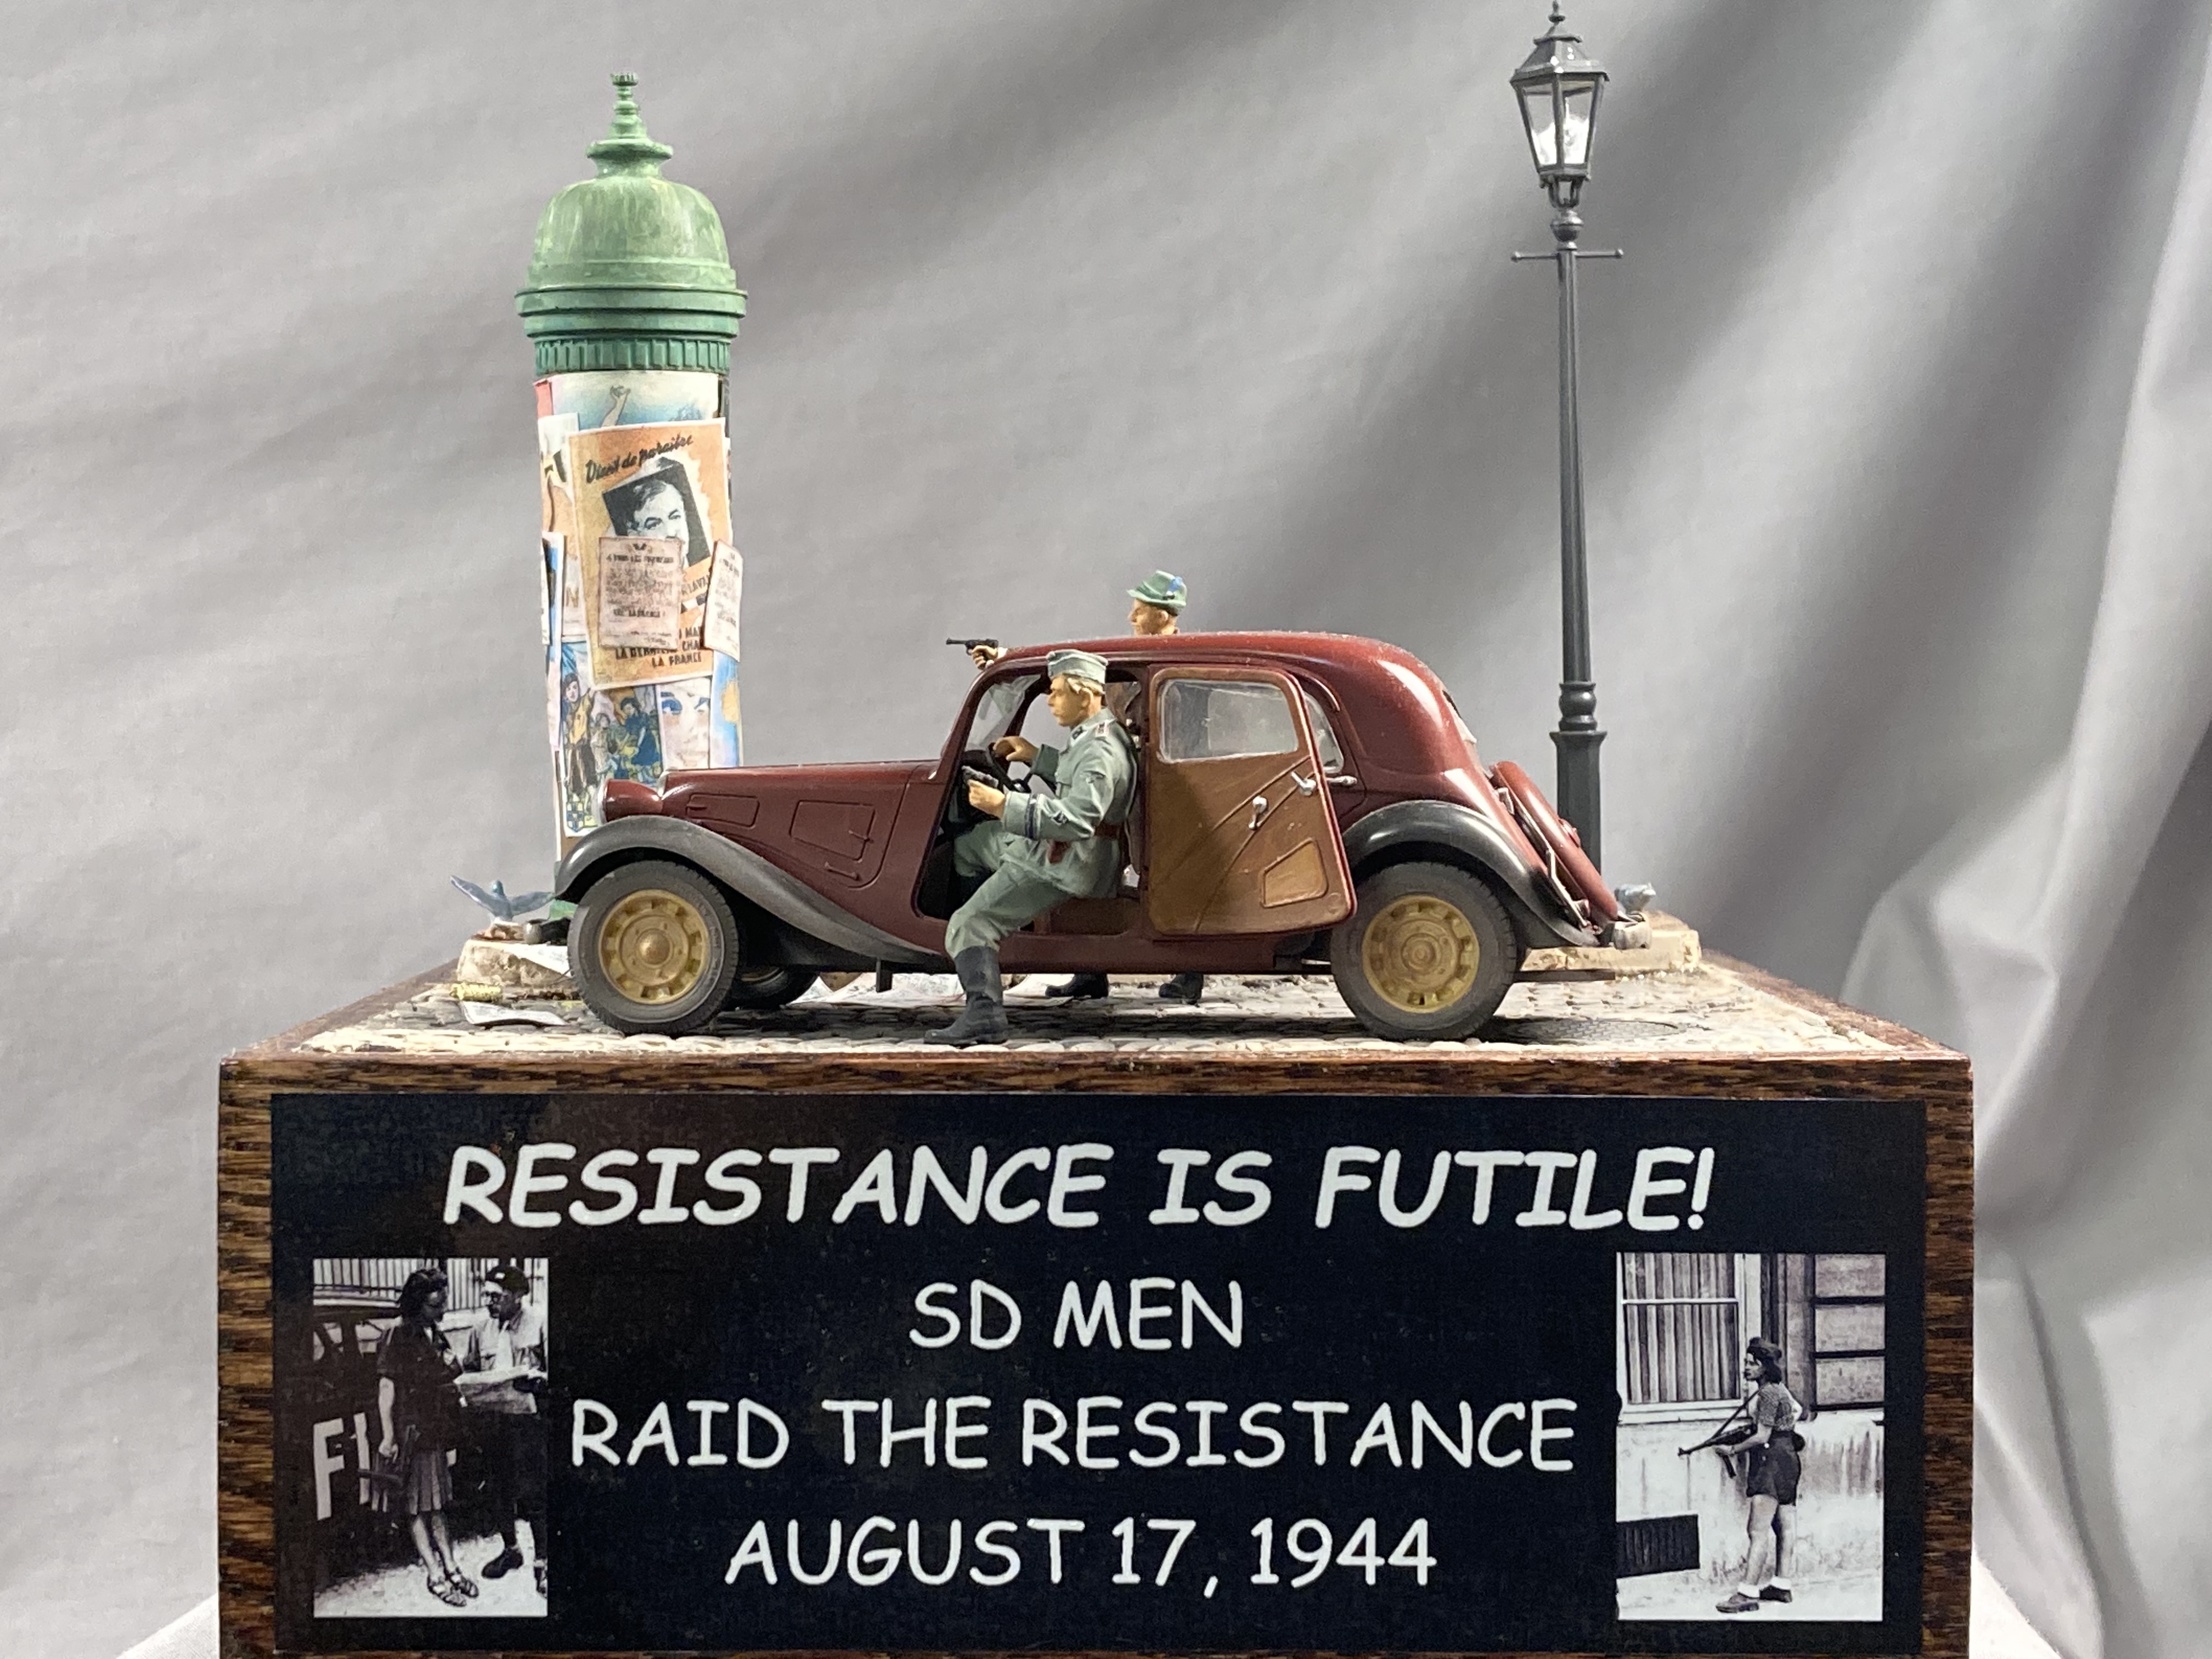
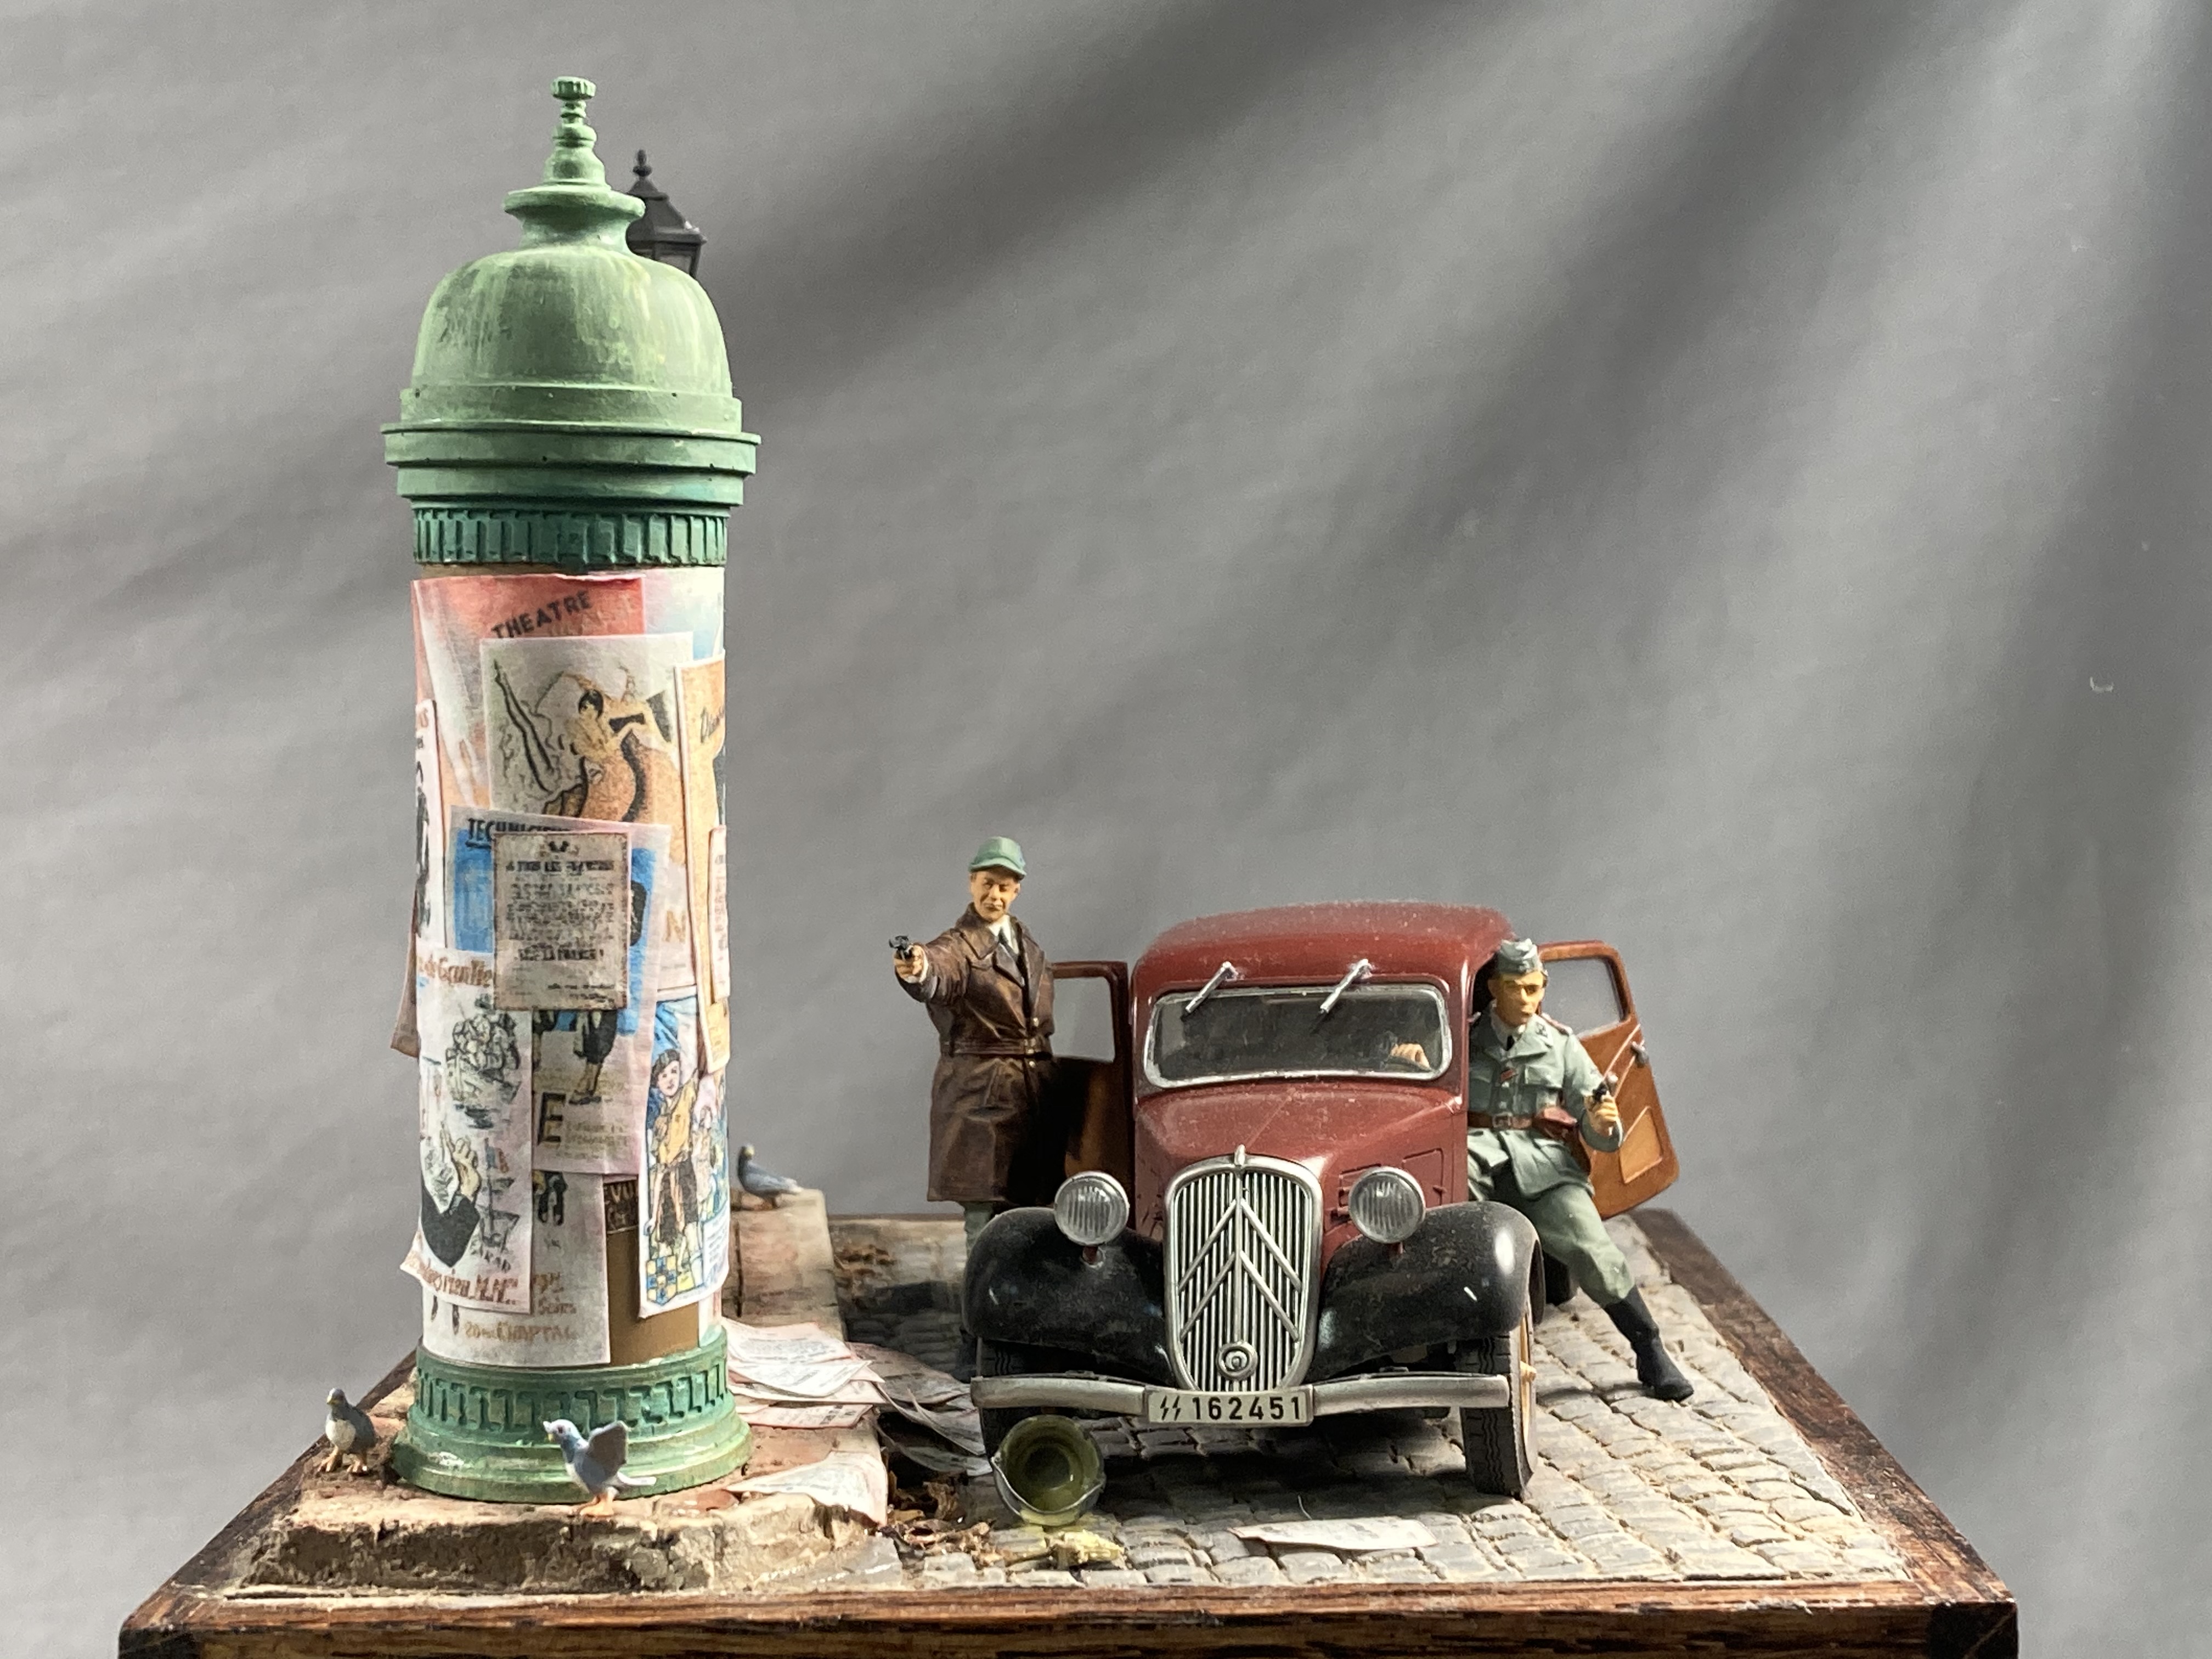
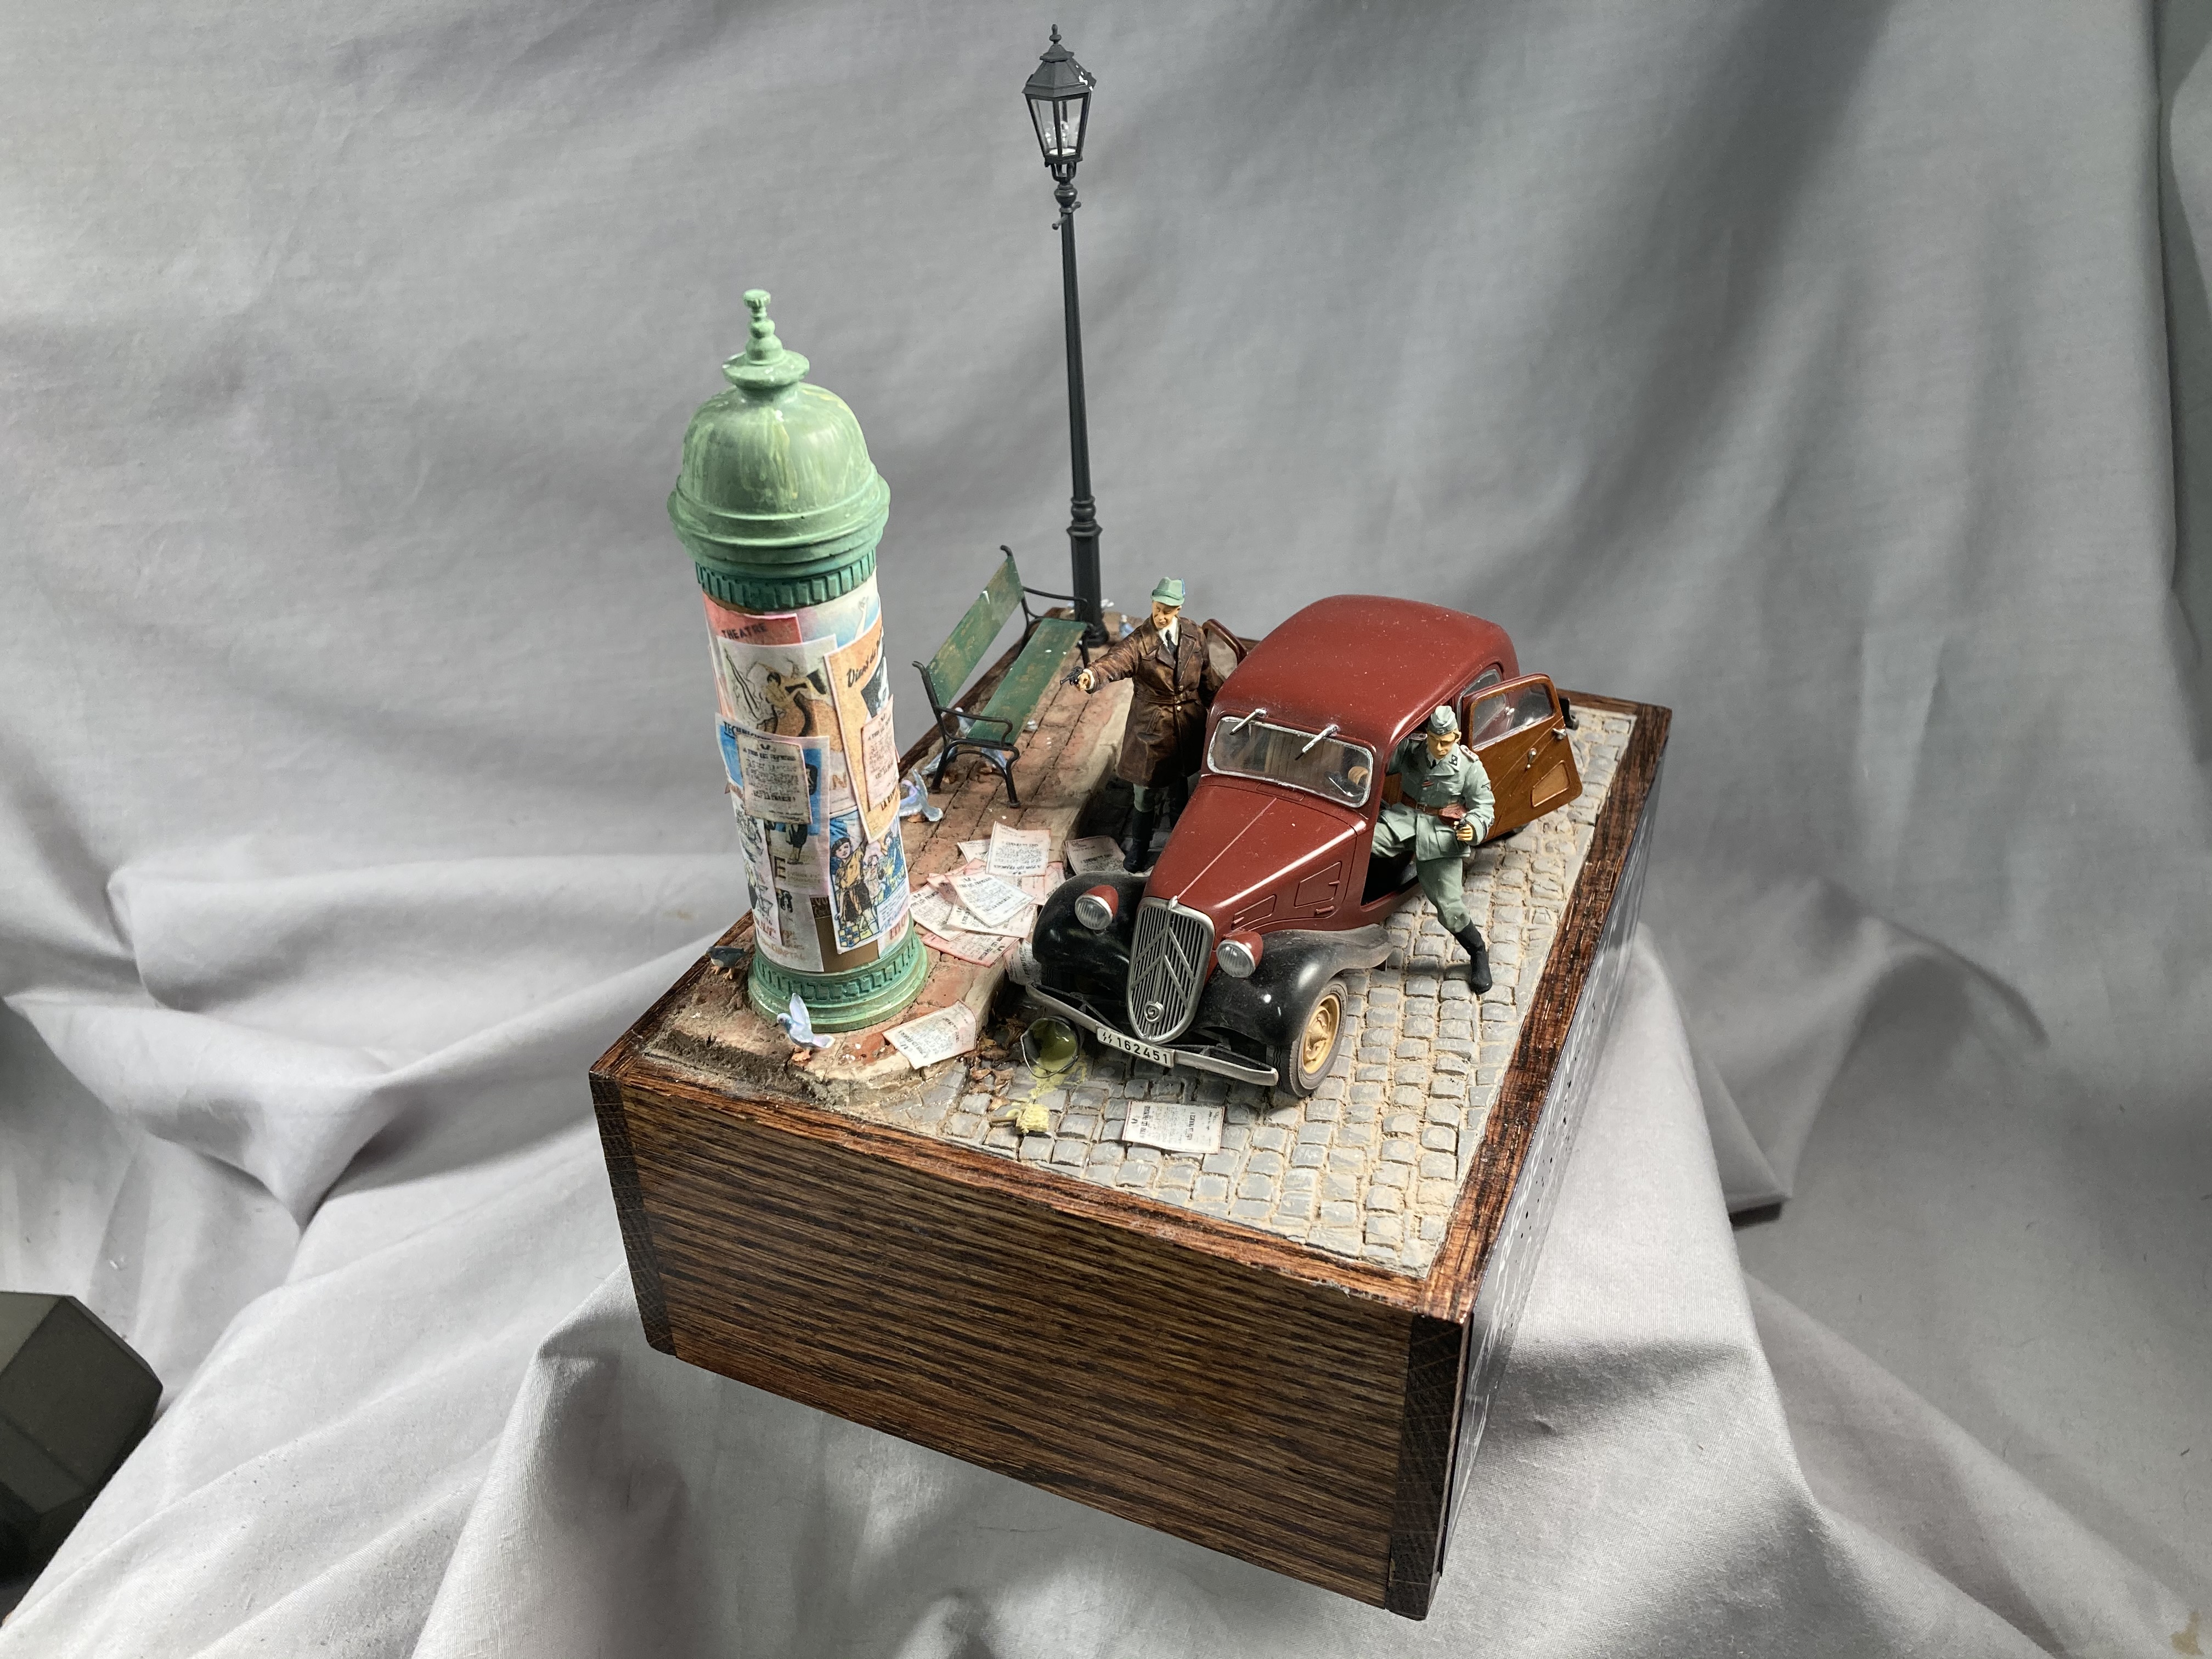
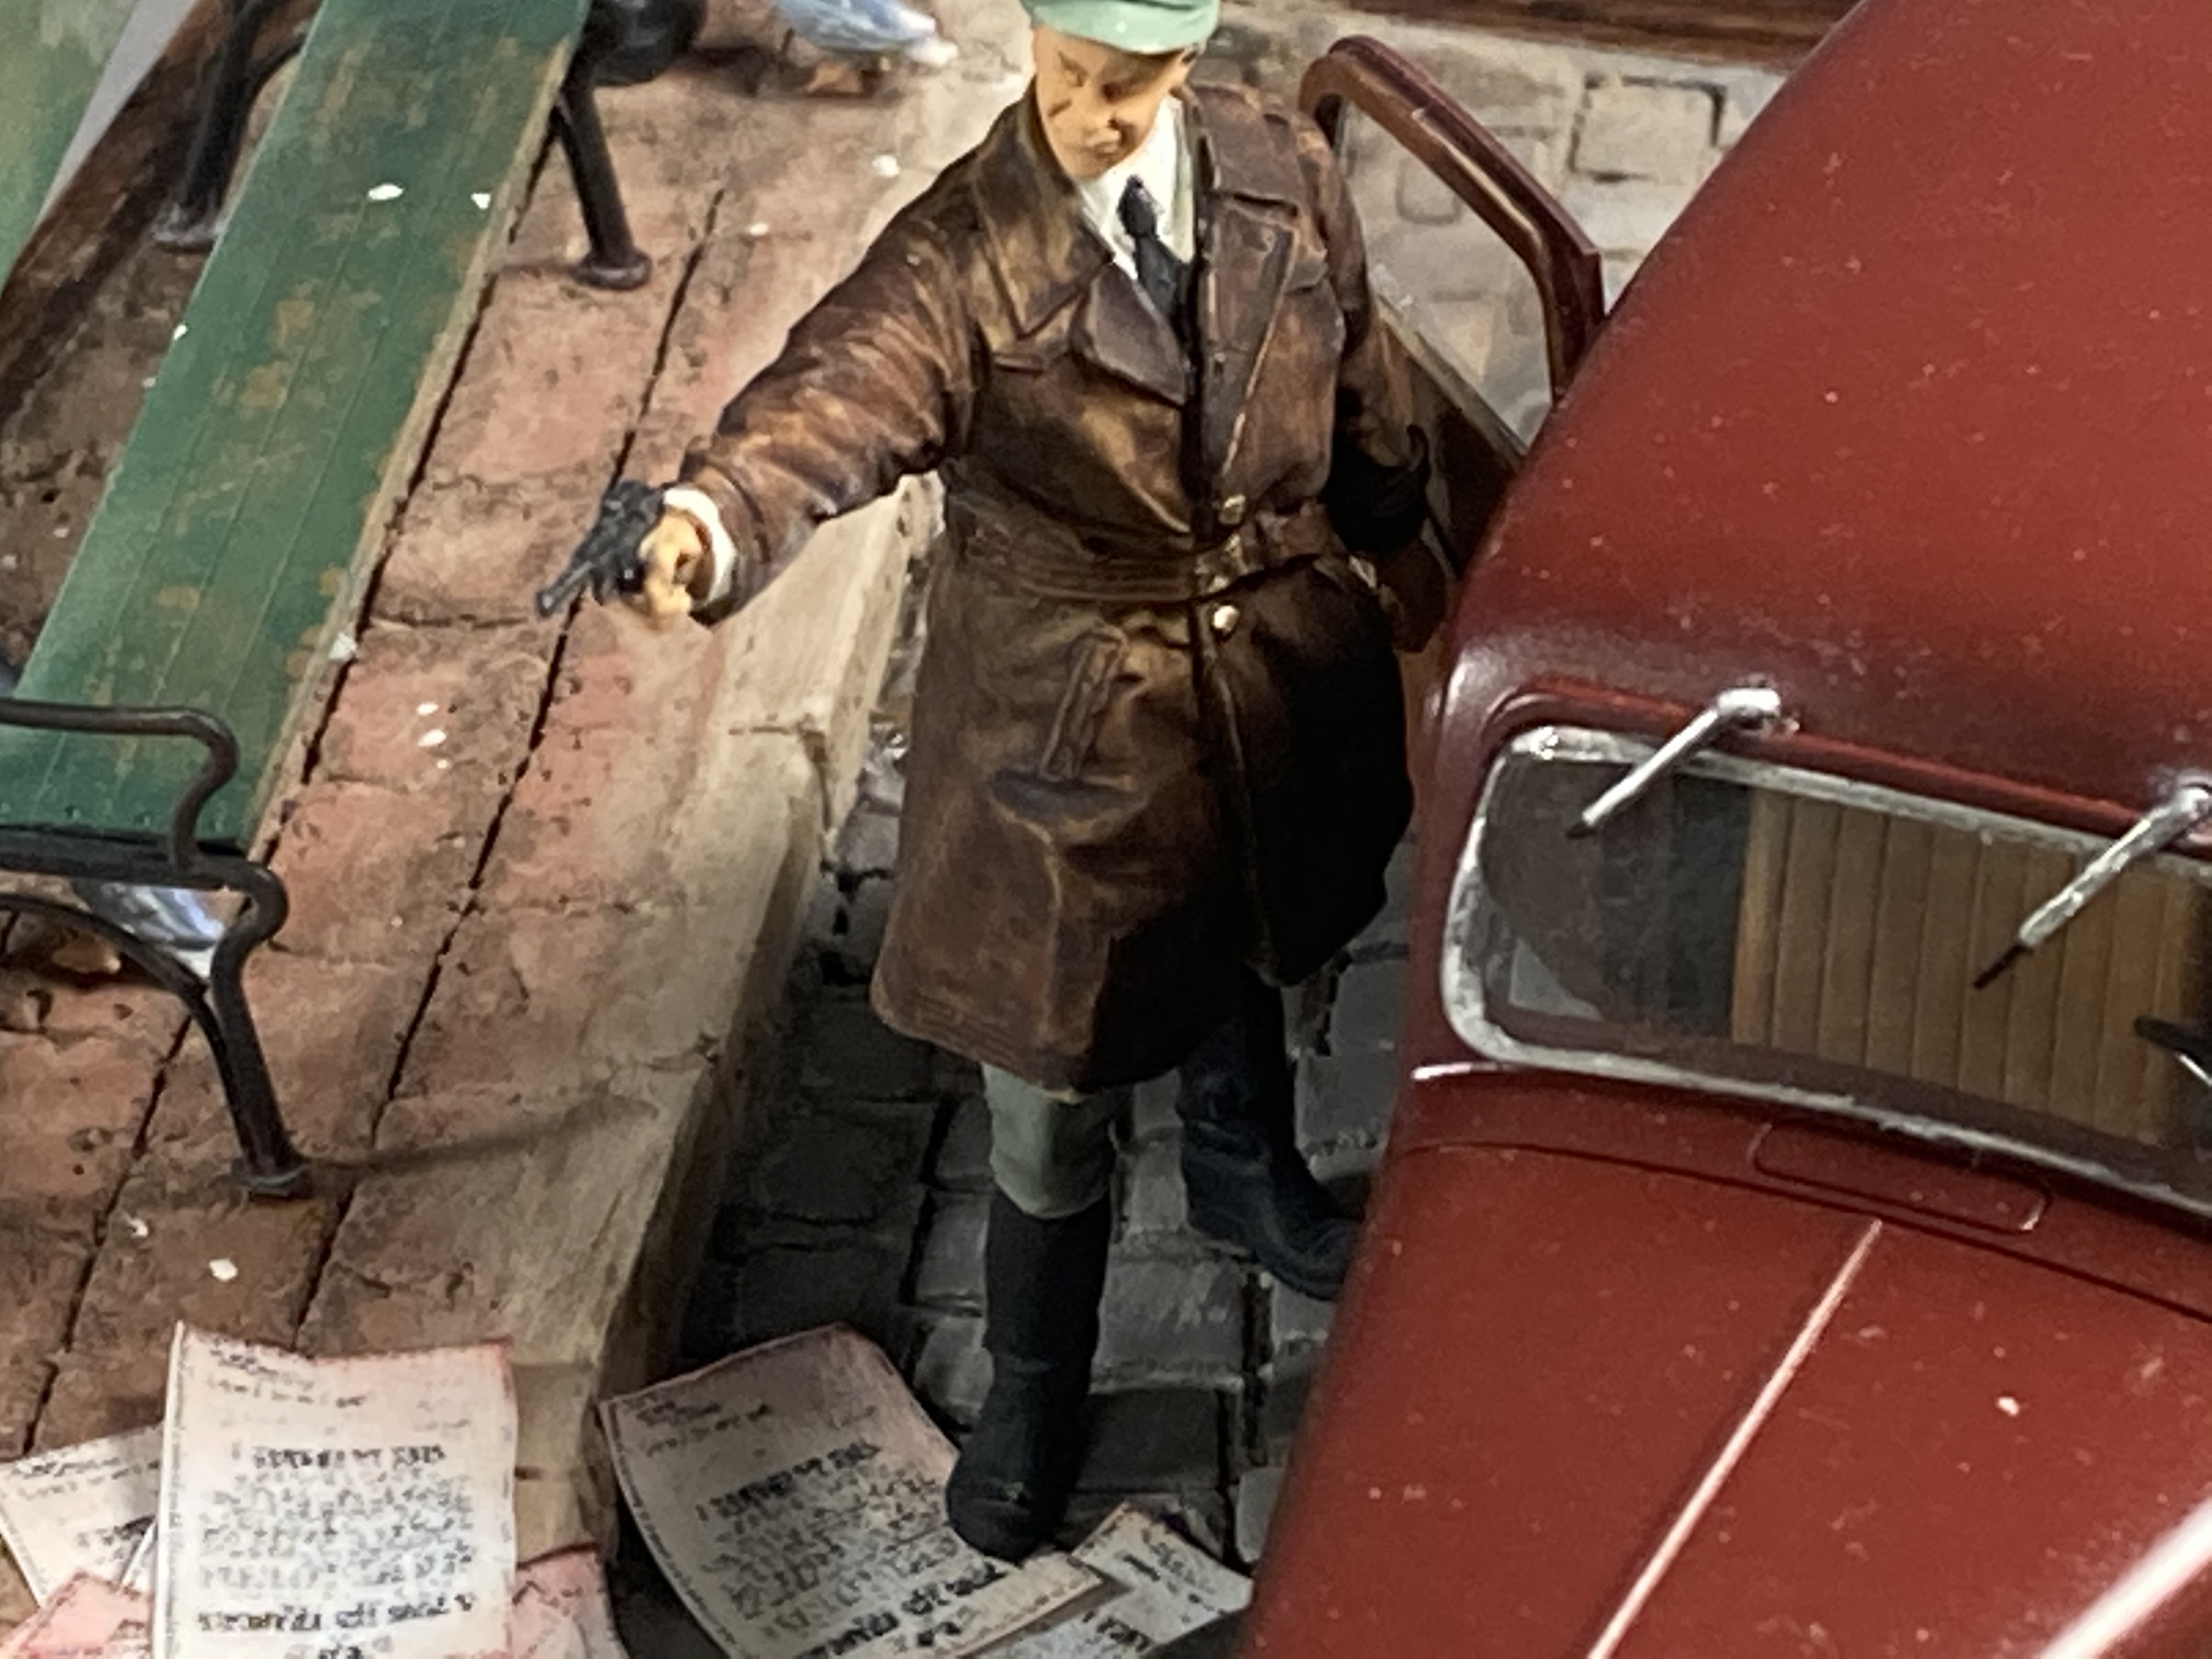
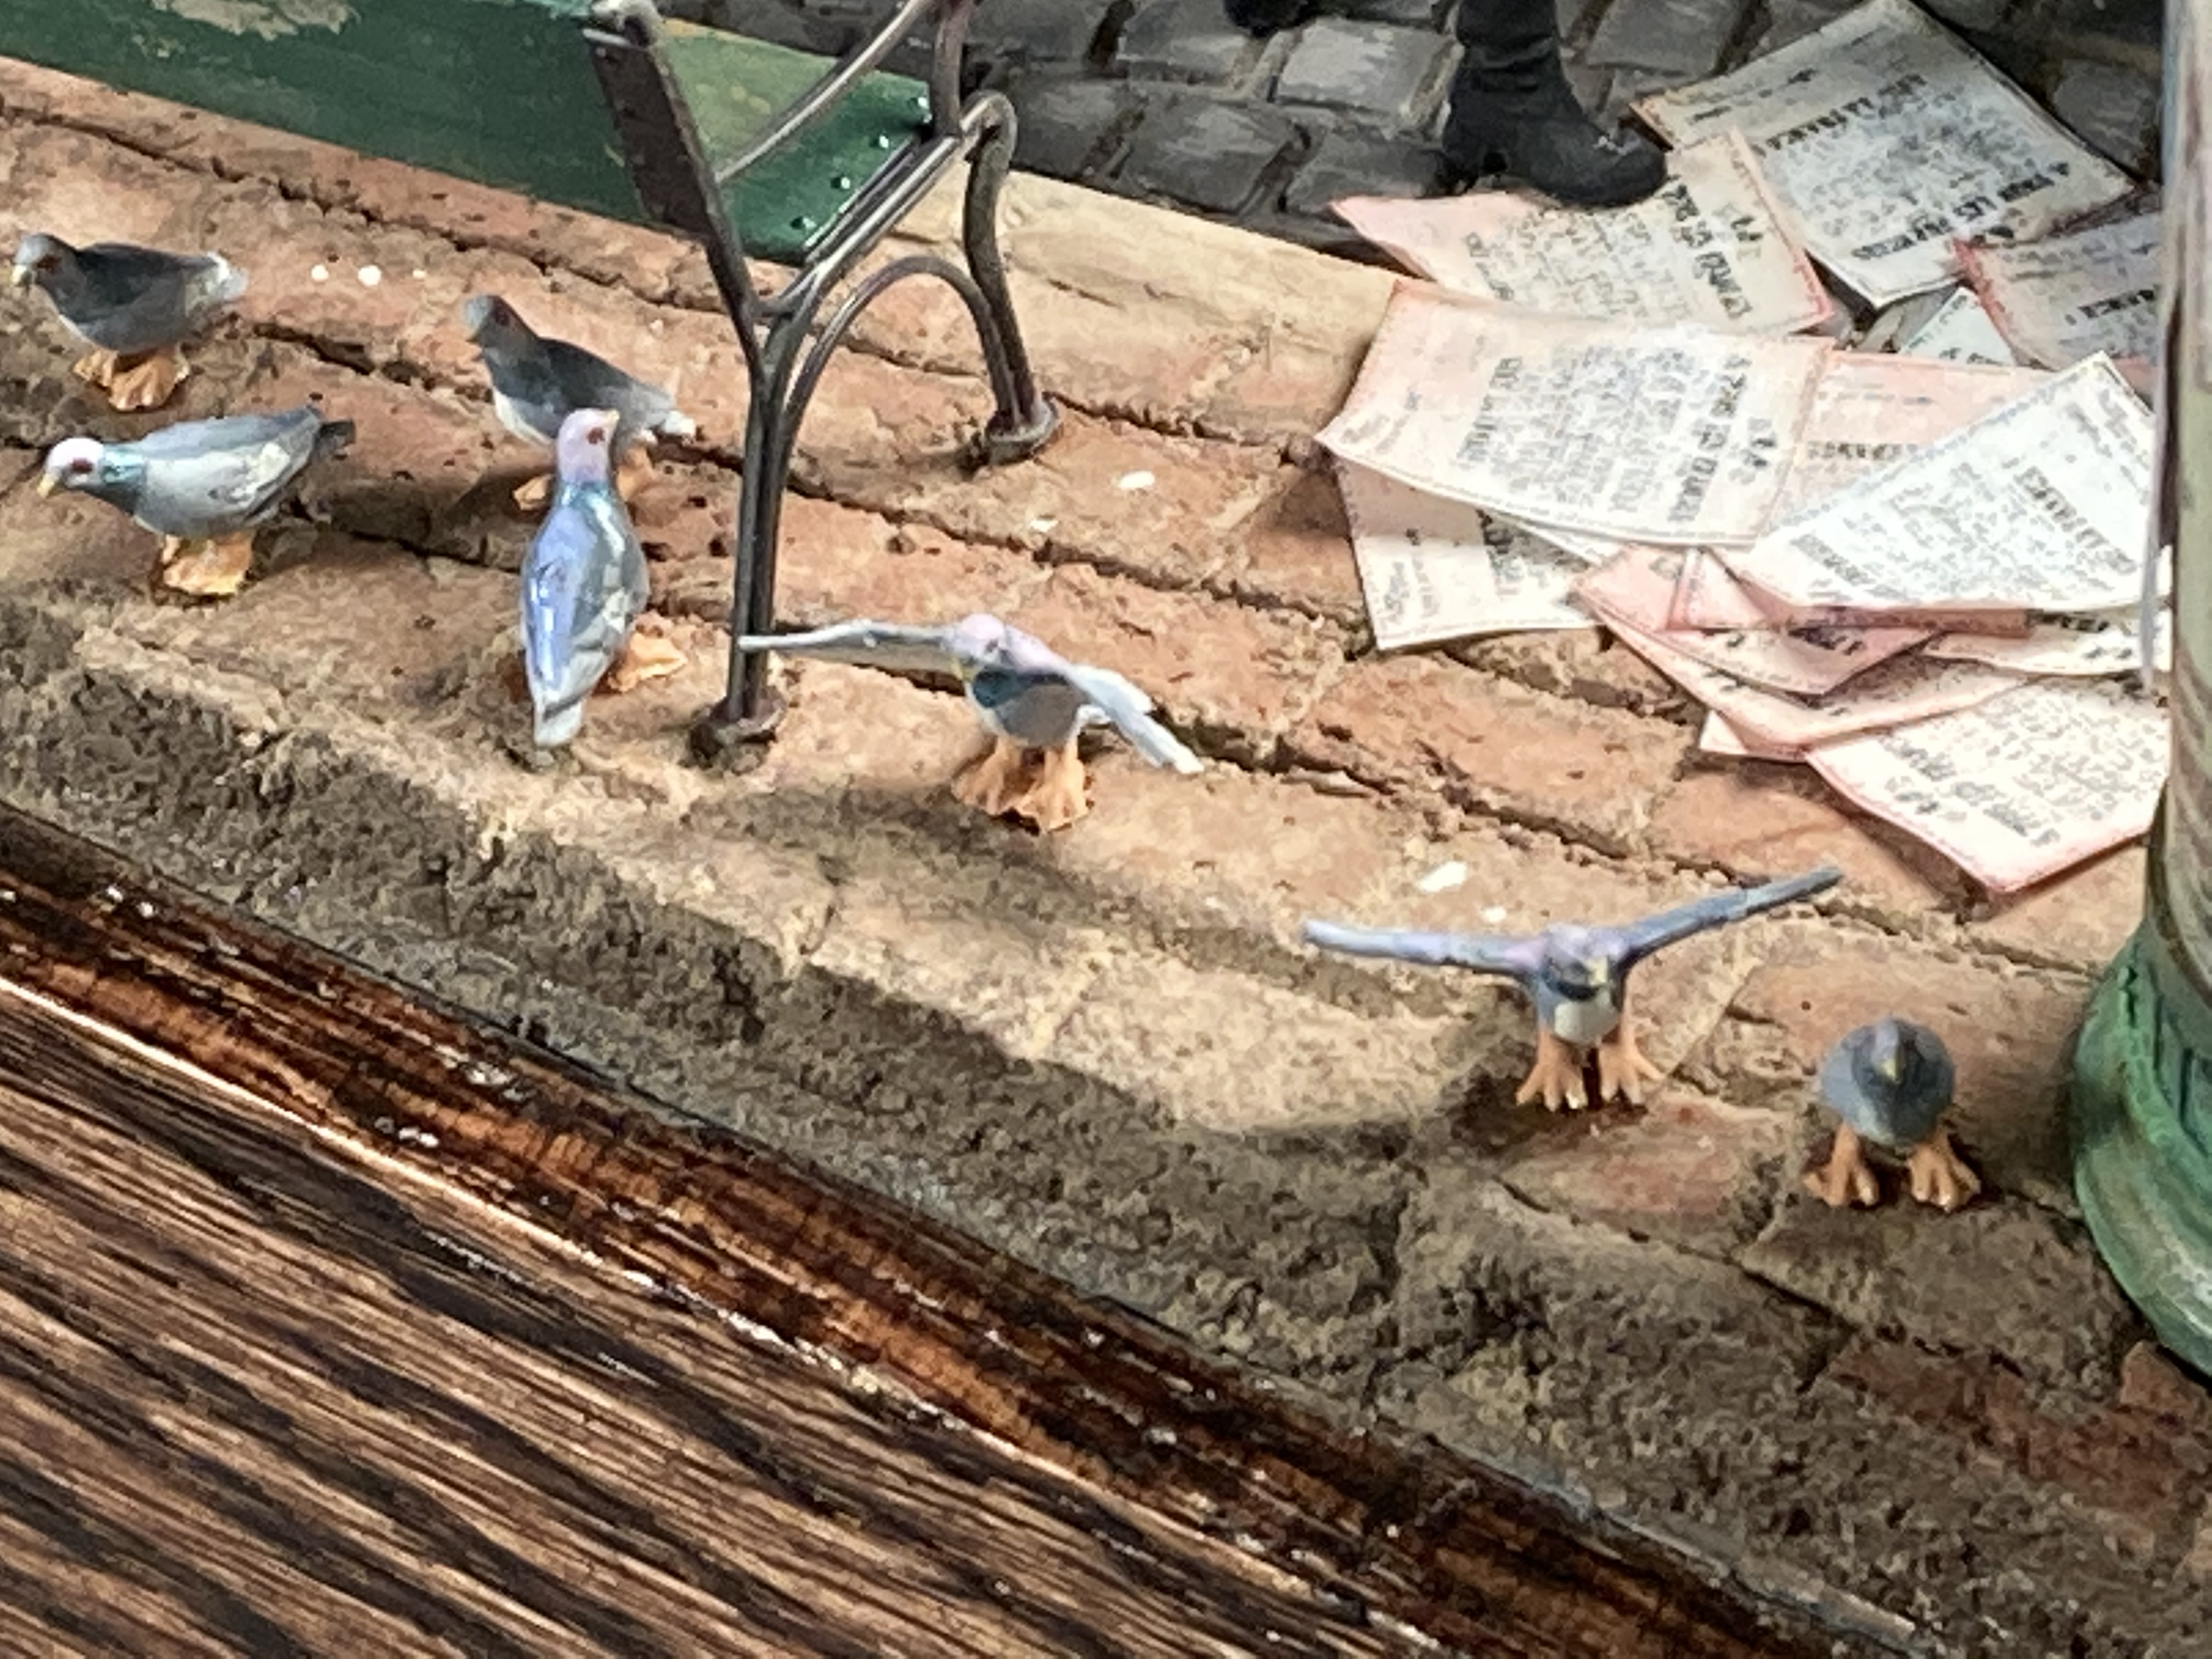
You thought this was going to be a Star trek scene, but it is a pair of Nazi SD guys raiding resistance members putting up posters. The Figures are from D-day, the car Tamiya and the kiosk from Custom Dioramics. The pigeons are Miniart along with the streetlamp and bench. The pavers and sidewalk are all done with grout. The Paris uprising began on August 18th. Dak
 1 point
 -
Thanks Gil, I appreciate it! Regarding the blue surrounds, I found this: "The Insignia Red outline was replaced with an Insignia Blue outline through the amendment of Army-Navy aeronautical specification AN-I-9 on 14 August 1943. This was followed by an amendment to Technical Order 07-1-1, issued on 24 September 1943, for units in the field. On some US Navy aircraft in the Pacific the blue outline was lighter than the insignia blue."1 point
-
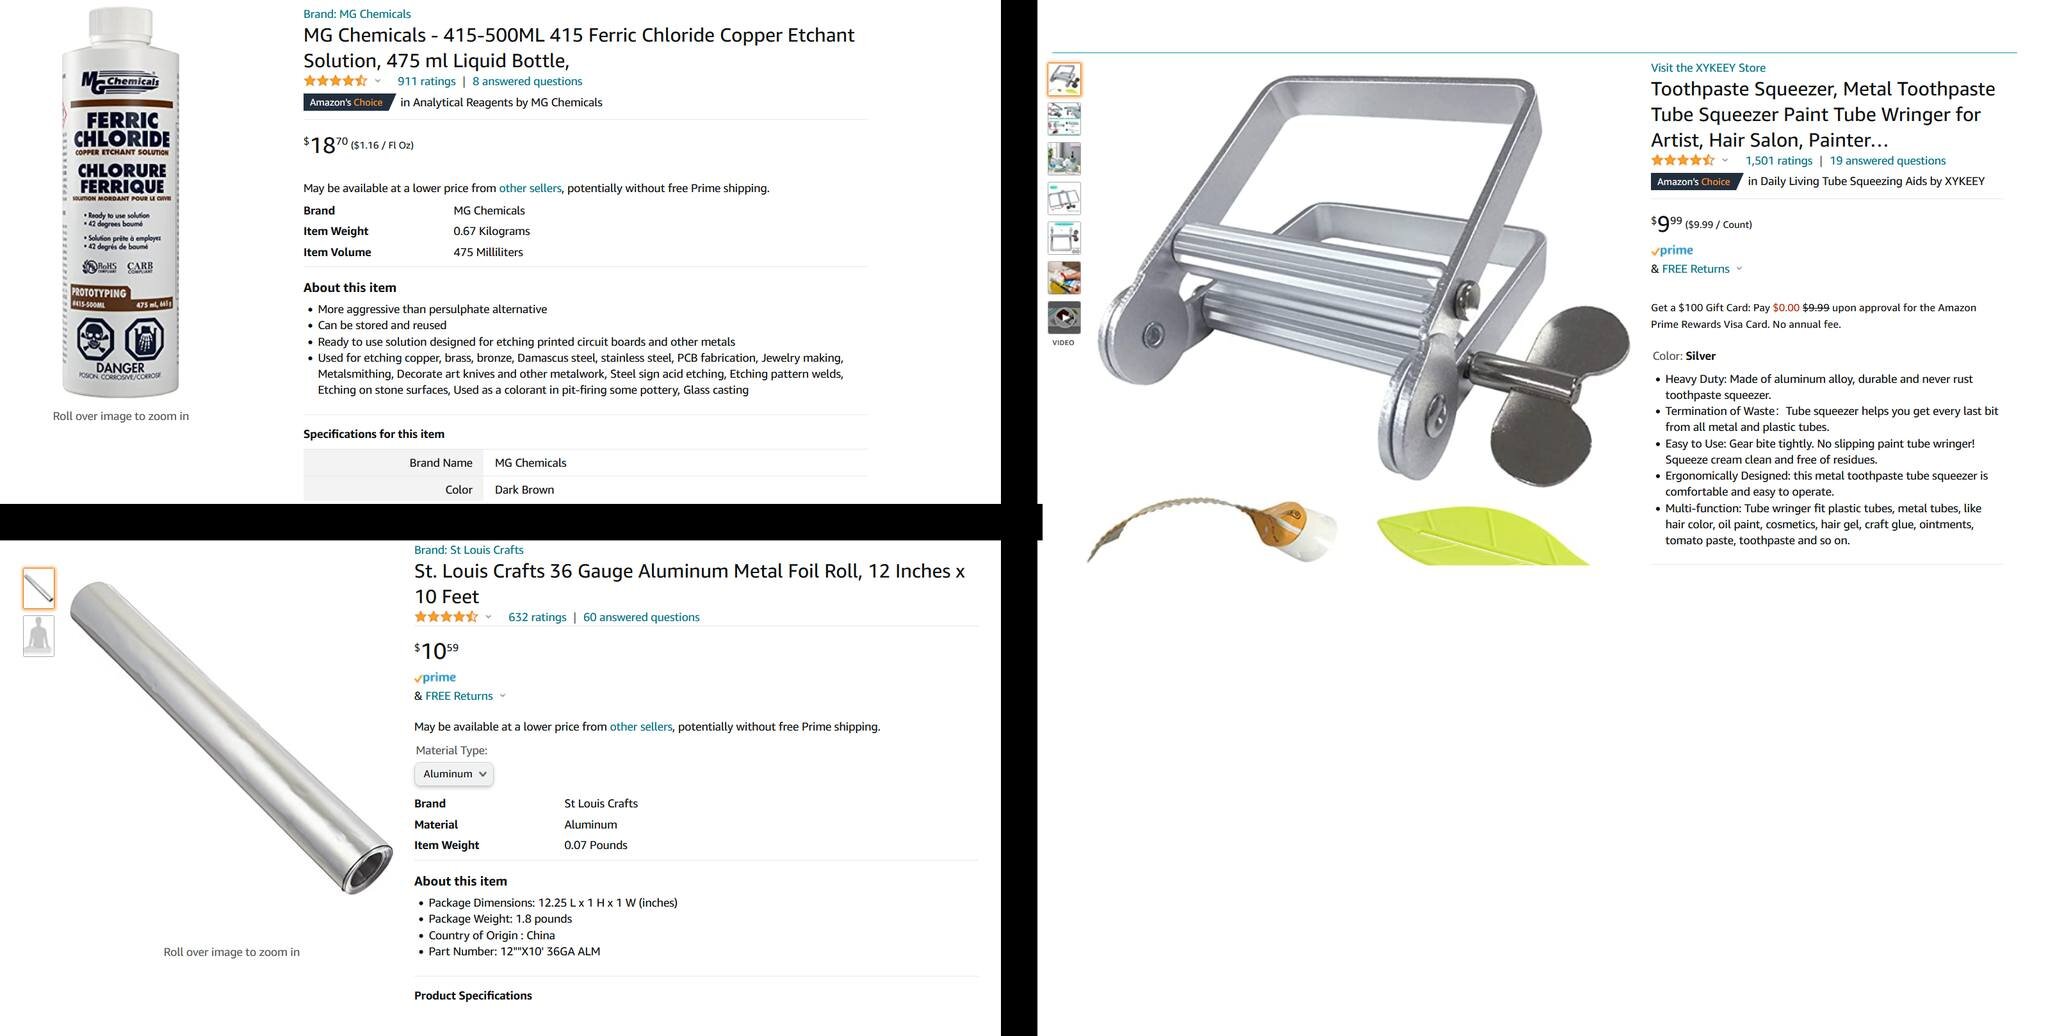
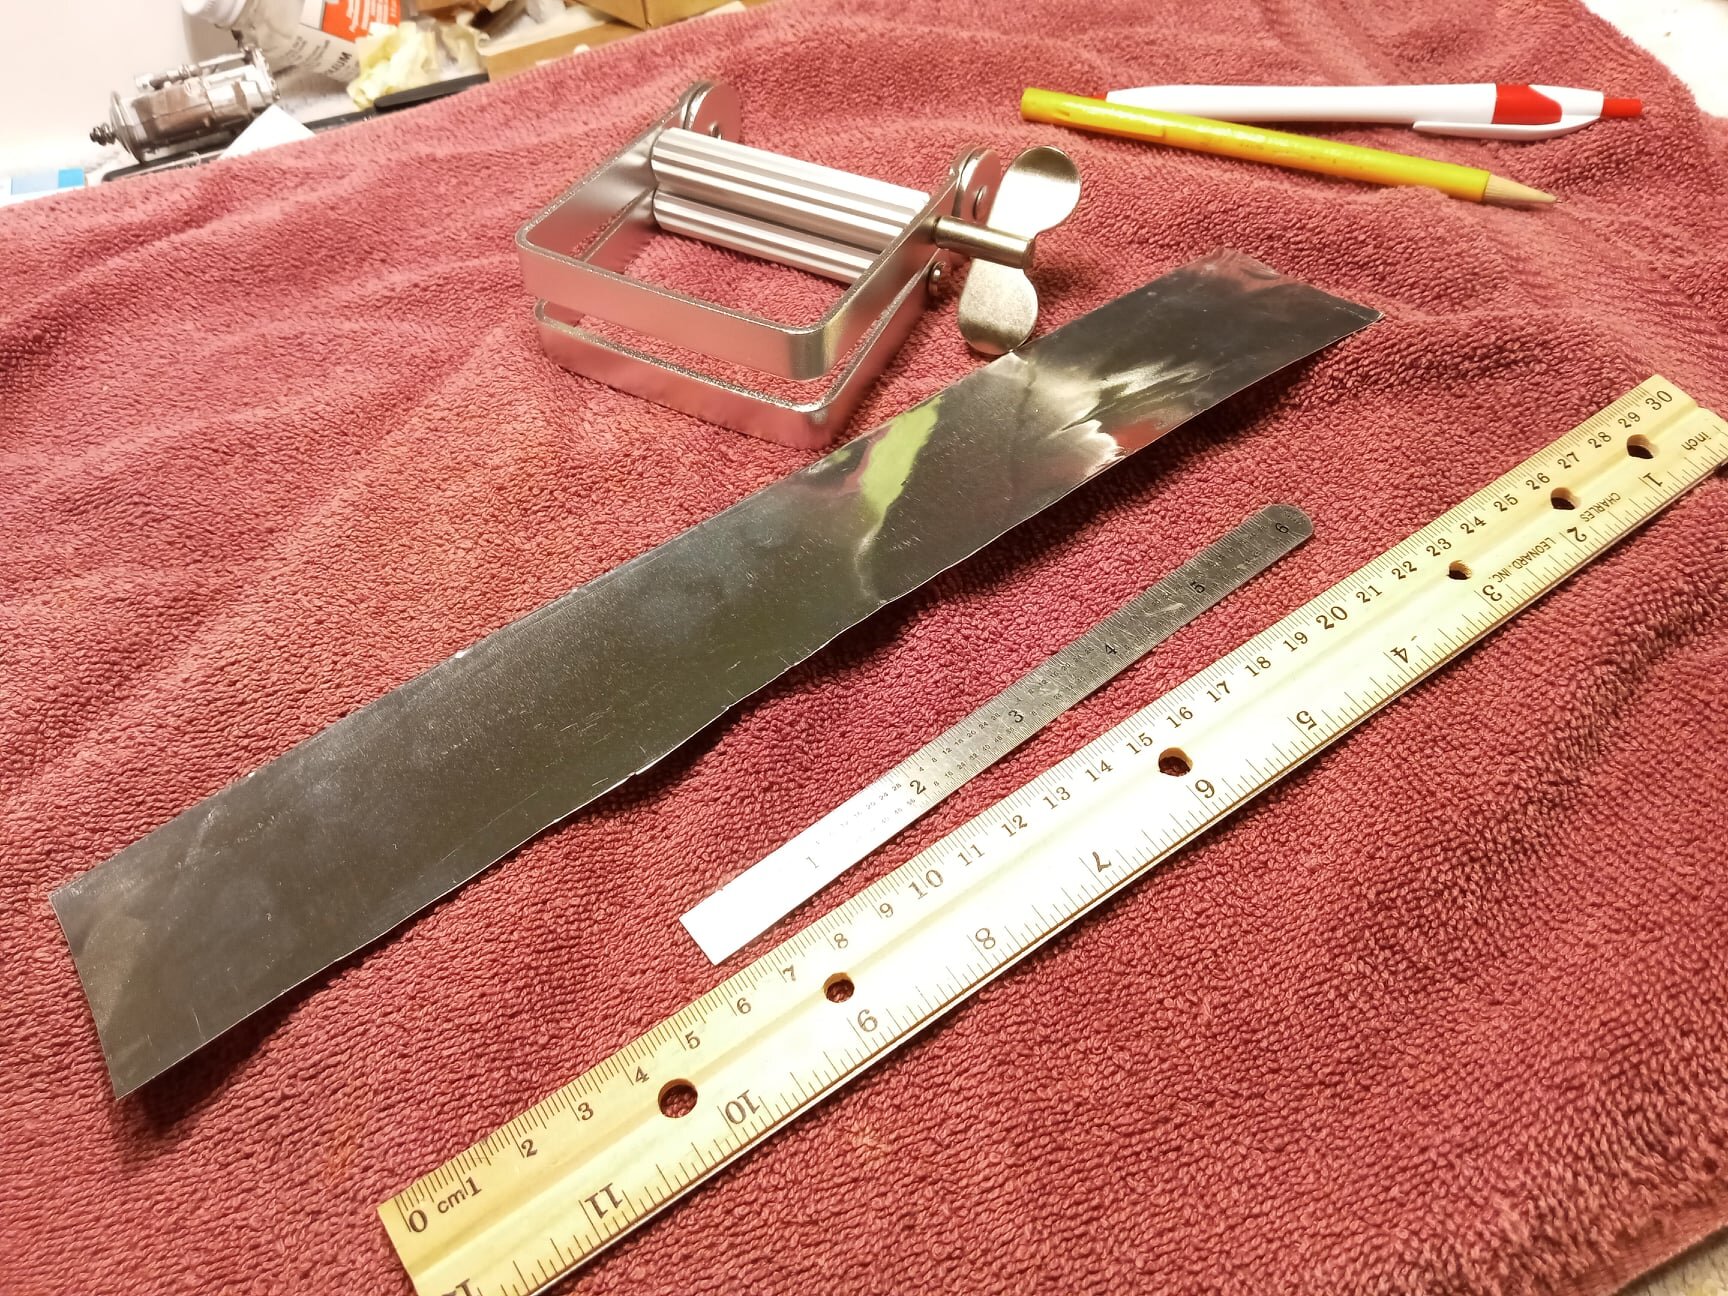
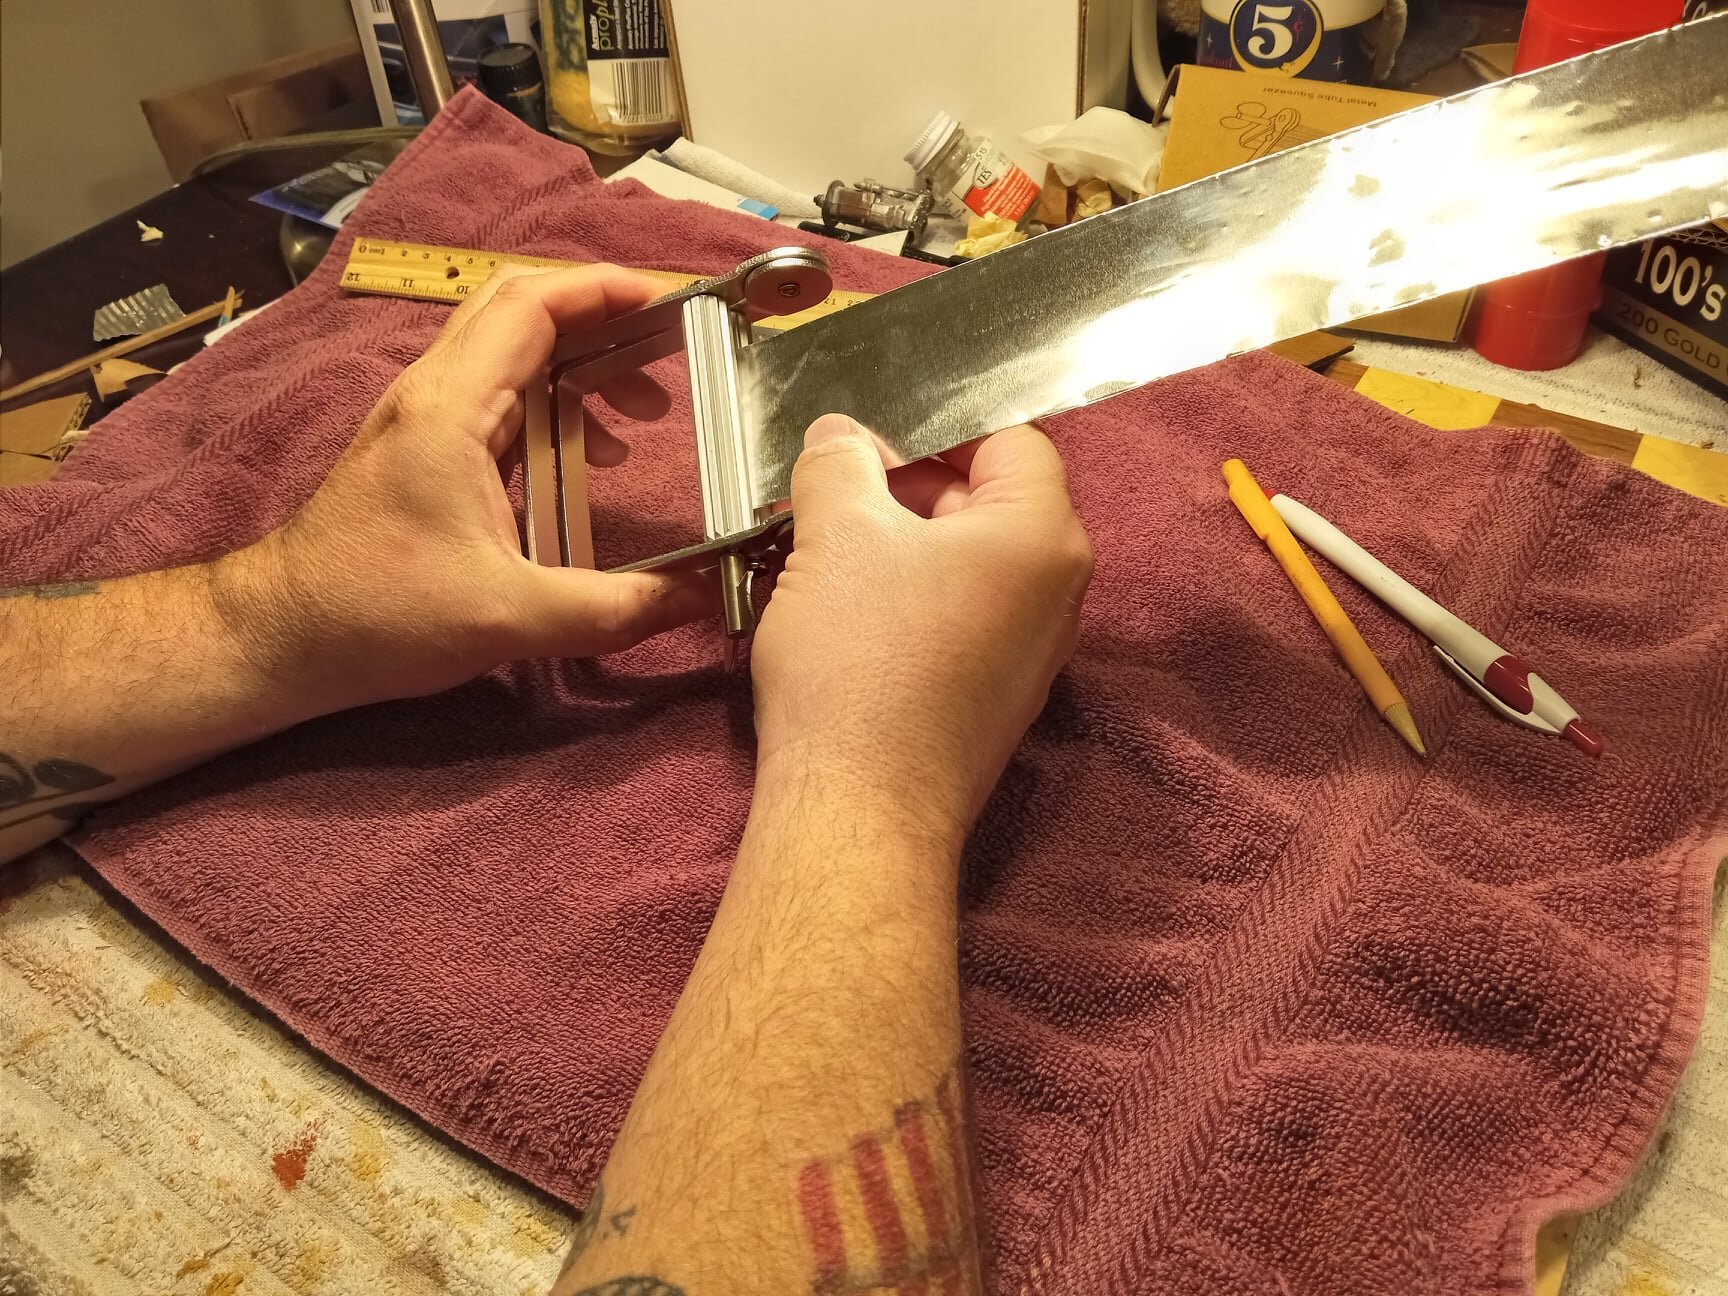
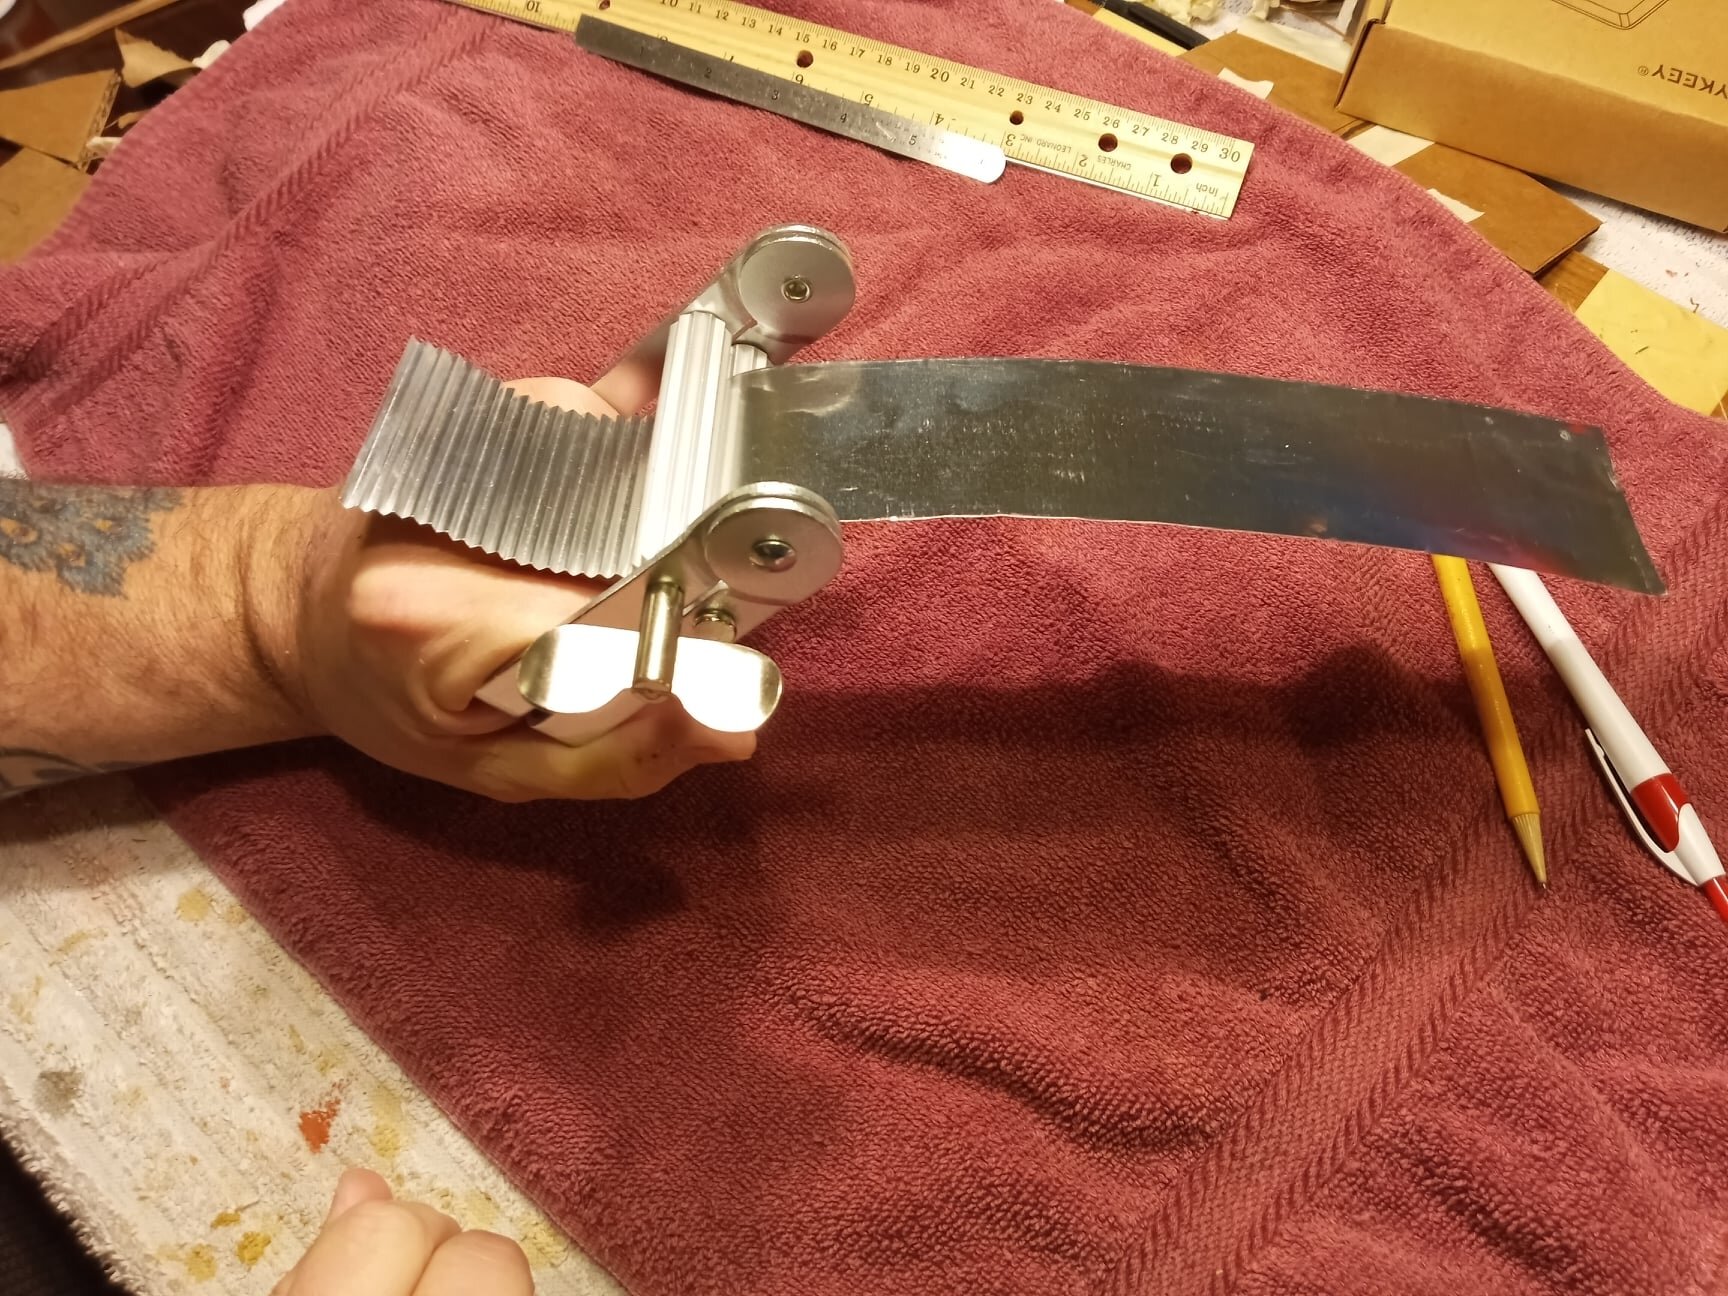
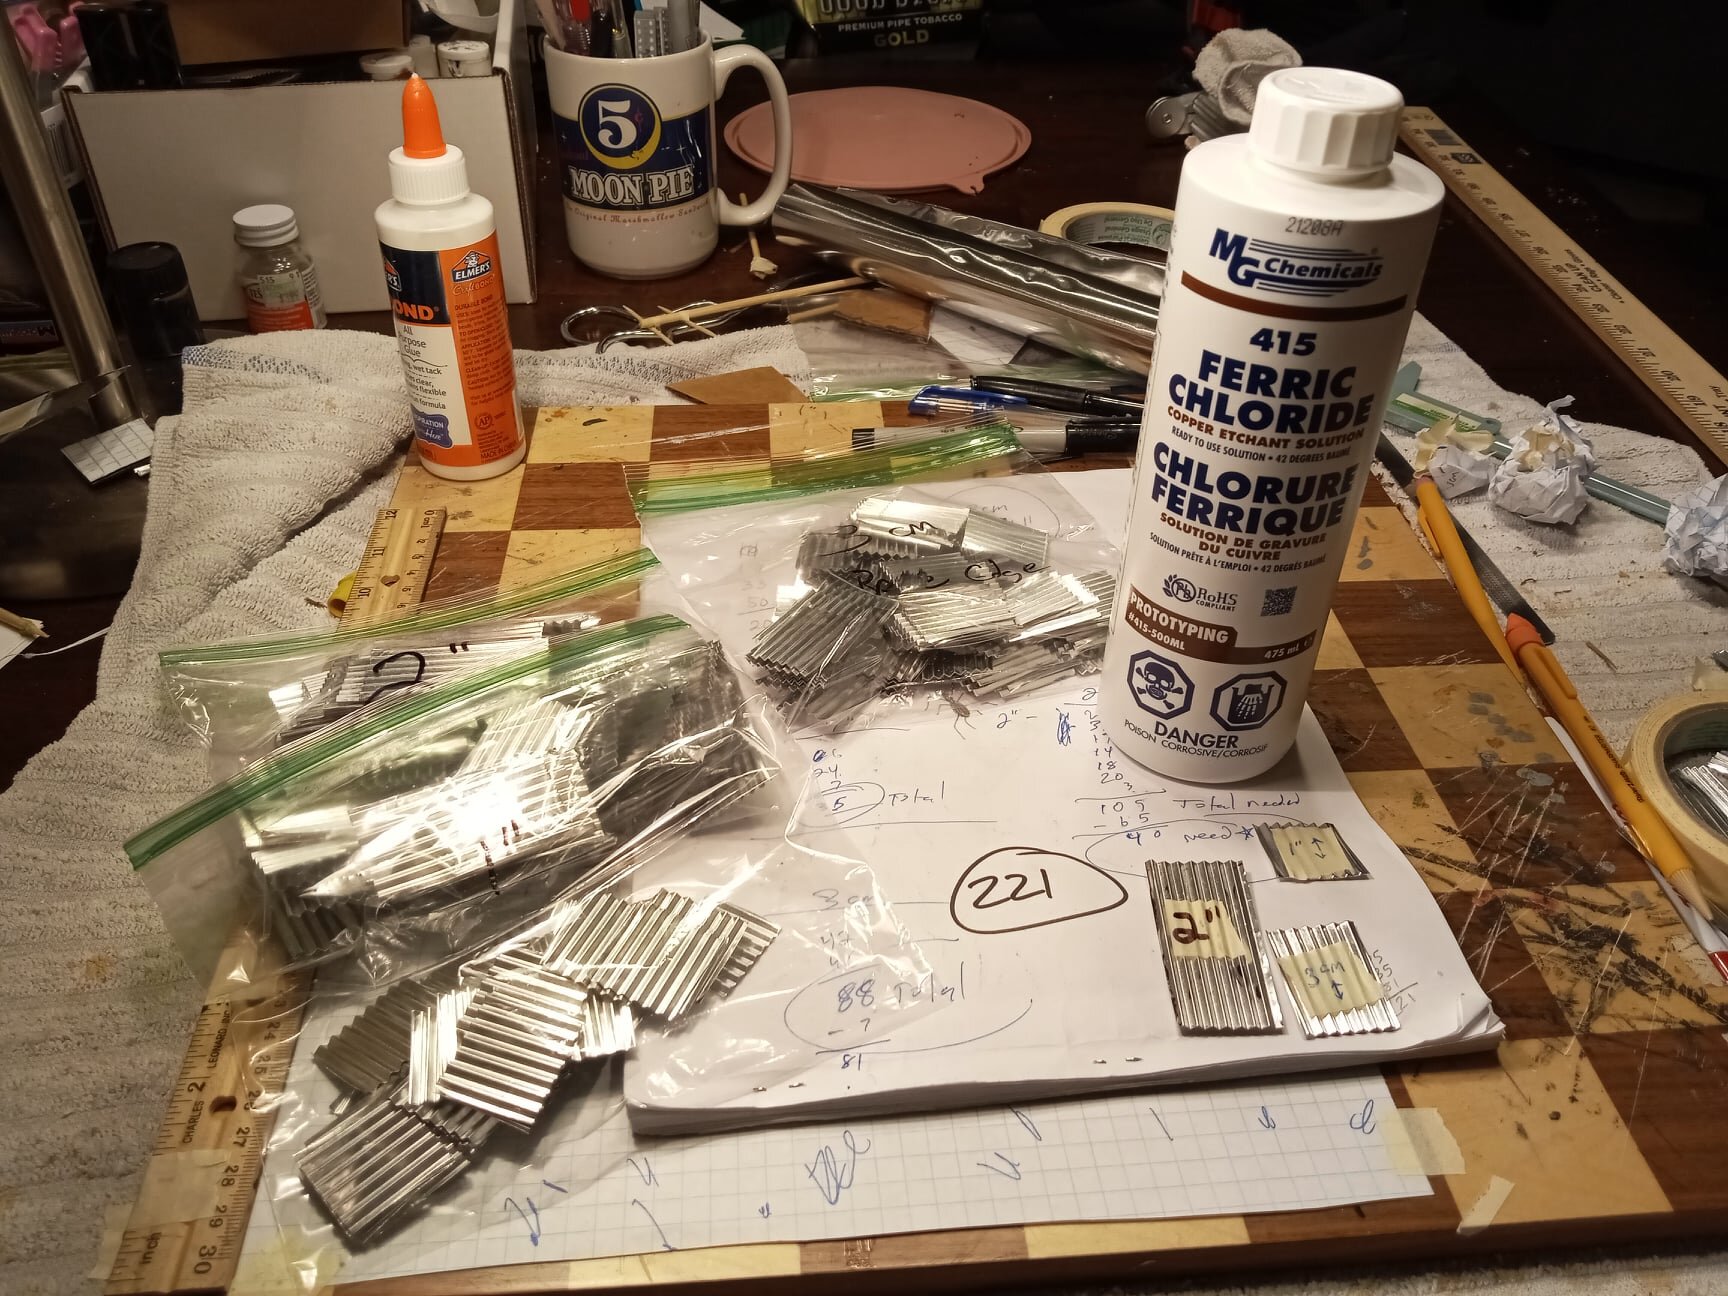
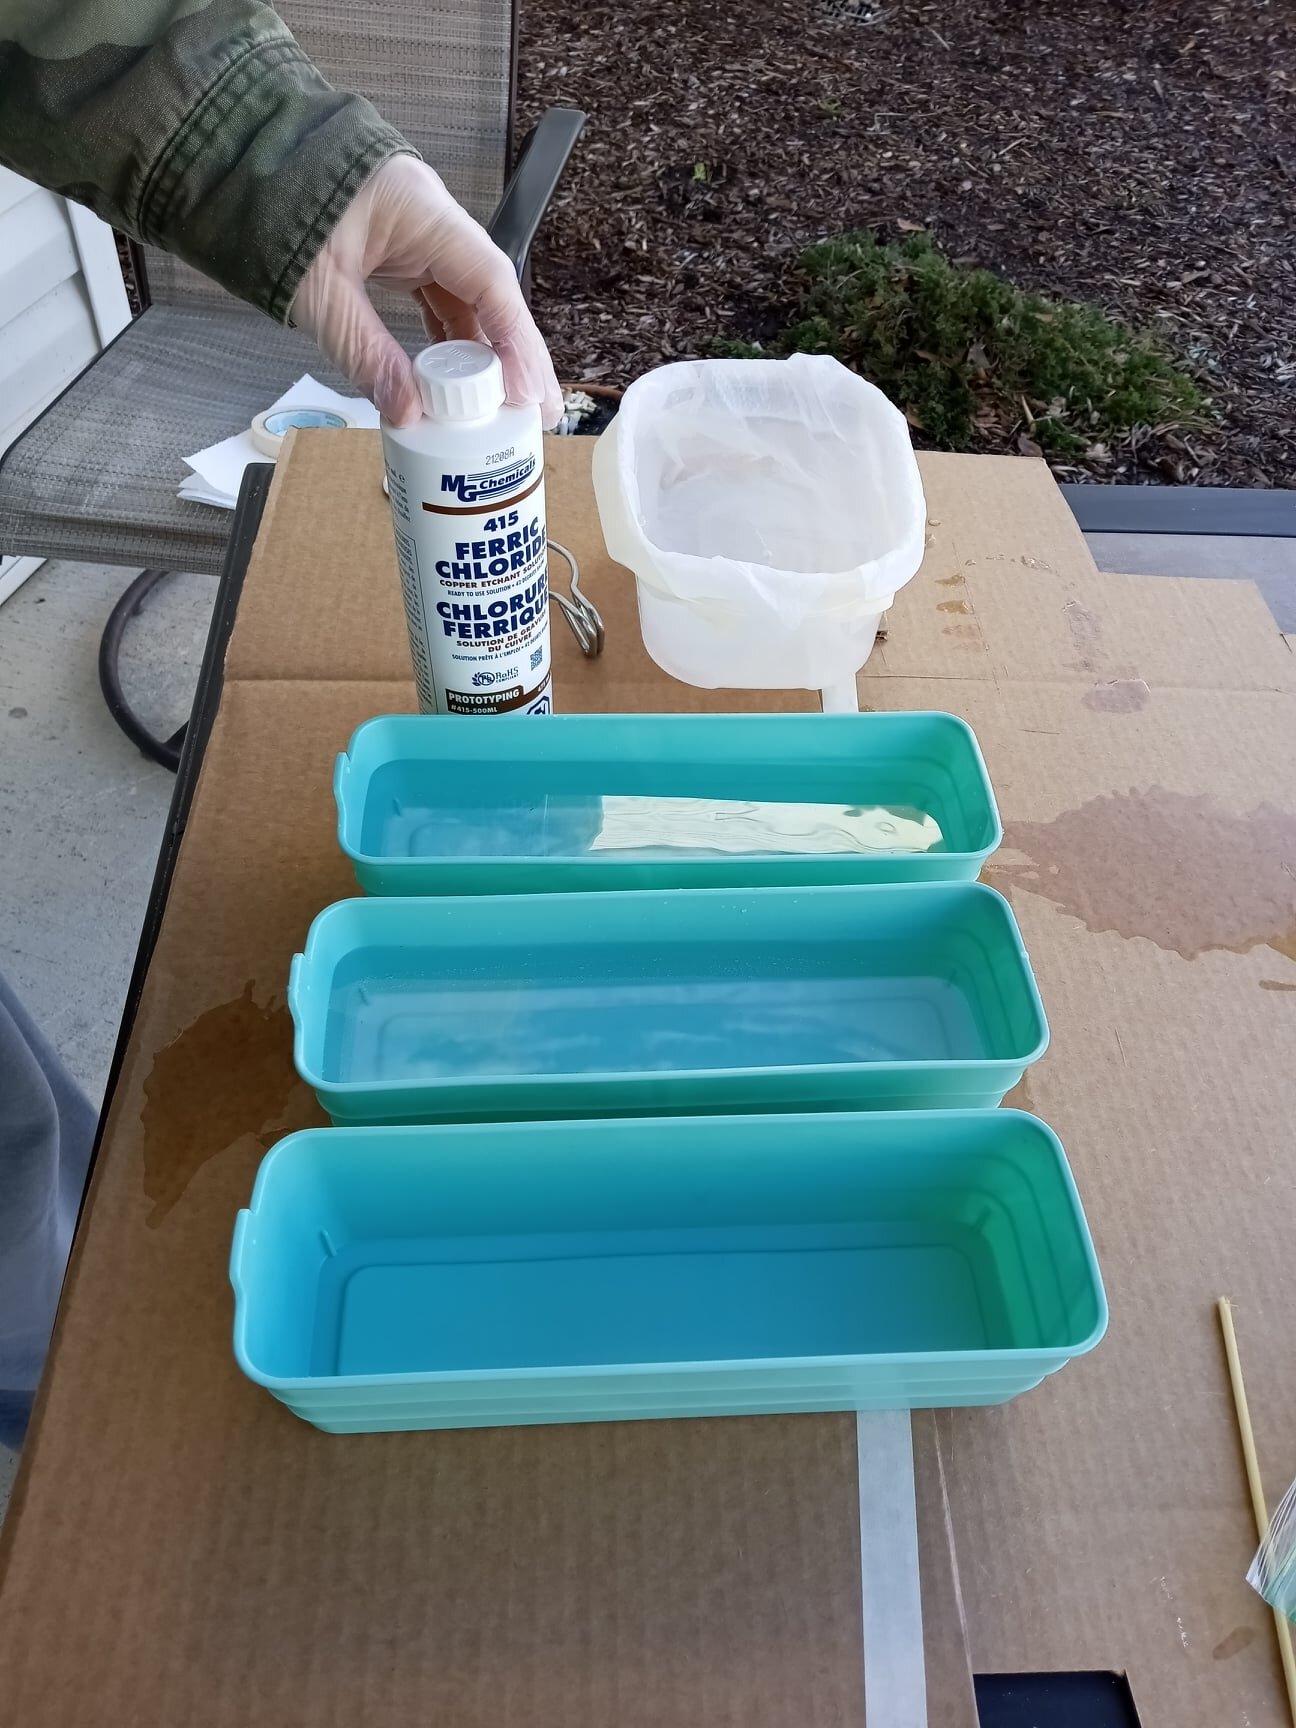
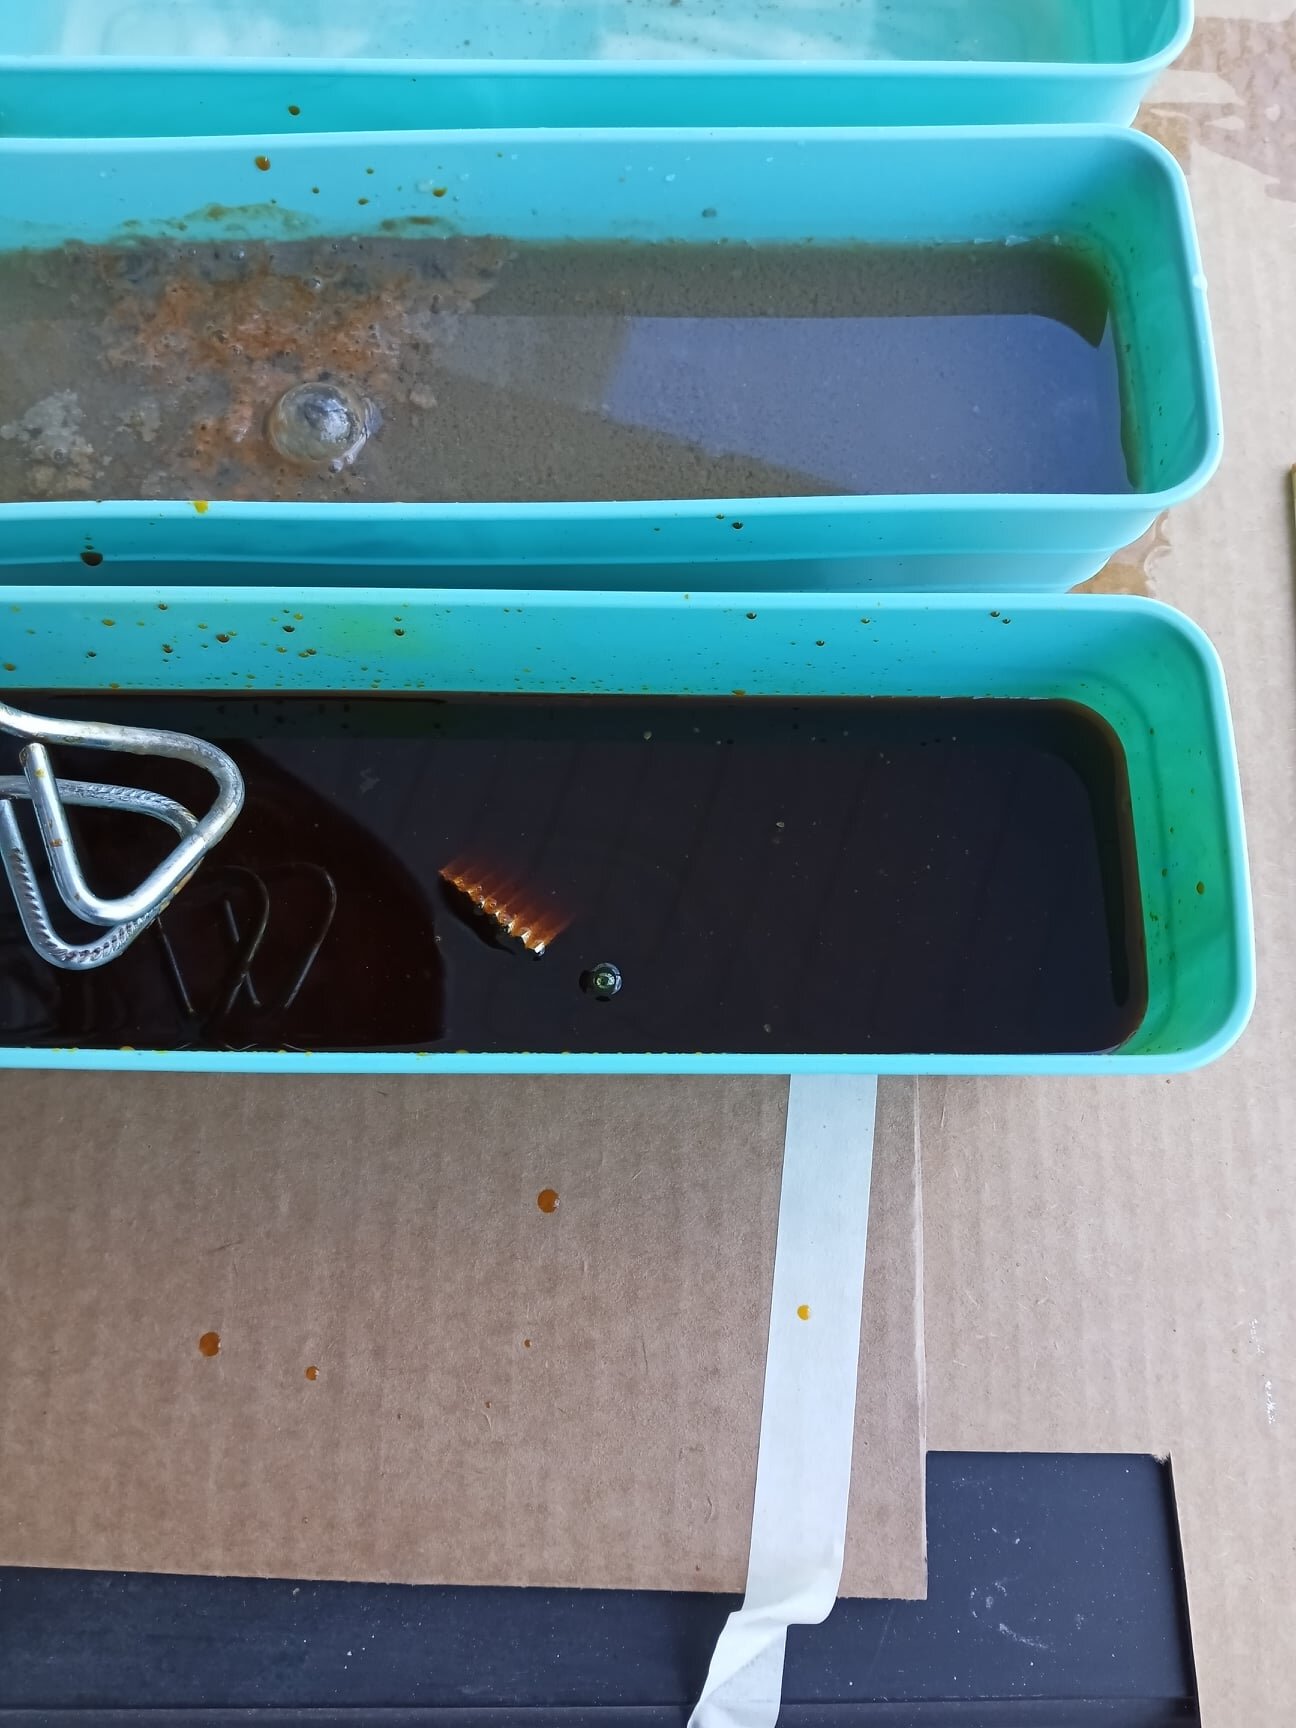
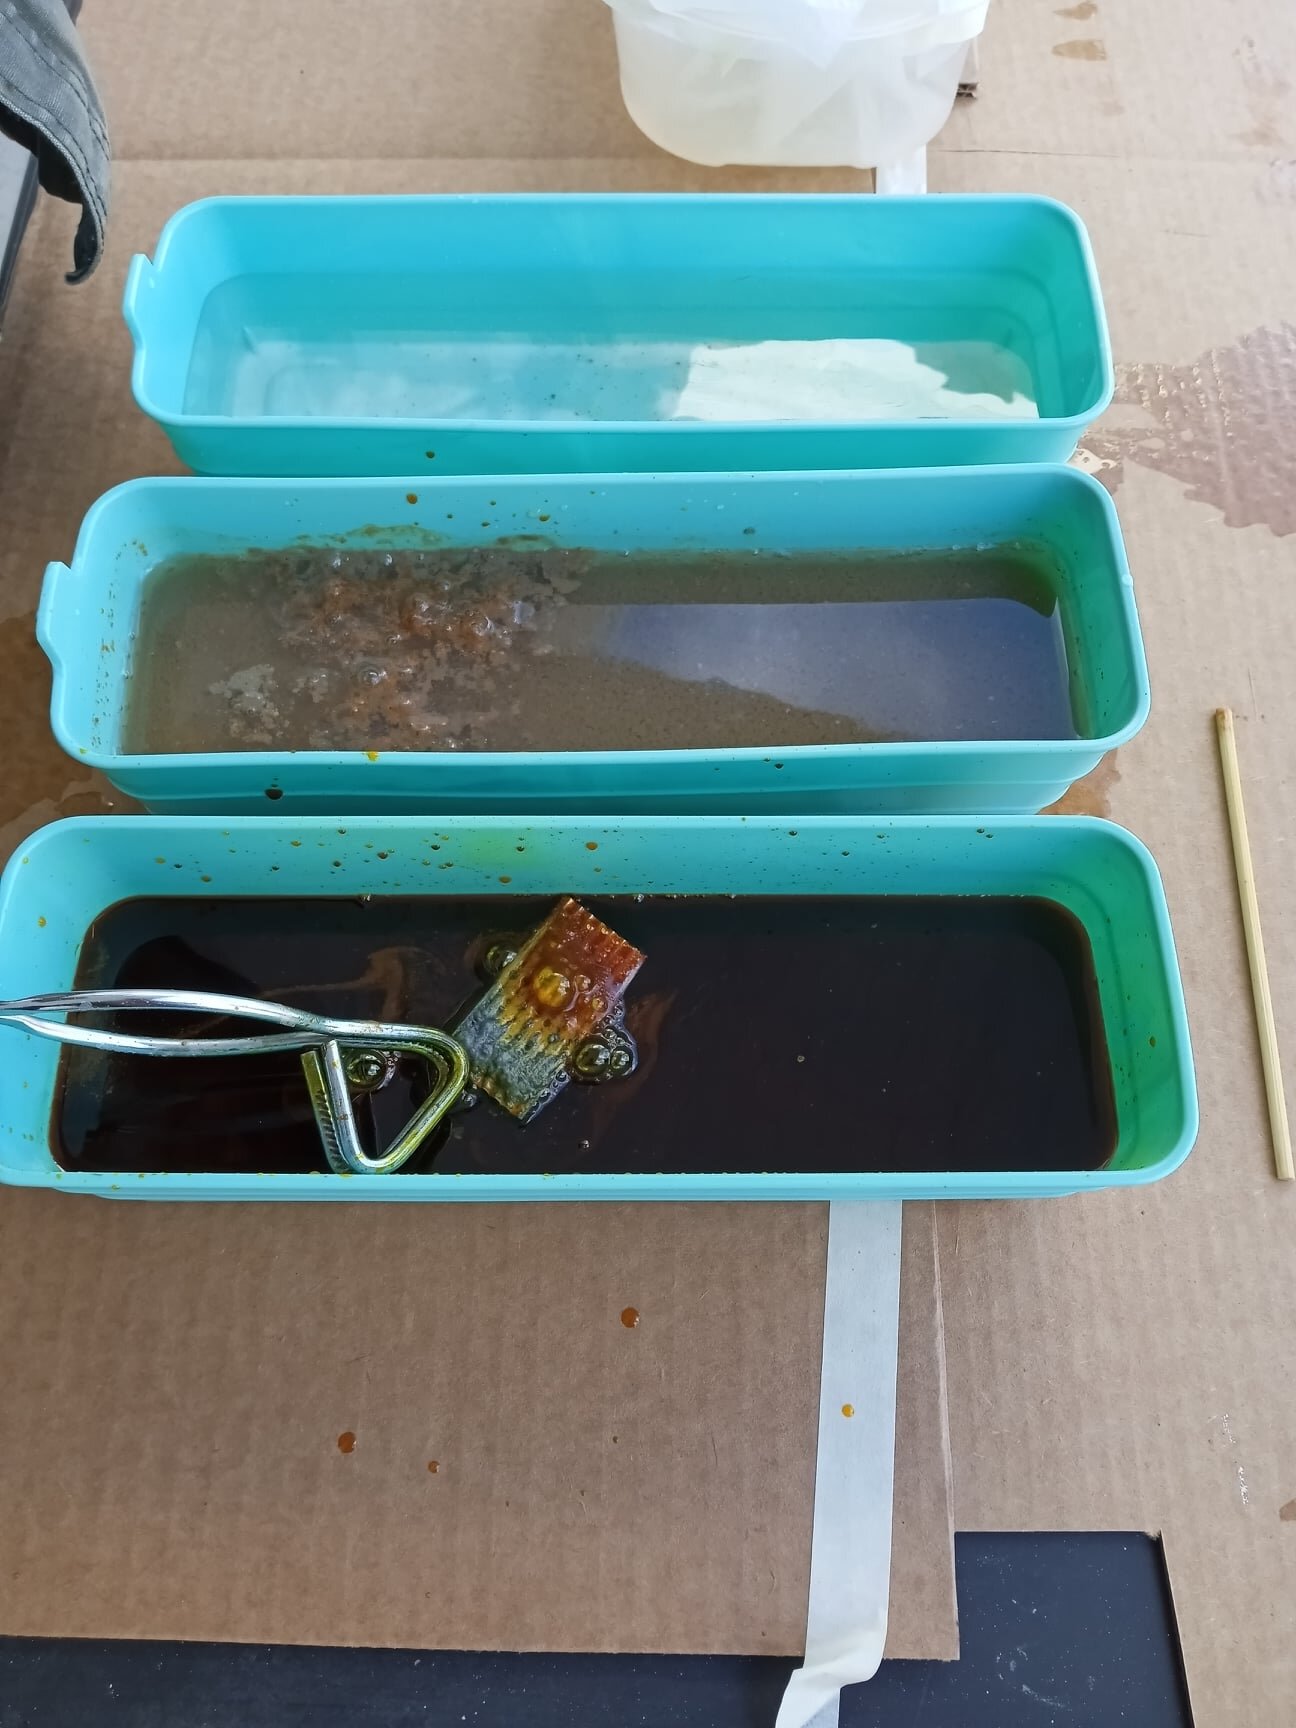
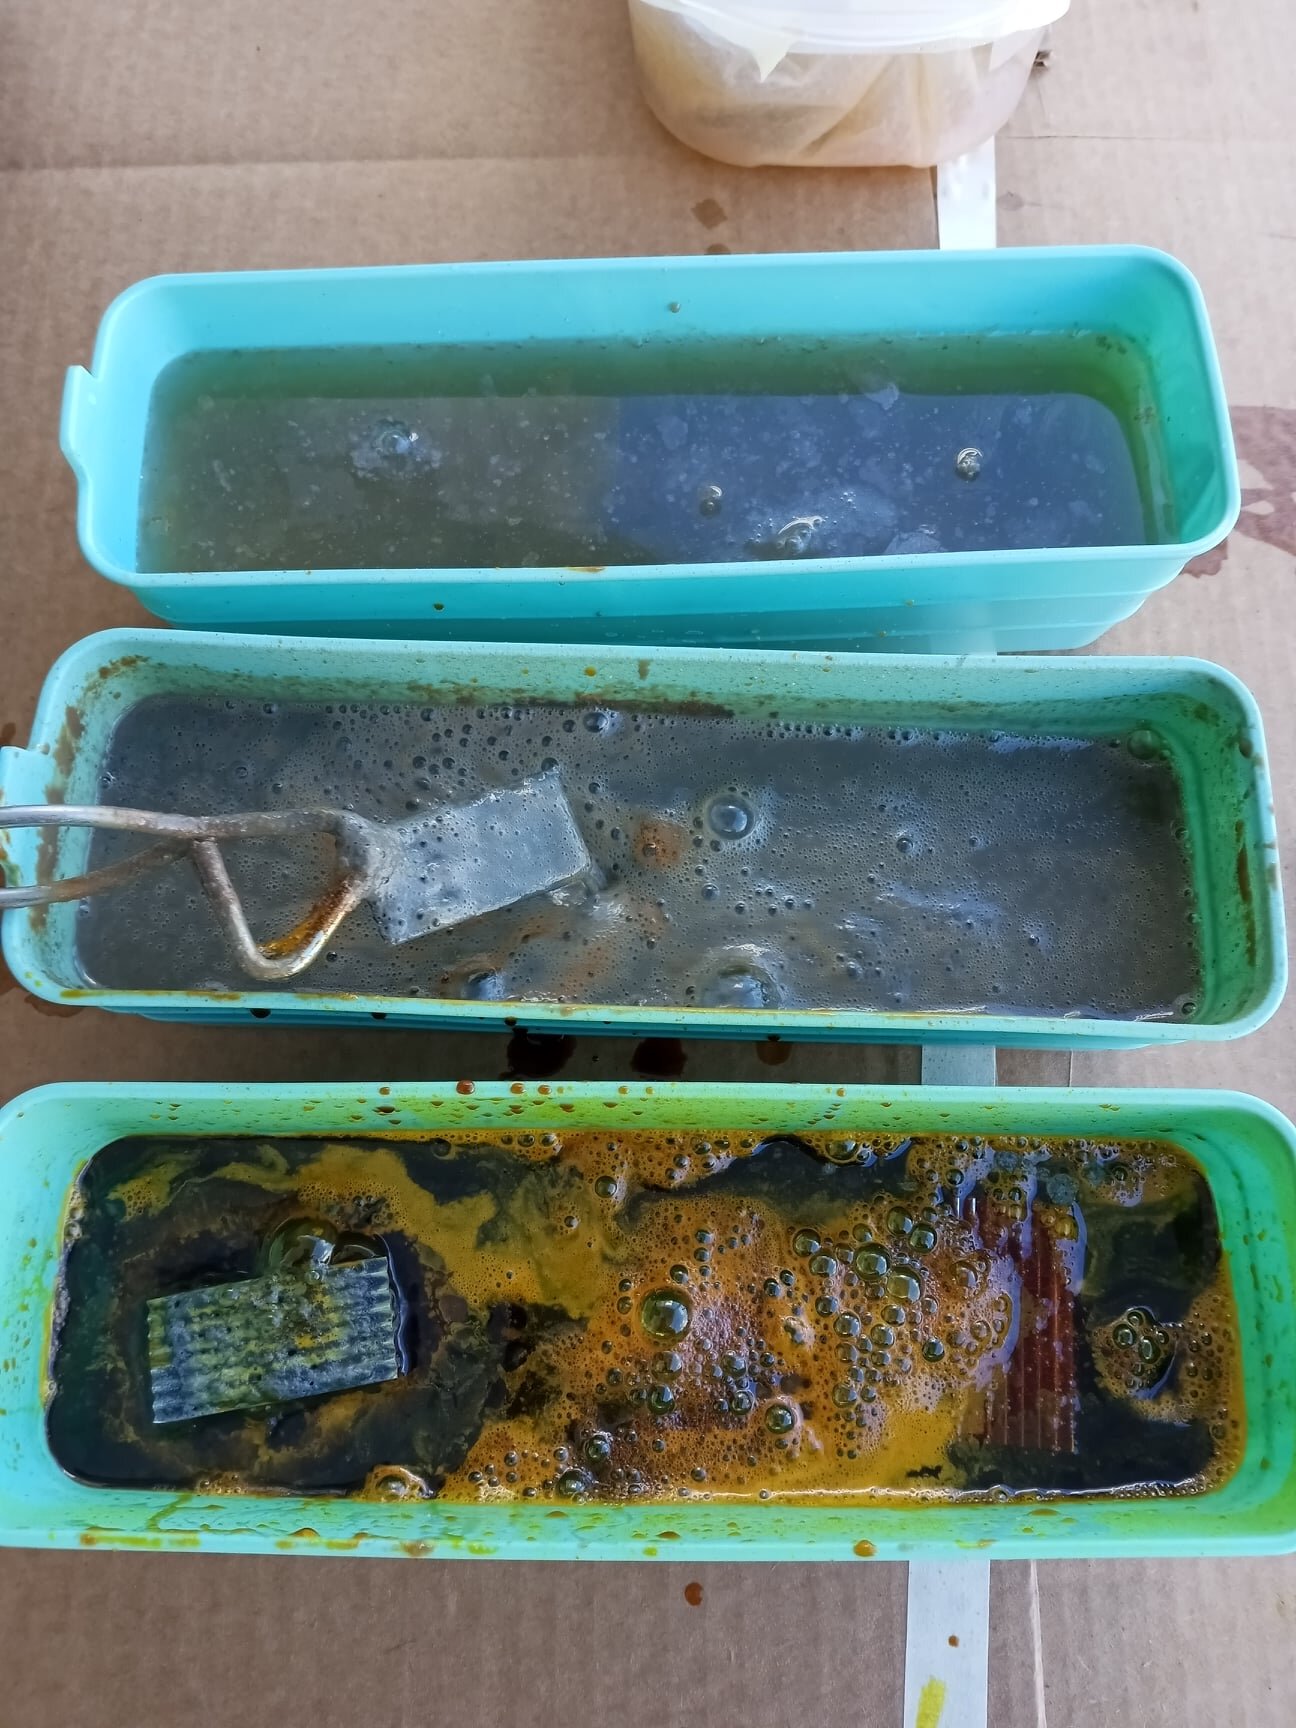
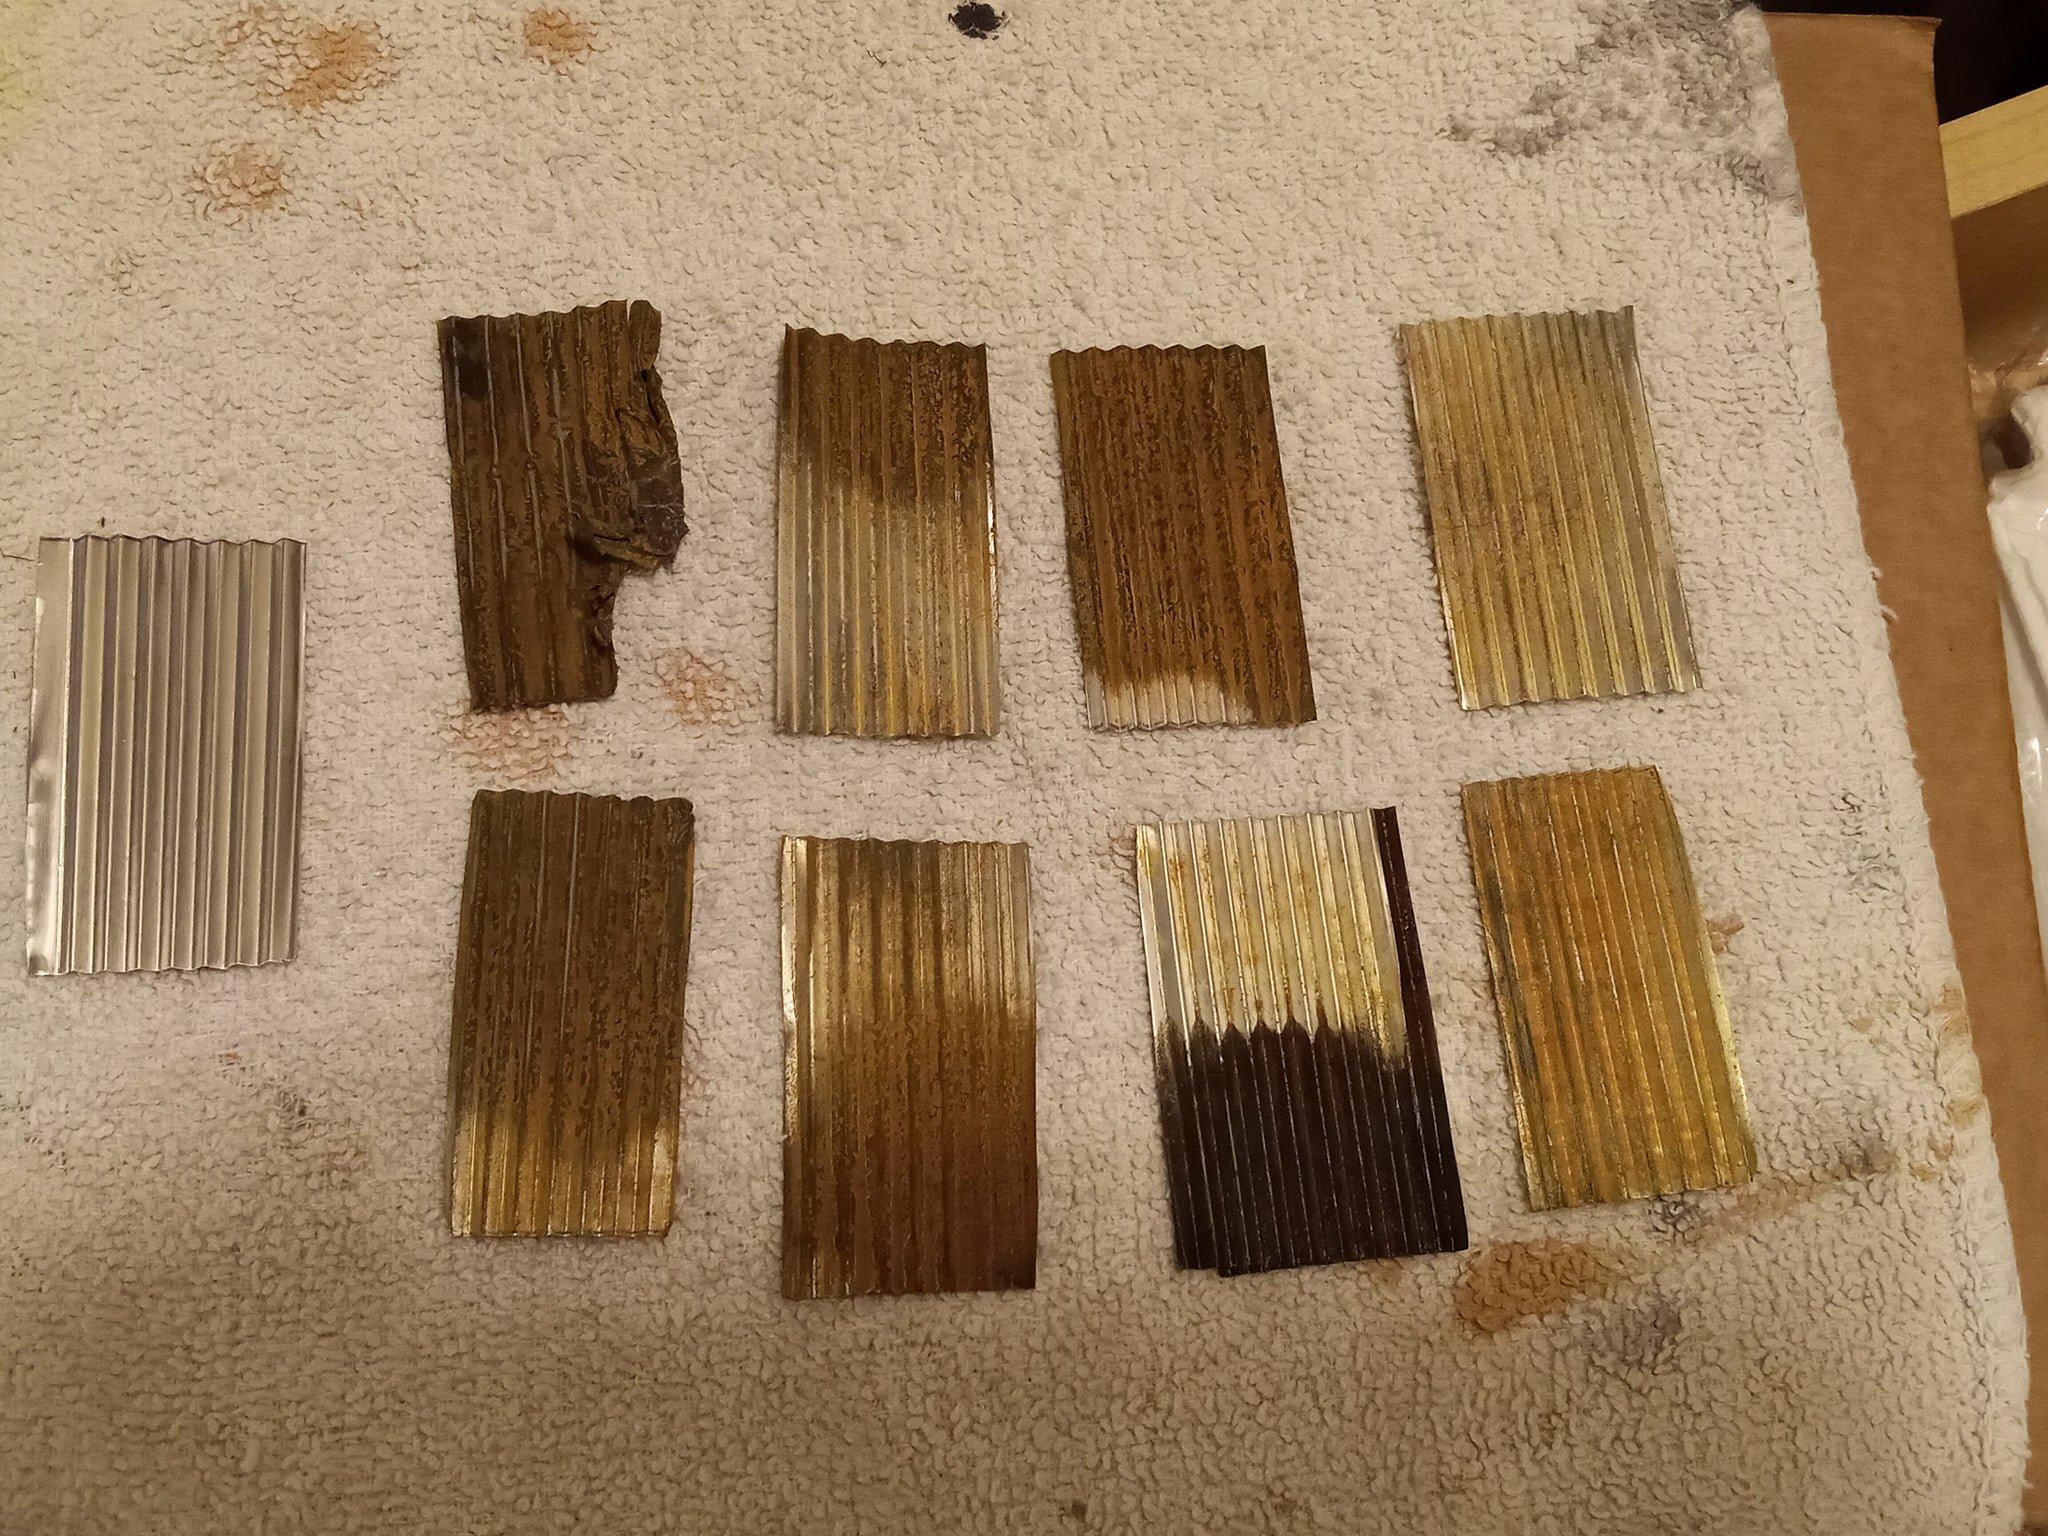
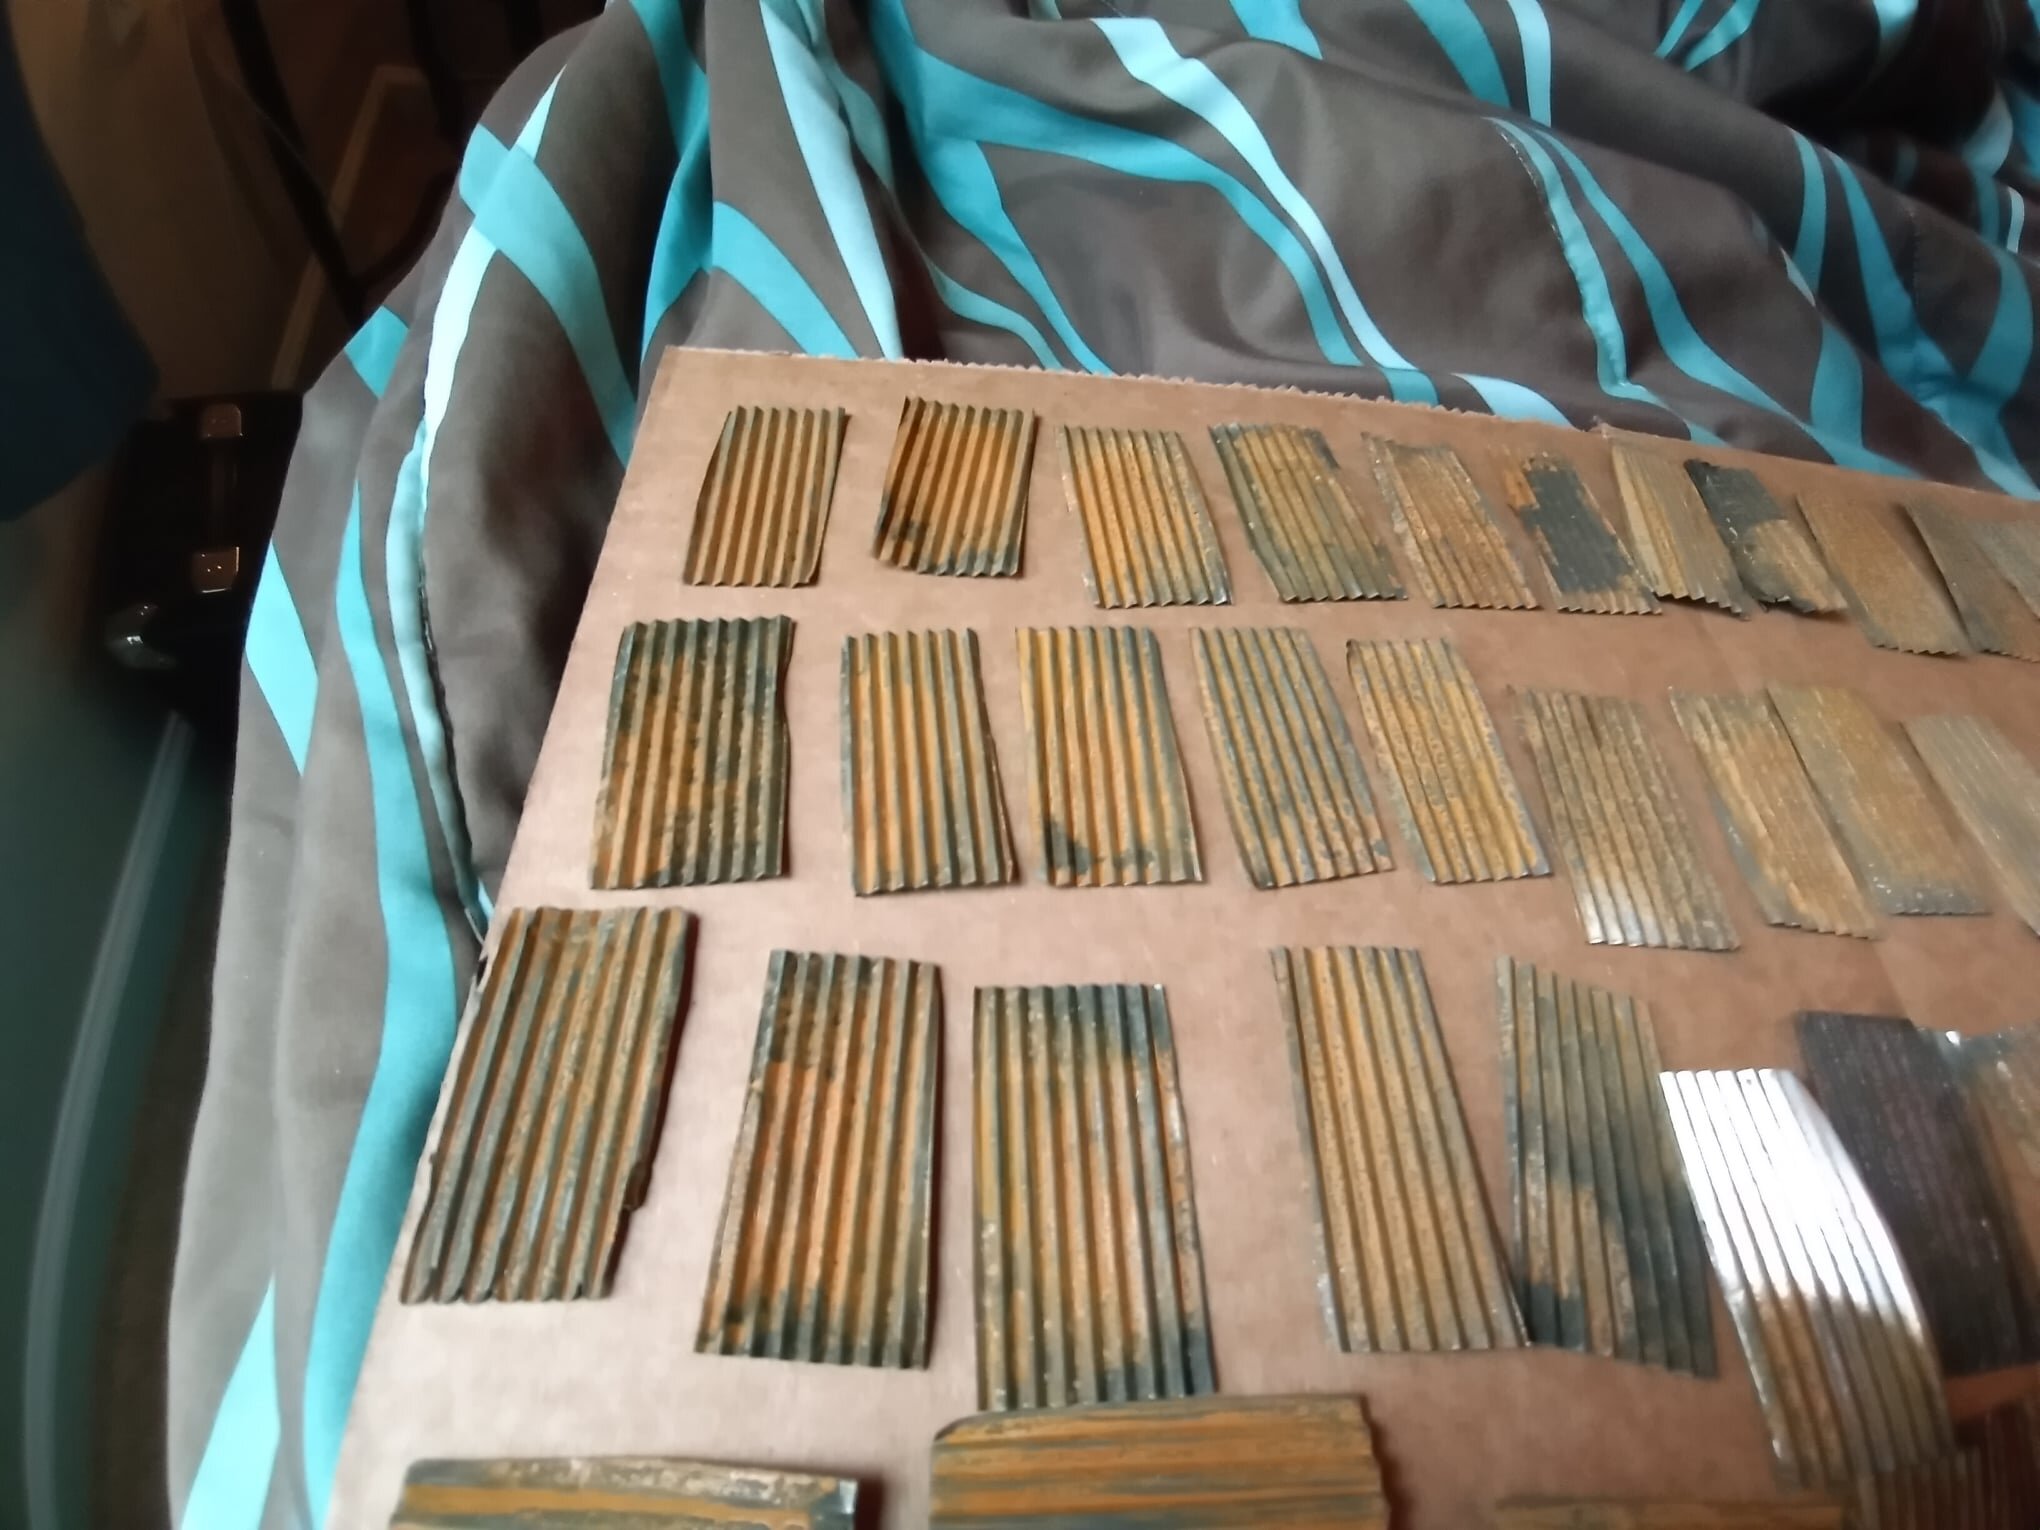
Hi friends! Here's how I make scale galvanized sheet metal roofing panels. This works great at the 1/25 scales I use (G scale on trains). Each one with a unique style, color, and pattern yet uniform at the same time. Materials I used are all from Amazon. An artist's oil paint tube crimper, 36 gauge aluminum foil, and the ferric chloride. Gloves, eye protection and ventilation; I cannot stress this enough. This is nasty stuff that gives of toxic fumes. Work outside! Carefully cut your strips to your desired width. Be careful here as well. These edges are sharp! Align your strip into the crimper. It's 3" wide, but I found that it's really hard to keep the aluminum foil straight. I used 2" for my panels and they fed in quite nicely. Turn the metal through the crimper. The strips can wander off course as you go, but corrections can be made as you go. Keep as straight as you can. This wore my wrist out. Take breaks! Nice. Cut your desired panel size. If you have multiple sizes to do, bag them in groups. This will save you some headaches and time re-sorting them after you're done. Make some extras, too. There's a learning curve so you'll want a few more. Ready? Time to acid. Top down: first container is just plain water, next two are baking soda/water (to stop the reaction), bottom one will be the acid. Pour very carefully. Wear gloves and eye protection. Do this outside. Dip the panel. Depending on the outside temp, the acid can attack quicker when warm. It's cold today so I've got some initial work time to test before it starts to get warm; the acid will put off it's own heat from the reaction. The pan above it is neutralizing a test piece. Acid 10 seconds, stop the reaction a couple times, put in the last water/soda pan. Wash thoroughly. They'll appear black, but really come to life as they dry. My test pieces. Here we are. Hope this helps someone. Feel free to ask any questions. If you try this, be safe. 🙂 Thanks for looking. J
1 point