Leaderboard


Popular Content
Showing content with the highest reputation on 08/04/2022 in all areas
-
I know it's August, but I did complete these two on July 31st. These are my latest helicopters: AH-1G Early model by Special Hobby: AH-1G Late by AZ Models: I don't know how accurate these are but I did my best to at least utilize the early parts on the early version and the late parts on the late version. Thanks for looking in, comments are welcome.1 point
-
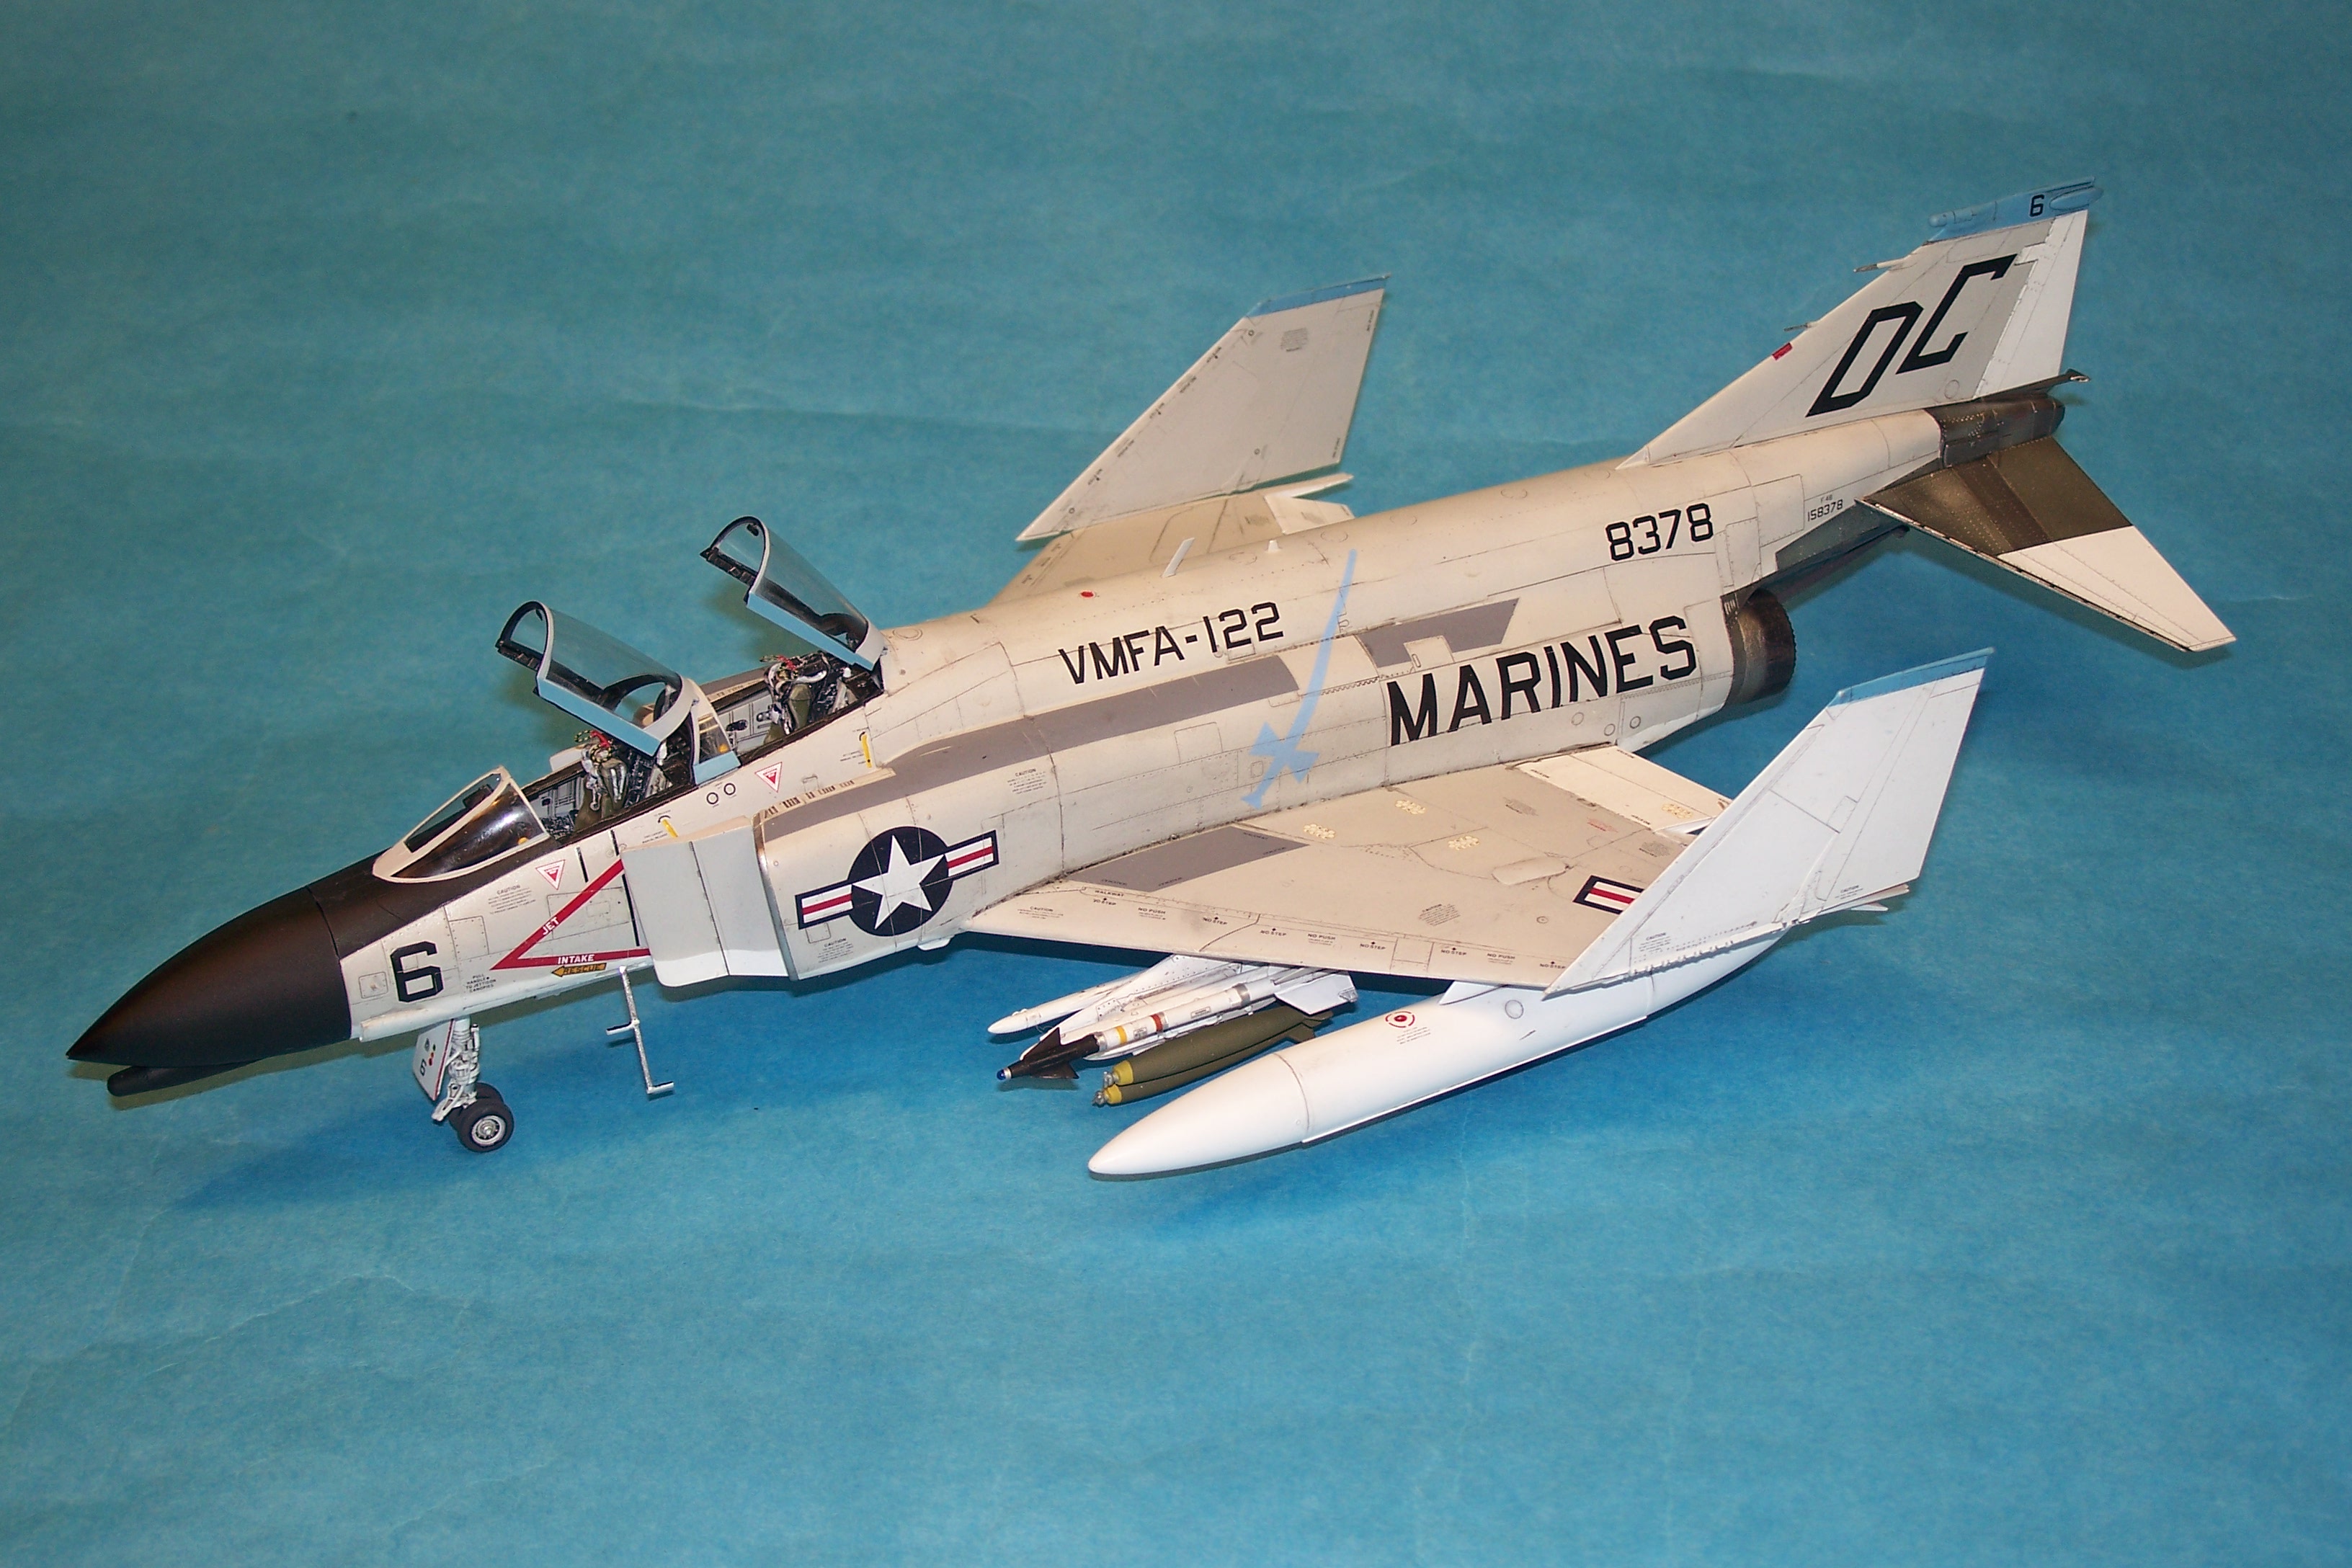
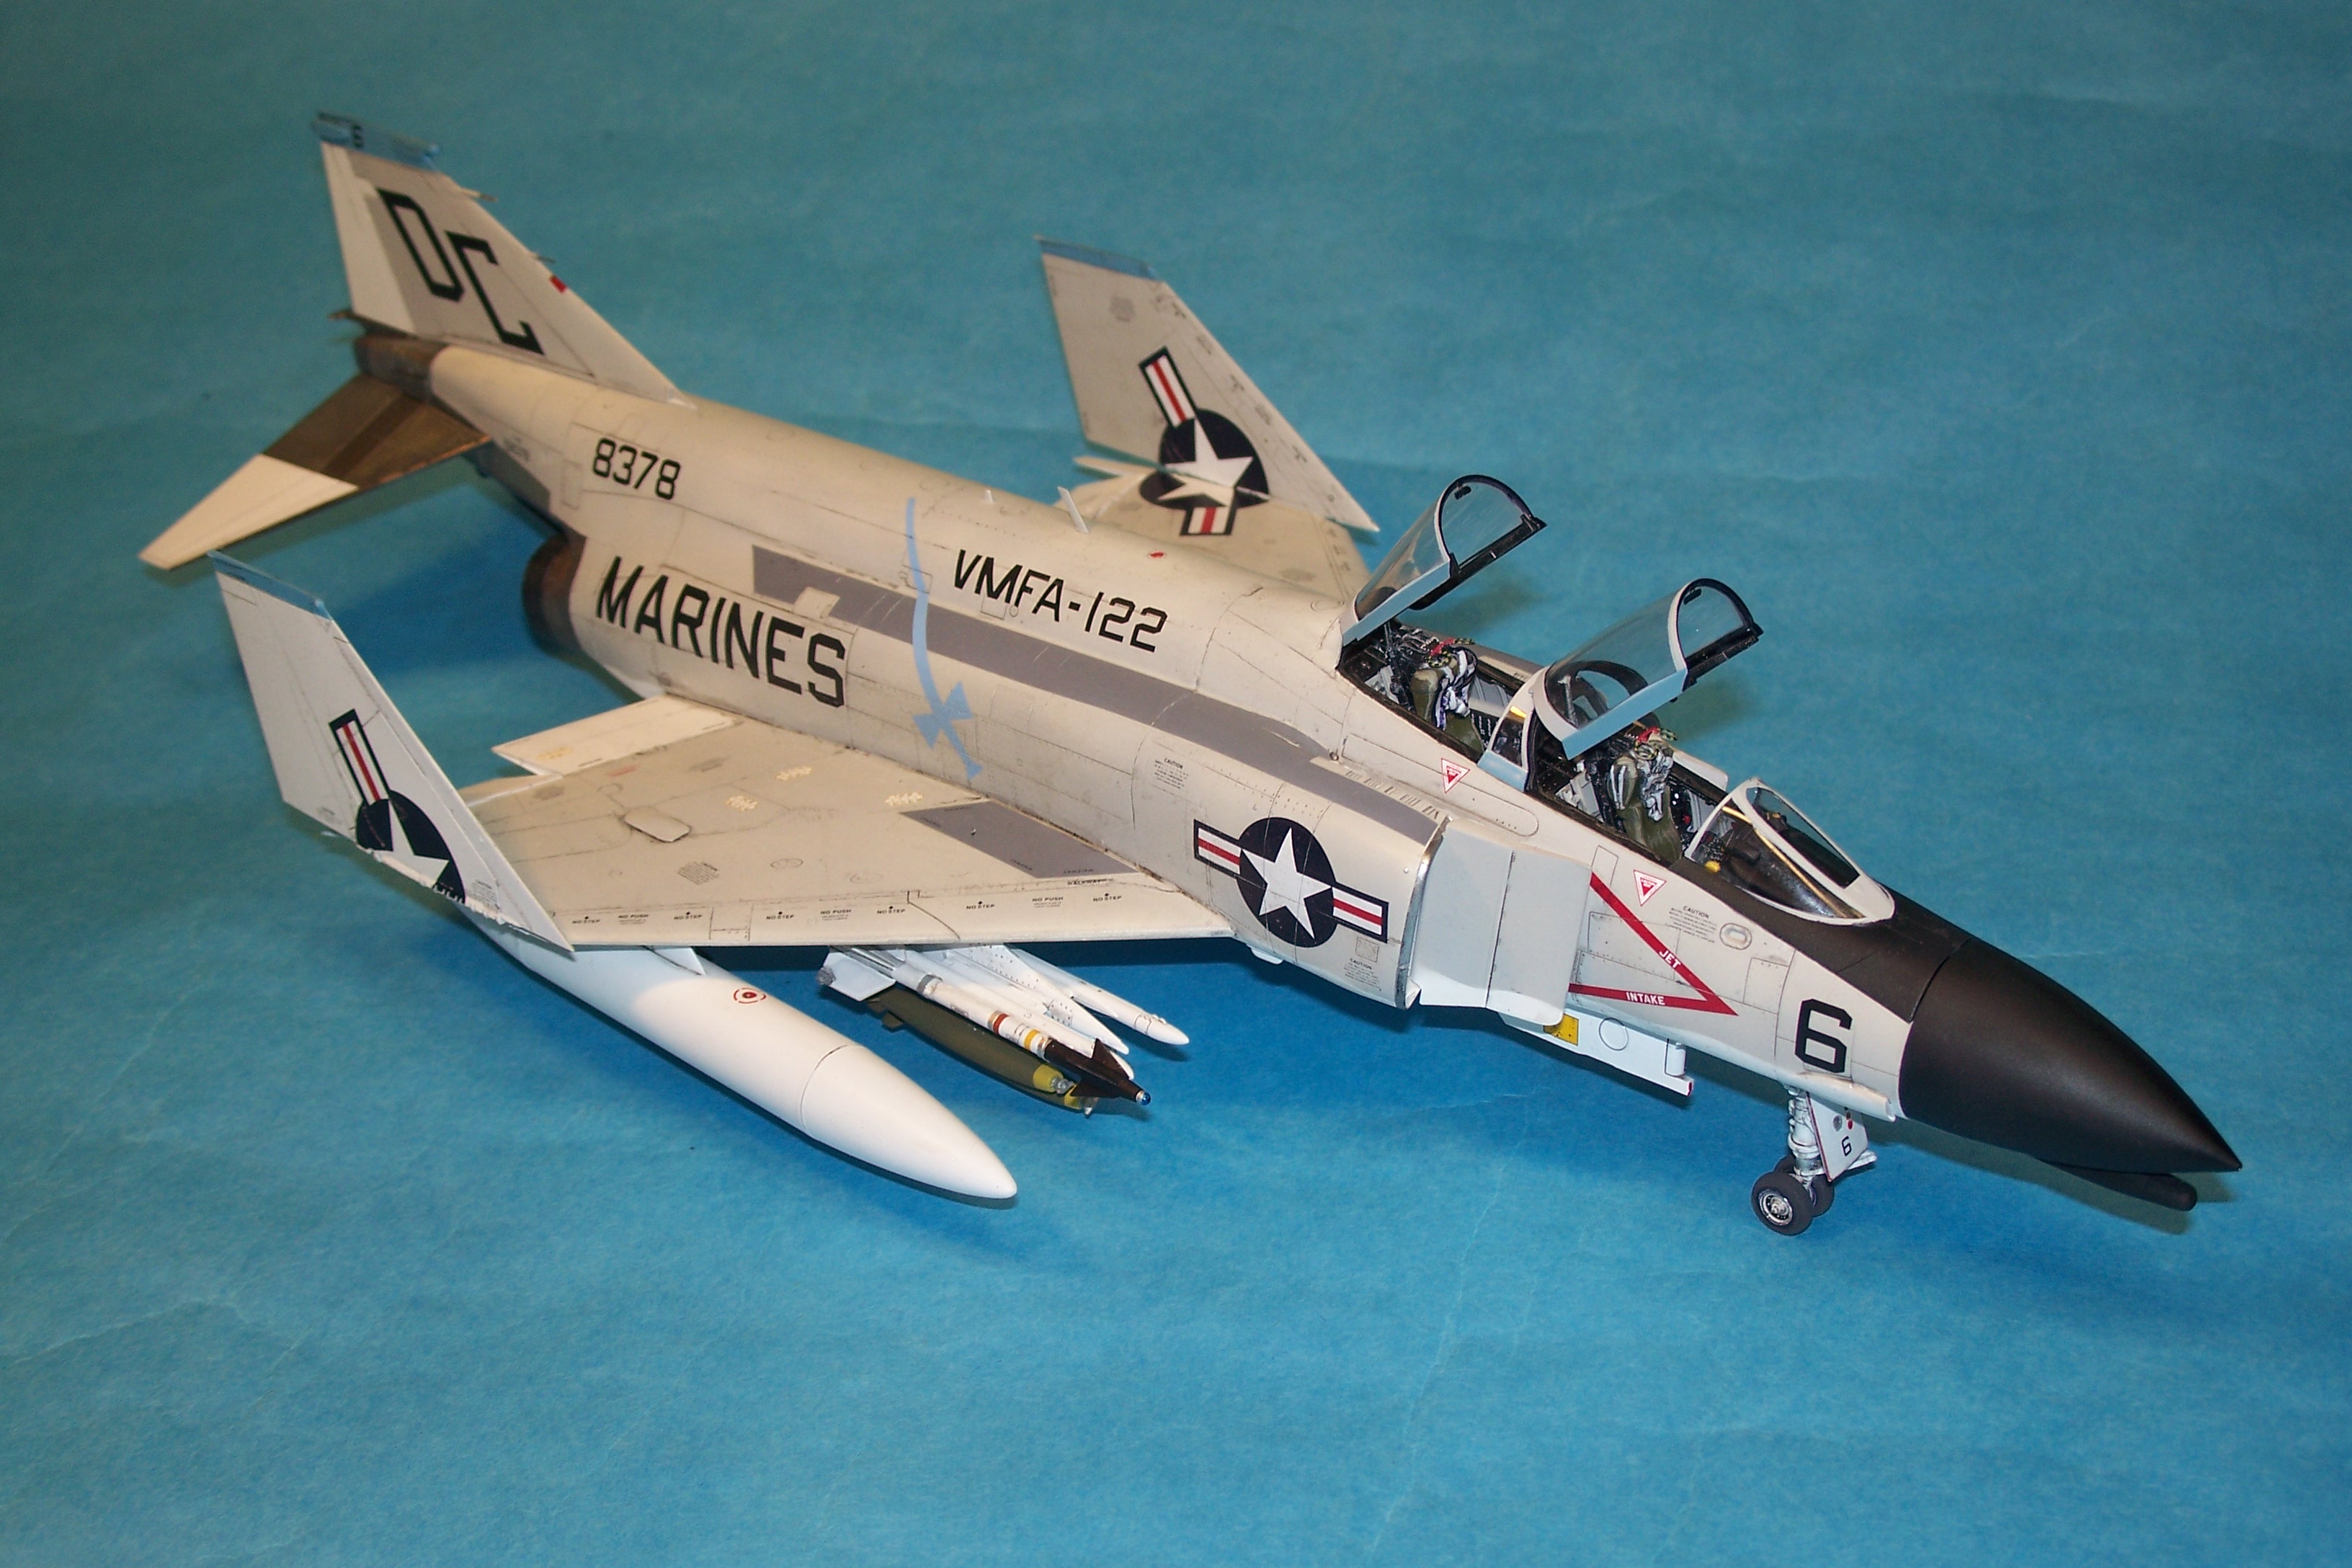
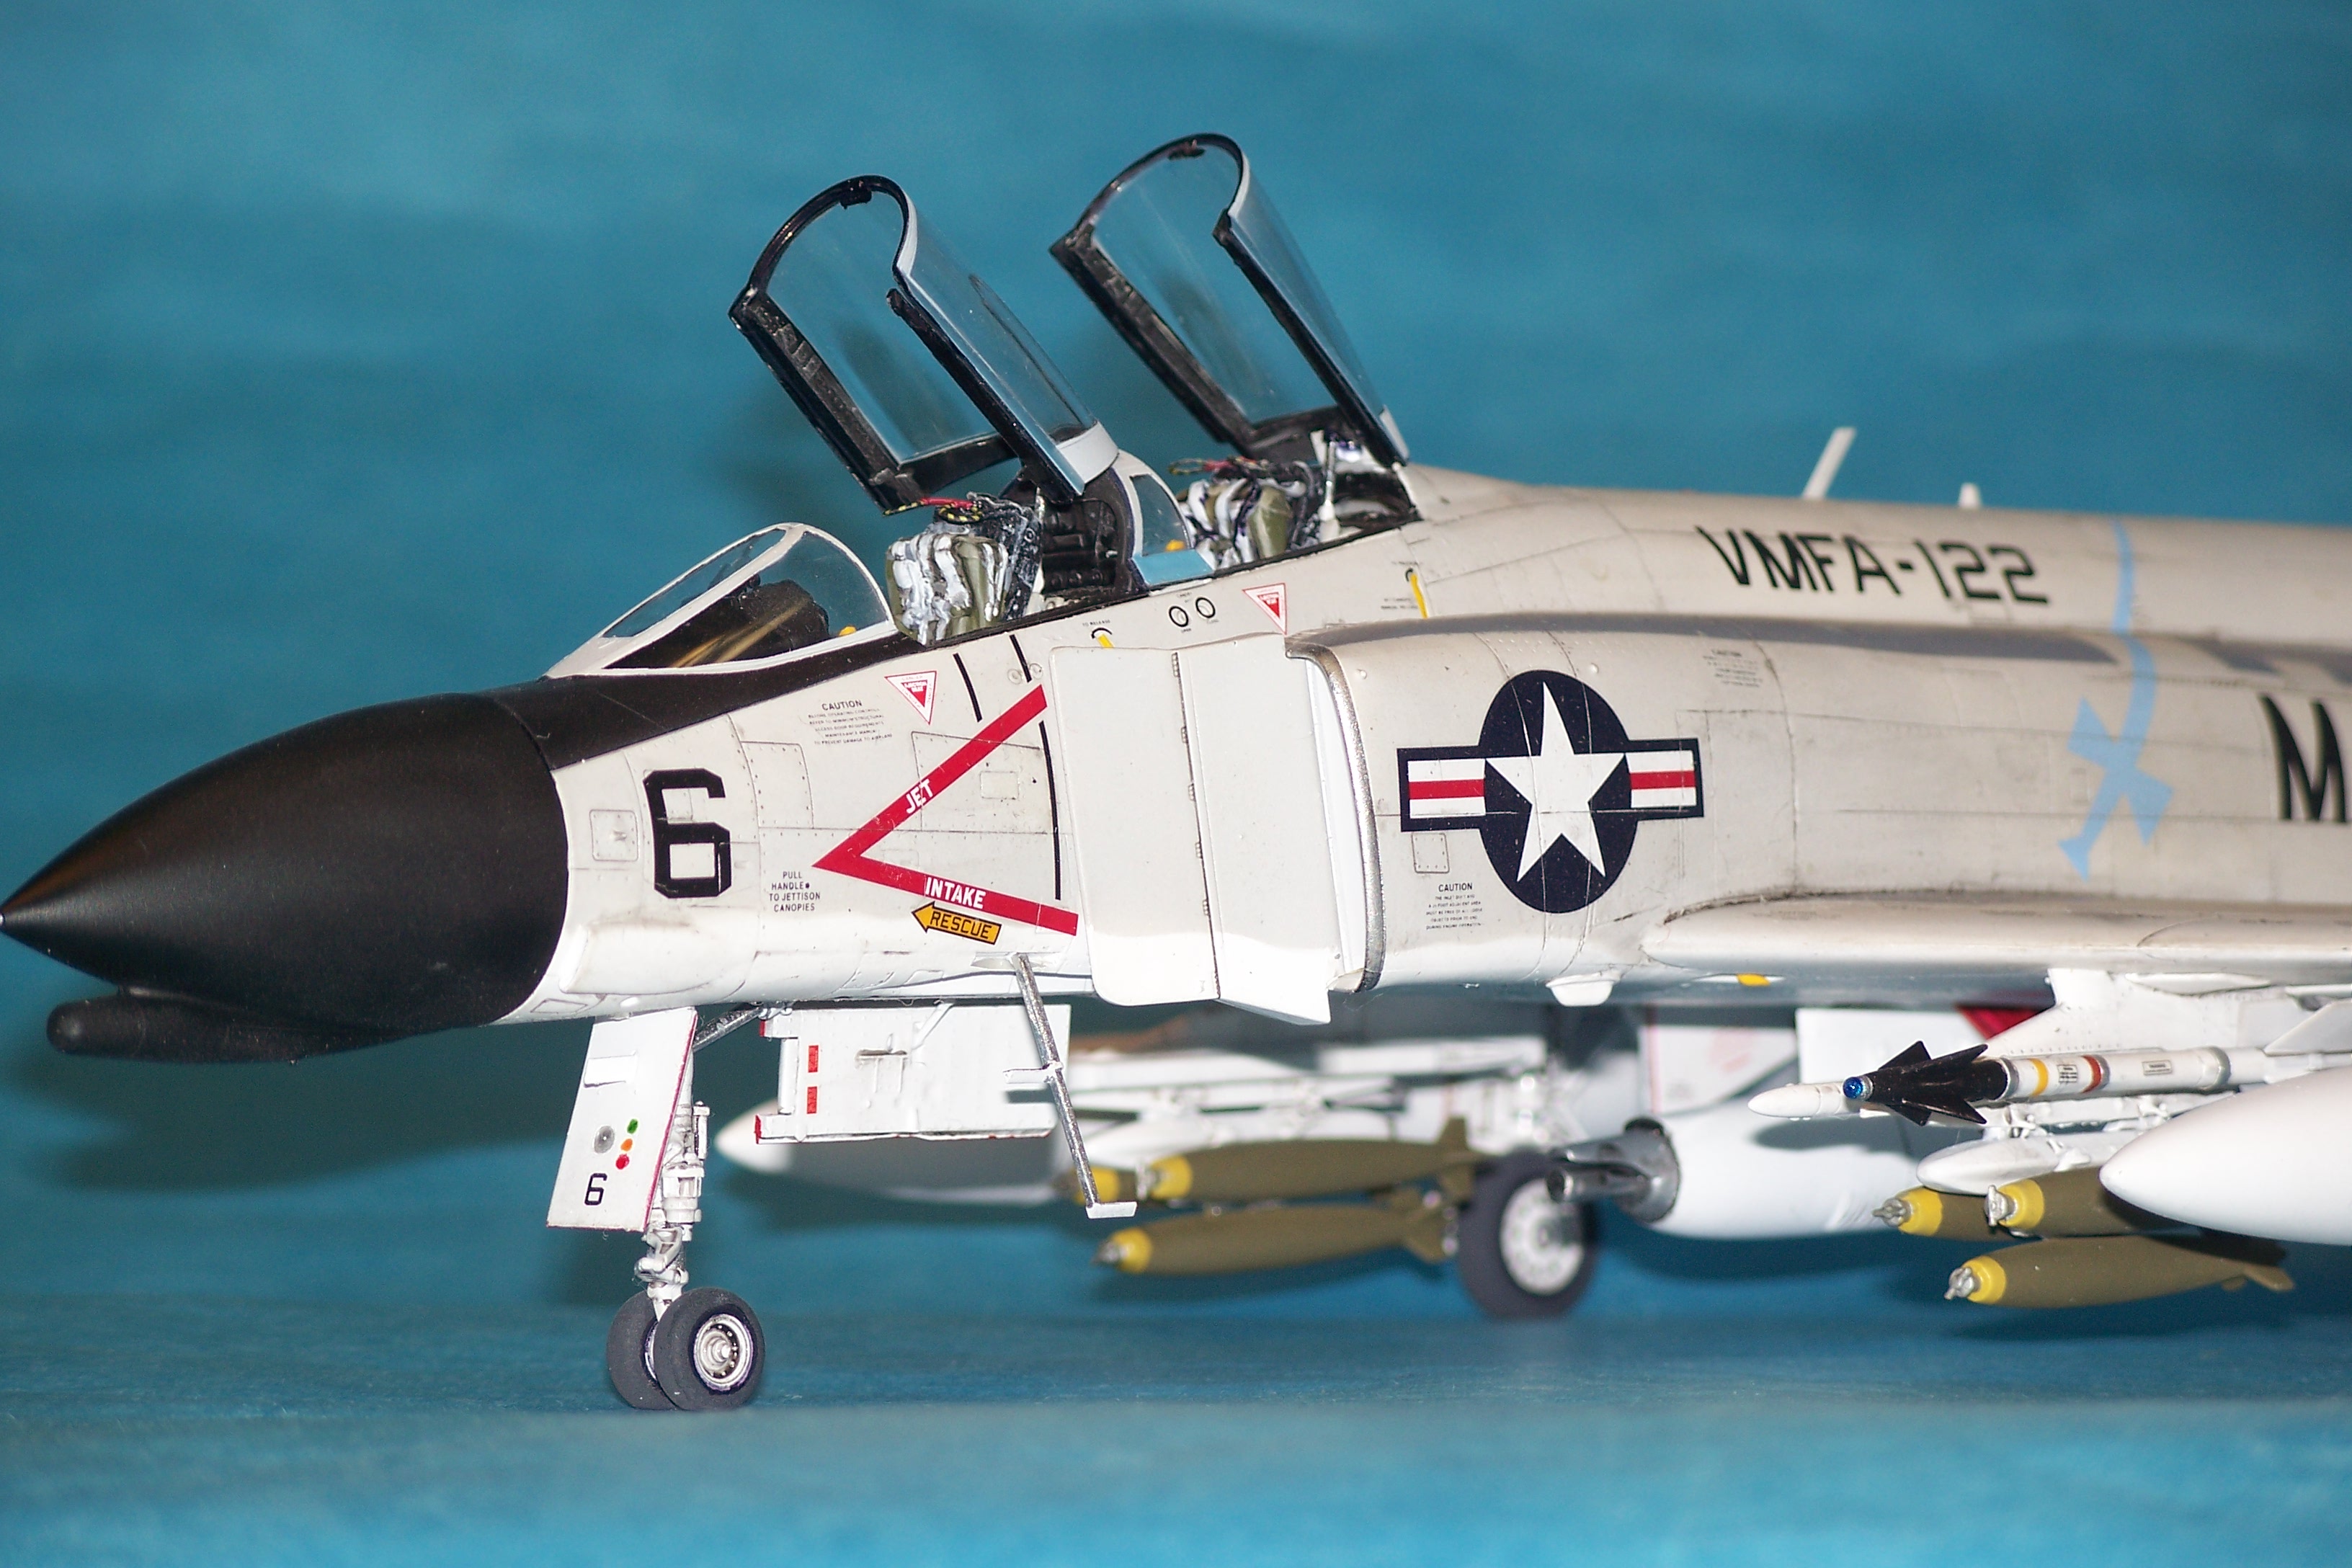
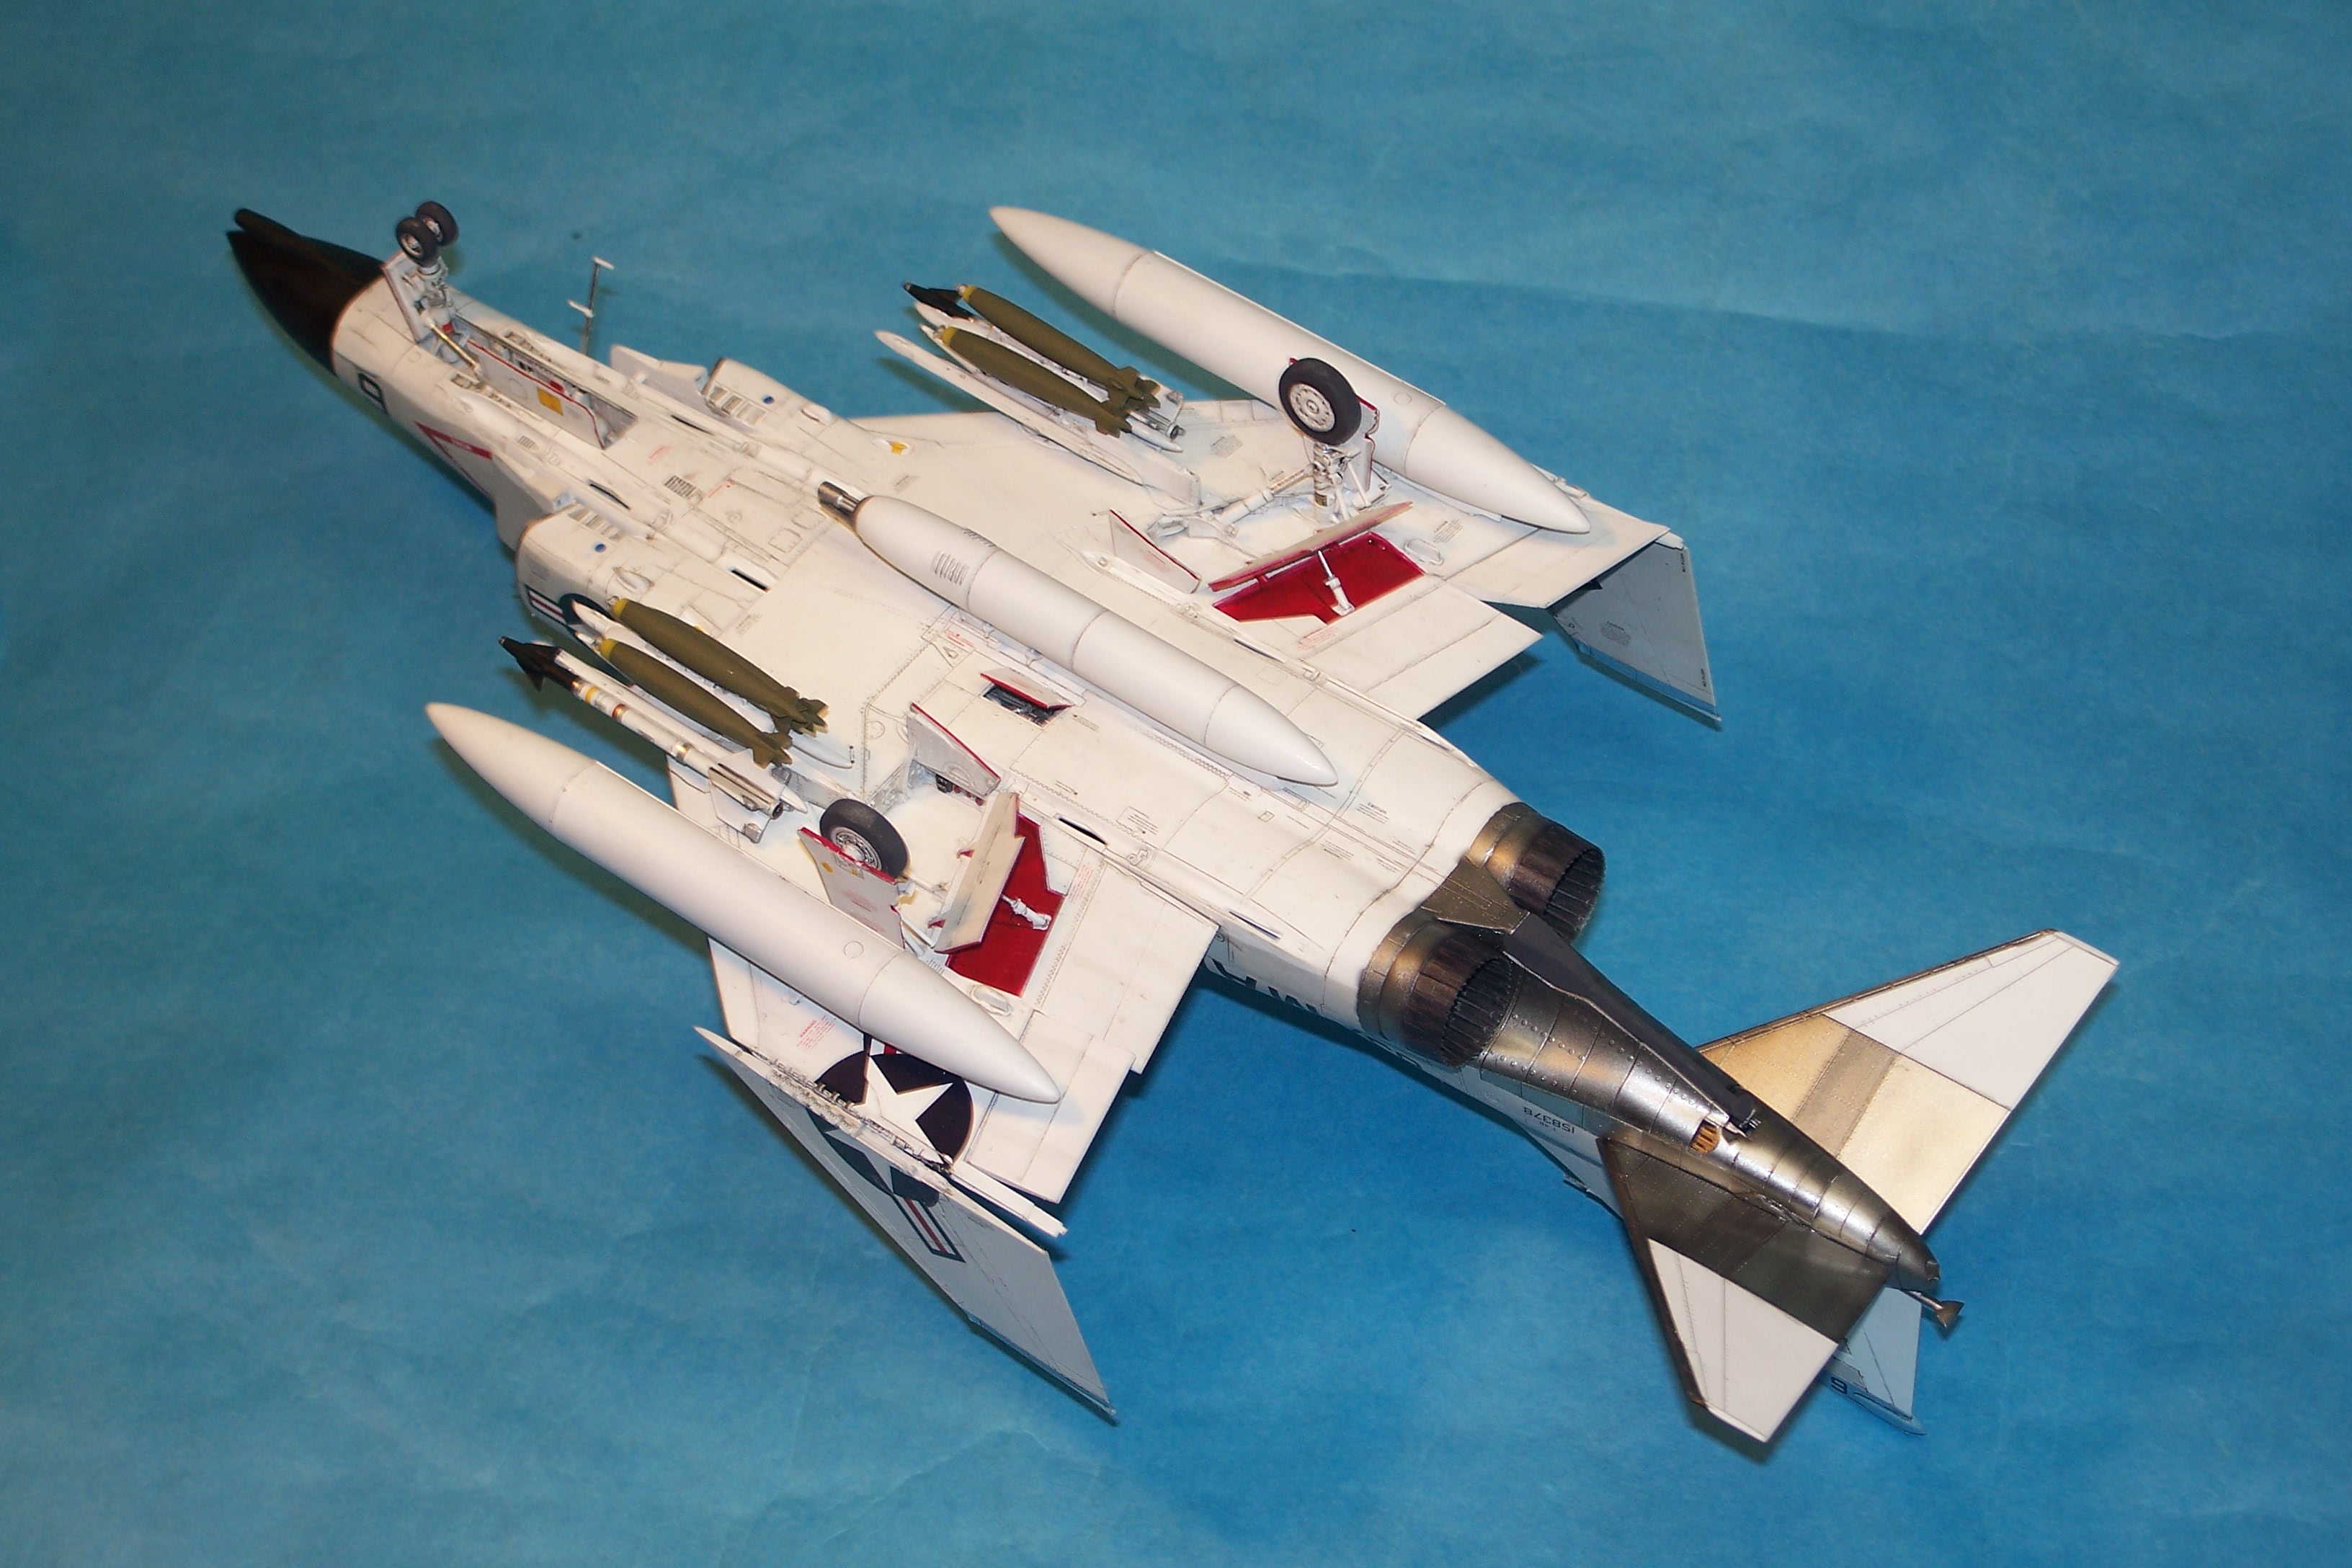
Finished the 1/48 Tamiya F-4B Phantom tonight. I added the Eduard “Space” 3D printed colored resin cockpit placards to the interior. It also has pe for the kit seats, but I used a couple of spare resin seats instead. Otherwise, this was an OOTB build. This is a very good kit, though I question the method Tamiya chose for adding the outer wing panels and the way they designed the tail planes to be added to the rear of the model. It all “works” ok, but just seems overly complicated. The canopies include interior side rail and bulkhead details, and are engineered to fit firmly at the correct open angle (the kit has a complete closed canopy too). The gear doors and landing gear are all very well engineered with positive, firm attachment points. I used Furball markings for VMFA-122 so I could finally have a Marine F-4 on my shelf once more, and also so I could hang a gun pod from the spares box underneath! The wing tanks and Sidewinders are from the kit, but the TERs and bombs are from a Hasagawa weapons set. All in all, this was a good experience, though I’d rate their F-14 kit as slightly better from an engineering standpoint. Now to pick up that new P-38J and see how IT stacks up! Gil
 1 point
 -
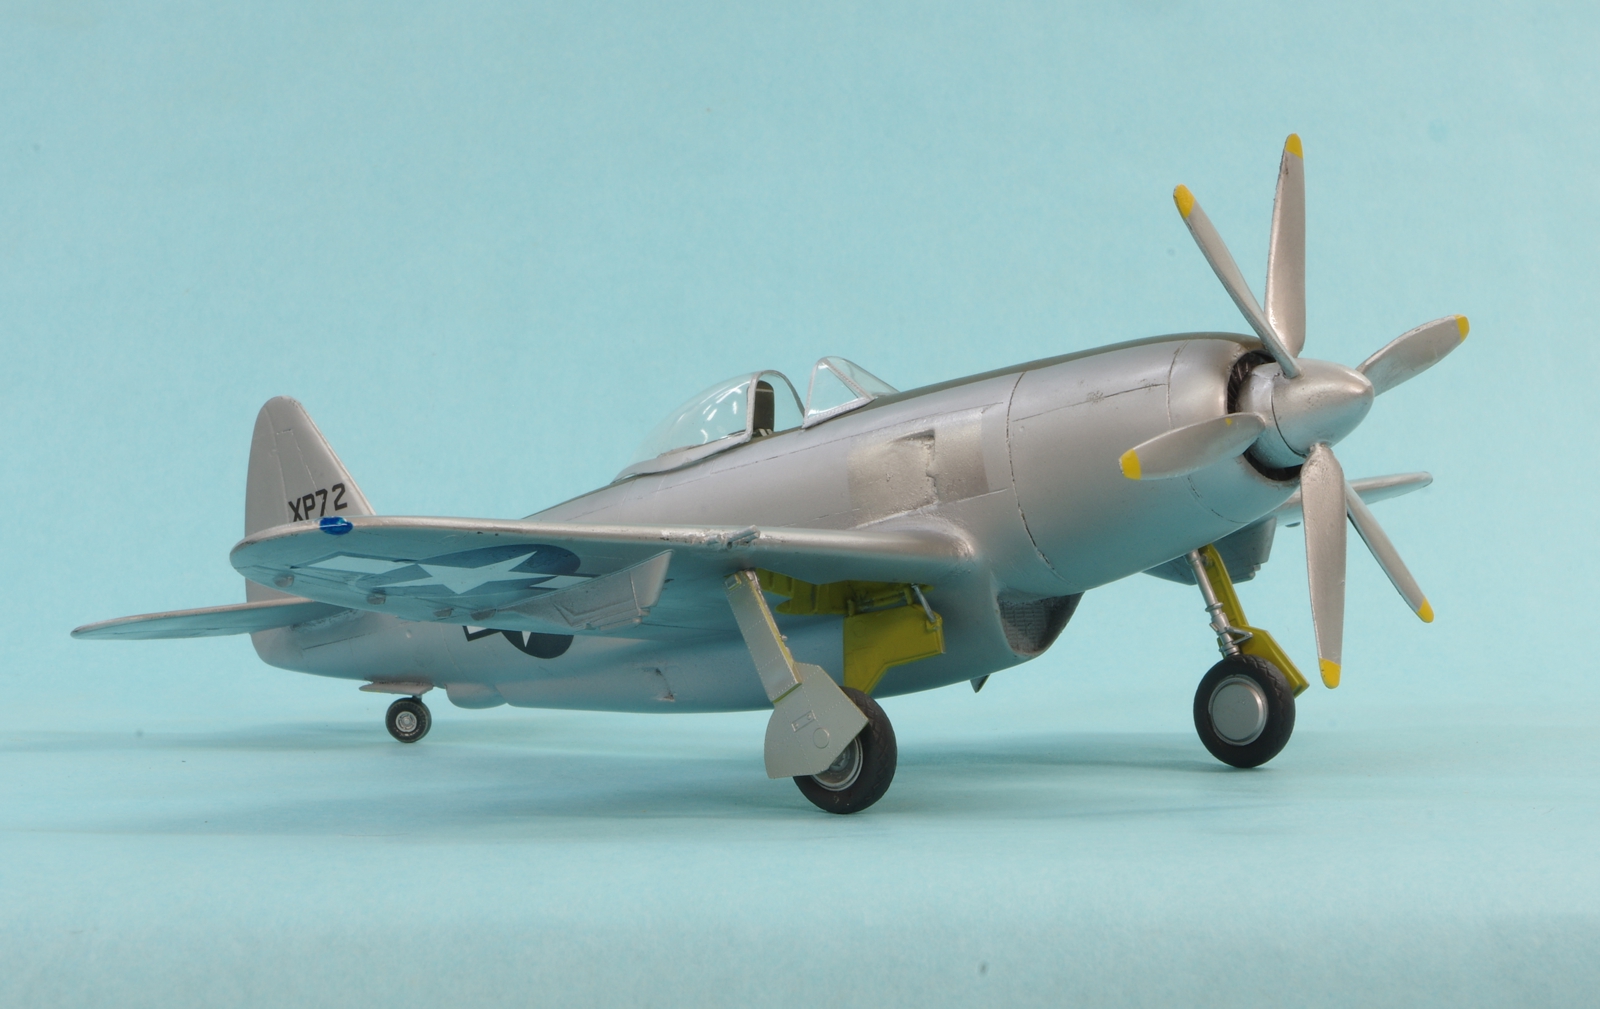
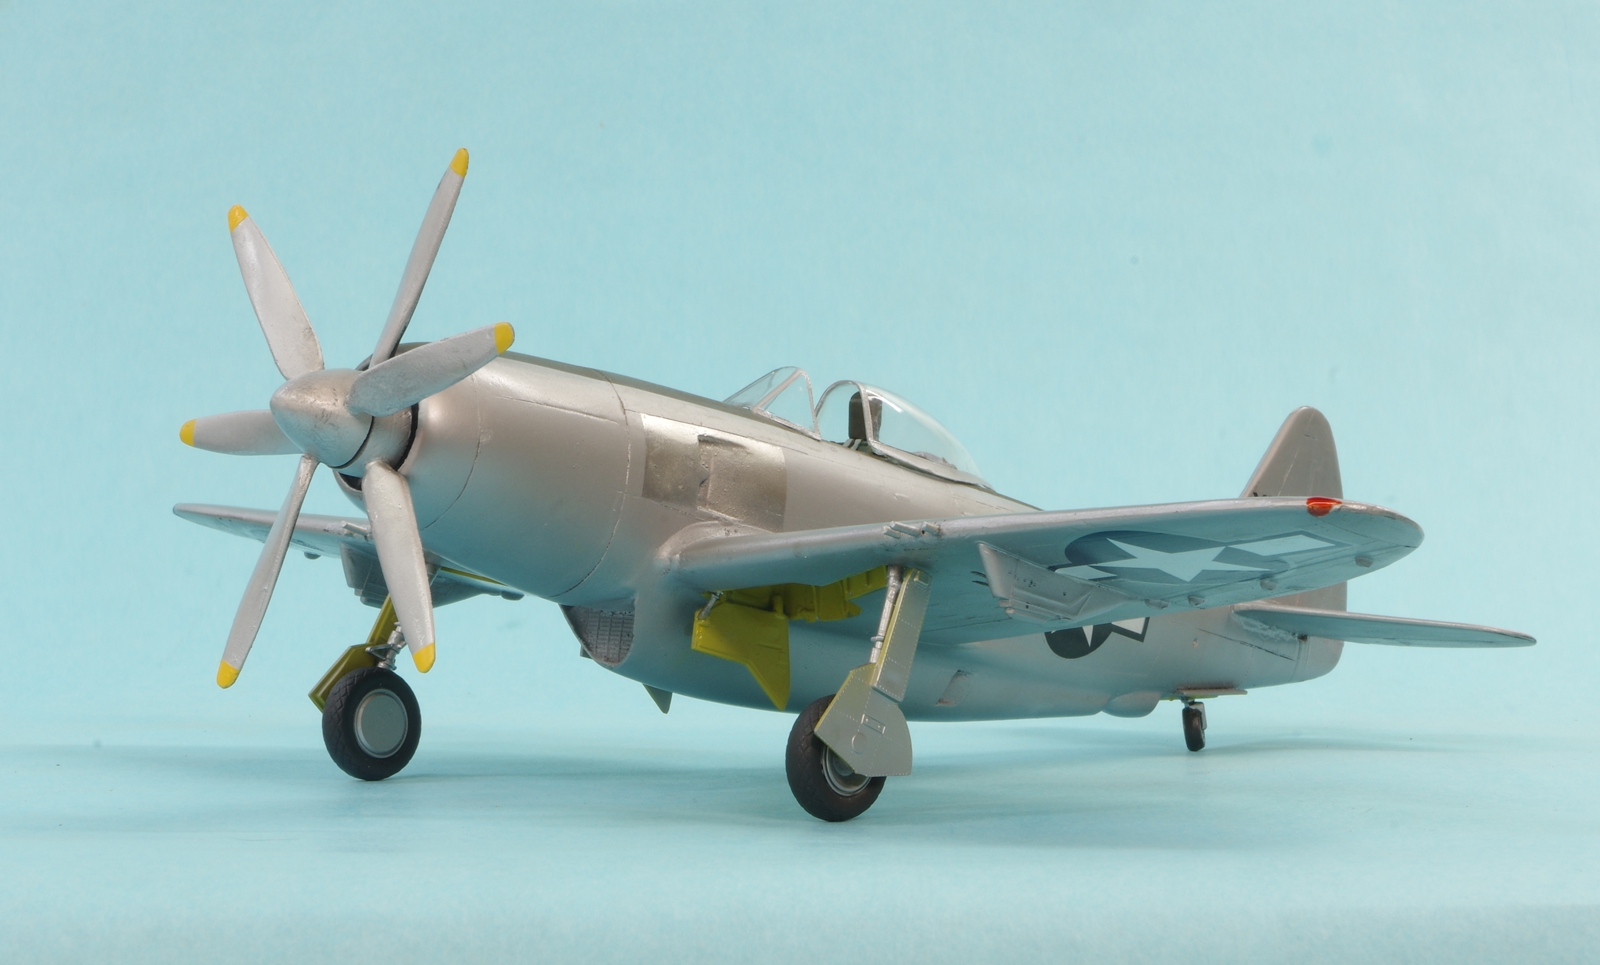
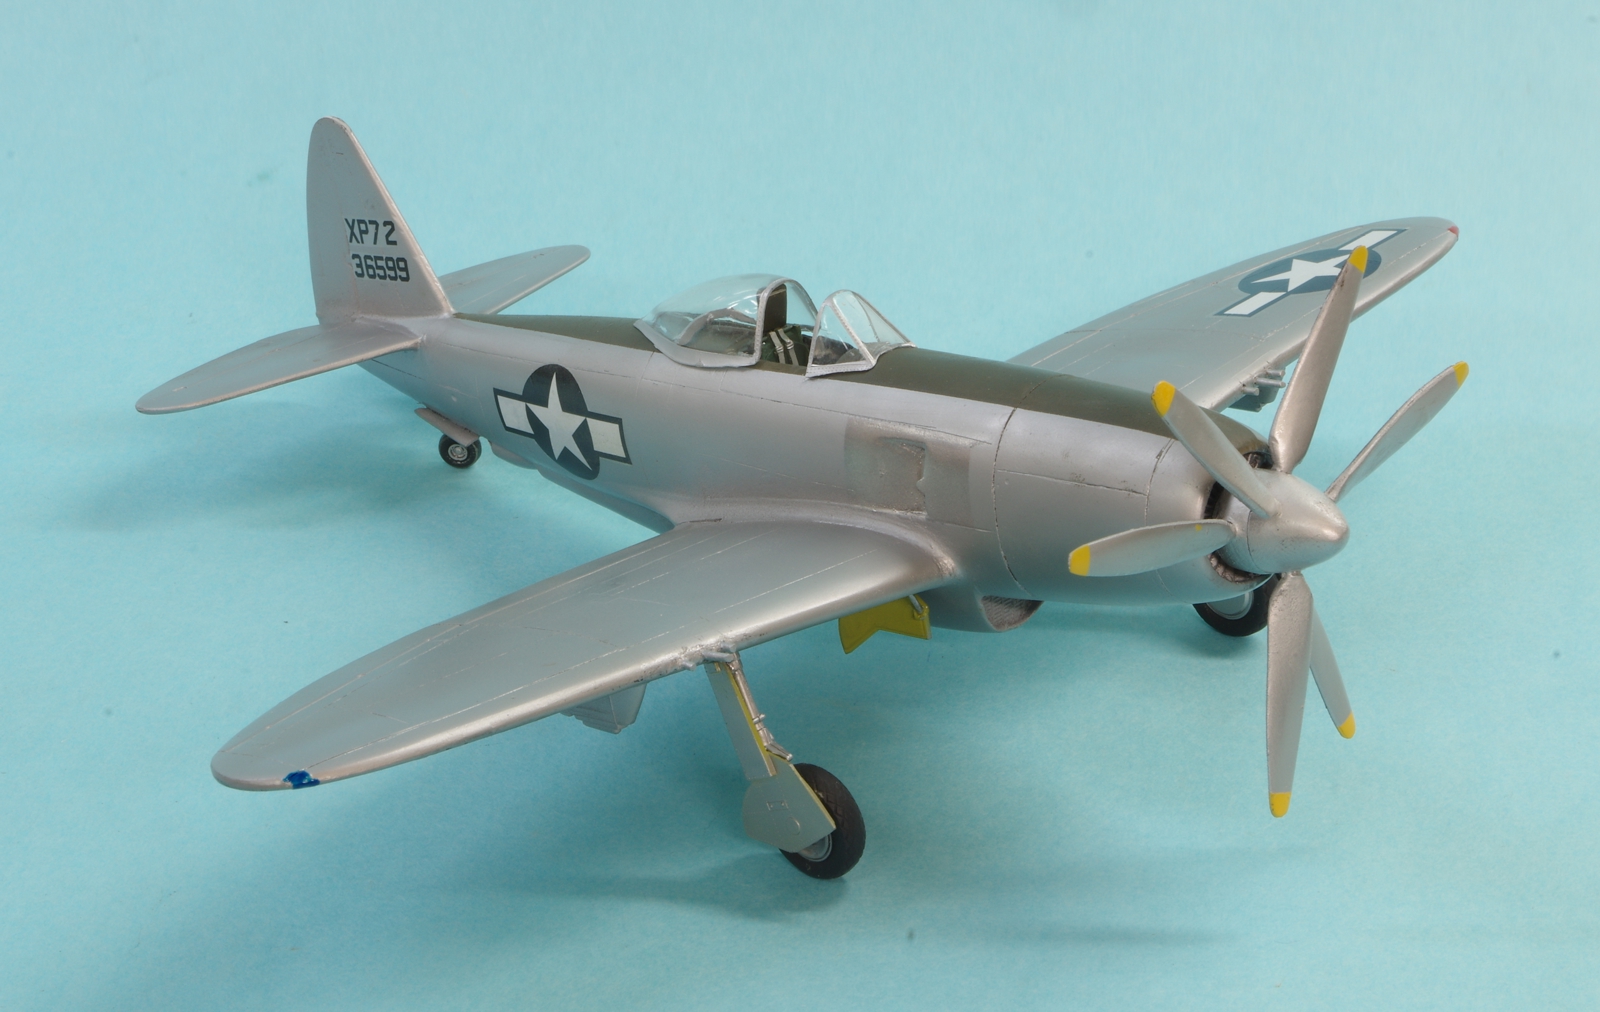
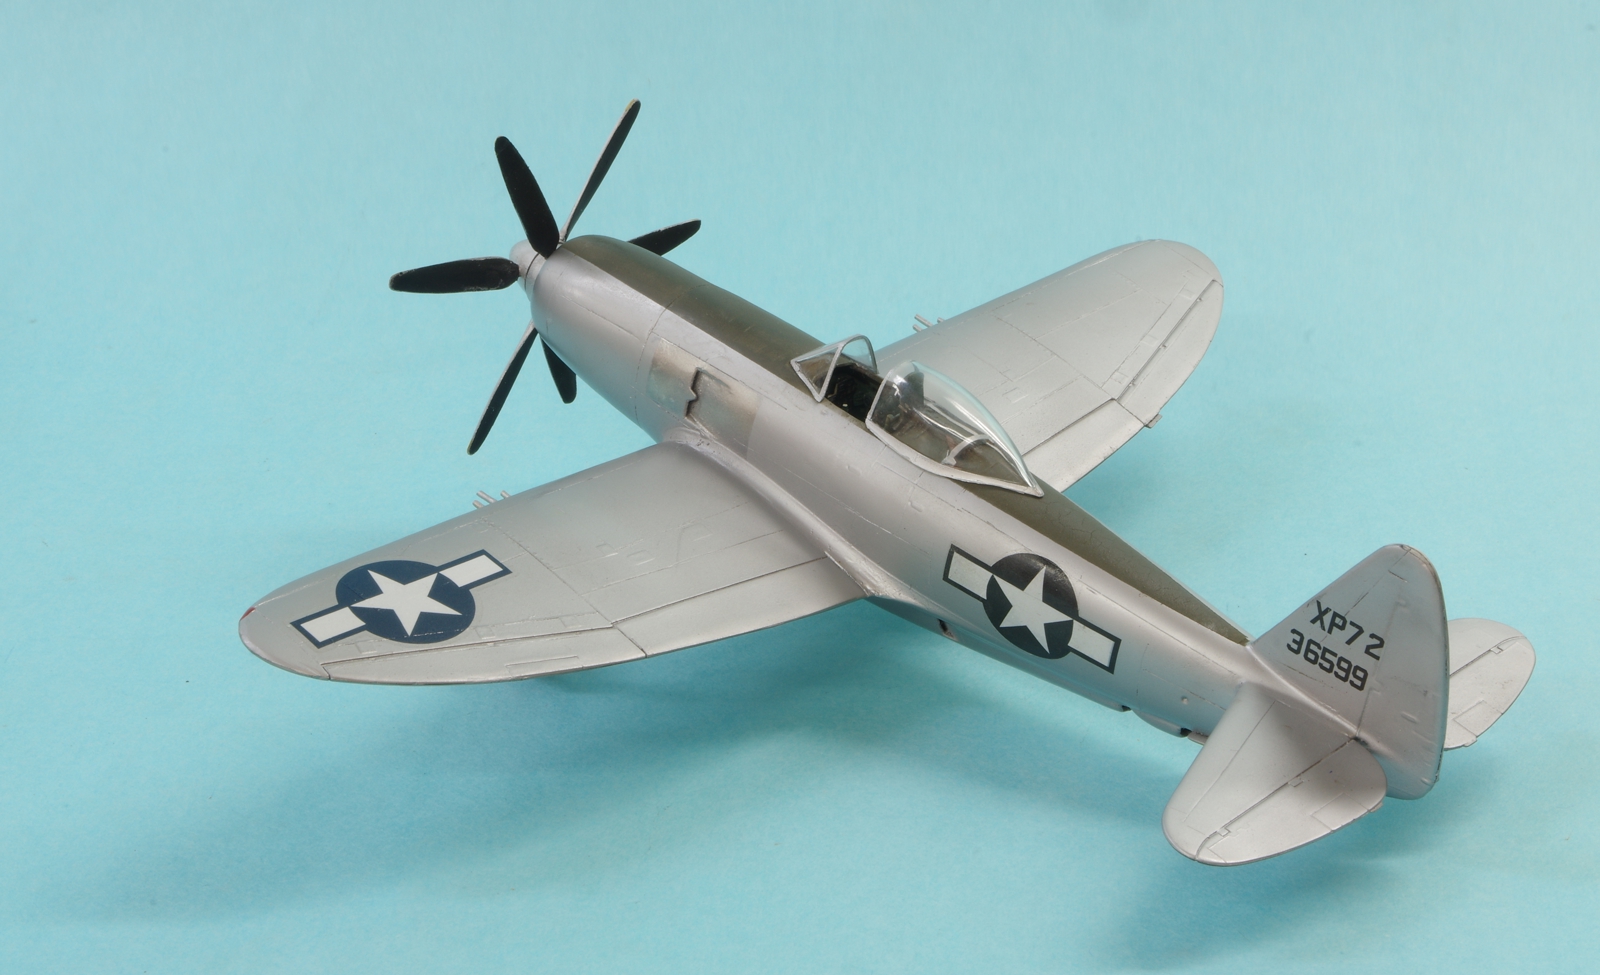
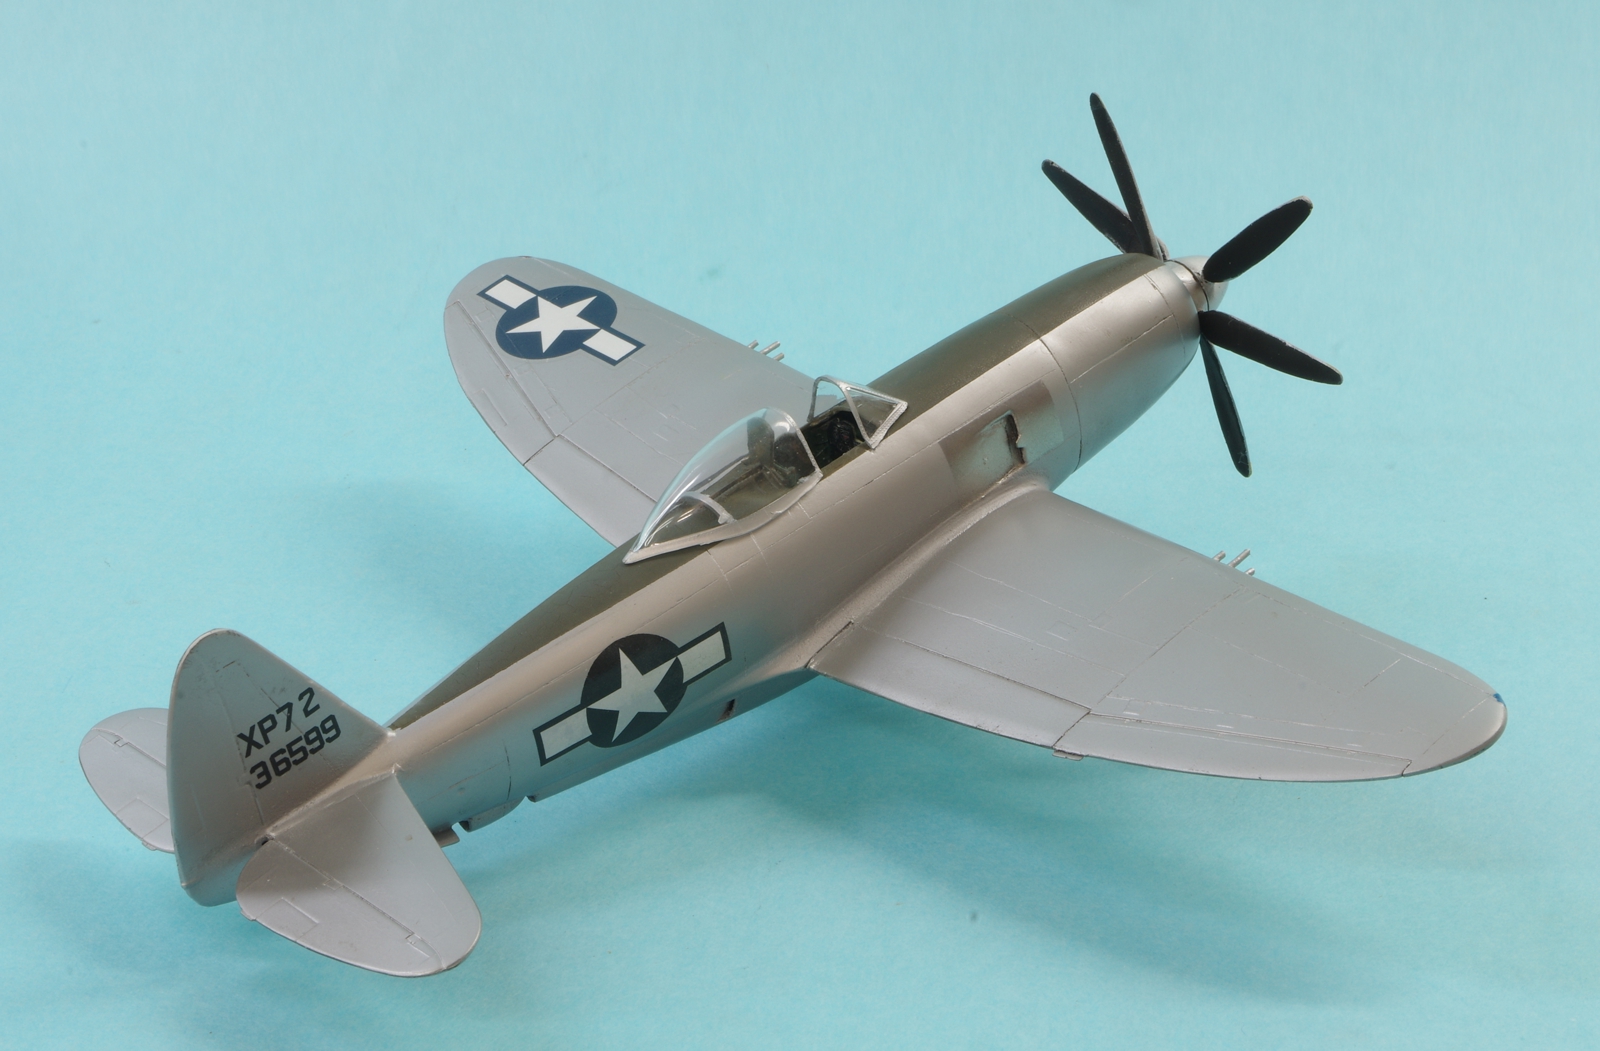
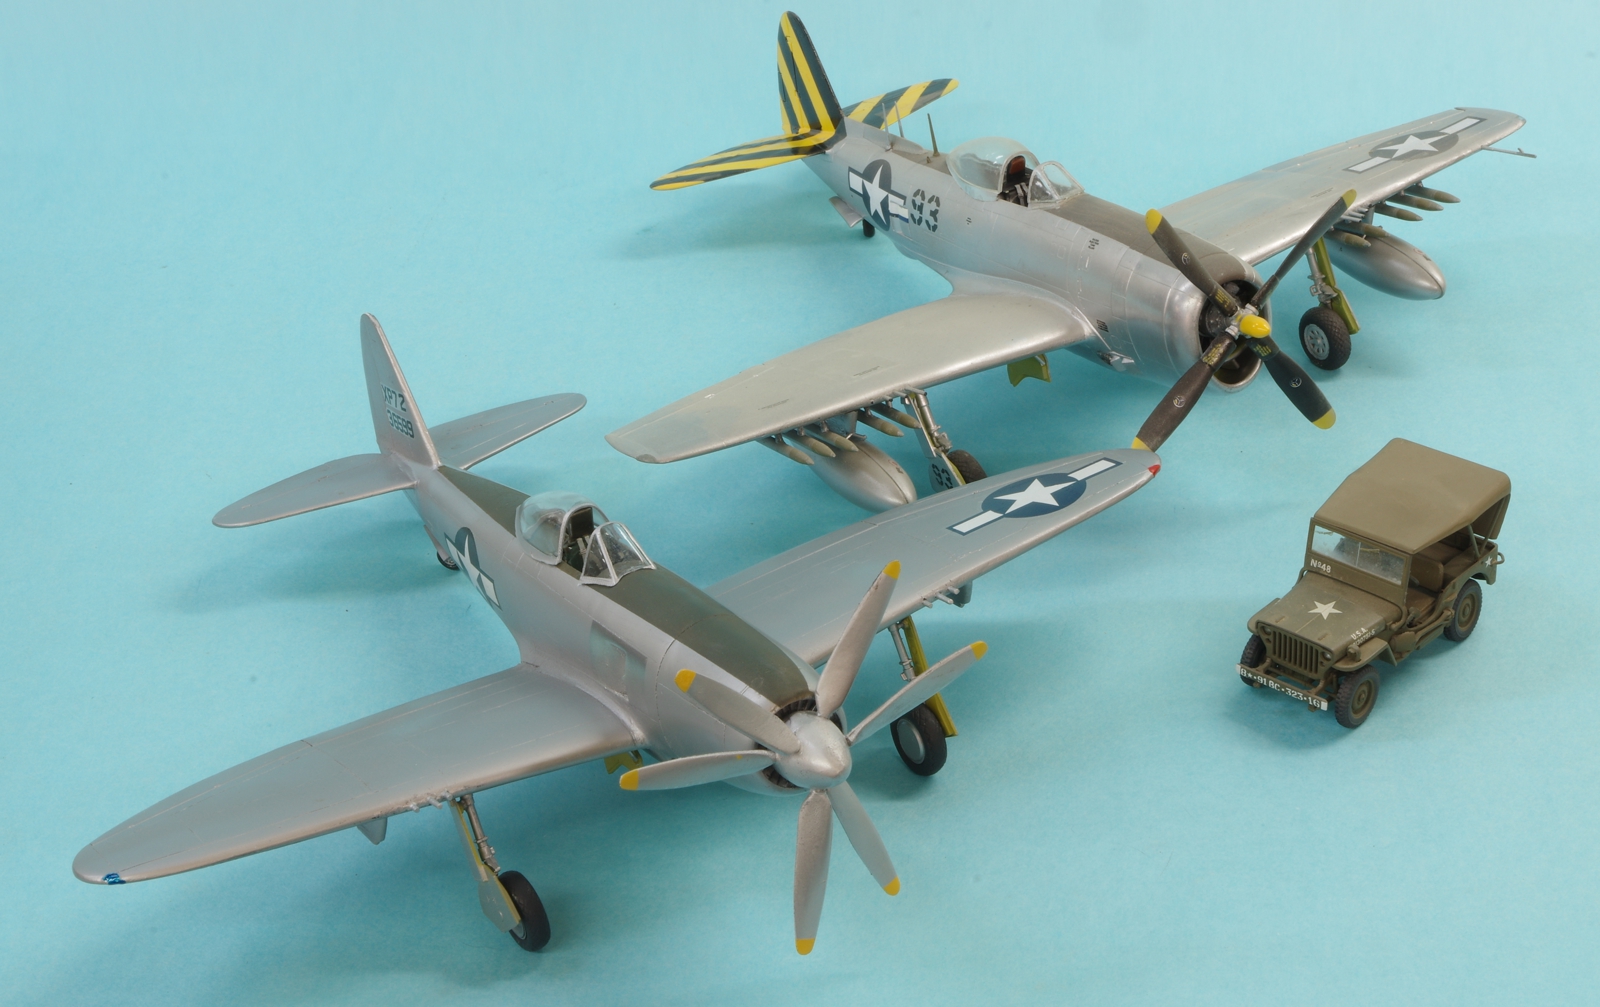
I think it's done now. Well, not really as I have forgotten the pitot tube. I guess it had an early air data computer. I painted the stainless areas around the cowl flap gills and installed some brass rod for the guns. The XP-72 was going to have only six 50's instead of the usual 8 and the inner one was located further back in the wing. Also, if it had gone into production it would probably had the same wing as the P-47N. The last photo shows it with the ProModeler P-47N. What a couple of brutes!
1 point
-
Getting closer. If I was a real modeler I would spend a few more hours on the propellers. The resin parts were pretty rough, by modern standards.
1 point
-
The Super Hornet of VFA-37 is I finished! I finished applying the decals and then top coated the aircraft. I then wet sanded the windscreen and canopy with 1000 then 2000 grit sandpaper to remove the mold seam on both parts. They were then polished with the Meguire’s Plastx cleaning/polishing compound. I installed all the weapons, centerline tank, and Litening pod to the underside. The HUD and windscreen were installed. I positioned the canopy in the open position and this completed the aircraft. The kit itself went together well with the exception of the intake fit. As noted this kit represents the early super hornet so I added the ECS tubes for the later version. The Furball decals were pretty good. The only issue I had was the walkway stripes fell apart due to the thin film when I tried to slide them off. I ended up using the kit decals for these. Overall I am happy with the final results. I also took some photos next to “C” model (also a Revell kit) so that you can see the size/shape differences between the two. I also included a photo with a VA-37 A-7E. I served with VA-37 and transitioned out just before the changeover to the F/A-18’s. I just need to build an A-7A with the early VA-37 markings to complete my set of VA-37/VFA-37 aircraft. Thank you for following along – Happy Modeling! Check out all the photos and details from the start to finish in my build log at https://davidsscalemodels.com/build-log/1-48-f-a-18e-super-hornet-from-vfa-37/1 point
.JPG.8c7ad653ce6b91ce19c0bbb0e1f87919.JPG)

.JPG.30114dc7a61d148e870a9710fe792d01.JPG)

.JPG.b4d760370a9c72d46b0f6d80fa1bcd10.JPG)

.JPG.b3060682b62e94524d53b91b9886a25a.JPG)