Leaderboard


Popular Content
Showing content with the highest reputation on 05/30/2022 in all areas
-
Adding a figure for scale is something I may wish to do for a future car model as the kit is not the standard 1/25th scale. I'll need to check with the chapters holding the contests for how they judge. Thanks for the heads up!1 point
-
Next up is an interesting subject. This is the 1/48 Brengun MQ-8B Fire Scout. This is a helicopter drone built by Northrop Grumman and is used by the U.S. Navy. It is typically deployed on FFG’s and LCS ships. The reason I chose this is I am a member of the International Plastic Modeler Society (IPMS). I belong to the Mckinstry Chapter and we have monthly meetings. Typically each month we have a theme. One of the upcoming themes is “Missiles and Drones”. I looked over the available model kits of drones and thought this would be a little different than the combat drones many are used to seeing. This kit is a full resin model. Resin models are cast in resin rather than injection molded styrene kits. There are fewer parts than a typical model and instead of trees the parts are attached to the base of the cast. Many of the smaller parts can be trimmed from the base using a hobby knife. The larger parts require a jeweler’s saw to cut off the base. Once I had all the parts trimmed I started assembly. Resin models do not use typical model glue. They require a CA glue for assembly. I assembled the fuselage, tail boom and nose. The fit was very good except for the bottom edge of the nose which required a little putty filler. The kit come with a sheet of photo etch for some of the smaller details like the antenna blades. I added the photo etch pieces and then sprayed the fuselage with light ghost gray. For the turret under the nose I mixed some Pearl EX pigments in the Tamiya smoke paint. The main lens and the bottom right lens were mixed with gold pigments. I used blue pigments for the bottom and right side lenses. The left side lens I use the green pigments. Once dry I added a final coat of the smoke paint. I noticed that the decal sheet did not include the laser warning labels on the turret. I made my own decal labels and applied them. For the final step on the turret I drilled the holes in the back of the mount so I can add the cables later when I mount it. I am now getting ready to apply the kit decals. The decal set comes with two schemes and I will be doing the HSM-35 “Magicians” scheme. Check out all the photos and details in my build log at https://davidsscalemodels.com/build-log/1-48-mq-8b-fire-scout-drone/1 point
-
Note: This is my personal opinion based on my own experience with both our local shows and the IPMS national convention NCC needs to address this issue within the rules asap or well soon possible. With todays electronics there is no reason why anyone should need AC power for their creations. Providing power is a huge expense and pain for the host clubs. Vegas spent over $1000 providing power for the model room. That averaged $110 per model that needed power. If we are serious about keeping convention cost down we need to stop placating to contestants that cannot build around such a rule as "No AC power will be provided for model entries, no exception. Three options, provide your own AC power backup, purchase the AC power from the host site. ($$$$), build your model with simple DC battery power." Not meant as an insult anyone but we somehow need to real in cost and this is simply one convention expense that is way too high. Joe Porche #202961 point
-
Mark, those are some outstanding kits that you were gifted! I love all of those cruisers! And of course, all the Airfix aircraft are old school building fun…. and the armor kits, from early to fairly modern, so a nice spread with those. Those should all take you what? about a month or so to complete? 😉1 point
-
Nice stuff Mark. Even though I swore I would never build another Roden kit again I picked up the Desert version of the armored car at Hobby Island in Vegas when I was there for their Grand Opening. Just had to show my support. The Battle needs a nose job to look more like the real thing. There are/were 1 or 2 conversion sets on the market. The Mossie is still a great kit and the only Mk XVIII in kit form (the one with the 6 ldr gun). The He-111 is not a great kit but I think it is still the only one on the market with the dorsal turret to make a H-20 or H-22. The ships are all nice kits.1 point
-
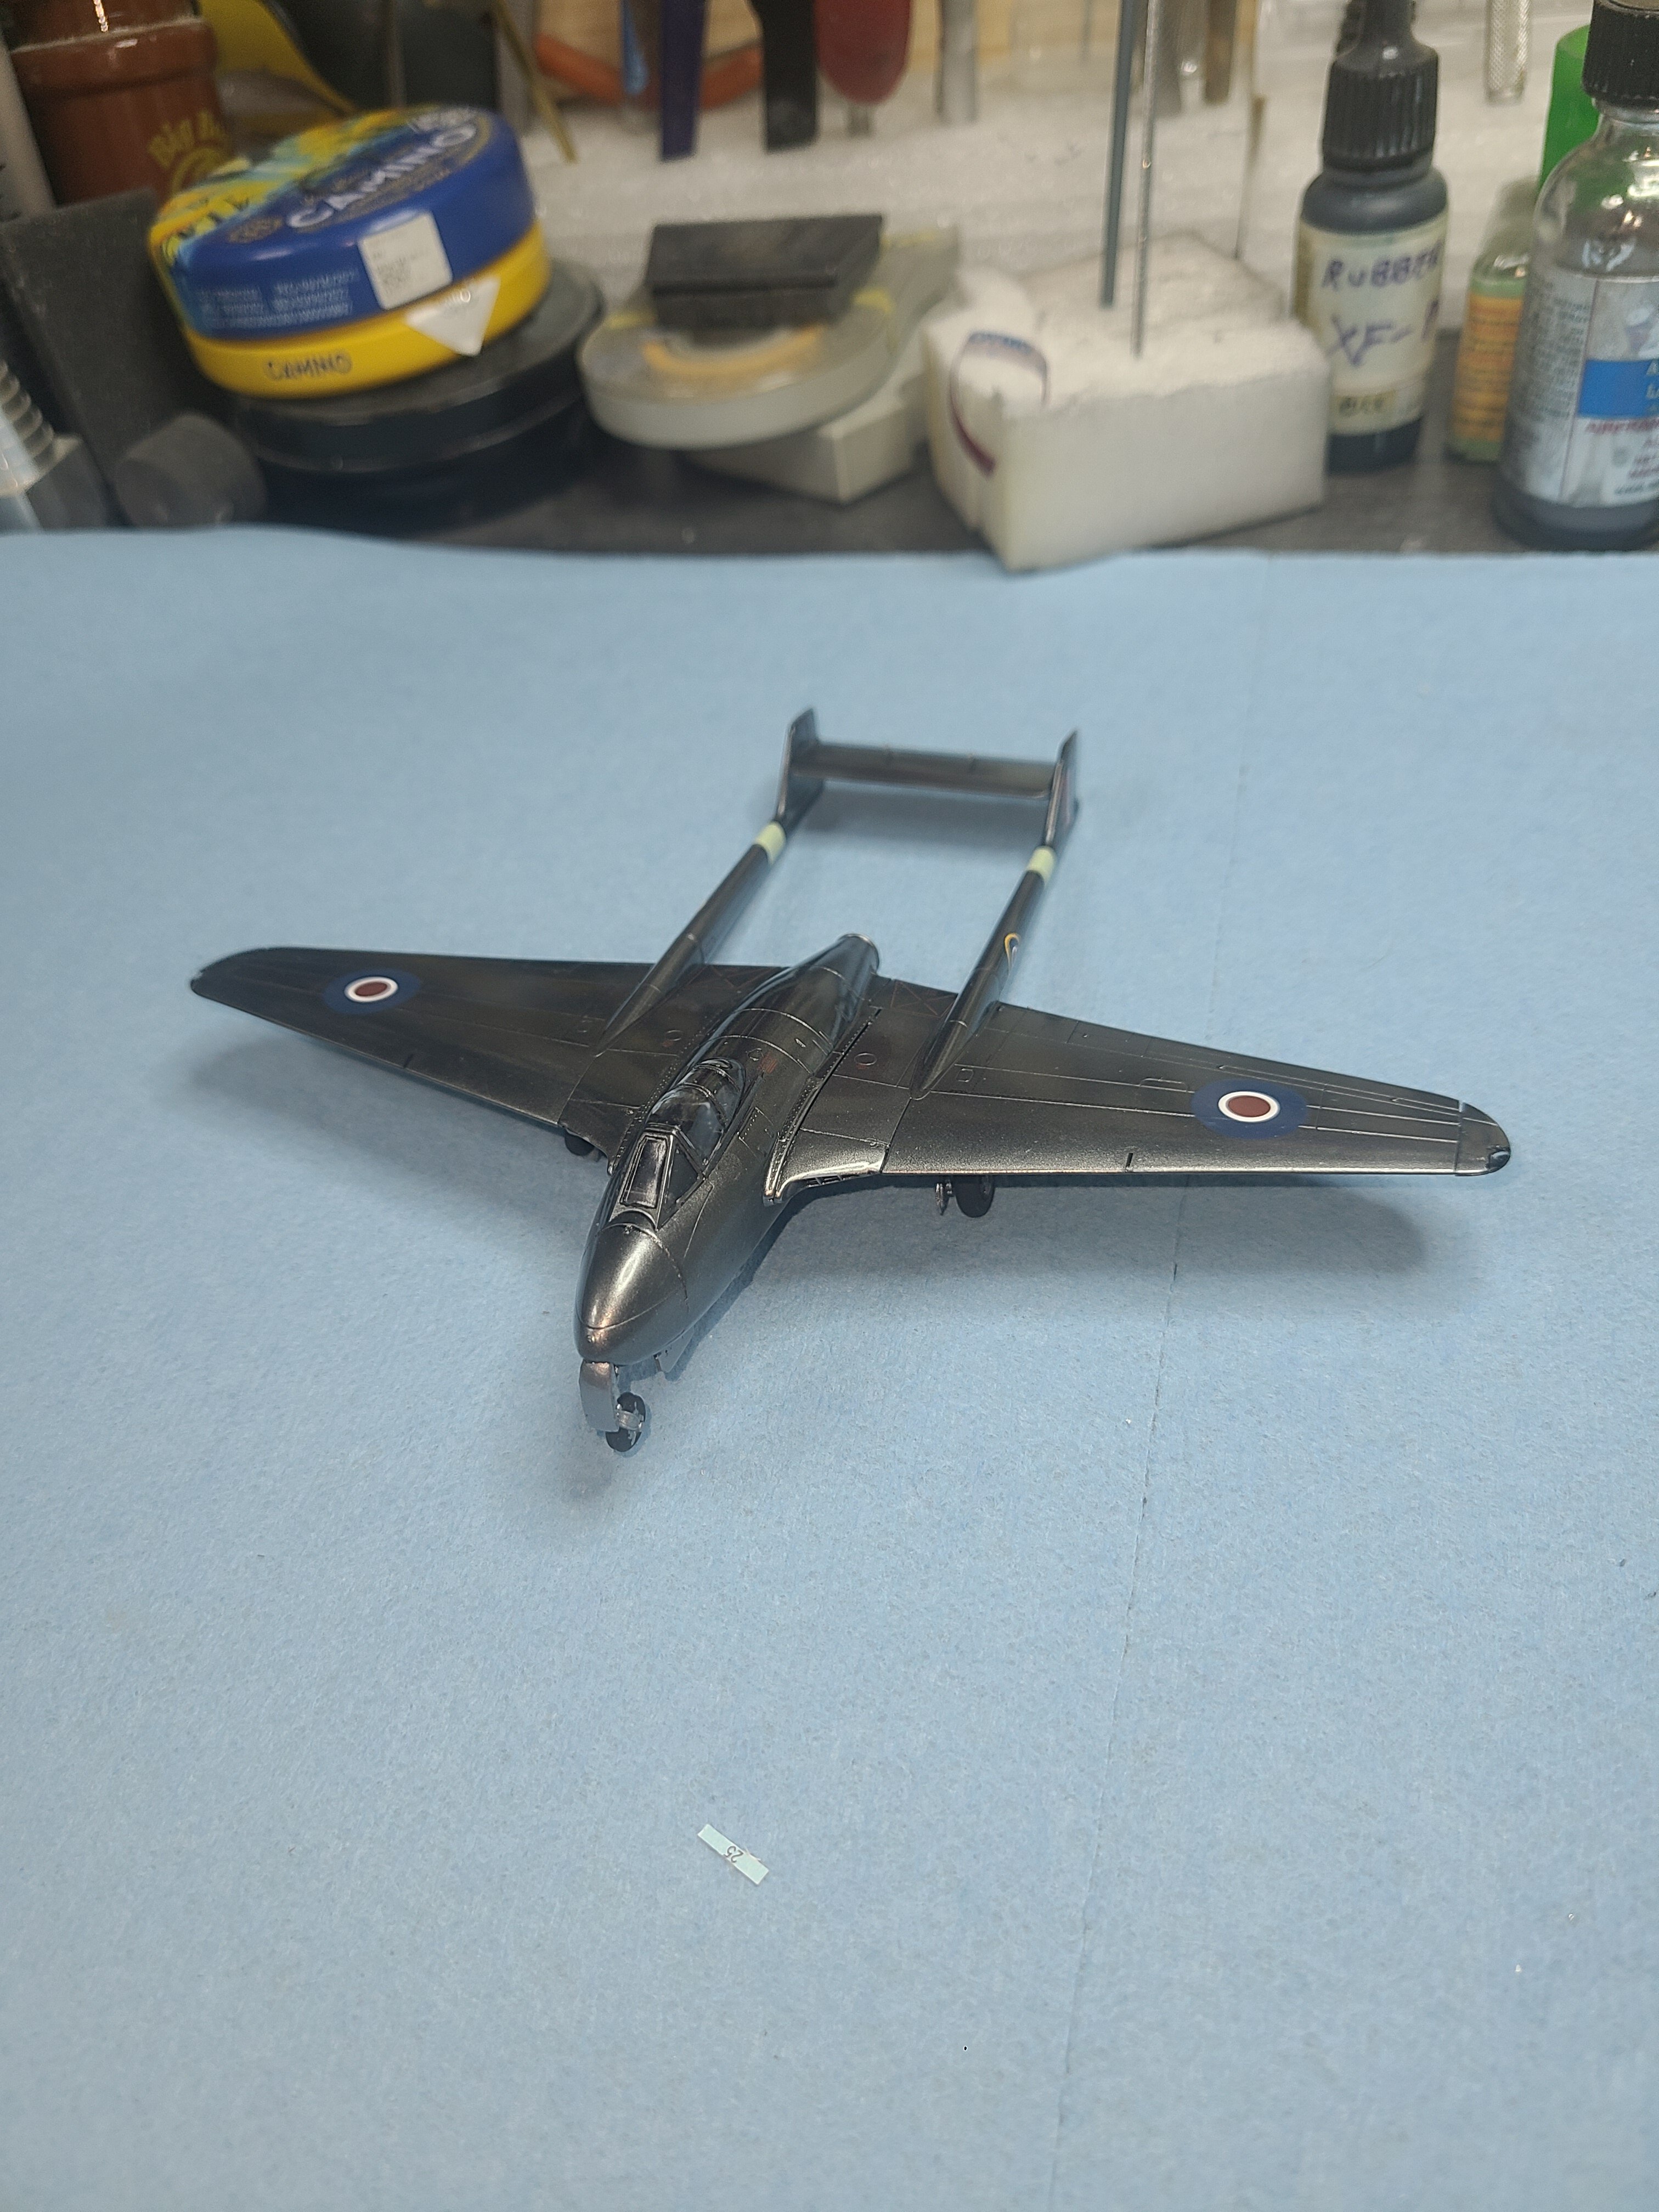
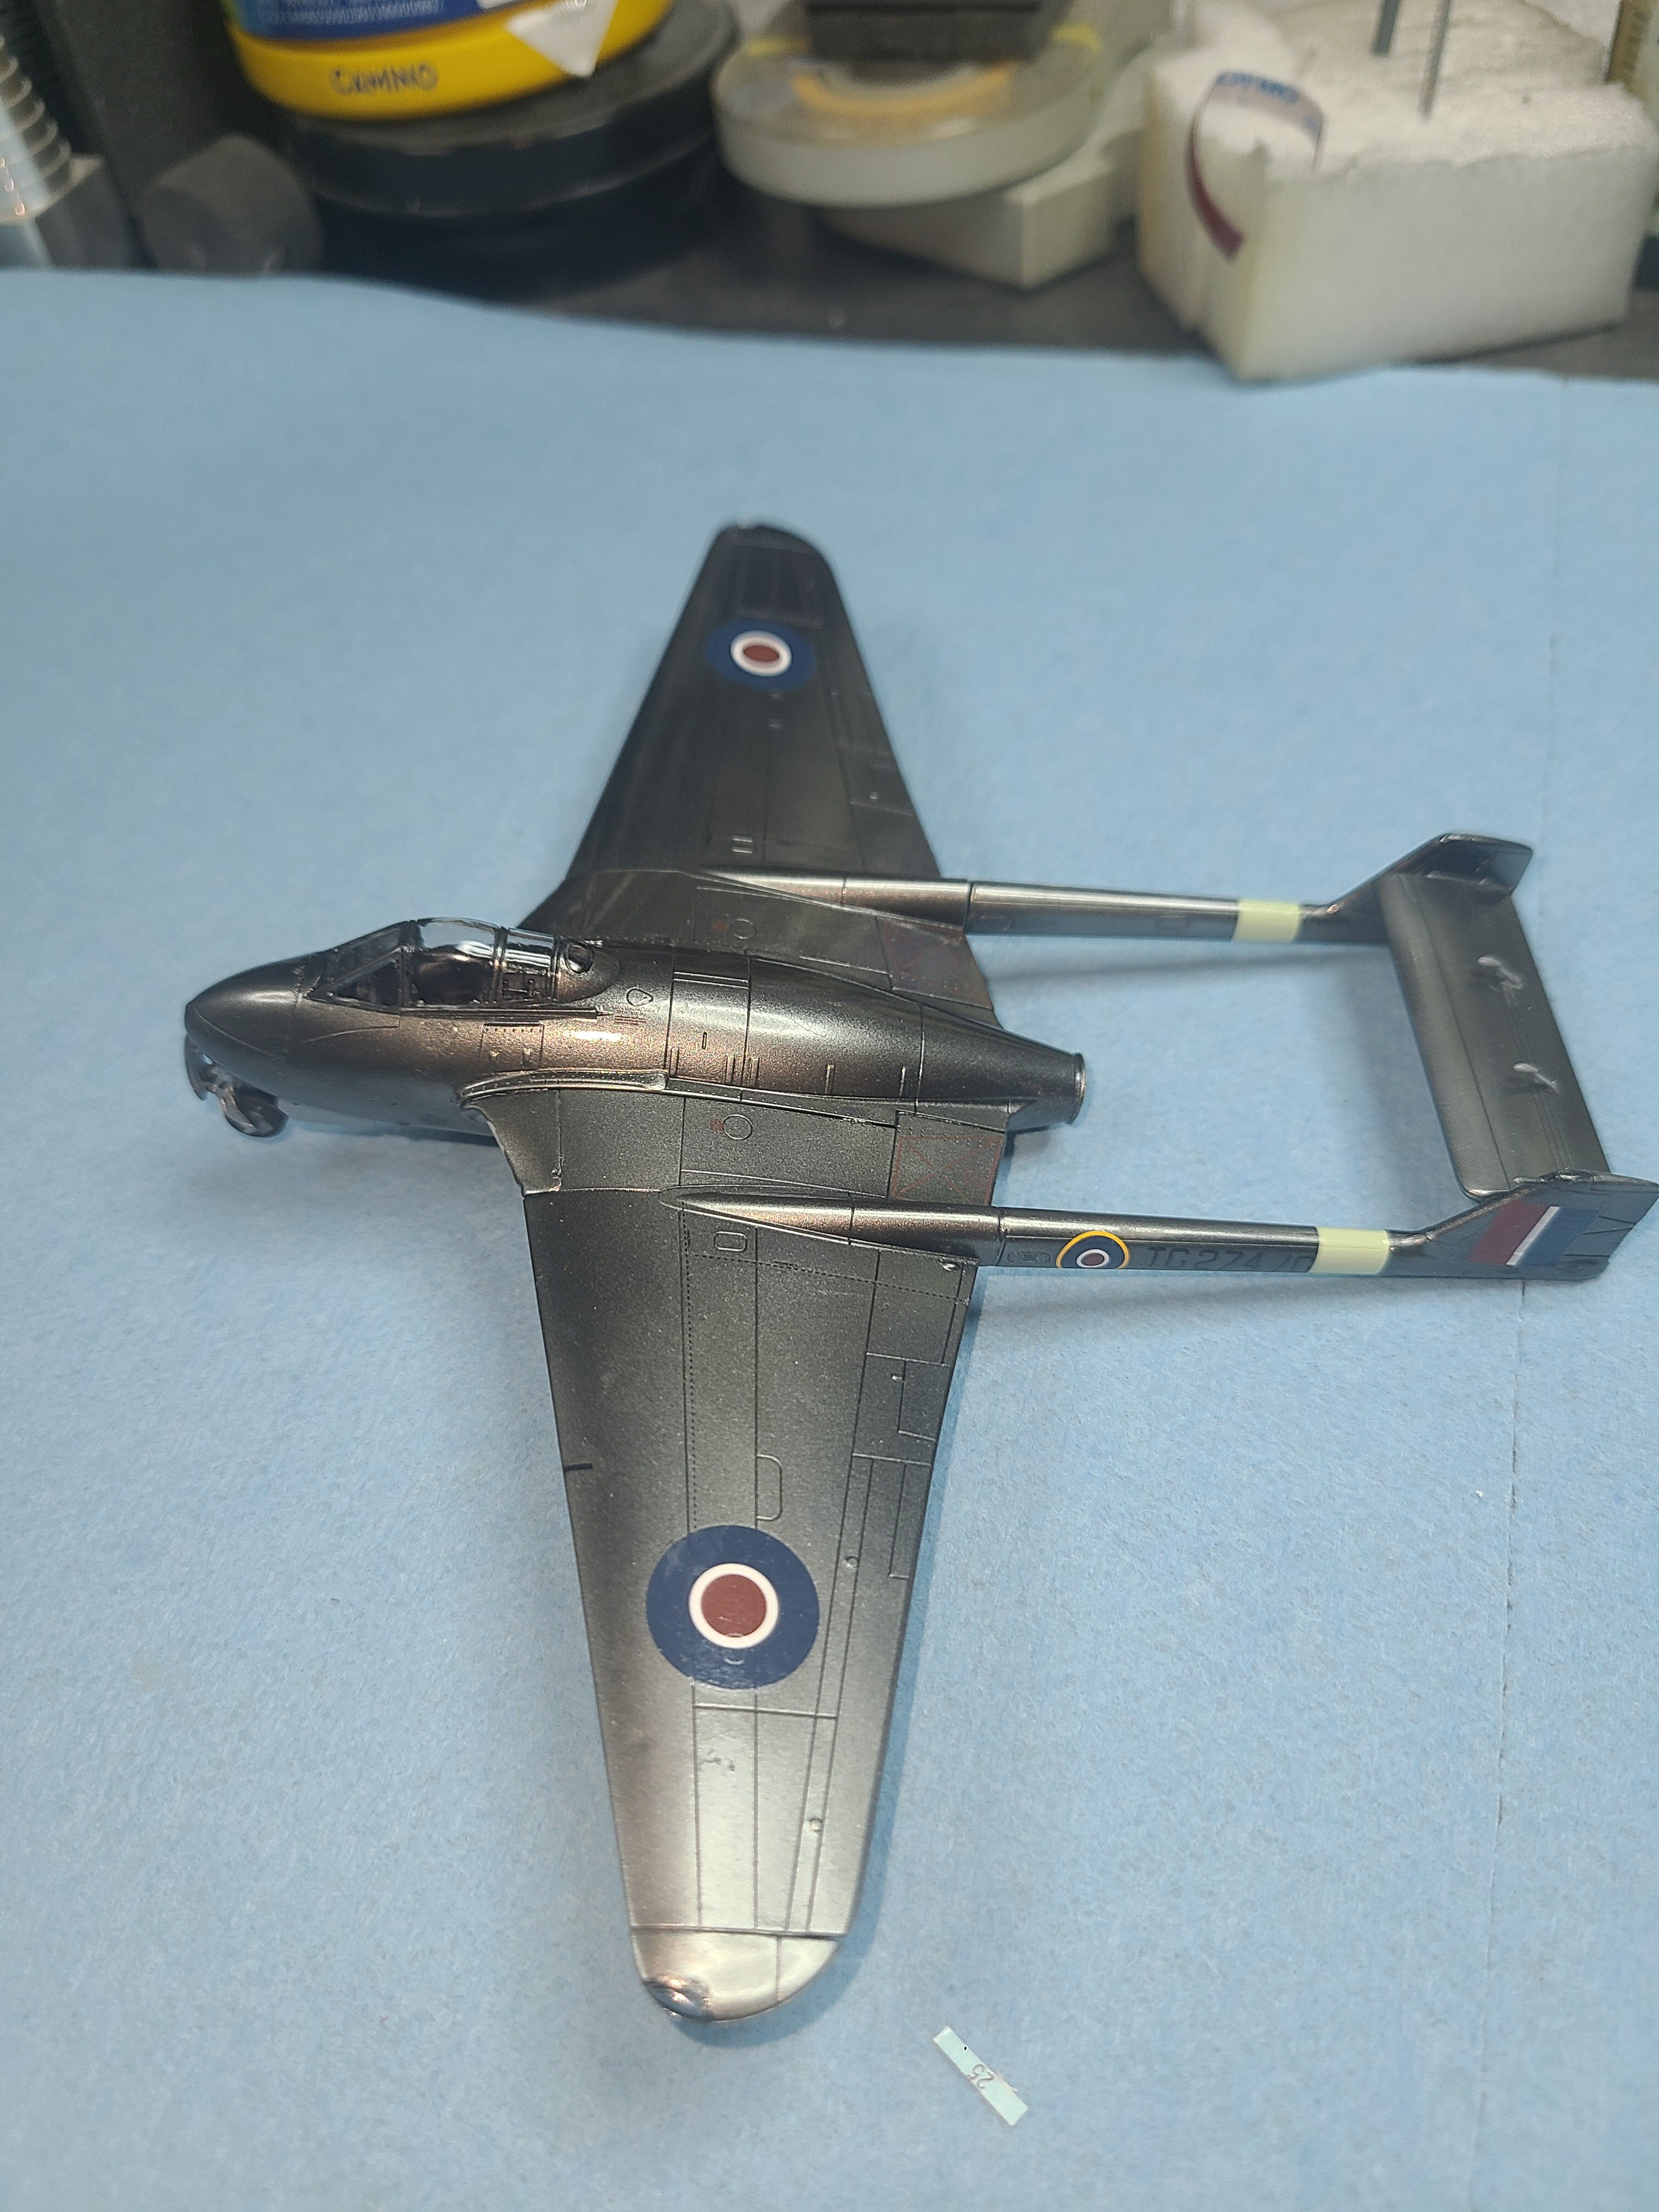
Decided to go for an all metal finish.
 1 point
 -
The MQ-8B Fire Scout is complete. This week I applied the kit decals for HSM-35. The decals were very nice. They went down nicely. The kit does not come with clear parts for the navigation lights. I used some scrap clear styrene and made the four lights. (One on top, one under, and the two side lights). Finally I worked on the rotors. The tail rotor is all photo etch and fits perfectly into its resin mount. The main rotor is a little tricky. There is a cup at the end to attach it to the hub. This cup is larger than the pin on the hub so there is a lot of play. Getting the rotor blades aligned takes some care. I taped down the ends of the blades using the work surface grid to line them up then positioned the hub in the center. Once I had everything lined up I glued them into place. I finally attached the nose turret and this completed the aircraft. The kit itself goes together very well. It would have been nice if they included a jig for the main rotors similar to the jigs you typically see with resin propeller sets for aircraft kits. The only fit issue was the nose to the main body but a little putty and some sanding corrected it. The decal set matched the reference photos except for the turret decals that were not included. If you want to try your hand at a resin kit, this would make a good start. It is not very complicated and it is an interesting subject. The final photo is the aircraft on the display shelf sitting next to my 1/48 AH-64 so this should give you an idea on how small this drone is in scale. Thanks for following along. Check out all the photos and details from start to finish in my build log at https://davidsscalemodels.com/build-log/1-48-mq-8b-fire-scout-drone/1 point
-
Finished! Now on display....warts and all....
1 point
-
The final scene of the Tropical Tilly R4D-5 has the project completed. With the aircraft completed I then made the display base for the aircraft. Using an 18” diameter plaque I covered it using spackle. I laid out the ski pattern and the tail wheel pattern. Next I added the crew footprints and the sled trail from the cargo door to the edge. After the spackle dried I used the “snow” from the Scene-O-Rama kit and added some Jacquard Pearl Ex powered pigments. I used the Interference Blue color. Mixing this with the snow gave the snow a bluish sparkle effect. I then painted on top of the spackle with Liquitex gloss acrylic gel. This was done in sections so the snow could be sprinkled on the wet gel. Once cured, I sprayed a light coating of Vallejo gloss to seal the snow. The aircraft was then positioned and the base and using 10-minute epoxy, it was attached to the base. I then mixed the remainder of the snow I mixed previously into a small cup of the acrylic gel. This mixture was then applied with a toothpick to fill the small gaps between the skis and snow. I then used it to create the plowed snow around the wheels and snow on the wheels. The kit came with a photo etch boarding ladder. This was painted, attached to the aircraft, and then I made a trail of snow up the ladder and just inside the cargo doors. This interesting project is now complete. This has been a fun project. The extra work to the resin conversion kit was required because the resin kit is designed for the Monogram/Revell model and there are size differences with the Trumpeter version. The Trumpeter kit itself was good. The only negative is the interior bulkheads towards the front need to be trimmed down to fit inside the fuselage. Everything else fit very well. I did not use the kit decals so I cannot comment on their quality. The decals included with the conversion kit worked very well. I hope you all have enjoyed this “Hollywood” build. Happy Modeling! Check out all the photos and details from start to finish in my build log at https://davidsscalemodels.com/build-log/1-48-r4d-5-tropical-tilly/1 point
-
Welcome to scene 10 as the climactic ending begins. I installed the skis and added the safety cables that assist in keeping the skis horizontal using EZ-Line. The engine bell housing and propellers were installed as well as the wing tip lights. One of the things not represented in the kit is the windscreen wipers. I took some spare photo etch pieces and made the blade and arms then installed them. I then added all the antenna wires both under the nose and on top using EZ-Line. There are two small “T” shaped antennas under the fuselage near the tail. I trimmed up some scrap photo etch to replicate them. Next I used some scrap photo etch and made the cargo door hinges. With all the small details added I thought I had finished the aircraft. While uploading the photos to the computer I realized I forgot to paint on the wing walkways and the anti-glare area on the nose. I painted them as well as the fuel ports on the top of the wings. While the real aircraft has the de-icing panels painted black, none of the screen shots show these painted the typical matte black. I left them unpainted to match the aircraft in the movie. So now the aircraft is complete except the snow weathering which will be added when I mount the aircraft to the base. For the final week of work I am building a snow base to display the aircraft. I bought an 18” wooden disk which came with a white washed stain on it as well as a Scene-O-Rama snow kit. I currently am still looking for 1/48 scale dog sled team and arctic crew figures. I have a friend who is looking to design files for the 3-D printer but these files may take a while. We went over some of the scenes from the movie (The Thing from another world – 1951) and he is going to pose them as they are returning to the aircraft with the frozen alien on the sled. When I build the base I will add in the footprints and sled marks so these can be added later. So the current display will be just the aircraft on the snow and assuming the crew is down by the buried flying saucer. Stay tuned for the conclusion of this project. Check out all the photos and details from the start in my build log at https://davidsscalemodels.com/build-log/1-48-r4d-5-tropical-tilly/1 point
-
Working on scene 9 of Tropical Tilly, the decals are done and the aircraft has been given a gloss topcoat. I then turned to the main landing gear. For the wheel I am using 3/32 aluminum tubing for between the struts and 1/16 aluminum tubing for the axle that extends thru the skis. With the slightly different shape and design of the kit landing gear I had to make changes to the width of the skis, the attachment point to the landing gear, and the rear horizontal stabilizer of the skis. I also added the attachment points for the cables used to keep them horizontal. The opposite attachment points were added to the aircraft as well. The ski bottom also has two skid tabs at the trailing edge. I made these out of tin lead. The skis were then painted with the bare aluminum paint. I spent some time reviewing scenes I the movie (The Thing from another world – 1951) and found some antennas on the bottom of the fuselage. One is in between the main landing gear and has antenna lines running from the front of the aircraft. The other two are on the bottom of the fuselage near the cargo door. I used some spare photo etch to duplicate these. I then installed the landing lights in the wings and am now starting on the engine bell housing and the propellers. I have a few more details that need to be added as well as mounting the cargo doors and installing the skis. Check out all the photos and details from the start in my build log at https://davidsscalemodels.com/build-log/1-48-r4d-5-tropical-tilly/1 point
-
Onward to scene 8, the work this week was spent preparing and painting the base coats. The overall aircraft was painted with Tamiya bare aluminum. I have a copy of the USAF technical order for painting numerous aircraft. I verified the yellow stripe is insignia yellow and the other color is international orange. I then loaded the DVD of “The Thing from another world” into the computer to see the placement of the yellow fuselage strip and the international orange areas. During the research I realized that the boomerang antenna and the forward mast antenna atop the fuselage which were mounted in the kit locations were in the wrong location. After some careful removal I relocated them to the same locations they are on the aircraft in the movie. The stripe area was masked and painted. The decal set provides a decal for the stripe but I prefer to paint it on. I next painted the international orange areas. While the pain was drying I looked over the decals. The USAF Tech Order shows that the R4D’s used the 40” stars and bars. The decal set comes with the 36” version. I then made my own 40” starts and bars decals. The one on the port side of the fuselage covers the fuselage and both cargo doors. I measured and cut up one of the insignias and put the decal sections on the cargo doors. While the paint was drying I did some more work on the main gear. I decided to use aluminum tubing as the axle for the wheels and skis. The plan for the upcoming week is to finish the decals and give the aircraft a nice gloss coat then work on finishing the main landing gear. Looks like just a few more “scenes” to finish this one. Check out all the photos and details from the start in my build log at https://davidsscalemodels.com/build-log/1-48-r4d-5-tropical-tilly/1 point
-
As we move onto scene 7 of the R4D this week I have the resin nose shaped. Need to scribe some panel lines and rivets still. I looked at the exhaust. The resin kit has the correct version for the R4D, however it was designed for the Monogram kit and is too large for the Trumpeter kit I am using. I used a styrene tube to make the exhaust and some aluminum tubing for the center portion. With the wings attached I then noticed this kit comes with the long scoop on top of the engines. The R4D uses the smaller scoop. I trimmed the kit scoop for shorter length and shortened the height a little. I used some styrene to replicate the backside of the scoops and blended it with putty. I also needed to fill I n the cut-out above the engine with some sheet styrene. While the modified scoops were letting the putty cure I looked at the main landing gear and the skis that will go on them. The kit provides rubber tires and they would not fit between the resin ski rails. So I took some measurements and decided to modify the skis. I cut off the rails from the ski and using .020” sheet styrene I made the bottom of the ski and added the rails. The rails have a crossbar. This needed to be removed and replaced. The rails needed to move out .005” on each side. With the skis modified I needed to change the mounting. The axles that came with the kit for the main wheels are too short to fit the skis. I will be using aluminum tubing to make the extended axles. Just a side note, I do not need to check the tail wheel ski. This will not be used. In the movie (The Thing from another world – 1951) there is a scene with Captain Henry and the Colonel where they mention on a previous landing the broke the ski off the tail wheel. All of the scenes in the movie with the aircraft show no ski on the tail wheel. This coming week I am getting the aircraft ready for painting. I have numerous panel lines and rivets to add back onto the areas that were modified and to mask off the areas. I am hoping to start painting by next weekend. Check out all the photos and details from the start in my build log at https://davidsscalemodels.com/build-log/1-48-r4d-5-tropical-tilly/1 point
-
Here's another update....I like to use black CA to fill seams and then polish them out. If you are sparing with it you can really get a nice finish. Manicure polishing tools really work well. Just don't let your wife know where they come from...
1 point
-
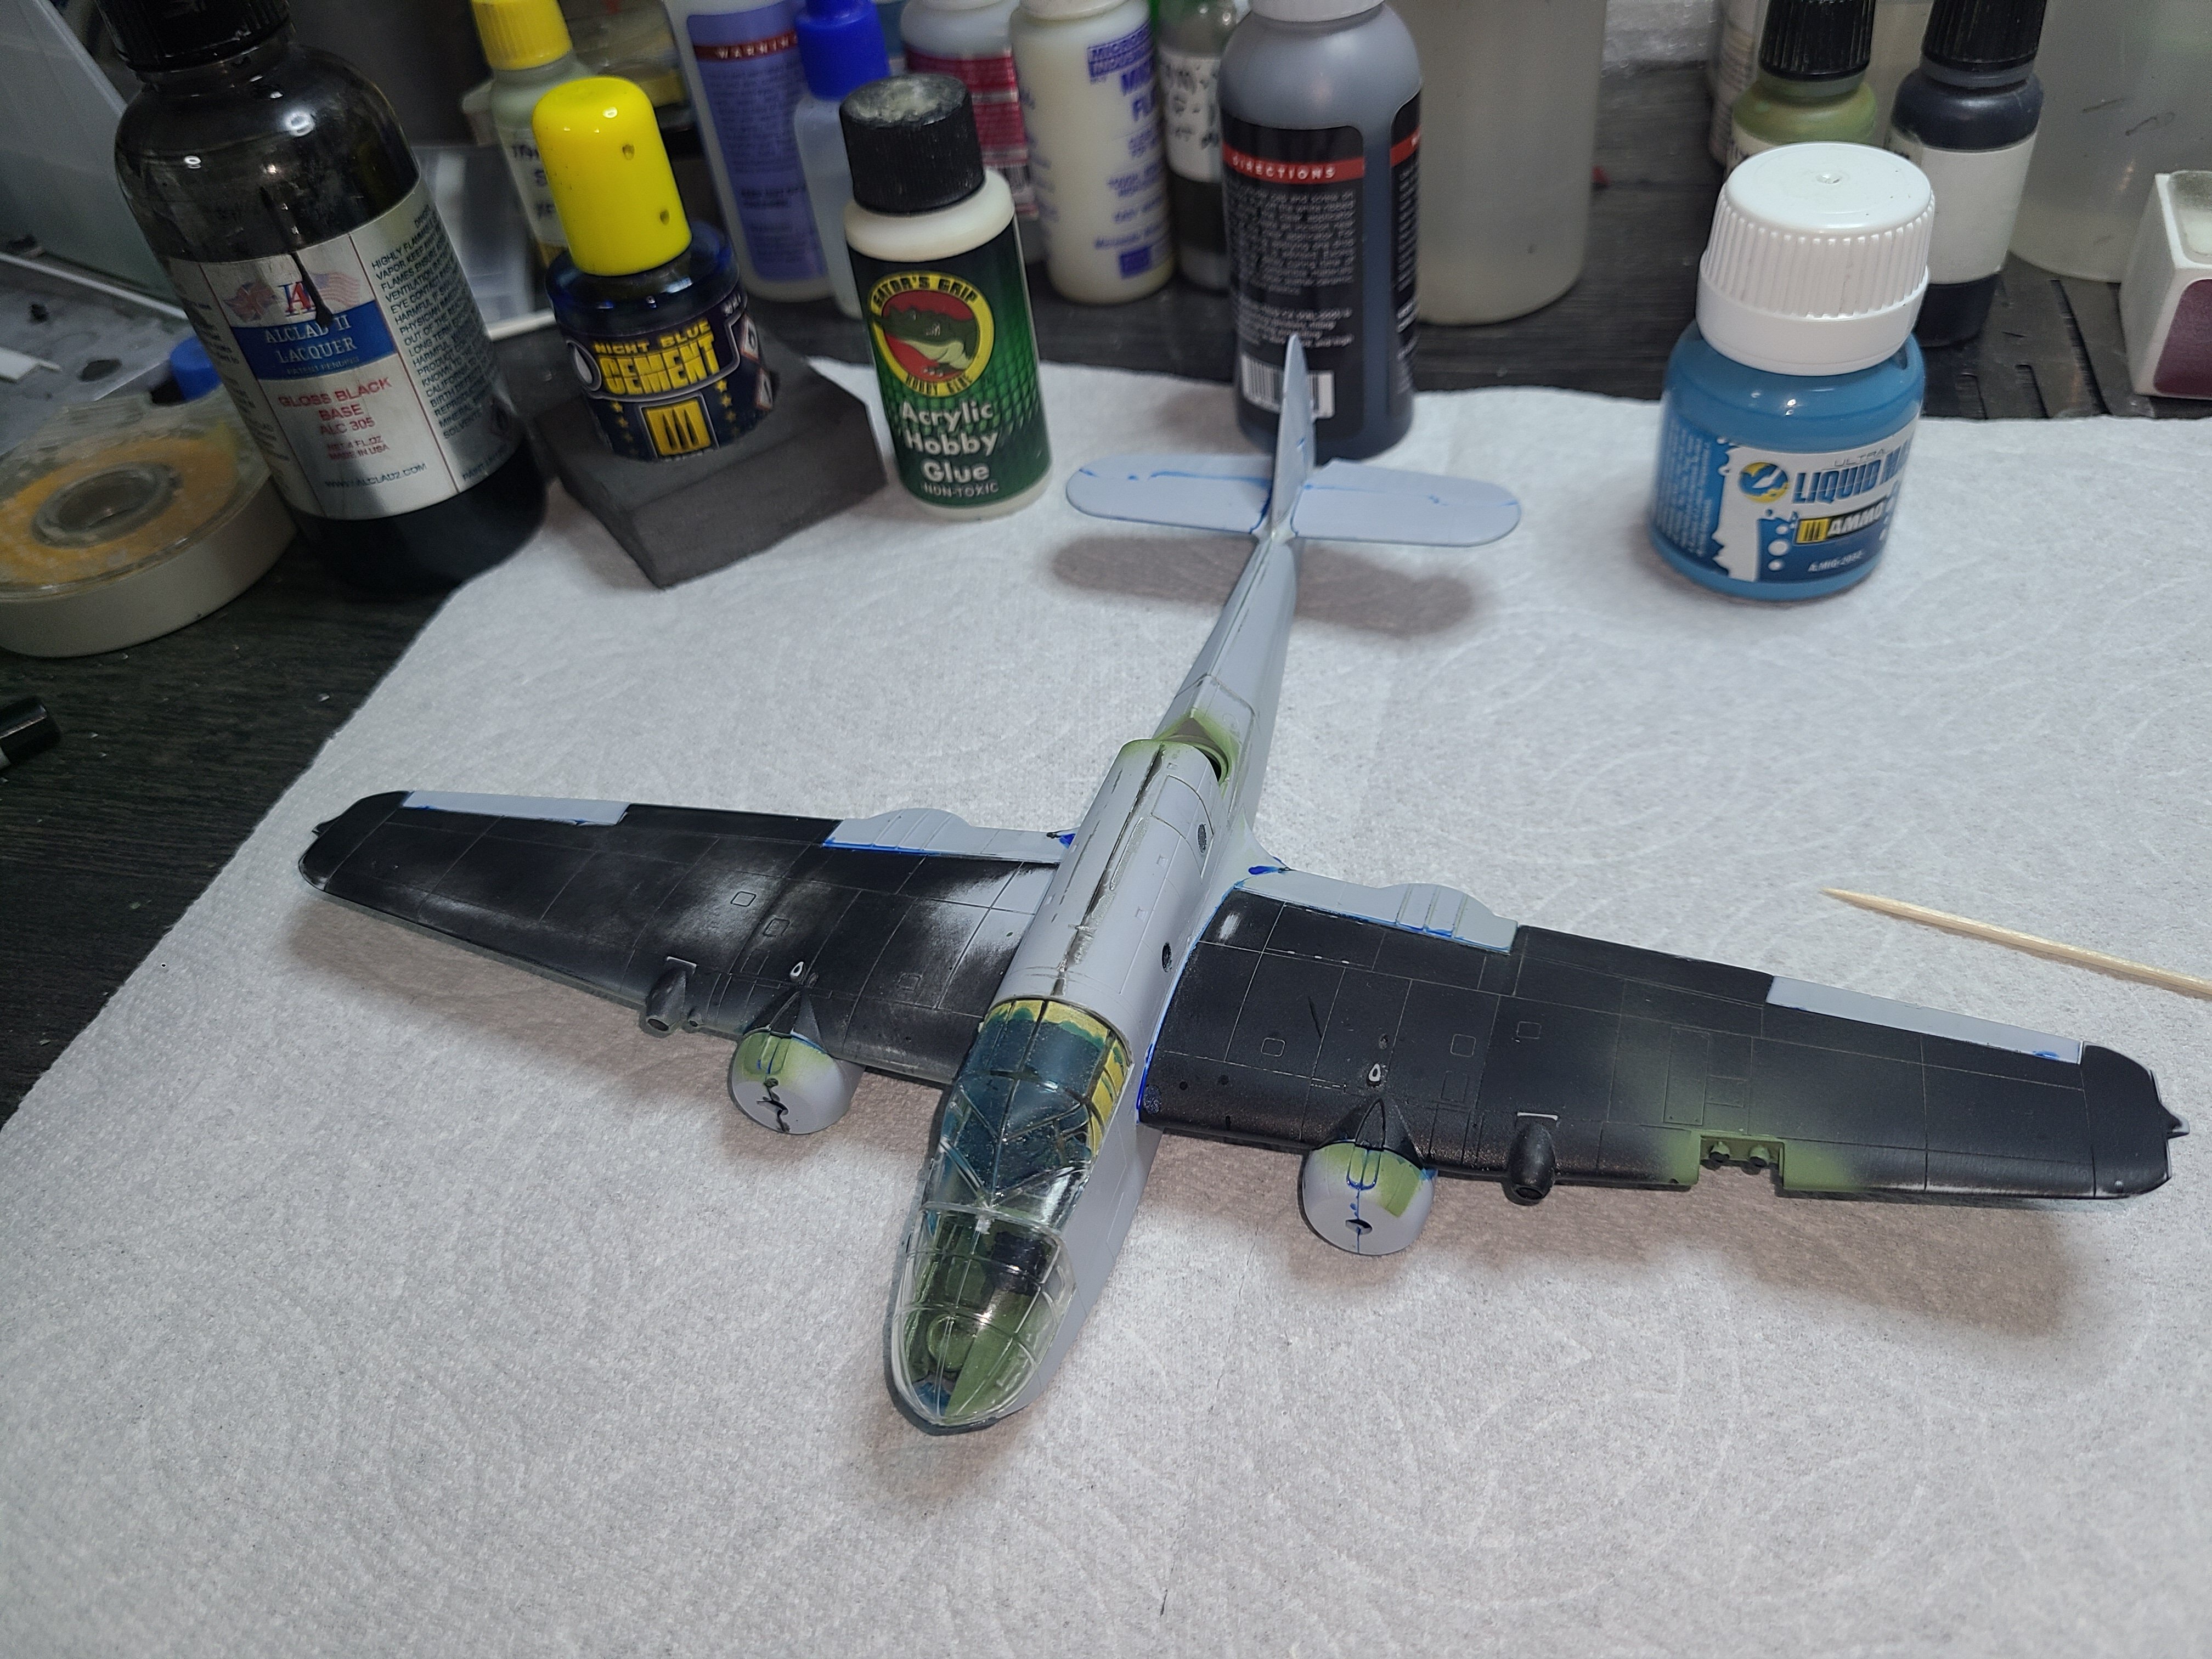
latest pic of the Beaufort build....
1 point
-
Moving forward to scene 6 on the R4D-5 this week I loaded the cargo in the cabin. The two crates were strapped in using straps and rope as depicted in the screen shots from the film. I also added blankets and bags as well. The fuselage halves were then put together and clamped. While the fuselage was setting I started on the R-1830-92 engines. The detail of the kit engines is very good. The only thing you need to be careful with is making sure you don’t mix the left and right engine parts. The keyways are different between the sides which could affect the position of the front of the engine when it is installed later. With the fuselage together I started to fill the gaps and seams with putty. Aside from the gap on top of the fuselage there are uneven sections along the seam. There is also a gap around the tail wheel well which was carefully filled. While the putty was curing I built up the main landing gear bays into the upper wing sections and installed the engines. Turing back to the fuselage, the seams were wet sanded. The resin nose was then aligned and set in place. Once the putty is cured I will then begin to wet sand and shape it. Next up will be assembling and installing the wings and re-scribing panel lines/rivets. Check out all the photos and details from the start in my build log at https://davidsscalemodels.com/build-log/1-48-r4d-5-tropical-tilly/1 point
-
I use solid pieces and use different brushes and swabs to apply it. Weathering with Pastel Chalk – David's Scale Models (davidsscalemodels.com)1 point
-
The “Gail Ann” is now completed! The final week started off with adding the decals. The aircraft was then weathered slightly with pastel chalk and then sealed with a matte finish. The HUD was then modified by cutting off the thick gun sight and replacing it with a piece of clear acetate. With the sight installed the armored glass for was then added to the windscreen. I assembled the correct propeller, painted, decals added, and installed it. The wingtip lights were installed and the recognition lights under the starboard wing were finished off. EZ-Line was used to add the antenna. The gun barrels were painted with steel. The last detail I did was to cut off the rear navigation light and replace it with a clear lens. This completed the aircraft! The end of the week I assembled the display case. I used the Scene-A-Rama “sand” sheet for the base. Once it was glued down I sprayed some dark sand to represent the edge of the taxi lane and some black staining on the areas around the aircraft that were high traffic as well as the supercharger exhaust area. I cut out an area for the nickel nameplate. I used nickel instead of brass for this so the nameplate would stand out a little better. I then drilled holes in the bottom of the aircraft wheels and installed metal pins in order to mount the aircraft in the display case. With the base finished off all that was left to do was add the clear cover completing this project. This will be packed up and shipped out the client this weekend. Thank you all for following along on this historic build of the Gail Ann as she was on Saipan in 1944. Check out all the photos and details from start to finish in my build log at https://davidsscalemodels.com/build-log/1-48-p-47d-razorback-gail-ann/1 point