Leaderboard


Popular Content
Showing content with the highest reputation on 05/13/2022 in all areas
-
Next up is an interesting subject. This is the 1/48 Brengun MQ-8B Fire Scout. This is a helicopter drone built by Northrop Grumman and is used by the U.S. Navy. It is typically deployed on FFG’s and LCS ships. The reason I chose this is I am a member of the International Plastic Modeler Society (IPMS). I belong to the Mckinstry Chapter and we have monthly meetings. Typically each month we have a theme. One of the upcoming themes is “Missiles and Drones”. I looked over the available model kits of drones and thought this would be a little different than the combat drones many are used to seeing. This kit is a full resin model. Resin models are cast in resin rather than injection molded styrene kits. There are fewer parts than a typical model and instead of trees the parts are attached to the base of the cast. Many of the smaller parts can be trimmed from the base using a hobby knife. The larger parts require a jeweler’s saw to cut off the base. Once I had all the parts trimmed I started assembly. Resin models do not use typical model glue. They require a CA glue for assembly. I assembled the fuselage, tail boom and nose. The fit was very good except for the bottom edge of the nose which required a little putty filler. The kit come with a sheet of photo etch for some of the smaller details like the antenna blades. I added the photo etch pieces and then sprayed the fuselage with light ghost gray. For the turret under the nose I mixed some Pearl EX pigments in the Tamiya smoke paint. The main lens and the bottom right lens were mixed with gold pigments. I used blue pigments for the bottom and right side lenses. The left side lens I use the green pigments. Once dry I added a final coat of the smoke paint. I noticed that the decal sheet did not include the laser warning labels on the turret. I made my own decal labels and applied them. For the final step on the turret I drilled the holes in the back of the mount so I can add the cables later when I mount it. I am now getting ready to apply the kit decals. The decal set comes with two schemes and I will be doing the HSM-35 “Magicians” scheme. Check out all the photos and details in my build log at https://davidsscalemodels.com/build-log/1-48-mq-8b-fire-scout-drone/1 point
-
I strayed a bit from simple on this one, inspired by a really nice build of the Lindberg XFY-1 given to me by a friend who has Gone West. I built up a cockpit using some Monogram F-80 parts and a PE instrument panel for which I can't remember the source. The intakes were given some internal trunking and the belly was extensively reshaped as Aurora got that pretty wrong and it is an interesting part of the airplane. A new canopy was made so I could pose it open. Some of the casters were missing so I made some resin replacements and posed them in a more realistic fashion. Work was complicated by the fact that the kit came to me as a glue bomb and the first step was to get it apart without destroying it. Later I found an unstarted kit but what would be the fun in that? It rests in the stash.
 1 point
 -
Tape it down and try to unwarp it with a hair dryer on low or medium. That should make it pliable to cool at the right shape. The worst outcome would be it is further ruined? Maybe a vac canopy replacement if all else fails?1 point
-
Steps 3 & 4 now completed - bits added to upper hull, the upper and lower hulls glued together That’s enough for today….1 point
-
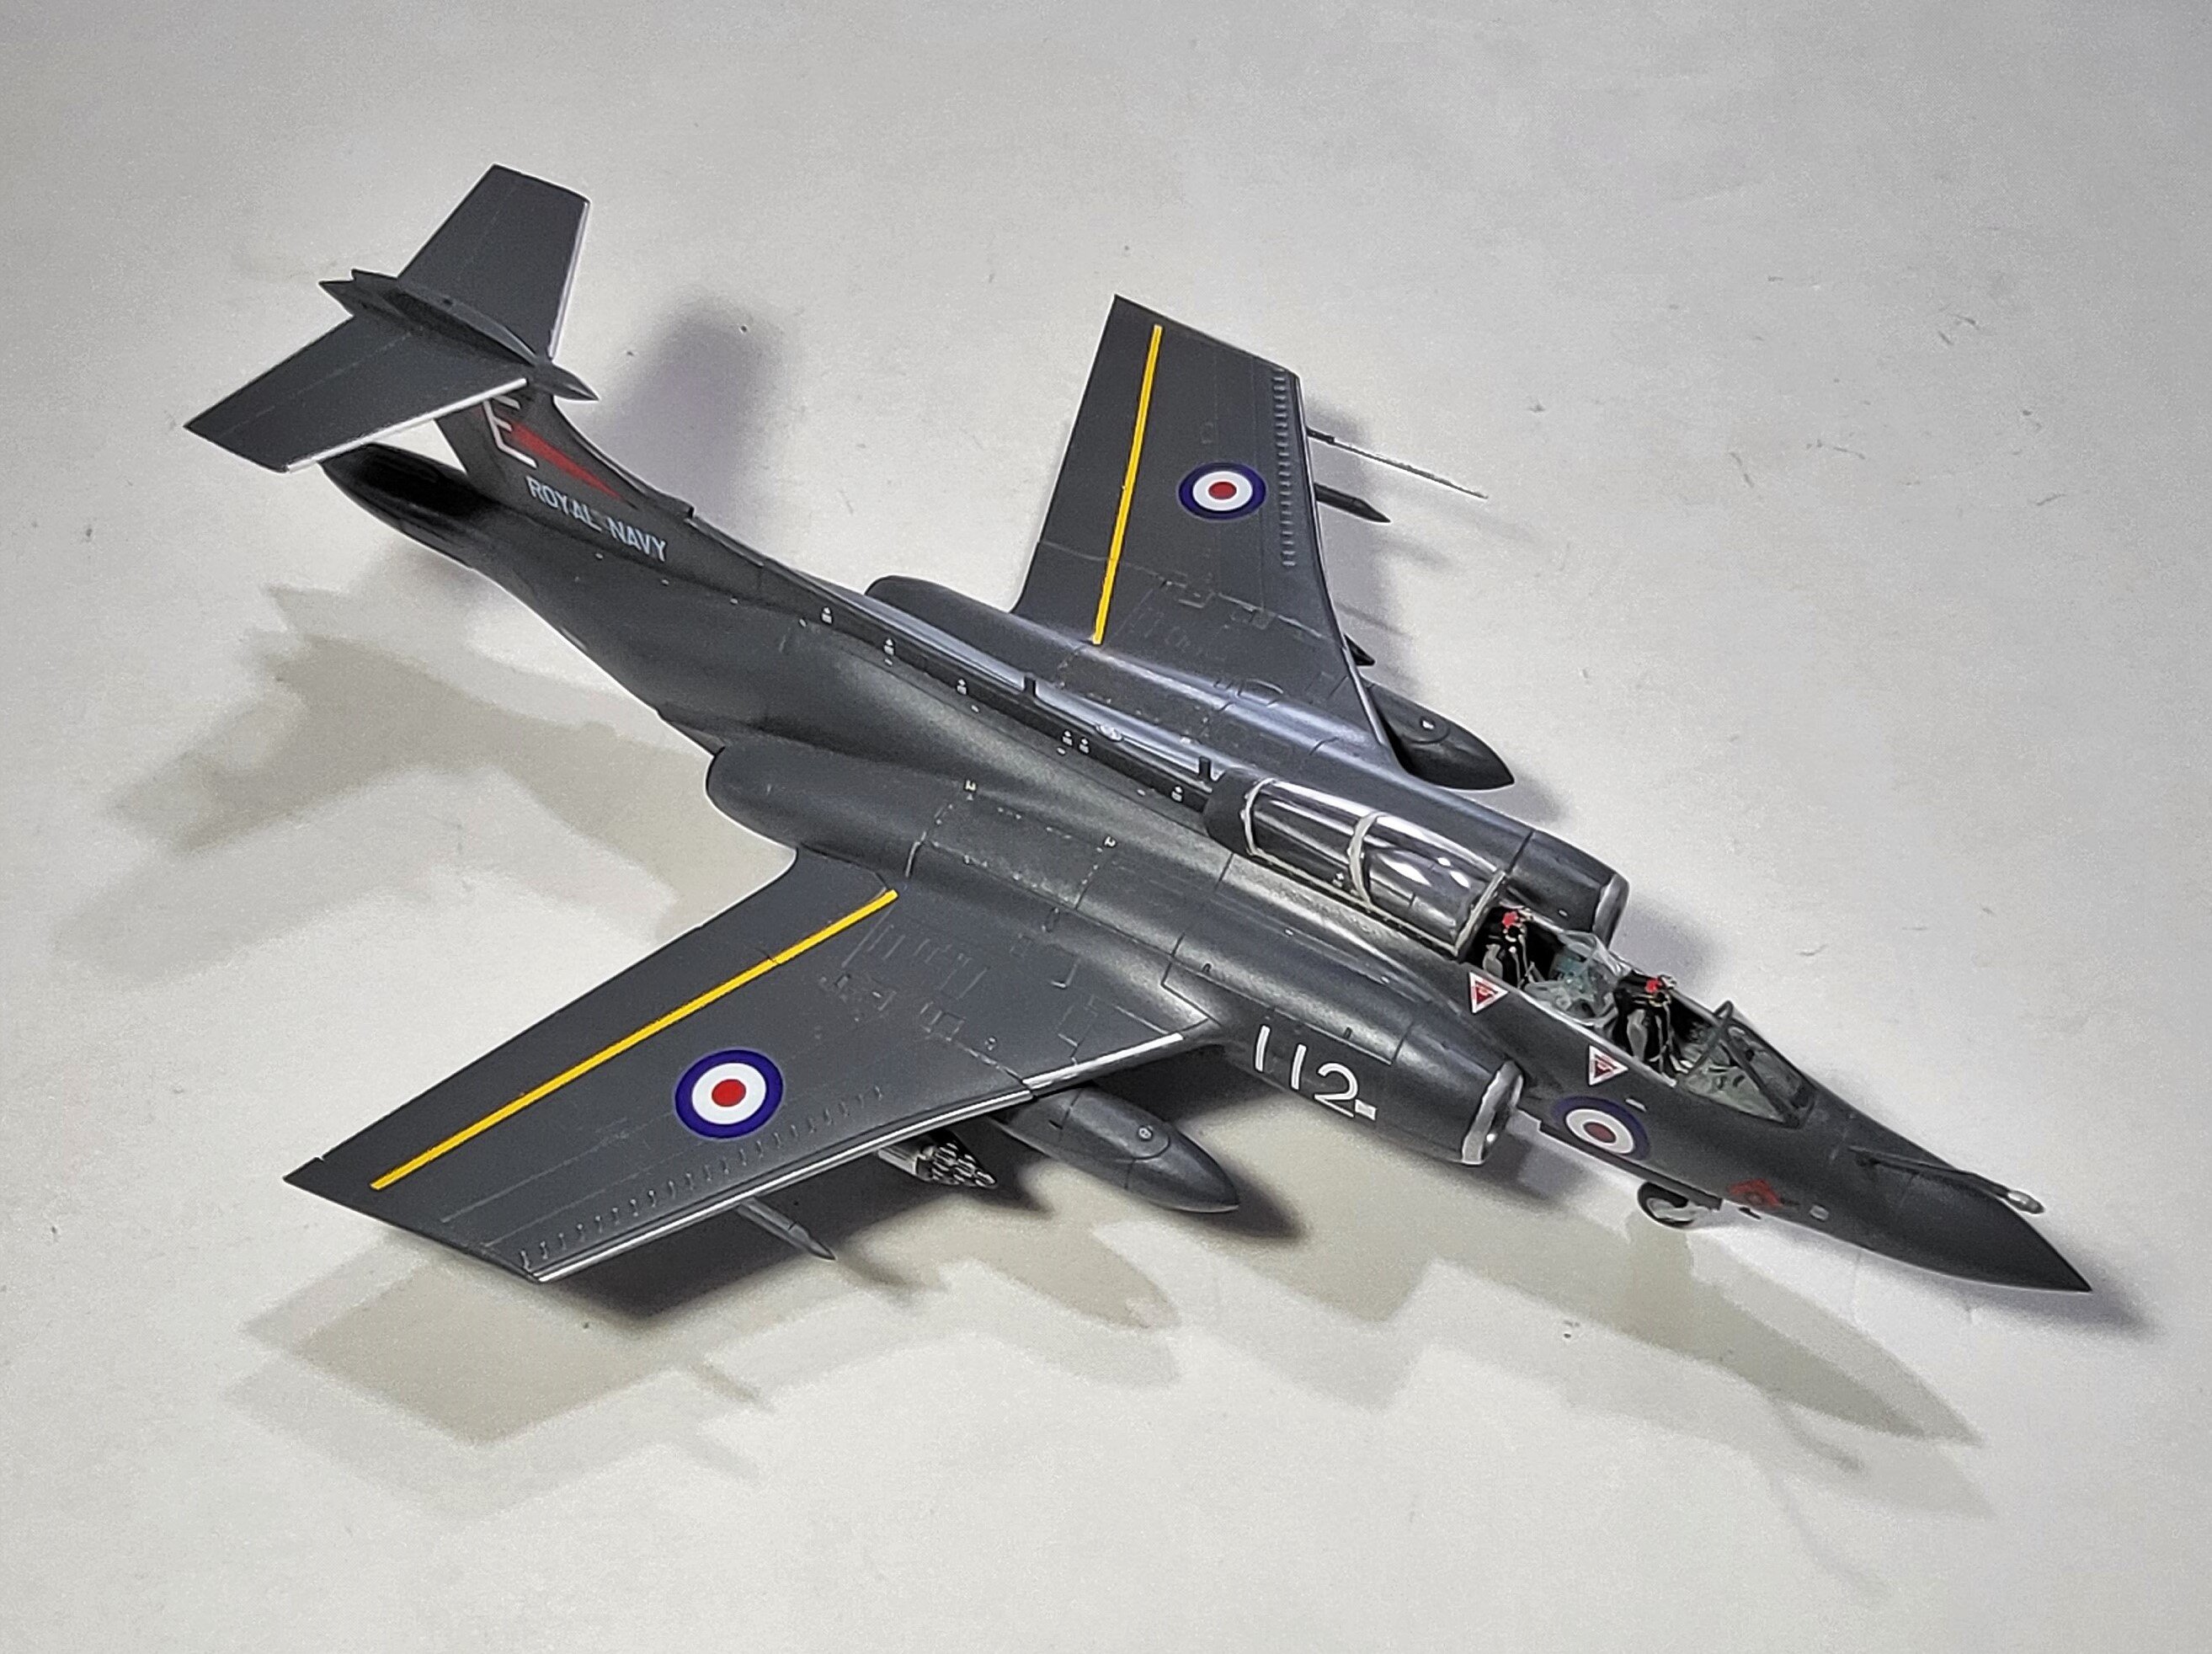
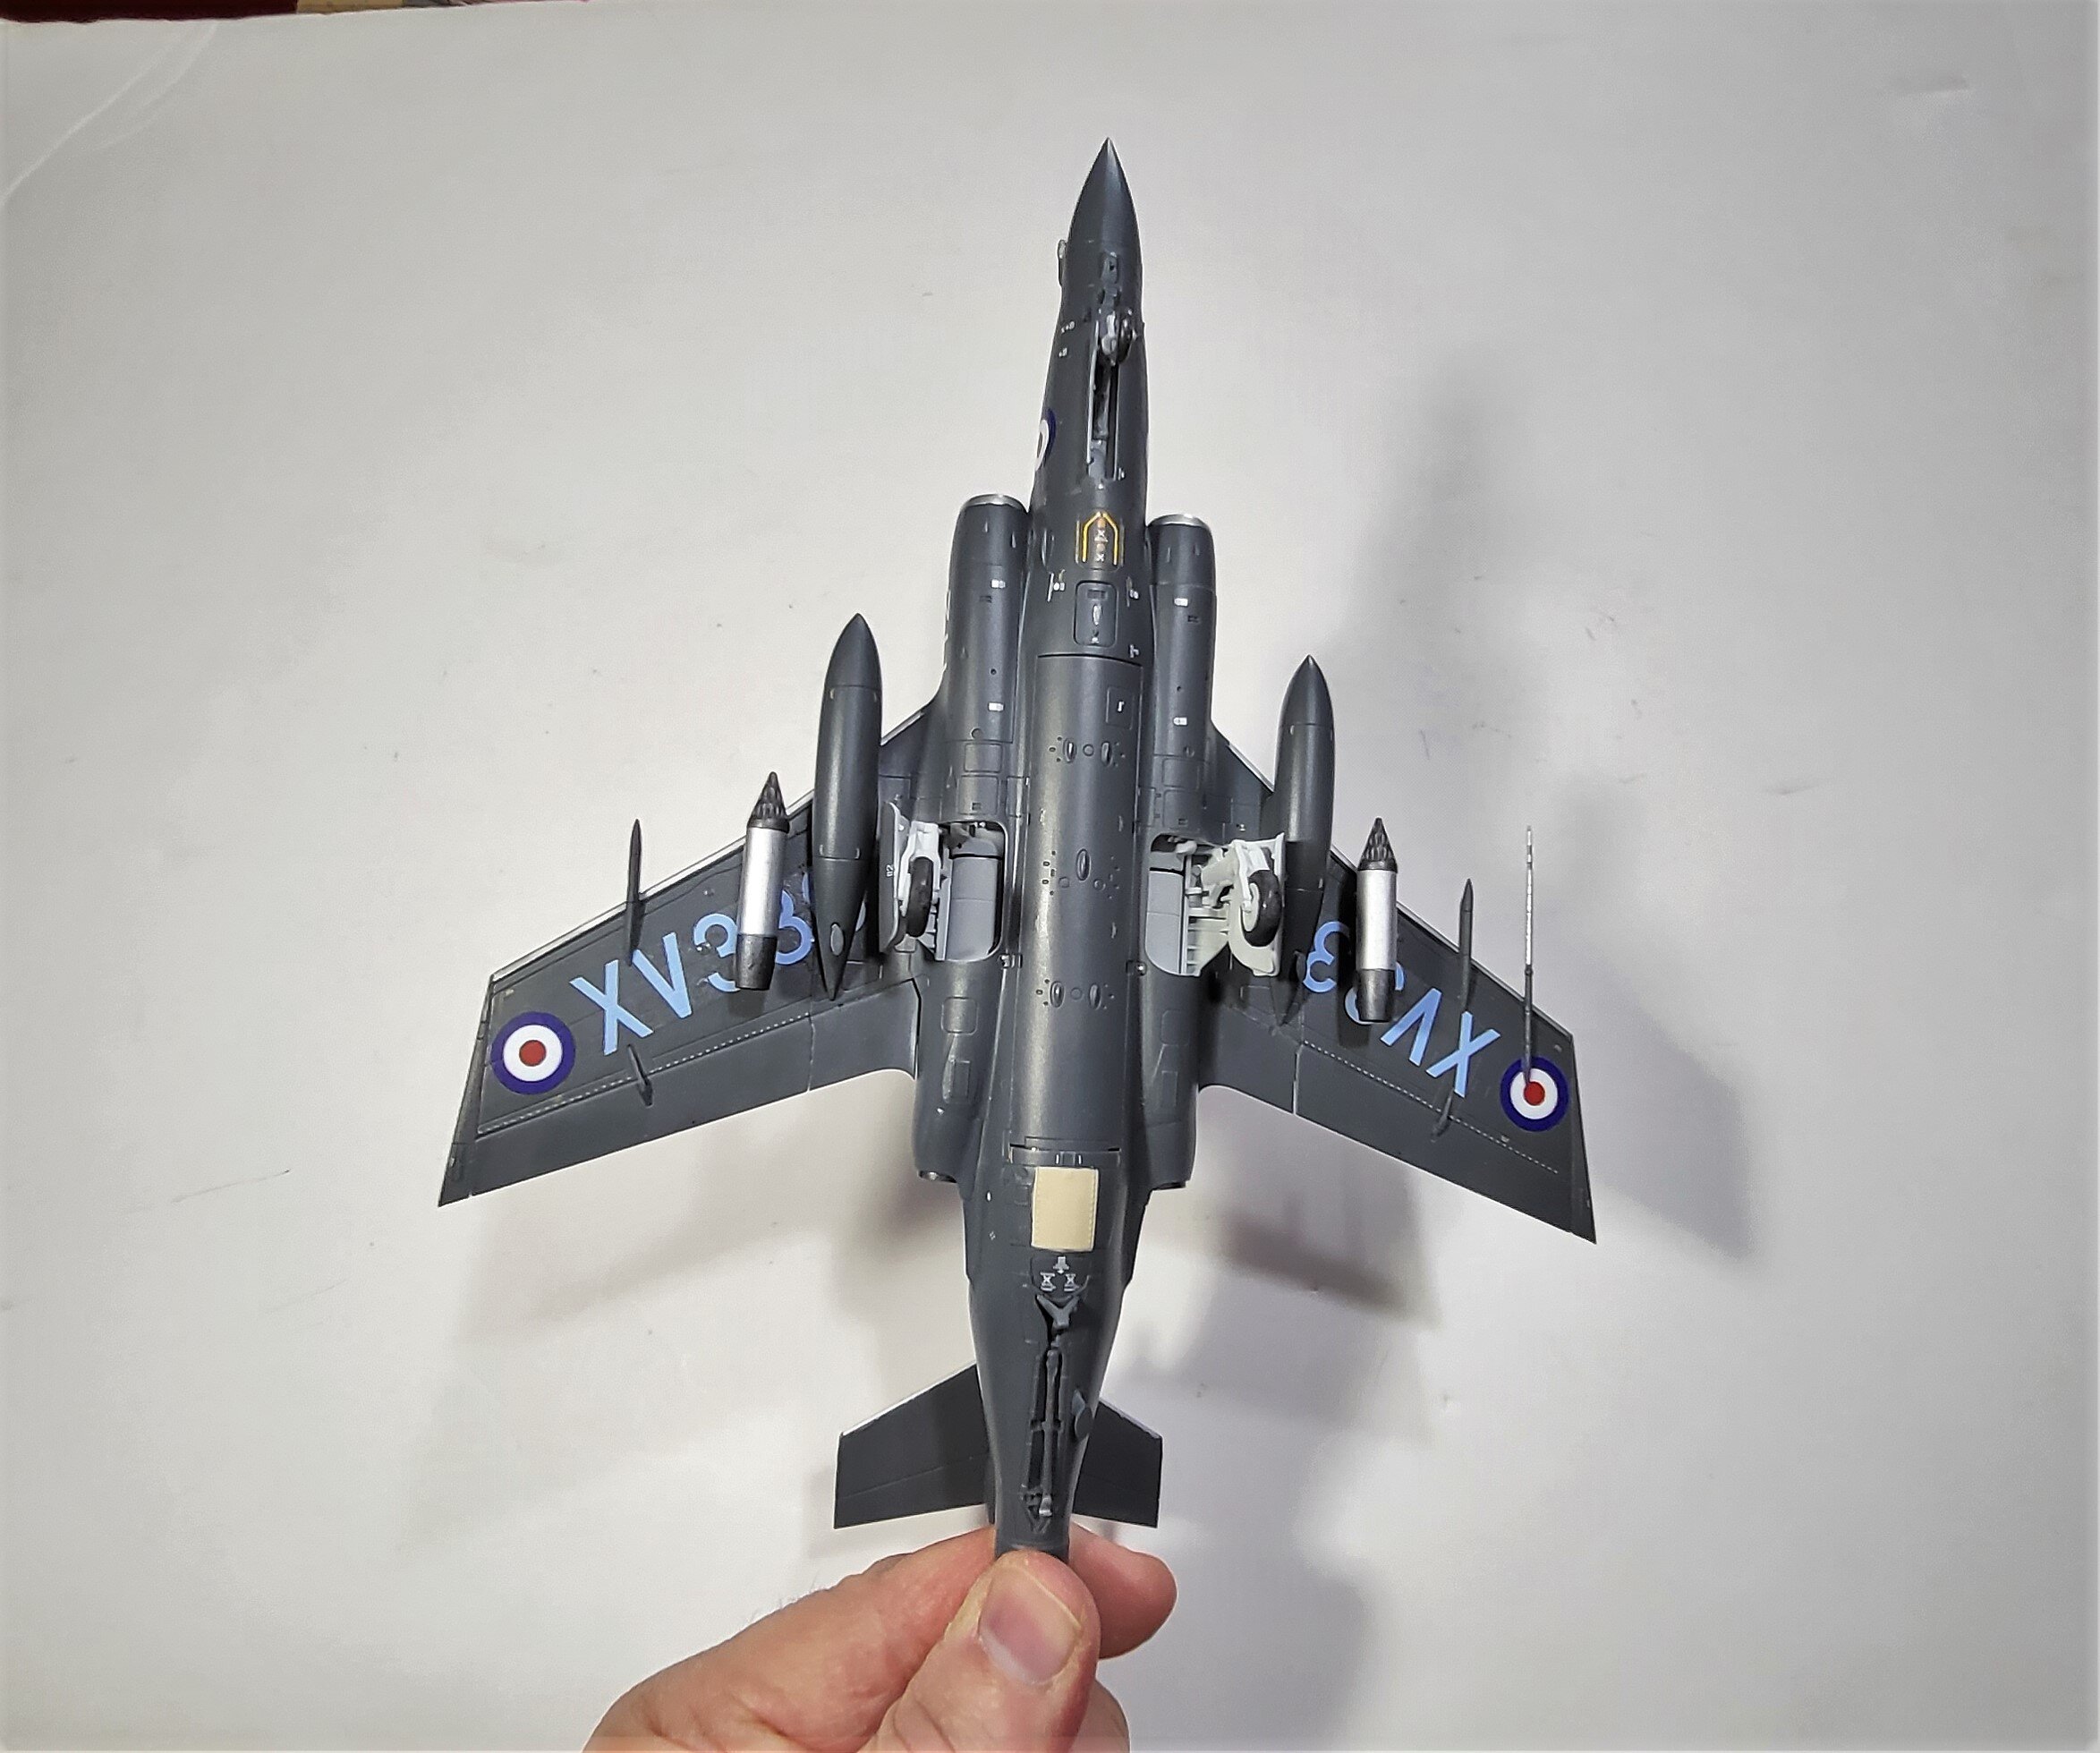
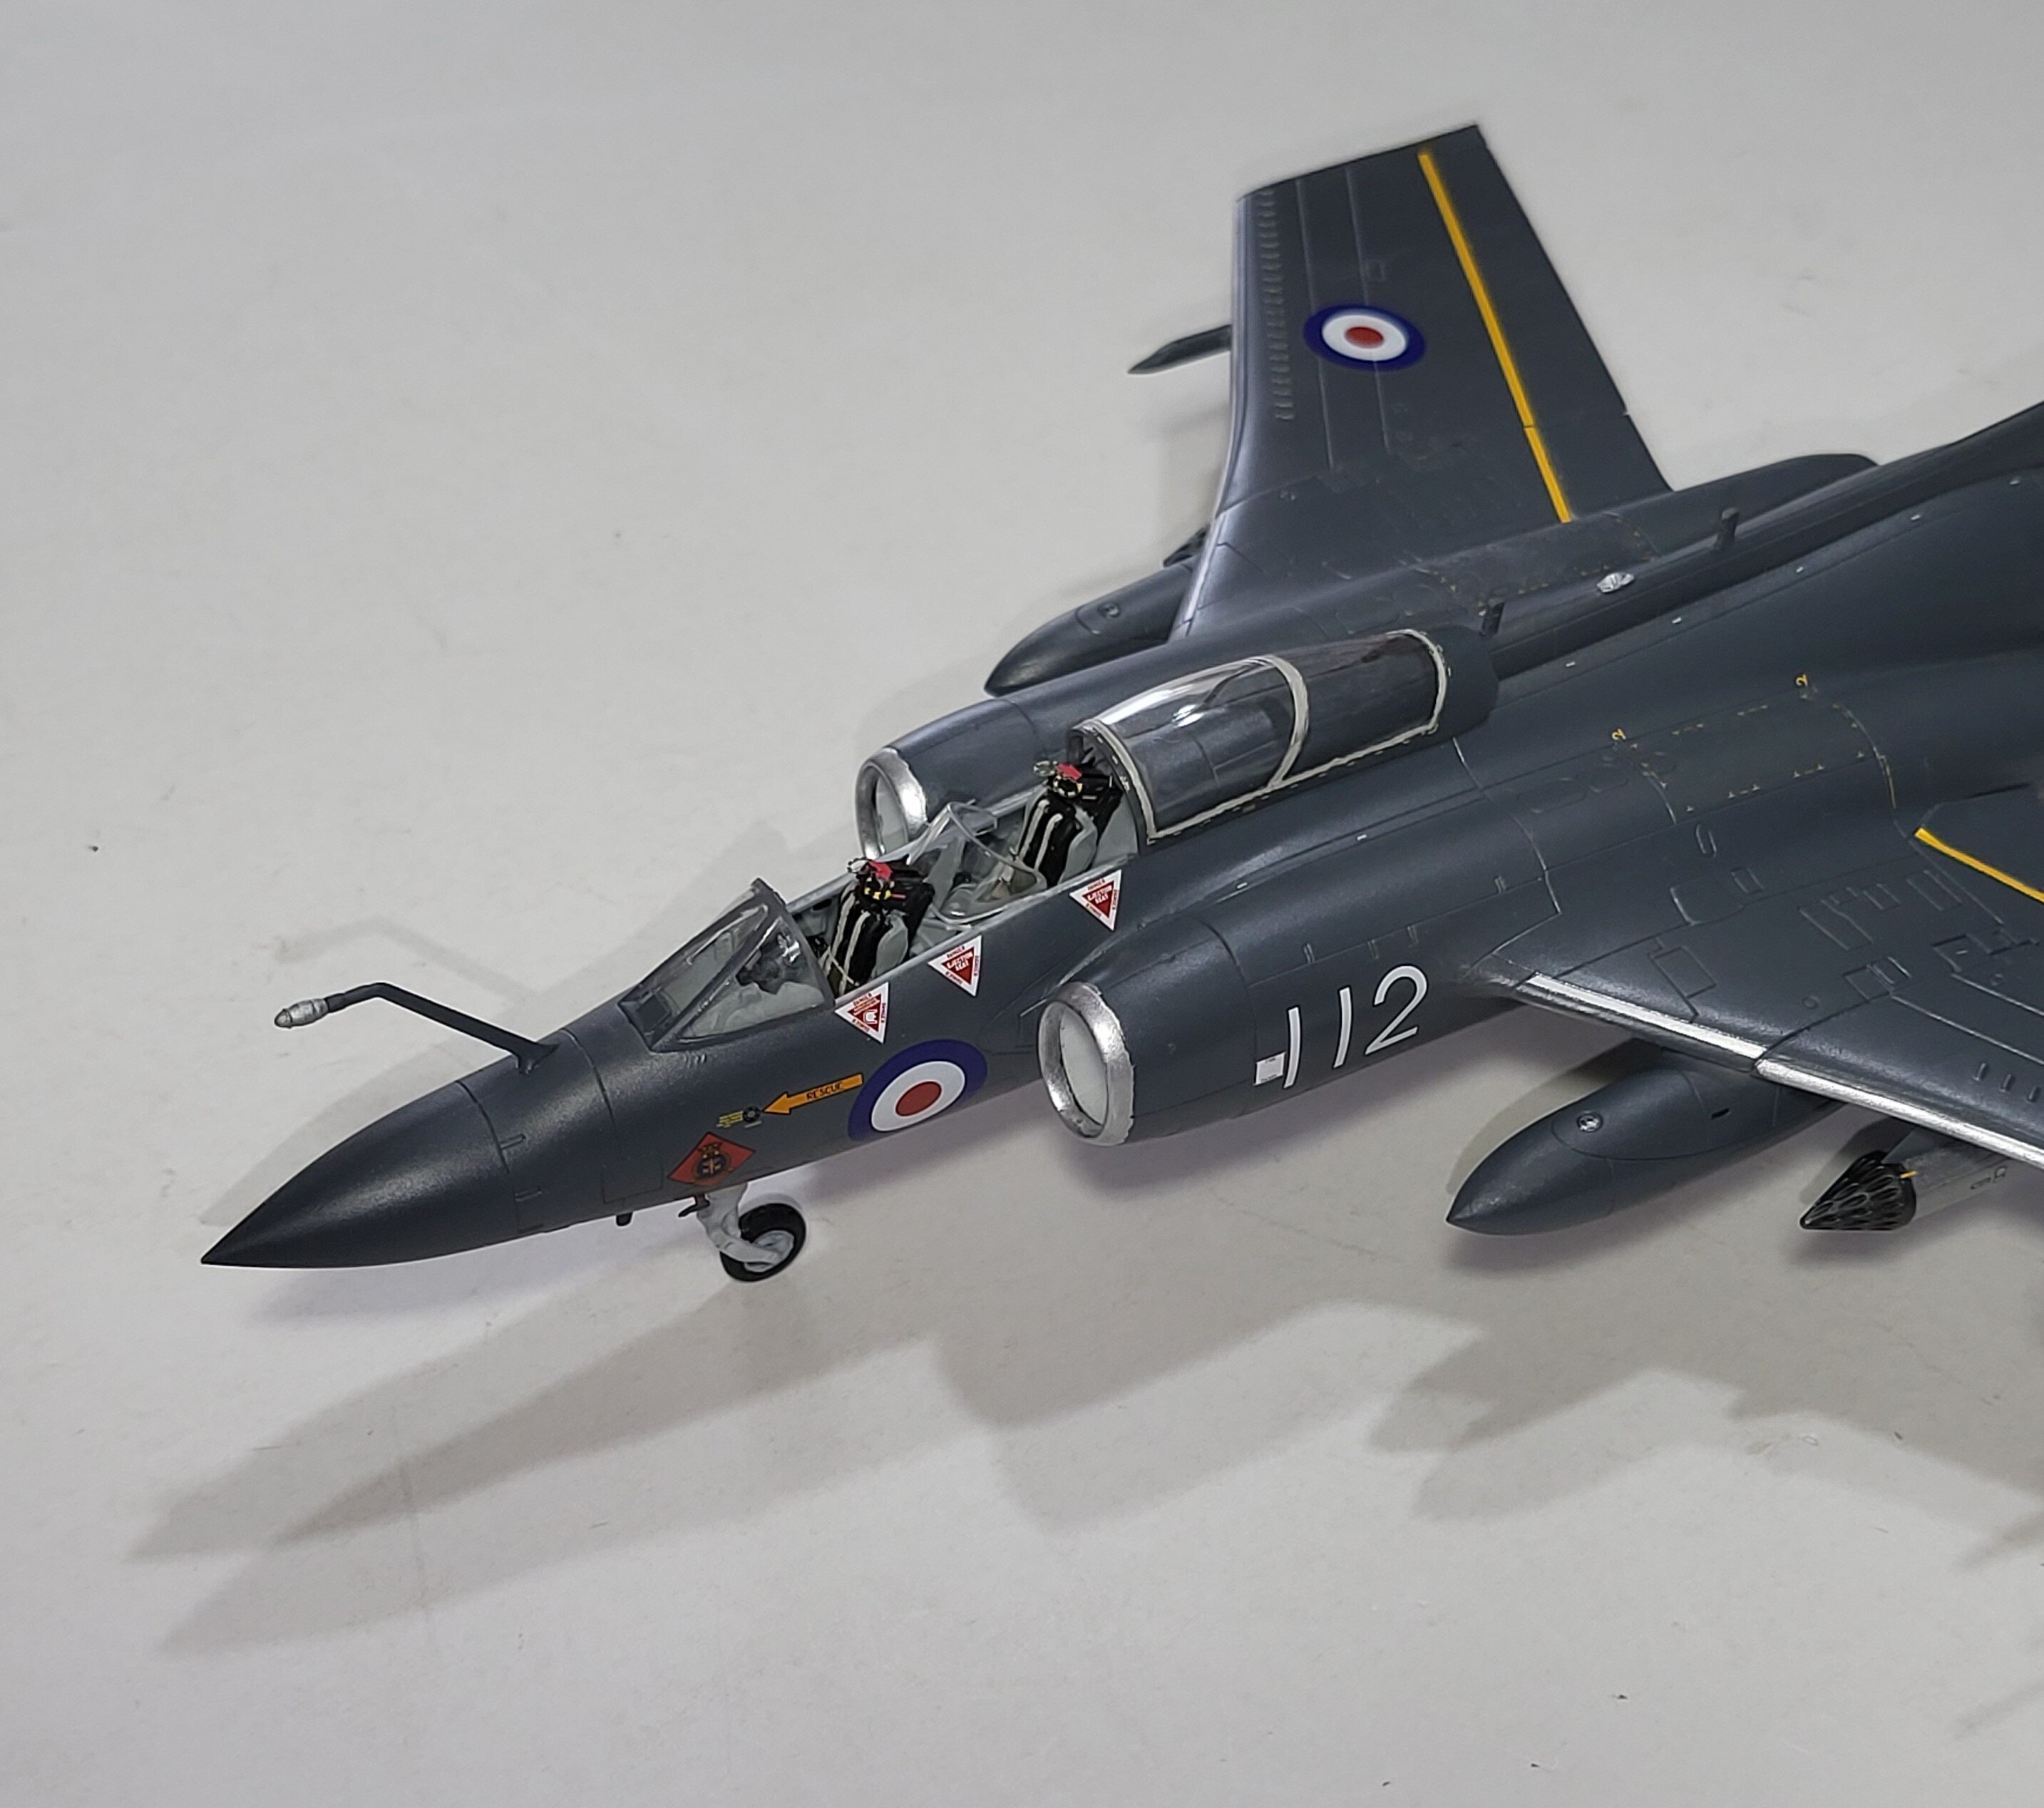
Not the easiest new tool Airfix kit to build but it's such a cool looking aircraft, I had to build it. I did end up using the Eduard Zoom set though.
1 point