Leaderboard


Popular Content
Showing content with the highest reputation on 04/02/2022 in all areas
-
Moving forward to scene 6 on the R4D-5 this week I loaded the cargo in the cabin. The two crates were strapped in using straps and rope as depicted in the screen shots from the film. I also added blankets and bags as well. The fuselage halves were then put together and clamped. While the fuselage was setting I started on the R-1830-92 engines. The detail of the kit engines is very good. The only thing you need to be careful with is making sure you don’t mix the left and right engine parts. The keyways are different between the sides which could affect the position of the front of the engine when it is installed later. With the fuselage together I started to fill the gaps and seams with putty. Aside from the gap on top of the fuselage there are uneven sections along the seam. There is also a gap around the tail wheel well which was carefully filled. While the putty was curing I built up the main landing gear bays into the upper wing sections and installed the engines. Turing back to the fuselage, the seams were wet sanded. The resin nose was then aligned and set in place. Once the putty is cured I will then begin to wet sand and shape it. Next up will be assembling and installing the wings and re-scribing panel lines/rivets. Check out all the photos and details from the start in my build log at https://davidsscalemodels.com/build-log/1-48-r4d-5-tropical-tilly/2 points
-
Here we are at scene 5 of Tropical Tilley. This week I detailed at painted the port side of the fuselage. I also noticed that there is what looks like tie down straps along the fuselage above the seats. I used some extra photo etch extras and cloth tape to create these mounts. I scratch built some of the avionics panels near the cargo door and modified the panel in the middle of the fuselage. The next thing I worked on was the overhead console for the cockpit. After detail painting in I noticed in the reference photo that the edge near the hatch on top it was marked with “ESCAPE HATCH”. I added this by making a decal for it. I then worked on trimming and shaping the interior bulkheads so the fuselage fits together. It is still going to require some putty but the gap is a lot smaller. Moving onto the cargo doors I removed the molded in handles off the crew door and replaced them with photo etch handles. The center light/ air vents for the cabin were detailed and the tail wheel assembly was built at detailed. The tail wheel hub required some trimming as it was too wide for the rubber tire. I installed all the windows and painted the circle in the middle with black rubber. Next I started assembling the outer wings. The kit includes landing lights in the wing. These unfortunately were molded in gray instead of clear. I drilled them out with a 4mm drill bit than painted the inside with chrome silver and filled them with acrylic gel to give them a realistic appearance of the landing lights. I ordered some resin crates to add to the interior. These were painted with Tamiya desert sand and then washed with Vallejo Mahogany to give them a real wood look. I am now making the cargo straps and rope that will secure the cargo to the fuselage. The cargo straps are being made using the same cloth tape as described in my “Making Cloth Seatbelts” tip. https://davidsscalemodels.com/tips-and-tricks/making-cloth-seat-belts-for-aircraft/ I should have the interior completed and the fuselage finally together by the end of the week. Check out all the photos and details from the start in my build log at https://davidsscalemodels.com/build-log/1-48-r4d-5-tropical-tilly/2 points
-
This next build is going to be a little different. I have always been a fan of the 1950’s and 1960’s horror and sci-fi movies. One of my favorites is the Howard Hawks 1951 movie “The Thing From Another World”. The movie is set in the arctic at an outpost that ends up fighting an alien invasion. With that in mind, I will be using the Trumpeter 1/48 C-47 and converting it to a R4D-5 for arctic service. The scheme will be the “Tropical Tilly” used in the movie. For the conversion I will be using Lone Star Models (LSM) arctic C-47 conversion set. The LSM conversion kit includes numerous resin parts for the ski’s, cowls, exhaust, nose, and a set of decals for the Tropical Tilly and another R4D called the Que Sera Sera. For research I took some screen captures from the movie and found some color production stills in an old “Famous Monsters of Filmland” magazine. Moving on to the start of the build, to begin with I assembled and built the cockpit. One of the things that I noticed was the kit control arms only had 4 thick levers. I cut these off and used some spare photo etch levers. The kit instrument panel is very nice. It consists of a back panel, a thin film with the instrument faces printed on it, and a clear front panel. These went together very well and look great. While I had some painted parts drying I worked on the nose of the aircraft. The R4D nose is a little longer than the normal C-47. The LSM instructions state to cut just forward of the nose panel line and graft the new resin nose on. After some measurements I determined that the nose needed cut 4.0mm forward of the panel line. The resin nose is a near perfect fit now. Turning back to the cockpit I built up the seats. The kit provides a small sheet of photo etch that includes the seat belts. After painting them I installed the seat belts and then the control sticks. The next step was to build the avionics rack. The avionics equipment has some details molded on the face. One of the details is the handles of the equipment. I cut these off and replaced them with spare photo etch handles and then detailed the front of all the equipment. I am currently building and detailing the rest of the forward bulkheads. Check out all the photos and details from start to finish in my build log at https://davidsscalemodels.com/build-log/1-48-r4d-5-tropical-tilly/1 point
-
I must say this is the first Lindburg SNARK I have ever seen built.1 point
-
Some crafty engineering there Chris. Turned out great. Chris1 point
-
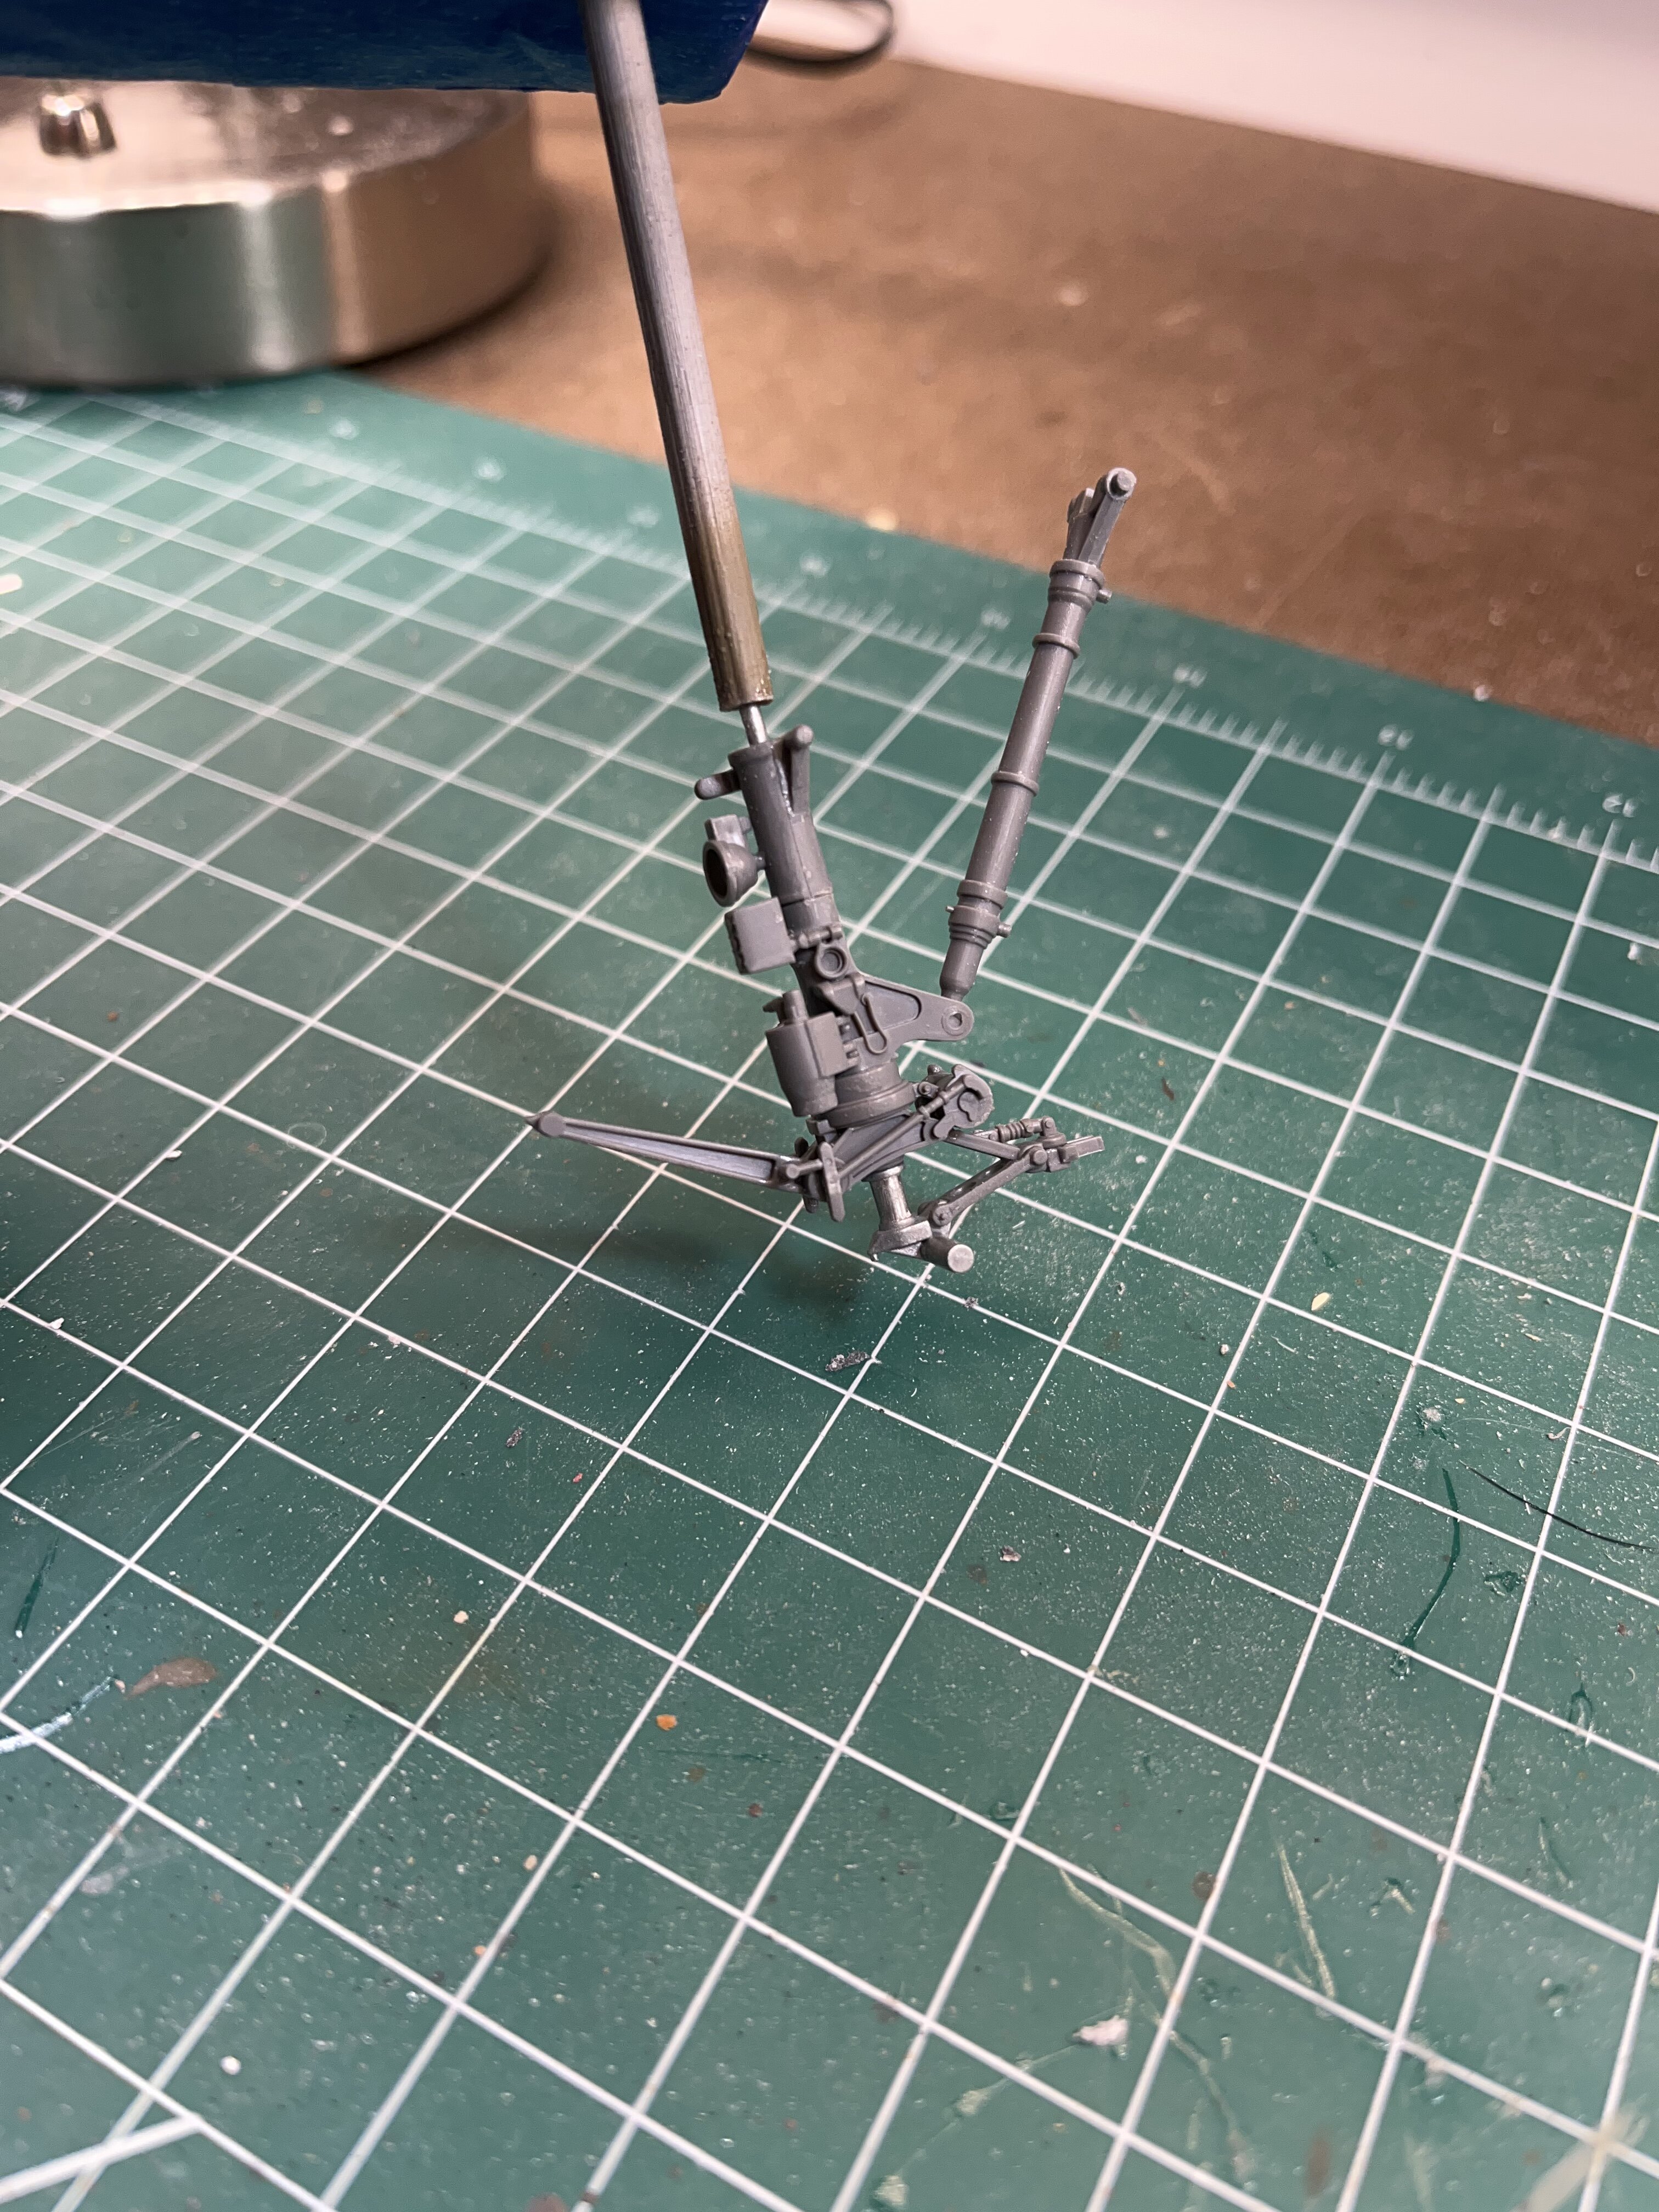
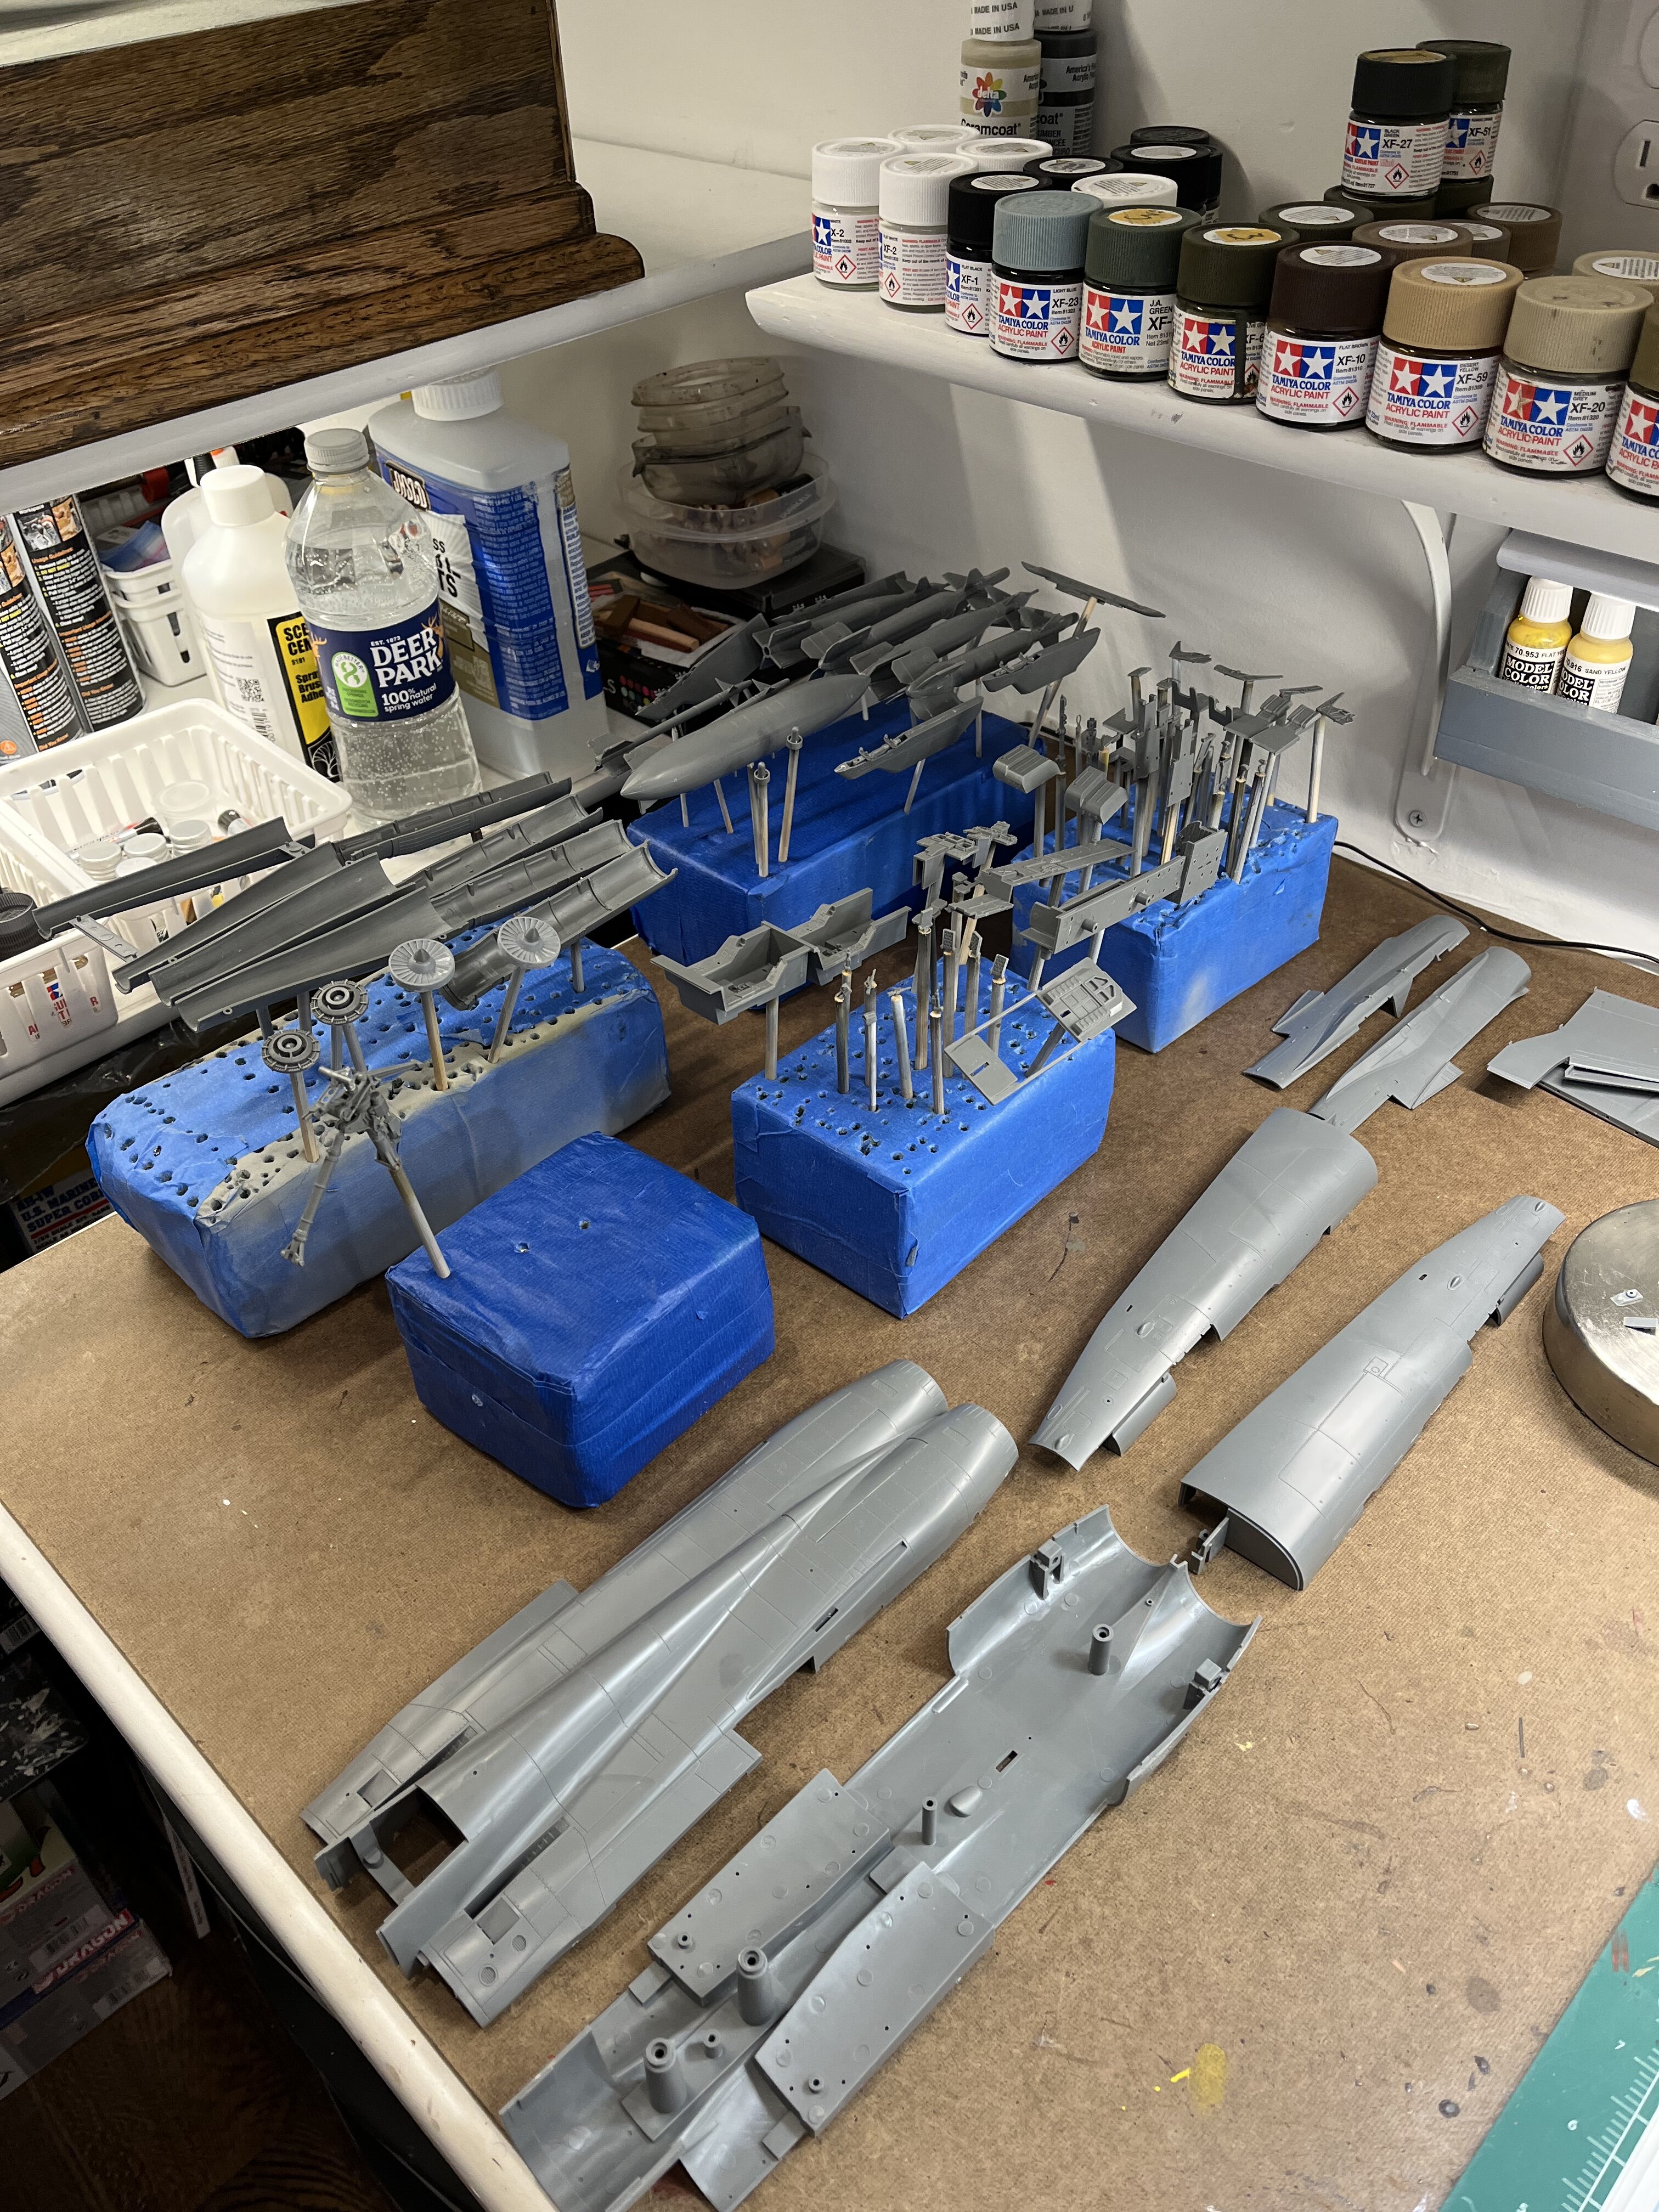
Made some progress today. Getting things ready for primer and paint. Even after I built The air to ground ordinance, I had a boatload left over. If there’s one thing about academy kits, I give you lots of extras. It still amazes me the Landing gear on this kit. It is highly detailed, and has white metal reinforcements built inside it for additional strength. Chris
 1 point
 -
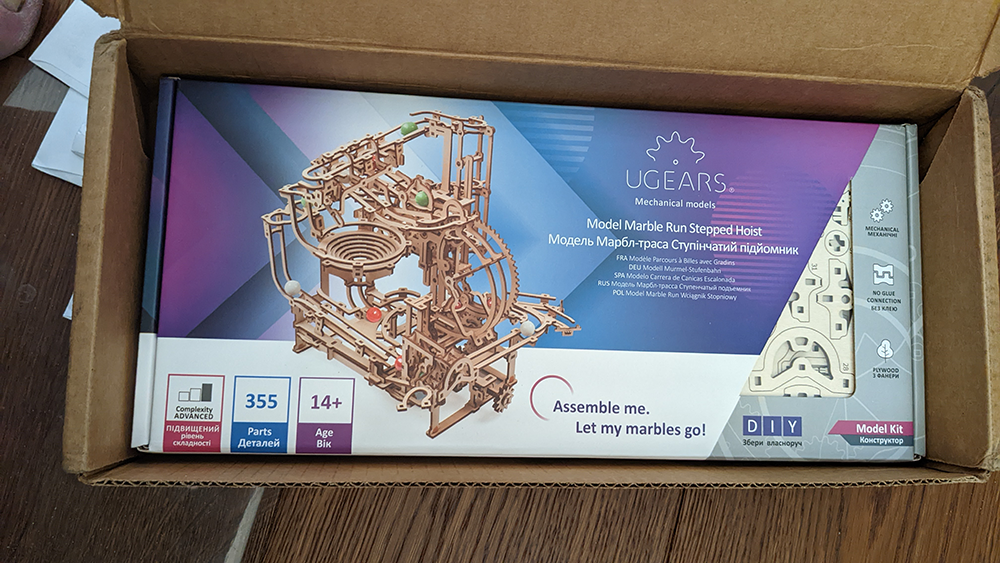
I was first introduced to UGears on Kickstarter years ago and was intrigued by the engineering but never got around to buying one of their kits. Well, the other day I got a message on Facebook(I follow them). I did not know that they where a Ukrainian company(that is what the U stands for) with their factory on the outskirts of Kyiv. I have found no information on the state of the factory, but I cannot believe that it is good. The message said that the US arm is donating 10% of the sale price to Ukrainian refugees funds. I don't know about you, but that was the impetus to get me to dig out the credit card. I may just order another one just to try to keep the company afloat after the war is over. To the administrators: If you deem this to be an inappropriate post, please remove it. I am a bit caught up in this moment in history and want to do what I can to help the Ukrainian people in some way.
1 point
-
Moving forward to scene 4 of the Tropical Tilly. This week I detailed the port side of the fuselage. One thing I needed to do was to remove the extra window next to the cargo doors. There should only be six windows on the port side. While the putty was curing on the window area I painted the starboard side interior. I then added some weathering and added the seat belt storage bags. Turning back to the port side I needed to modify and relocate the control panel to fit within the ribs. Once all the ribs and spars were installed I checked the fit of the interior and after a little minor trimming it fit perfectly. I had a few fellow modelers let me know that putting the fuselage together was a challenge as the interior was slightly larger and caused gaps. I did a dry fit and found that the upper section of the fuselage has a huge gap just behind the cockpit. As it turns out there are a few areas that require some trimming. The first is the bulkhead just behind the cockpit seats. The edges need to be sanded on the sides and the top. The second area is the navigators section. The navigators table sticks out too much and needs to be trimmed to fit the contour of the fuselage. The bulkhead in front needs to have the top sanded down slightly. The last area is the top of the equipment racks across from the navigators section. I sanded down the outside edges and the top. The bulkhead to the cargo area fits fine and does not need any sanding. I still have a little bit of sanding to do on the top of the cockpit bulkhead and then it should fit a lot better. Once I get the fit corrected there are some more details that need to be added to the cargo area interior before I can put the fuselage together. Check out all the photos and details from the start in my build log at https://davidsscalemodels.com/build-log/1-48-r4d-5-tropical-tilly/1 point
-
Welcome to scene 3 of the R4D-5 conversion. This week I detailed the starboard fuselage interior. I used .02” X .04” styrene square rods to frame in the area. I also removed the bubble window atop the fuselage. The R4D did not have the bubble window. After removing the frame on the outside I used a thin sheet of styrene on the inside then filled the hole with white putty. Once cured I wet sanded it to contour the fuselage. I then went back to the interior details. I used .03” rods for the area across from the cargo door. From the reference photos these are larger than the upper section as they are used to tie down any cargo. I used a piece of .04” X .04” square rod on the emergency exit window to make the release handle. The kit had the release handle molded in, but since I was adding the spars/ribs I needed to remake it so it was flushes with the ribs. I drilled part of the way with a 3mm drill and installed a photo etch handle into the section. I then started adding the upper portion with .02” rods. This is very tedious as cutting and fitting each one takes time to trim and fit. It took a few evenings to install all of them. After I finished I checked the fit of the interior section. Next up is working on the port side interior then I can assemble the fuselage. I have heard the fit of the two fuselage halves on this kit requires some work so we will see how that goes. Check out all the photos and details from the start in my build log at https://davidsscalemodels.com/build-log/1-48-r4d-5-tropical-tilly/1 point
-
Moving forward to the next scene in the R4D-5 TFAW build, I continued with the forward cabin details. The bulkhead behind the cockpit was detailed using cloth tape to replicate the padded section. In the next section where the radio/navigator sits I added a lens to the light and detailed the seat. In the movie is a scene where a crewman reads from a magazine article on how the Air Force states UFO’s do not exist. After some research I identified the magazine as the March 1950 edition of the “Air Force” magazine. I decided to take a photo of the cover, scale it, print it out on paper, and place on the table. There is also a first aid box in the section behind the pilot. I made decals to properly mark the box. The forward section was then installed. Next I started on the cabin benches. These were detailed with photo etch loops and then the seat belts. With the benches mounted I checked how it mounts in the fuselage and marked where things line up so I can detail the fuselage. I filled the mold marks with putty and then trimmed the frame for the top bubble window. Since the window is not on the aircraft, I need to remove it and fill in the hole. The rear bulkhead was detailed and I started to add accessories for the interior. For the blanket rolls and satchel I painted and then weathered them with pastel chalk. Next I will be adding all the ribs and spars on the inside of the fuselage. Check out all the photos and details from the start in my build log at https://davidsscalemodels.com/build-log/1-48-r4d-5-tropical-tilly/1 point