Leaderboard


Popular Content
Showing content with the highest reputation on 07/12/2021 in all areas
-
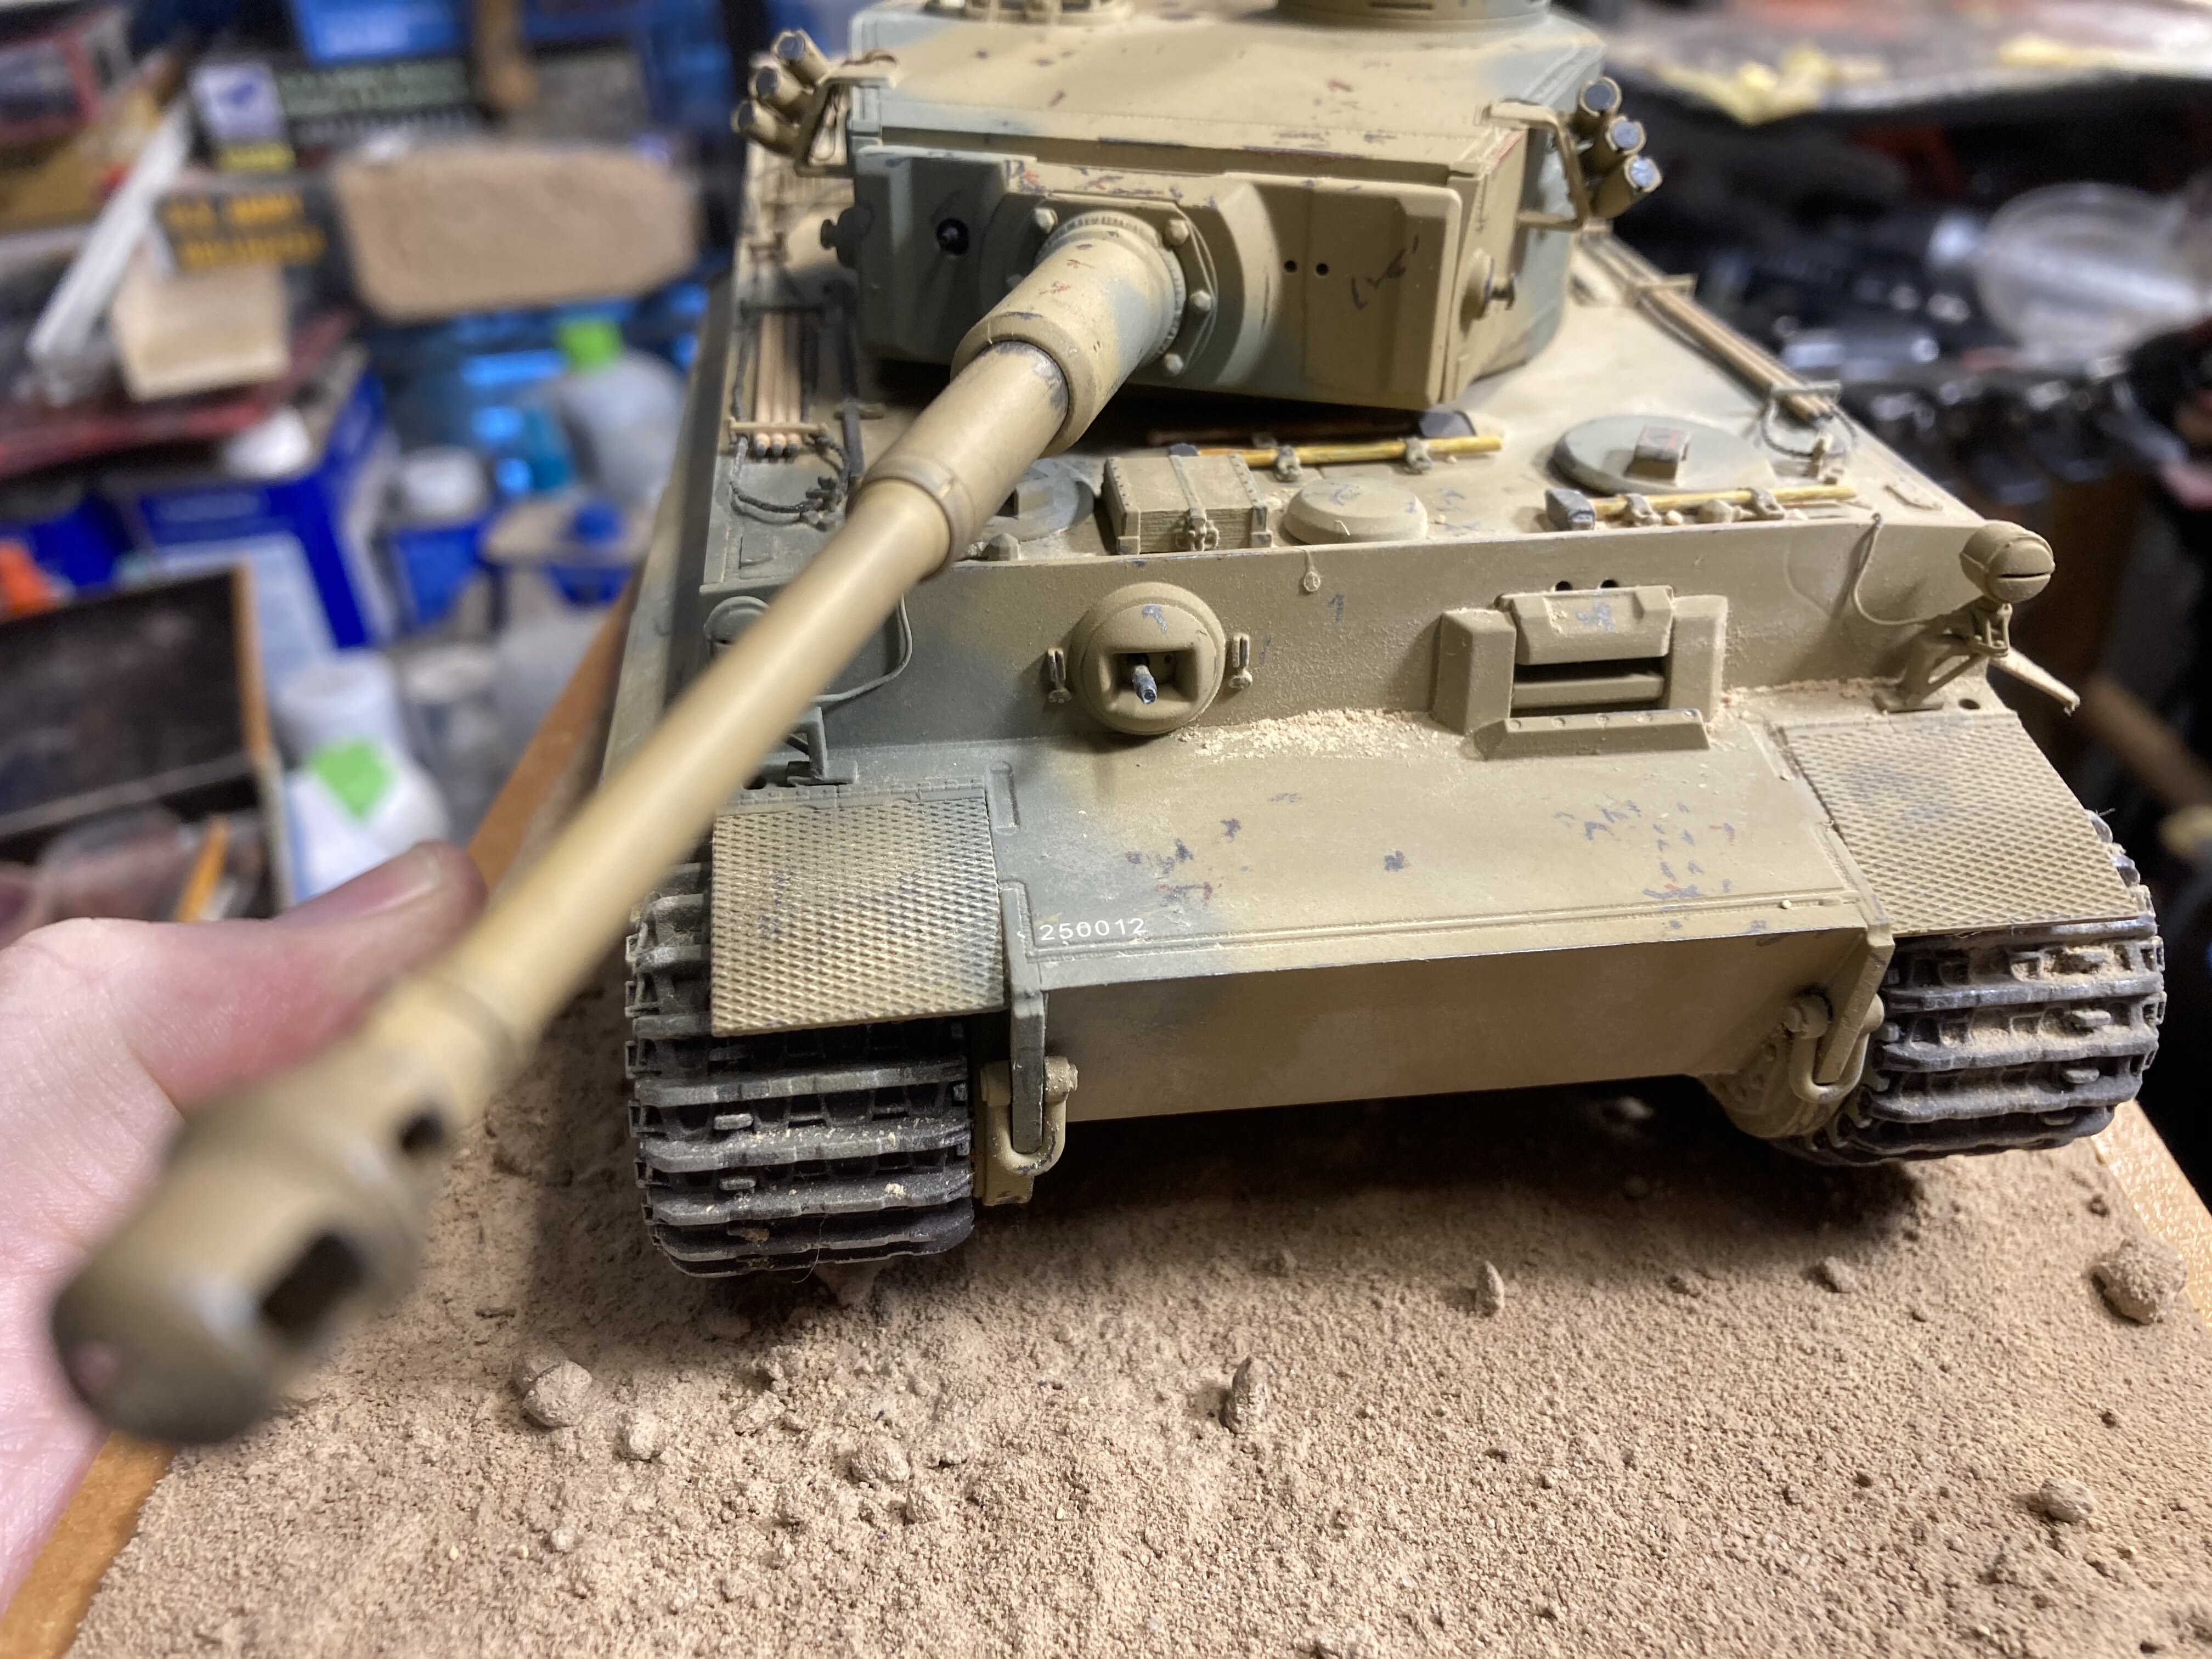
Working on DML's Tiger 1 (kit 6608) as number 112. The more I research the Tunisian Tigers, the more confusing it gets. There is an awful lot of contradictory information. Well, the objective is completion, not perfection. Dak
 1 point
 -
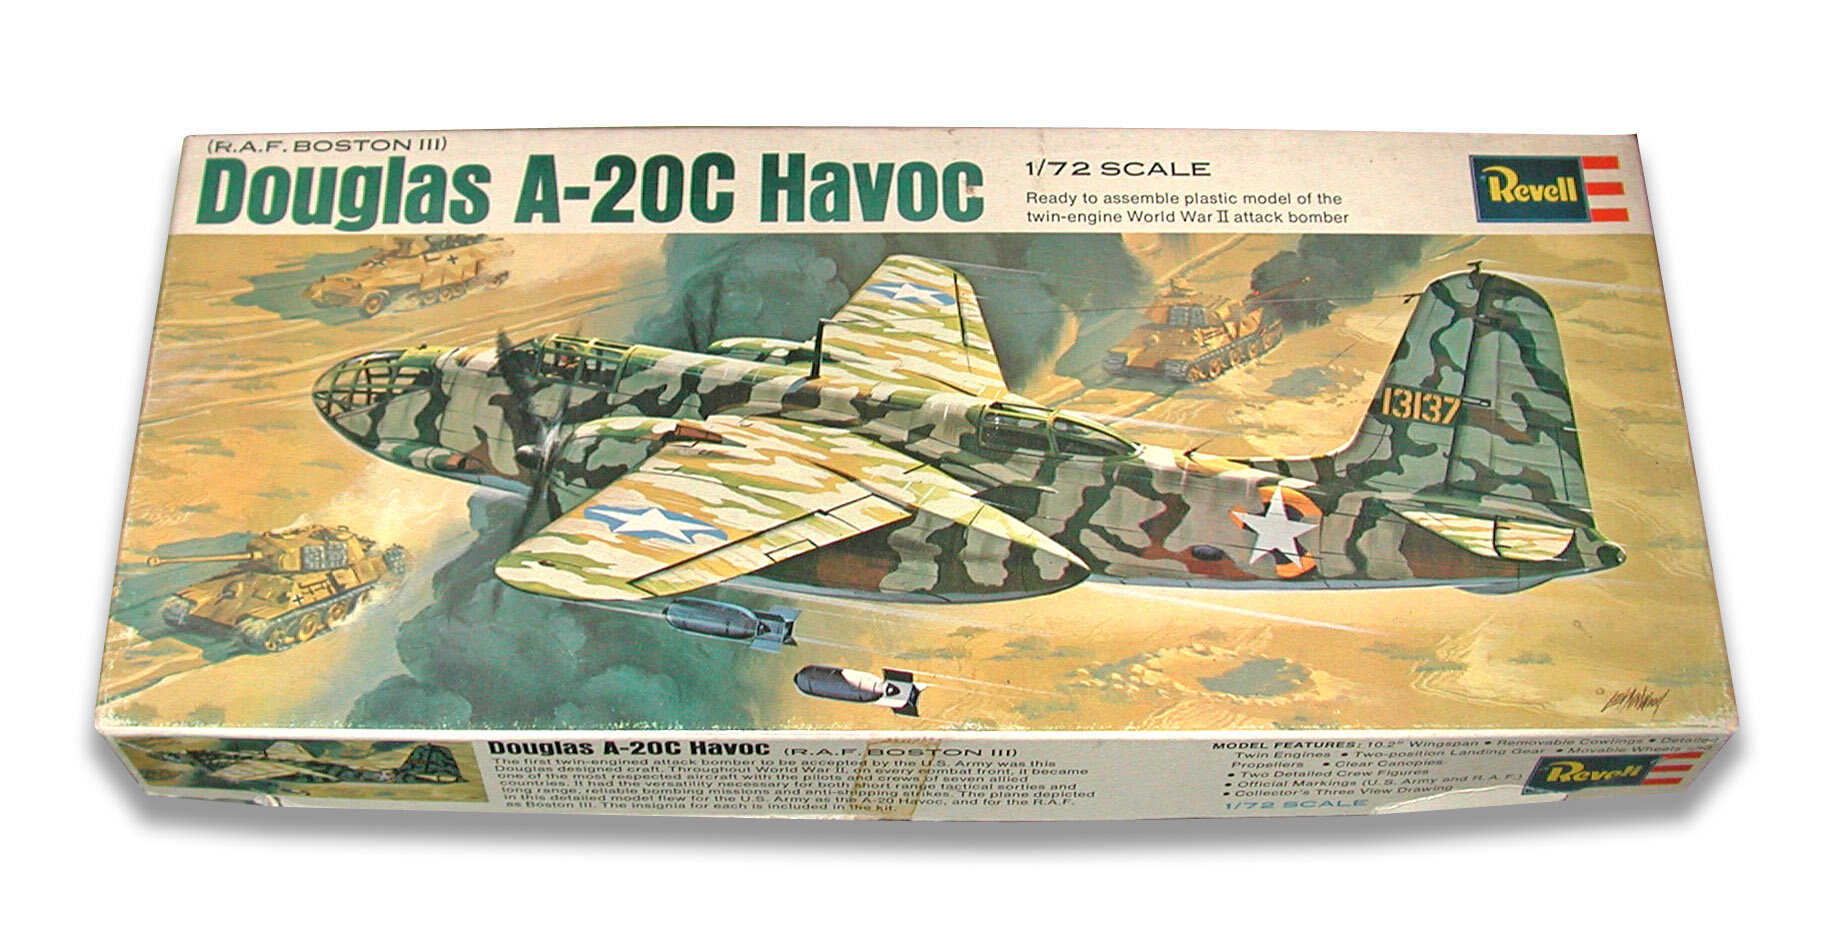
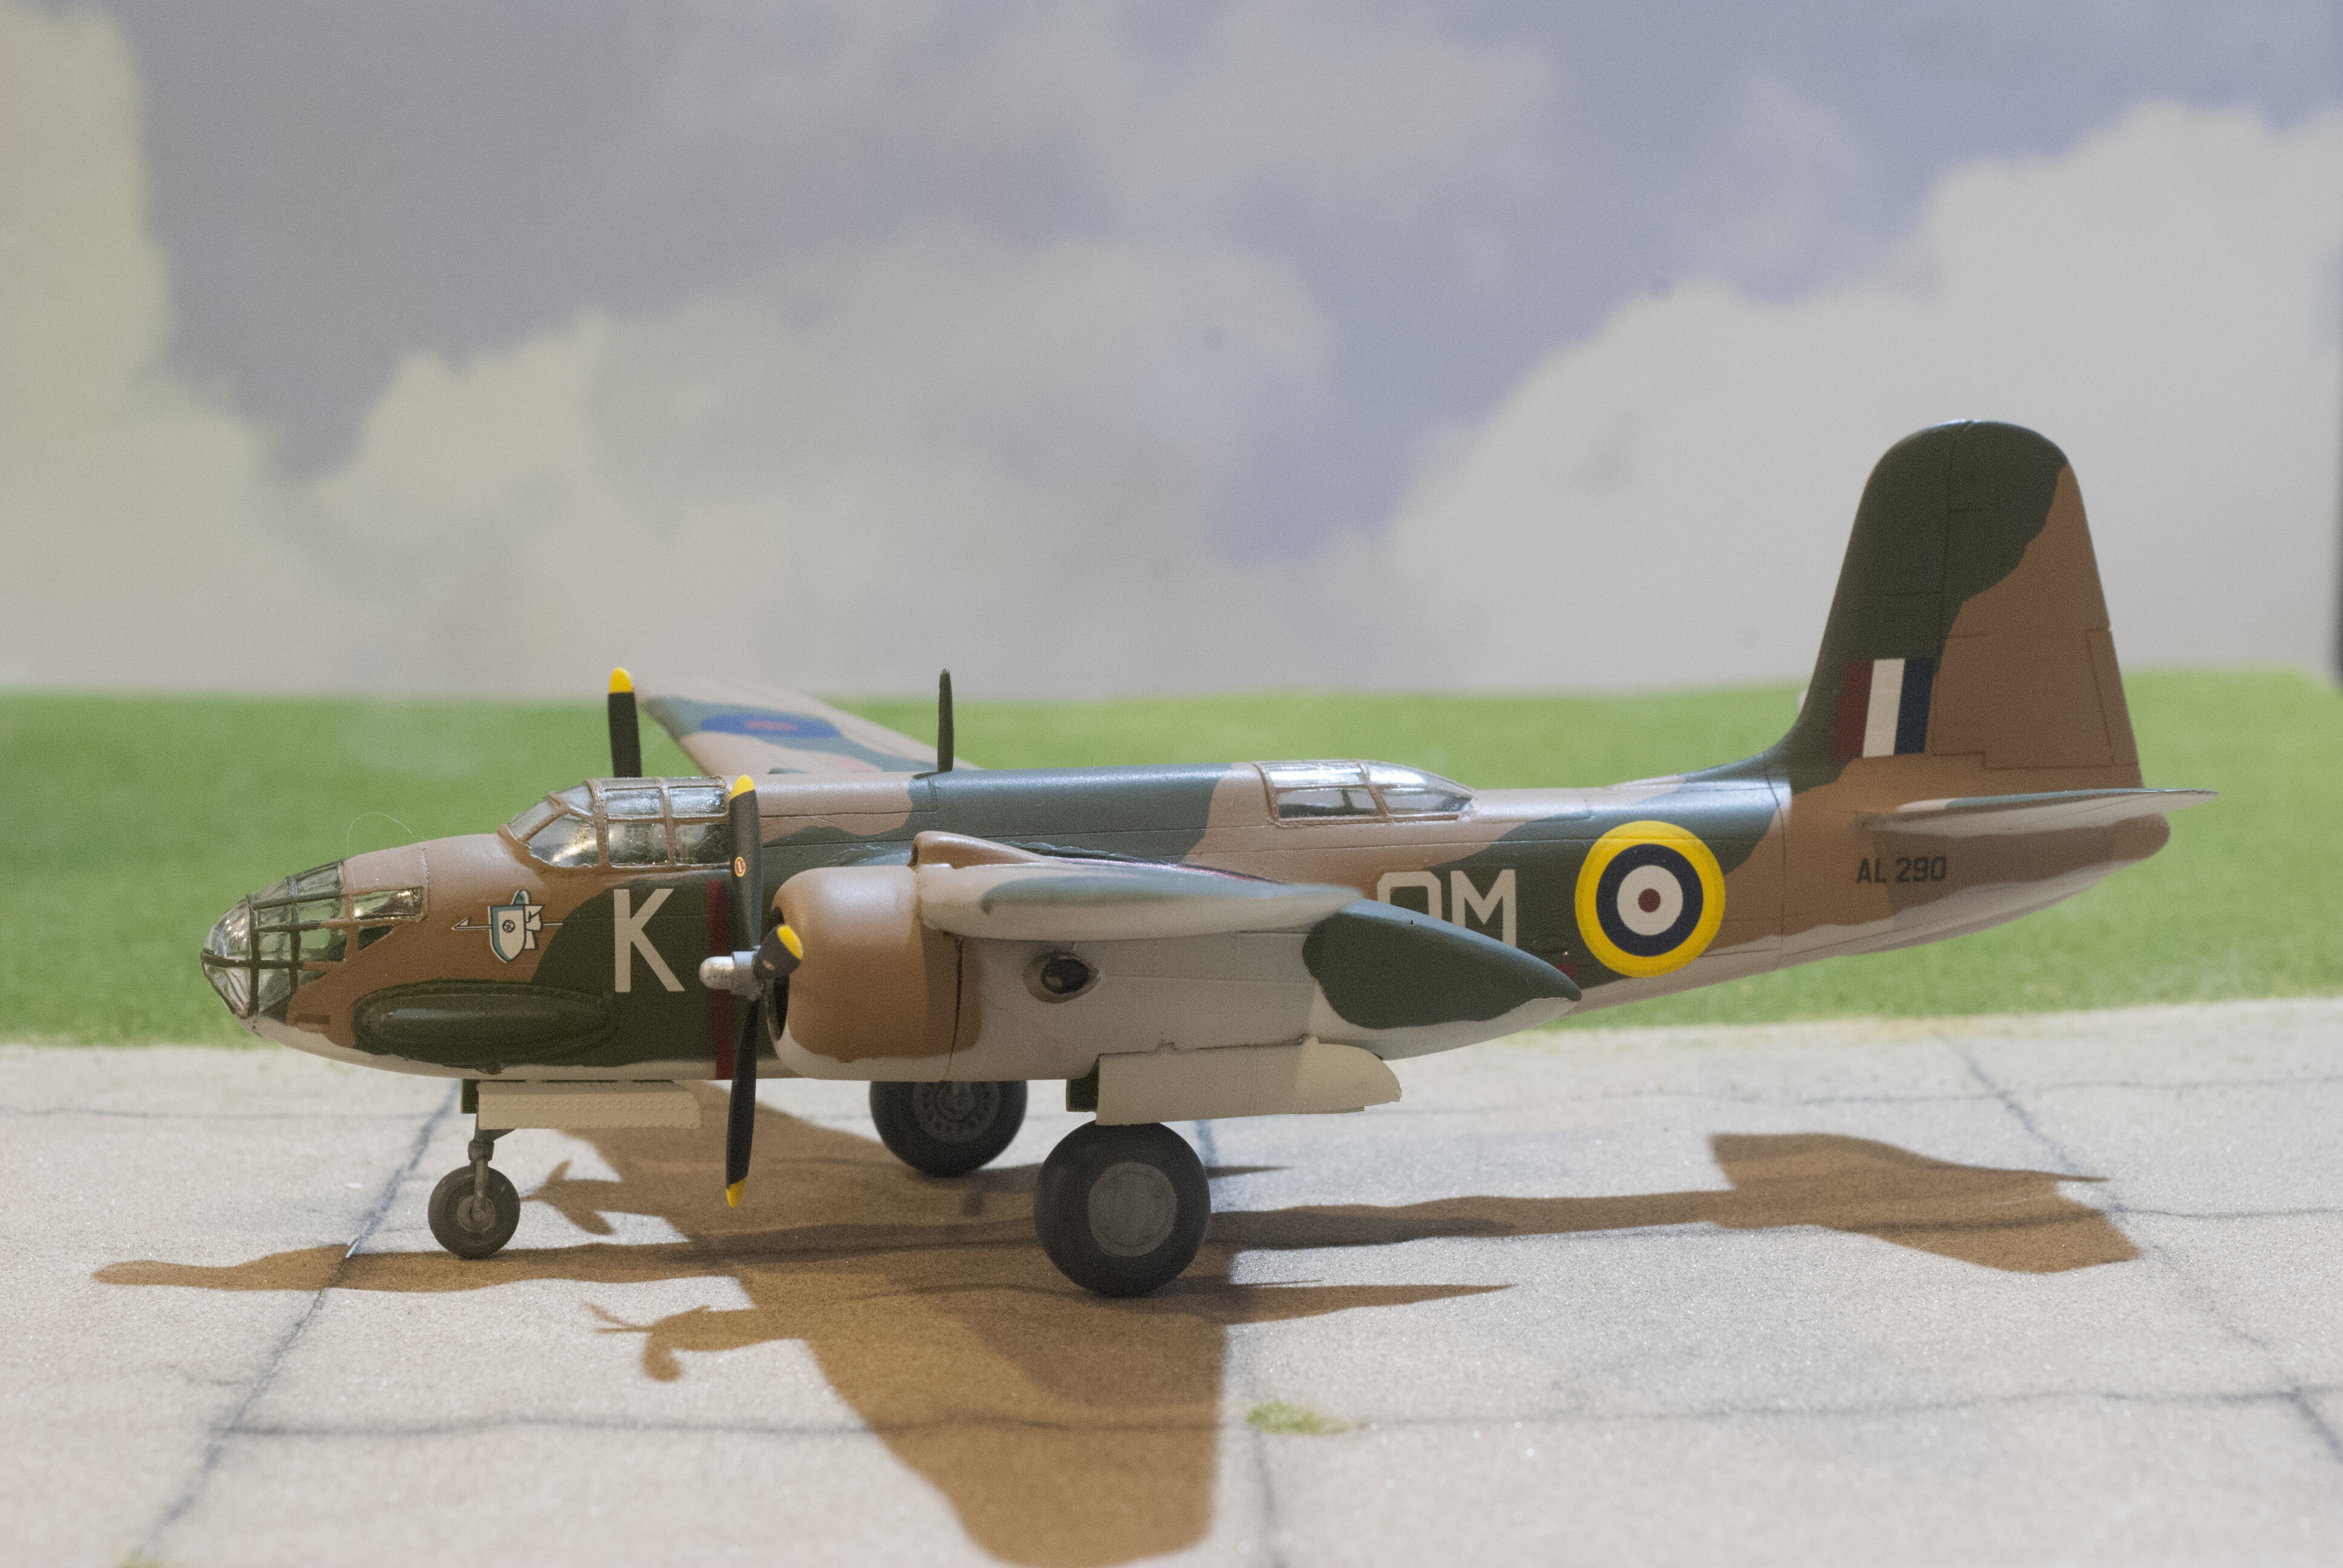
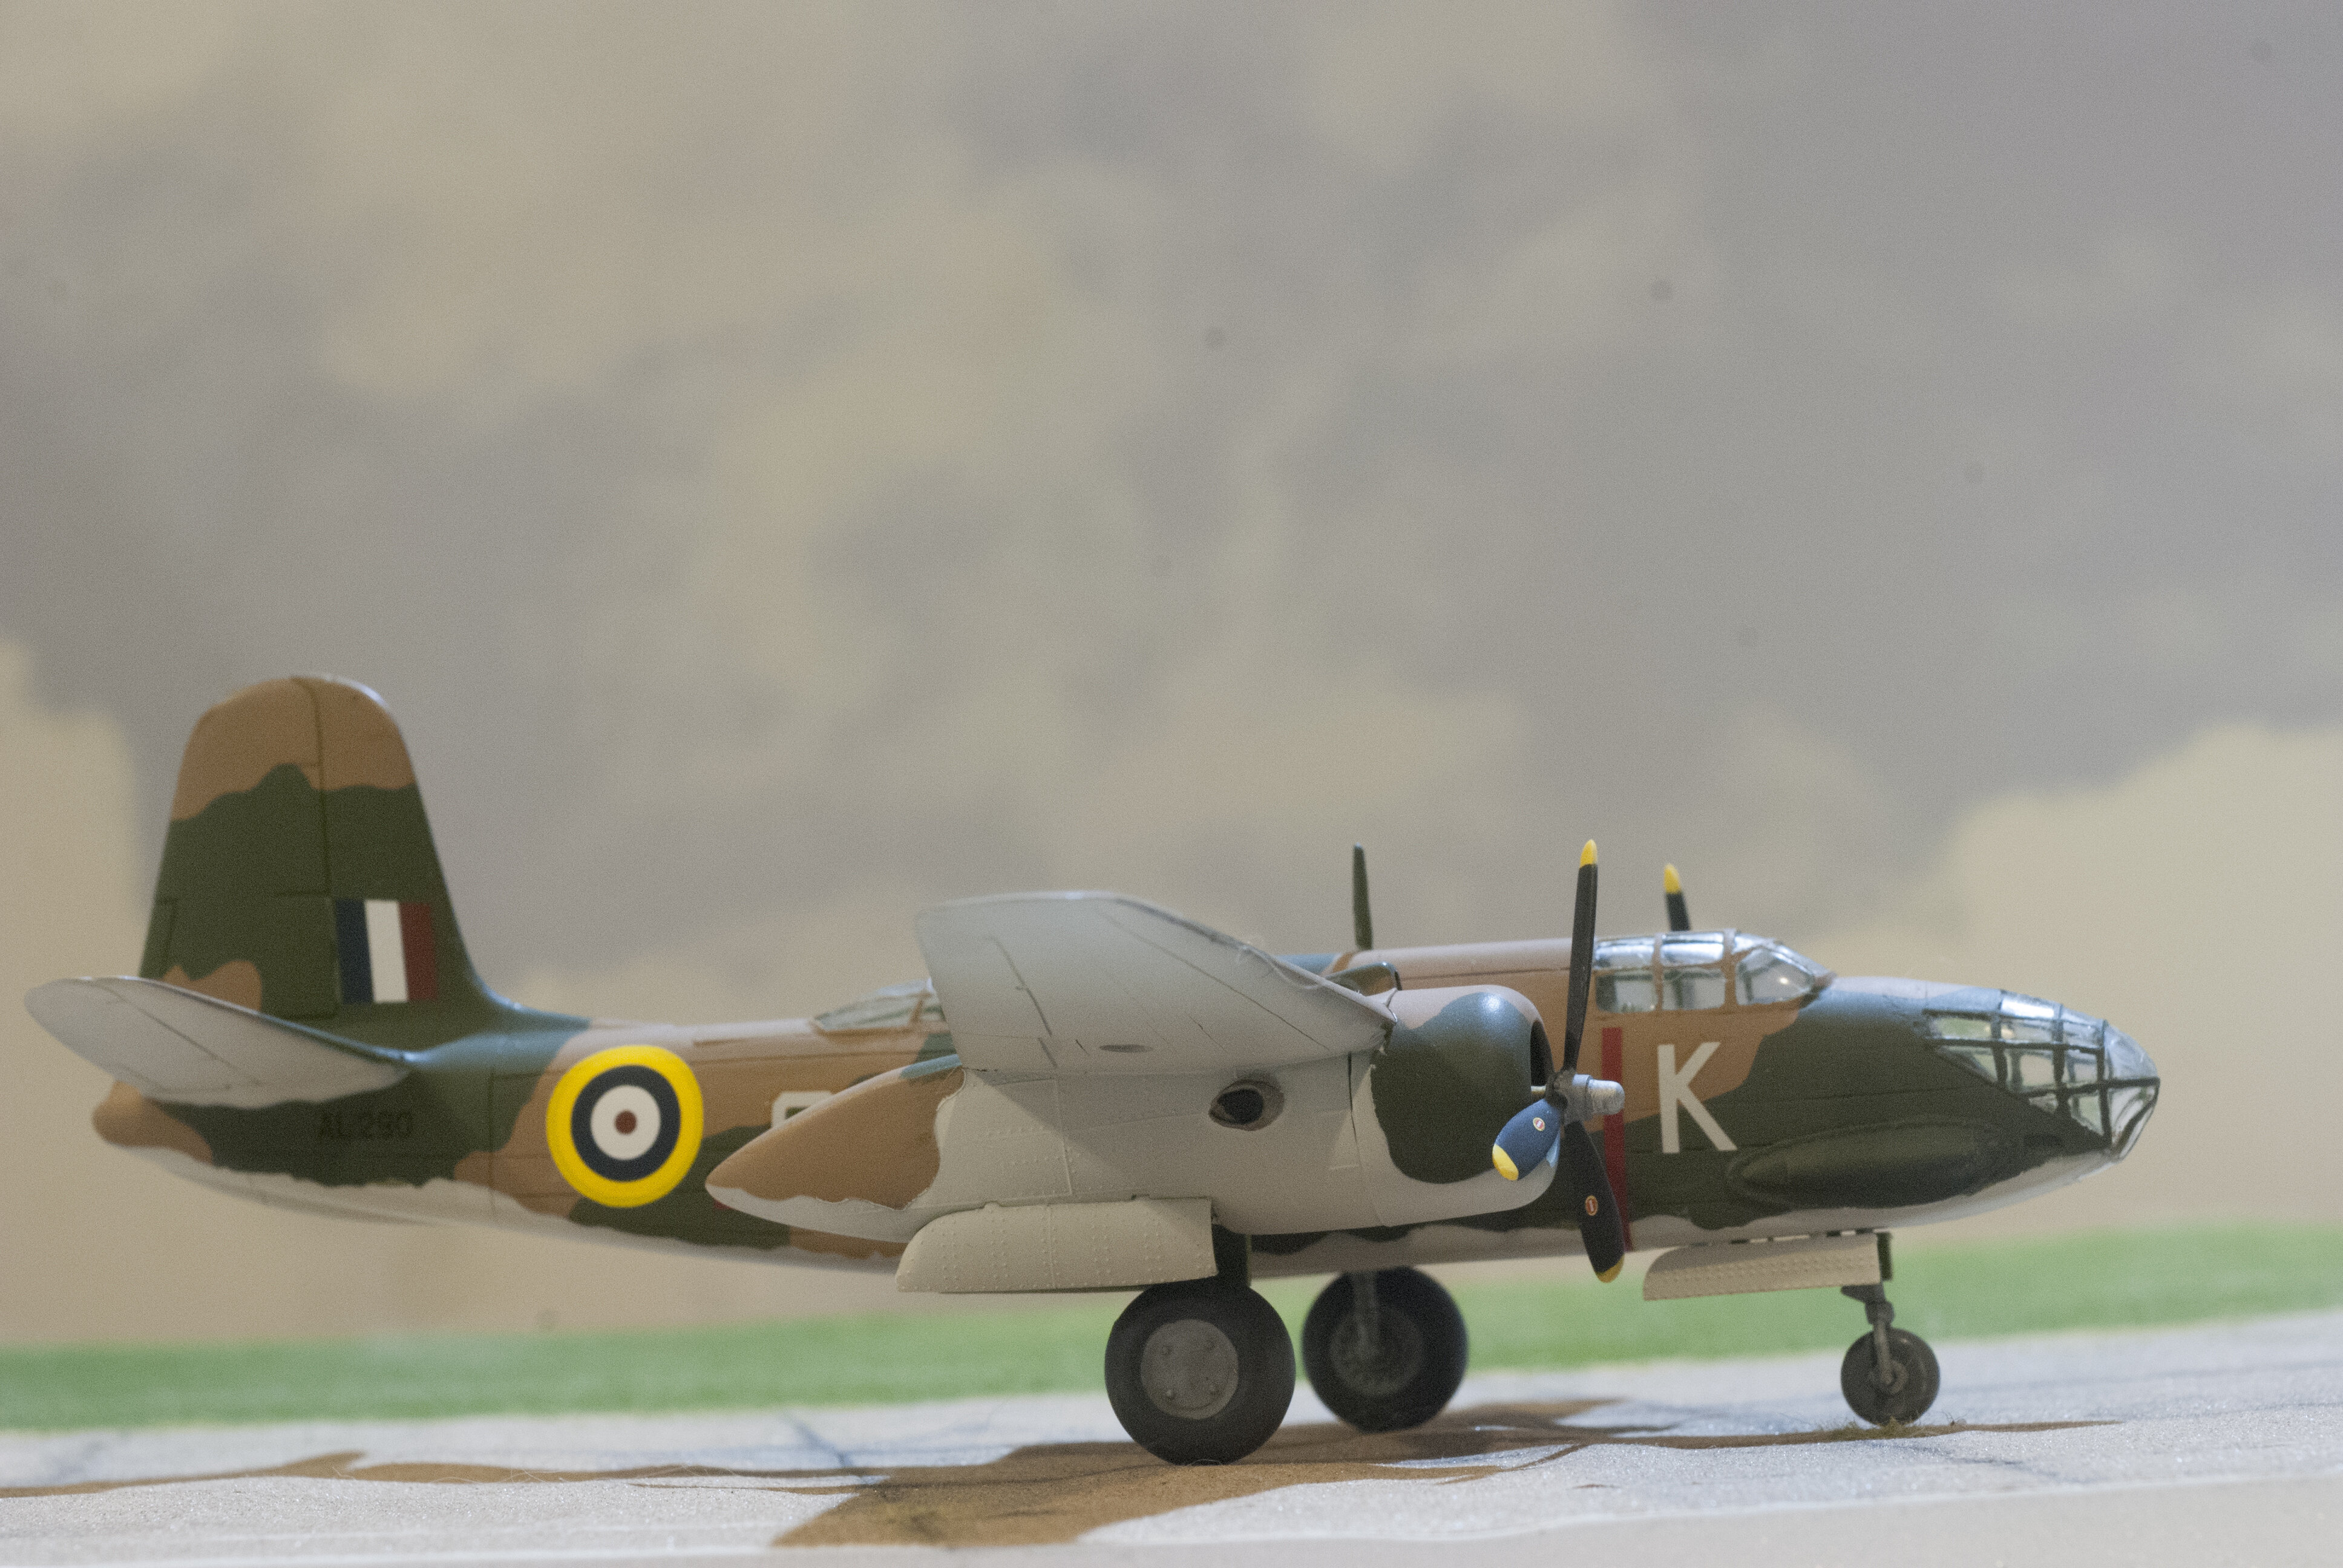
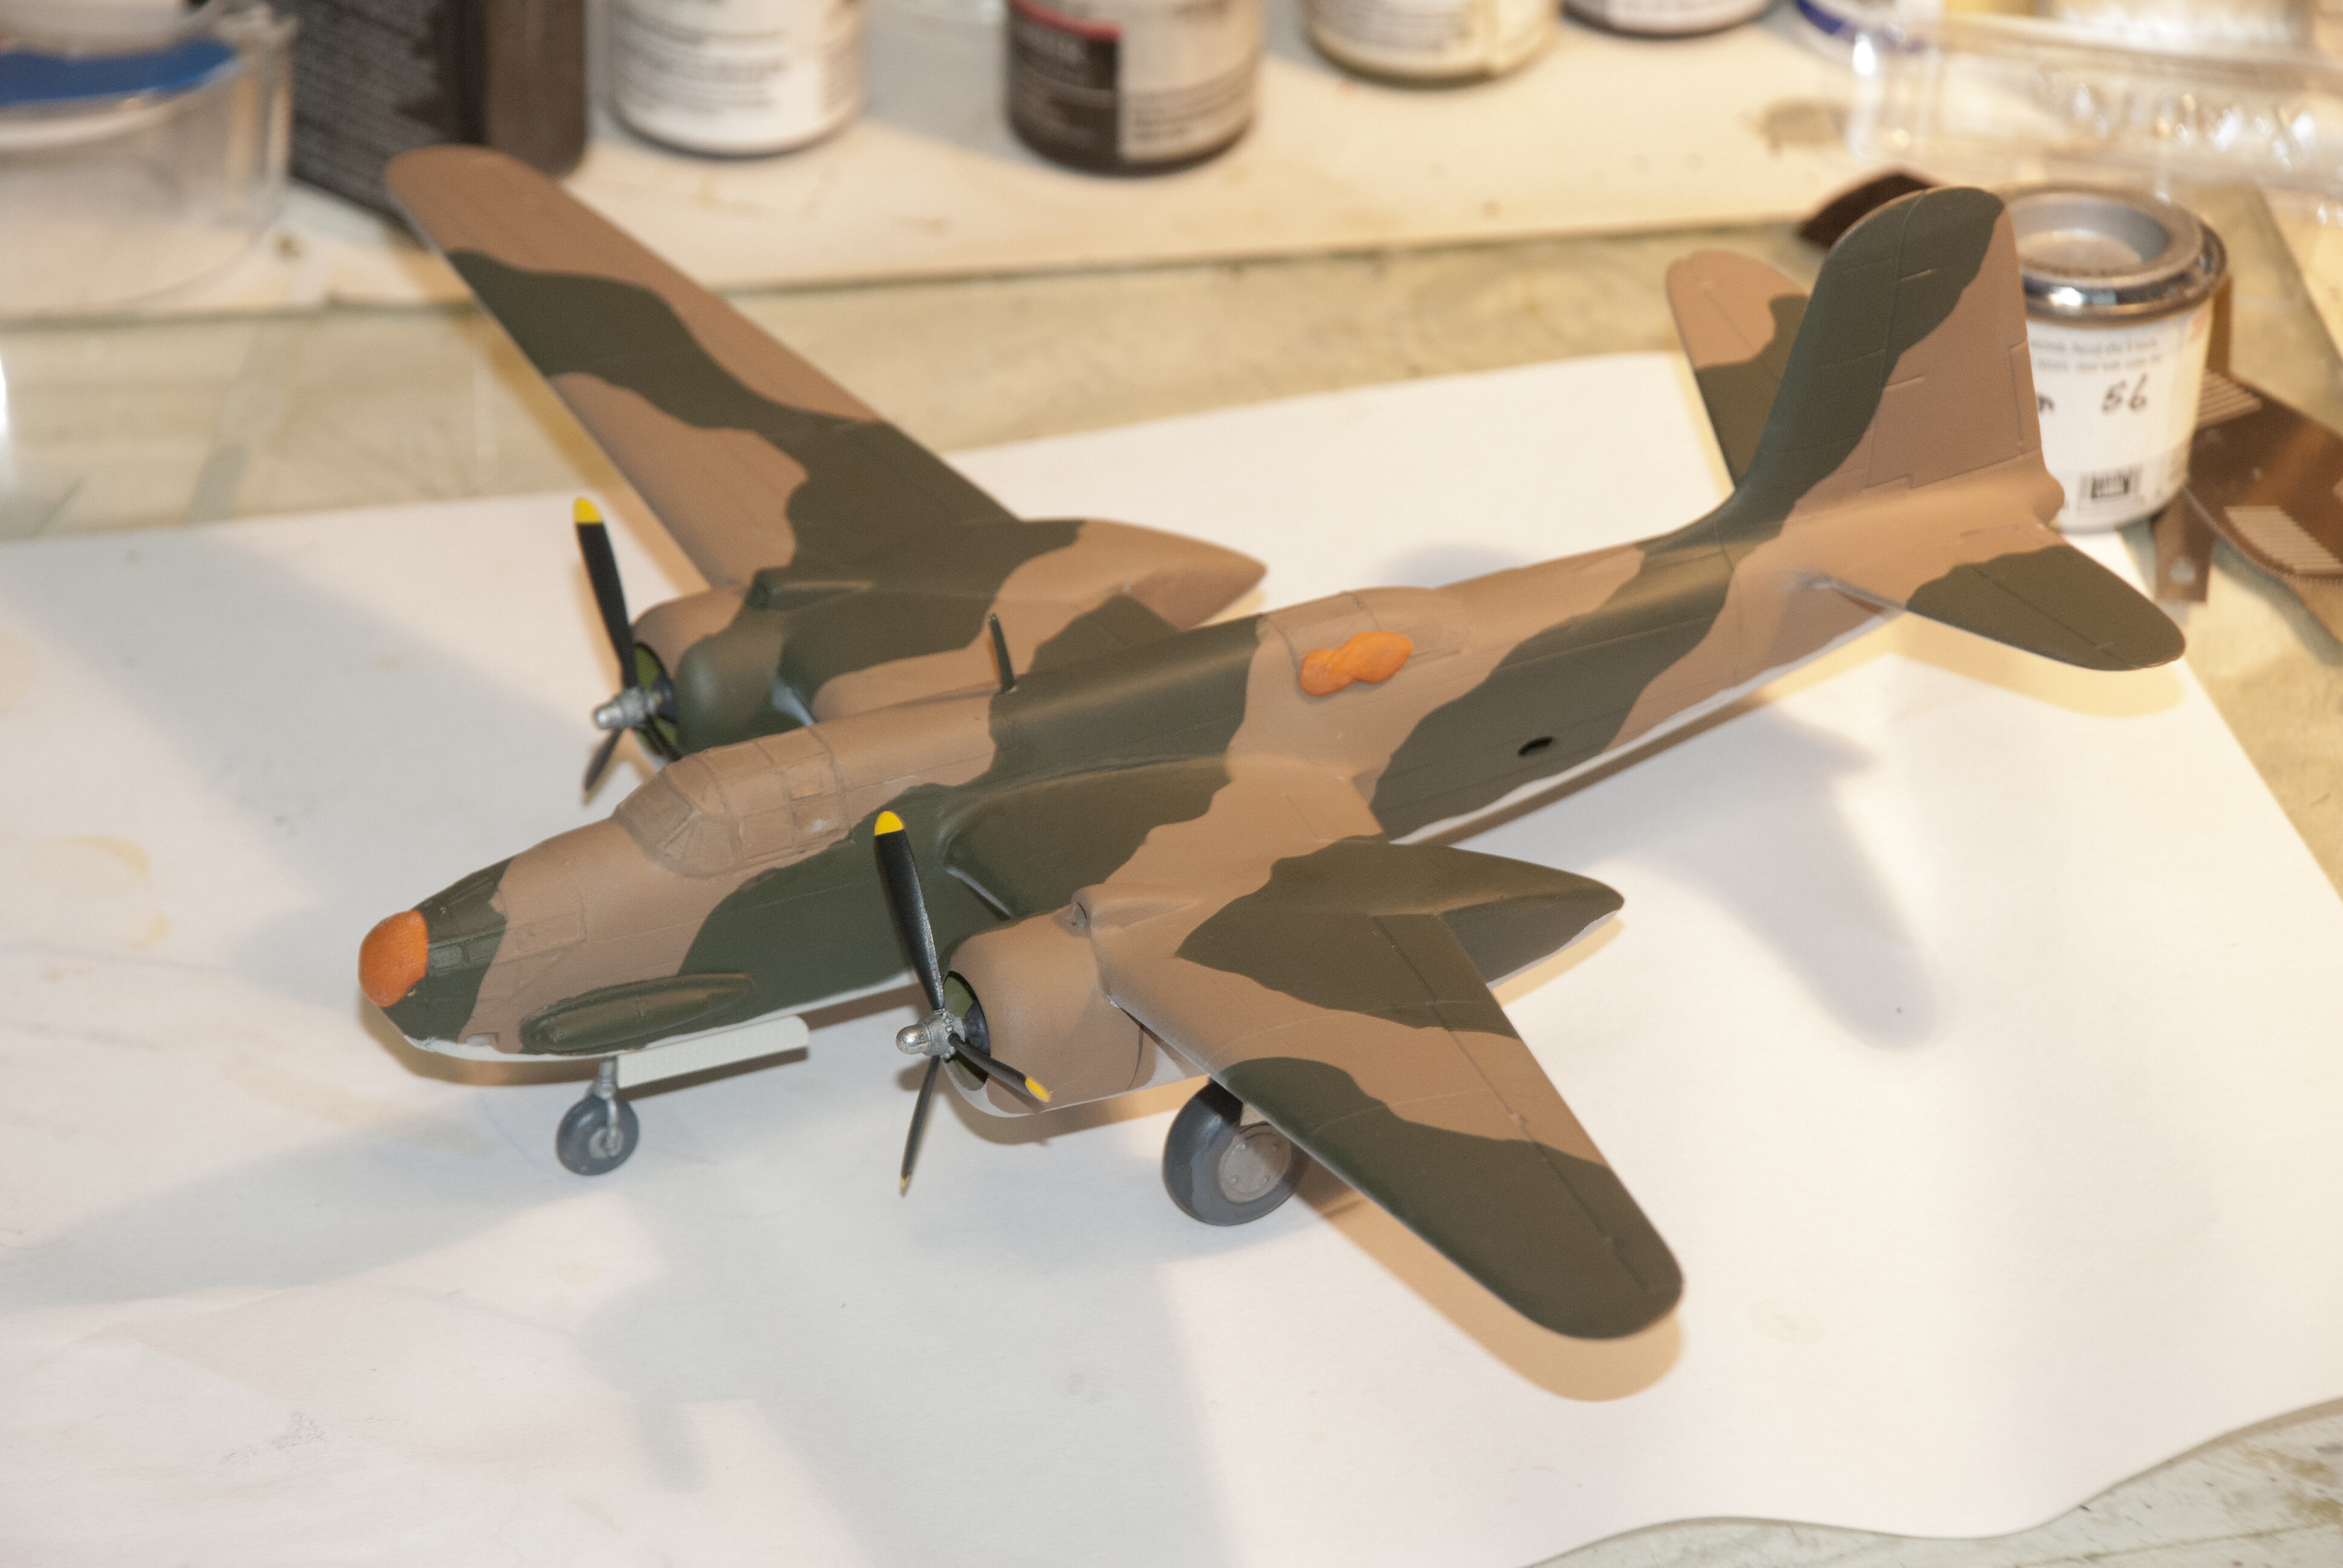
When I started building this kit I decided to re-scribe the model and it went well for a while. As I progressed AMS got hold of me because I felt some of the panel lines weren't perfect and so I put it away. Then one day I just said phooey to AMS and started building as is. So here is the A-20 out of the box that AMS caused so much anxiety.
1 point
-
Welcome back to the plant everyone! Thanks to Hobby Day I got a great amount of work done so this will be a long tour of the manufacturing plant with an intermission in between. All aboard as we head over to the hanger first. I was determined to make some more progress on my A-400 because I'm getting tired of that thing cluttering up my workbench. I shot some grey over the fuselage to see how well the nose and all looks; and then hit it with a glosscoat for decals: I'm pretty pleased with the way the nose turned out. Next I shot the wings with the grey and gloss to even this up: After that, I had the urge to mock this up. I dry-fit the tail and wings to this to see how big and bulky it is: Thinking about how I'm going to proceed on this plane, I'm planning on removing the tail and decaling it. Then I'll cement the wings in place. When they dry, I'll fix and/or sand the seams around the wing-fuselage joint and then re-paint it with the grey and gloss. After that I'll add the decals; seal them and then add the tail to finish this Big Bird up. As for the other Big Bird (Antonov) I'm still re-touching the paint on it. Hopefully I'll be able to make progress on it soon. After that, I wanted to start something simple and nostalgic. That's when I found the bagged Frog kit of the Swedish Vampire. Perfect! I started with the "cockpit": Yes, I will be painting that guy. Later I cemented him into one half of the fuselage to see where and how much weight to add to the nose: The white is the Gator Grip Glue I used on the flattened bullet fishing weights. After that, I cemented the fuselage together, added the wings, booms and tail; used Vallejo acrylic putty to fill the seams and sanded the joints: Just need to paint the pilot, mask and add the canopy and I'll be able to paint this little bird. Next I went looking for something different to build. What can be more different than a helicopter? I found my little Japanese OH-1 Observation helicopter AKA "Ninja" and started on the cockpit: And that's as far as I got on that because I need to paint that interior. Then I pulled out my Christmas present from my sister: the Russian Kamov Ka-29 helicopter. Started the cockpit on that too: Next I did the main cabin interior, seen here behind the cockpit: In order to make sure the upright bulkheads lined up properly, I added these sub-assemblies to one of the fuselage halves to allow them to dry in the proper position: That rear bulkhead was adjusted after that pic was taken... Later I painted the whole interior: Kinda bland; only two colors, black and blue! As the paint dried, I assembled the main rotor hub: That looks a lot more complicated than it is. That is all I have on my aircraft so we'll continue on to my vehicle manufacturing. I painted the interior of the searchlight on my 1/35th scale Patton tank: Later I'll be mounting that to the turret behind it and then add the final parts to finish it off. Since I had cleared the desk of almost every small scale armor model in progress; it was time to start some more. Since I had built a Centurion; I decided that I should just go ahead and build al the rest of the ACE Centurions I had in the stash. First Centurion up was the British Centurion Mk.5 that will be done up as a Berlin Brigade tank. I started by assembling the lower hull: I continued by adding the roadwheels and suspension bogies: Later I added all the upper hull plates and assembled the turret: The next Centurion I started was the Australian Centurion Mk.5/1 Long Range. I assembled the lower hull with bogies and wheels; and then did the rear external add-on fuel tank. That is the little box behind the lower hull: The final Centurion variant was a one-off test vehicle the British built to counter the JS Stalin class of tanks. It is labeled the FV-4005. The lower hull was assembled just like the other two: Then I built the big boxy turret: This thing carries a 7.2inch howitzer on it; that is why they needed such a turret. I placed the turret on the lower hull even though I hadn't added the top plates to it. And yes, it does come with a recoil spade: There it is; the British KV-2! Moving on, it was time to start something else. I'd been wanting to start the Italian Centauro B1T, so that one came out next. I built the lower hull: Then the upper hull was assembled: Then I went to build the turret for this, but remembered the difficult time I had with the hull/turret fit on my original Centauro. So, I test fit the lower turret plate to the hull and found I needed to remove that raised ring on the upper hull: Then I had to widen the hole a bit, as well as thin the edges: There! Now it fits AND turns smoothly: Okay, now I could assemble the basic turret: Then I looked at the main gun and found that the usual ACE issue of sink marks on the barrels was exhibited here so I filled that with Mr. Surfacer again: At least that one was not quite as bad as the previous gun on the Centurion Sho't... After that I started another wheeled vehicle, this time a V-150 with a 20mm gun. I'm going to do this one as the Cadillac Gage Canadian car. I assembled the lower hull first: Then I built the diminutive turret: That was as far as I got with that. There is an interior that goes in there that I'll be adding later, even though it won't be seen once the model is built. I'll know it's in there! After all those rough ACE kits; it was time to start something a lot more simple and easy to build. I pulled out my recently-acquired Japanese Type 96 APCs and started the Type A one first. These kits are the Tamiya of Braille Scale! These models allow you to have steerable wheels in the front. They give you the parts to not only make the wheels turn, but to turn consecutively using this type of system: That gets covered by the bottom plate that also holds the main wheel hubs in place. They also give a somewhat rudimentary interior: The rear hatch also opens and closes: Then I built the upper hull, adding the hatches and other parts. The mini turret on top is just dry-fit now. Check out the fit; that top is just sitting on top of the vehicle: I then built the Type B APC, doing all the same things as I did with the Type A version. This one has a machine gun (Ma Deuce) instead of a 40mm grenade launcher like the Type A. I also left the main driver's hatch off because I'll be showing it open. Later you'll see the difference on that: The Type B model comes with troops from the Rapid Reaction Force that these Type B vehicles are assigned to. It even has a 120mm mortar with it. I had to assemble them all: After I took that pic, I noticed a second sprue with the parts for three more soldiers so I built them afterward. And that completes this latest tour of Maddog Manufacturing. I hope you enjoyed it. As always, comments are welcome; thanks for coming in.1 point
-
No.....as usual, you ignore everyone's answer that what YOU think is important, is not; and continue to argue the point. You've had at least 2 (or more) national judges with over 20yrs experience tell you that your example is just a part of judging, and we cannot always tell which way to go, or catch everything, or always be right. When YOU judge, feel free to try to solve this dilemma in a way that satisfies you, as none of us can do so. Gil1 point


_DSC_2658.jpg.961df2a39fa3dbfdd1bcc581aee37e02.jpg)