Leaderboard


Popular Content
Showing content with the highest reputation on 02/10/2021 in all areas
-
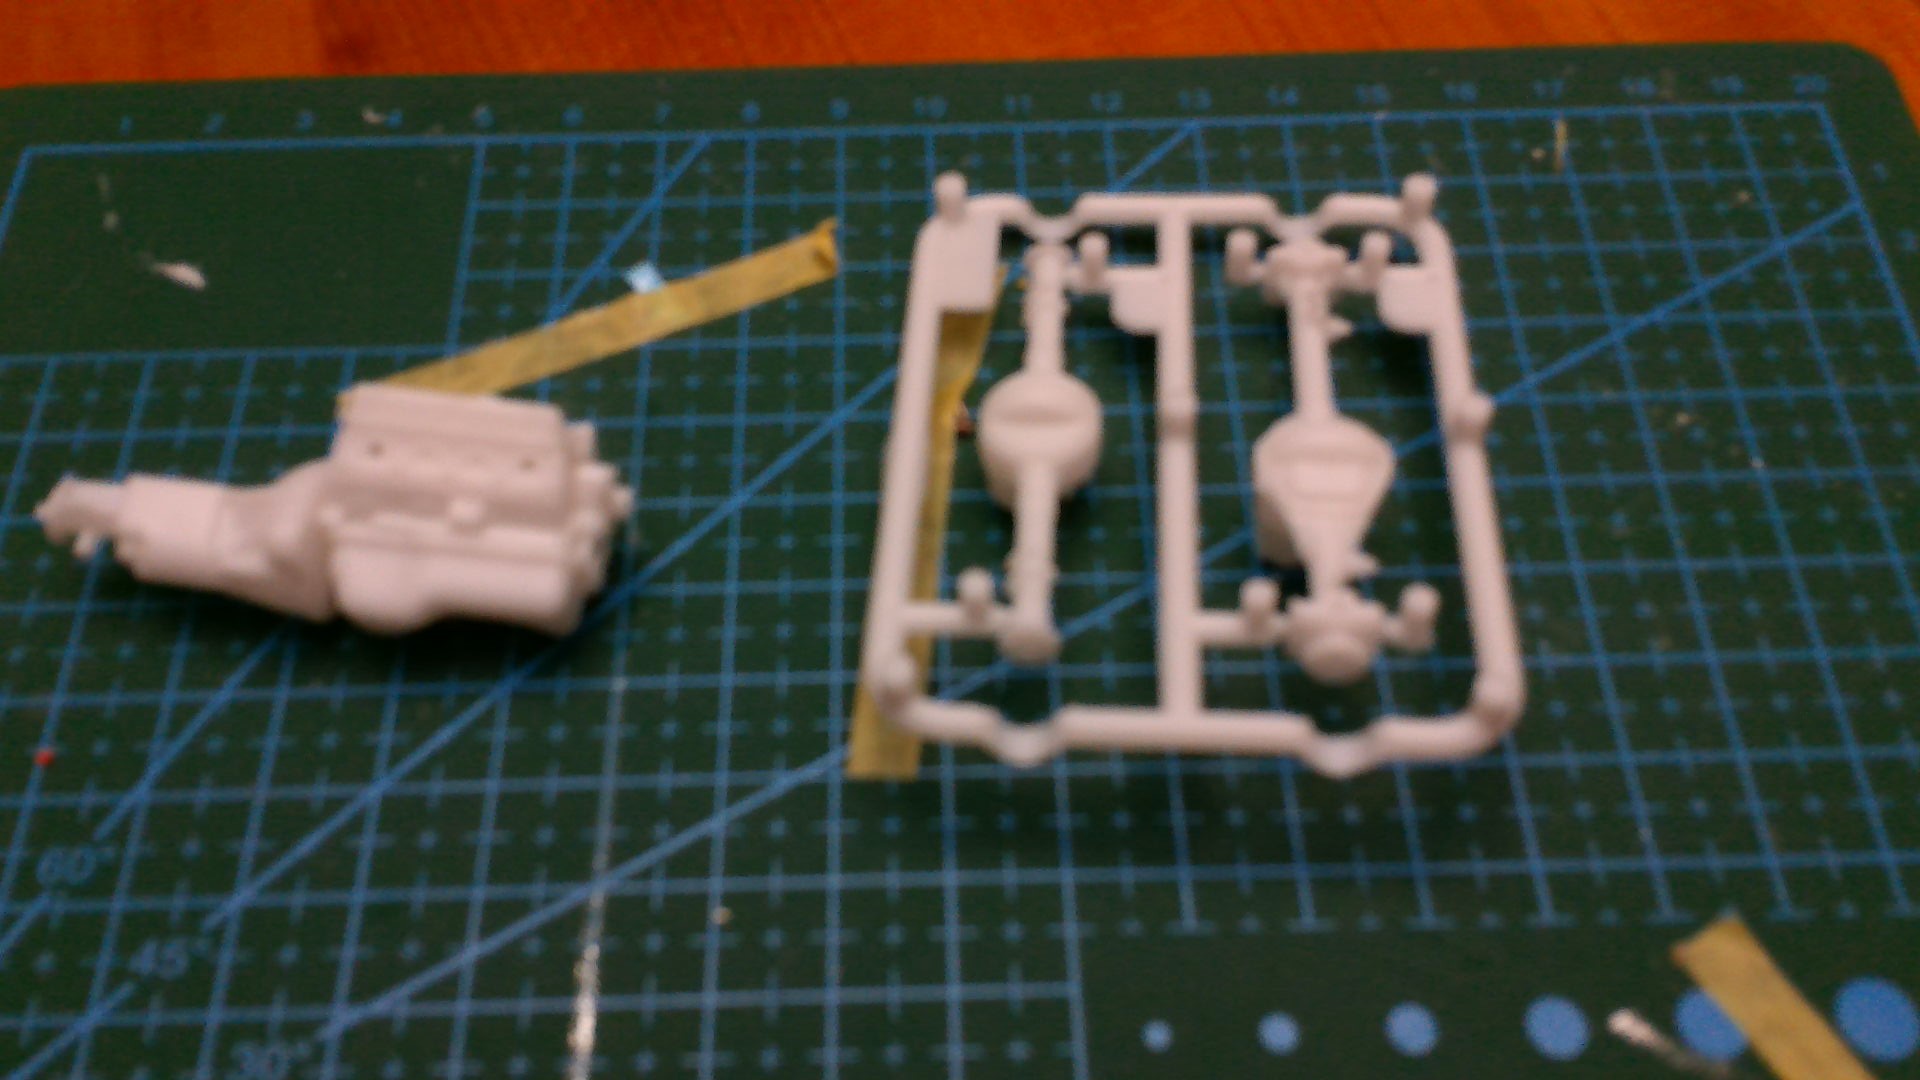
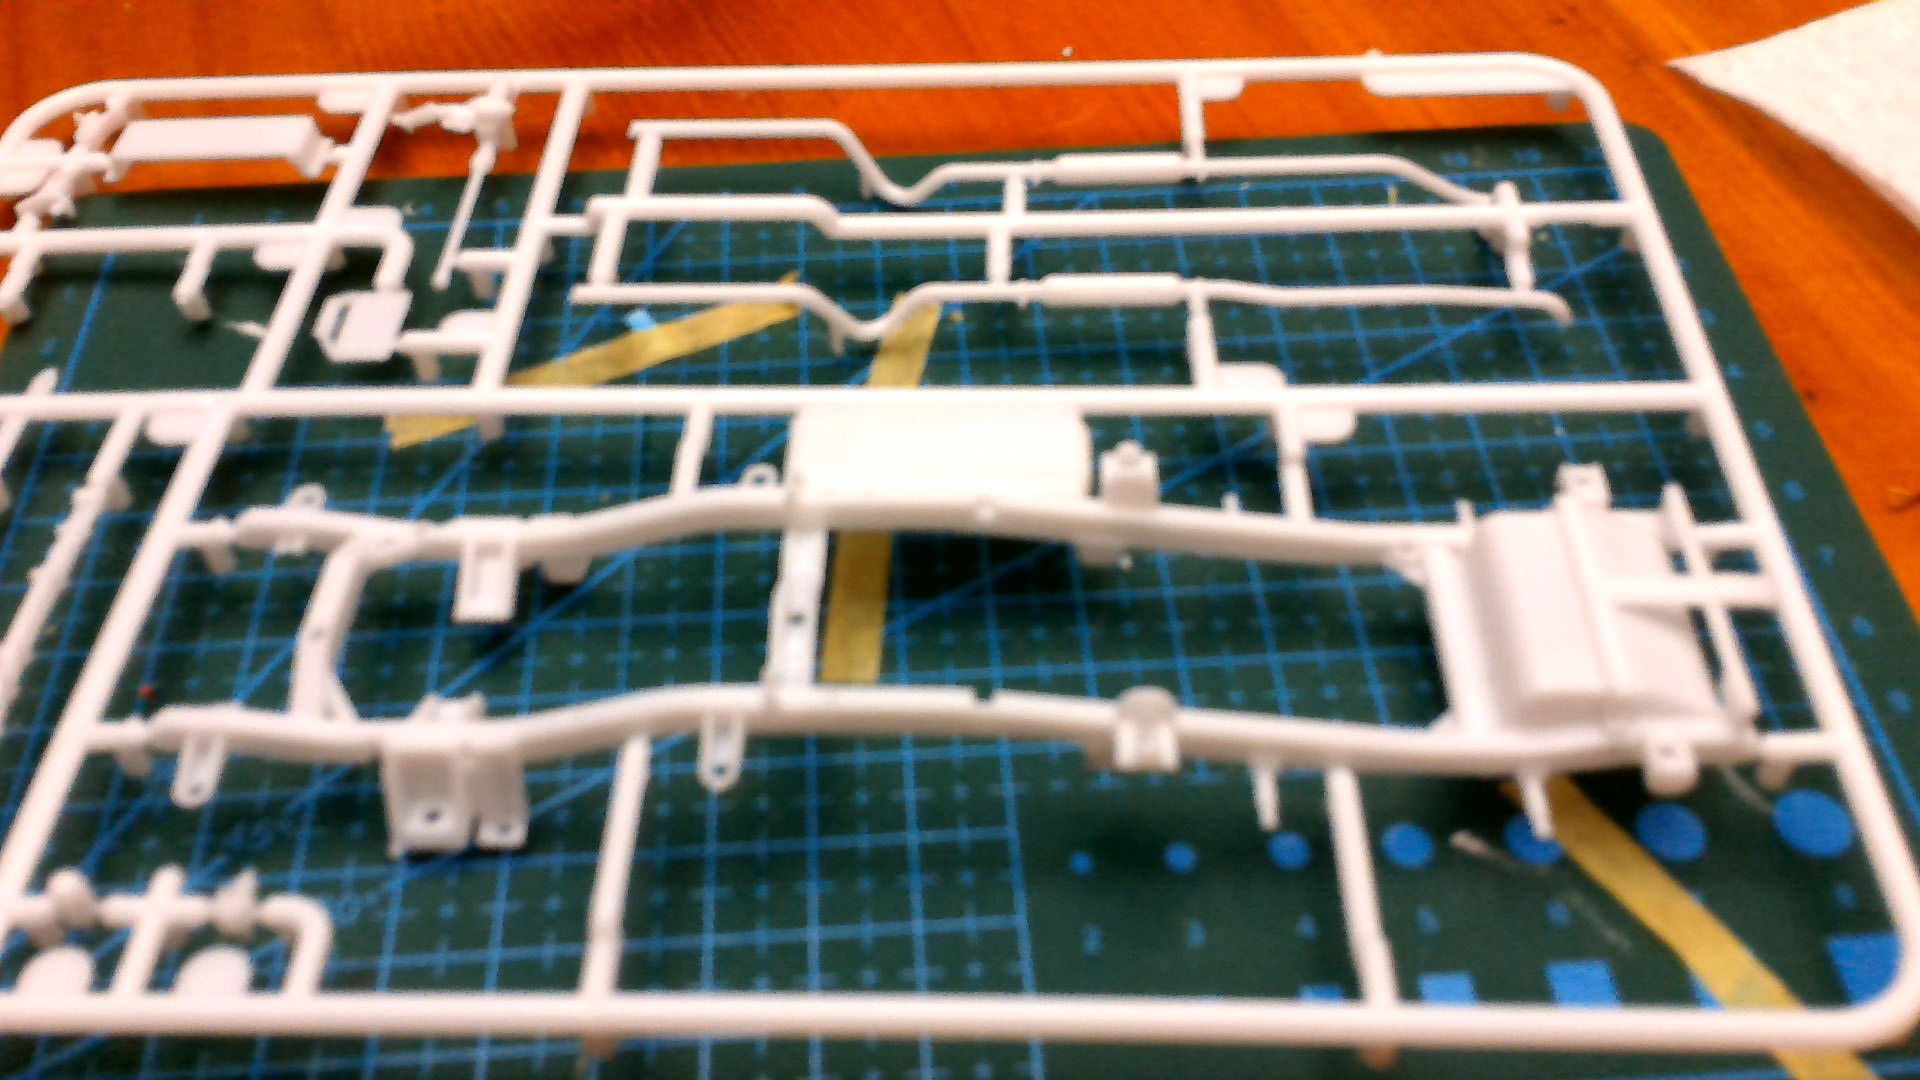
I was in Michaels looking for Flow Aid and I came across this kit in the limited model section. I have done some of the sub assembly and freed the side windows from the frame. I will post more pics as I accomplish more.
 1 point
 -
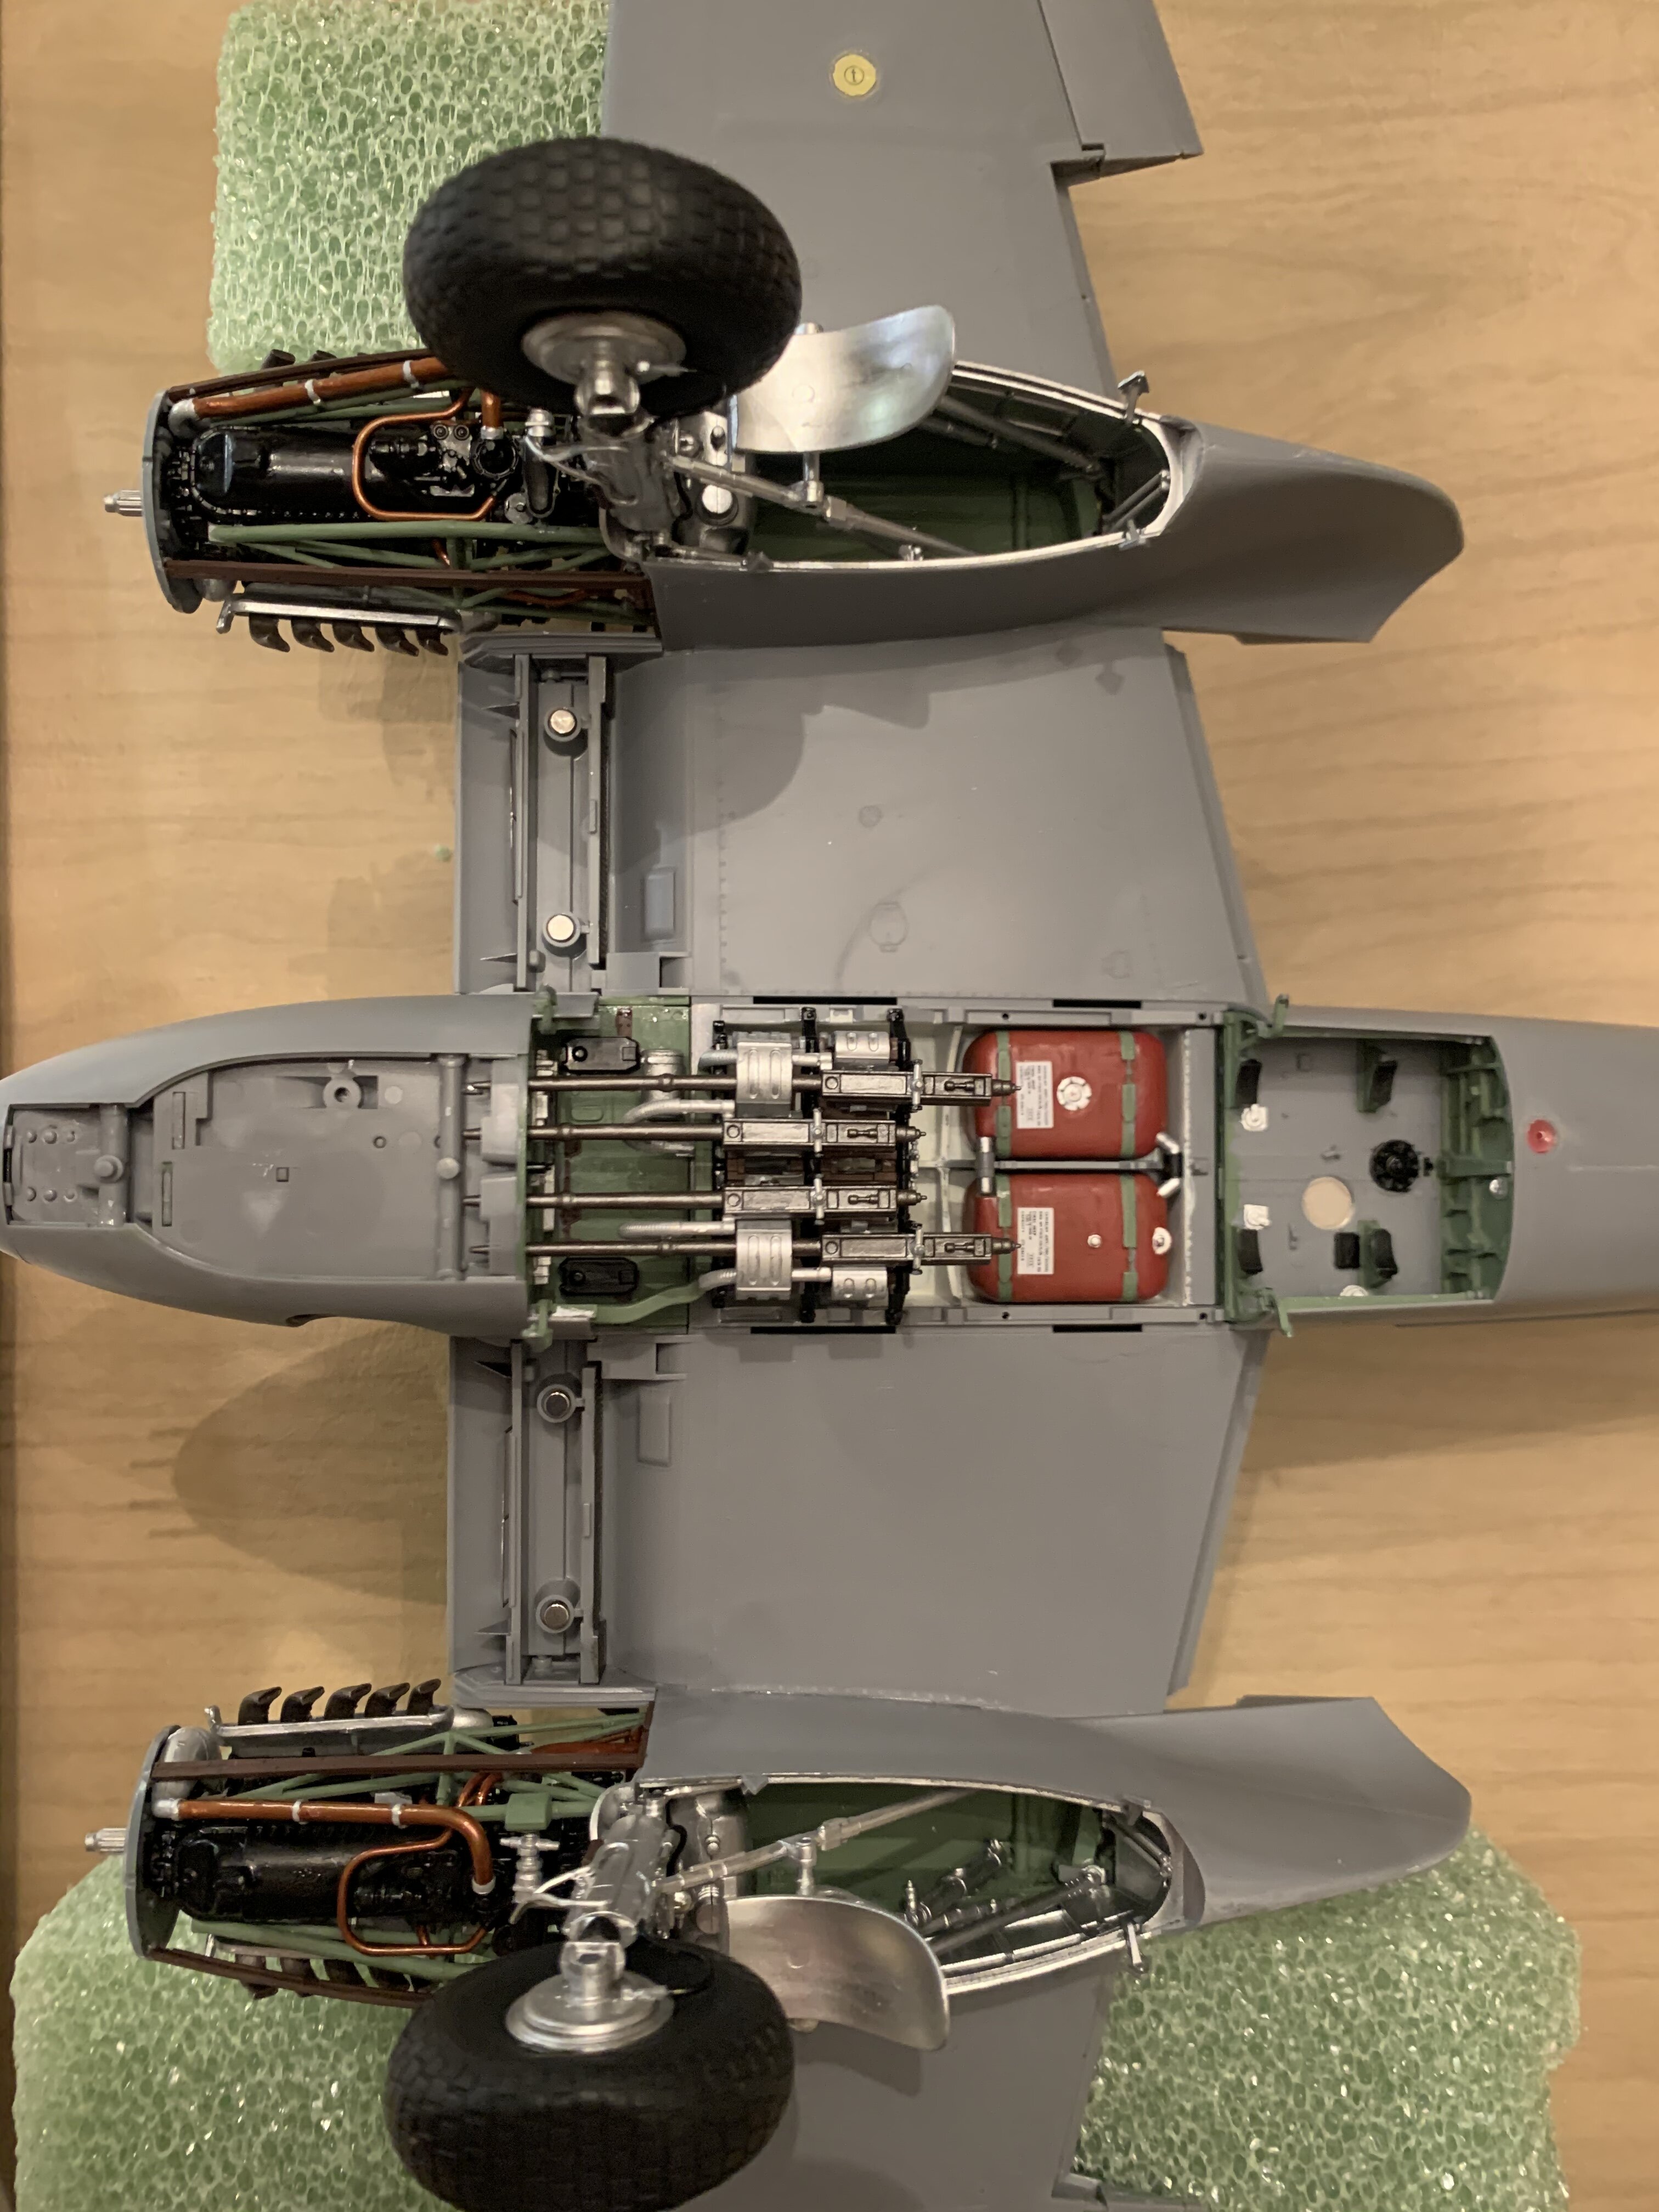
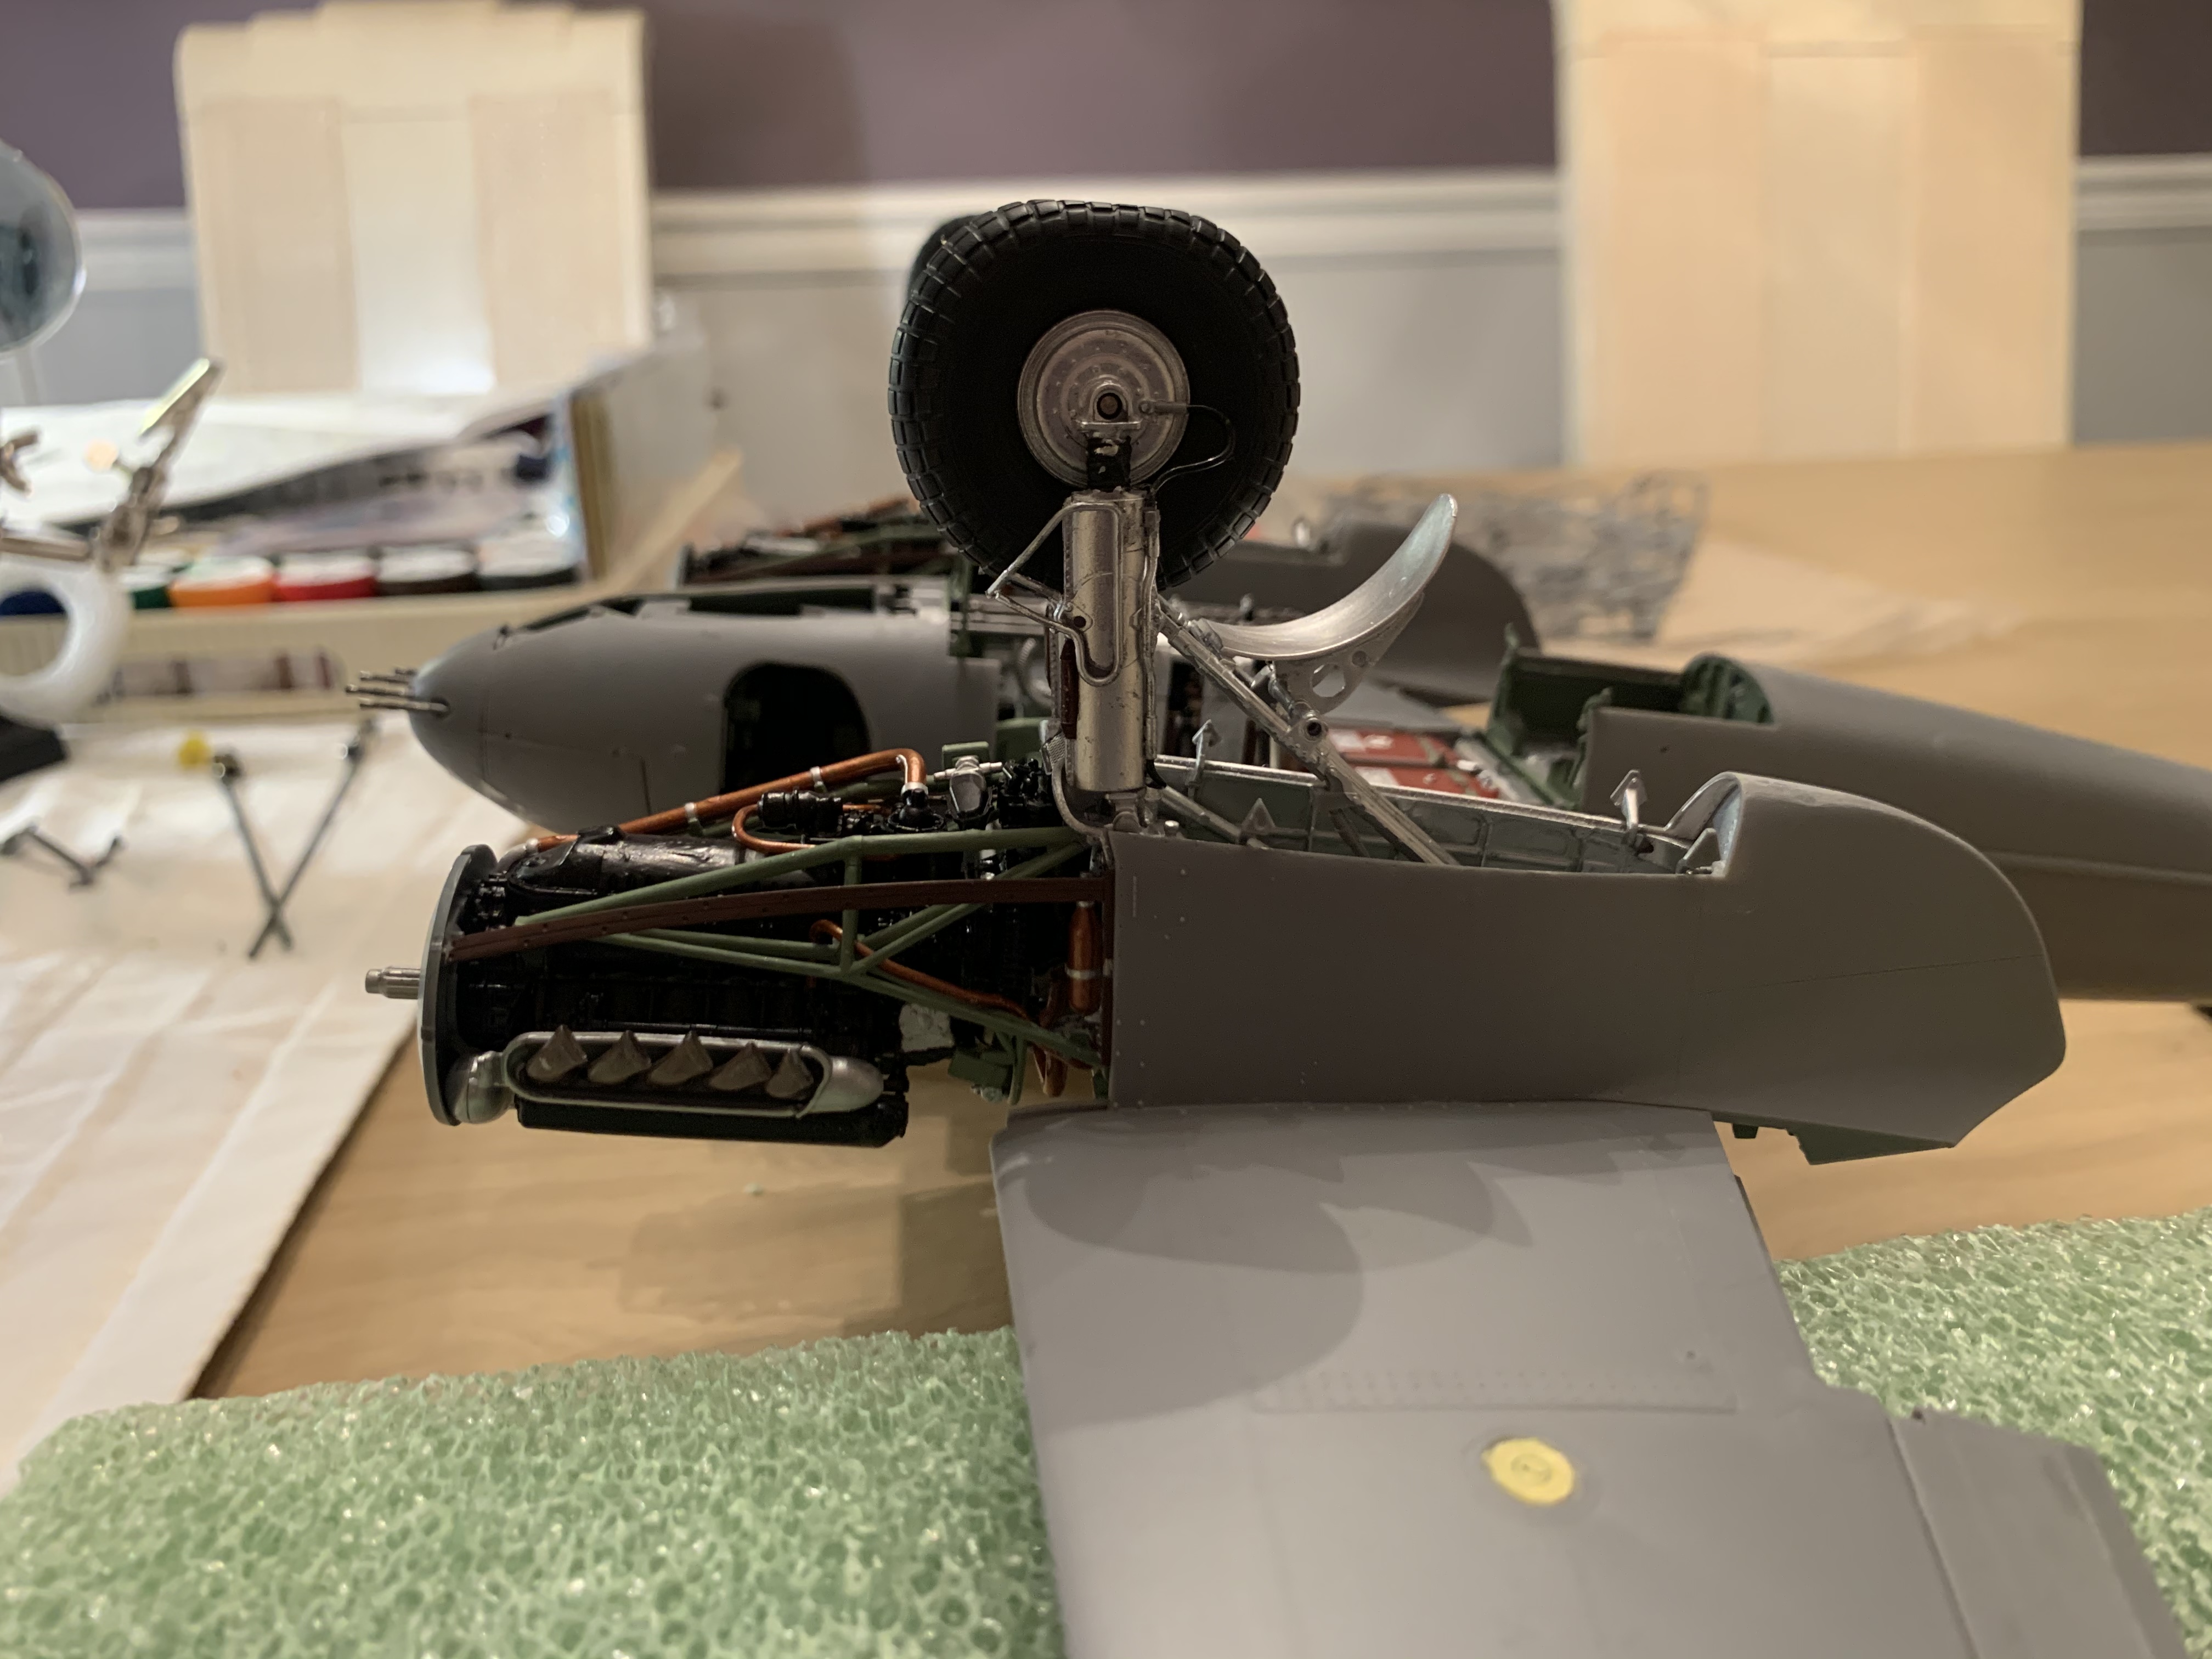
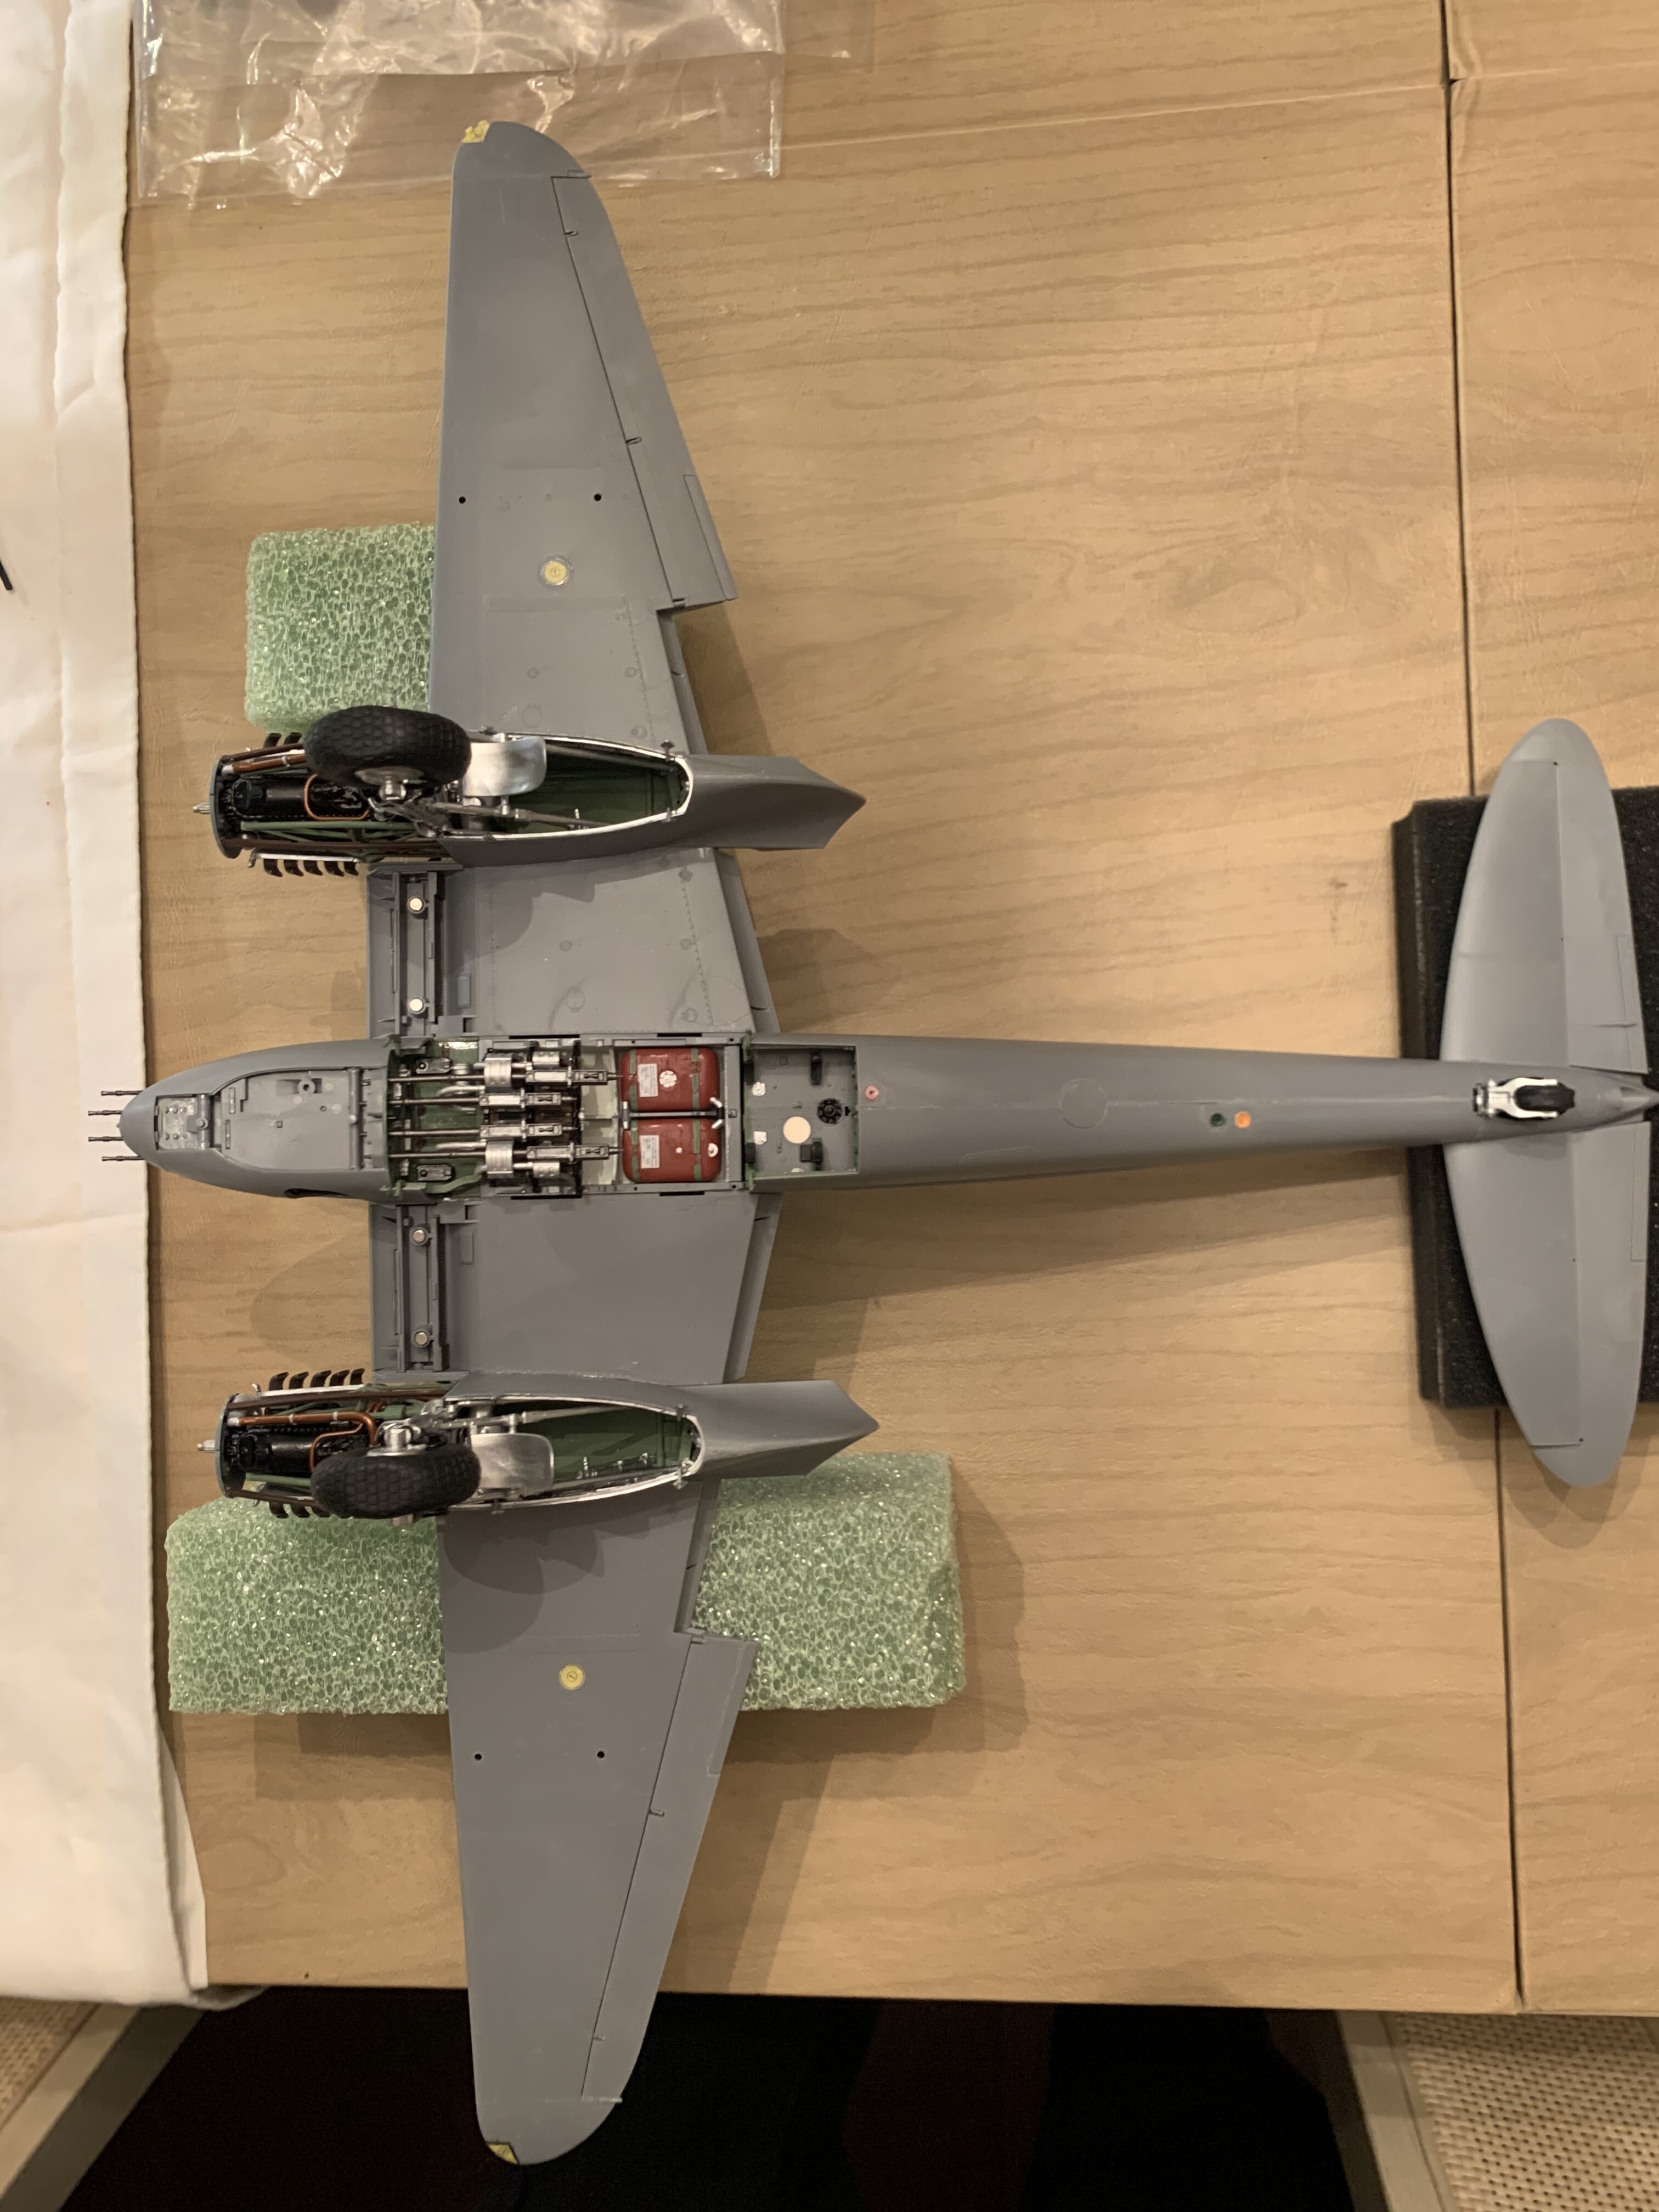
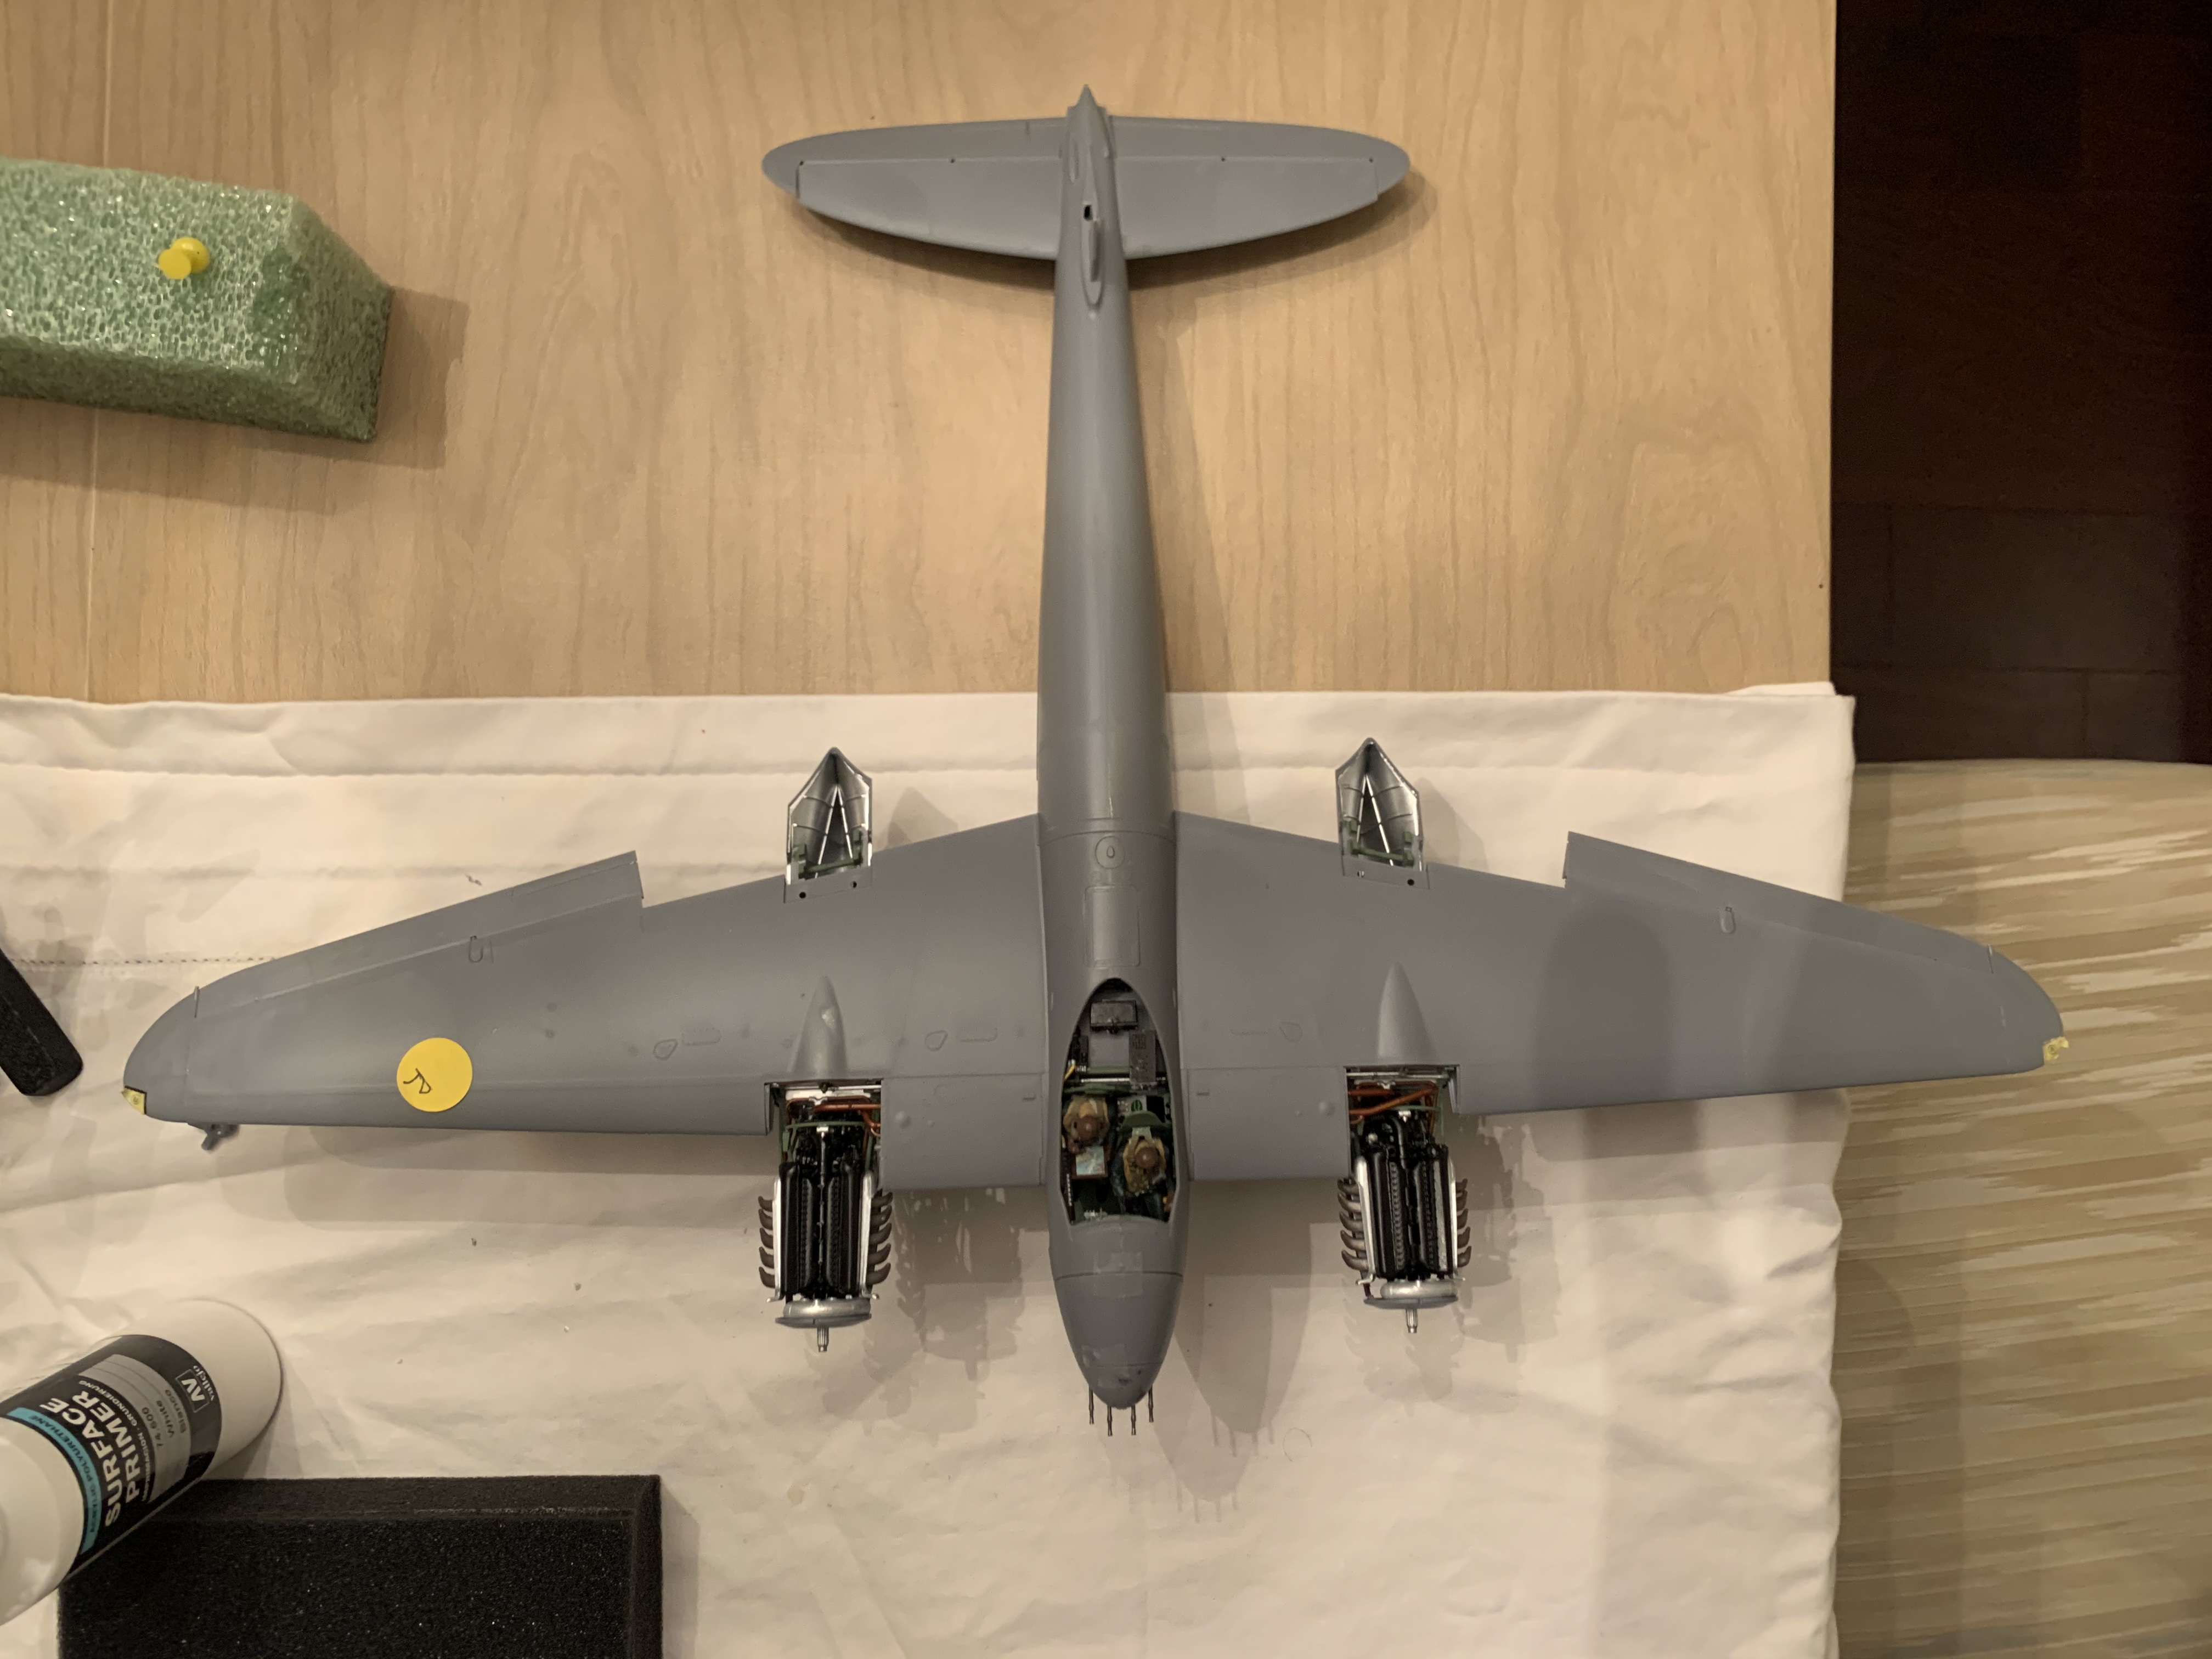
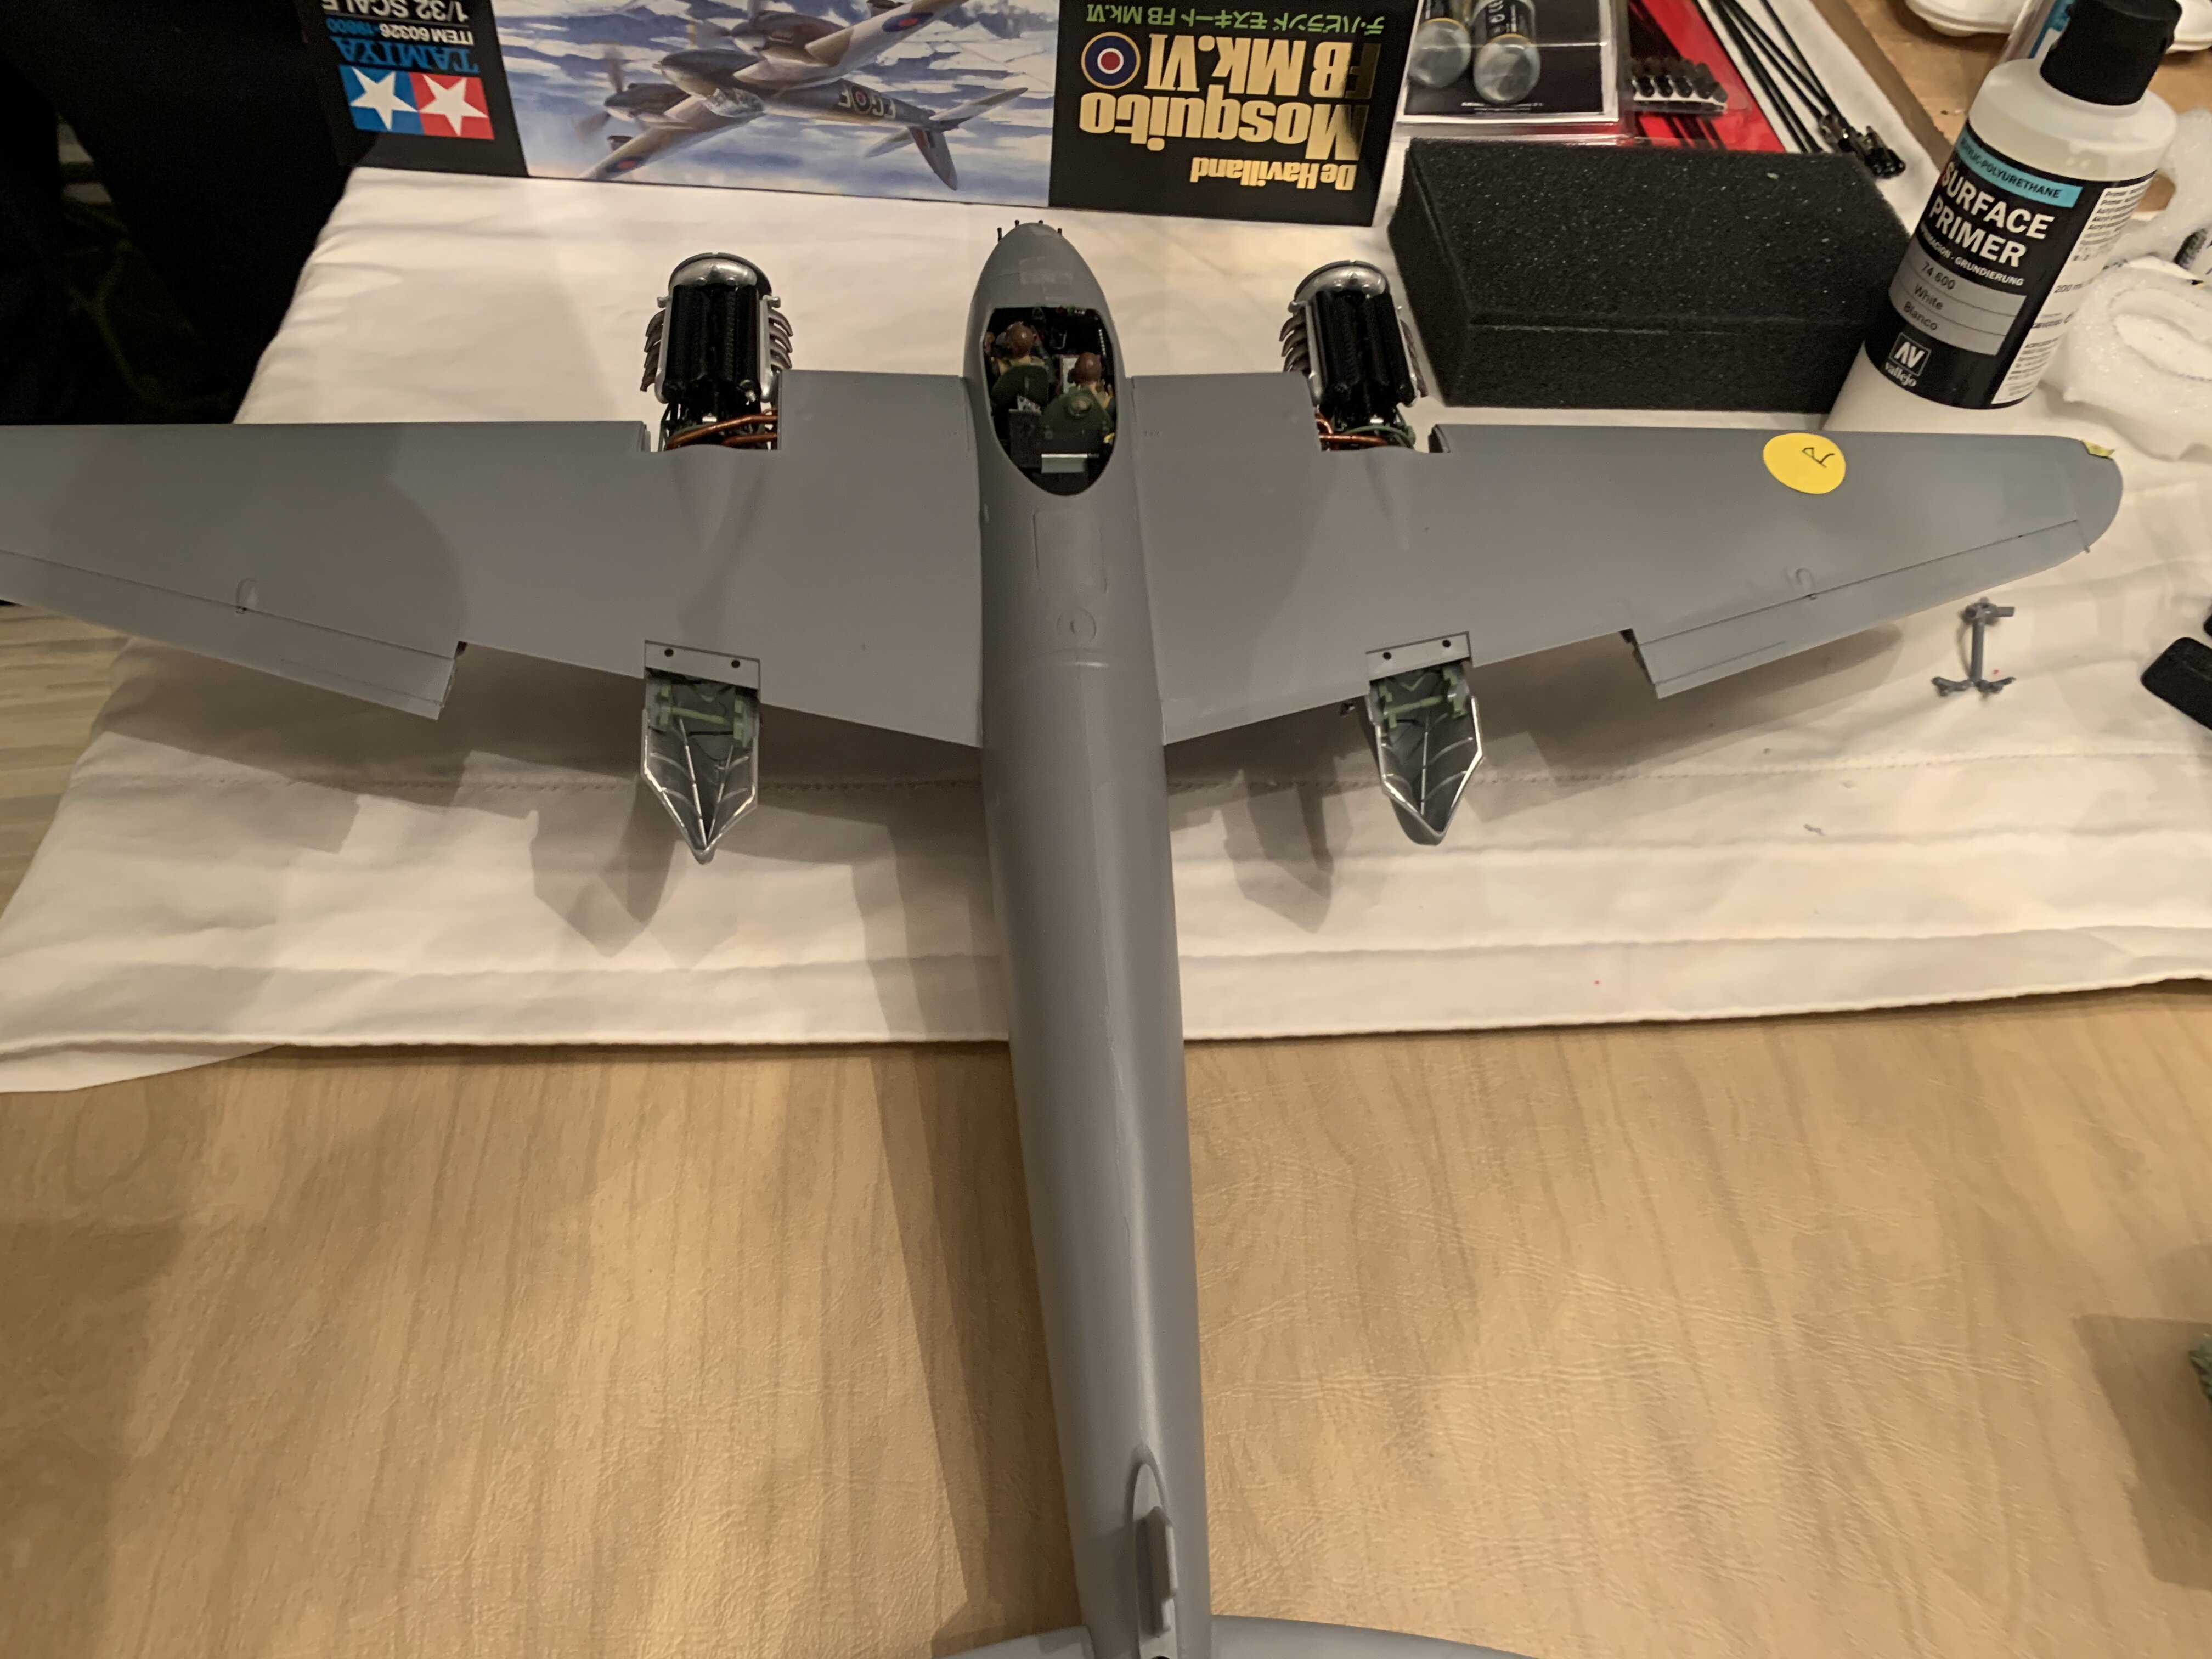
I wanted to post progress photos of my build of the Tamiya 1/32 Mosquito. It would be great to read comments on how I can improve. Several photos were posted in the “techniques“ forum where i received very productive comments and i have put an aircraft weathering how-to book and some weathering products on my wishlist for Xmas. There is a specific issue that i wanted to discuss (although there is nothing i can do about it now). The wheel/tire assembly consisted of many pieces in order to mimic the flat spot at ground contact. I took great care in putting all of it together. However, when I mounted the nacelle to the wing/fuselage, i was very disappointed to find out that the flat spot on the tire is not flush with the surface. You have to get down and close to see it but there is definitely a triangle of light that shouldn’t be there. If anyone out there built this model i would love to hear wether you also had any issue with this detail? thanks for looking! Stuart
1 point
-
Thanks very much, I worked really hard on doing this one. I will definitely look into the decals you noted. I’m working on the F-16 next so that’s where i will focus my search. Stuart1 point
-
One thing I have found is that it is easier to subtract than to add. What I mean is when you test fit the pieces and you see that parts are going to have gaps. "Prefill" them. My technique is to use a solvent based putty such as basic Tamiya White and put it along the edge to be joined. Then assemble the piece so the excess putty squeeze's out. Join the unfilled section of the seam with your usual extra thin cement and hold it together as you normally would. Let is dry completely. Do not try to clean it off while it is wet. It will just smear. Once it is dry most of what squeezed out will just snap off easily. Then a light touch with a sanding stick and you should have a perfect seam.1 point
-
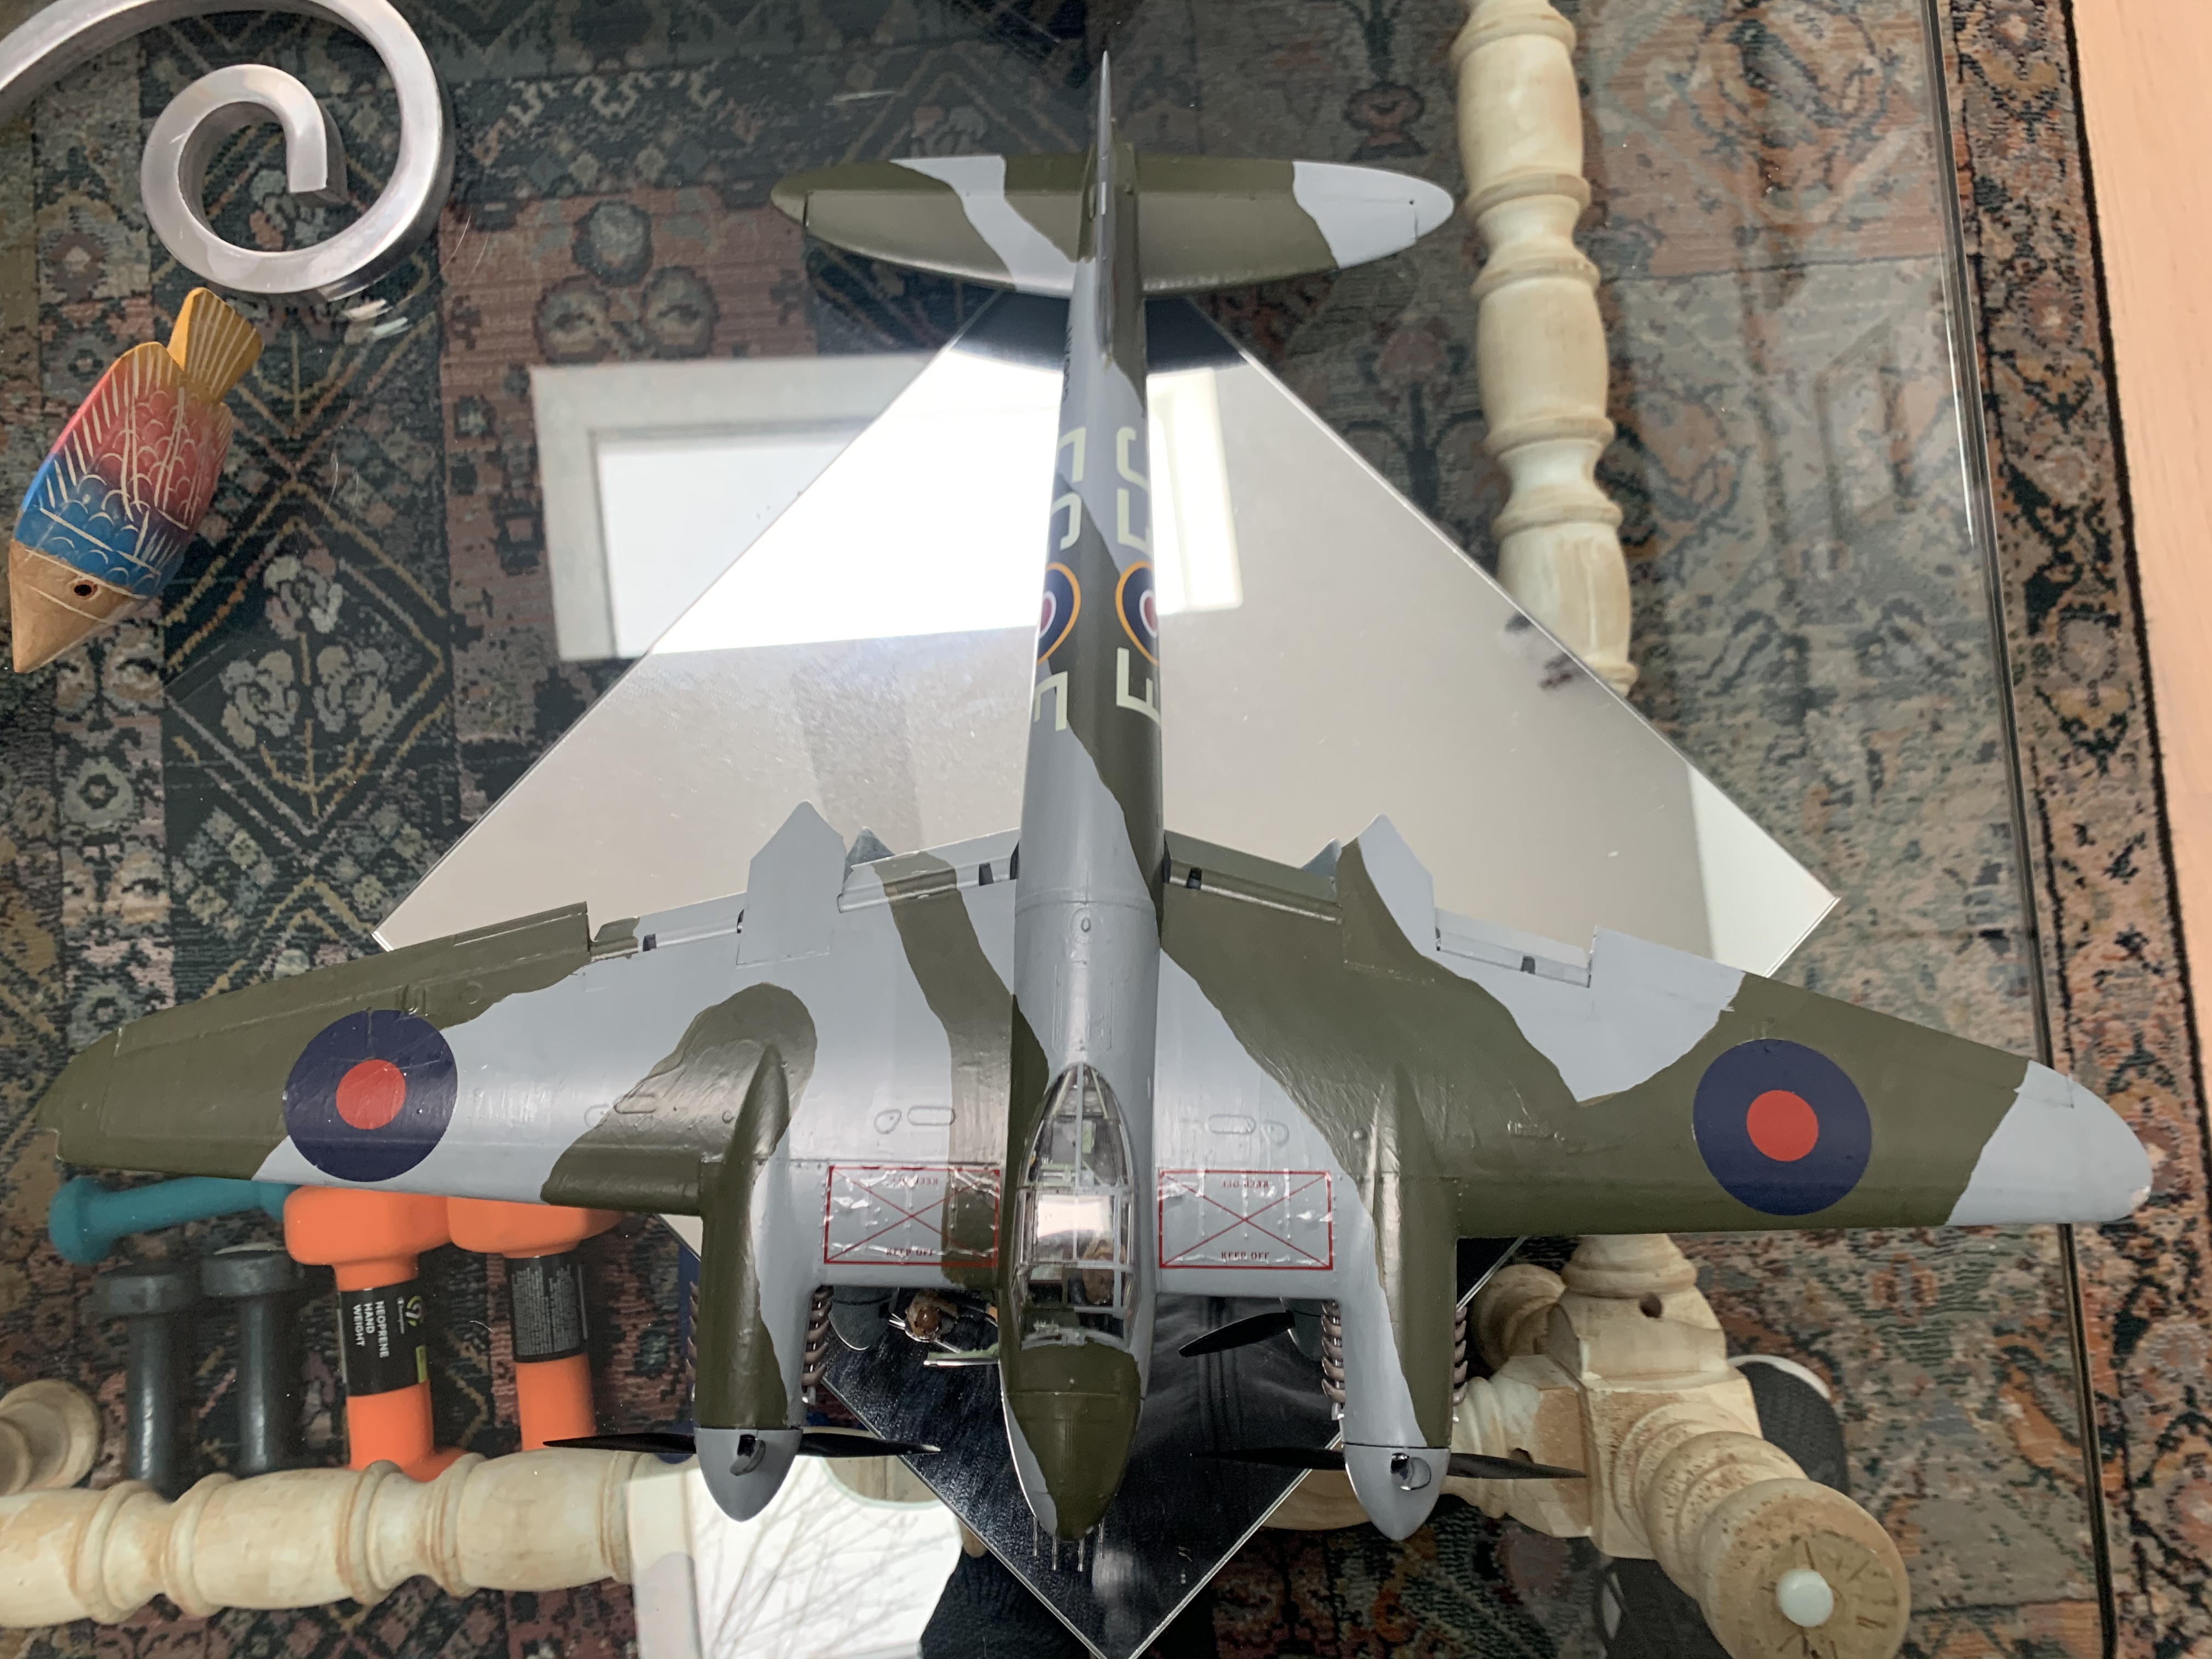
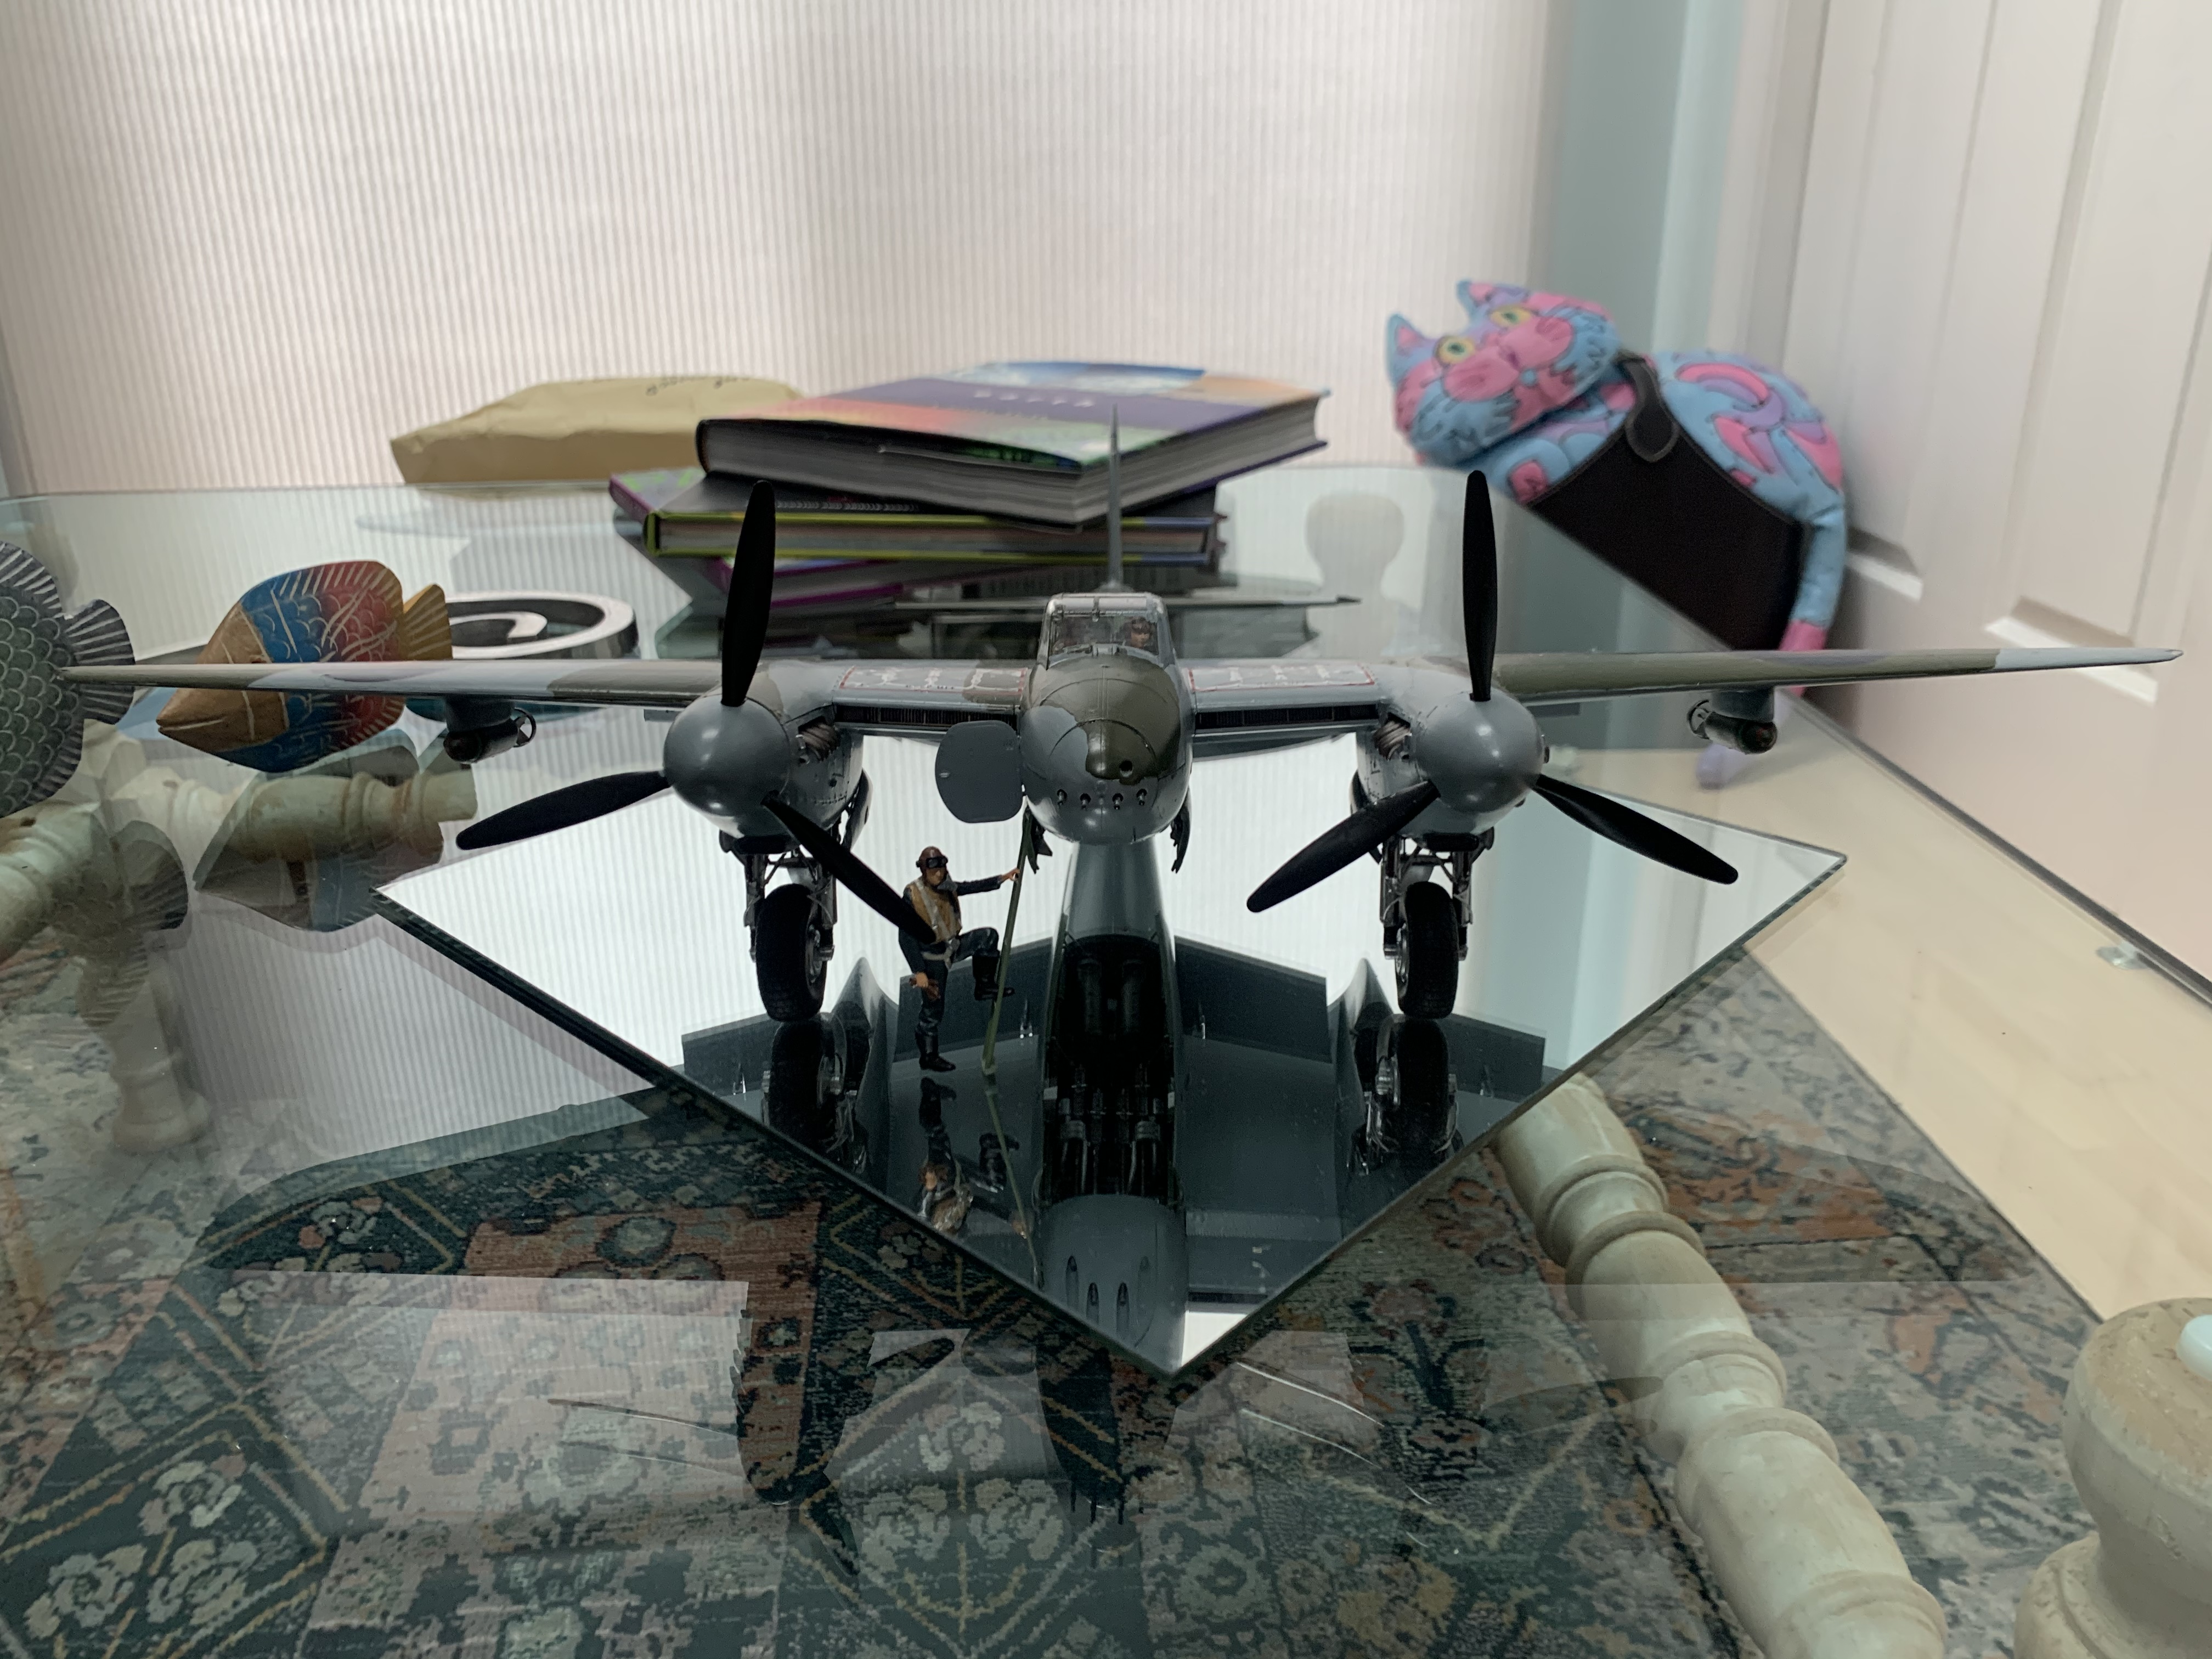
Here is the finished product sitting on a mirror base as suggested here. Difficulties still include the application of decals and the hand painting of very large surfaces. The thickness of my coatings are noticeably different. Question - how many of you apply the “hundreds” of tiny decals?
1 point