Leaderboard


Popular Content
Showing content with the highest reputation on 12/07/2020 in all areas
-
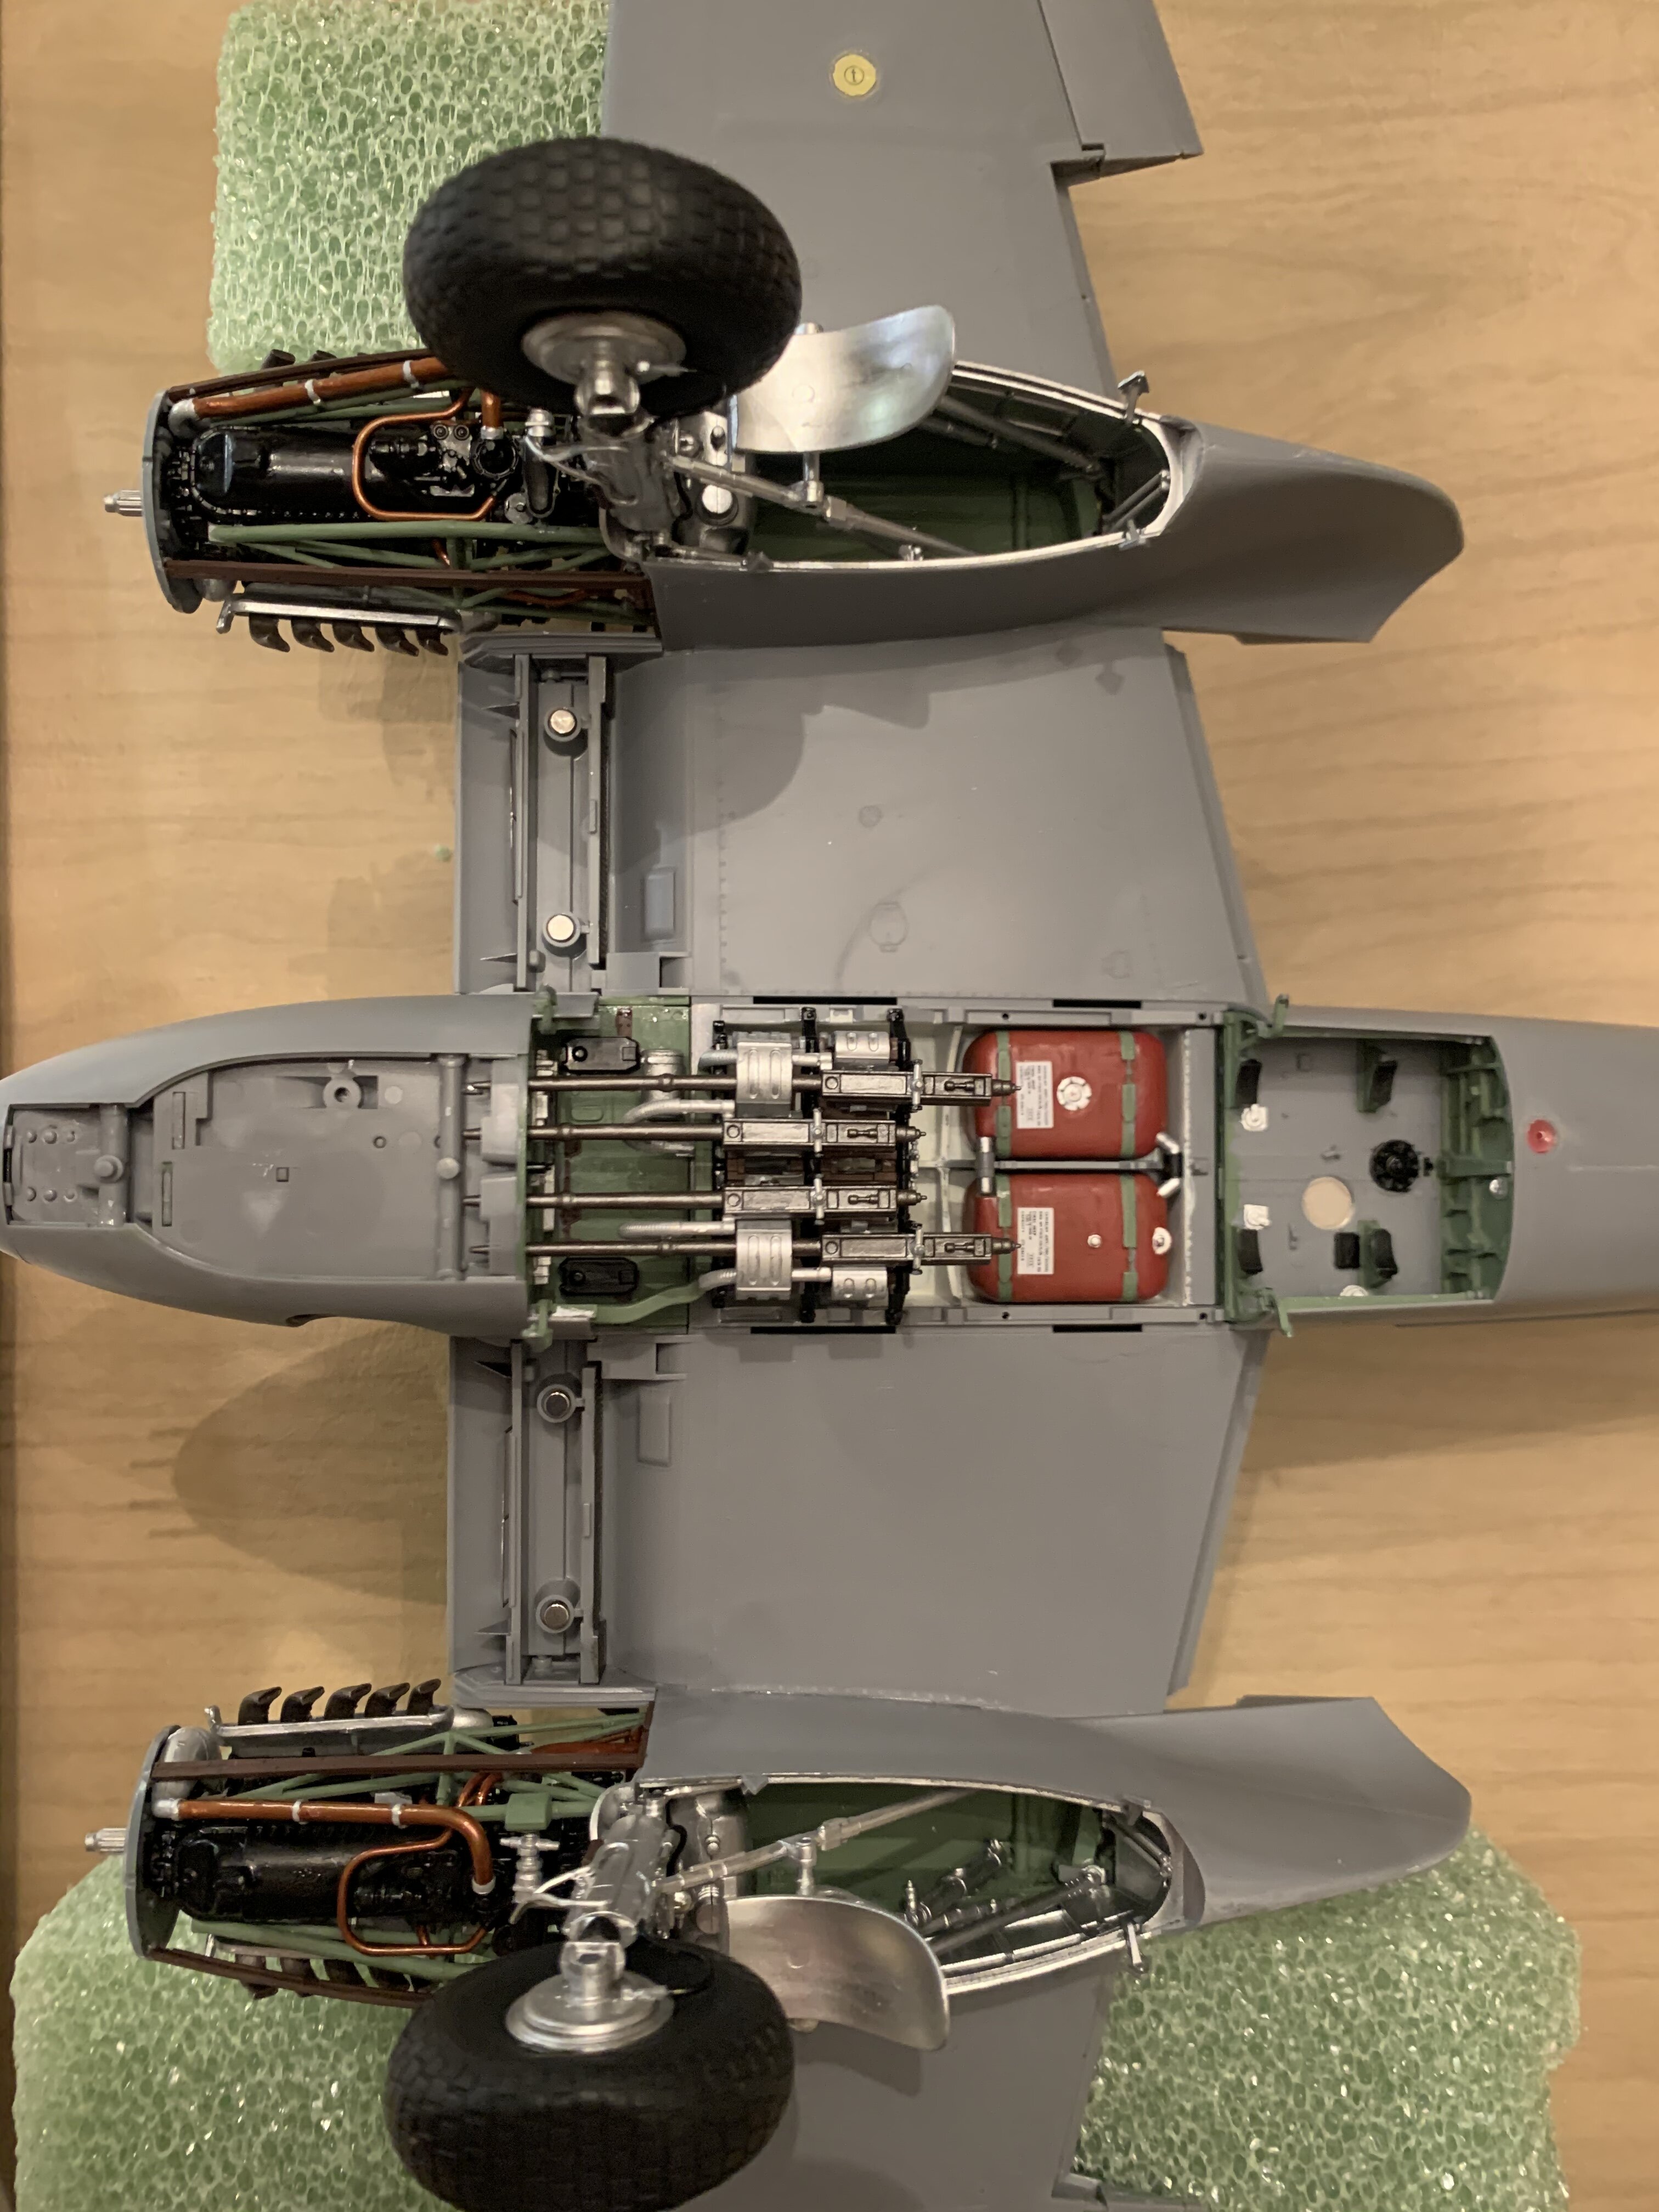
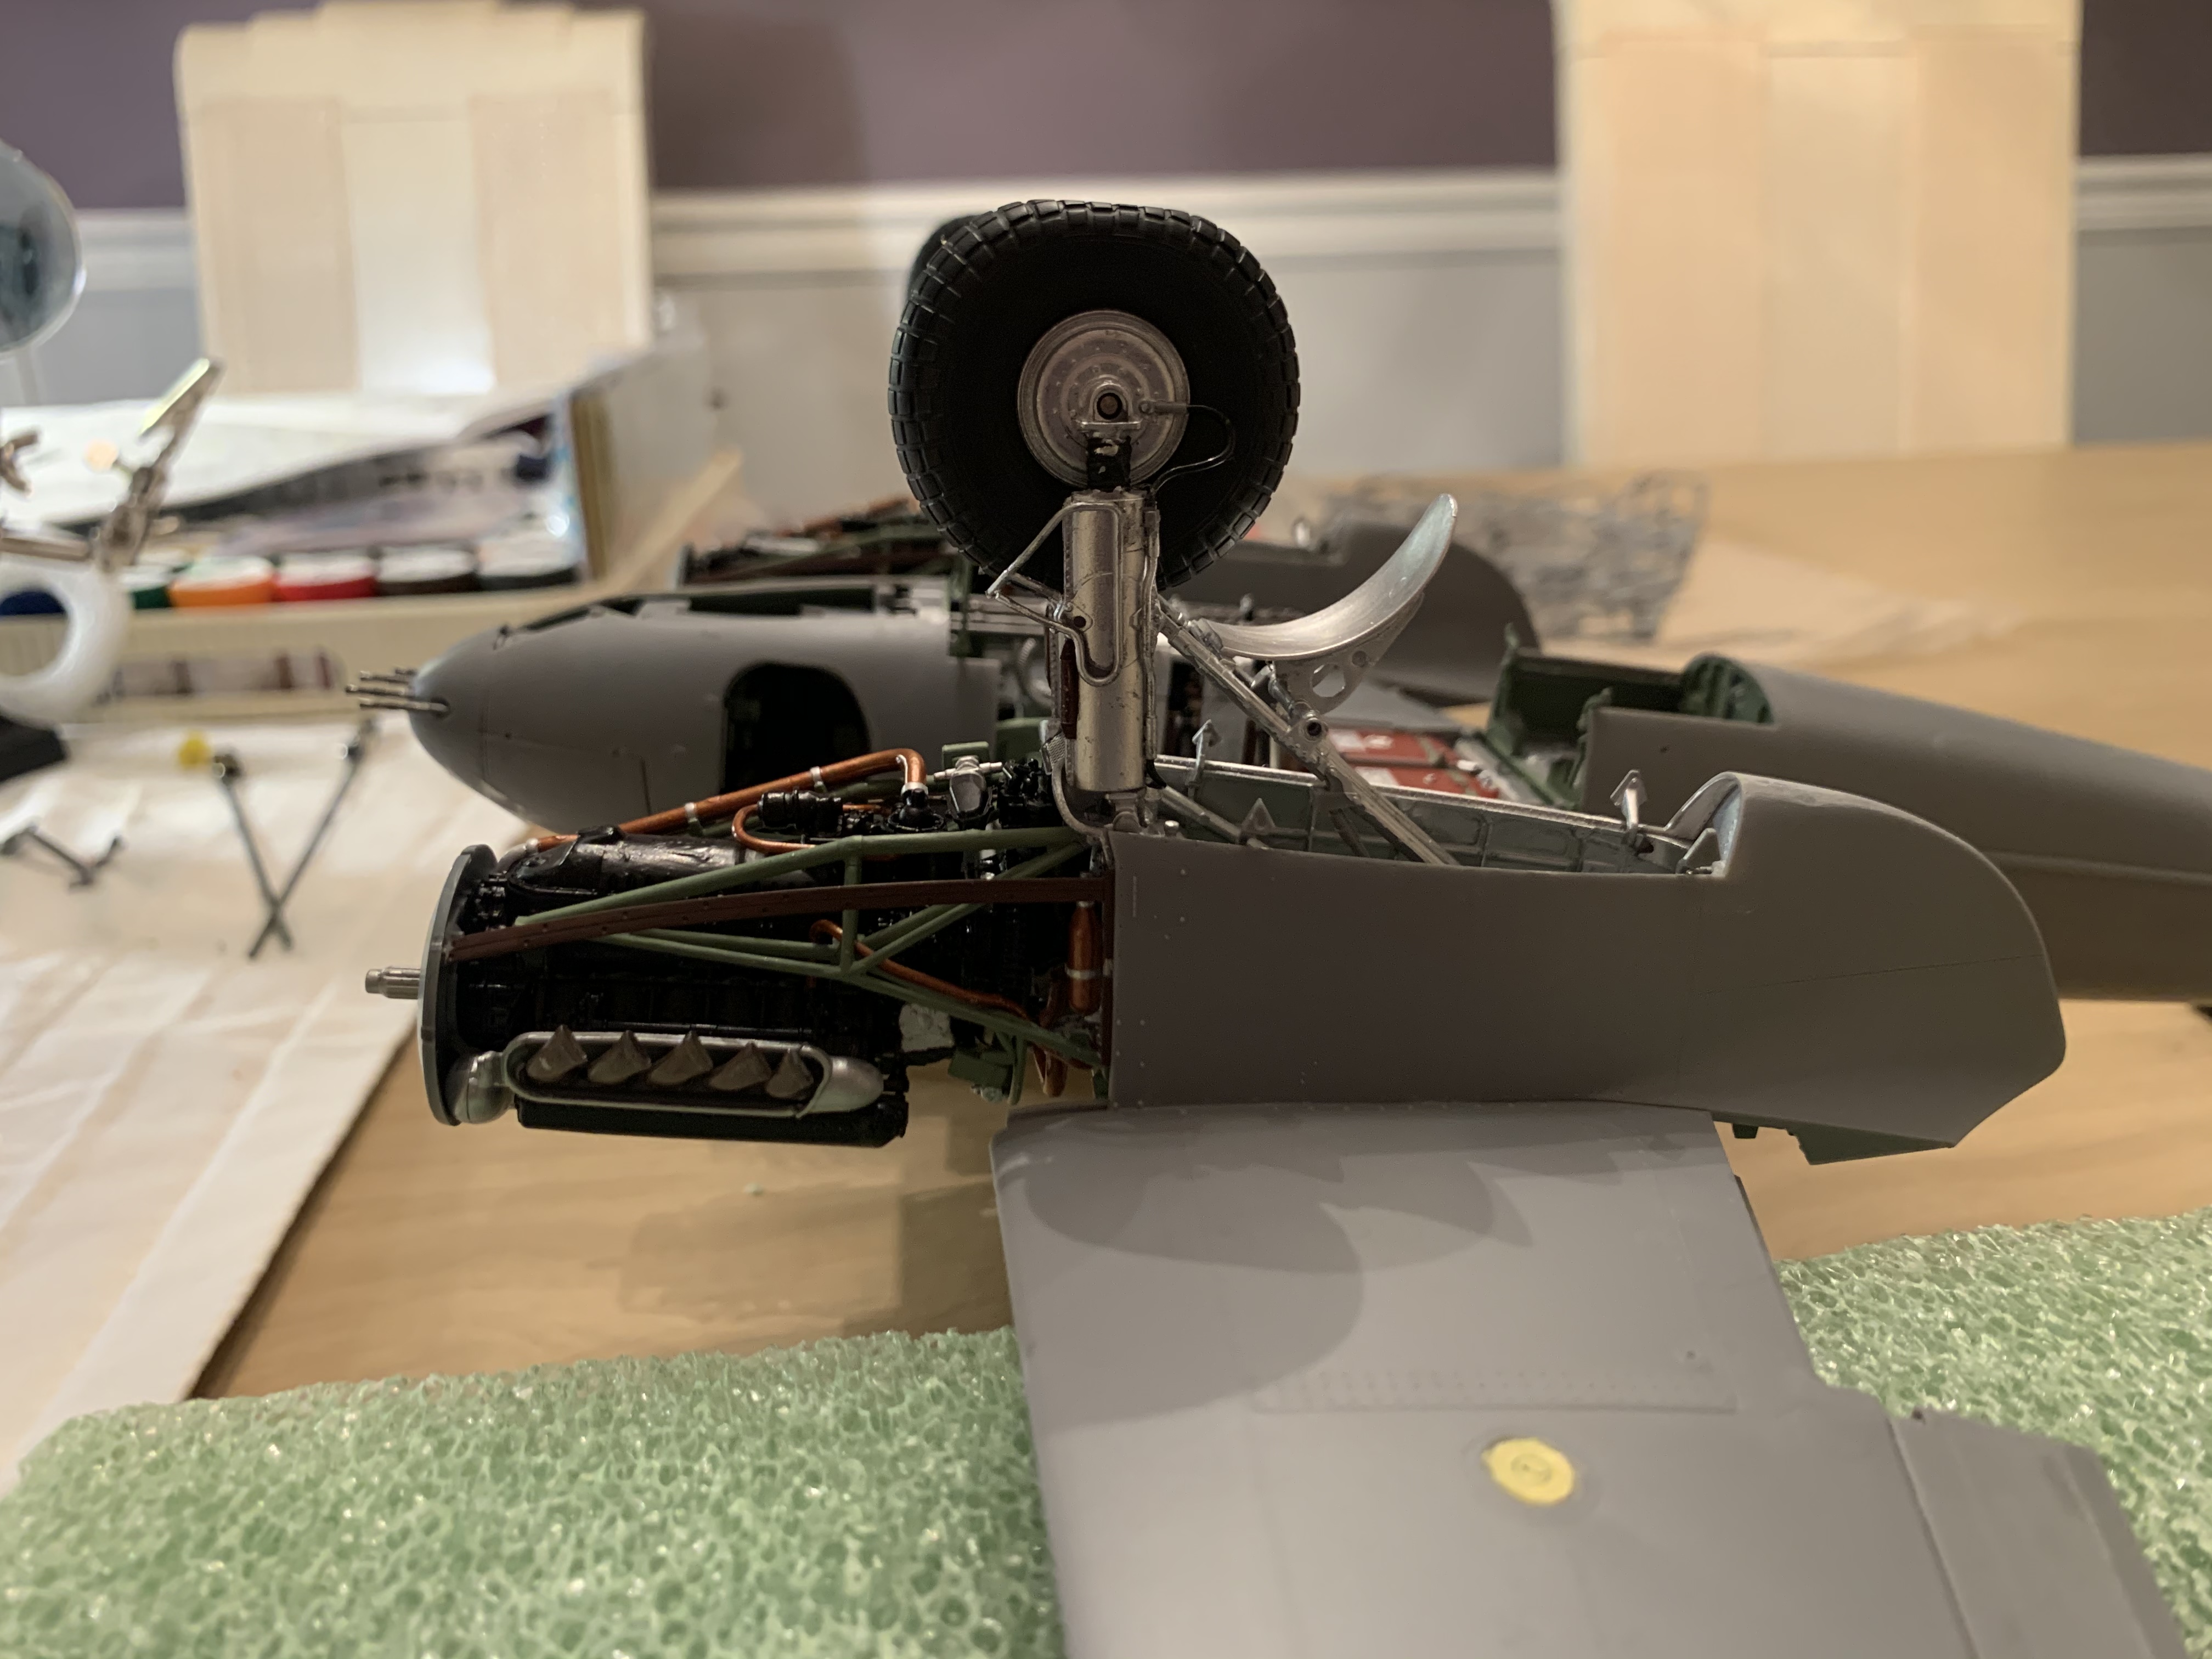
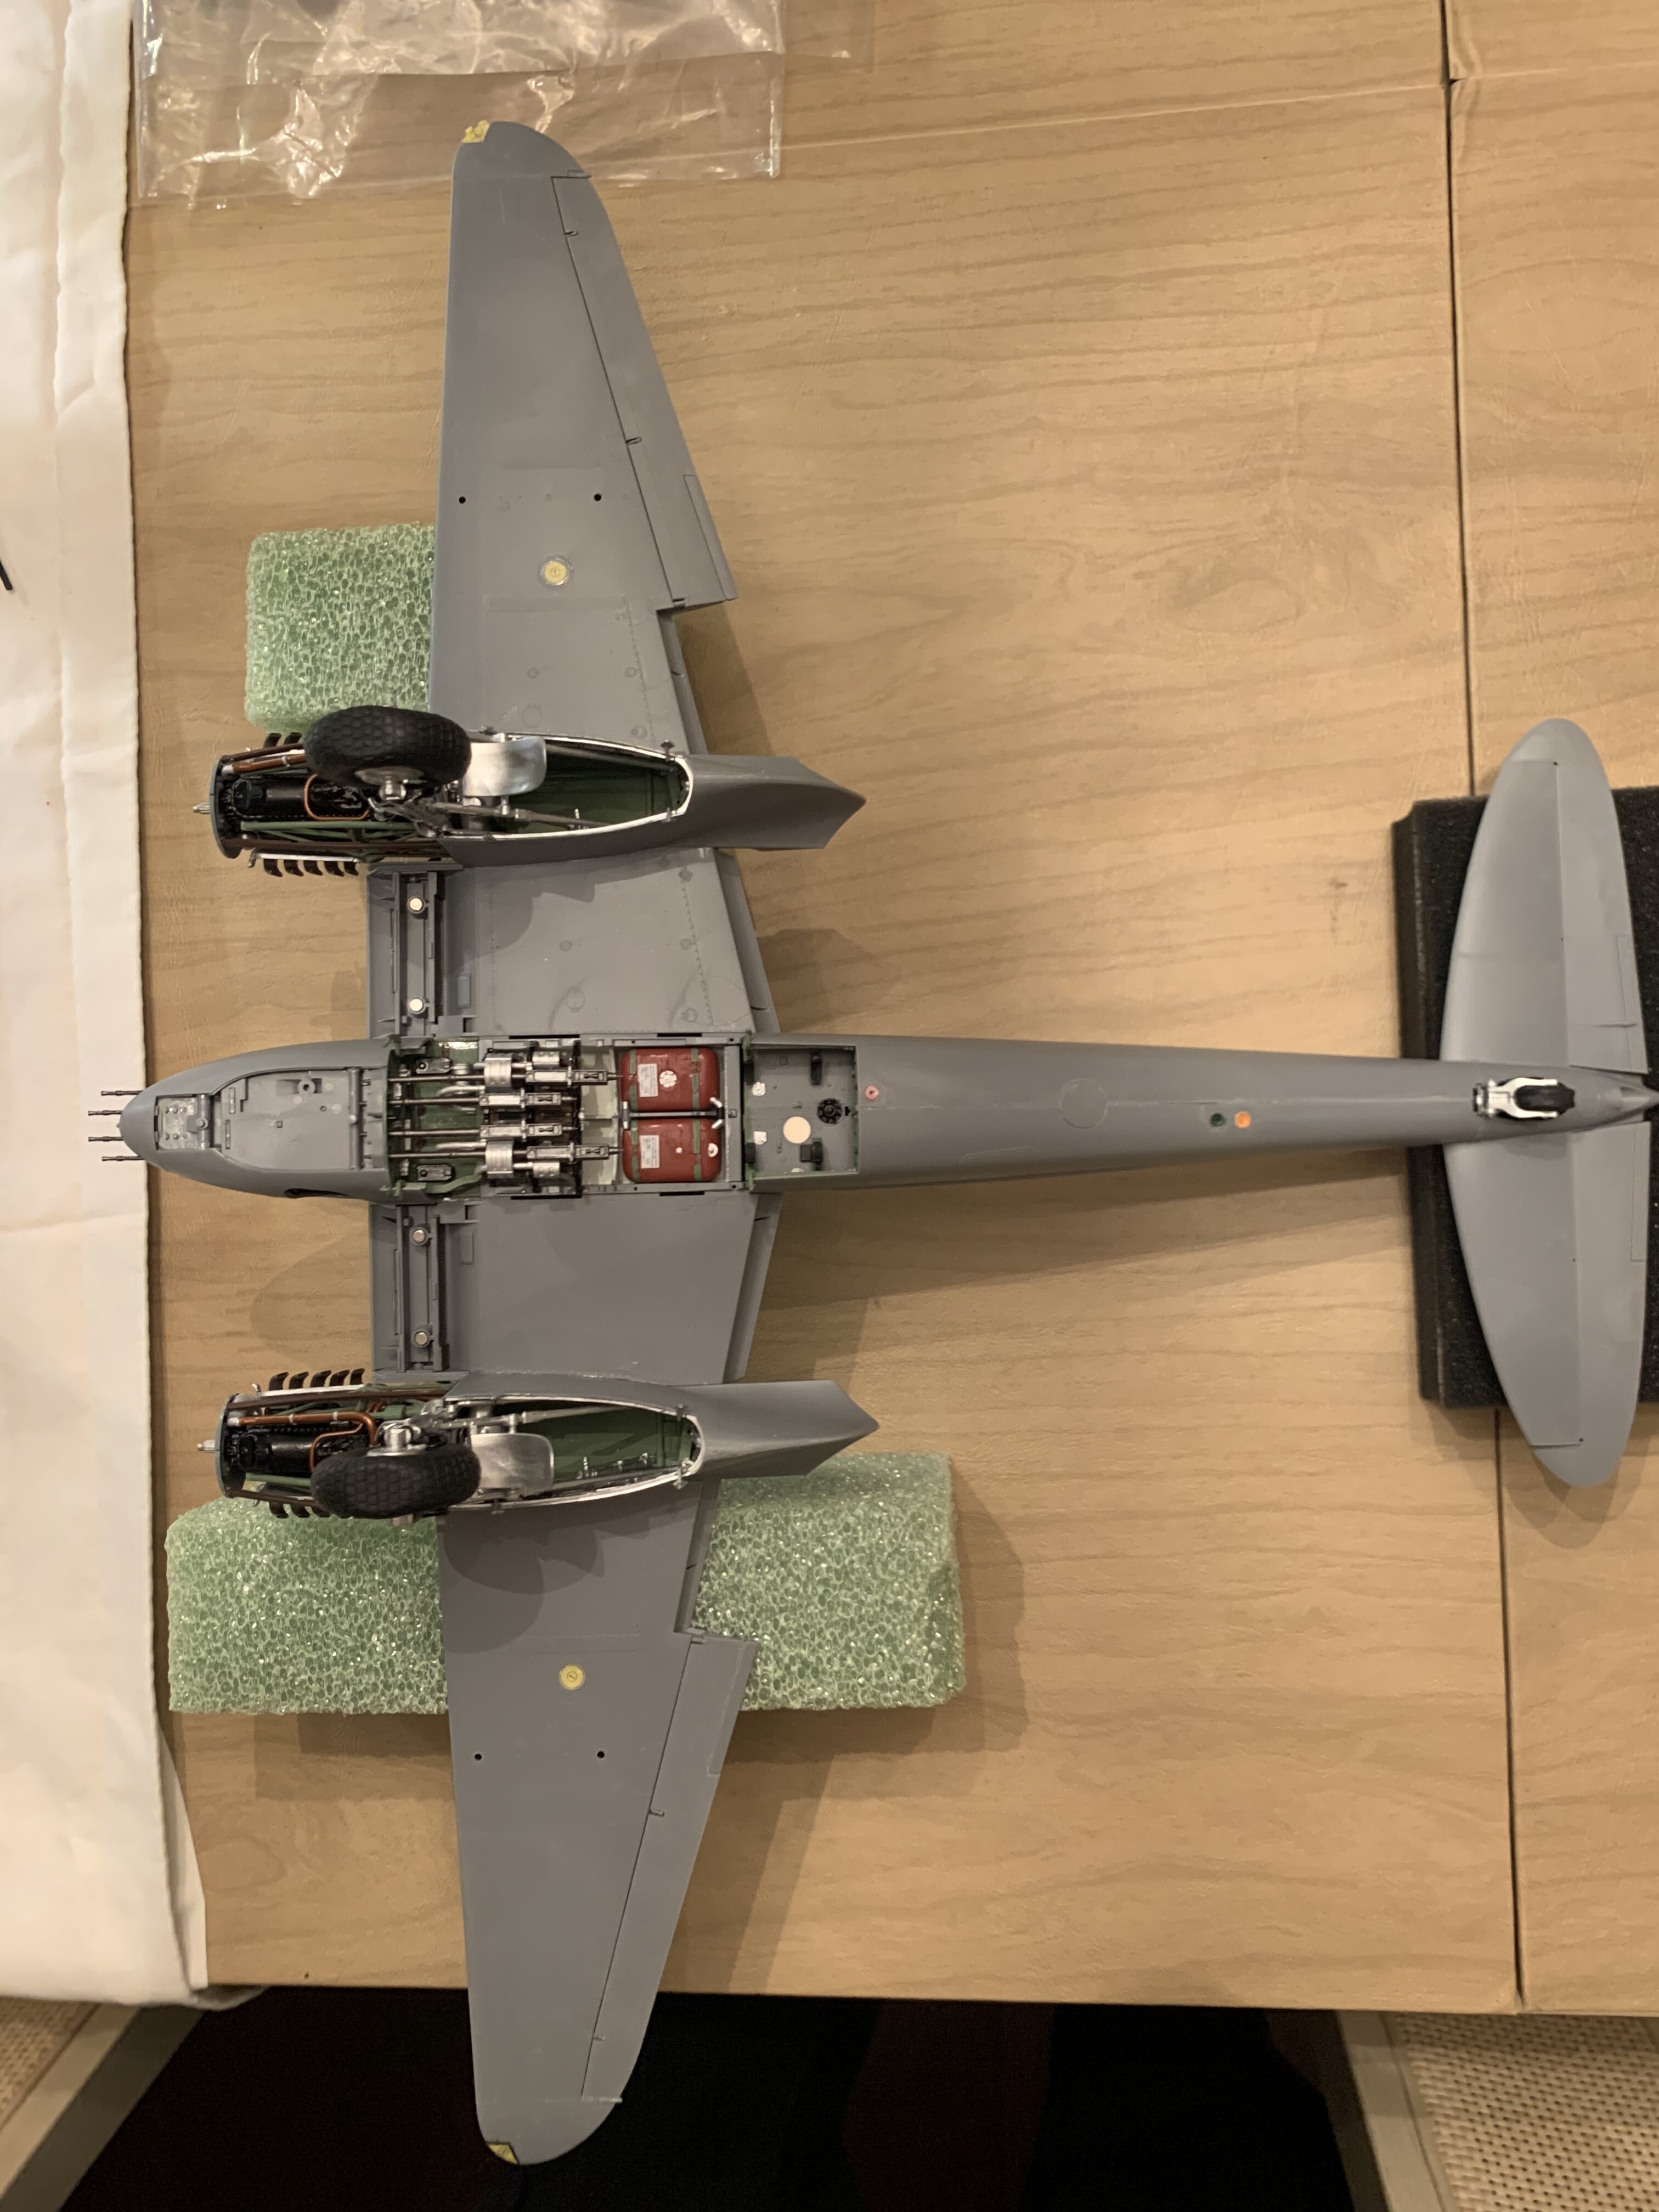
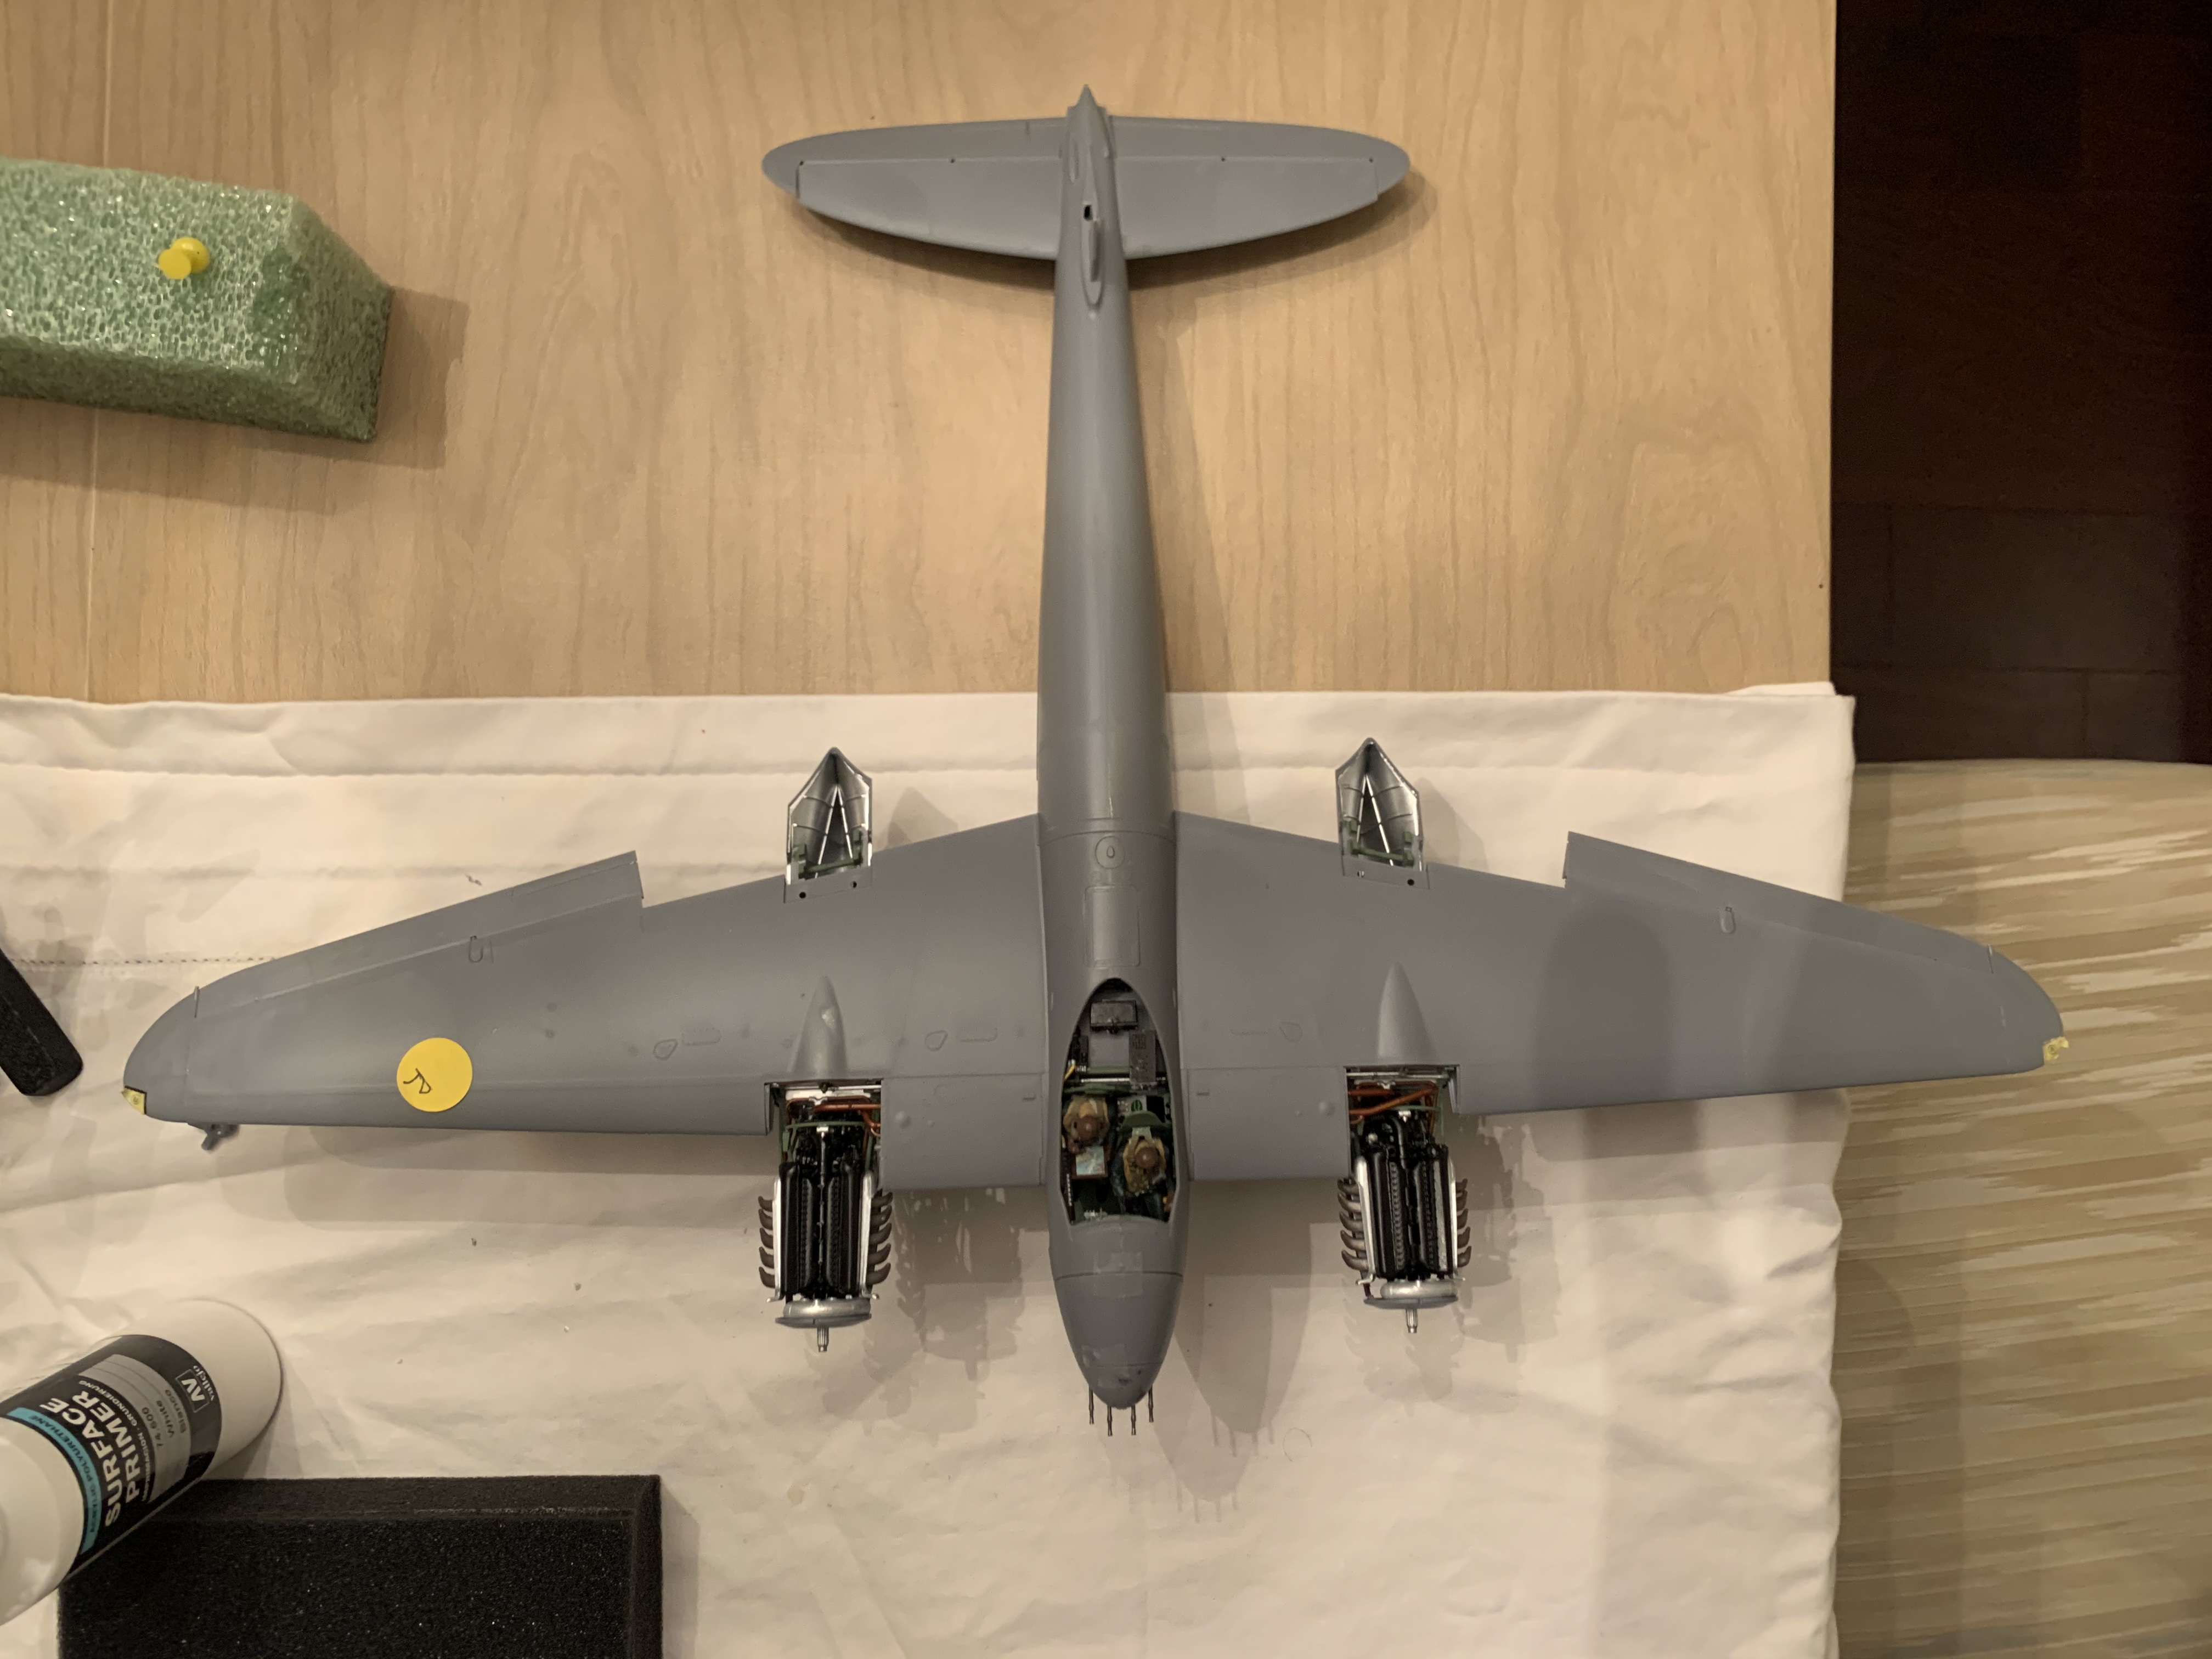
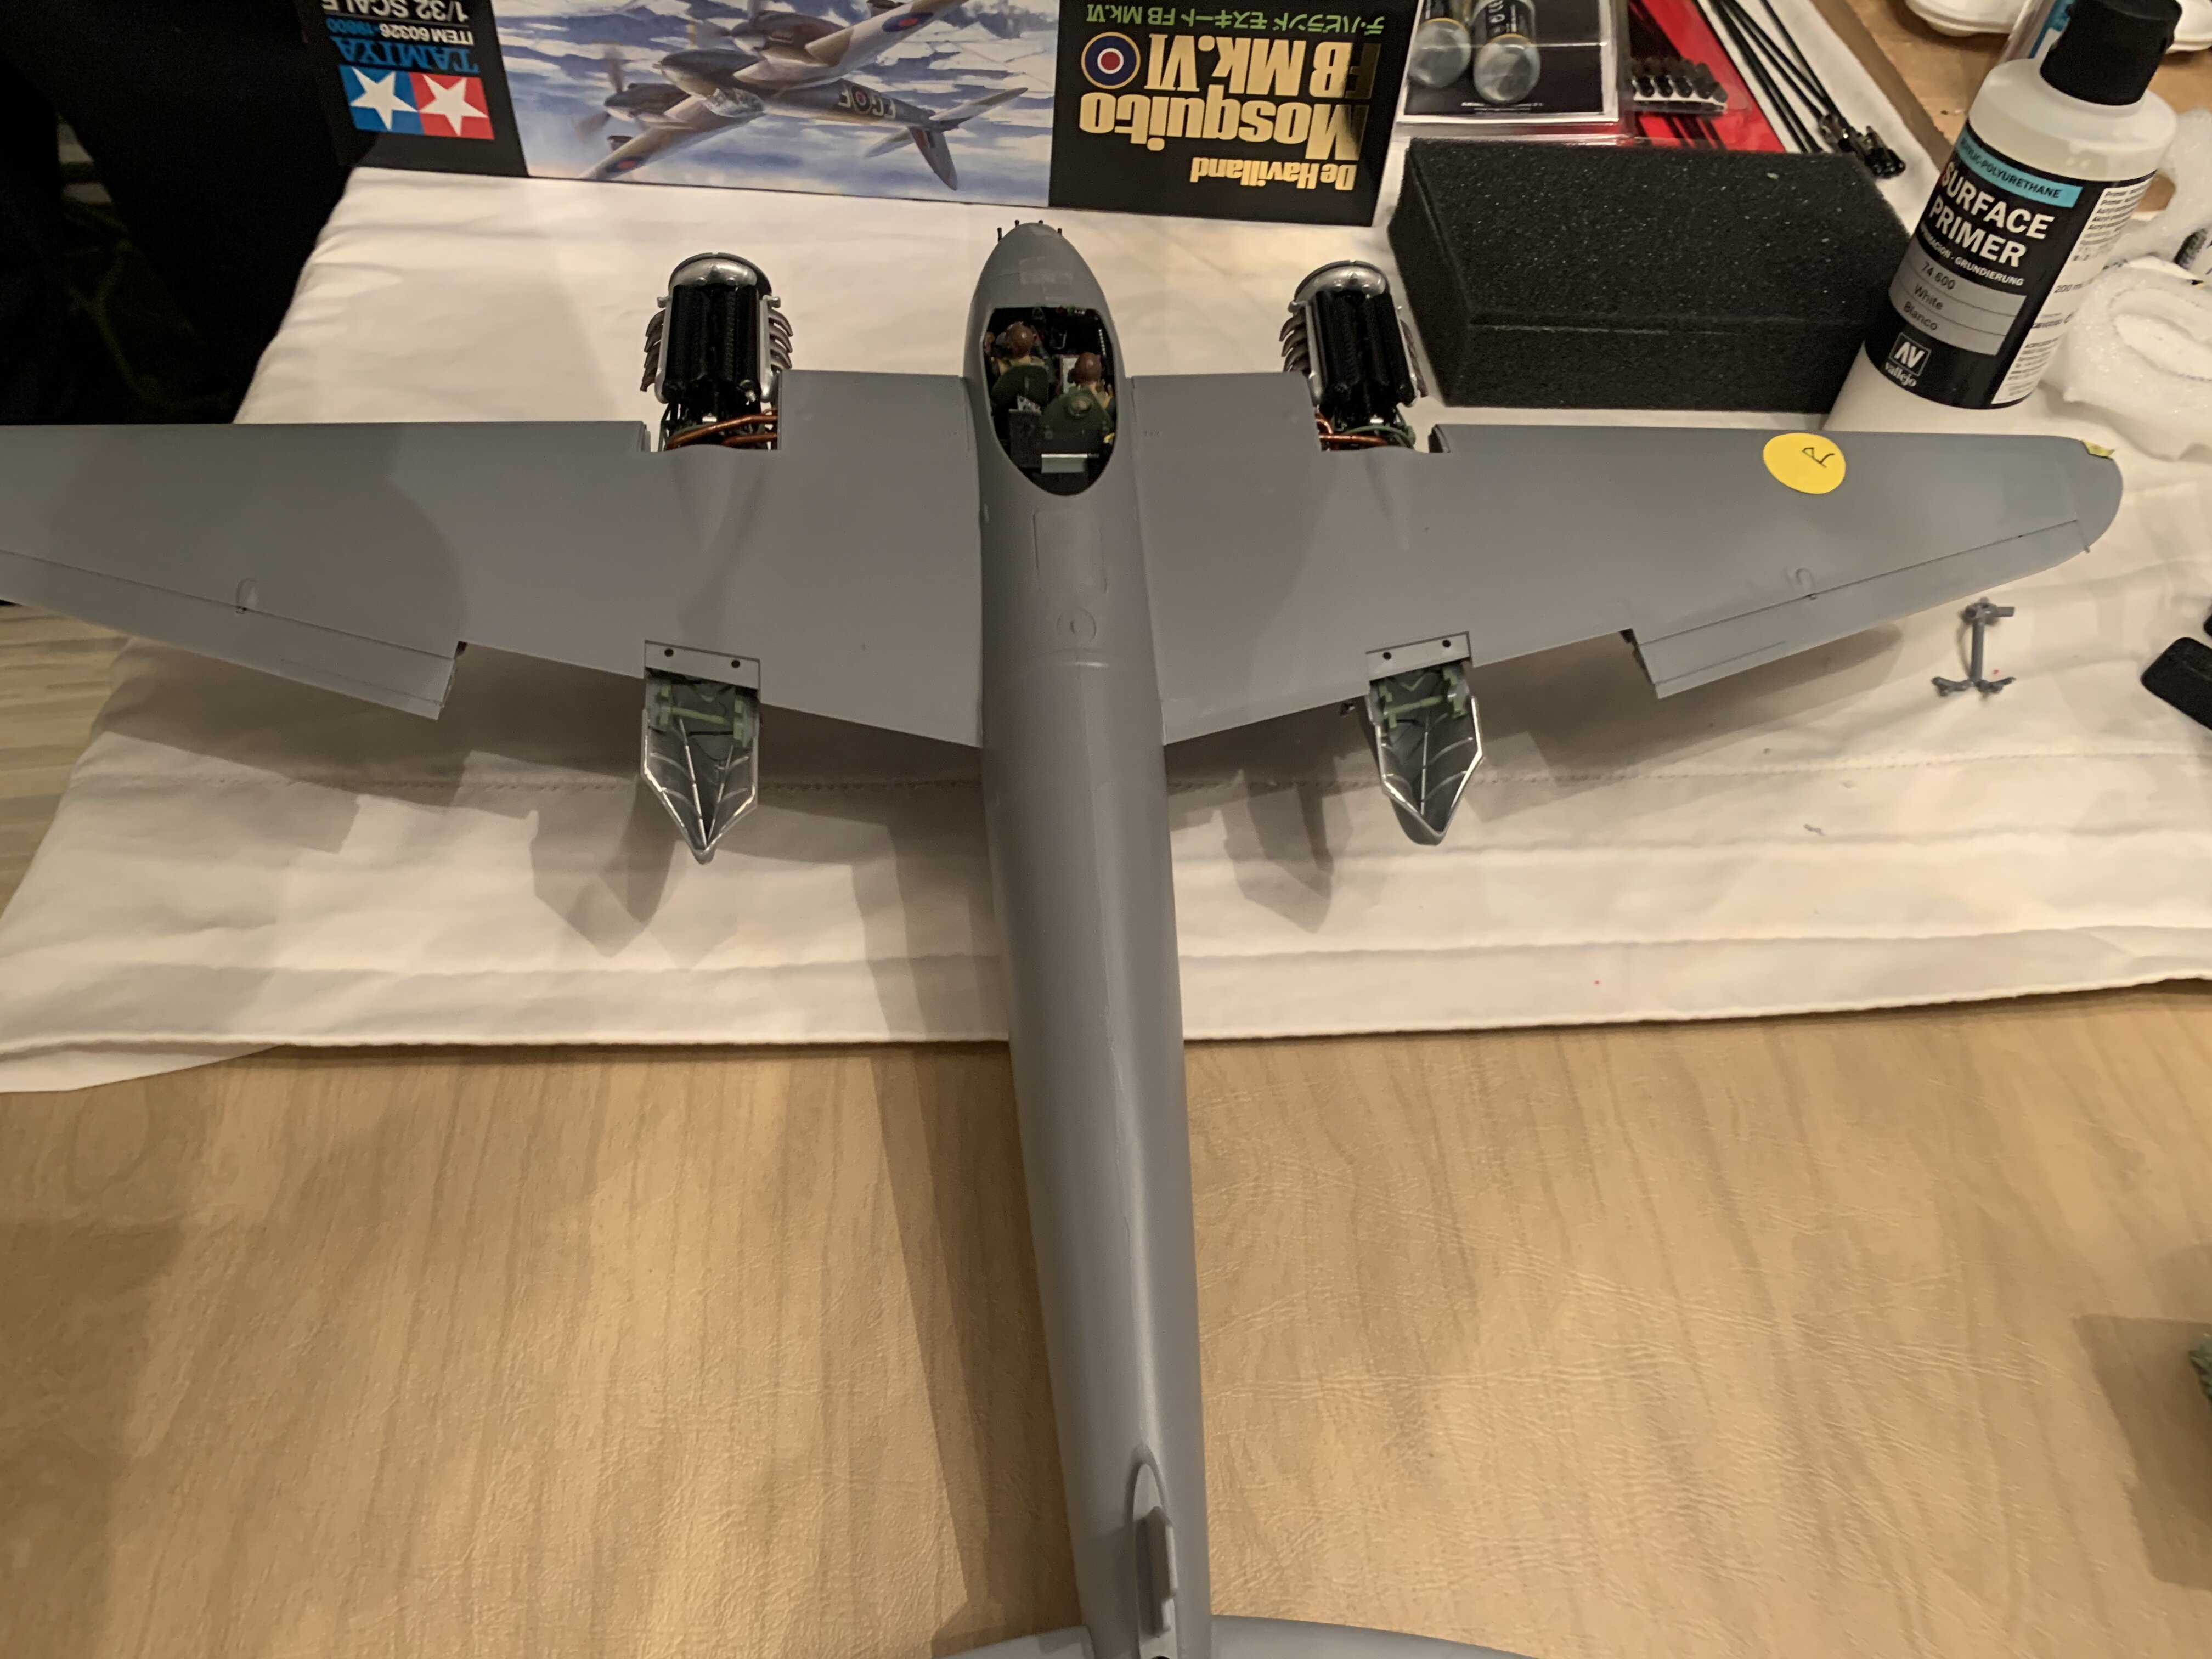
I wanted to post progress photos of my build of the Tamiya 1/32 Mosquito. It would be great to read comments on how I can improve. Several photos were posted in the “techniques“ forum where i received very productive comments and i have put an aircraft weathering how-to book and some weathering products on my wishlist for Xmas. There is a specific issue that i wanted to discuss (although there is nothing i can do about it now). The wheel/tire assembly consisted of many pieces in order to mimic the flat spot at ground contact. I took great care in putting all of it together. However, when I mounted the nacelle to the wing/fuselage, i was very disappointed to find out that the flat spot on the tire is not flush with the surface. You have to get down and close to see it but there is definitely a triangle of light that shouldn’t be there. If anyone out there built this model i would love to hear wether you also had any issue with this detail? thanks for looking! Stuart
 1 point
 -
For my next build I will be taking on the 1/48 Airfix Junkers JU-87B-1 Stuka. This was a World War II dive bomber use by Germany. I am not using the scheme in the kit. Instead the scheme will be that of the Staffelkapitan, 4th Staffel, Stukageshwader 77. It represents how it looked in June 1940 in France. I purchased the Eduard “Big ED” photo etch detail set (#49166) and will also be scratch building some other details. Starting with the cockpit I added the photo etch details to the ammunition cartridges. Then I detailed the seat with the photo etch seat belts. The cockpit floor required some putty as the ejector points were a little on the deep side. Once filled and sanded it was painted using Vallejo RM2 gray. The spent ammo casing bin was assembled and a photo etch cover was added. I added the ammunition cartridges to the mount and the put the bin, ammo, and seat into the weathered cockpit. I am working on the cockpit walls. Again these have a lot of ejector marks which required putty to fill. The cockpit parts have very good details although it is kind of a shame that there is a lot of ejector marks. You can see photos and details of the start in my build log at https://davidsscalemodels.com/build-log/1-48-ju-87b-1-stuka/1 point
-
New kid in town again, so I figured I’ll jump in with both feet. This is my most recent armor build completion. It’s the old Heller kit built mostly OOB. I did add cast armor surface texture to the hull and turret using Mr Surfacer, some scribing to replace or enhance kit details in a few spots, and replaced the co ax machine gun barrel with some Albion tubing. I painted with Humbrol enamels, used the kit decals, and used Model Master acrylics for the weathering dirt & dust.1 point
-
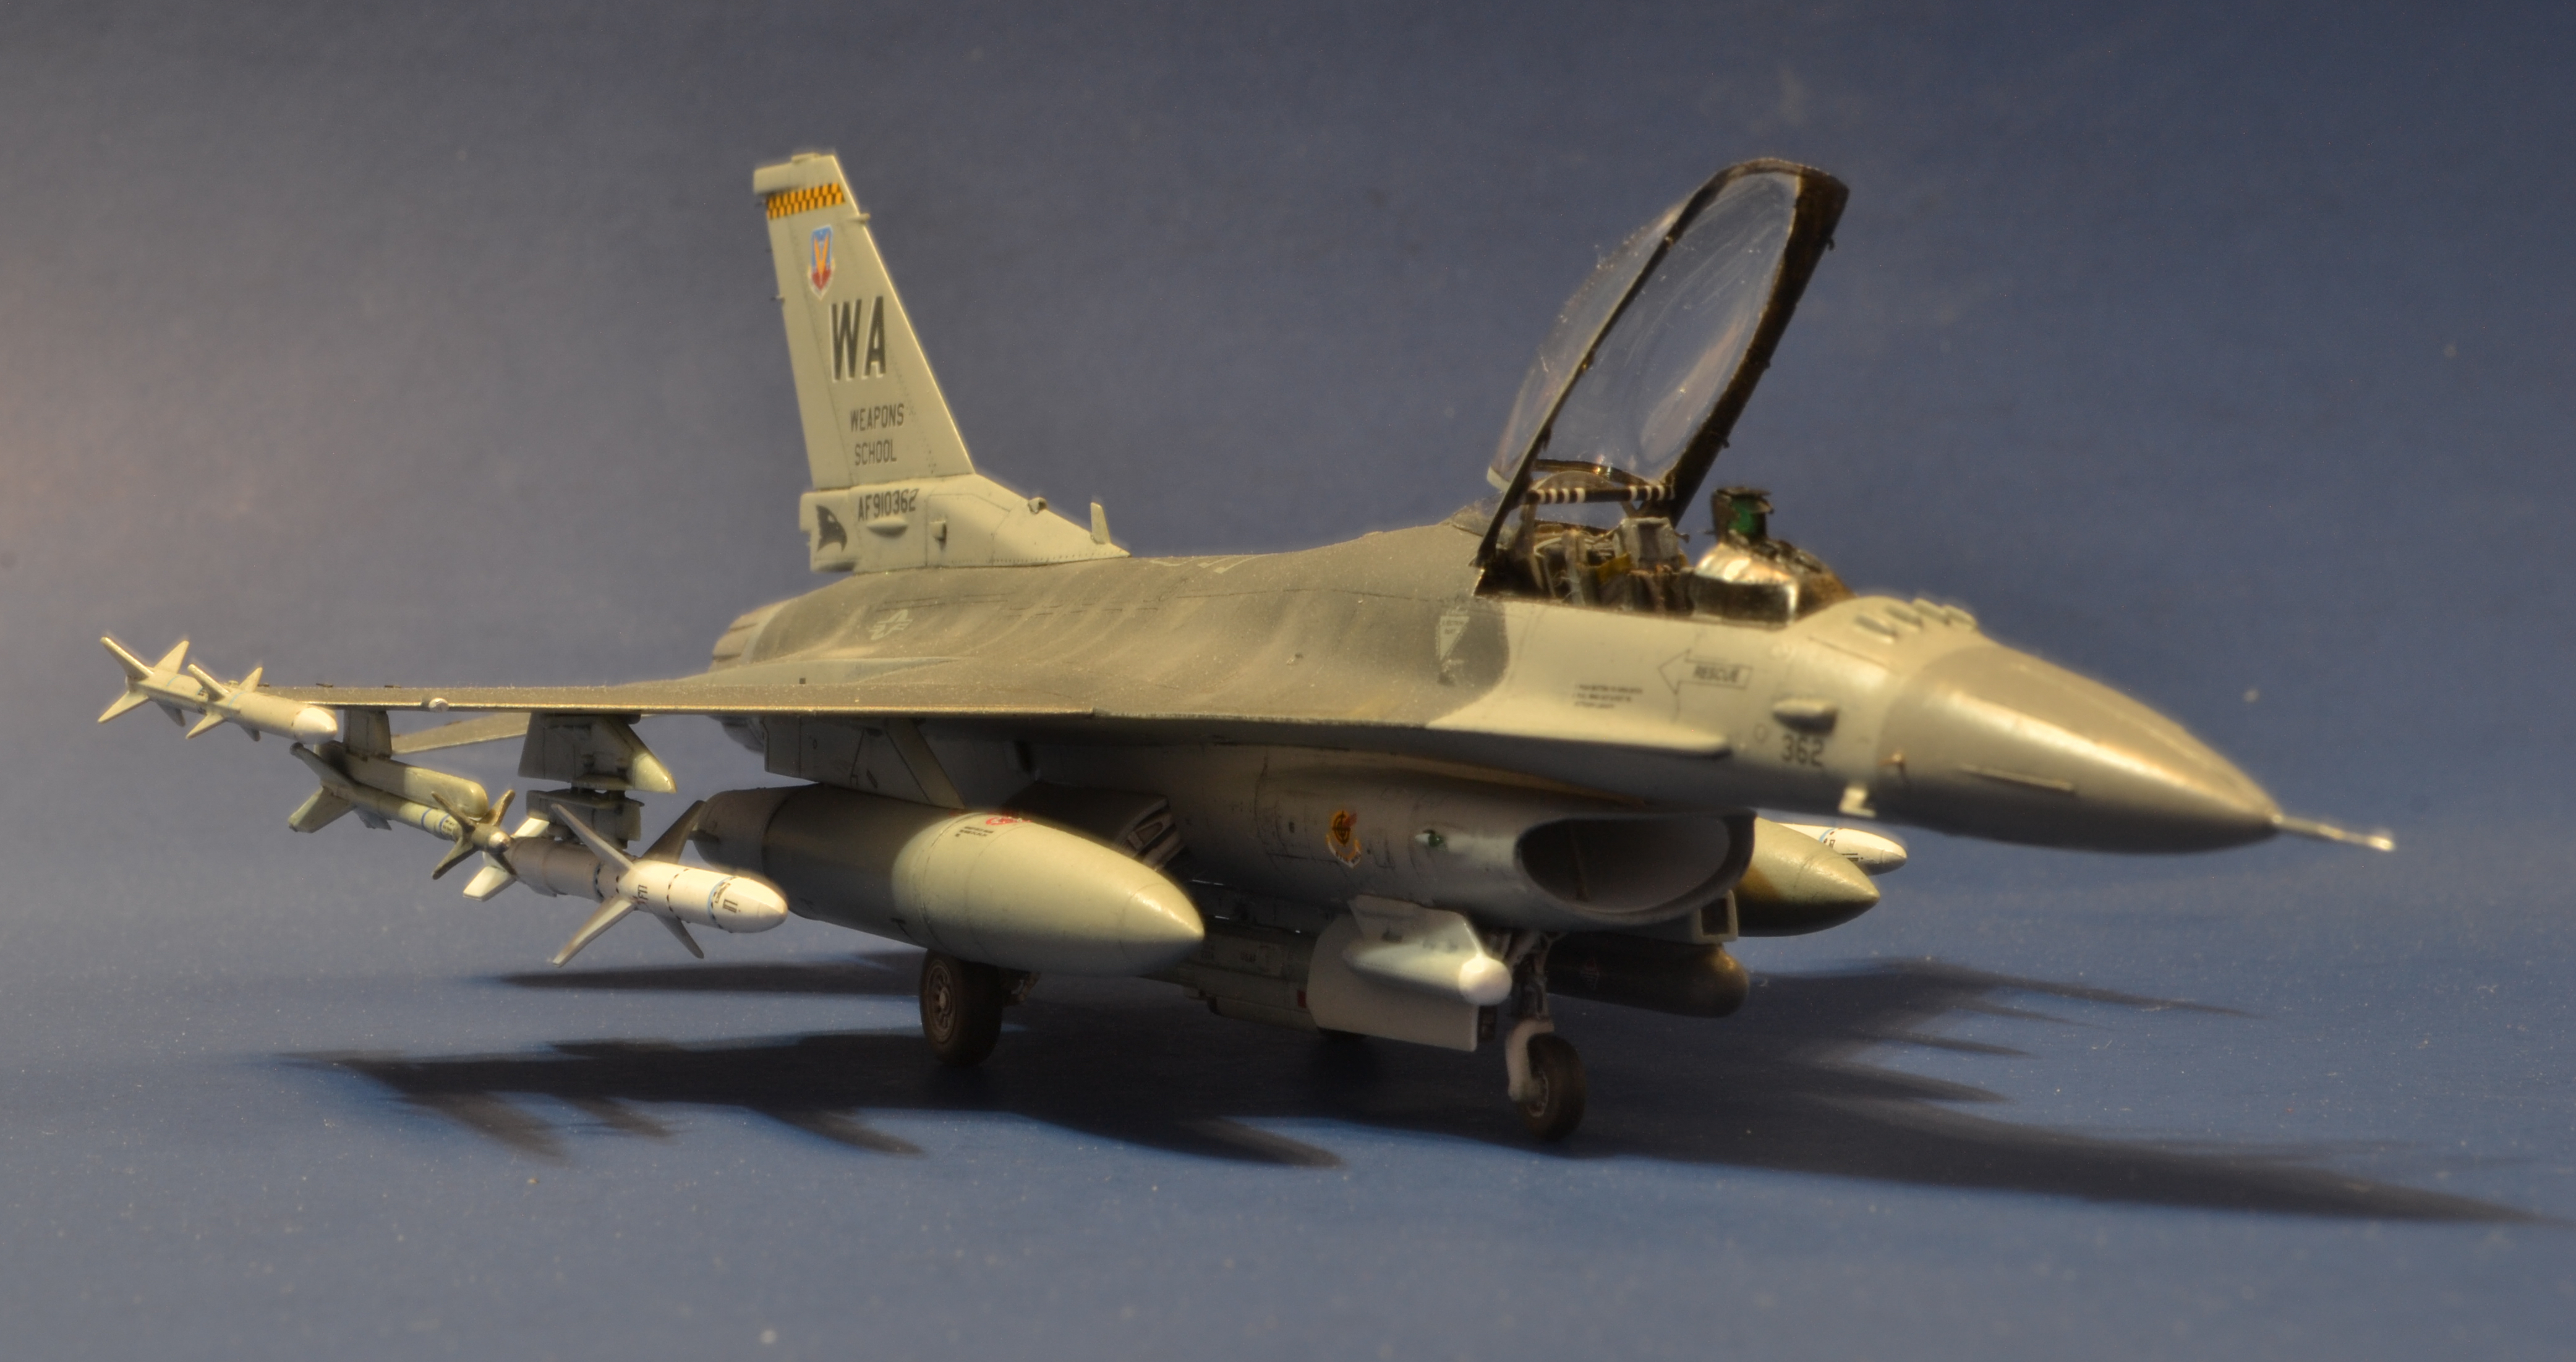
Here's my latest completion: the FROG re-pop of the Academy F-16C Block 52. The kit's overly-pointy nose was replaced with a Wolf Pack nose. Also lending a hand was a Wolf Pack burner and tailpipe, Aires cockpit, CMK main gear bay, and Master Models pitot, AOA probes and static discharge wicks. To get a Night Vision Goggles-compatible canopy, I swapped the tinted kit canopy from one from an old Hasegawa kit. The paints were a mix of ModelMaster and Humbrol enamels. Weathering was applied with a Payne's gray sludge wash, followed by the application of fluid leaking with a Staedler .05mm pigment liner, and finally pastels once the flat coat was on. All the ordnance - save the Hasegawa ACMI pod - came from the kit. The decals are from TwoBobs for 91-0362, which has served at Nellis AFB (right by Las Vegas!) at the USAF Weapons School for its entire career. This is how it appeared in 2006.
1 point