Leaderboard


Popular Content
Showing content with the highest reputation on 12/06/2020 in all areas
-
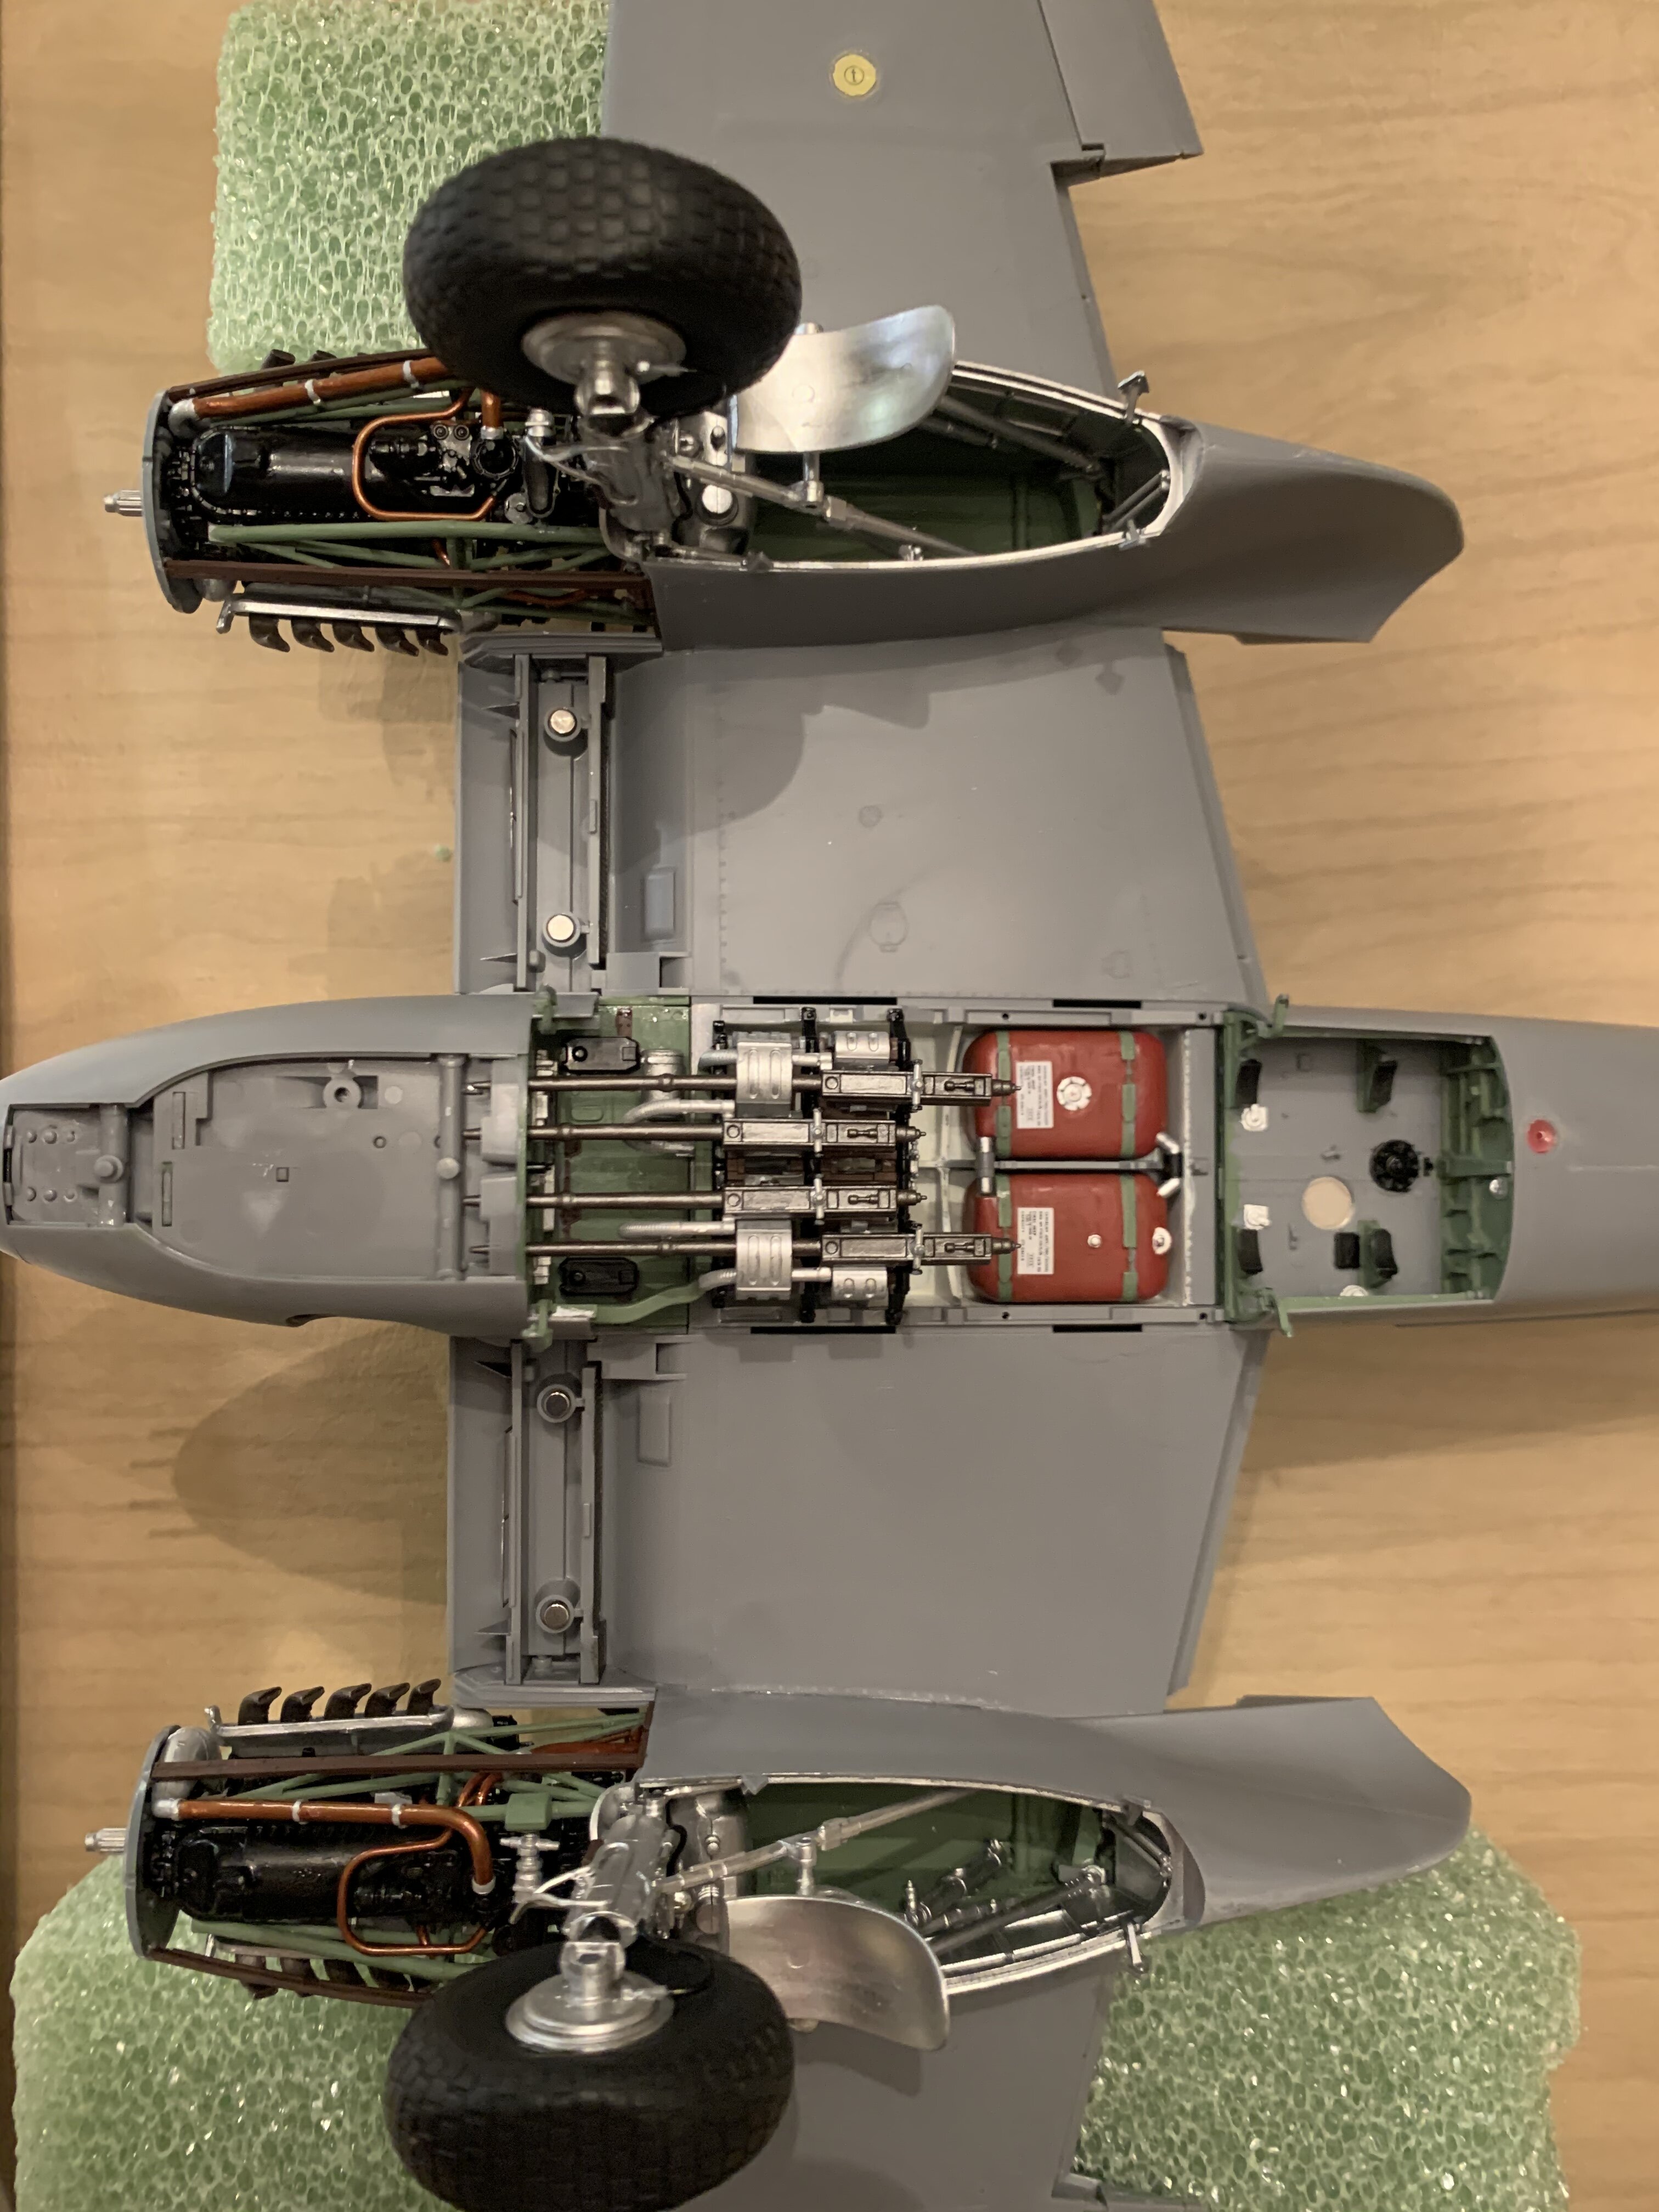
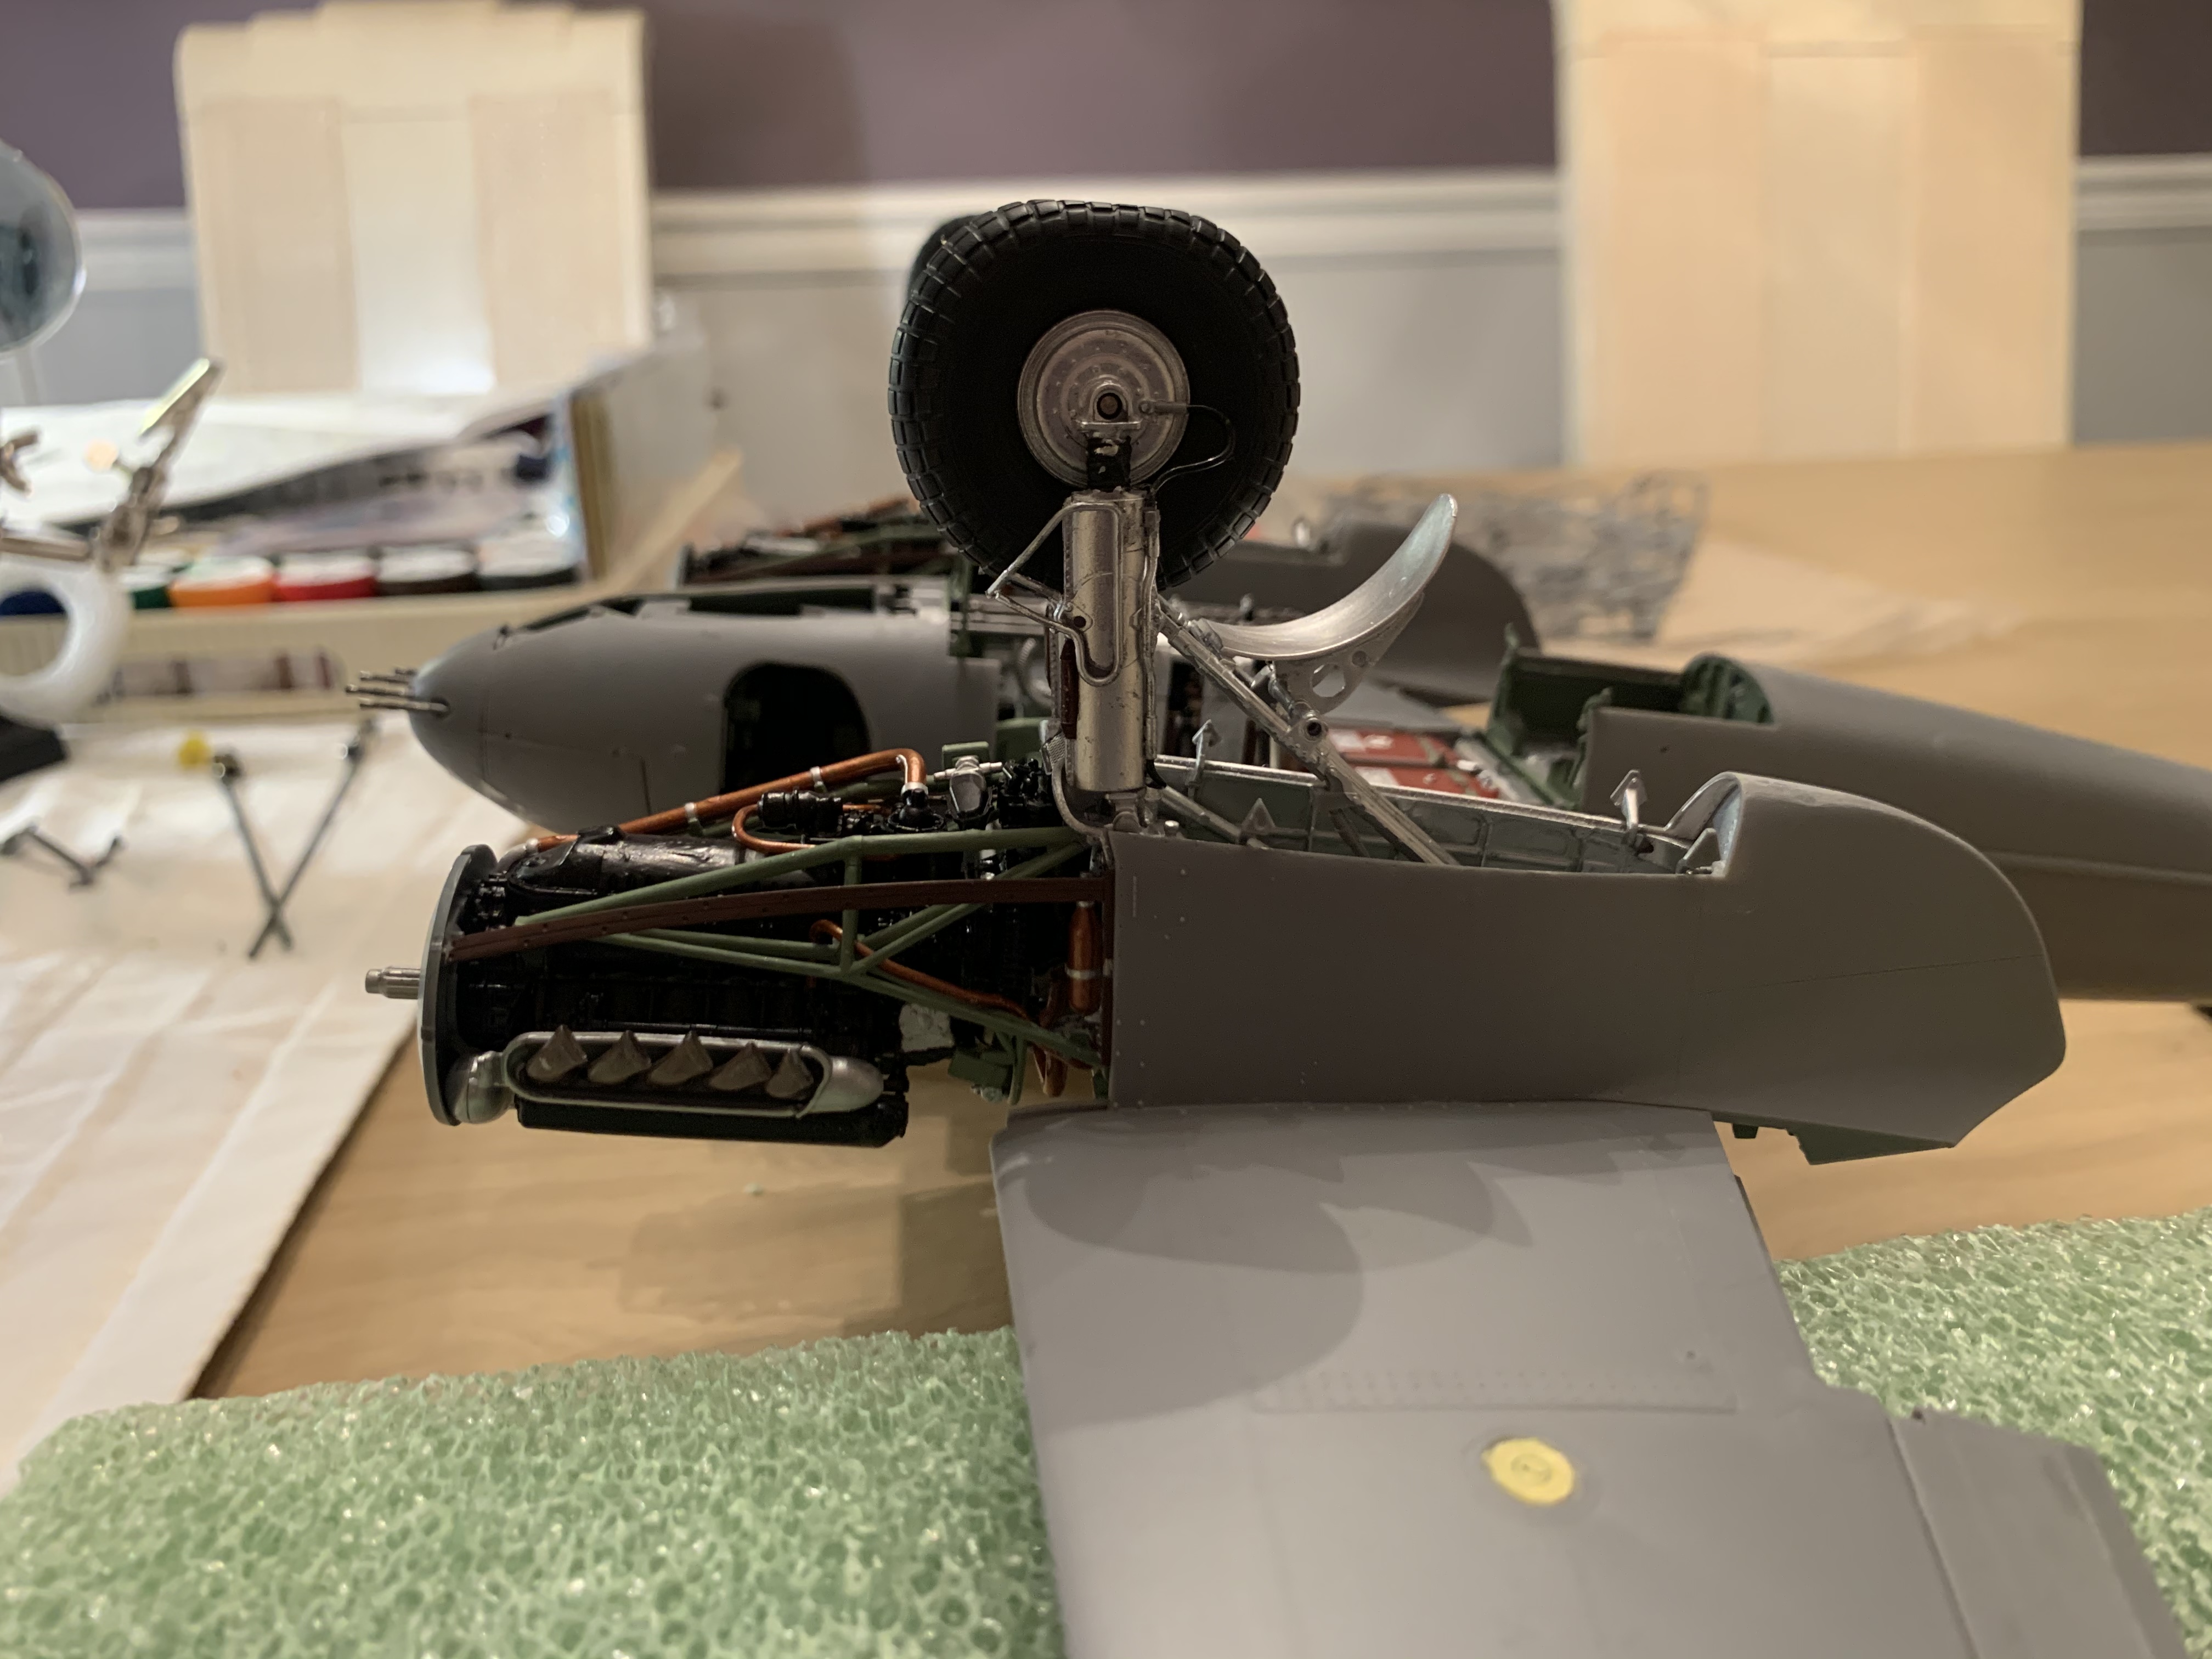
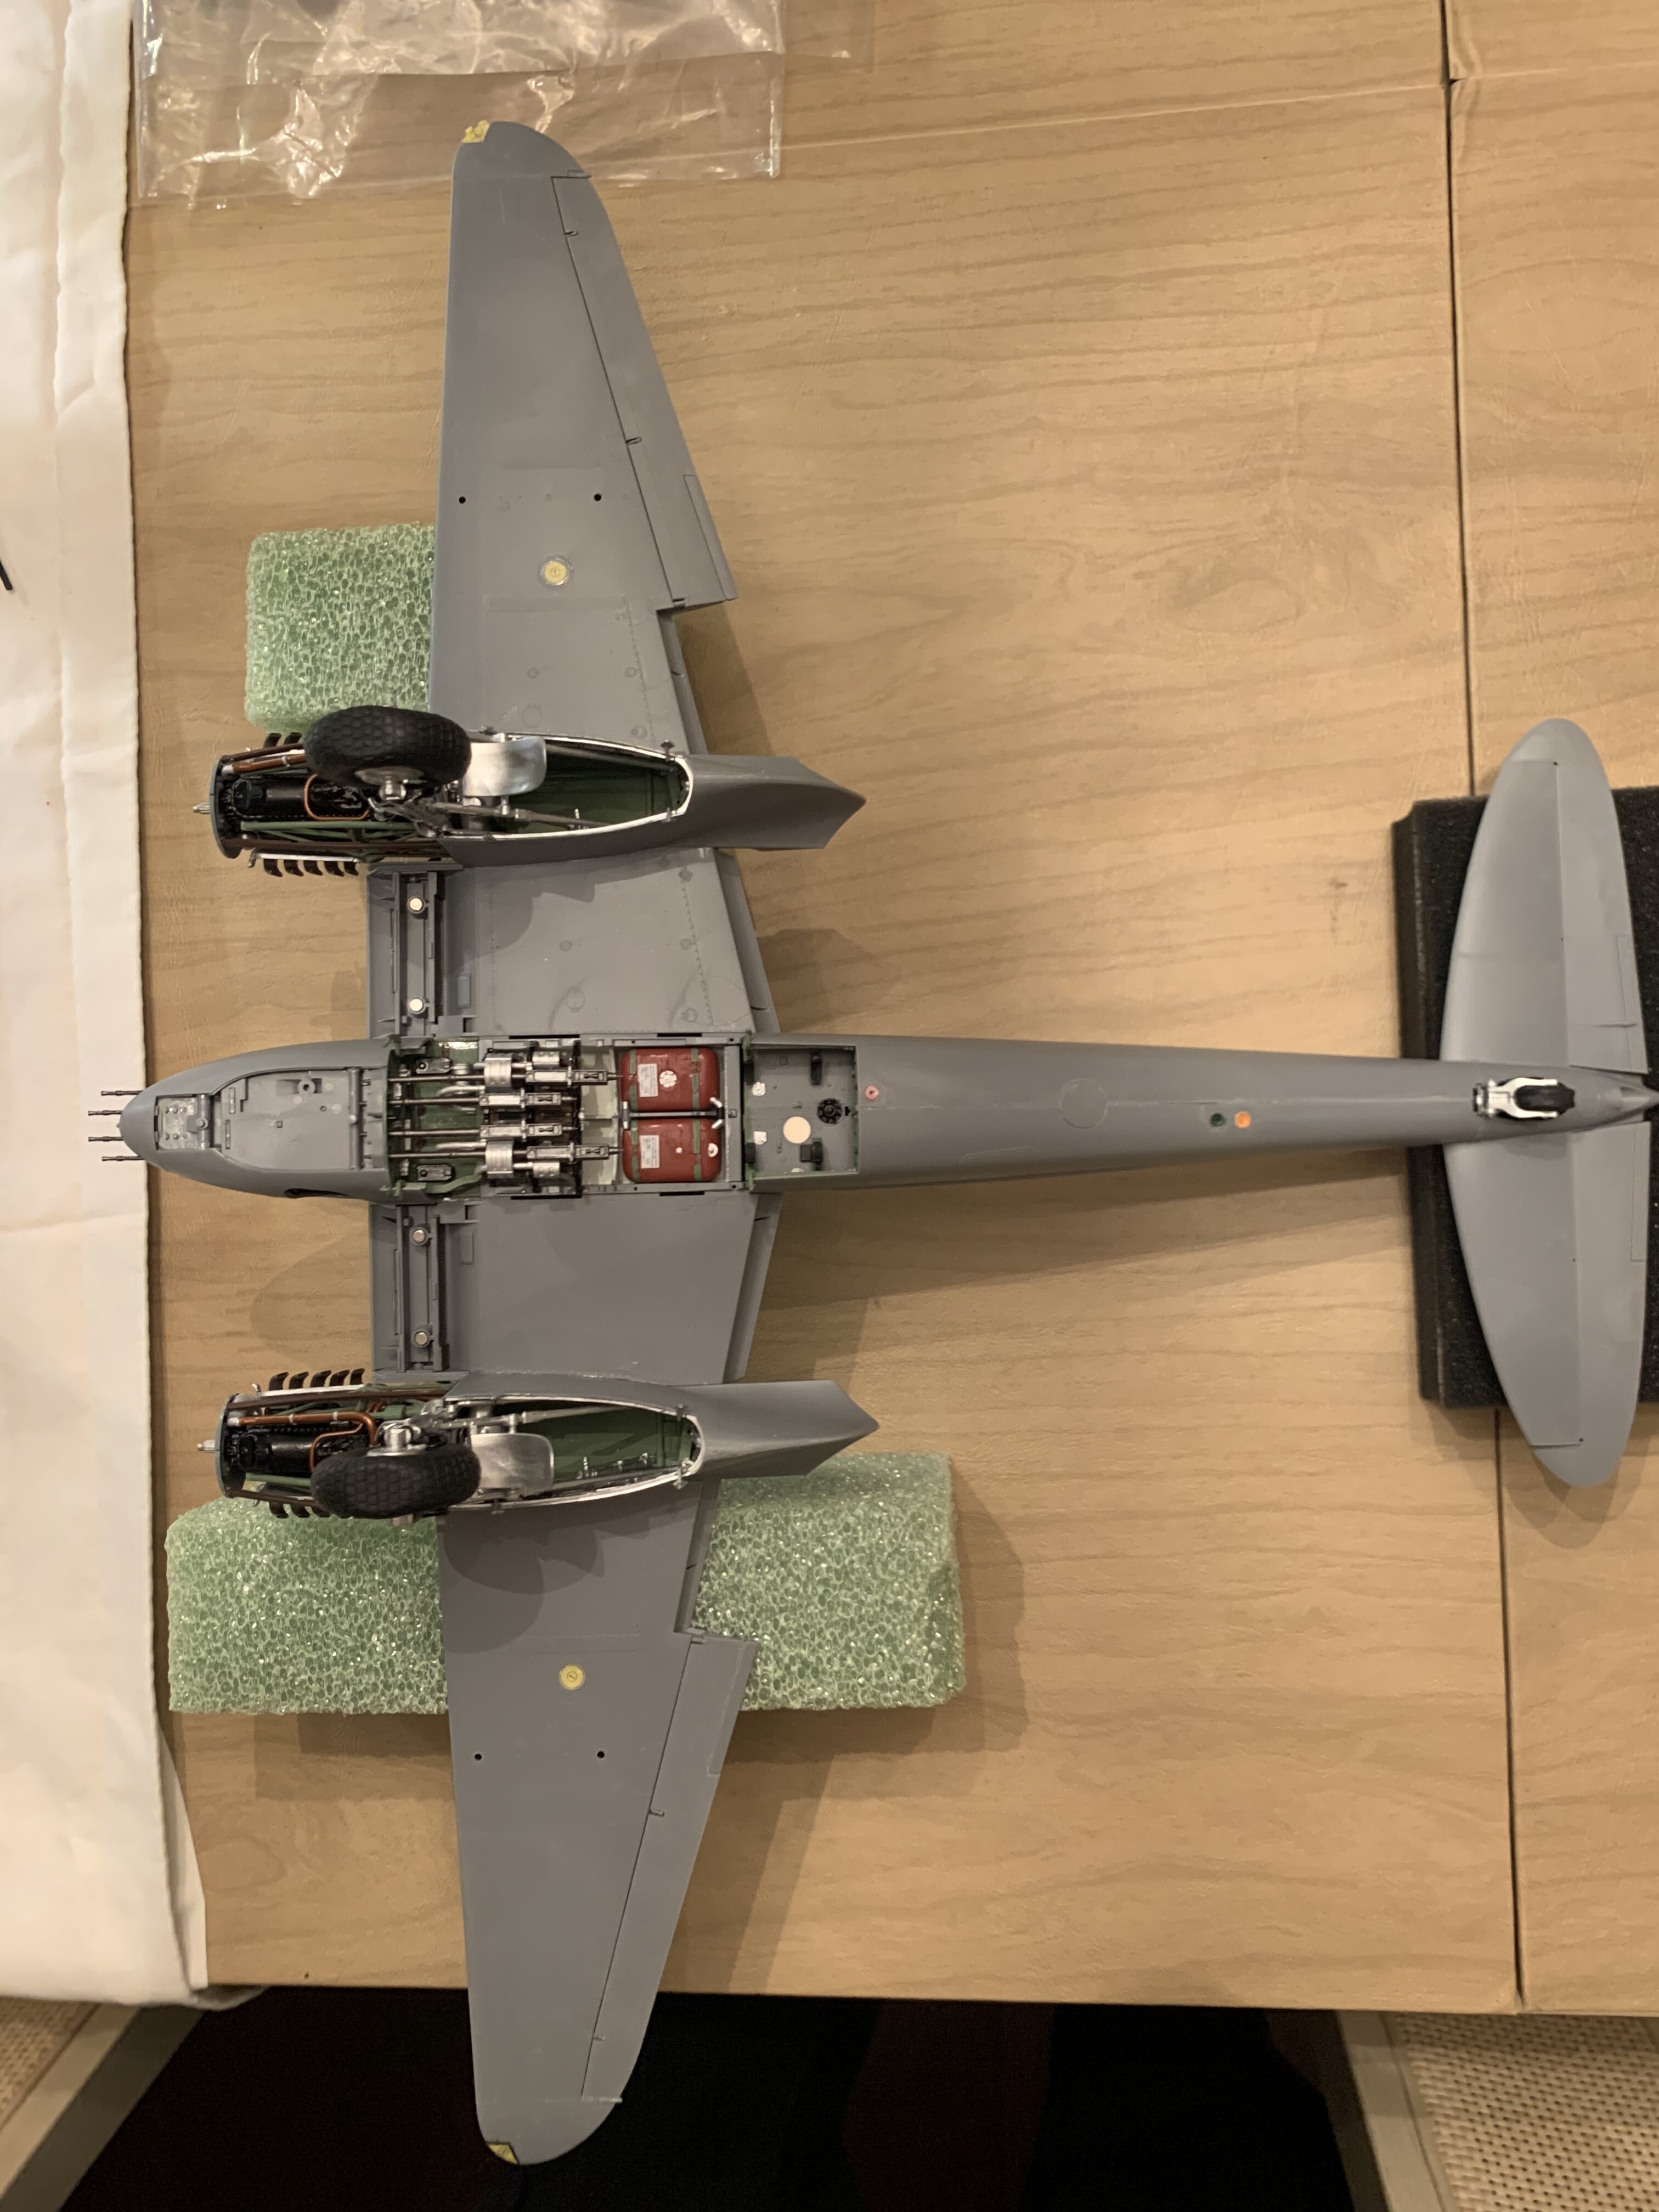
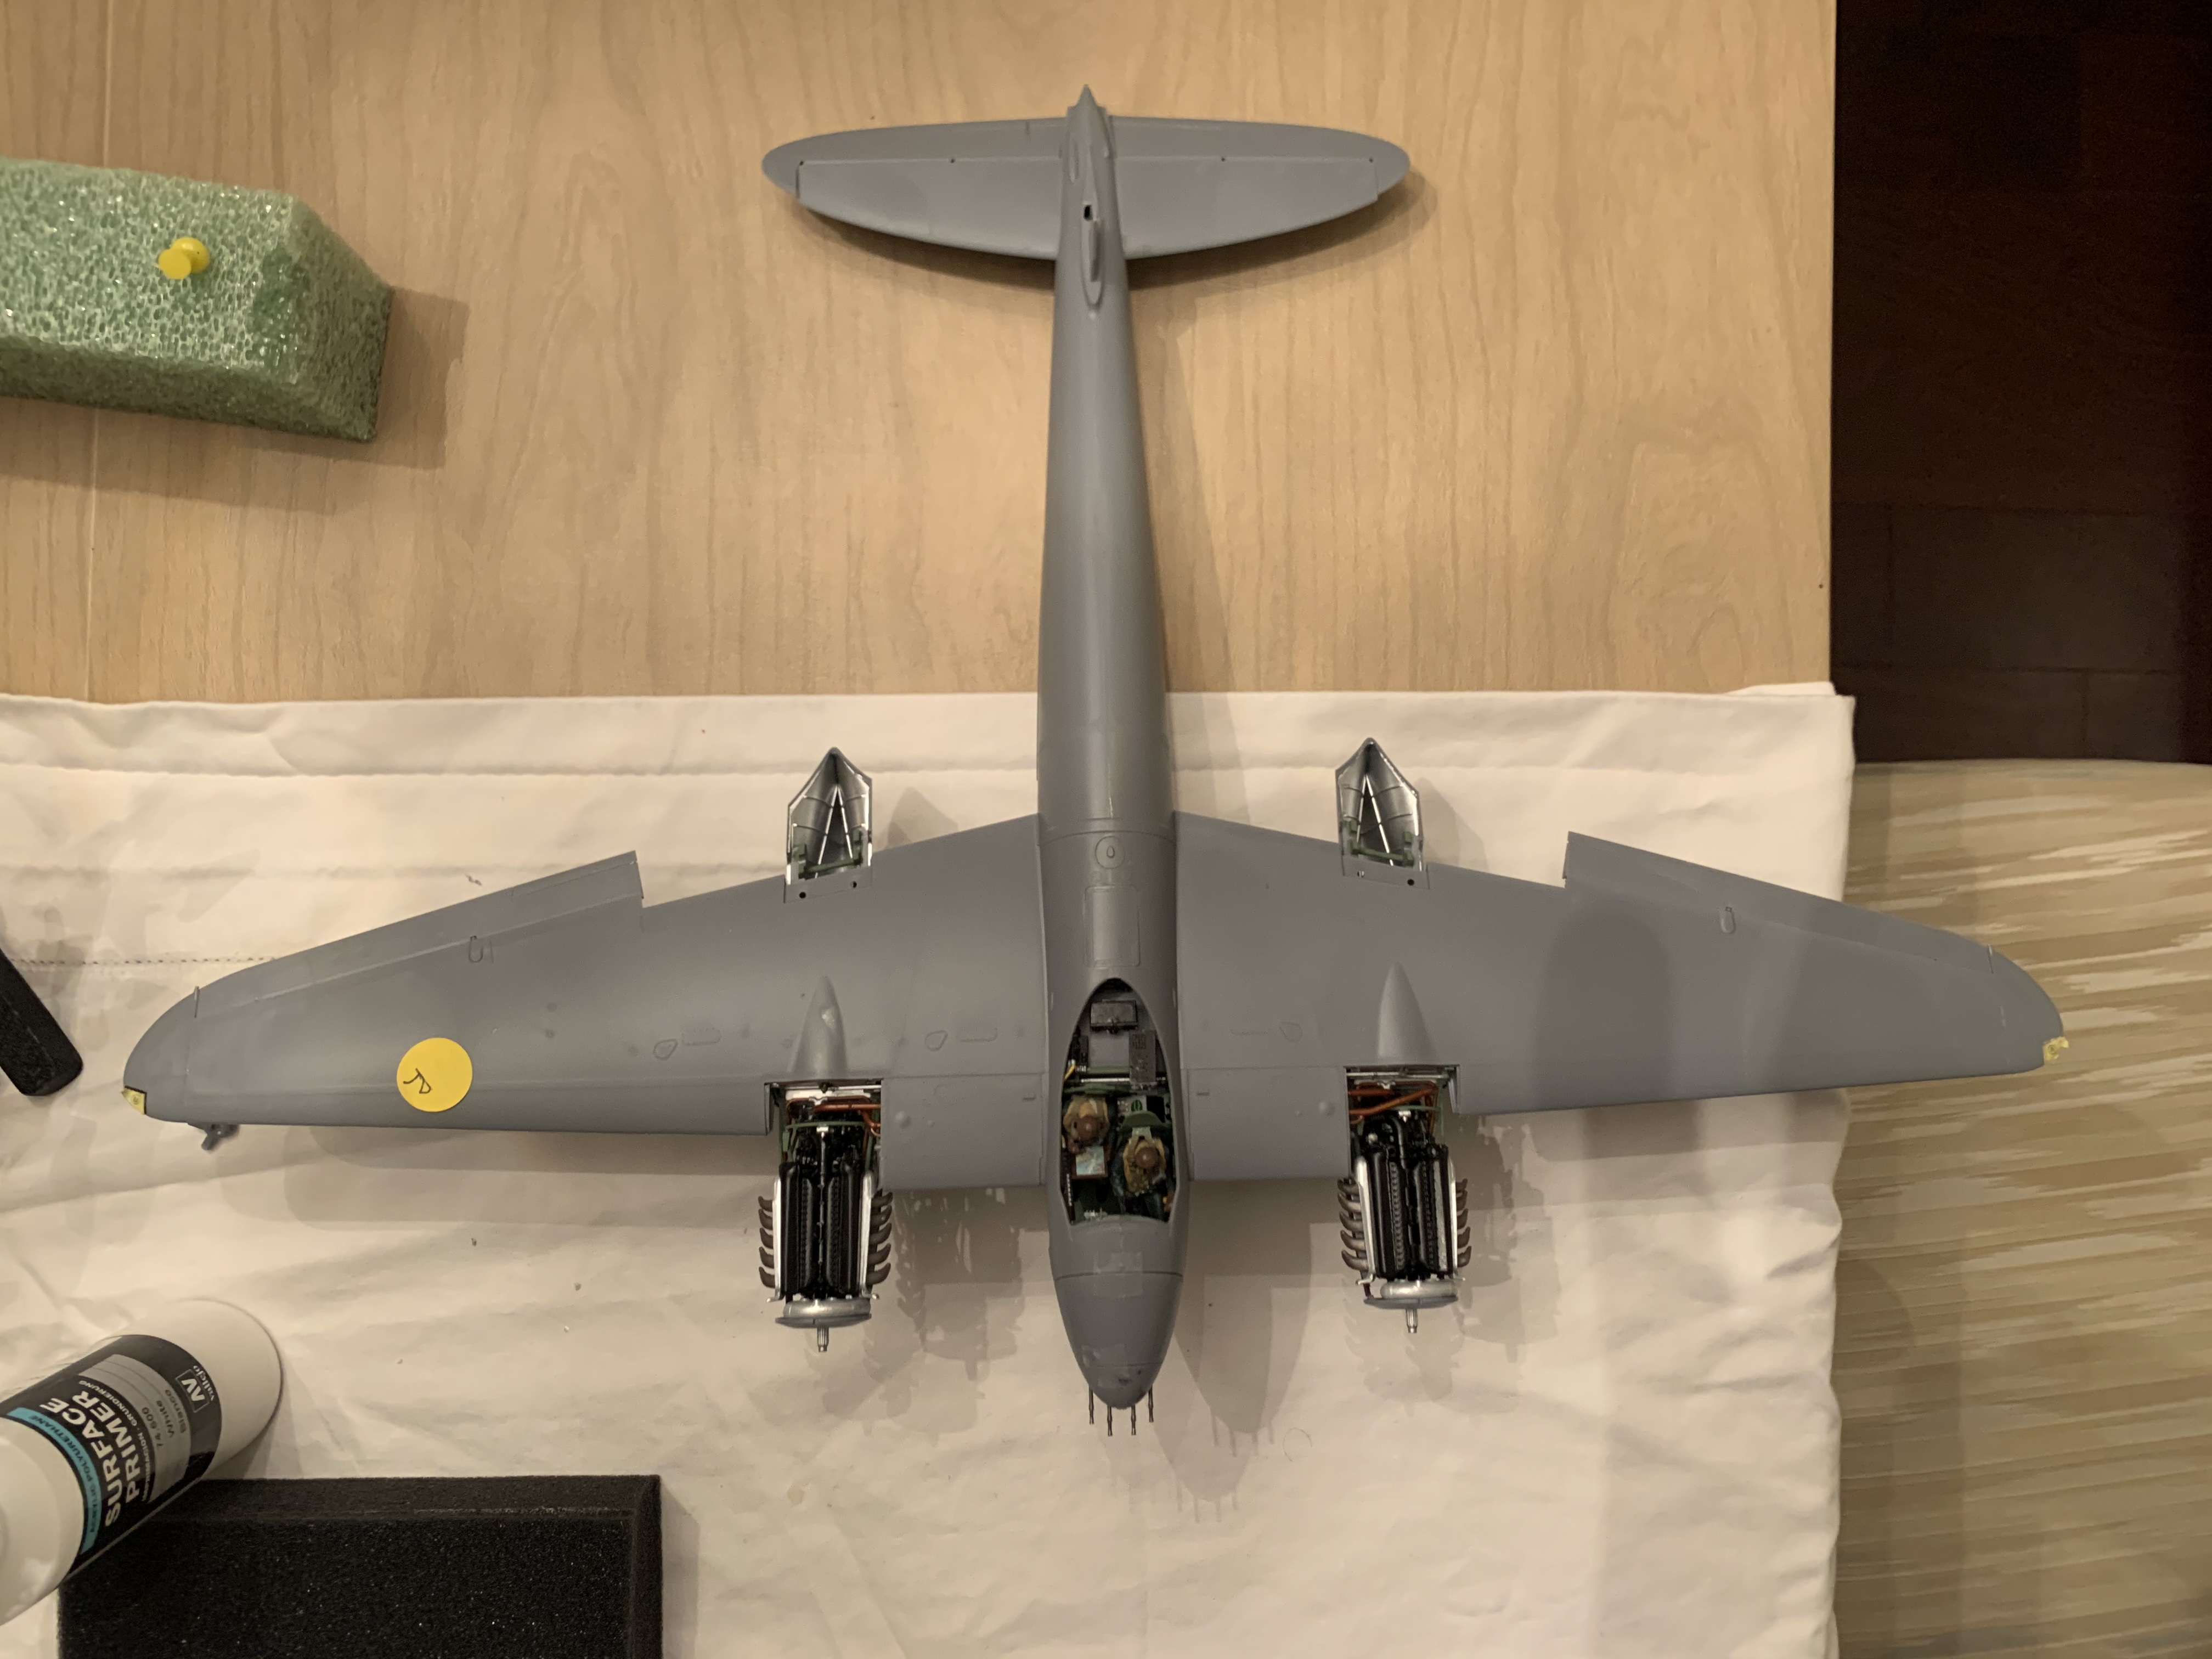
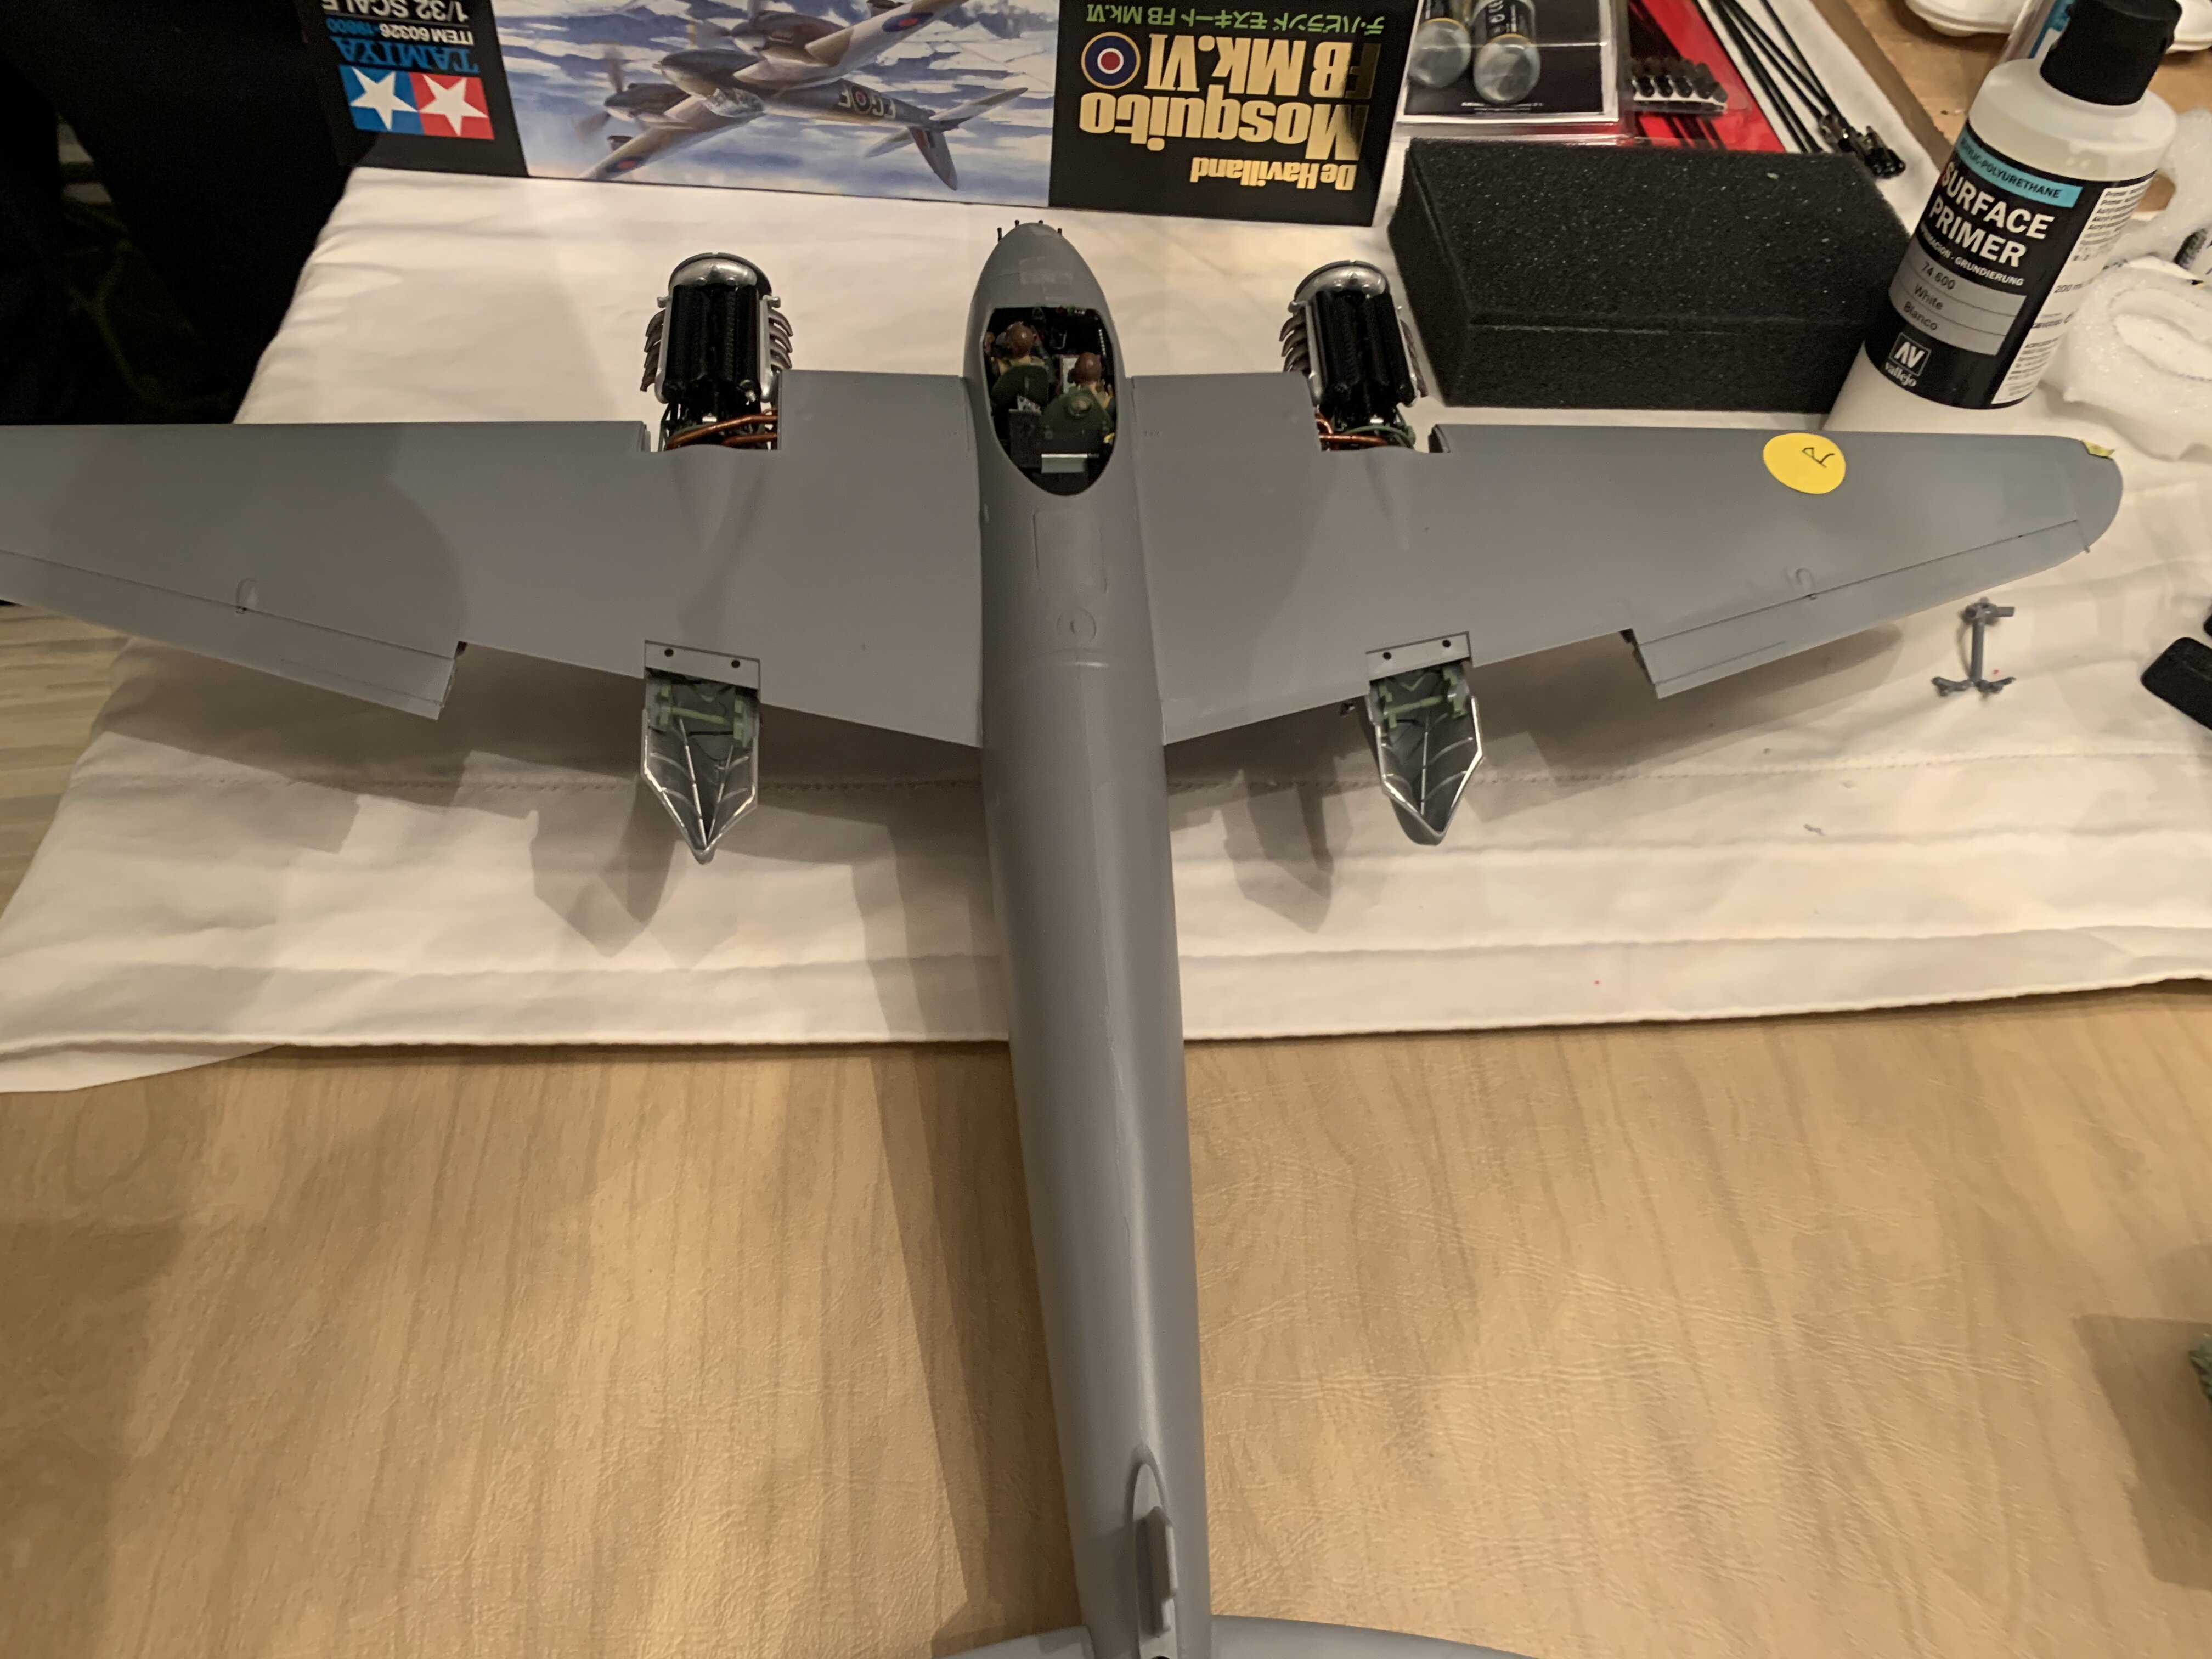
I wanted to post progress photos of my build of the Tamiya 1/32 Mosquito. It would be great to read comments on how I can improve. Several photos were posted in the “techniques“ forum where i received very productive comments and i have put an aircraft weathering how-to book and some weathering products on my wishlist for Xmas. There is a specific issue that i wanted to discuss (although there is nothing i can do about it now). The wheel/tire assembly consisted of many pieces in order to mimic the flat spot at ground contact. I took great care in putting all of it together. However, when I mounted the nacelle to the wing/fuselage, i was very disappointed to find out that the flat spot on the tire is not flush with the surface. You have to get down and close to see it but there is definitely a triangle of light that shouldn’t be there. If anyone out there built this model i would love to hear wether you also had any issue with this detail? thanks for looking! Stuart
 1 point
 -
For my next build I will be taking on the 1/48 Airfix Junkers JU-87B-1 Stuka. This was a World War II dive bomber use by Germany. I am not using the scheme in the kit. Instead the scheme will be that of the Staffelkapitan, 4th Staffel, Stukageshwader 77. It represents how it looked in June 1940 in France. I purchased the Eduard “Big ED” photo etch detail set (#49166) and will also be scratch building some other details. Starting with the cockpit I added the photo etch details to the ammunition cartridges. Then I detailed the seat with the photo etch seat belts. The cockpit floor required some putty as the ejector points were a little on the deep side. Once filled and sanded it was painted using Vallejo RM2 gray. The spent ammo casing bin was assembled and a photo etch cover was added. I added the ammunition cartridges to the mount and the put the bin, ammo, and seat into the weathered cockpit. I am working on the cockpit walls. Again these have a lot of ejector marks which required putty to fill. The cockpit parts have very good details although it is kind of a shame that there is a lot of ejector marks. You can see photos and details of the start in my build log at https://davidsscalemodels.com/build-log/1-48-ju-87b-1-stuka/1 point
-
Ok, being a new kid in town I’ll play along with some theme photos. These are builds from a couple of years back, AMT’s 1/48 P-40F, and Airfix’s 1/48 BF-109F, both marked as in North Africa during that time.1 point
-
FedEx brought this in today. I’ve been wanting this kit for awhile and found one for a good price on eBay...1 point
-
While I was at our latest mini-Hobby Day, the guy who owns the tire store next door to our Hall came by. He gave me this kit, free of charge: The price was right! Even though I already built one; I'm still going to do this one too.1 point
-
This is something I pre-ordered way back when I actually had some money. That was about eight months ago and it finally came in. This is the academy 1/600 scale USS Enterprise. I originally ordered it hoping it had the beehive tower, but this is the later refit. No big deal; I'm still gonna enjoy building this: I got this from Hobbylink Japan. Once I requested it to be shipped; it took a total of three days to get to my door. Fantastic service!1 point