Leaderboard


Popular Content
Showing content with the highest reputation on 10/18/2020 in all areas
-
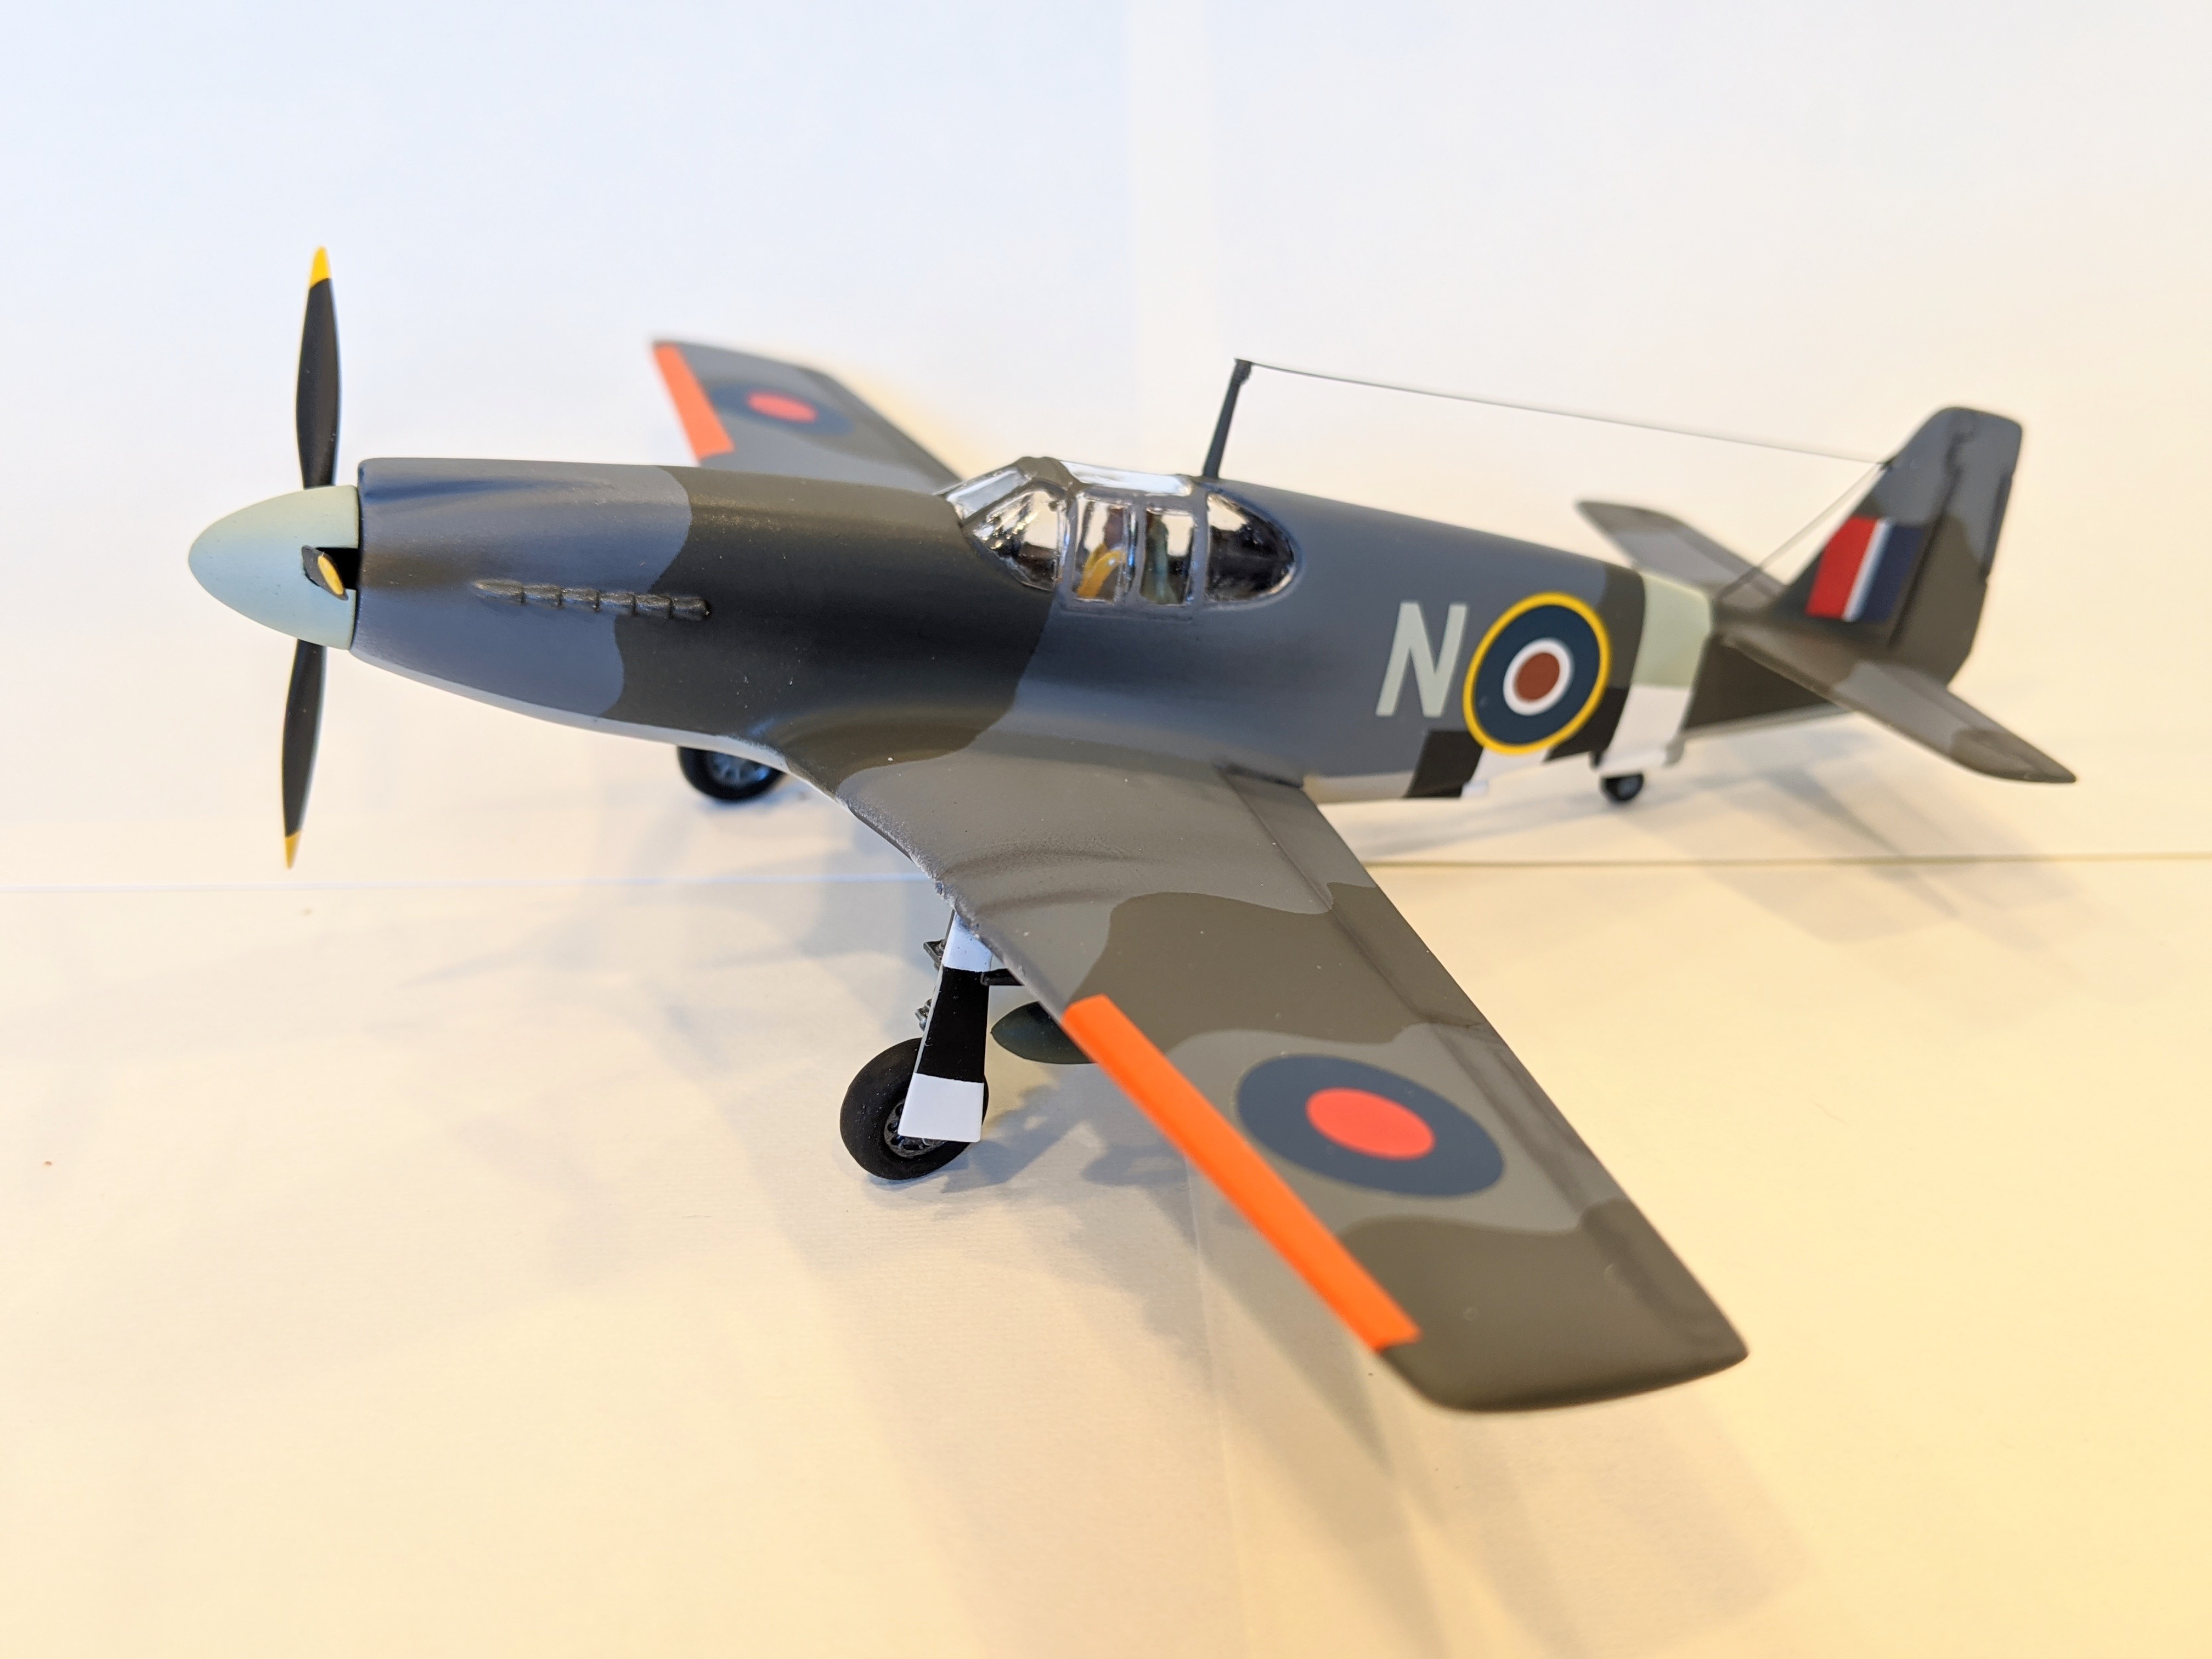
Here's another trip down memory lane. This kit dates from 1970. For those not familiar with FROG, they were making wooden model aircraft kits as far back as the 1930's and were one of the first to transition to all plastic kits. The name, FROG, stands for "Flies Right Off the Ground", as most of their early rubber band powered models did. I had to do a little research as I knew very little about this a/c. It's got an Allison engine instead of the later Merlin and came with two 20mm cannons, although the British models exchanged these for four 50 cal. mgs. From what I read, it was not intended to be a fighter-bomber, rather as a pure fighter, so the hard points under the wings for ordnance were removed. HOWEVER, obviously, Frog intended the kit's parts to suffice for both versions, so they compromised, using the mg wings, but including rather clunky bomb racks under the wings. So, thinking it looked cooler with ordnance under the wings, I ground off the kit's bomb racks and substituted ones from a Blenheim kit. In addition, even though the racks were there the kit did not come with bombs, so I pirated two from the same Blenheim kit. The rest is OOTB with the exception of the decals. The ones in the example I got were too far gone to salvage, so I used ones from the spares box. The invasion stripes are painted on. I don't know how accurate the outline and/or dimensions are, but it looks like a P-51A to me.
 1 point
 -
I don't know of any local sellers but I just Google woods metal and come up with a lot of places that sell 1 pound ingots or other forms. I would get it from one of the scientific suppliers. I seem to have had better luck with them. To be honest with you, I bought mine a long time ago so I am not sure where I got it. I would bet it was in Pennsylvania for an interesting reason. The maker was using old Hershey's molds. My pieces came looking like single squares off of a Hershey bar. 😆 I originally bought it to use as a low temperature solder. It really works well for that. If you want something with a higher melting point but below boiling water, you can also get Rose metal. That melts at about 200 degrees. I came to use it when soldering parts together on a model. I often I have to solder two or more pieces close to each other. The problem is when you go to solder the second piece, it melts the solder on the first piece and it falls off, so I use a lower temperature solder on the second piece. Works great when you can't get a heat sink between the two pieces.1 point
-
The A-10 Thunderbolt II is heading into the final stages of the build. The aircraft was painted and the custom decals to match the combat simulator scheme were added. The Master Model was then assembled and installed. This accessory set also comes with a brass pitot tube for the wing. The hole in the wing was too large for the brass one so I filled the hole and re-drilled it the correct size. I was searching around the internet and stumbled upon a fellow modeler who used a glow-in-the-dark paint that he used for the formation lights (nicknamed “Slime Lights”). I looked up paints and found a brand called Spacebeams. They make a line of glow-in-the-dark paint called Aquaris. I purchased the Bright Aqua color. The paint is very thick. Almost as thick as the acrylic gel. Since the photo etch set came with the formation light frames, I used a toothpick to fill in the areas where the lights go then used the edge of the hobby knife blade to level it out. The paint itself has a leveling property itself so it dried to a smooth level. In normal light the paint has an ivory color to it. Once you place it in the sunlight or “charge: it with a UV flash light it glows brightly and is a match to what they look like on the real aircraft. The effect is amazing! The boarding ladder and the canopy were detailed and installed. At this point the basic aircraft itself is finished. So I am now working on all the weapons and pods. The weapons load-out will consist of two AIM-9 missiles, two AGM-65 Mavericks, two GBU-54’s, one mk.84 bomb, six APKWS rocket pods, the AAQ28 Litening pod, and the ALQ-184 pod. The missiles and bombs are Eduard Brassin, the APKWS rockets are from Phase Hangar, the ALQ-184 is from GT resin and the Litening pod is 3-D printed. Once the weapons load is completed all that will be left to do is finish building and detailing the Aircraft Test Cart. You can see more photos and details from the start in my build log at https://davidsscalemodels.com/build-log/1-48-a-10-thunderbolt-ii-dcs/1 point